LED Interior & Reverse Light Upgrades for the 2018+ Ford Mustang | HR Tested
At Headlight Revolution, we talk A LOT about lighting upgrades. Especially headlights and taillights. We like them! A lot. And as much as these things are beneficial to you in the areas of safety and visibility (like, very beneficial), there are other areas of lighting that can be easy improvements for you and your vehicle.
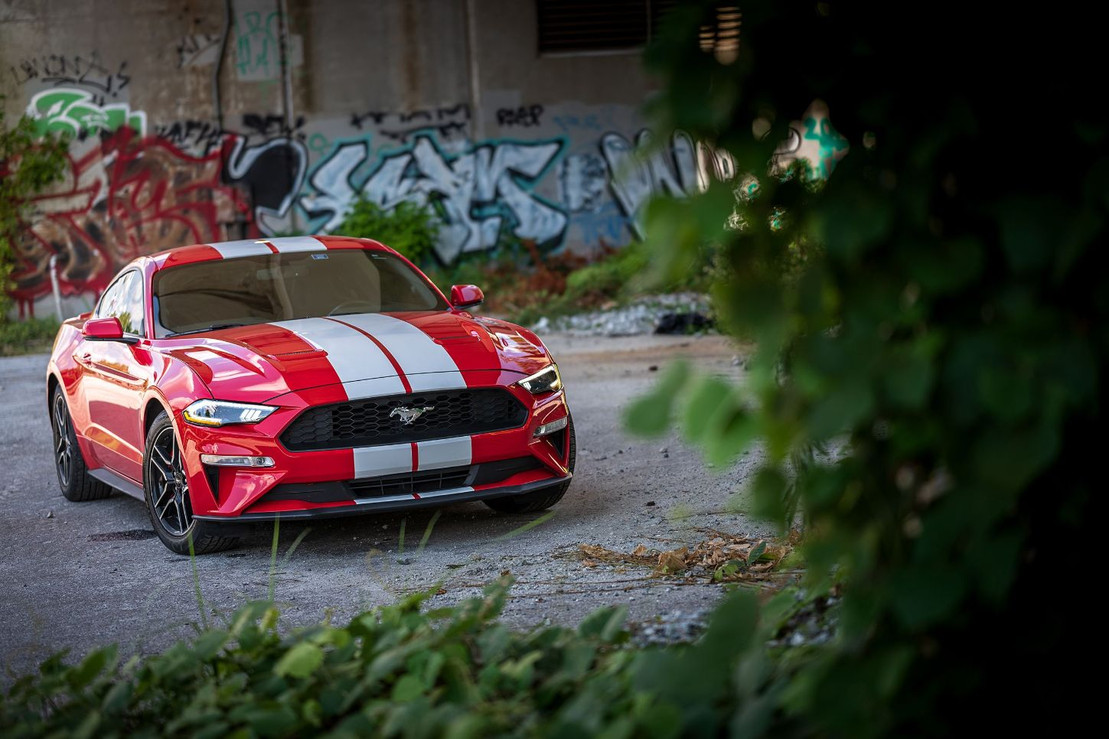
That is why today we will be looking at four super easy and affordable lighting upgrades you can make to your 2018+ Ford Mustang S550. These can go a long way in making the daily use of your car more comfortable and safer while also providing the ability to express your creativity.
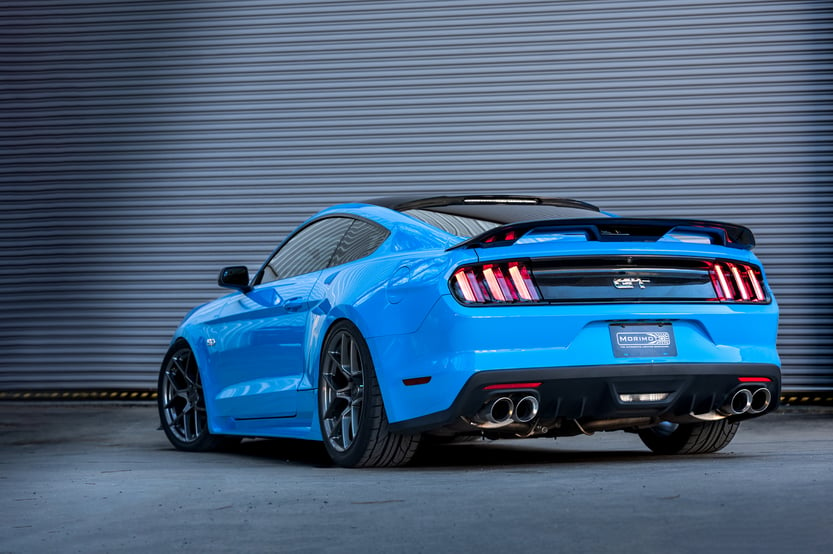
Morimoto XB LED Headlights and Taillights
Before we go fully into all the easy upgrades, we cannot refuse to talk about the Morimoto XB LED headlights and taillights for the Mustang. These are the main course of the meal that is upgrading your headlights.
The problem is when you want to change the dull look of the OEM headlights, most aftermarket headlights will show a dip in brightness because the Mustang already has a solid LED headlight. So why pay for worse headlights? Especially considering they may be more expensive than purchasing from the OEM.
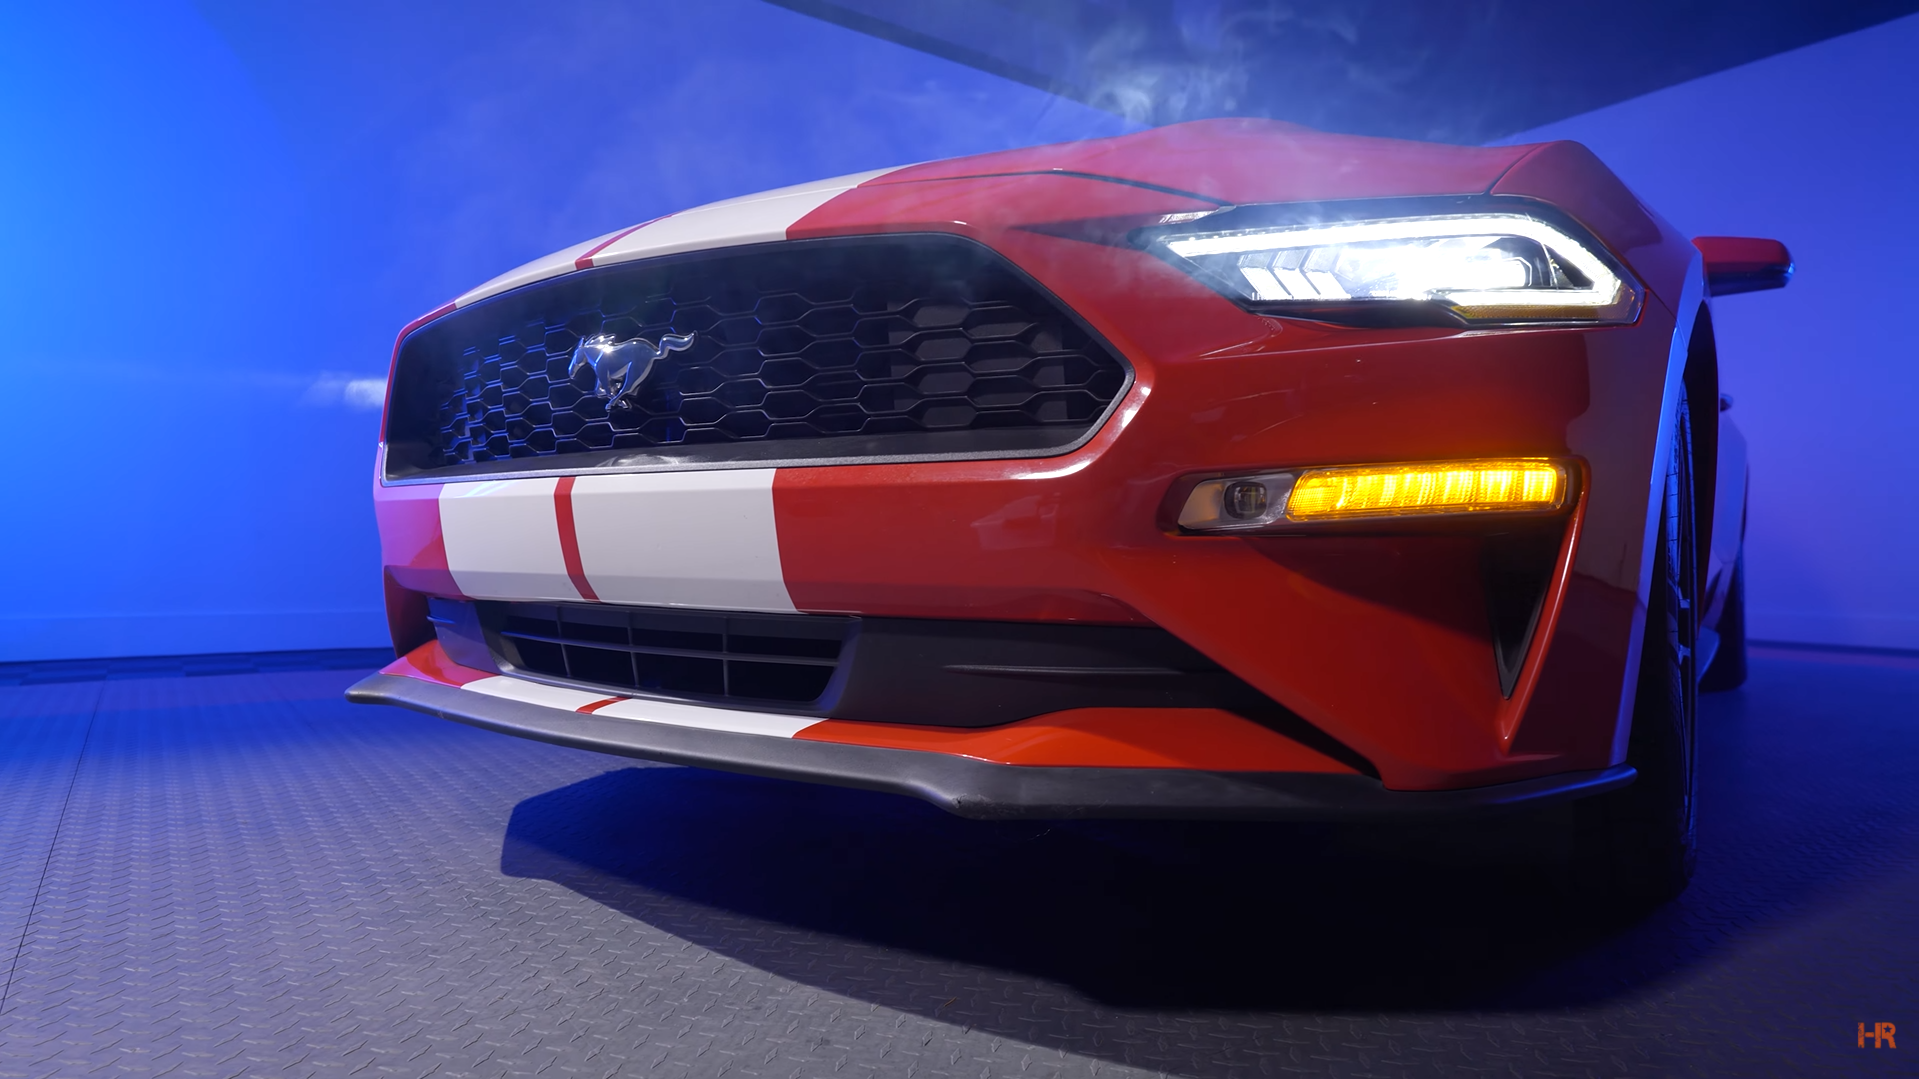
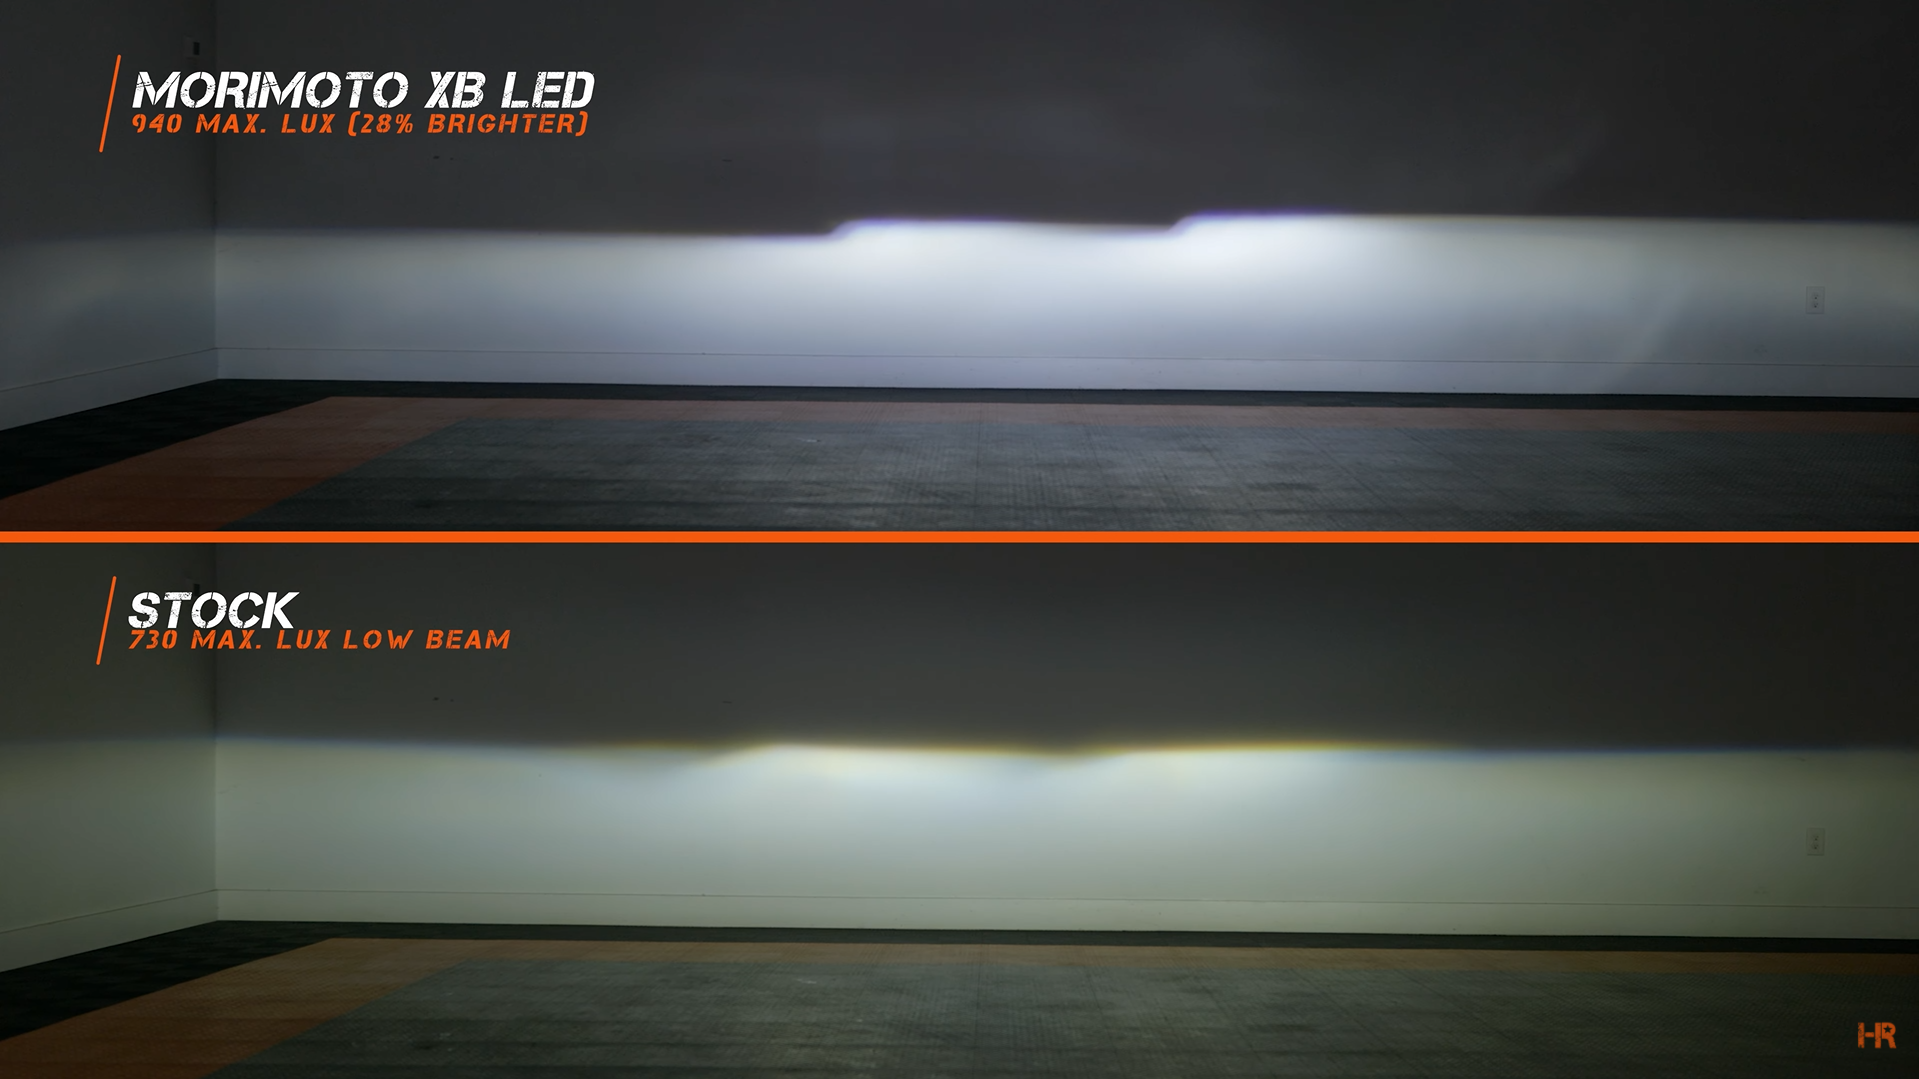
With the Morimoto XB LED headlights, you will see sharper styling and an improvement in light output. The XB LEDs showed a 28% increase over the stock on low beams. They rated at 940 max. Lux, which is no small task given that the stock headlights come in at 730 max. Lux.
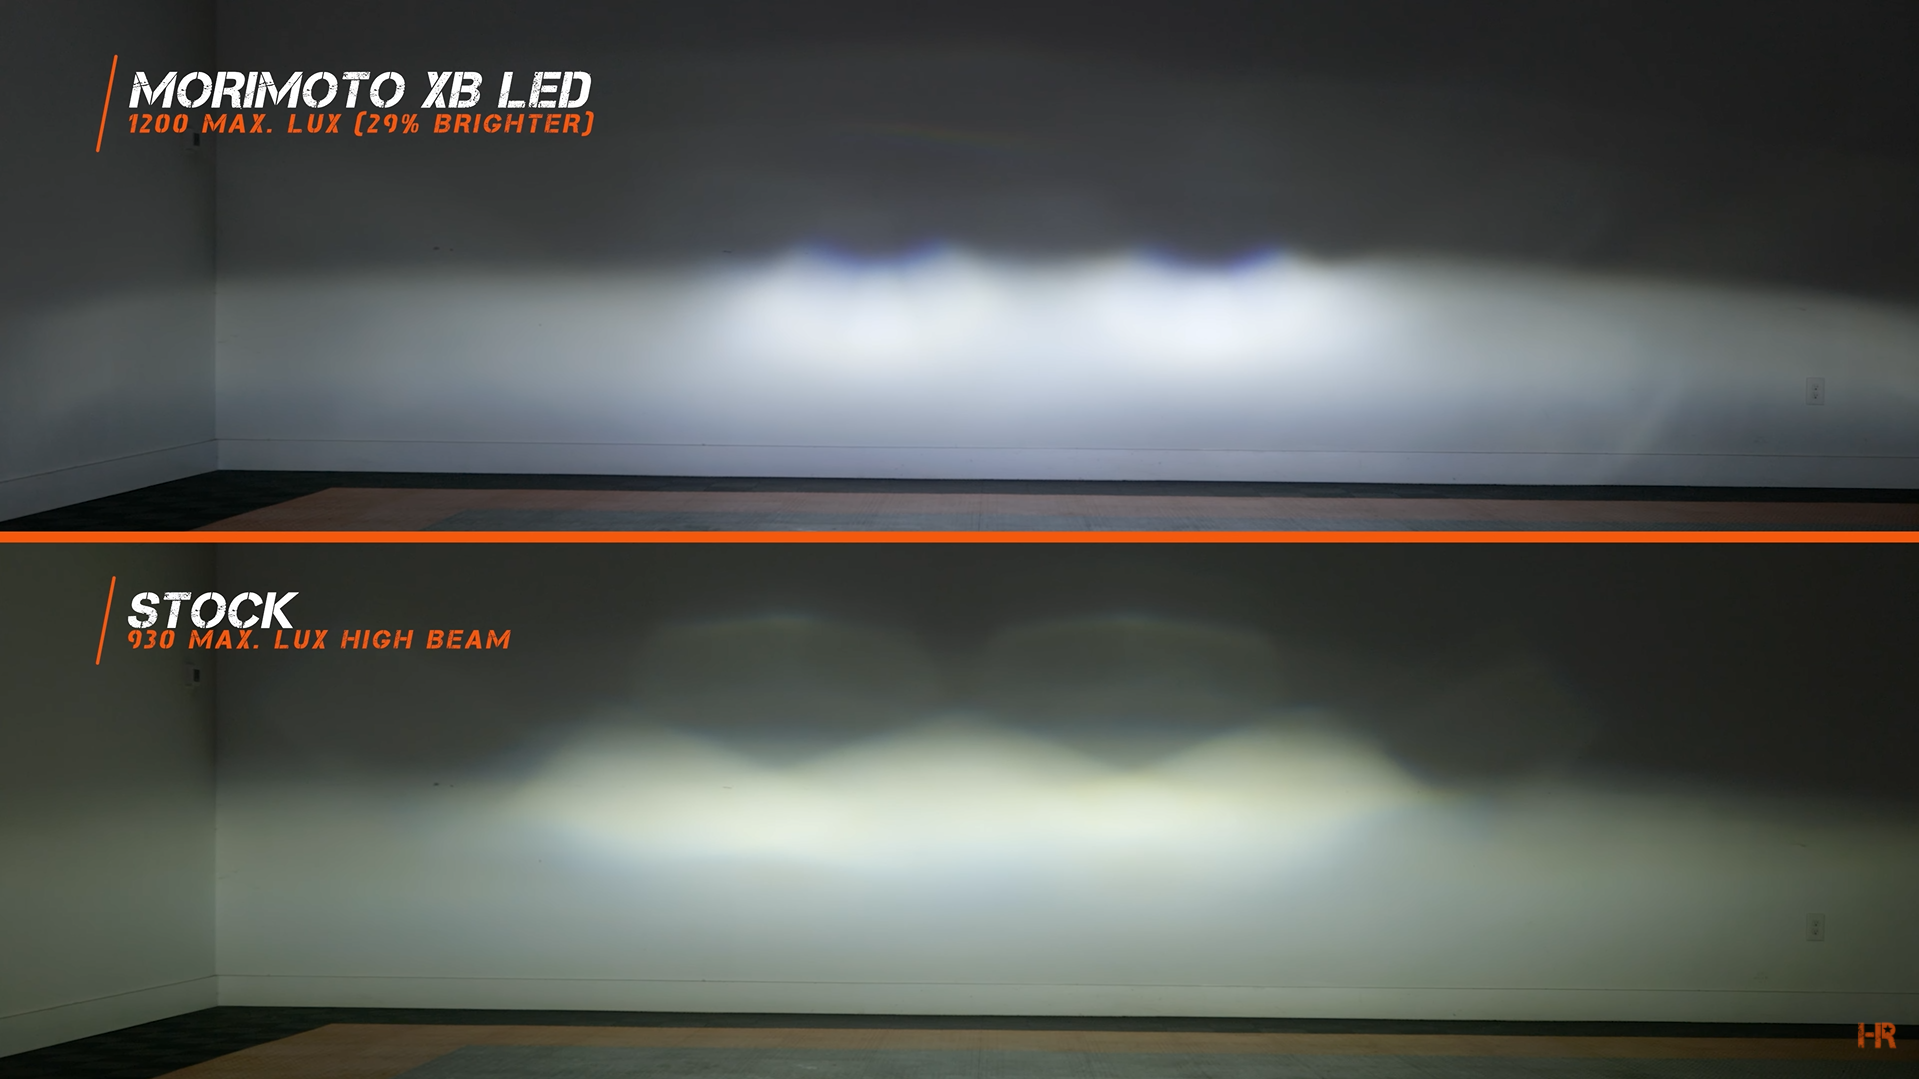
On high beam, the XBs came in at 29% brighter with 1200 max. Lux vs. the 930 max. Lux for the stock headlights. The Morimoto XBs also grant you a more defined beam pattern in both the low and high beams.
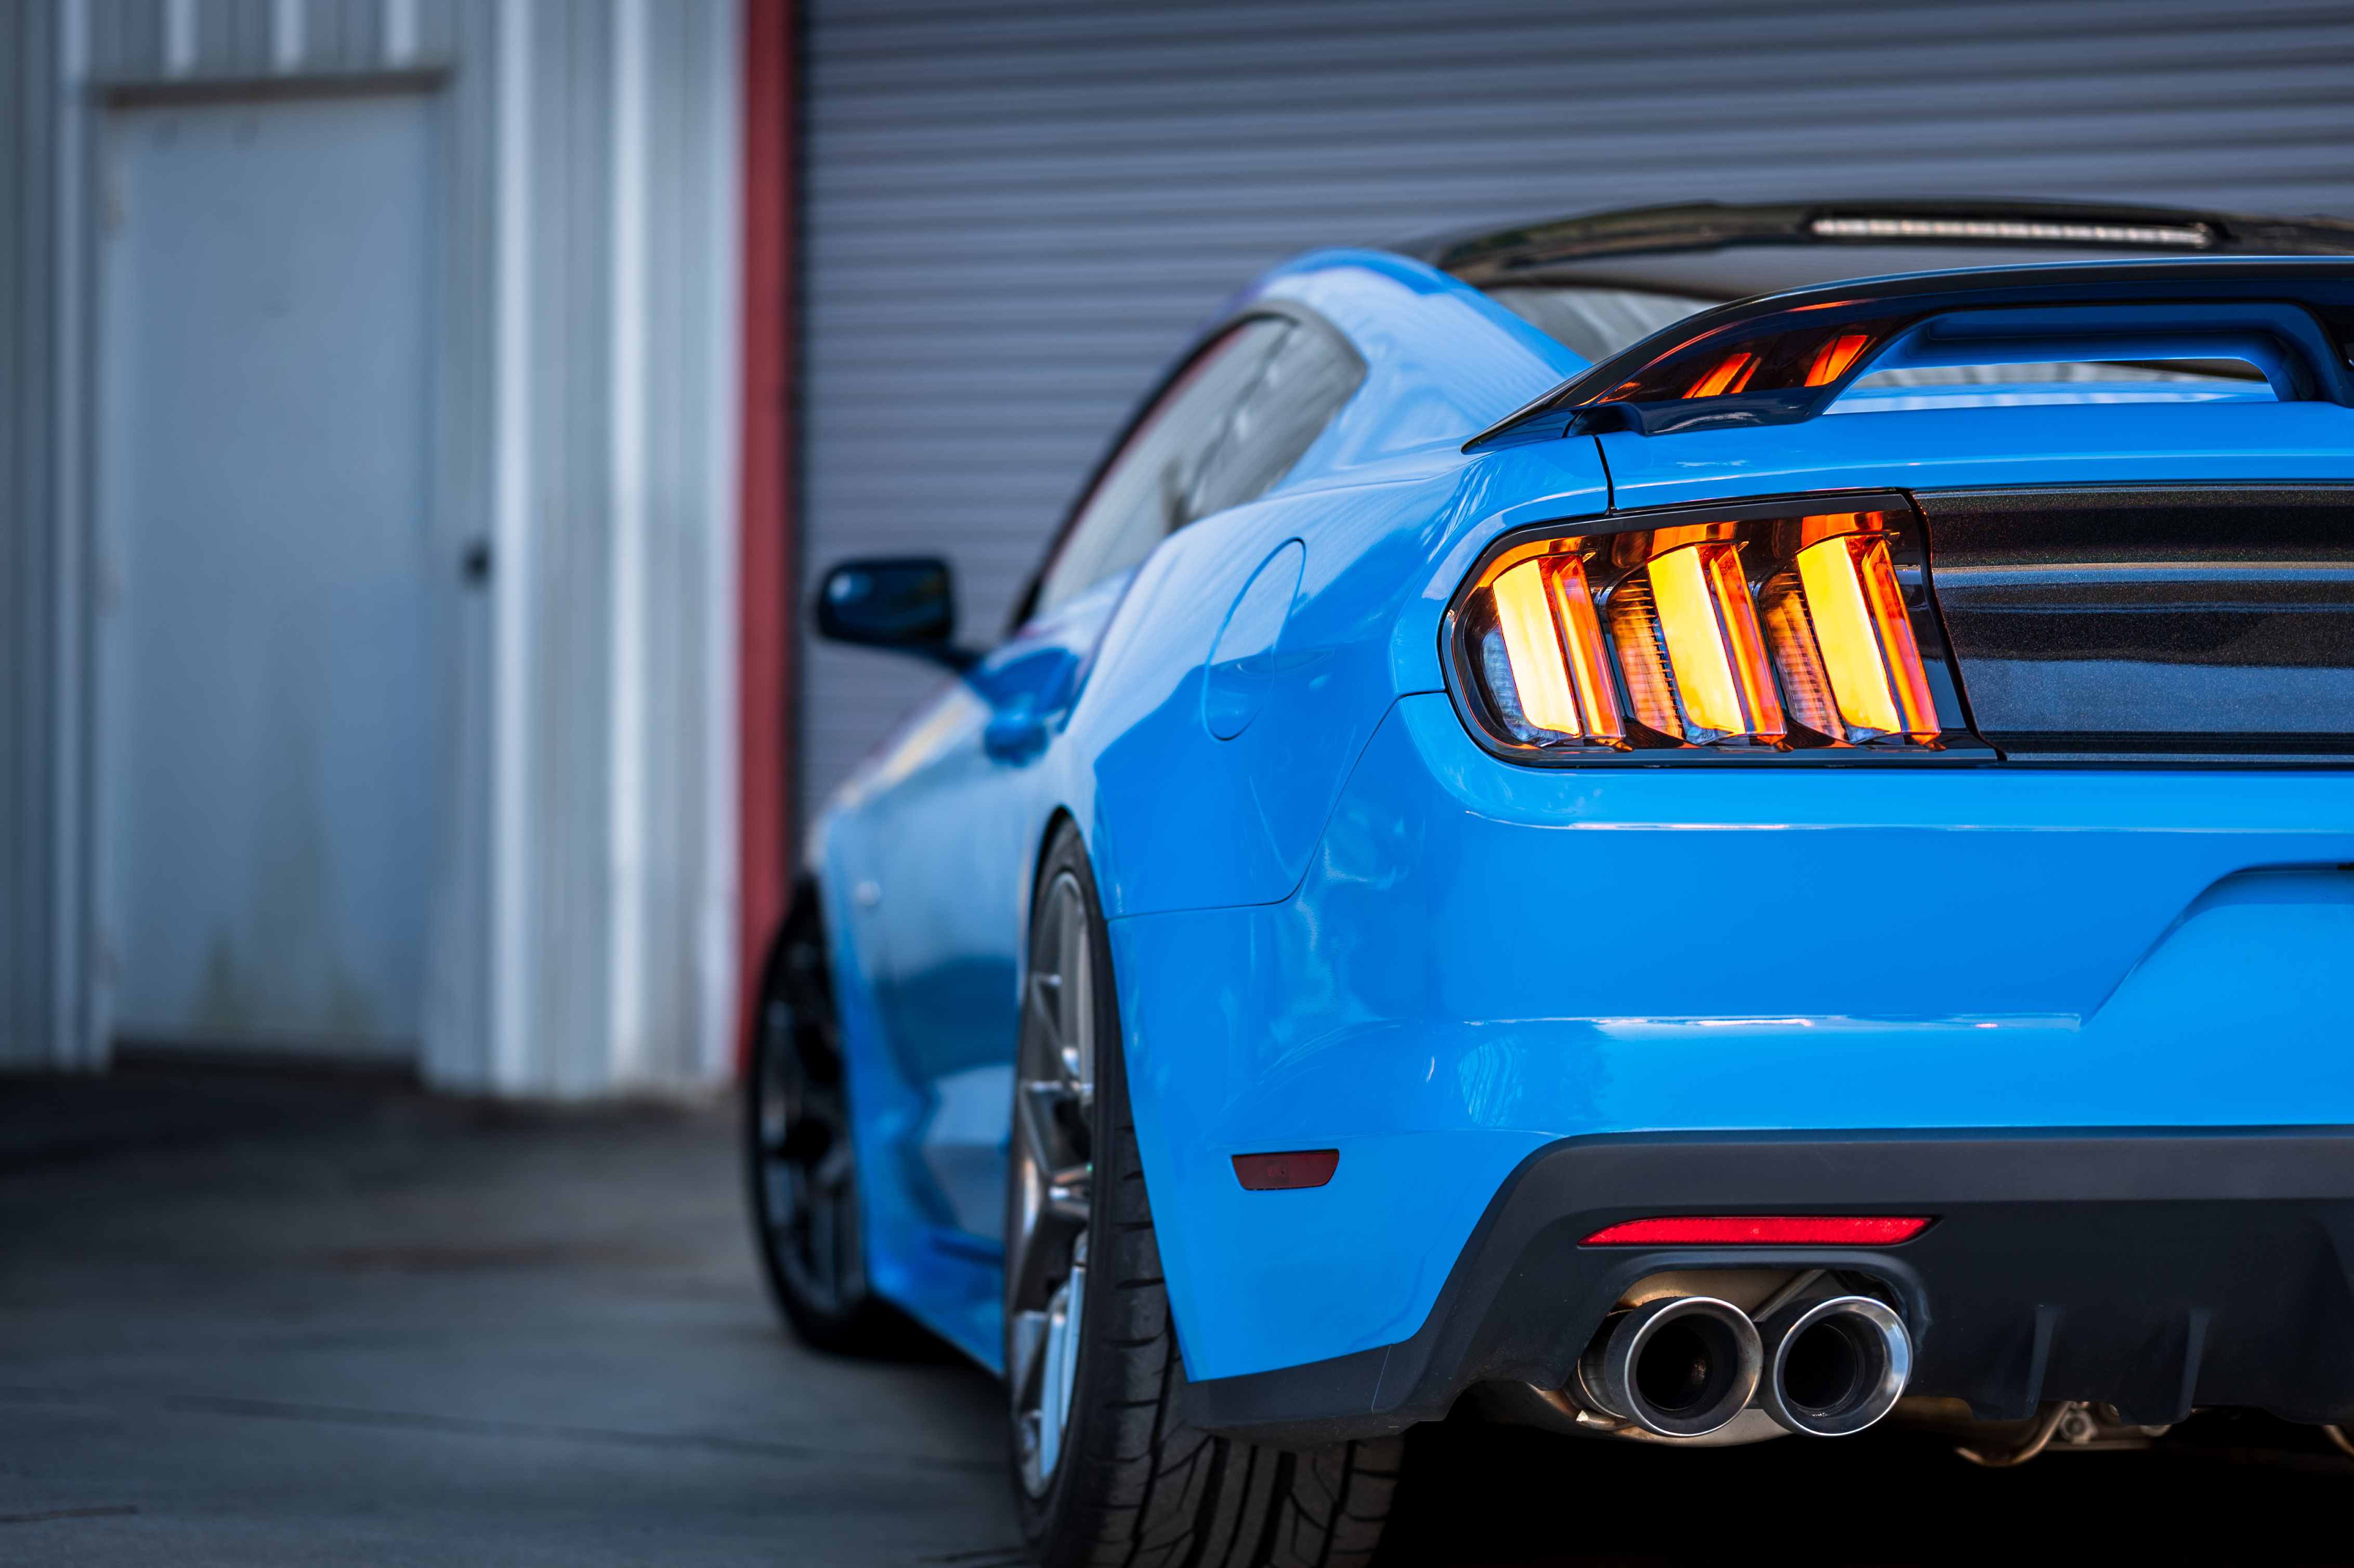
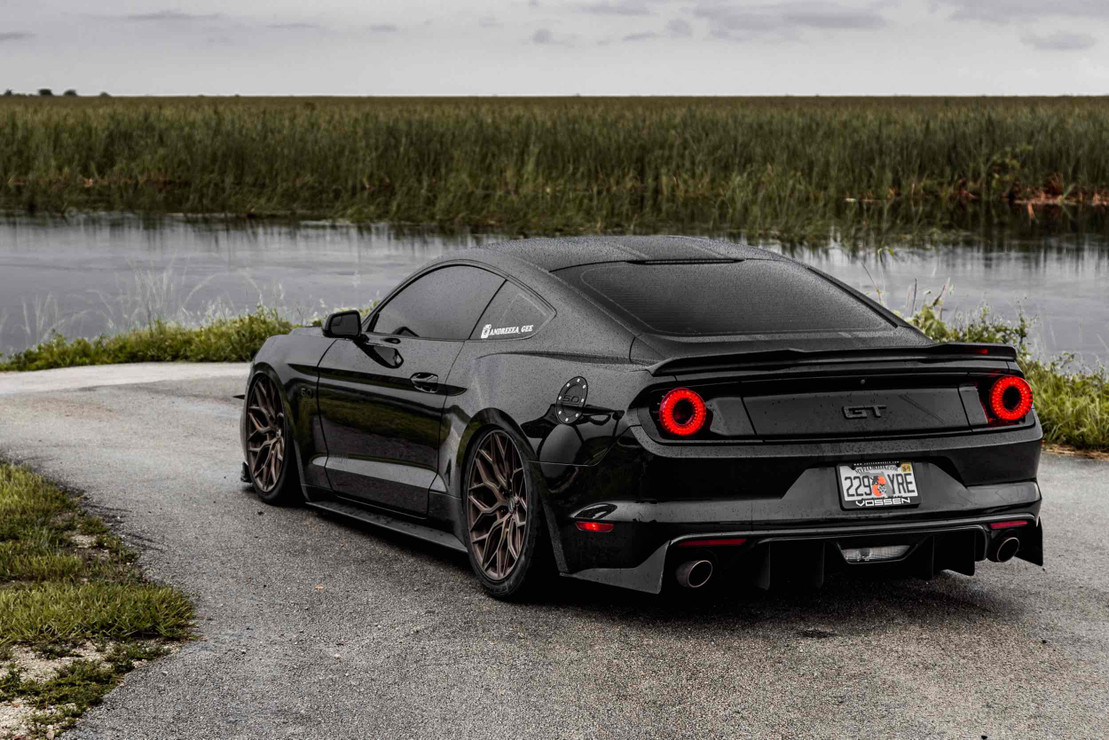
There are also the (now discontinued as of 1/22, limited stock) Morimoto XB LED Tails. If you are feeling adventurous and looking to give a unique look to your Mustang. These have been inspired by the famed Ford GT and pack just as much of a punch.
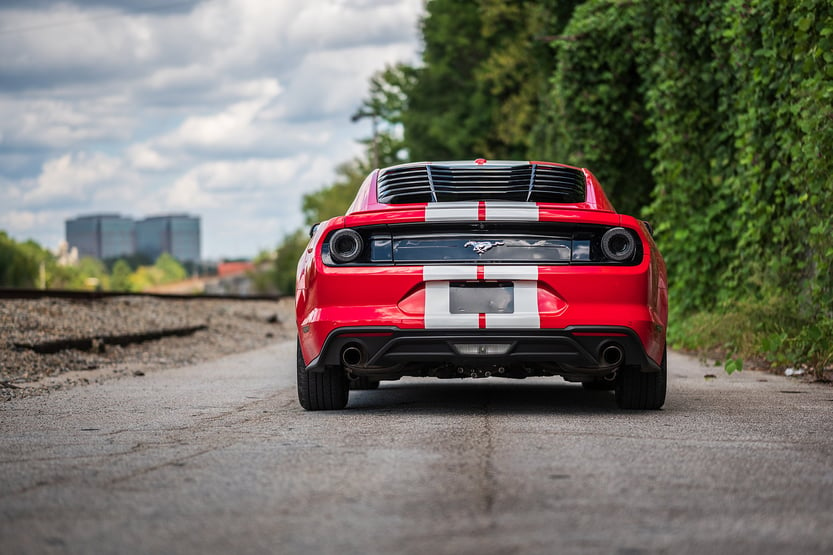
Featuring an improved brake and reverse light, these also have a sequential turn signal that rotates the full diameter of the light. Just like the headlights, these are entirely plug-and-play thanks to the stock mounting points and factory connectors.
Accessory Lighting
Now on to the side dishes. We will go over four easy-to-install lighting upgrades you can make to your vehicle. Not only will we tell you a bit about the benefits of the upgrade, but also go over how to install them.
-
Side Marker
For no particular reason, we start with the side marker. These lights are almost always used for safety. You need drivers to be able to see you when coming at you perpendicularly. But who said they cannot be good-looking too?
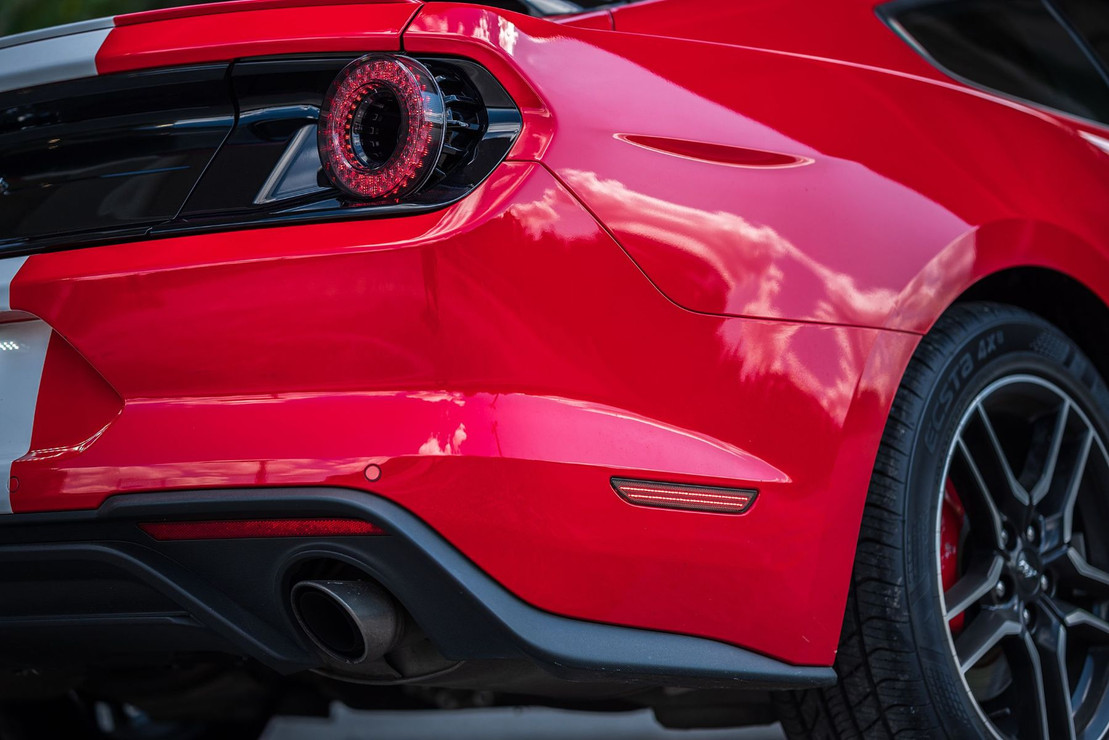
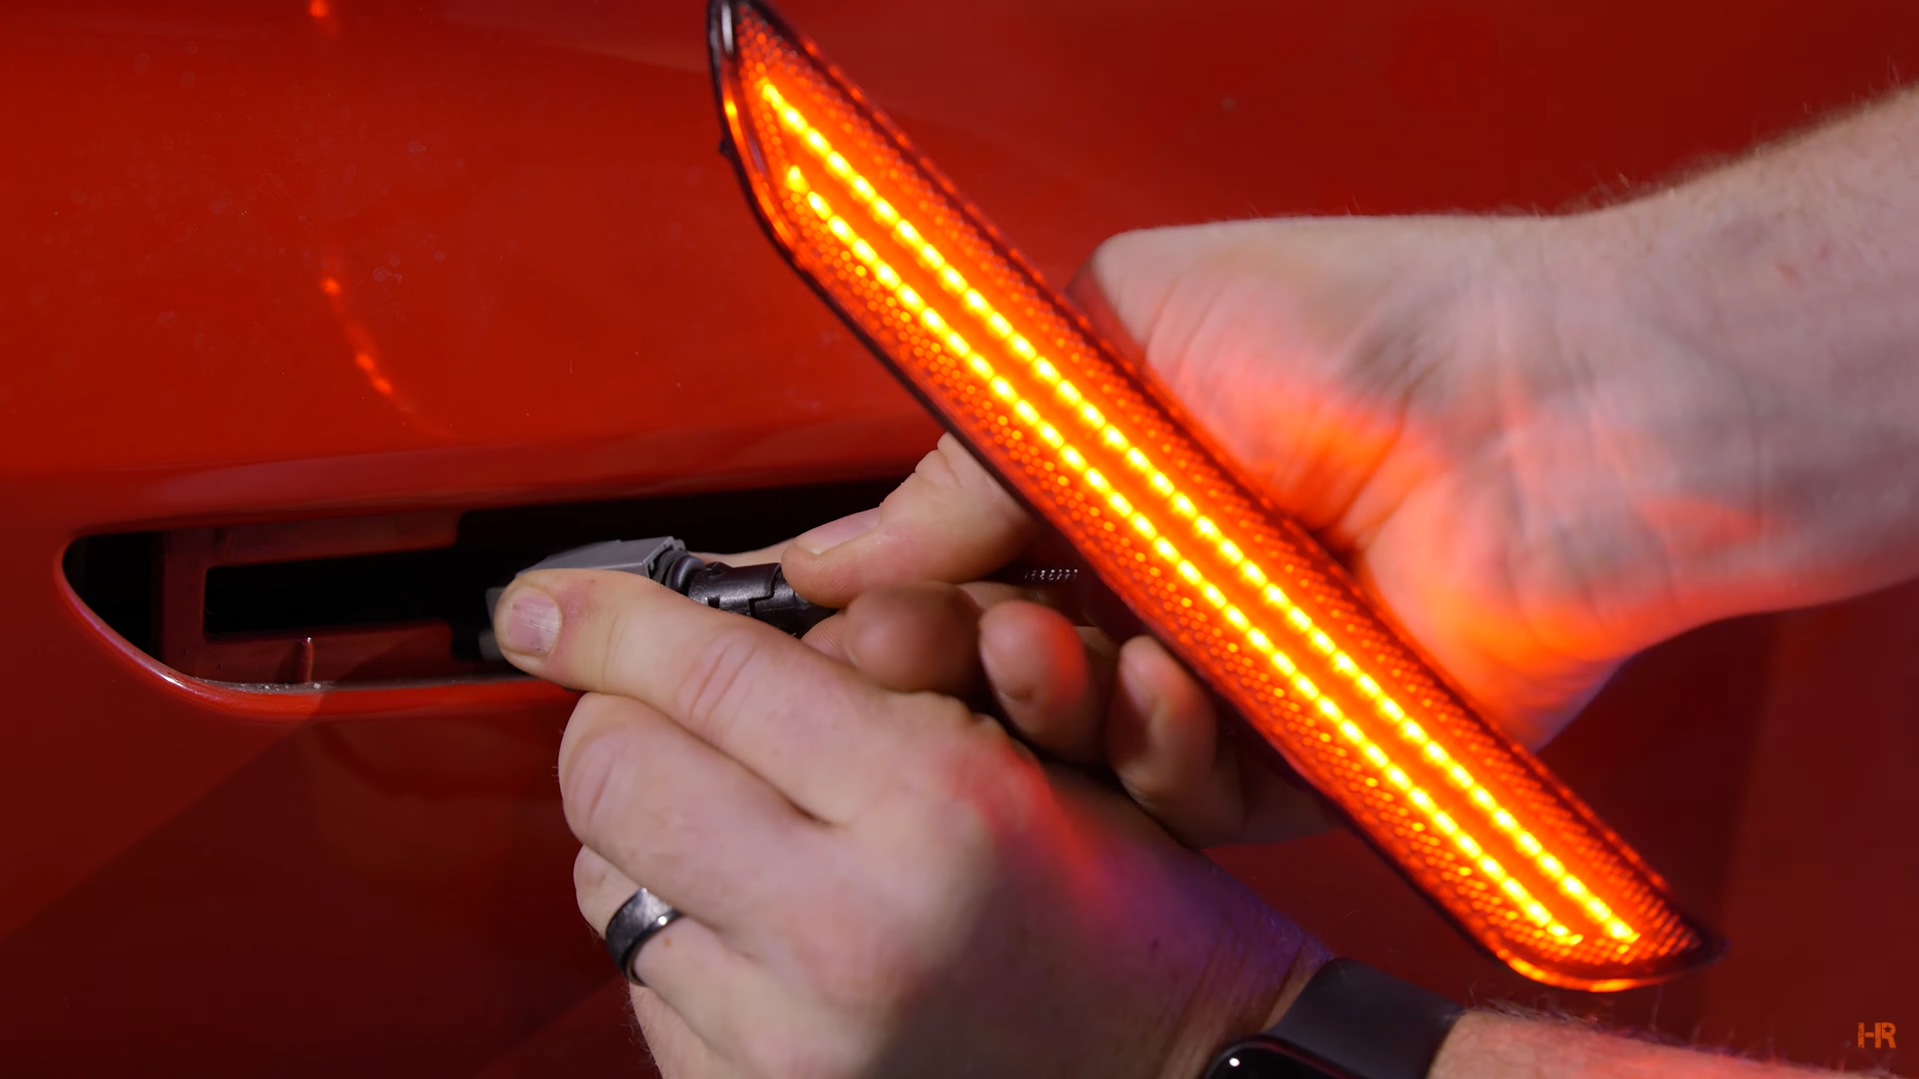
We have the Morimoto Side Marker for the 2015-2020 Ford Mustang. These are super easy to install and make a huge difference in the look of your car. The modern, blacked-out look is a lot more noticeable than the dingy bulb that came from the factory.
To install, all you need is a pry tool to wedge the OEM piece out of the body from the front-facing side. Once that is done, pull the piece out and turn counterclockwise to reveal the T10 bulb.
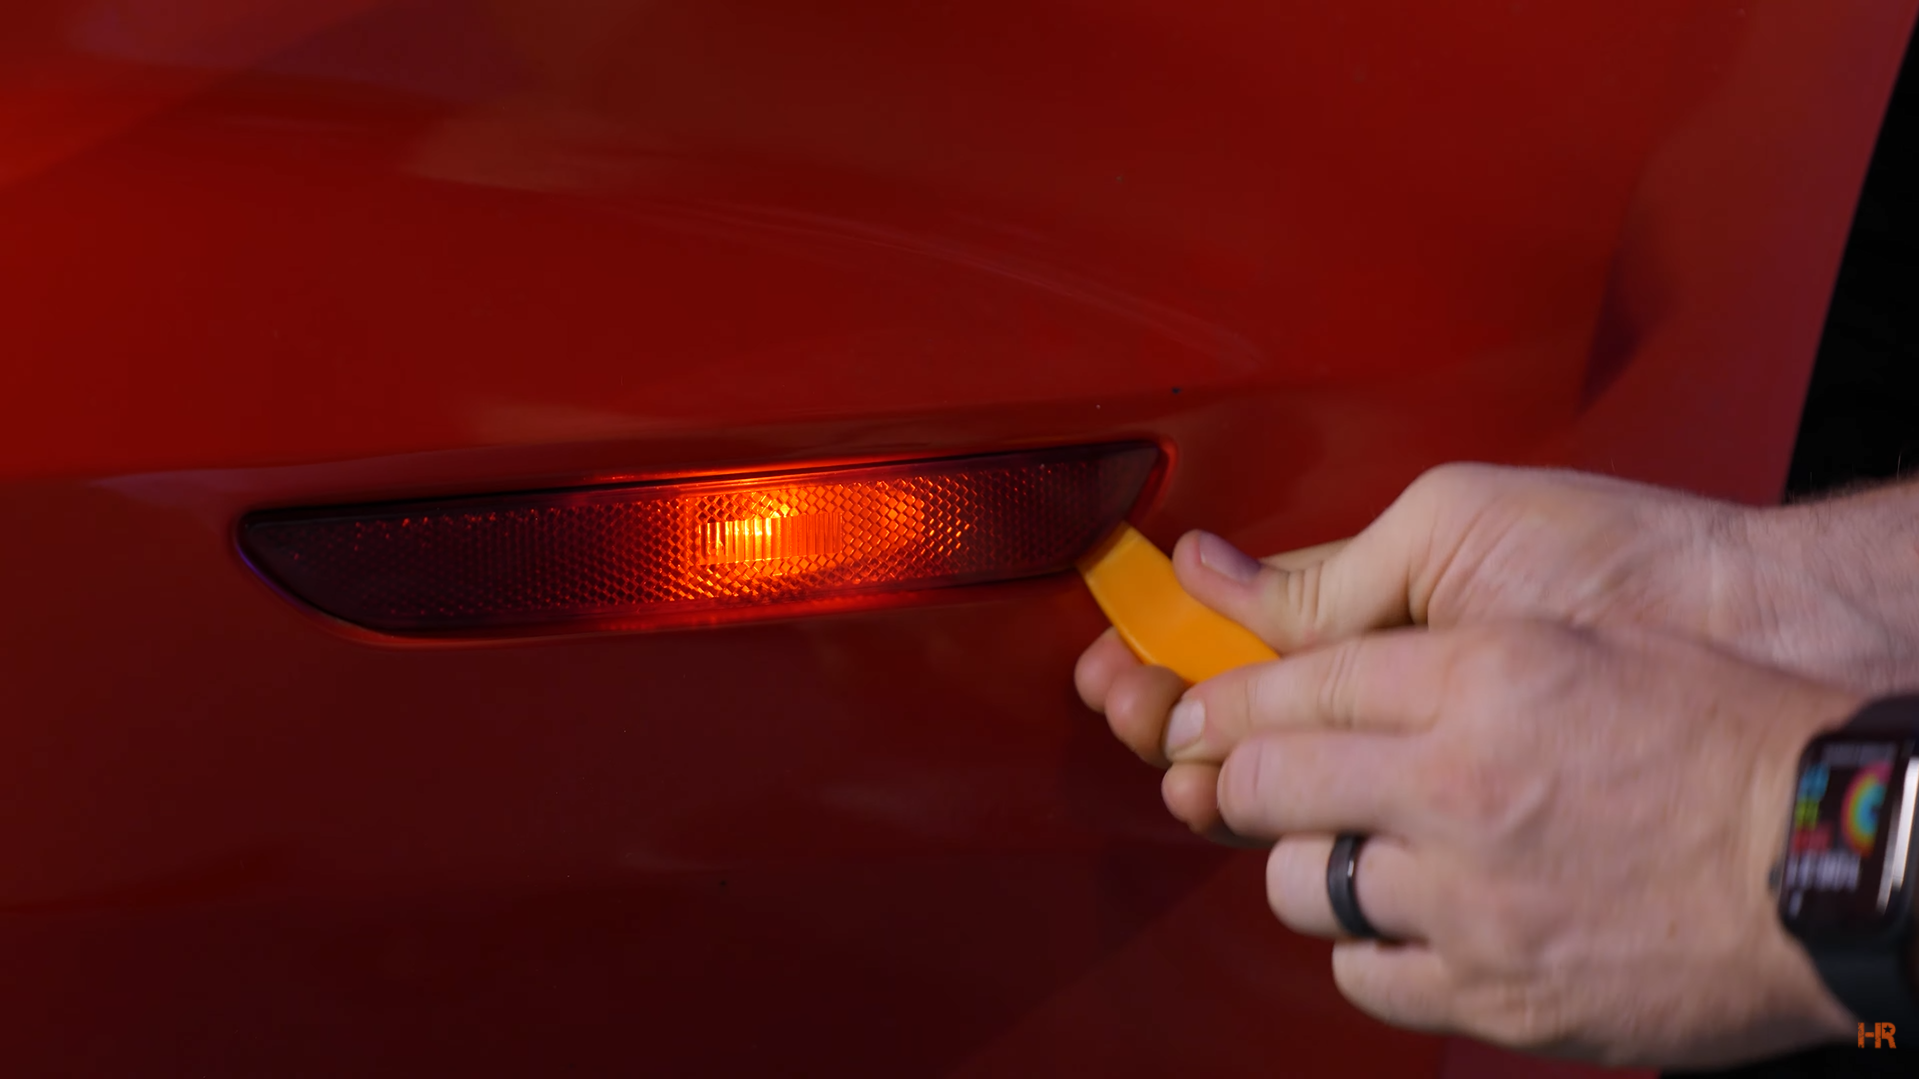
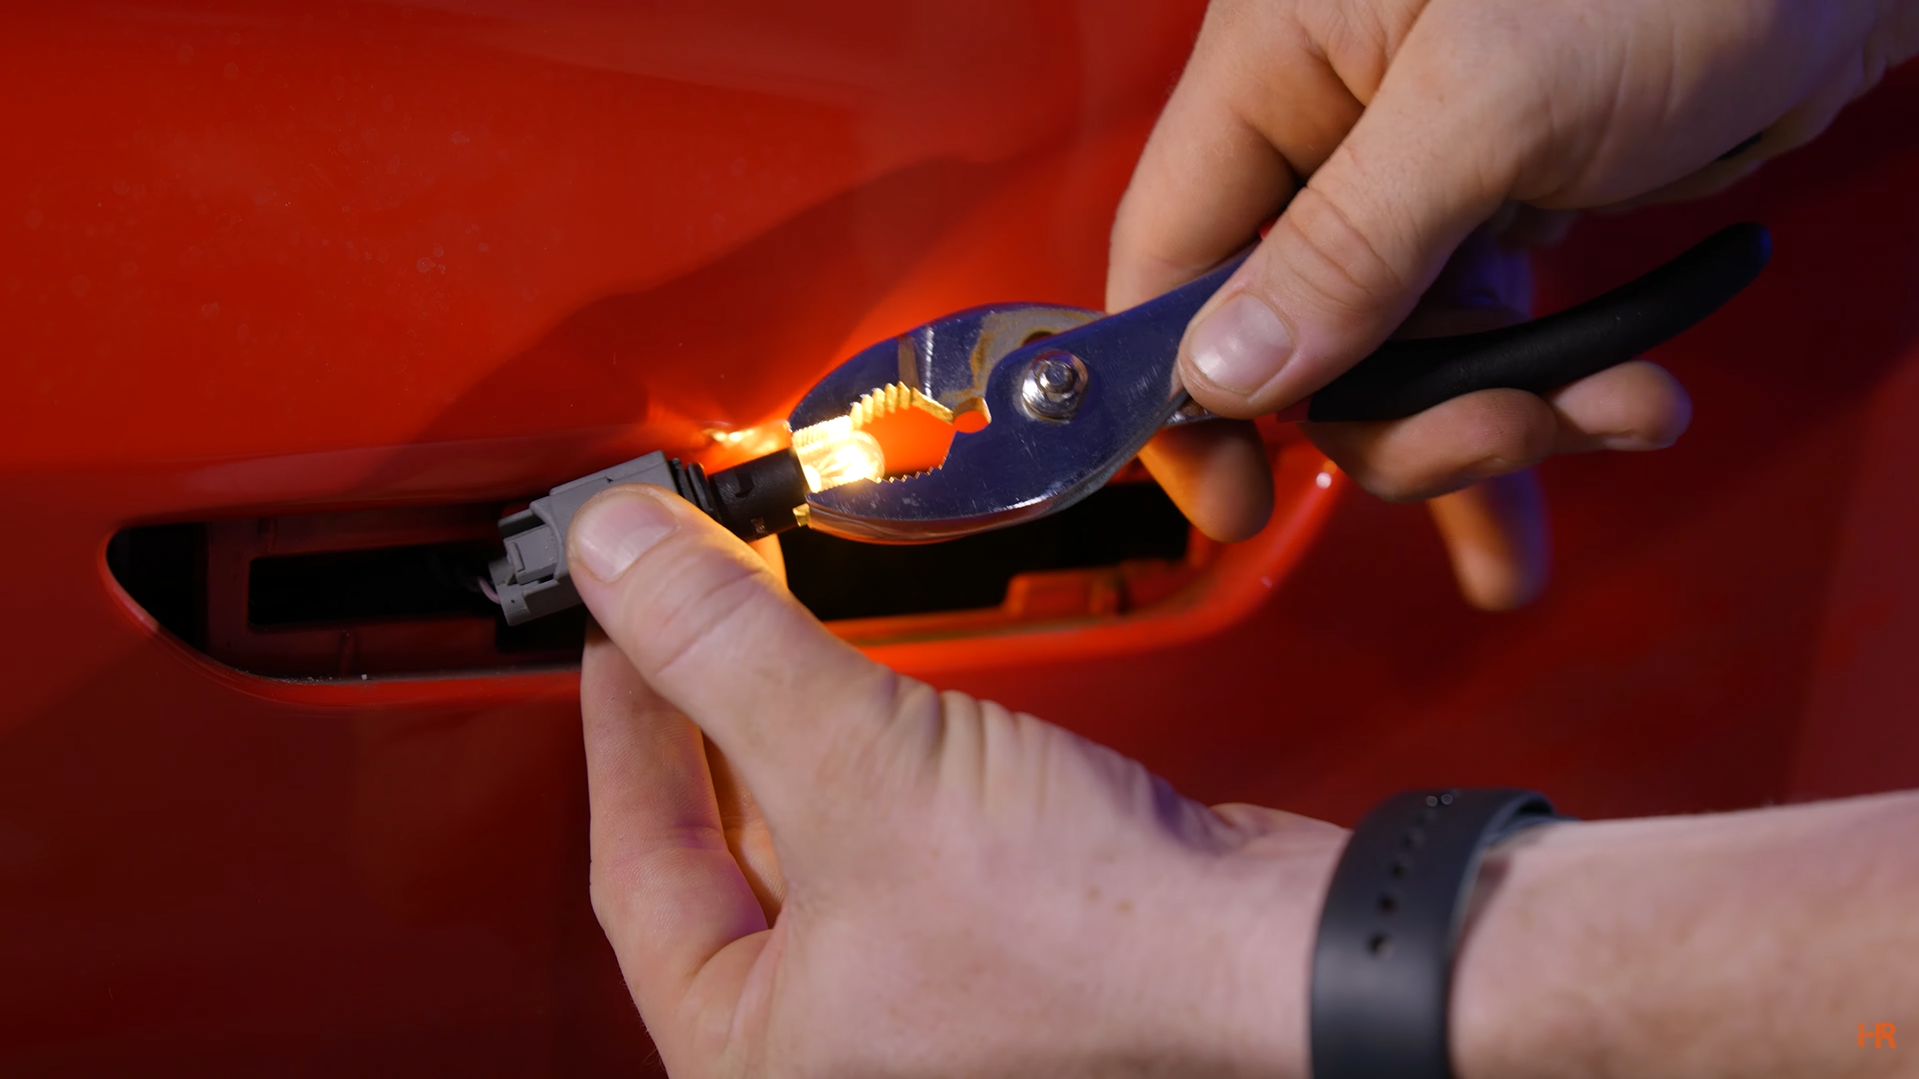
The bulbs tend to get pretty warm after being on for a while, so we recommend removing it with a set of pliers. Afterward, just plug the Morimoto side marker into the existing T10 connector and push the light into place.
 |
 |
-
Diffuser Reverse Light
Moving around the back of your car, there is a reverse light integrated into the OEM diffuser. This light is not very bright and only serves as a calm ‘hey I am reversing’ light to other drivers in the Arby’s parking lot. With the GTR Lighting Ultra Series LED Reverse light, that is something that will change for the better.
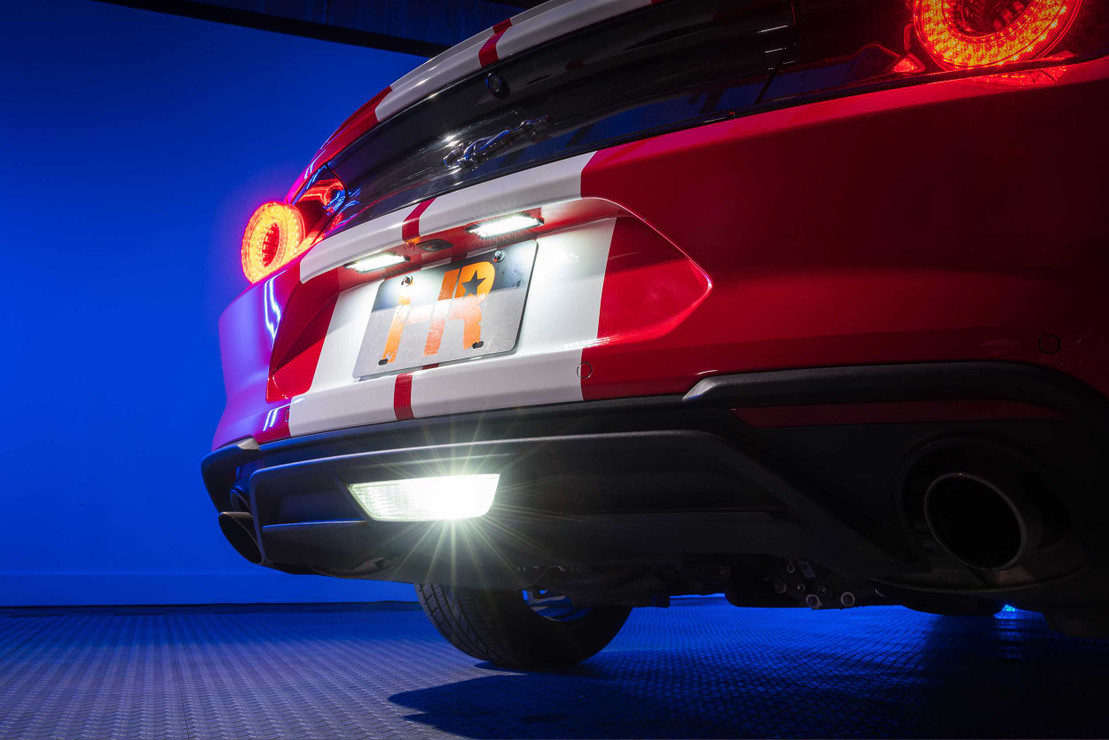
GTR Lighting knows what is up when it comes to producing some of the brightest lights out there, no matter the application. Even if you do not have a Mustang, we recommend putting your vehicle information into our website and getting some for your vehicle. It will really make your reverse light say, ‘HEY I AM REVERSING, WATCH OUT’ to let everyone know you are reversing and you will be able to see where you are reversing, too.
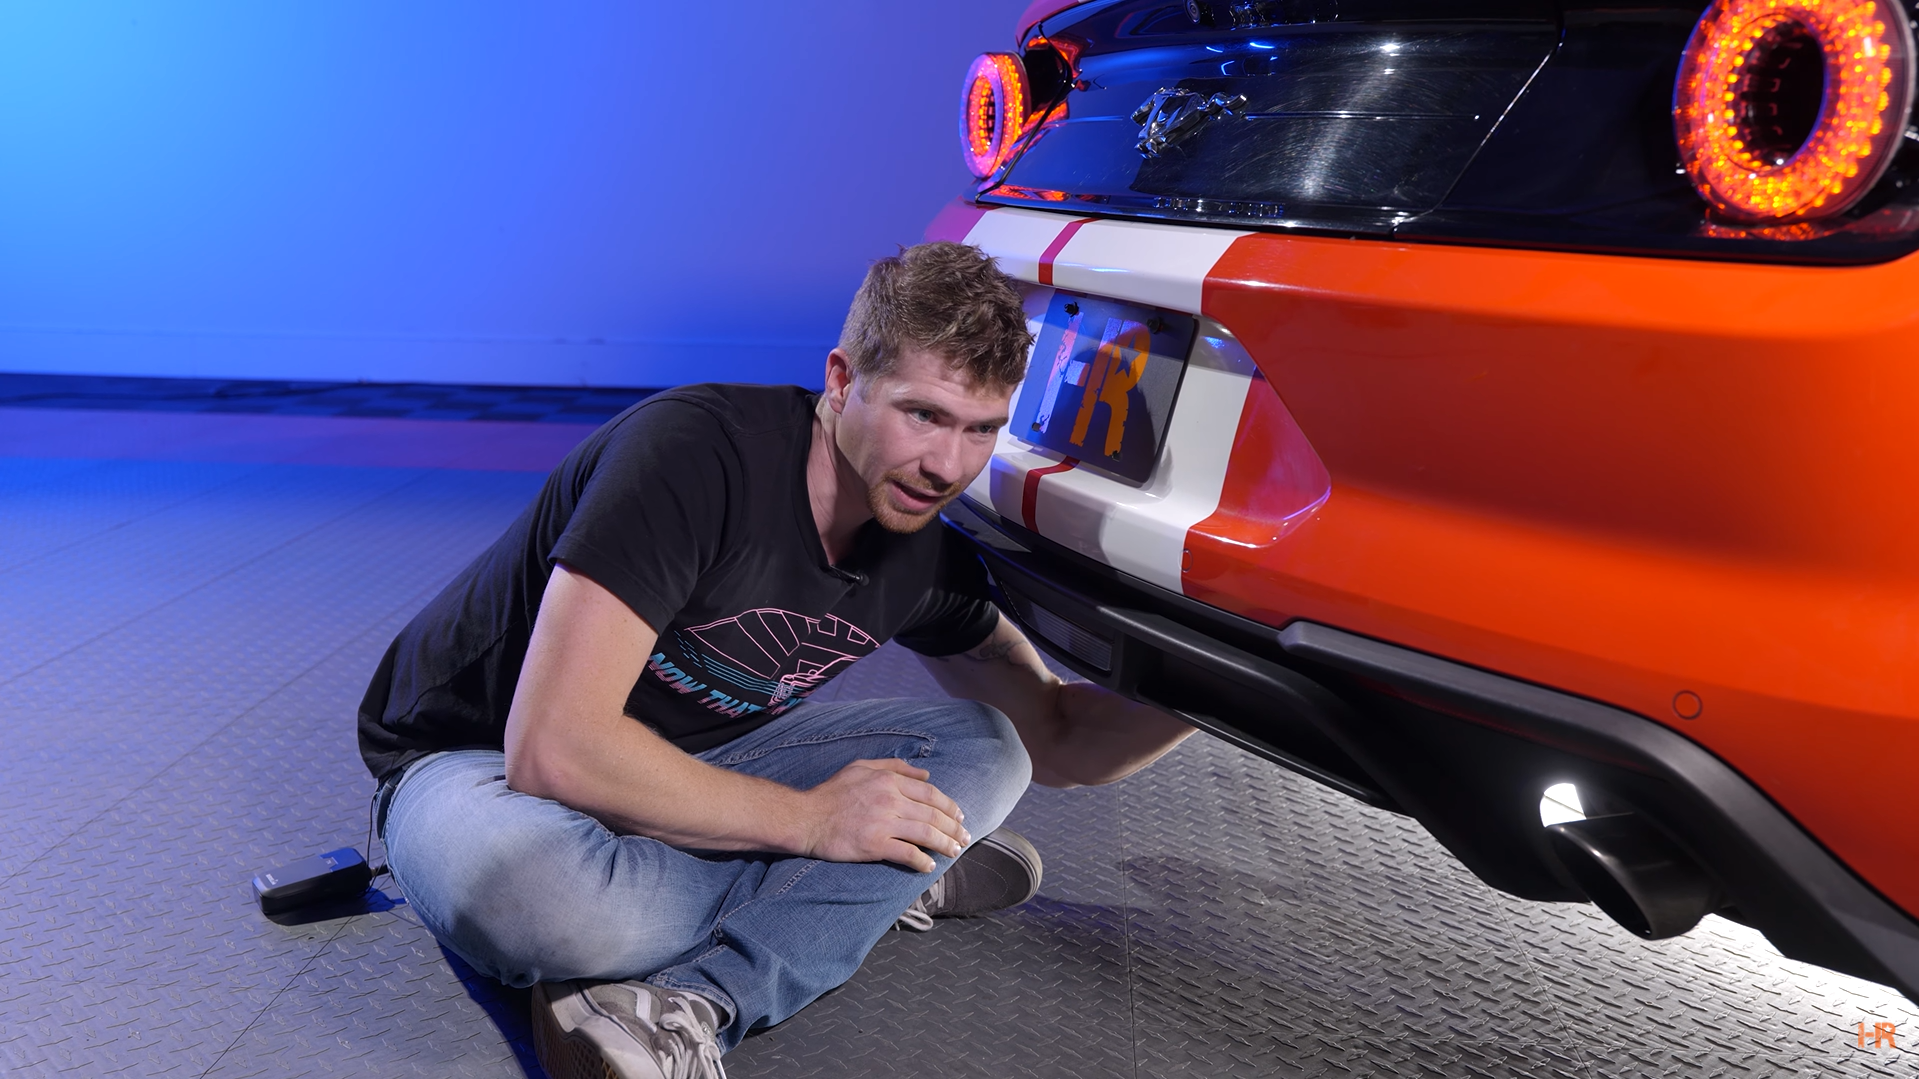
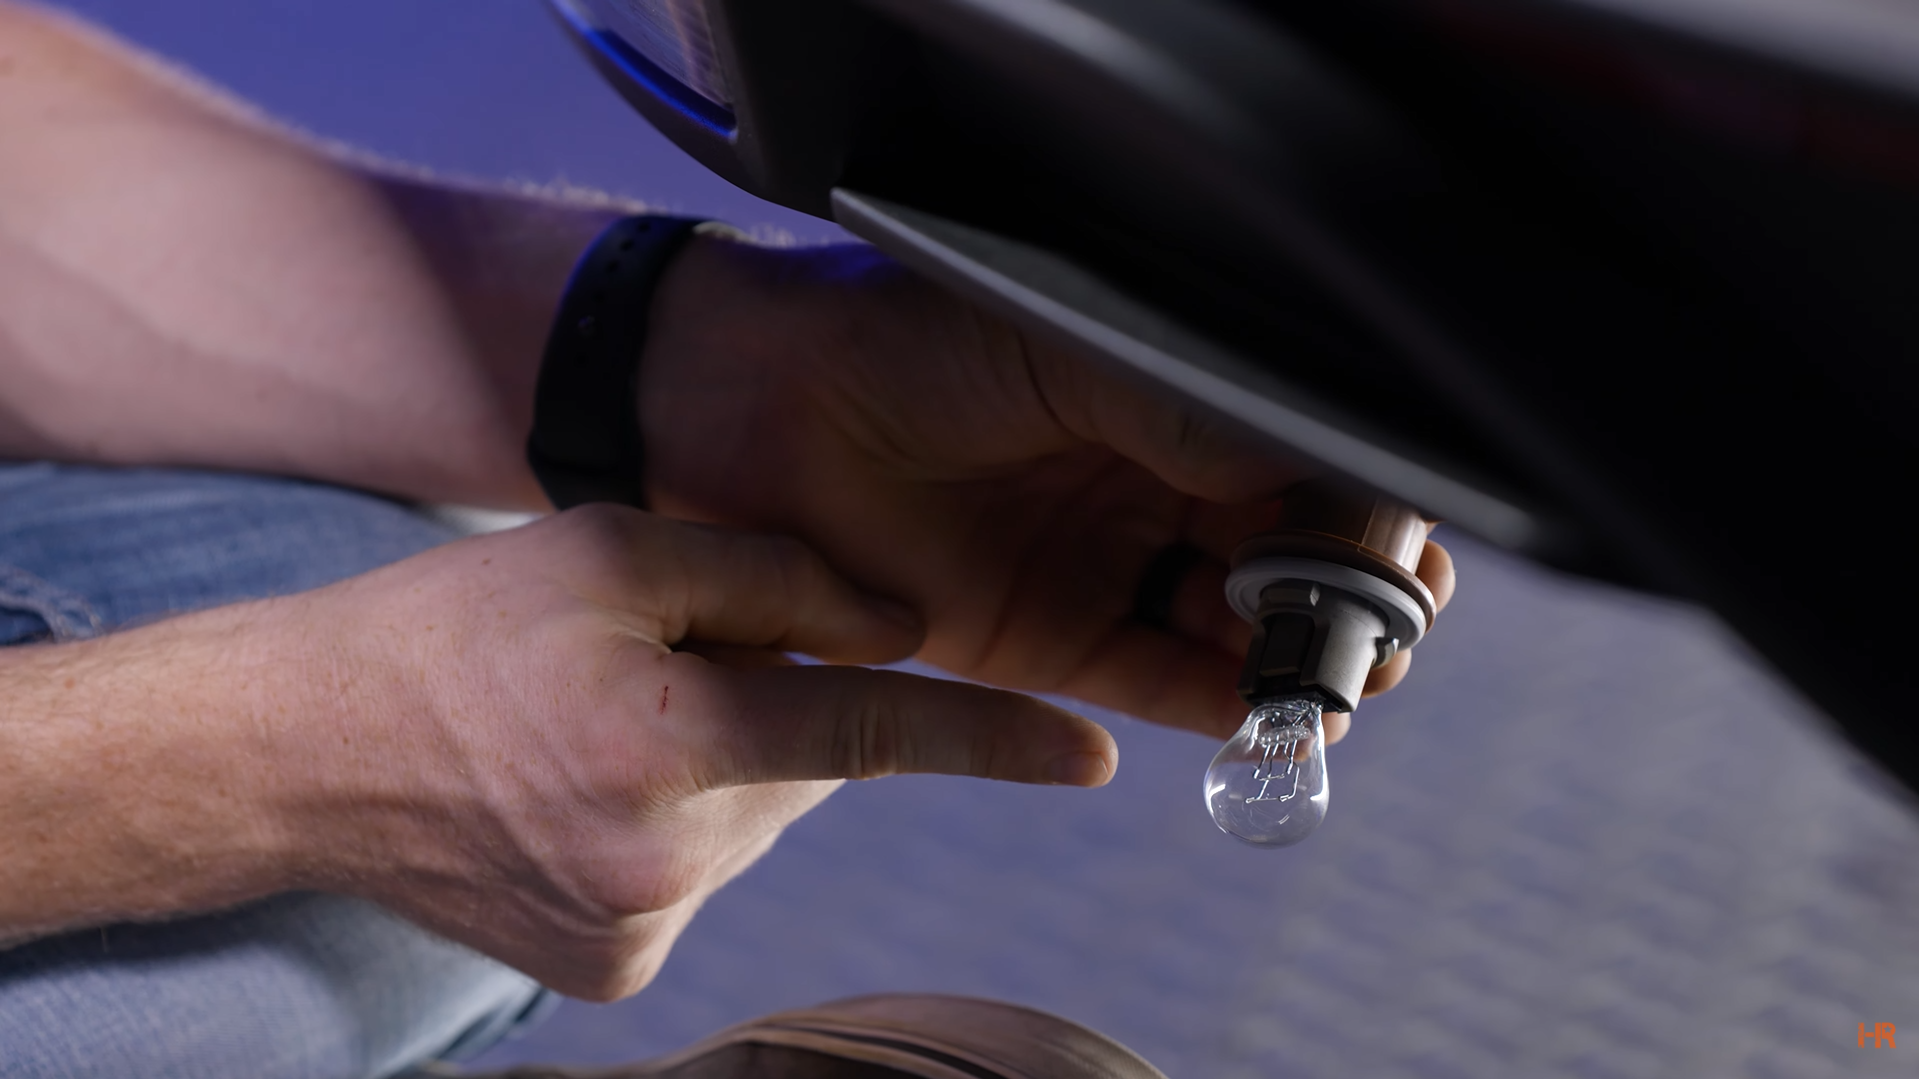
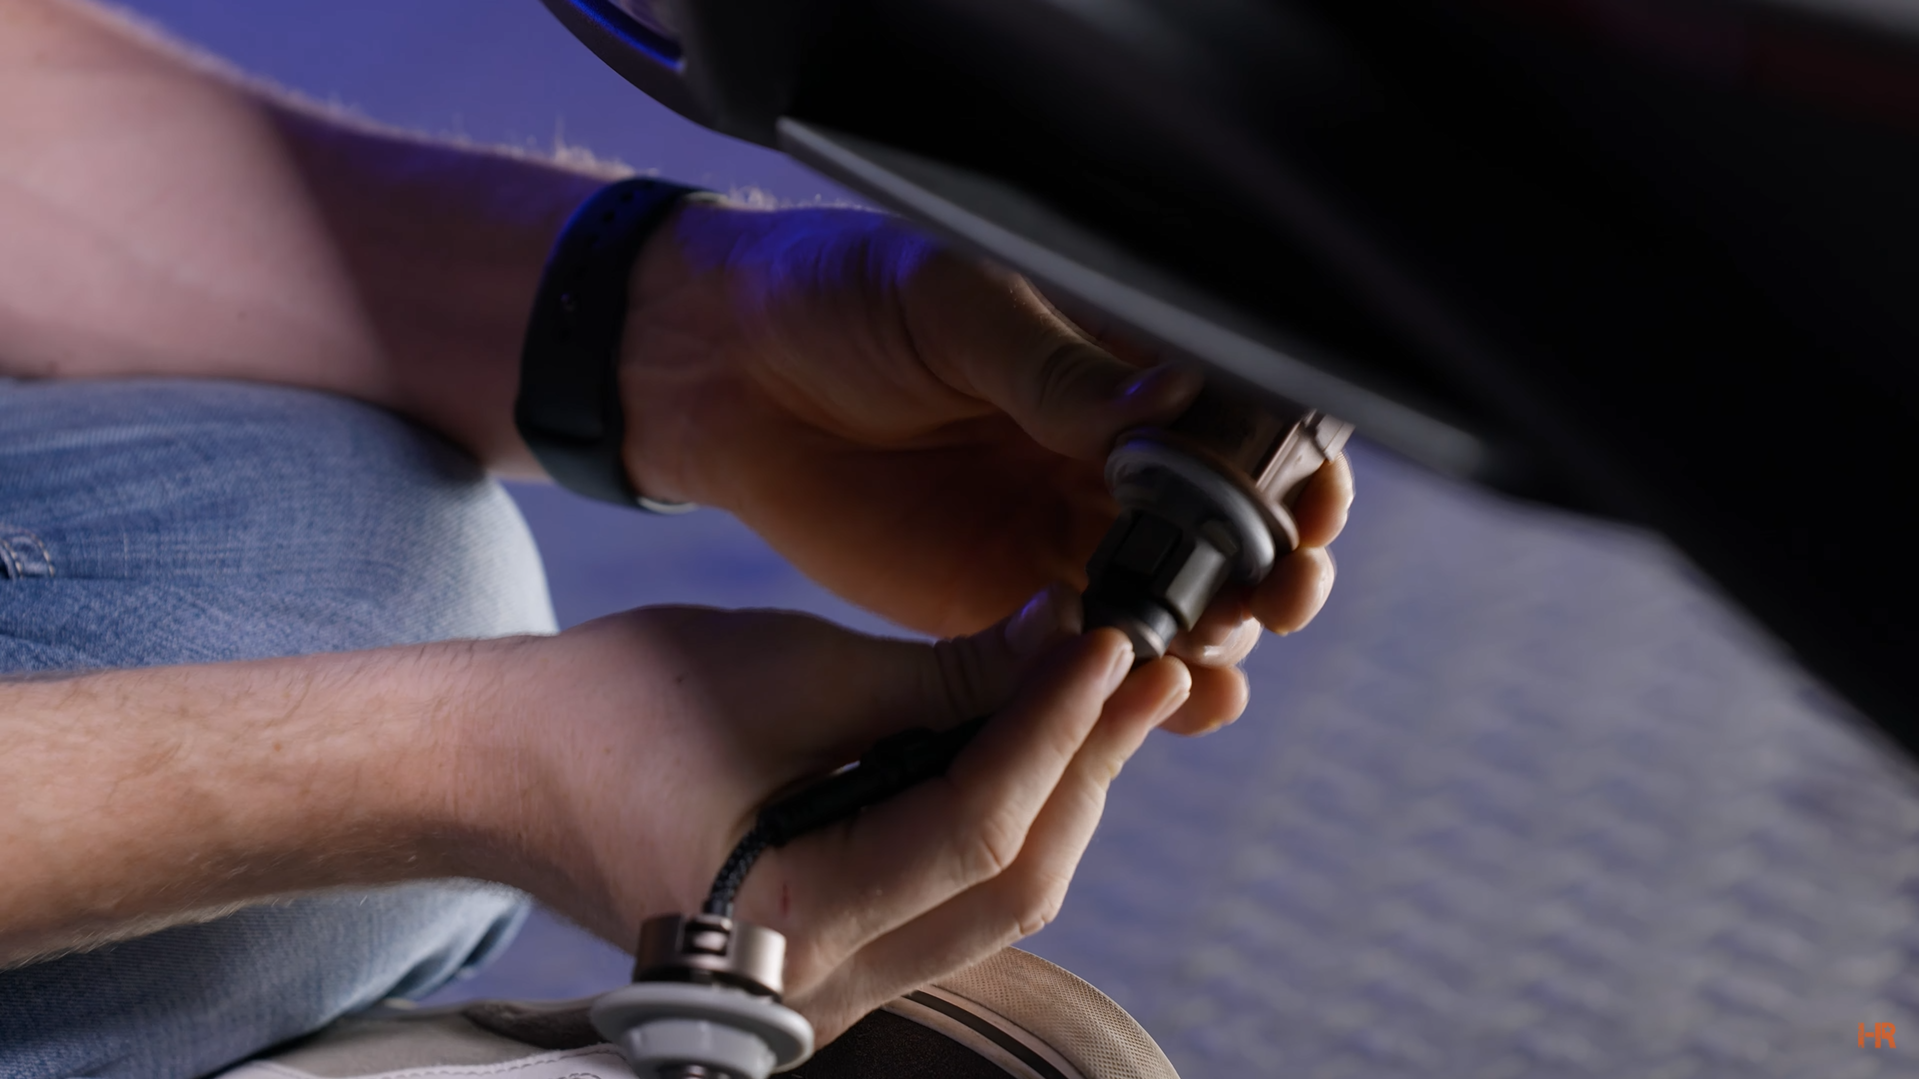
To install on your Mustang, you need to reach around under the Mustang’s diffuser and remove it from the housing. Use a set of pliers to remove the existing bulb and plug in your GTR Lighting LED reverse light. Then to put the new light in, twist and push the bulb in so that the rubber grommet fits into the housing.
 |
 |
-
License Plate Lights
The OEM license plates lights are pretty low-powered. If you are looking to give a bit more street presence to your car or want your vanity plate to stand out, this is a good way to go.
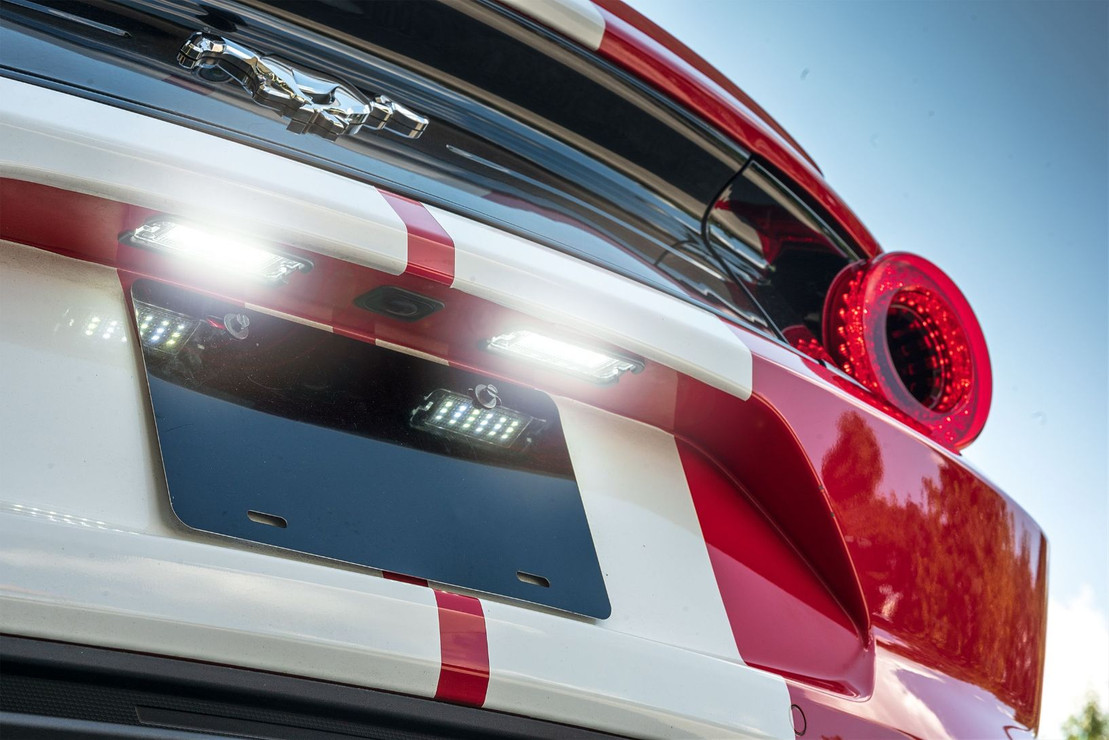
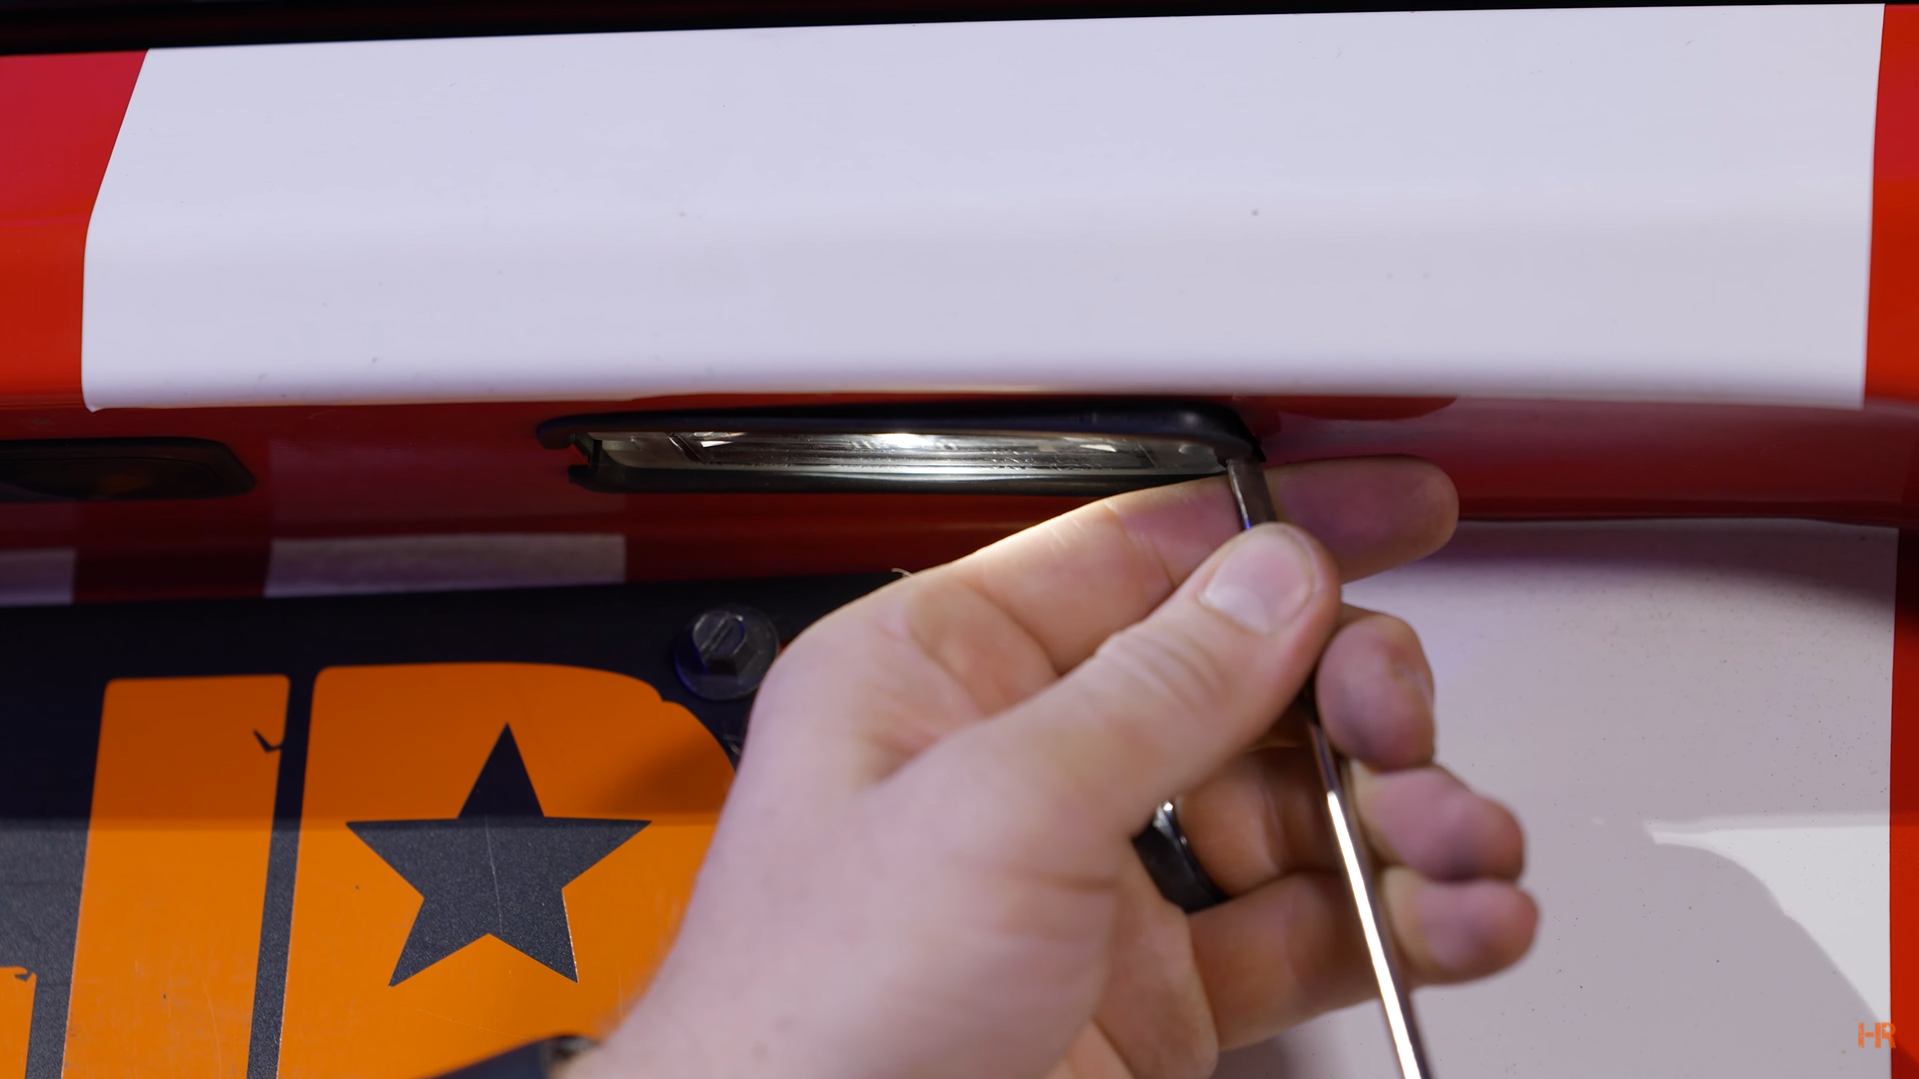
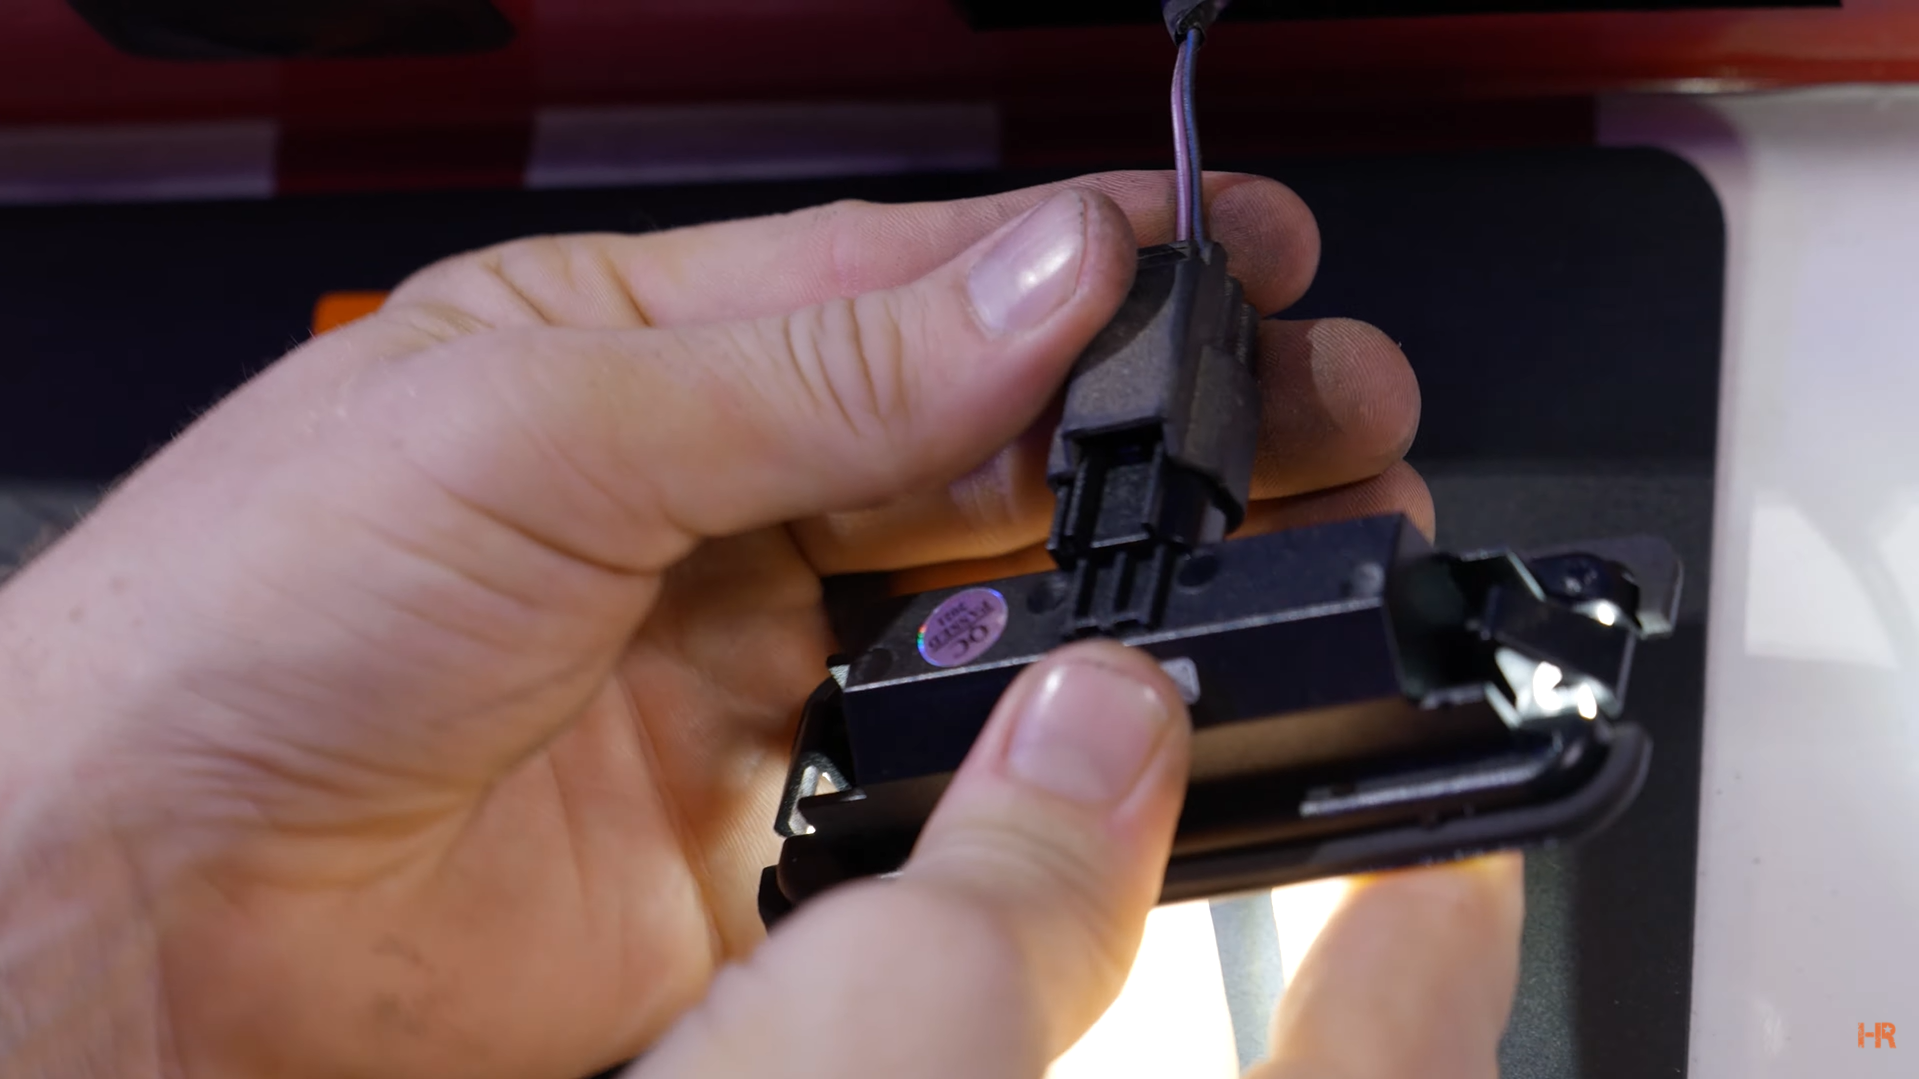
We have selected the Morimoto LED License plate lights to replace the already LED lights that are in the car. To do so, all you need is a flathead screwdriver, to gently pry the OEM housing out of its position. Then, unplug it and swap in your Morimoto set.
 |
 |
.png?width=1919&name=Screenshot_21%20(2).png) |
.png?width=1919&name=Screenshot_22%20(2).png) |
-
Map Lights
This light is probably the easiest to upgrade but the hardest to choose. We have tested a ton of LED lights out there and there are two really good options. First, you have the GTR Lighting 10-Chip CANBUS LED White light. These are very bright and do a great job of illuminating the interior of your car.
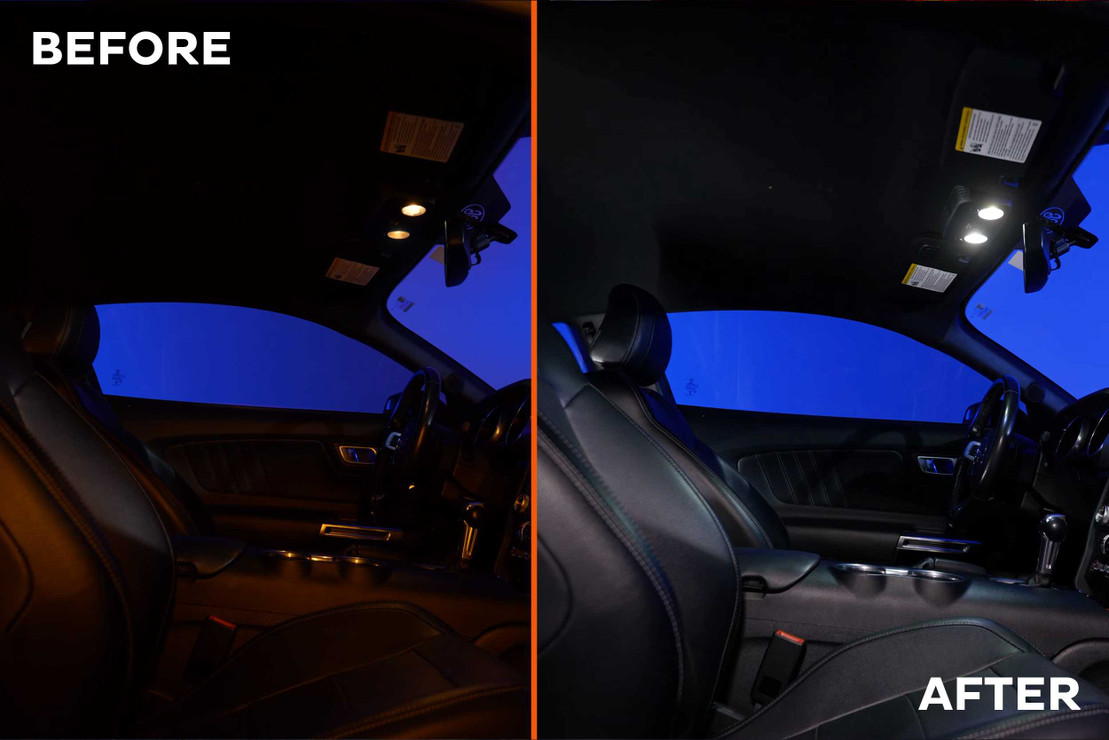
If you want something not as bright, you can get a 6-chip version in white. Or, if you want to set the mood in your car, you can buy them in a red or amber-chipped version.
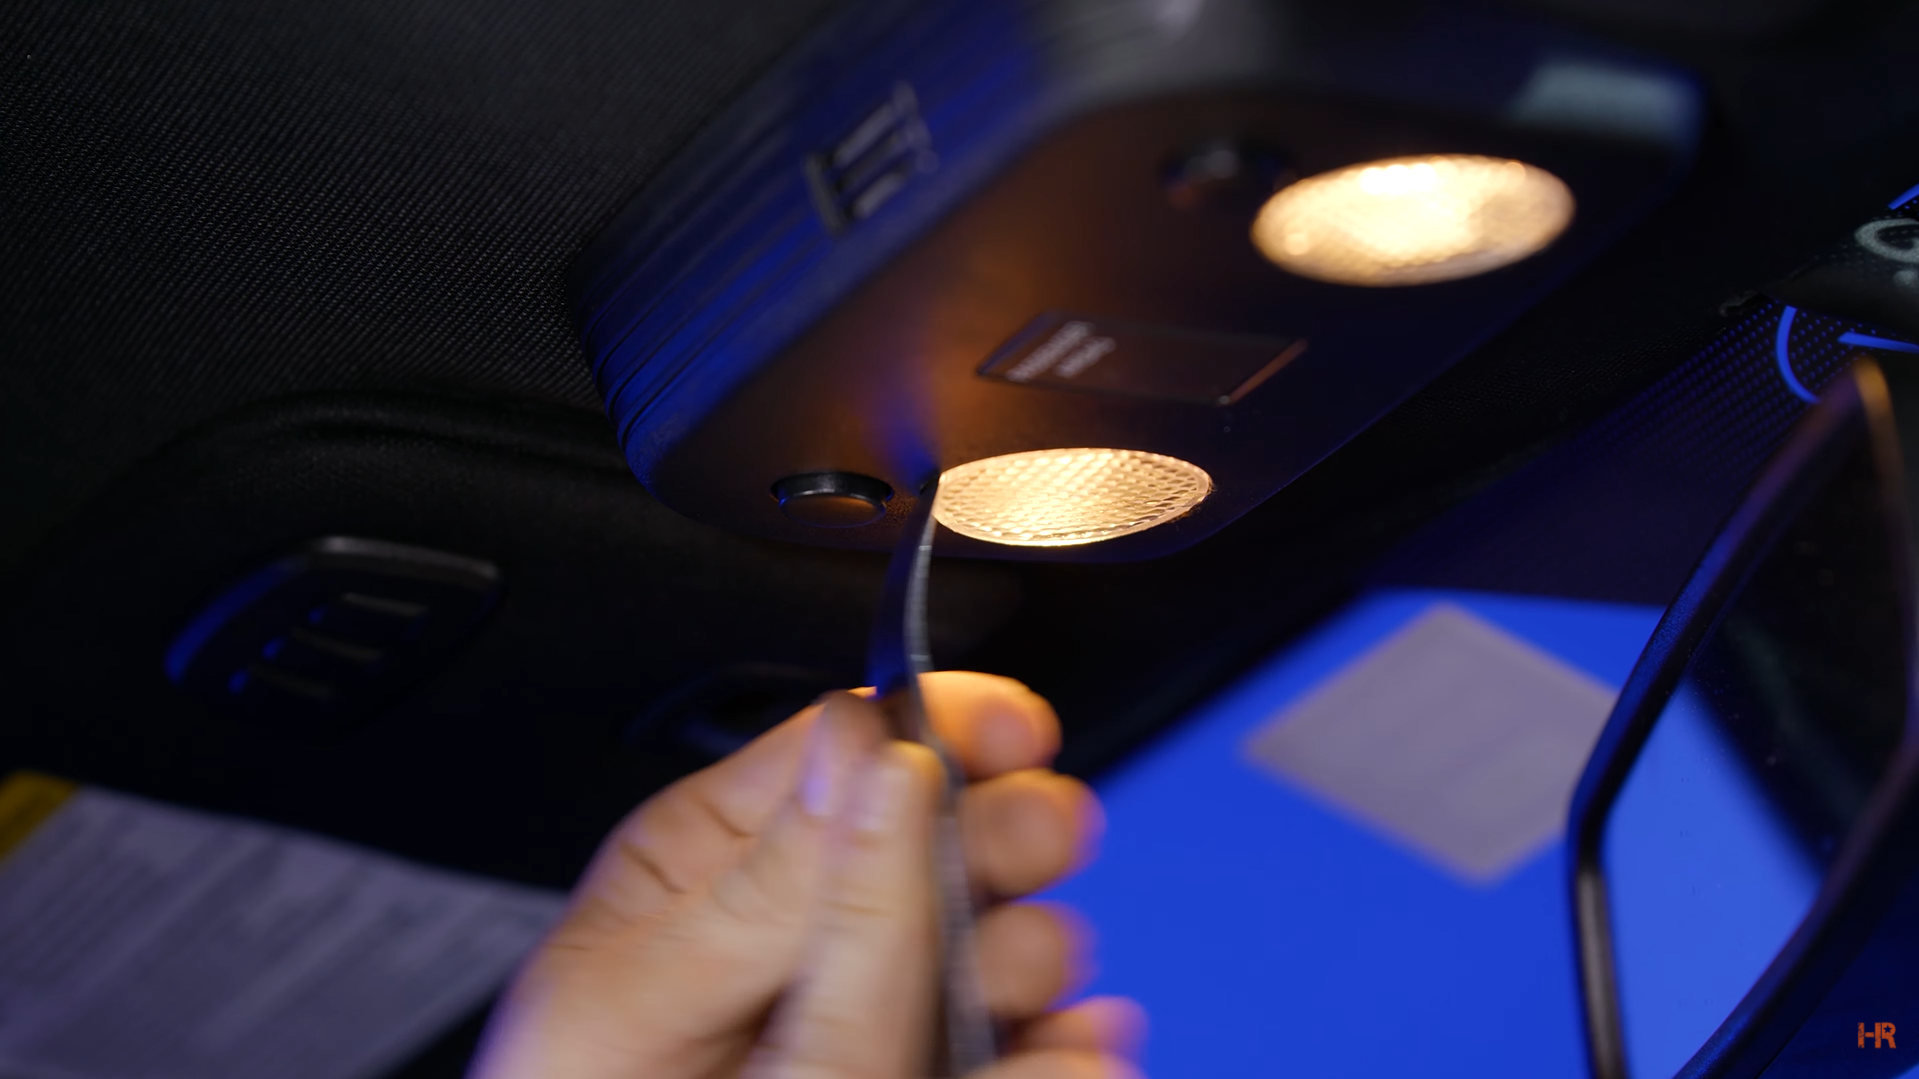
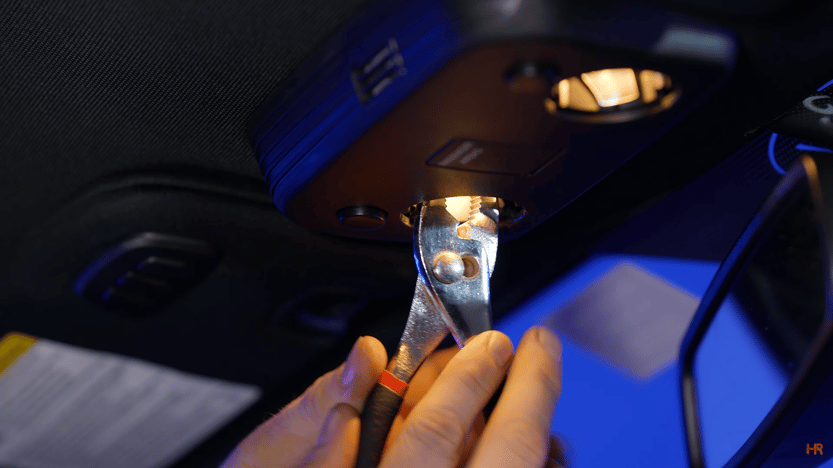
Regardless of which you choose, take a pry tool and remove the plastic lens covering the map light bulbs. Then, take a set of needle-nose pliers to remove the existing bulbs. These get very hot so the pliers are a must!
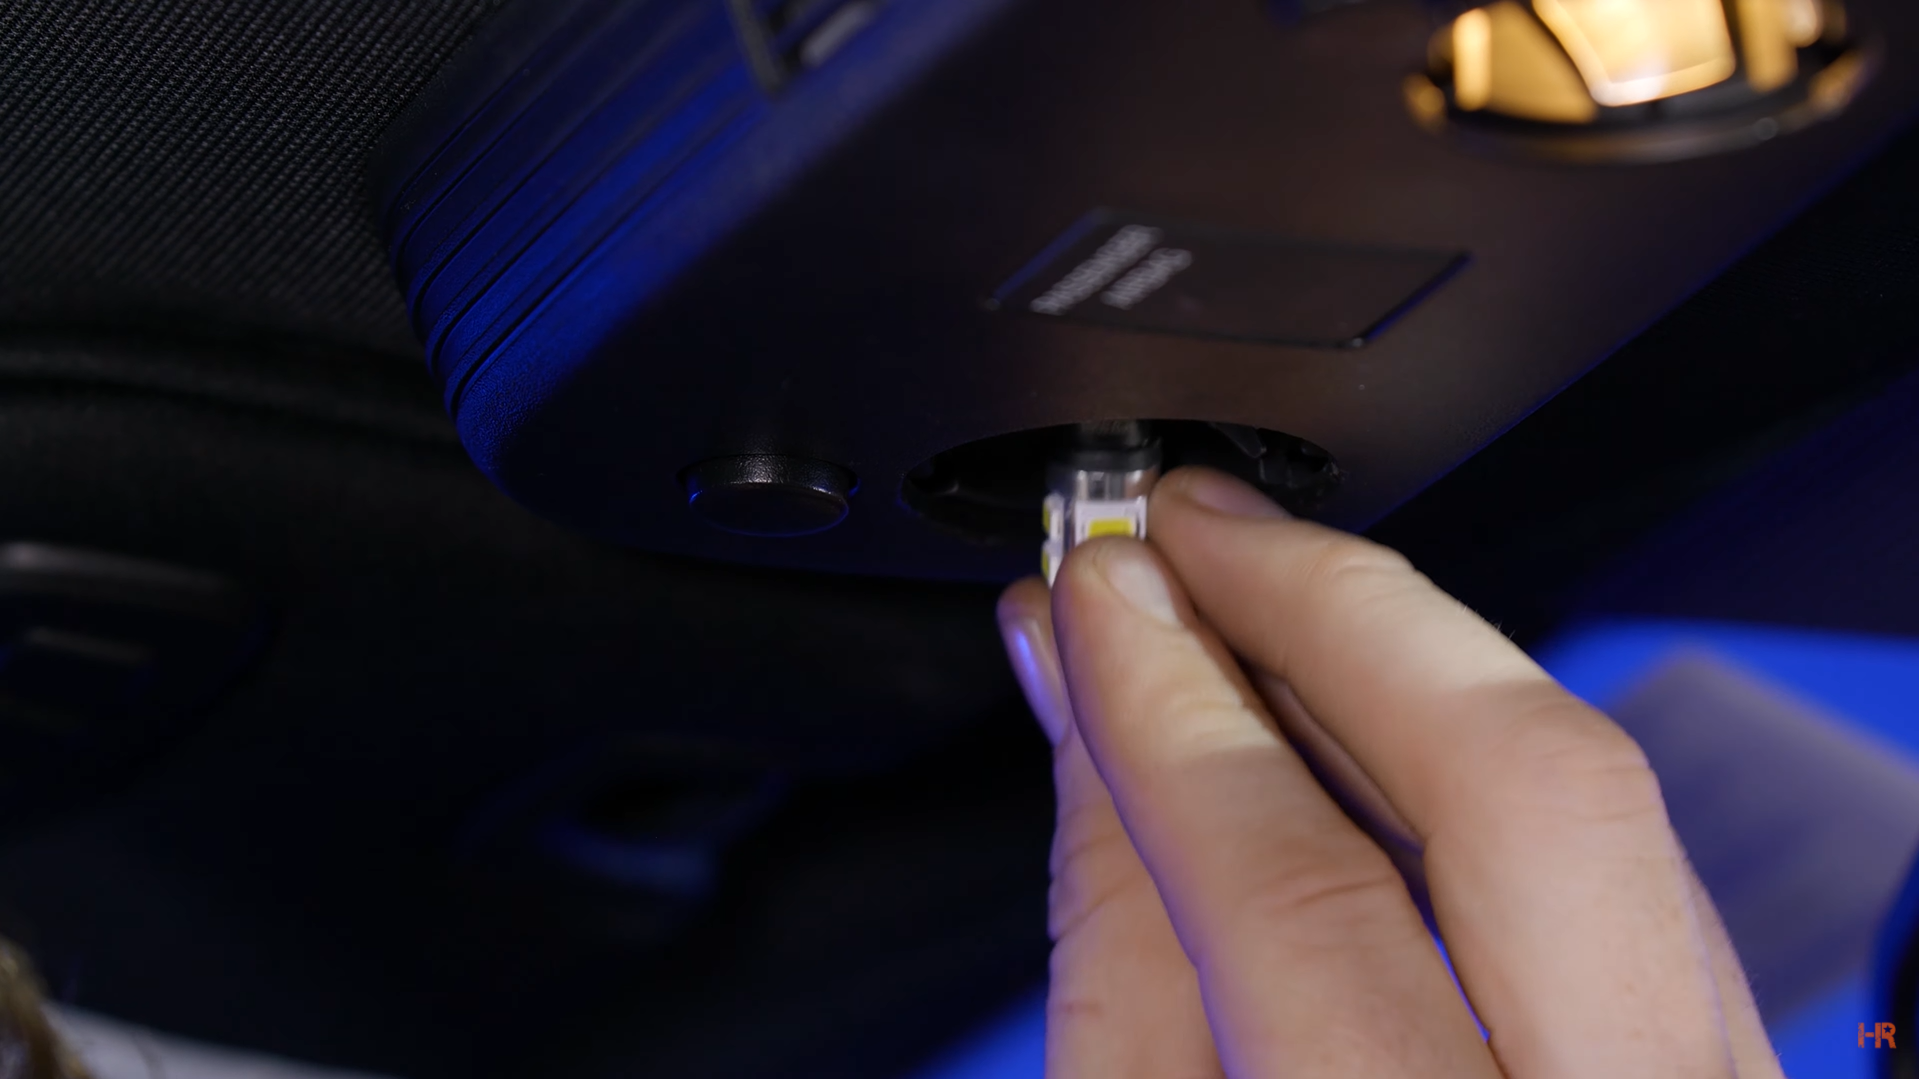
Then, all you need to do is plug in your new LED lights and put the plastic covers back in.
 |
 |
And that about does it. If you are more of a visual learner or would like to see these lights in action. Check out our video below covering all the bulbs we discussed and the installation process step-by-step. While you are there, do not forget to like and subscribe to our channel for the latest lighting upgrades for your vehicle.
Have any questions about any products we mentioned? Contact us today, and our customer support team will be happy to help.
