How to Install H4 / 9003 LED Bulbs
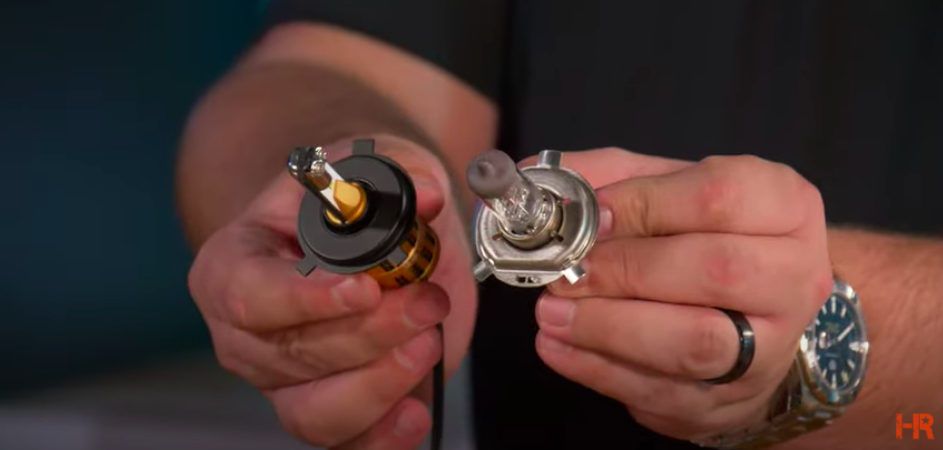
The H4 halogen headlight bulb is extremely common on both cars and trucks. Here I have a Honda Civic headlight and on the backside there's a spring clip that holds an H4 halogen bulb in place. Also, here's a Toyota Tundra truck headlight with the same H4 bulb with a dust cover and a spring clip.
DISCLAIMER: In the United States, lamps, reflective devices, and associated equipment are regulated by the US Department of Transportation (DOT). Even though these types of LED lights can be used in place of an original halogen light bulb, it is not legal to use on vehicles registered for on-street use. This type of modification can only be done when used in a fog lamp application, dedicated off-road application, or in jurisdiction outside the USA where this is allowed. For more information on how to determine if this type of product is safe to use, and legal to use on public roadways in the USA, Click Here for a more detailed breakdown of compliance.
Check out our bulb selection here.
It doesn't matter what kind of LED headlight bulb you've purchased or are trying to install, the install's pretty much the same across the board. You have matching mounting collars, you see the three tabs around the collar, they're going to be the same on the halogen bulb and the LED. Do you see the little shield in the front of the bulb? Your halogen bulb also has that same kind of shield. And then the wiring for the new LED bulb is going to be the same as the wiring connection on your halogen bulb.
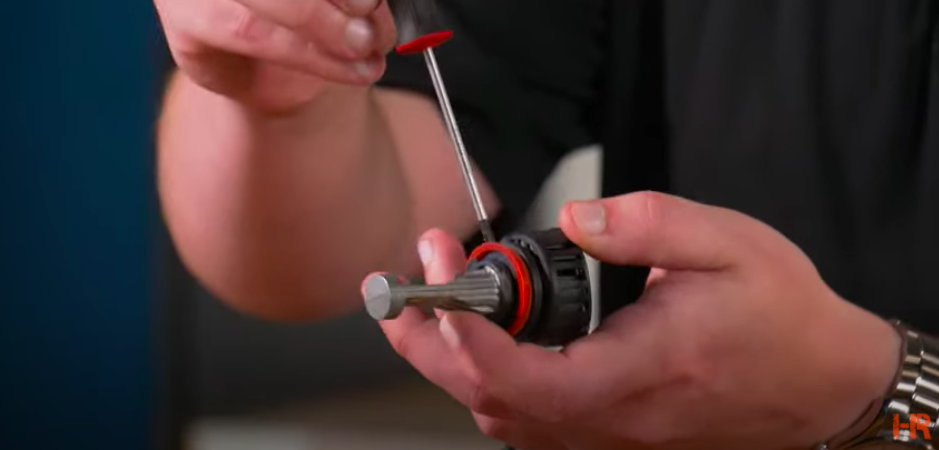
To demo the install, we're going to use the H4 LED headlight bulb from GTR Lighting. The install is pretty much the same with how the collar mounts and how everything goes together. If you tried to put the bulb in just like your original halogen bulb came out, it'll actually mount in place, but the heat sink's going to be too big and the spring clip can't go around. So, these bulbs are designed that the collar pops off. You put the collar in first, just like the mounting on the original halogen bulb, then the spring clip goes on, and now your bulb can slide in place. Now, it's all wide open so you can't forget to install the dust cover. The dust cover should be able to go right back on how it came off and get sandwiched between the mounting collar and your bulb. Line everything up, insert and twist until it's in place.
Generally speaking, all the different LED headlight bulbs are going to install the same way, but there's a few variations. The Morimoto 2 Stroke doesn't have to be separated because of the fan and the heat sink is so small it can install just like the original H4 bulb.
The SV4 installs the same way as the GTR Lighting bulb. Simply pull off the mountain collar, install that first, and then put the bulb back in the Xenon Depot Extreme LED H4 twists and the collar pops off. This is a bulb that I don't really know where it came from, but it works the same way and here's another example. As you can see, it doesn't really matter what type of H4 bulb you have, they all operate roughly the same way.
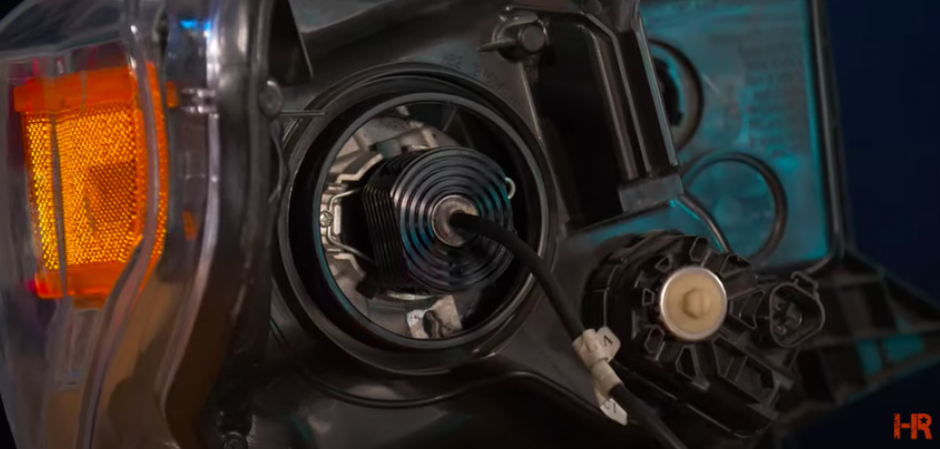
Now, once you have your bulb secured into the housing, you have to make sure that it's aligned correctly. The original halogen light bulb has a shield over one of the filaments, and when it's installed, this center tab is facing up and this shield is open facing up. So, when you install your bulbs, it should work the same way. Your center tab is facing up, your shield is up and the LEDs are pointing horizontal left and right. If you have the bulbs crooked, you're going to get a weird beam pattern. If you have it mounted upside down, you're going to get a really bad beam pattern. So, you have to make sure that when you have the bulb installed, it looks something like this.
If you have any other questions about installing your LED headlight bulbs, reach out to us, we'll be happy to help because at Headlight Revolution, we do lighting better.