How To: Install Flush Mount Pod Lights in Your Bumper
You are out on the trails headed toward home one evening when you realize you can’t see the edges of the road in front of you. This becomes a problem as you need to see where you are going, especially on a rough road when the sun is going down. But what if you don’t take your truck off-road, and still want to achieve better lighting when the sun disappears from the sky? We have a very common solution to that problem.
Nowadays, it’s easy enough to achieve a custom install for pod lights in your bumper. The best part is that this installation can easily be done in the comfort of your own driveway. Today, we will walk you through the steps you’ll need to follow to achieve the cleanest custom install using the Morimoto 4Banger Flush Mount kit.
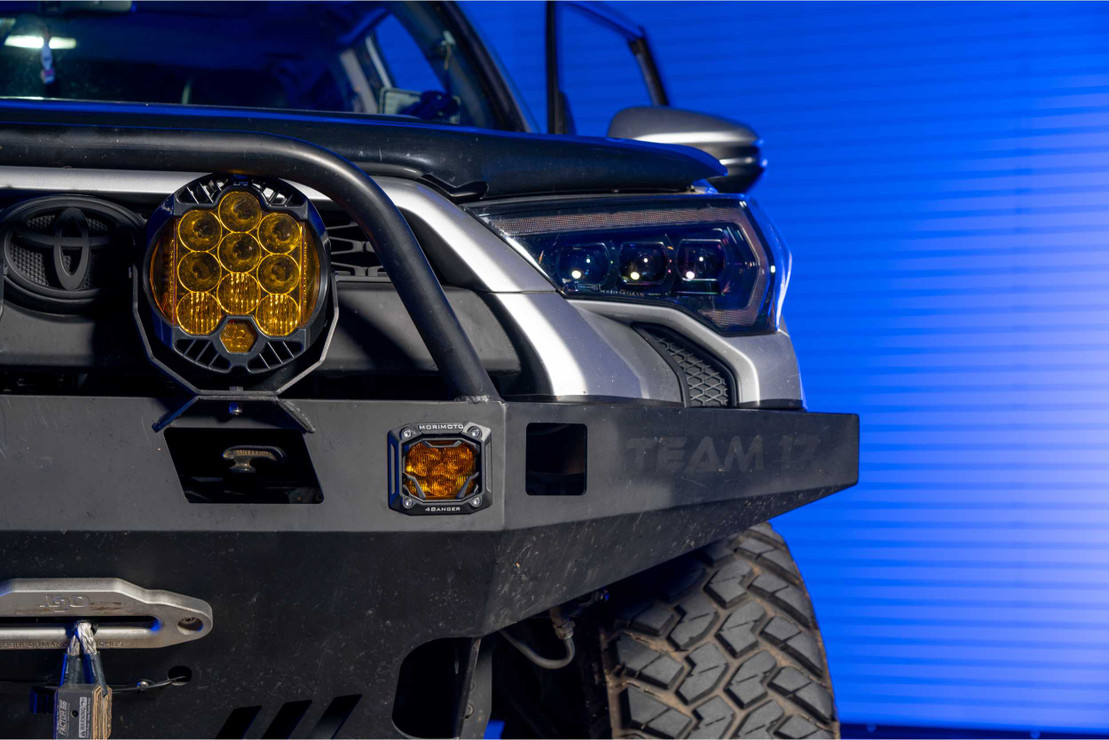
Over the past few years, LED pod lights have become one of the most popular choices for auxiliary lighting, easily replacing the old halogen pods you find on the market. The pod light market has expanded from off-road lighting to other enthusiasts such as tow trucks, big rig drivers, and even safety patrol vehicles. You might be wondering what the advantages of having a pod installed into your bumper might be and the helpfulness of this application can depend on what you use the truck for overall.
If you are a driver that is pushing to have additional driving visibility in inclement weather, a bumper pod light might be perfect for you. A bumper pod light can include both forward and reverse lighting. If you are a driver pushing for upgraded lighting for your off-roading adventures, you are probably already familiar with LED pod lights. Off-road vehicles are more likely to deal with low lighting compared to street vehicles and can benefit massively by adding additional auxiliary lighting.
.jpg?width=1109&name=89779.230%20(1).jpg)
There are many benefits to using LED pod lights on your vehicle:
- LEDs draw fewer currents, about 90% greater efficiency than halogen pod lights.
- Bright, focused, and intense illumination.
- LEDs are more reliable due to high vibration resistance. This can be a key benefit for off-road vehicles.
- Options to use multiple beam patterns and colors.
How To Install Flush Mount Pod Lights
Included in Morimoto 4Banger Flush Mount Kit:
- 2x Mounting Brackets
- 2x Paper Templates
- 2x Front Bezels
- 2x Adjuster Brackets
- 2x Adjuster Threading Clips
- 2x Adjuster Springs
- 2x M5 x 25mm SS Cap Head Screws
- 8x M4 x 22mm SS Flat Head Screws
- 4x M3 x 20mm SS Pan Head Screws
Tools Needed:
- Drill
- Drill Bits (1/4” and 1/2”)
- Metal Punch
- 4MM Allen Key
- Torx Key (T10 and T20)
- Tape Measurer
- Paint Pen (to outline for cutting)
- Safety Glasses
- Duct Tape/Painters Tape
- Dremel
- (Optional) Silicone/RTV/Superglue
Note: Additional tools may be needed depending on the application
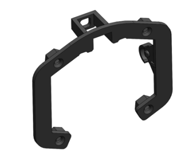
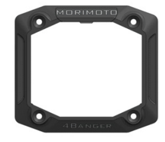
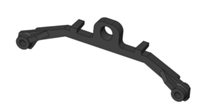
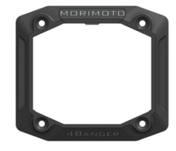
| Mounting Bracket | Front Bezel | Adjuster Bracket |
 |
 |
|
Using The Mounting Template
Take the included Morimoto template and place that on the desired install location, this can include bumpers, roof racks, truck boxes, and other flat surfaces. Ideally, you want this location to be as flat as possible for the installation.
Note: We will use a small panel in these instructions for demonstration purposes.
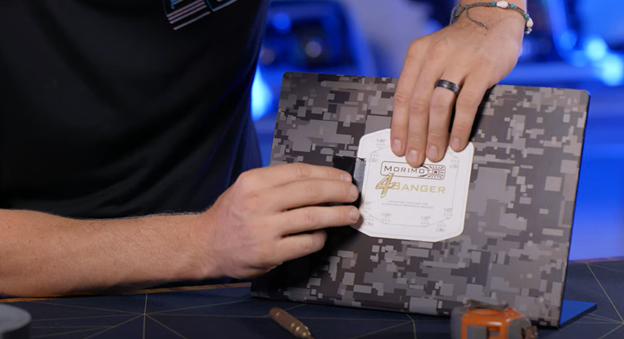
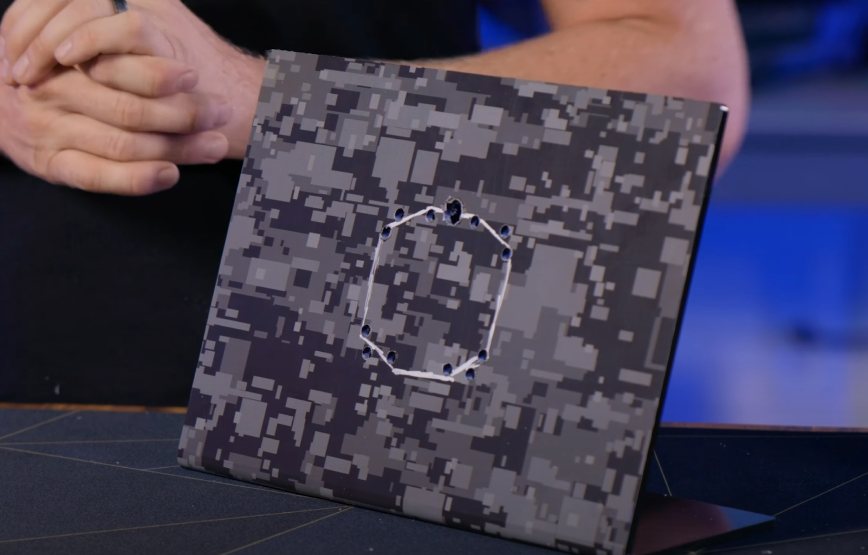
Once you have found the location you want to install the pods, secure the paper template with tape.
If you are installing pods into both sides of the bumper, make sure to accurately measure the height and distance of each pod before securing it with tape.
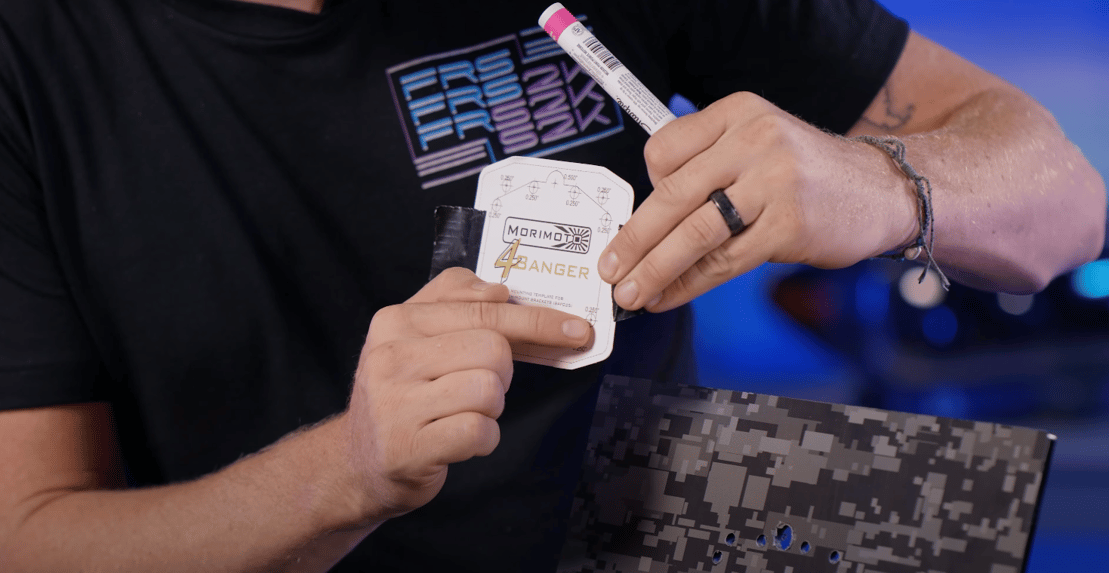
Take your metal punch and locate the 13 pinholes on the template.
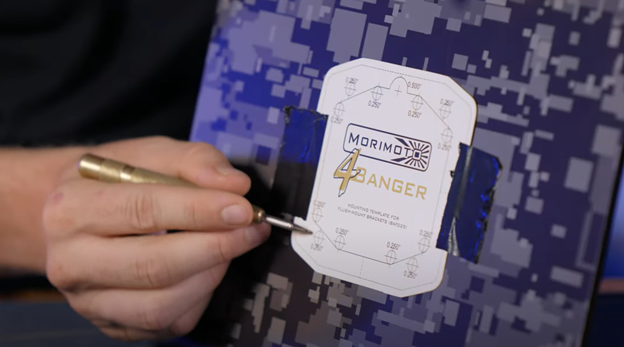
Once the holes have been located, make sure to punch through each hole on the center point indicated by the template. You can use a hammer if more force is needed.
Repeat this process on the other side.
Drilling The Holes
Next, grab the drill and attach the ¼” bit. Drill all 13 holes with this bit.
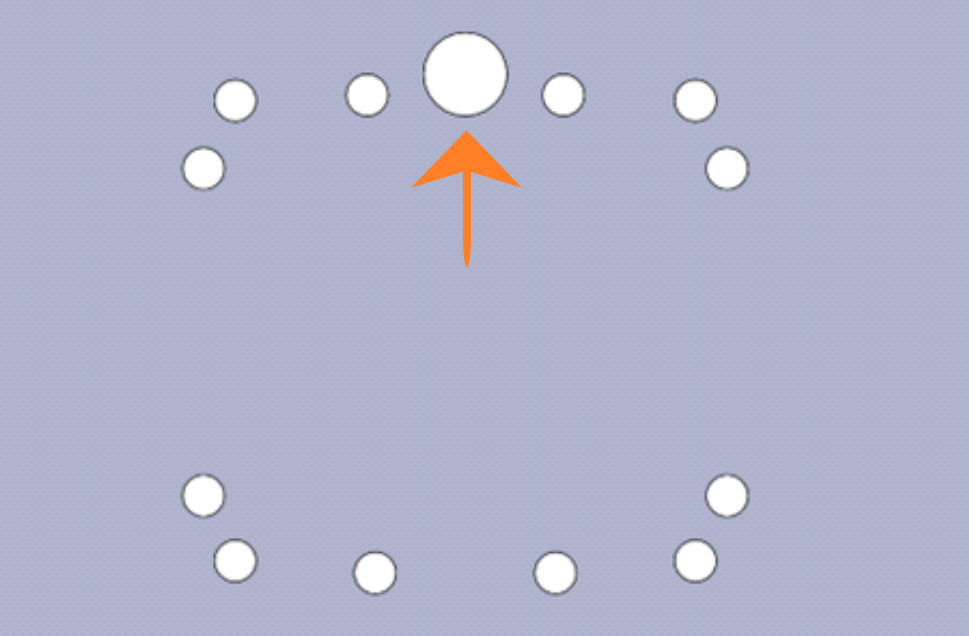
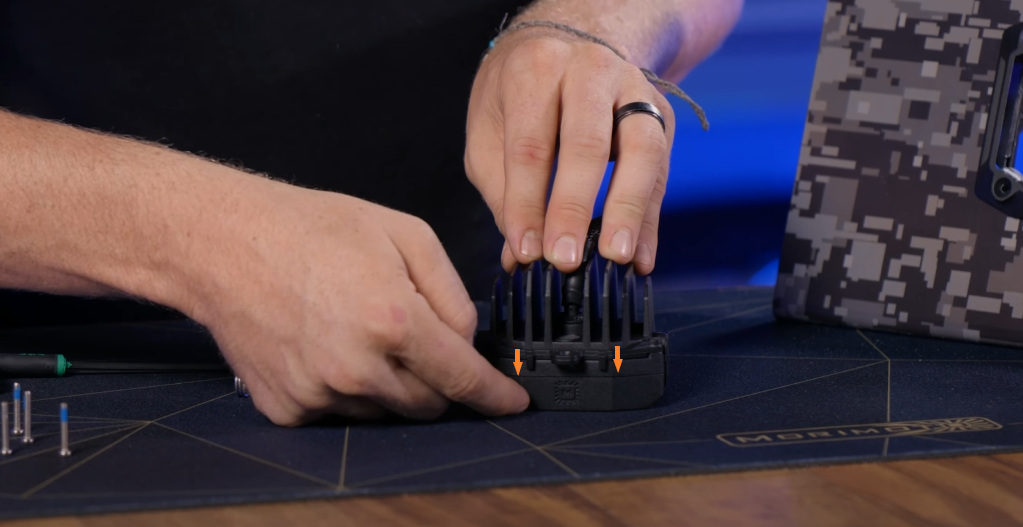
Replace the bit on the drill for the ½” size drill bit. In the TOP MIDDLE hole, re-drill to the ½” size. The TOP MIDDLE hole is the only one that will need to be drilled to a larger size during this installation.
Note: The TOP MIDDLE hole has been indicated by the orange arrow.
Grab the paint pen and connect the dots on the outside of the drill holes you just made.
Note: You can use the template as a reference for these lines
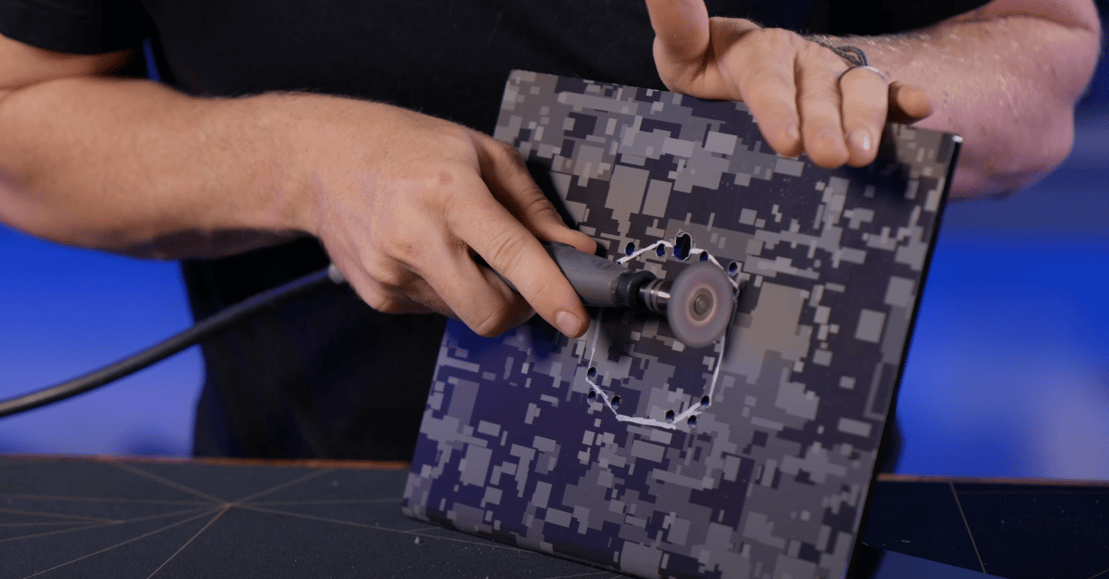
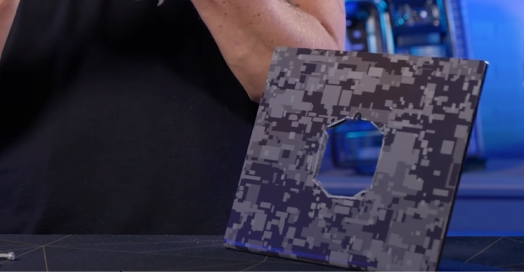
Cutting With a Dremel
Now it is time to cut! Put on your safety protective glasses. Carefully, take your dremel and cut along the outline that you just made with the paint pen.
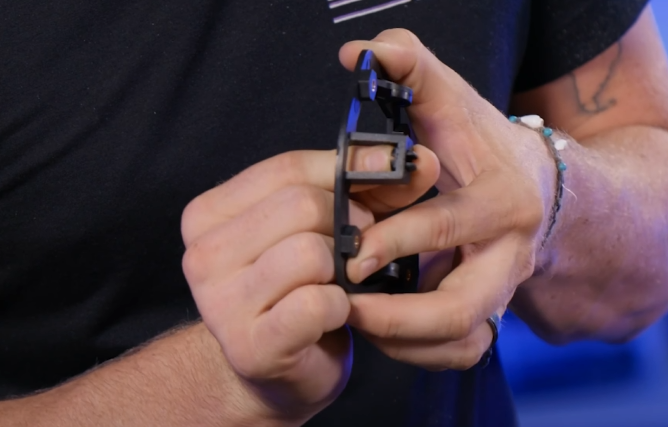
Building Flush Mount Brackets
First, find the part of the bracket we need to work with. This bracket piece is going to resemble a horseshoe shape and is referred to as the Mounting Bracket. See bracket reference guide HERE.
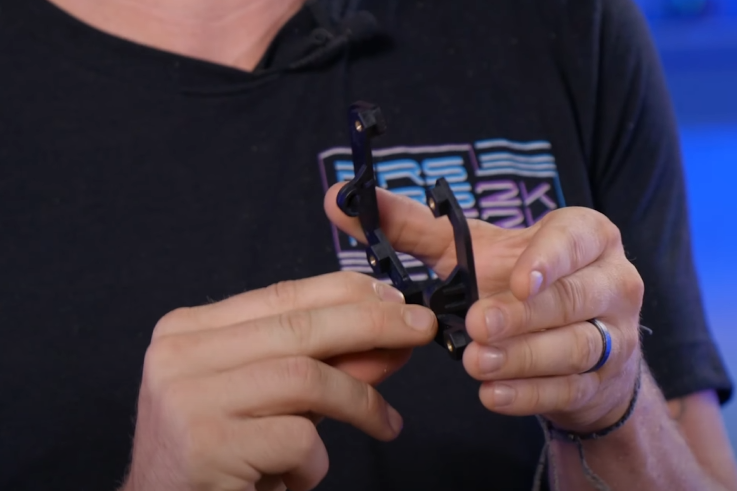
Next, you’ll need to identify the adjustment piece, as referred to as the Adjuster Threading Clips. It is going to be a small, black piece of plastic.
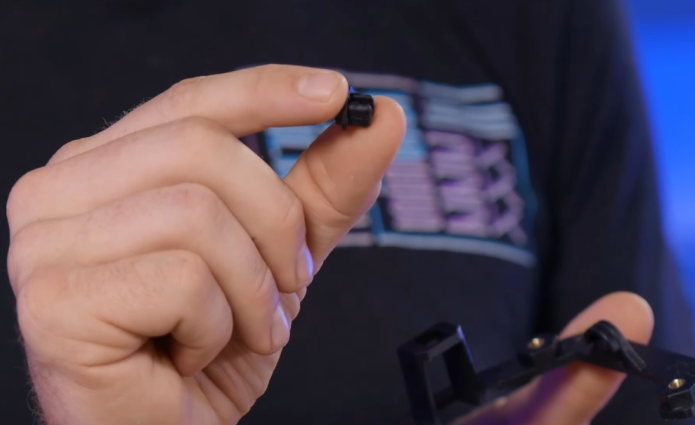
You are going to install the adjustment threading clips on the top of the mounting bracket. On the mounting bracket, there is a tab that sticks out on the back. In the middle of this tab is going to be the hole we install the adjustment threading clip into. Once aligned with the hole, just give it a push to secure it in place.
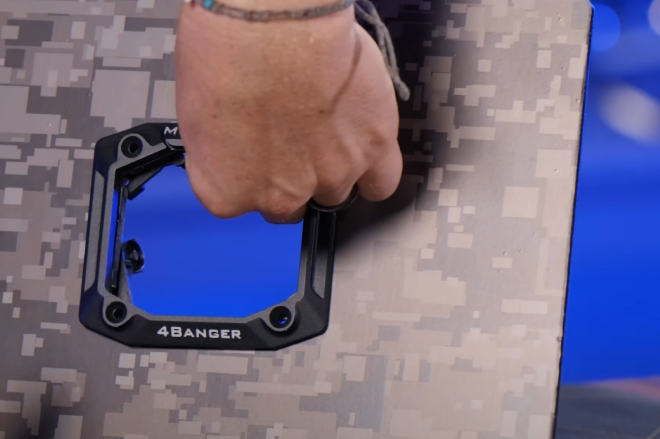
Installing Brackets
This pod light kit can be installed from either the front or rear of the bumper. If you do not have rear access, you can fully install this flush mount kit from the front. Hook the mounting bracket through the hole you have just made in the bumper and align the four mounting holes. Use your fingers to hold it tightly on the opposite side of the bumper. This is the “back” of the bracket. Now, find the faceplate of the flush mount kit, also referred to as the front bezel. See bracket reference guide HERE.
Take the front bezel and place it on the front of the pod light opening aligned with the mounting holes. With the mounting bracket in the back and the front bezel up-front, you should now be sandwiching the bumper with these bracket pieces.
With the two M4 x 22mm flat head screws included in the kit, install them in the top two bolt locations. You will use the T20 torx bit to install the flat head screws. Finger-tight the two bolts on the top of the bracket and you are ready to move on to the next step.
Installing Pod Lights
Using a work mat or towel, place the pod light face down on your working surface. We suggest a soft surface to prevent scratching the front of the pod light. Once placed down, remove the two screws at the top of the pod light using a T10 Torx bit.
Note: The Morimoto logo will be at the top of the 4Banger Pods.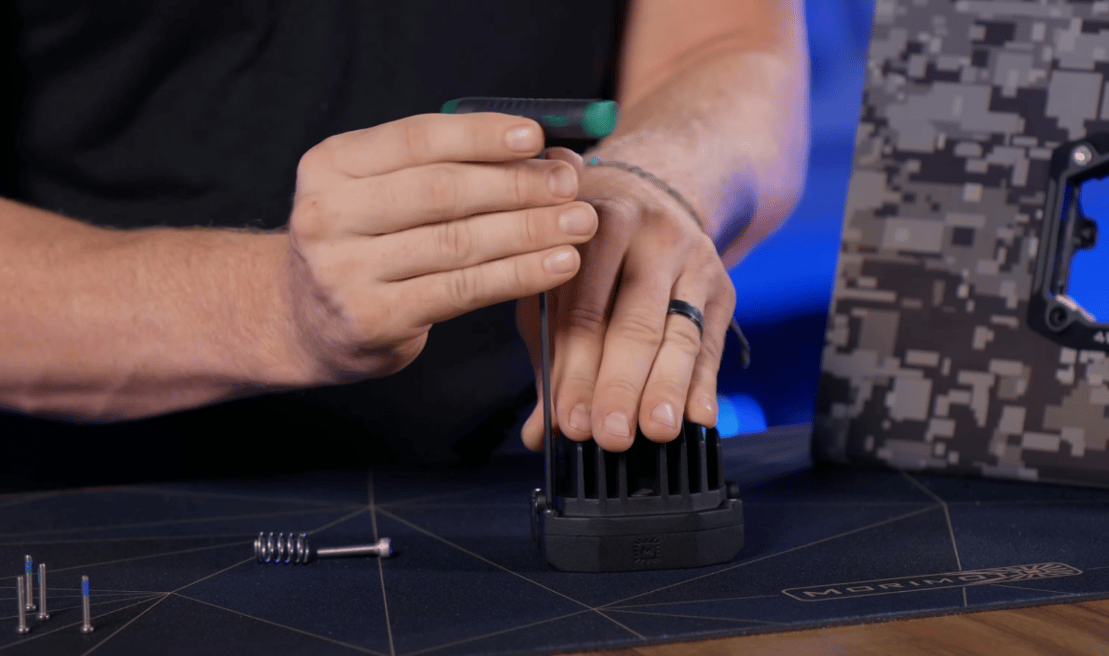
Once the bolts have been removed, locate the last piece of the bracket to assemble. This piece will look like a slightly curved bracket and is referred to as the adjuster bracket. See bracket reference guide HERE.
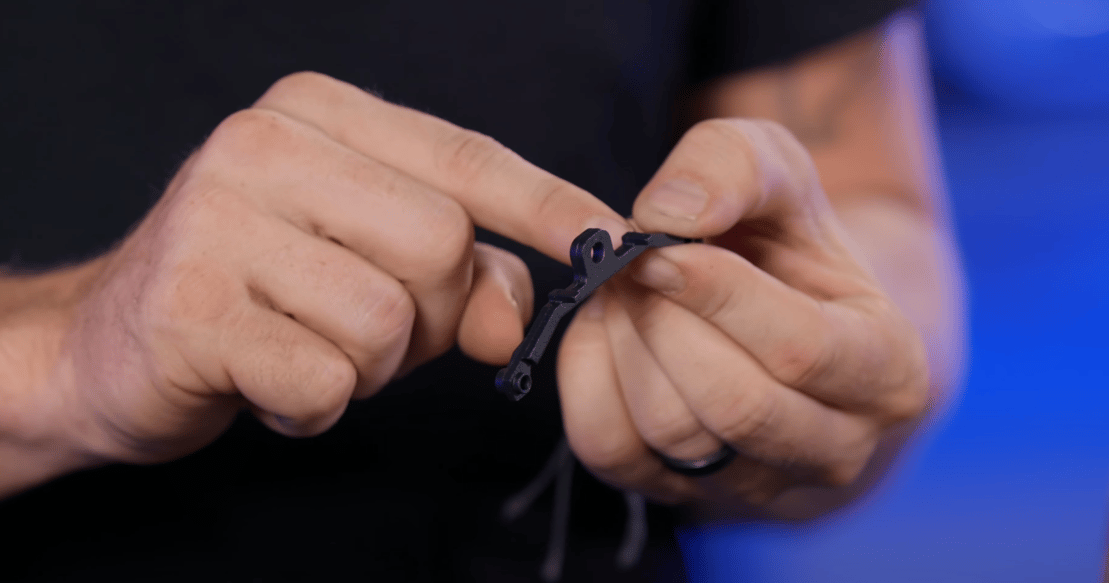
On this small bracket piece, note where the two tabs are hanging off the top. These tabs will be facing down on the pod light upon installation.
Use the two M3 x 20MM SS Pan Head Screws from the kit to install the bracket. You will NOT use the screws that have just been removed. The new screws included in the kit will be a bit longer to allow for install of the adjustment bracket. Make sure these screws are tight upon installation.
Take the M5 x 25mm adjuster screw and place it through the hole in the adjuster bracket. Locate the adjustment spring and slide that over the back of the adjustment screw. You can use a small amount of silicone, RTV, or super glue to hold the spring to the adjuster during installation. This is only meant to last until the adjuster screw is threaded.
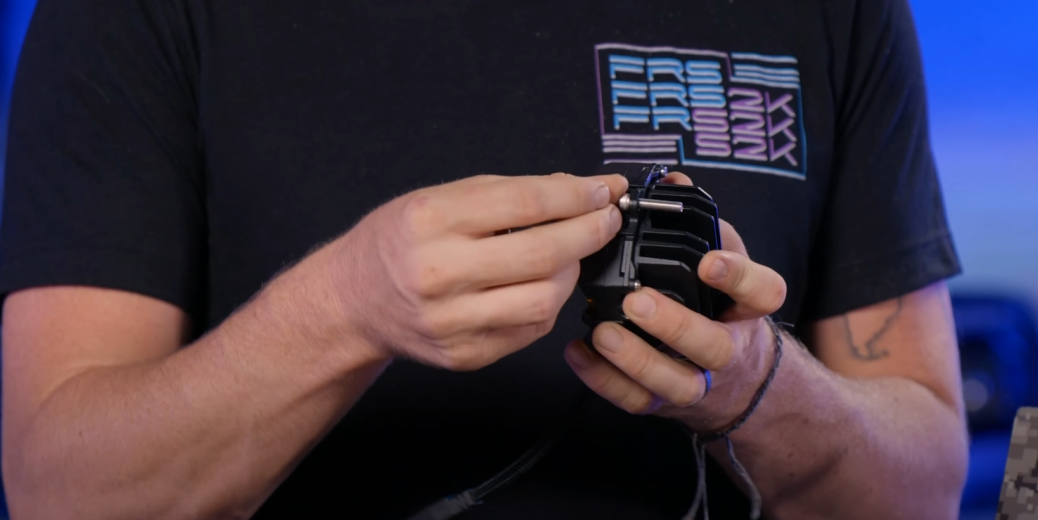
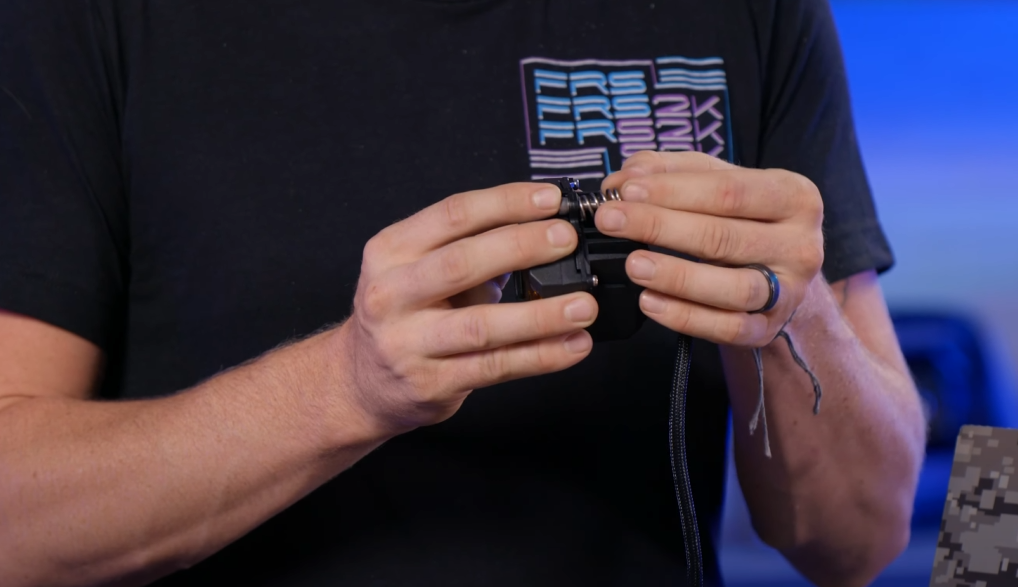
Lift up the Morimoto adjustment door on the front bezel to reveal the easy insert for the adjustment screw and spring. You can now begin to insert your new pod light into the flush mount brackets. Make sure that the adjustment screw is lined up with the adjuster threader clip. Once installed into the bracket, turn the adjuster screw 5 to 6 times but do not tighten it down.
With the two remaining screws, install them into the bottom of the flush mount bracket. Now is also the time to re-tighten the screws at the top of the bracket as well.
Once everything has been tightened down, you are good to go! The next step will be aiming for the pod light where you need it to be.
(Optional) Relay Harness Install
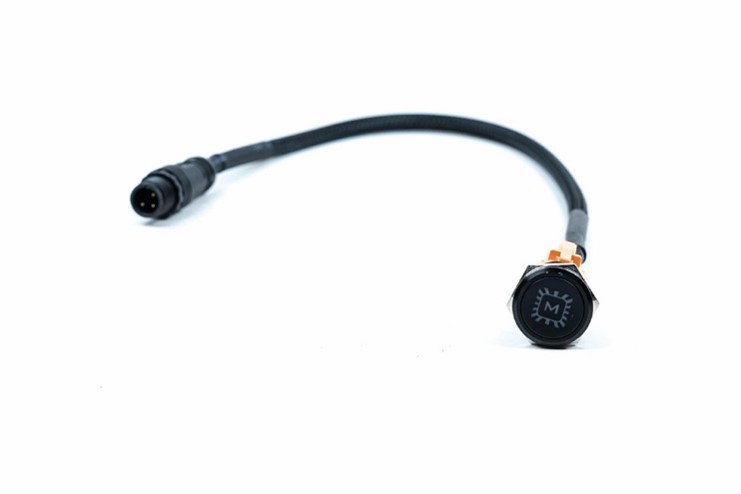
The connectors on the Morimoto 4Banger harness have been laid out in a logical way to power LED pods on each side of your vehicle. There are two Deutsch connectors on an extension harness, a positive and ground terminal, and a switch.
Locate the two extension harnesses. There is one harness for each pod light. Connect the harness to the back of the 4Banger pod light.
Locate the larger relay harness. Find label “Light 1”
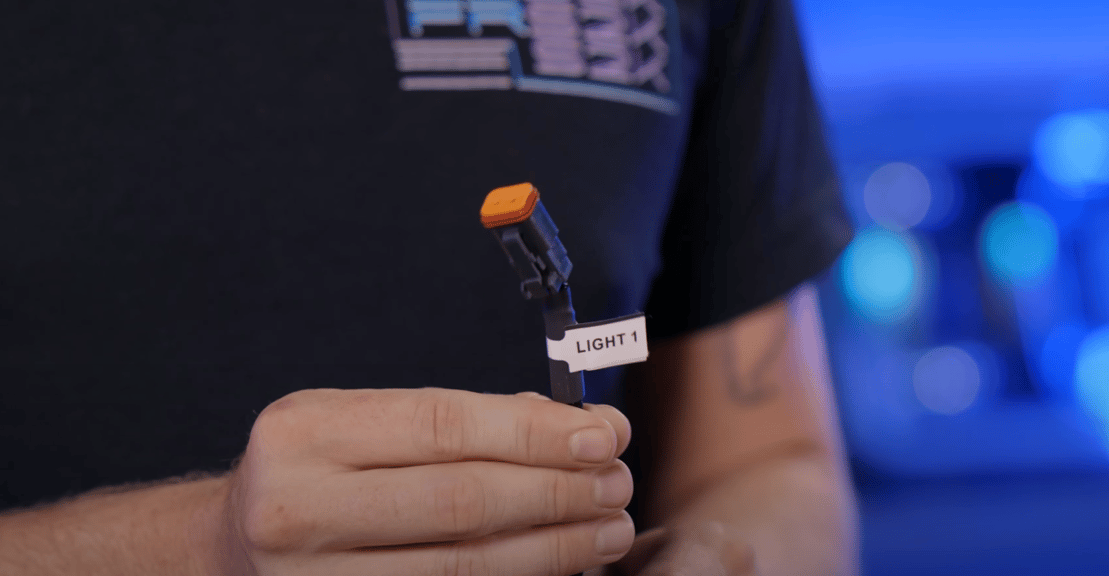
This is where the extension harness and relay harness will be connected together. Connect Light 1 and Light 2 connections to each harness extension.
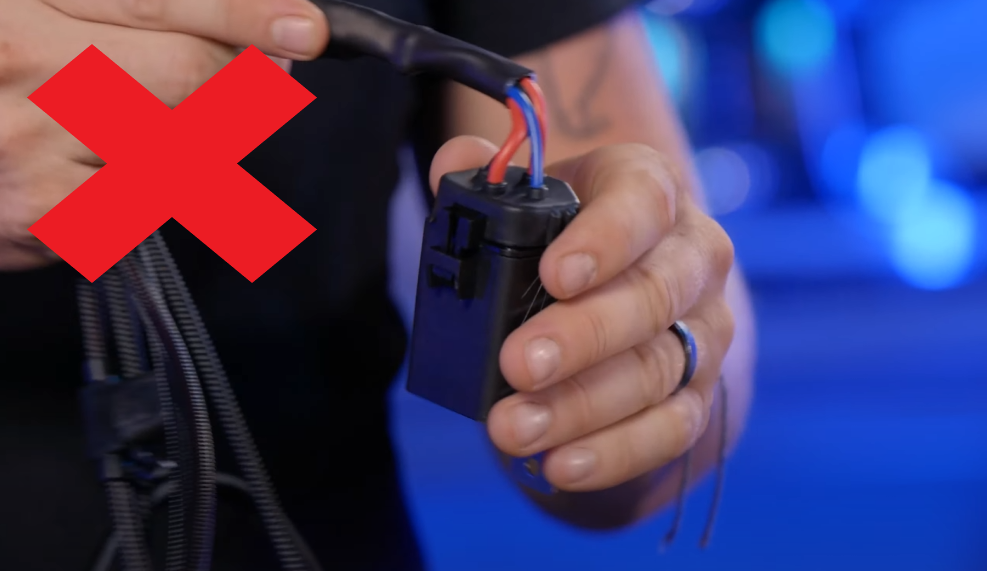
When mounting the relay harness box, make sure to keep the box straight up and down. Do not install the box upside down as this will allow for water to corrode the connectors.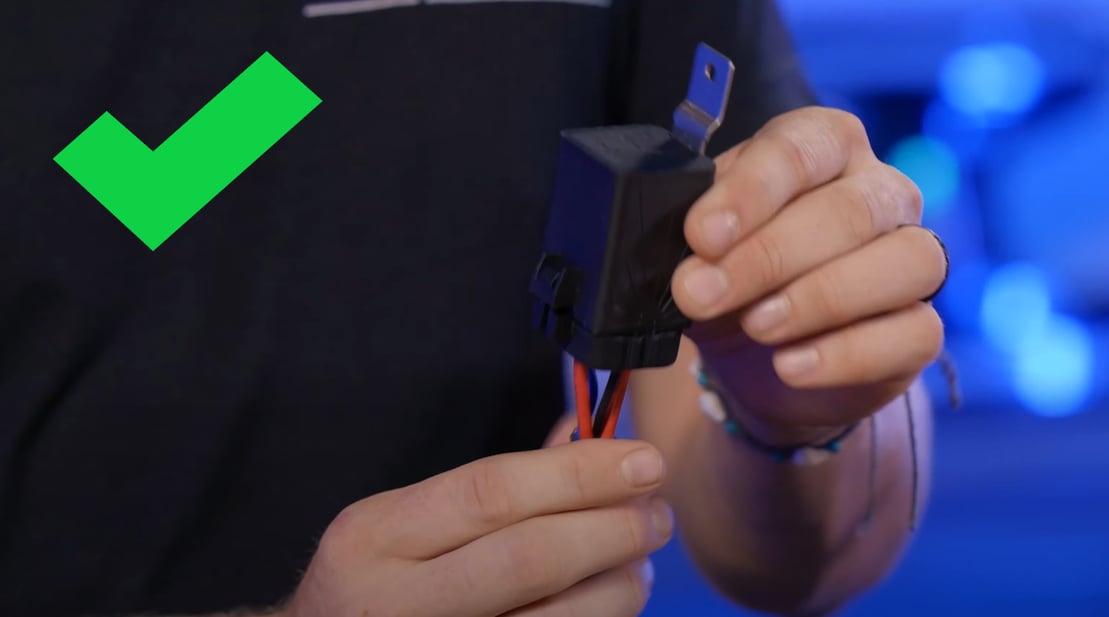
The Morimoto switch is one of the last parts to install. This switch can be mounted anywhere you want it. That can include in the cabin, in your dash, or other switch locations.
At the very end, install the negative and positive battery terminals. Make sure to test the lights after installation to make sure all is working properly.
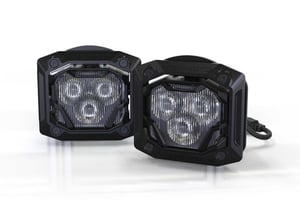
Morimoto 4Banger LED Pods Flush Mount Kit
$380.00

CONCLUSION
Not sure where to pick up the Morimoto 4Banger LED Pod Flush Mount kit? You can pick up your own here!
If you are more of a visual learner, be sure to check out our video on the 4Banger LED Pod Flush Mount kit installation. We take you step-by-step on how to install the flush mount kit. While you are there, make sure to like and subscribe to our channel for the latest lighting upgrades for your vehicle.
Have any questions about one of the products we mentioned? Contact us today, and our customer service team would be happy to help.