The BEST Ditch Lights for the 2003 - 2009 Toyota 4Runner
We love all kinds of builds here and no matter if your truck or SUV is a garage queen or a trail monster, you deserve the best off-road pod lights on the market today: the Morimoto 4Banger. With the 2003-2009 Toyota 4Runner, you can use the Morimoto vehicle-specific A-Pillar mount to light your way!
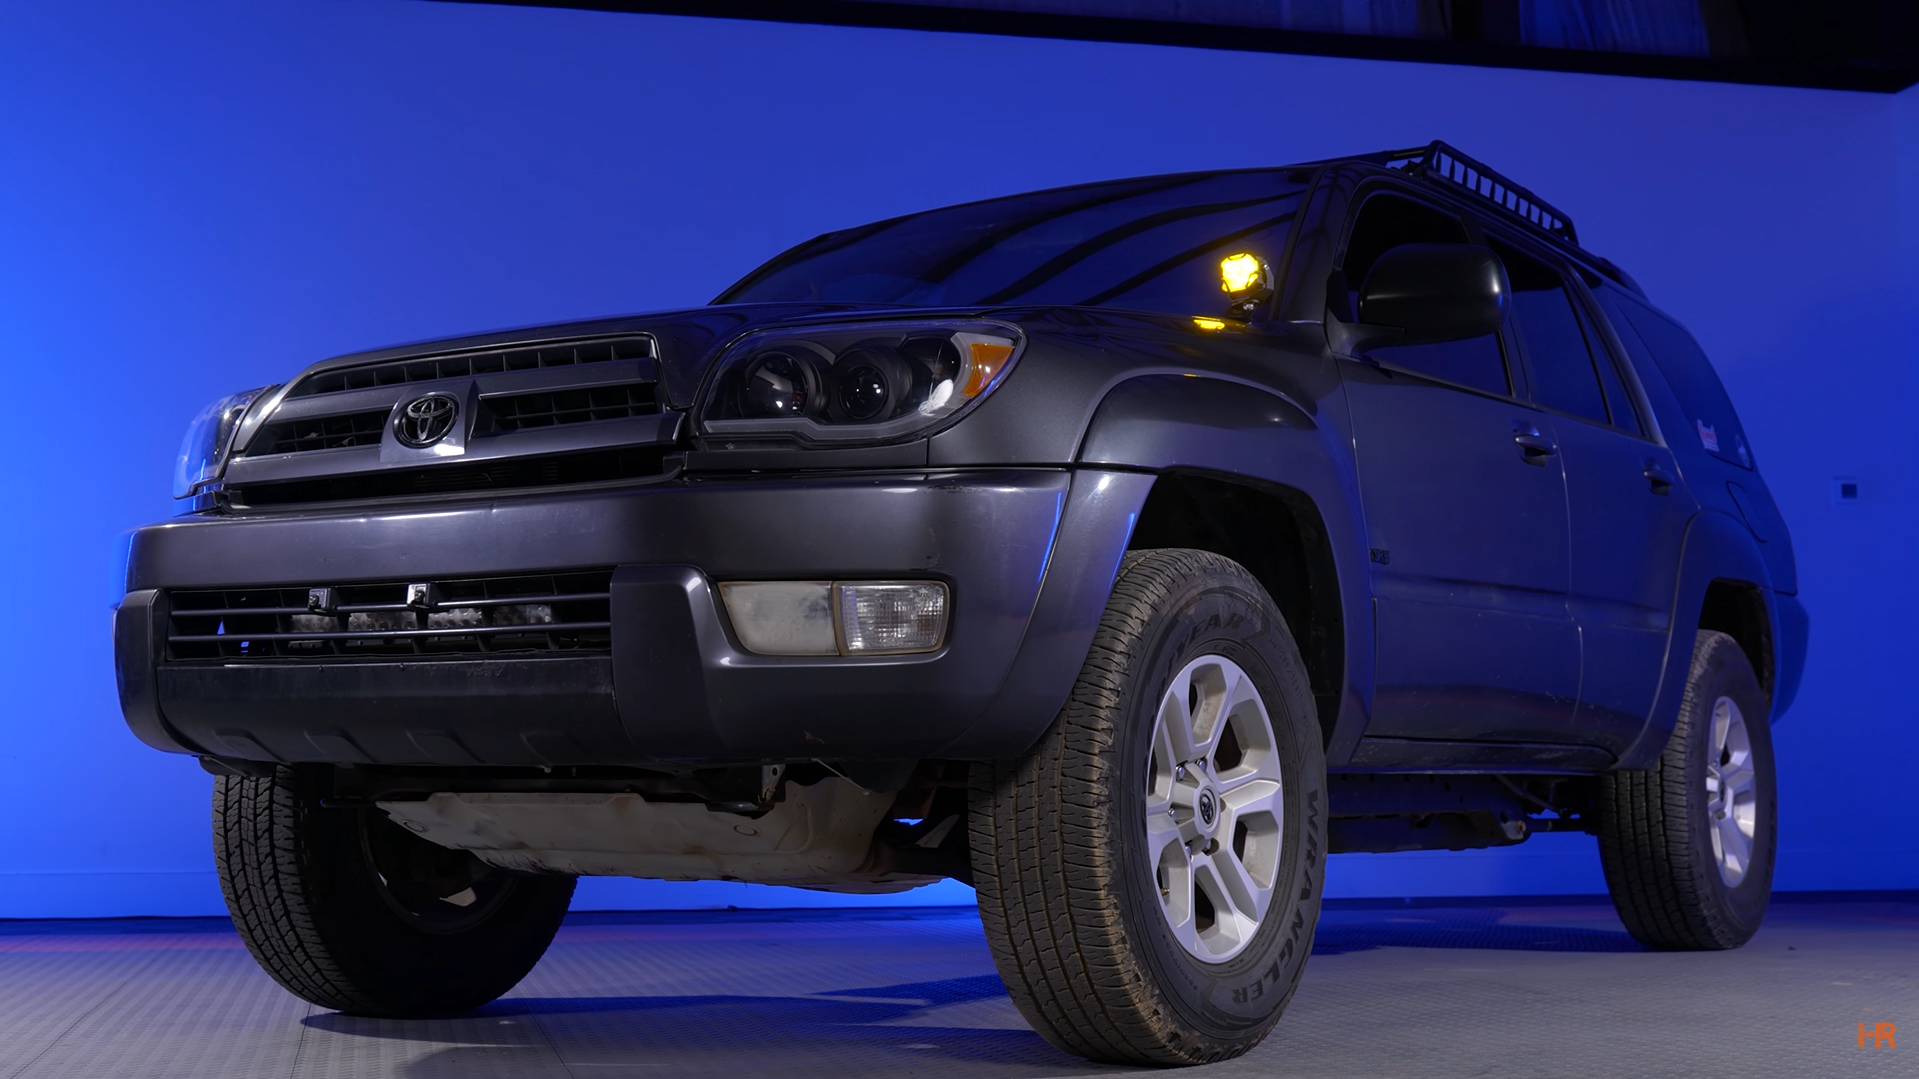
Typically, we have been mounting these as spot or combo lights to provide an intense amount of forward lighting, but we have opted for mounting these for ditch lights using the SAE wide beam. There is nothing different about the process, but about how you aim them.
ABOUT THE 4BANGERS
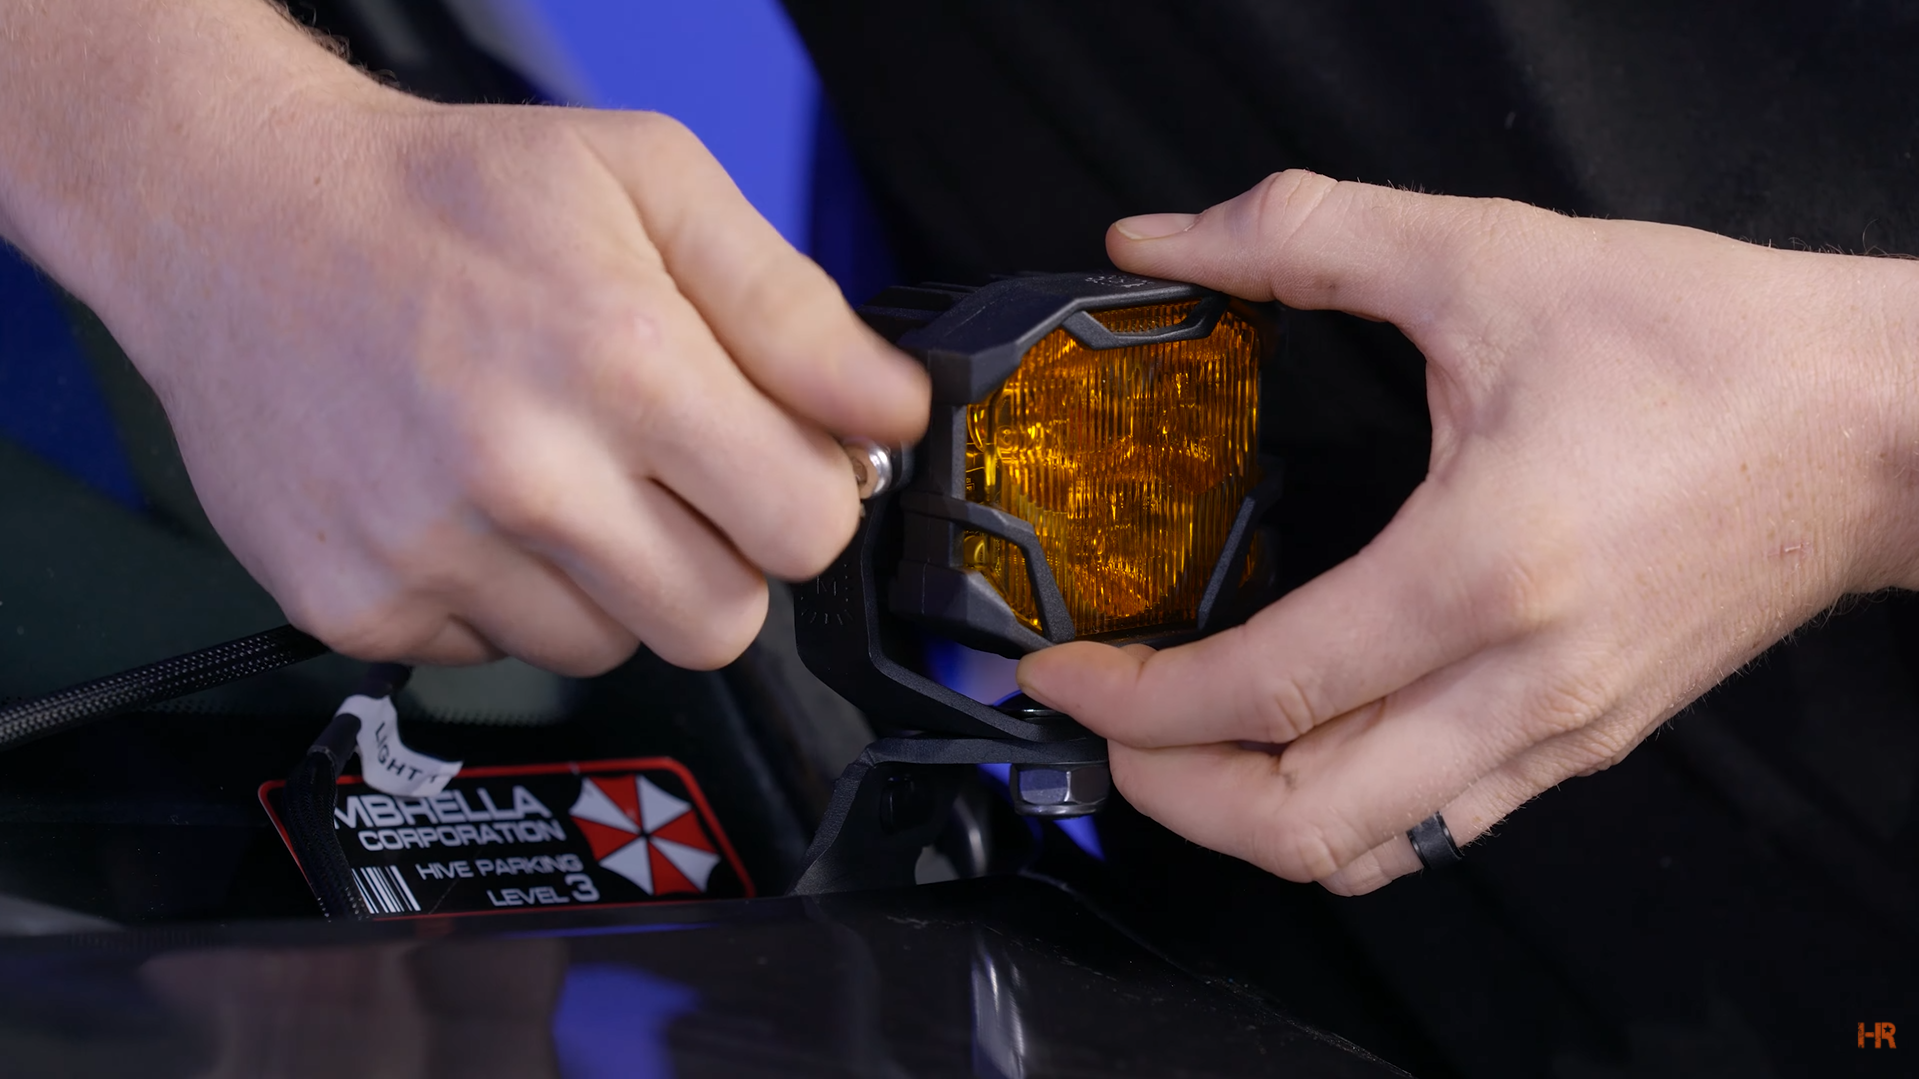
Available in two different trim levels, the Morimoto 4Banger LED Pod lights bring a mixture of design, output, and versatility to the LED pod light market. With the entry-level 4Banger NCS model, you get a Nichia LED chip spec for its output source. For the premium HXB model, an Osram HX Boost LED chip packs its punch behind the TIR optics, which can be found on both models.
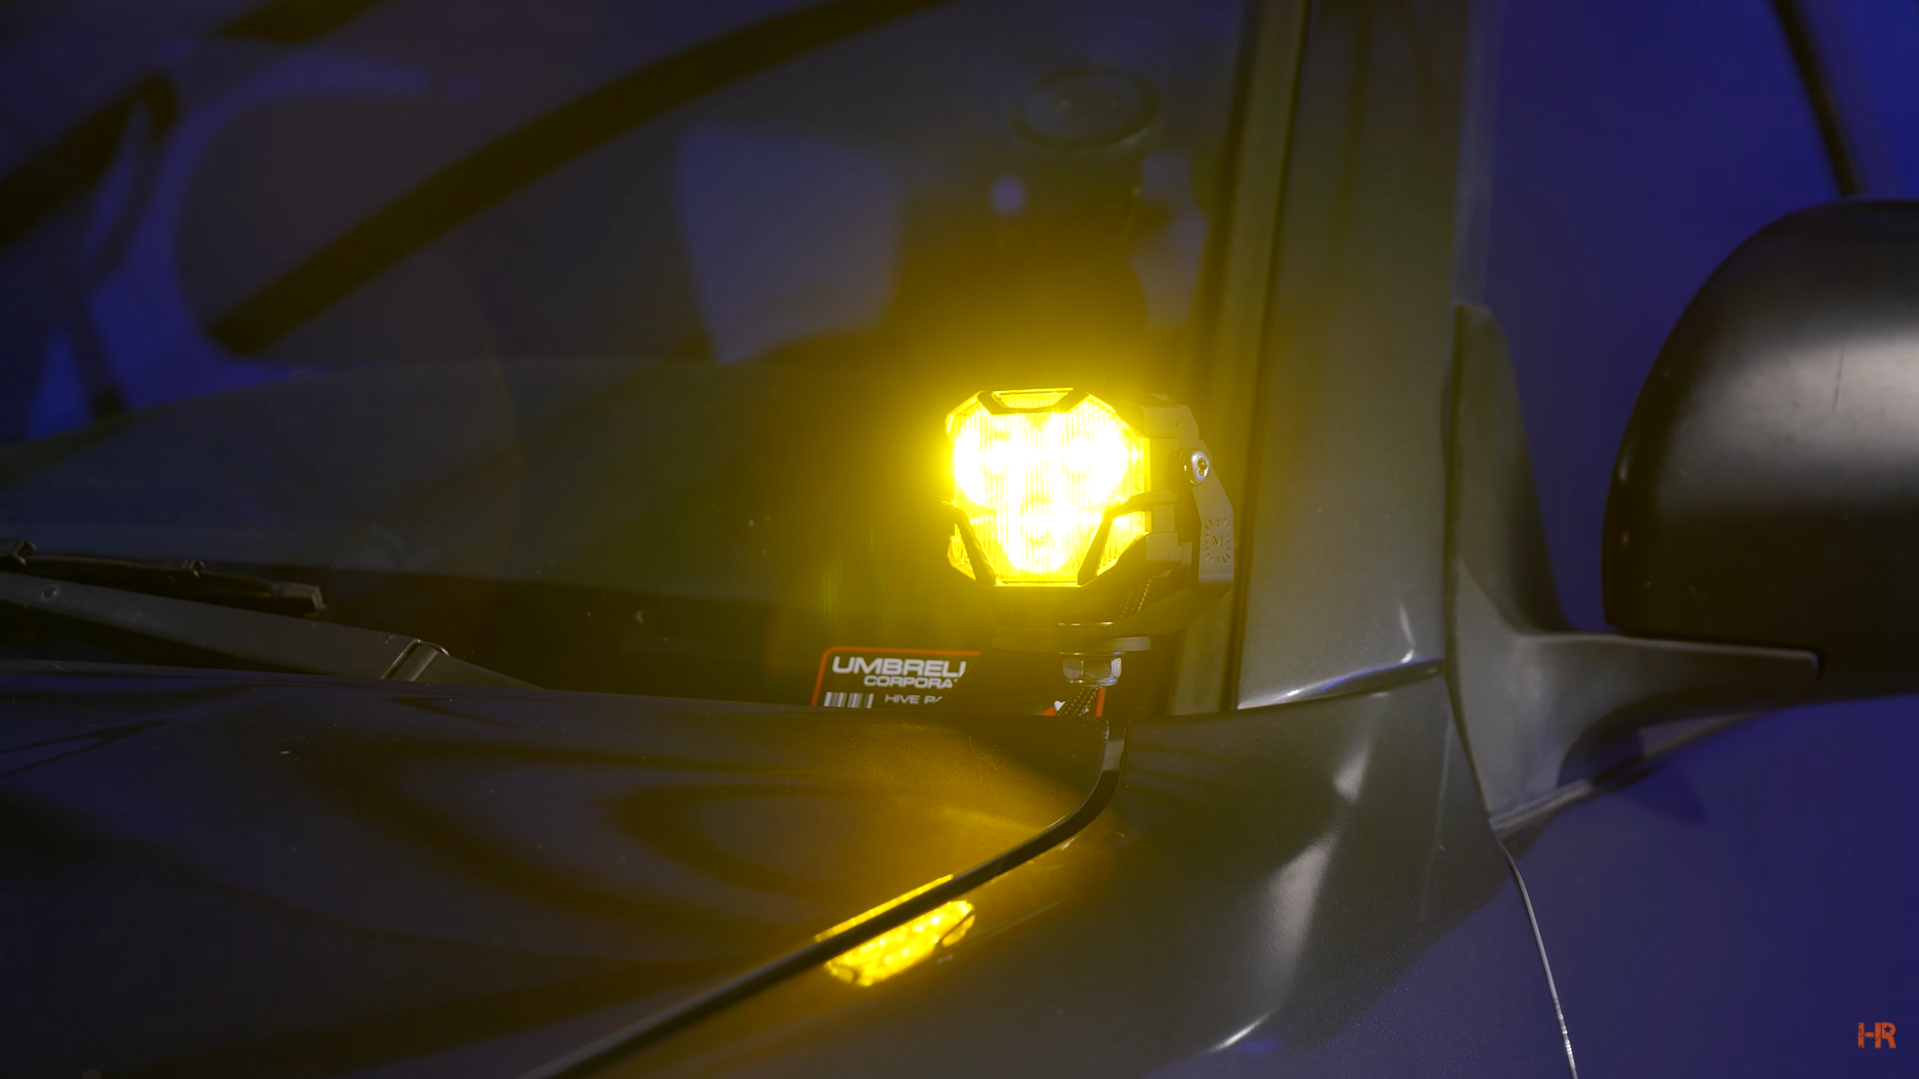
As we mentioned before, the fitment of these pod lights is insane. There are a number of vehicle-specific mounts so that your 4Bangers do not look like they have just been tacked on your car. Modifications on your car need to look natural, and these mounts do just that.
Beam Patterns
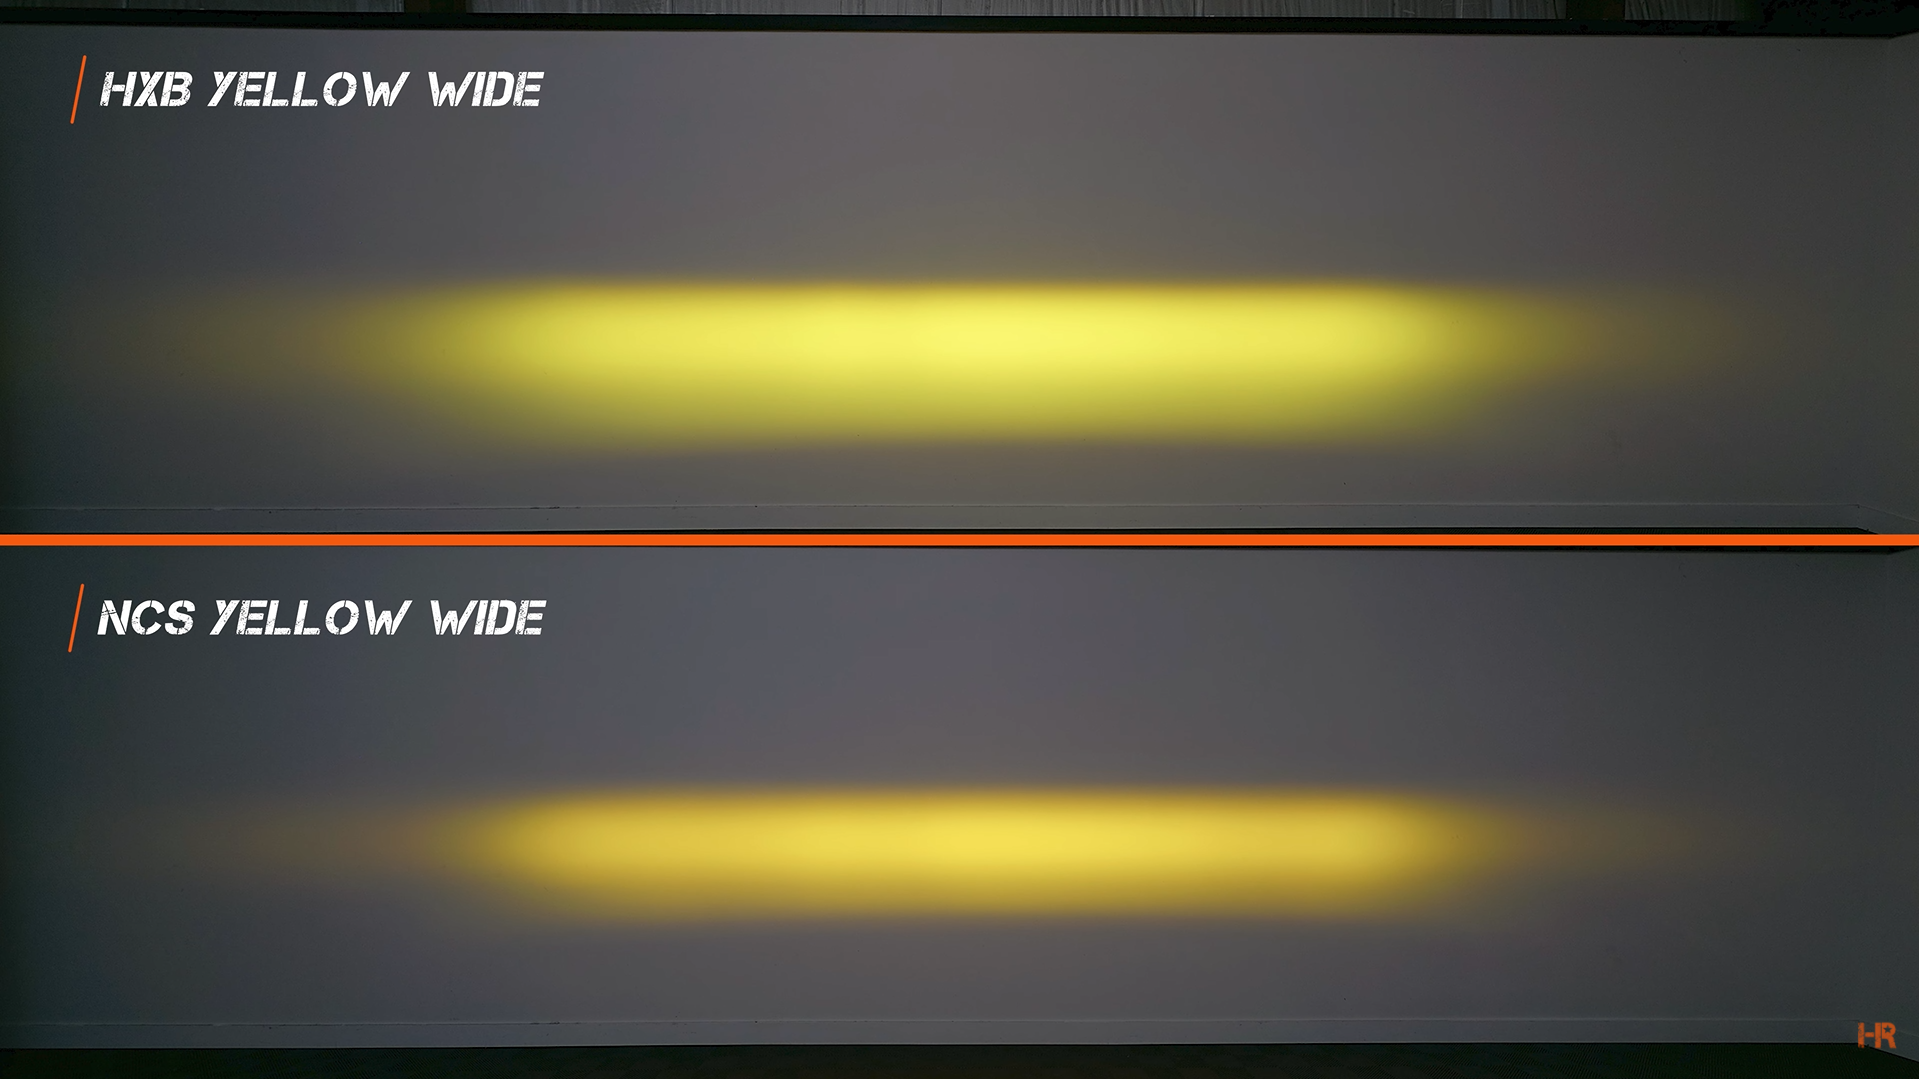
The NCS and HXB models both come in three different beam patterns: combo (driving), wide (fog/SAE), and spot. The most popular among the three will likely be the wide beam pattern. This can ideally be used in a fog light application and is legal for road use when aimed at -3°.
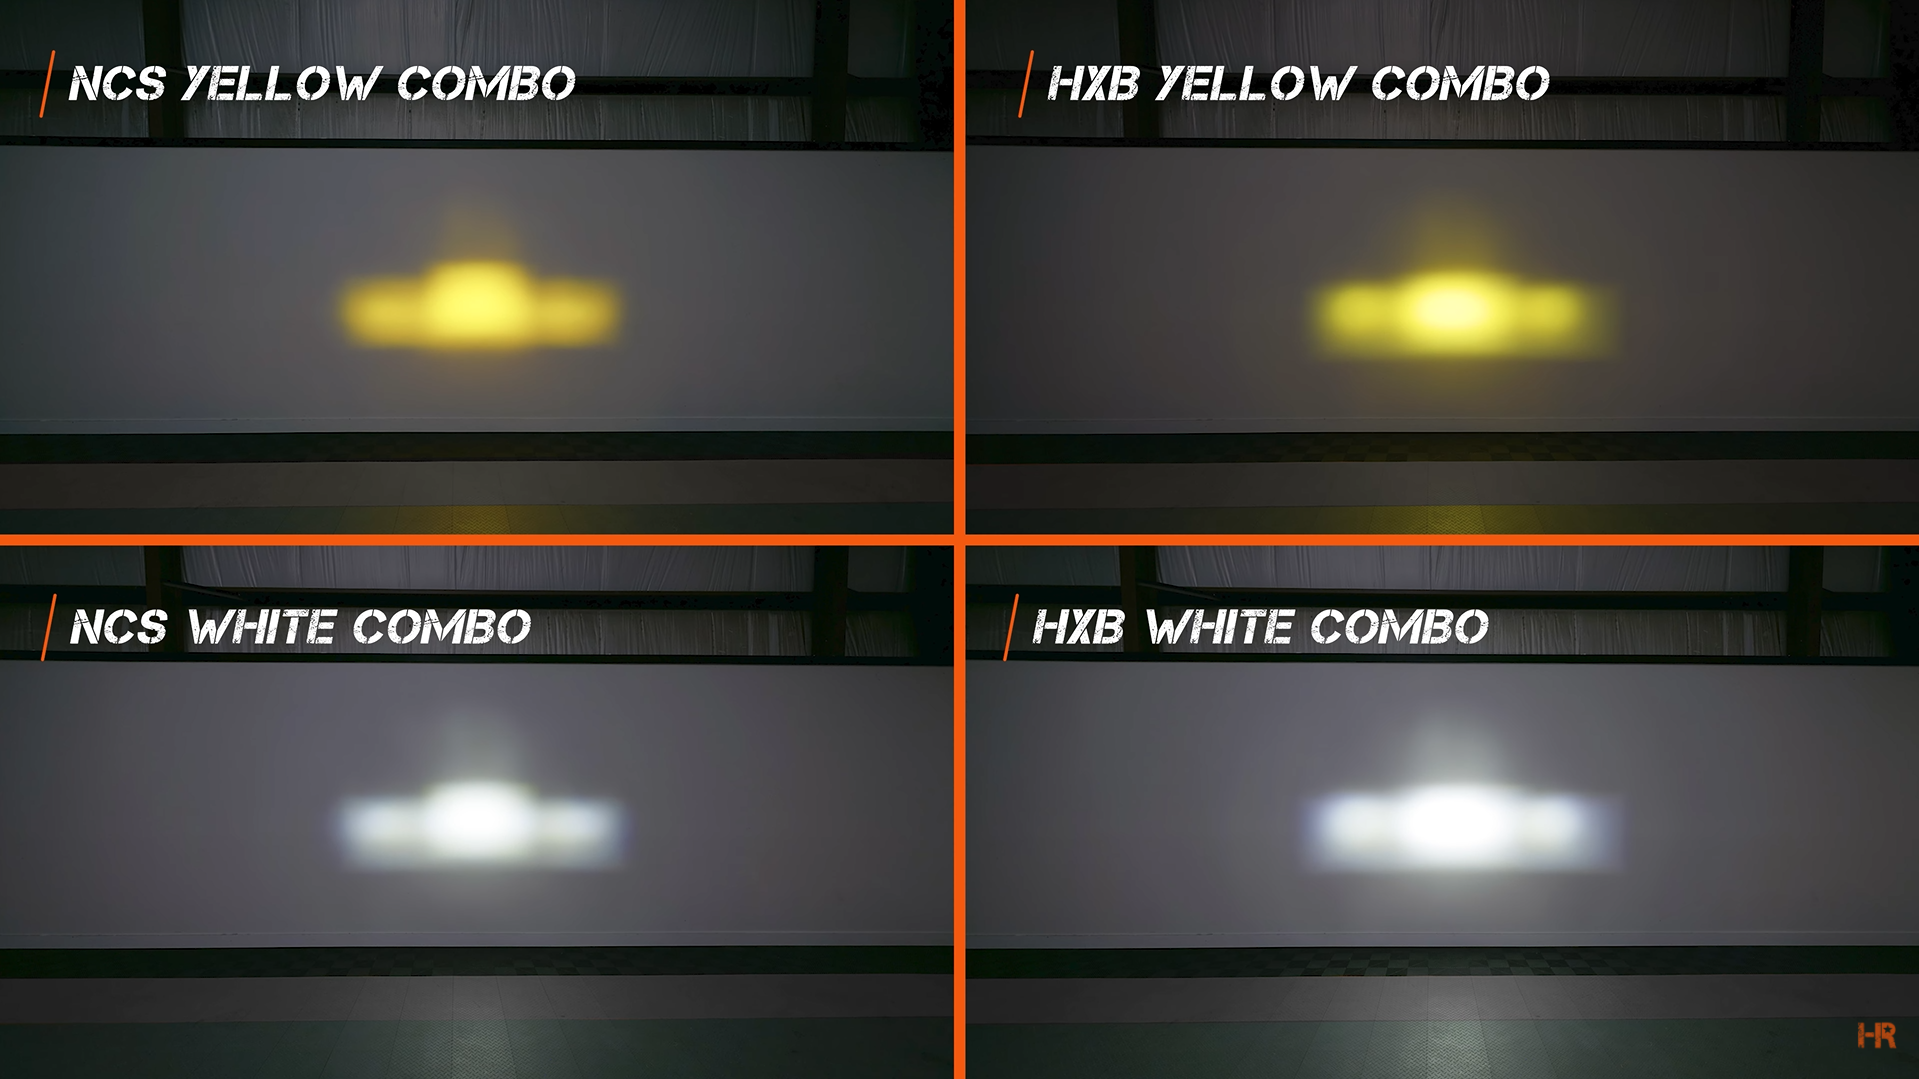
The combo or driving pattern is useful when it comes to off-roading and will likely be a favorite of that crowd. The same can be said about the spotlight beam pattern which is almost exclusively meant for an off-road application.
Color Options and Optics
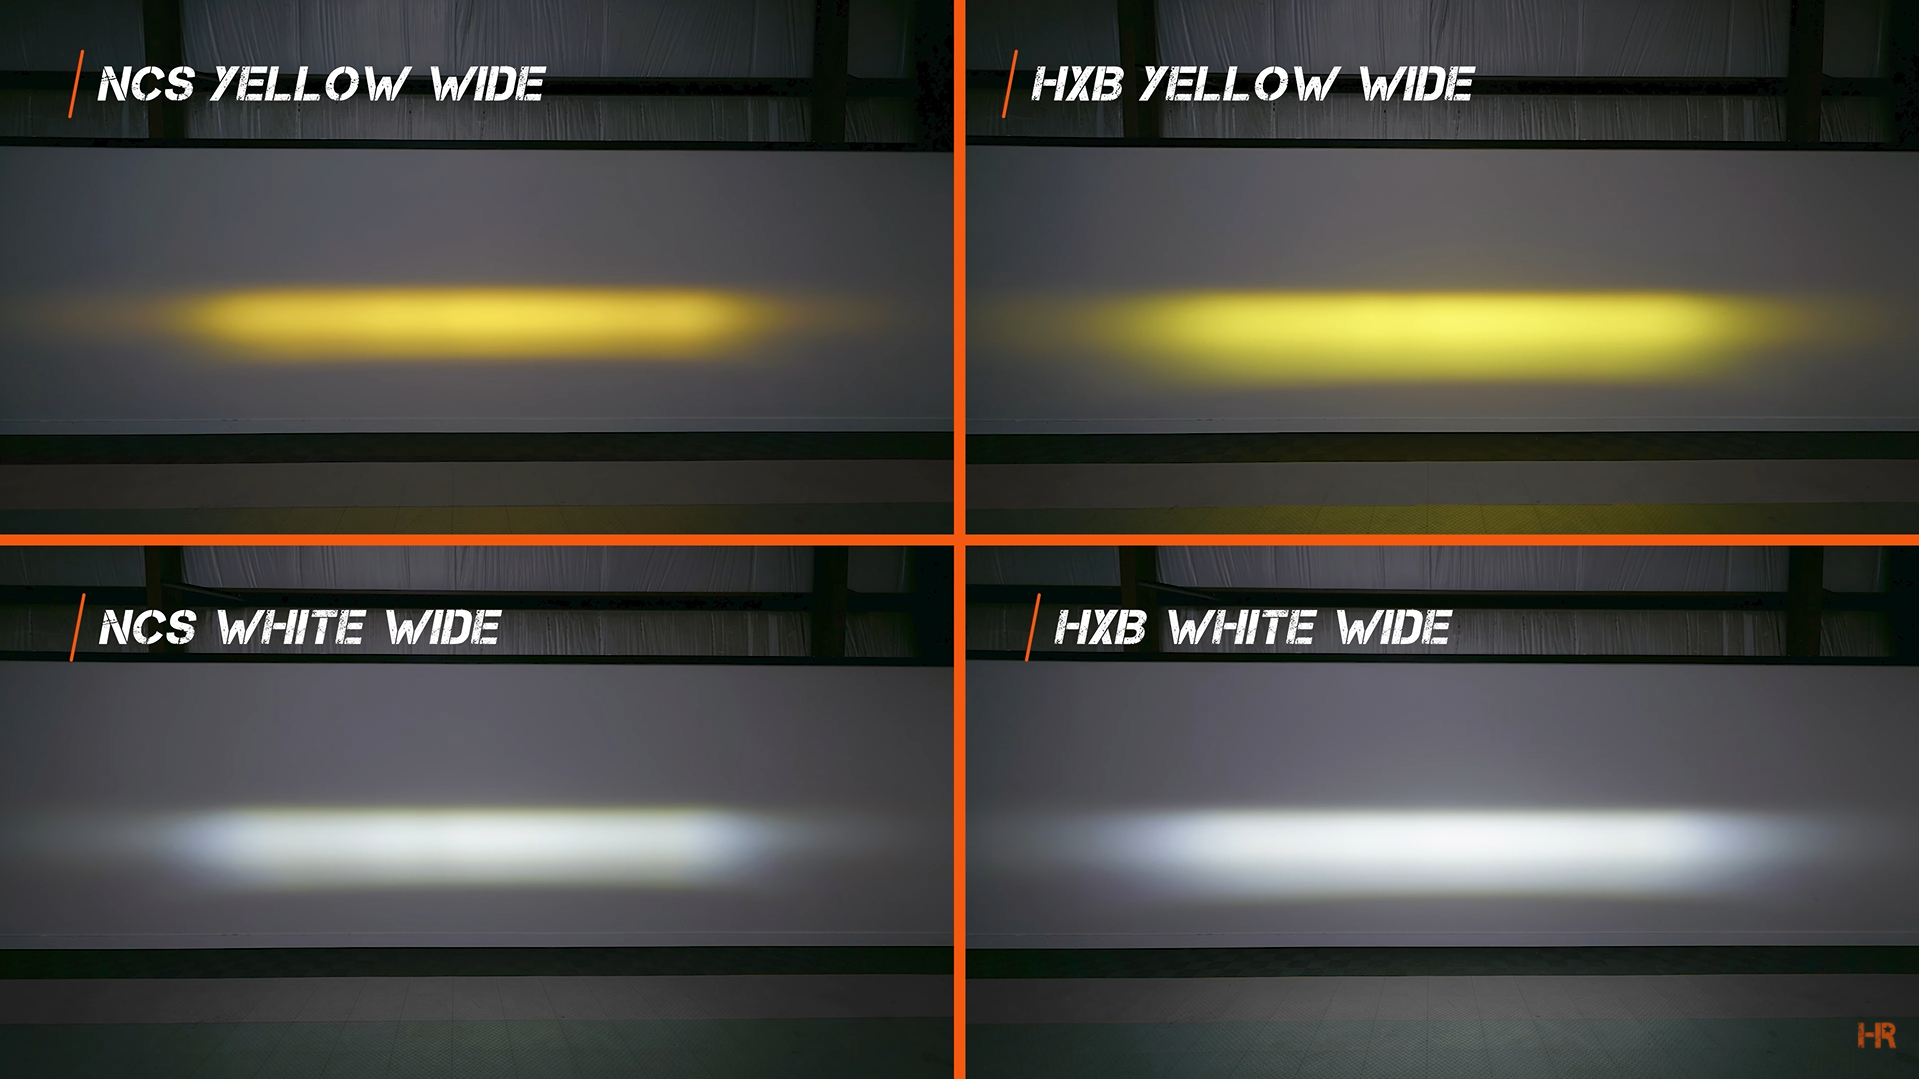
Additionally, each of those beam patterns for both the NCS and HXB models can be purchased with a white or yellow beam pattern.
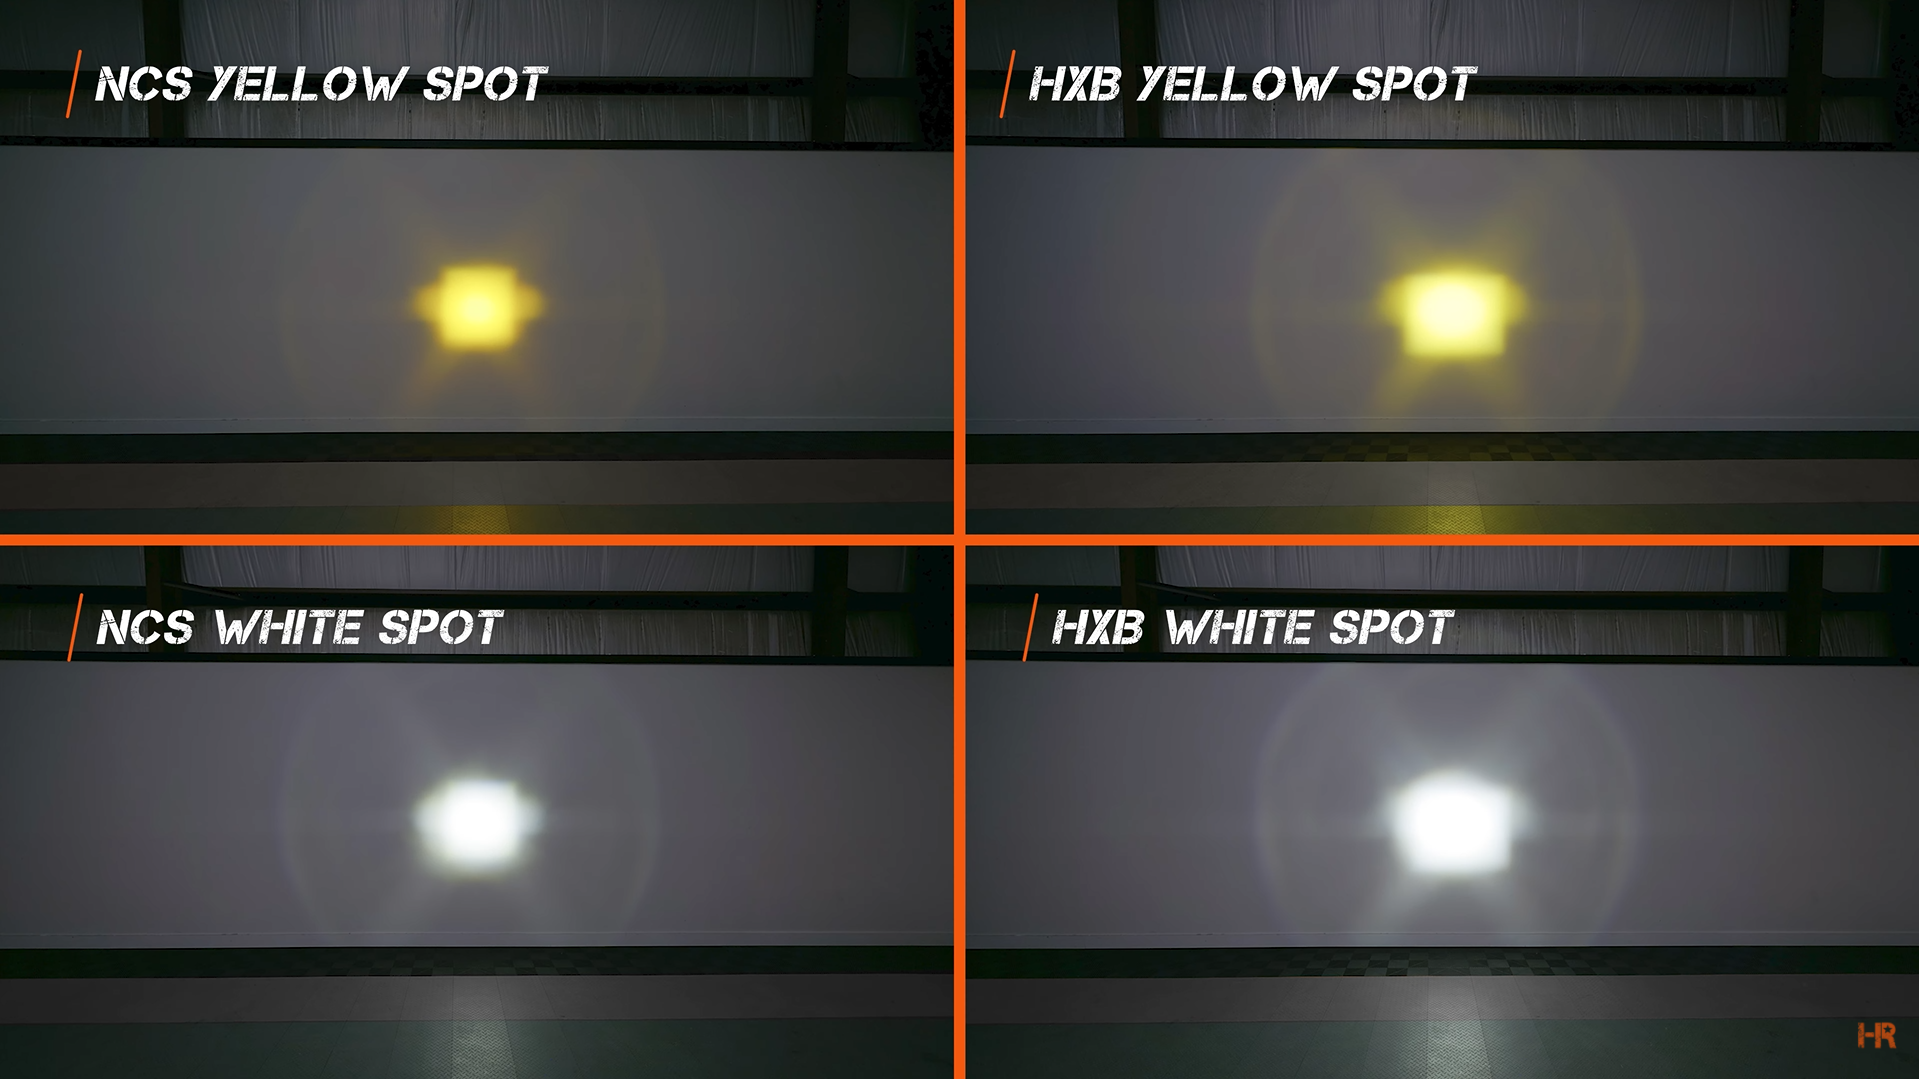
If you choose to go with the yellow NCS model, you will be using a Nichia true-yellow LED chip with a yellow-filtered lens. This is in contrast to the HXB model that uses a white Osram chip with a yellow-filtered lens. To compare the output between the HXB white and yellow options, you will lose roughly 30% of your brightness when you switch from the premium white HXB 4Banger to the premium yellow HXB.
This also produces a slightly different shade of yellow between the two lights that you can see below.
Speaking of the lenses, the TIR optics we mentioned before, stands for Total Internal Reflector. Essentially, rather than having the LED chip within the 4Banger Pod light, the lens optic creates the individual beam patterns.
INSTALL
Tools Needed for the Job:
Self-Tapping Screw
¾ inch Step Bit
10mm Socket Wrench
12mm Socket Wrench
17mm Wrench
T30 Torx Bit
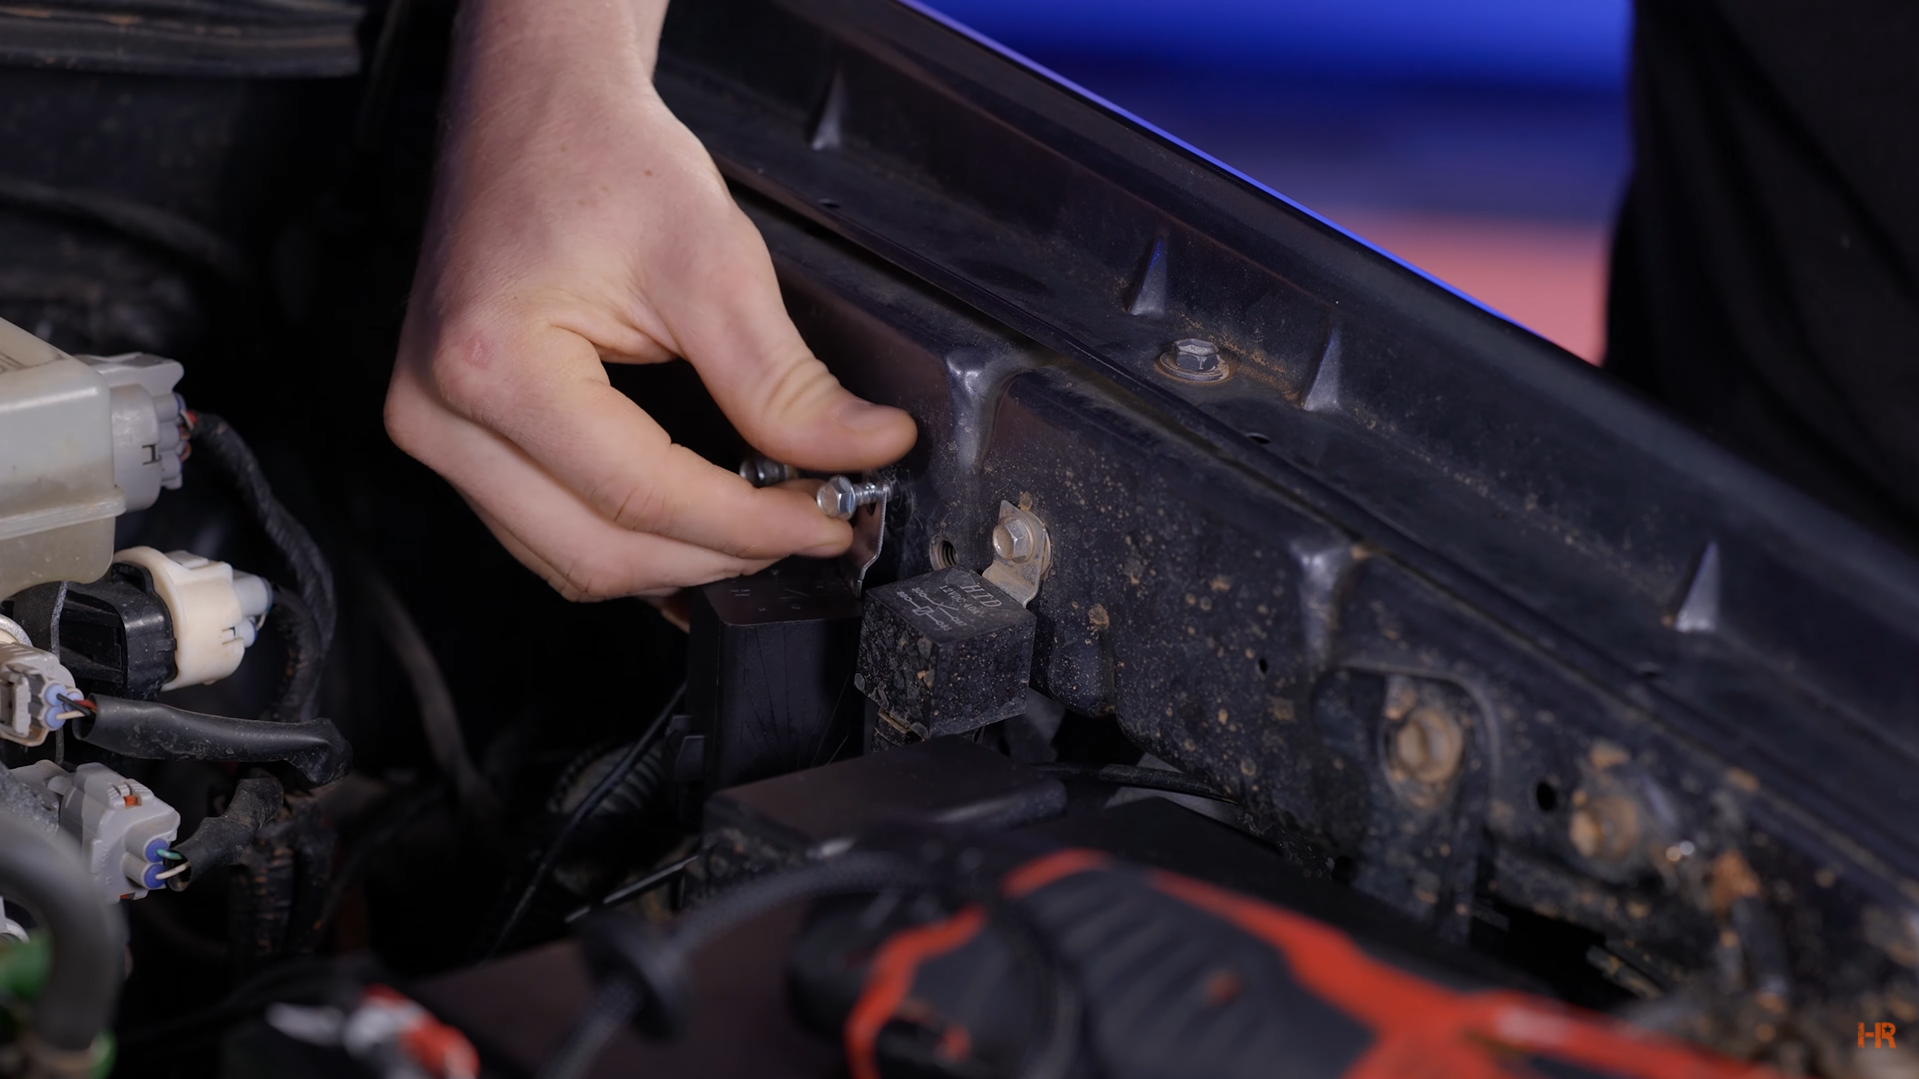
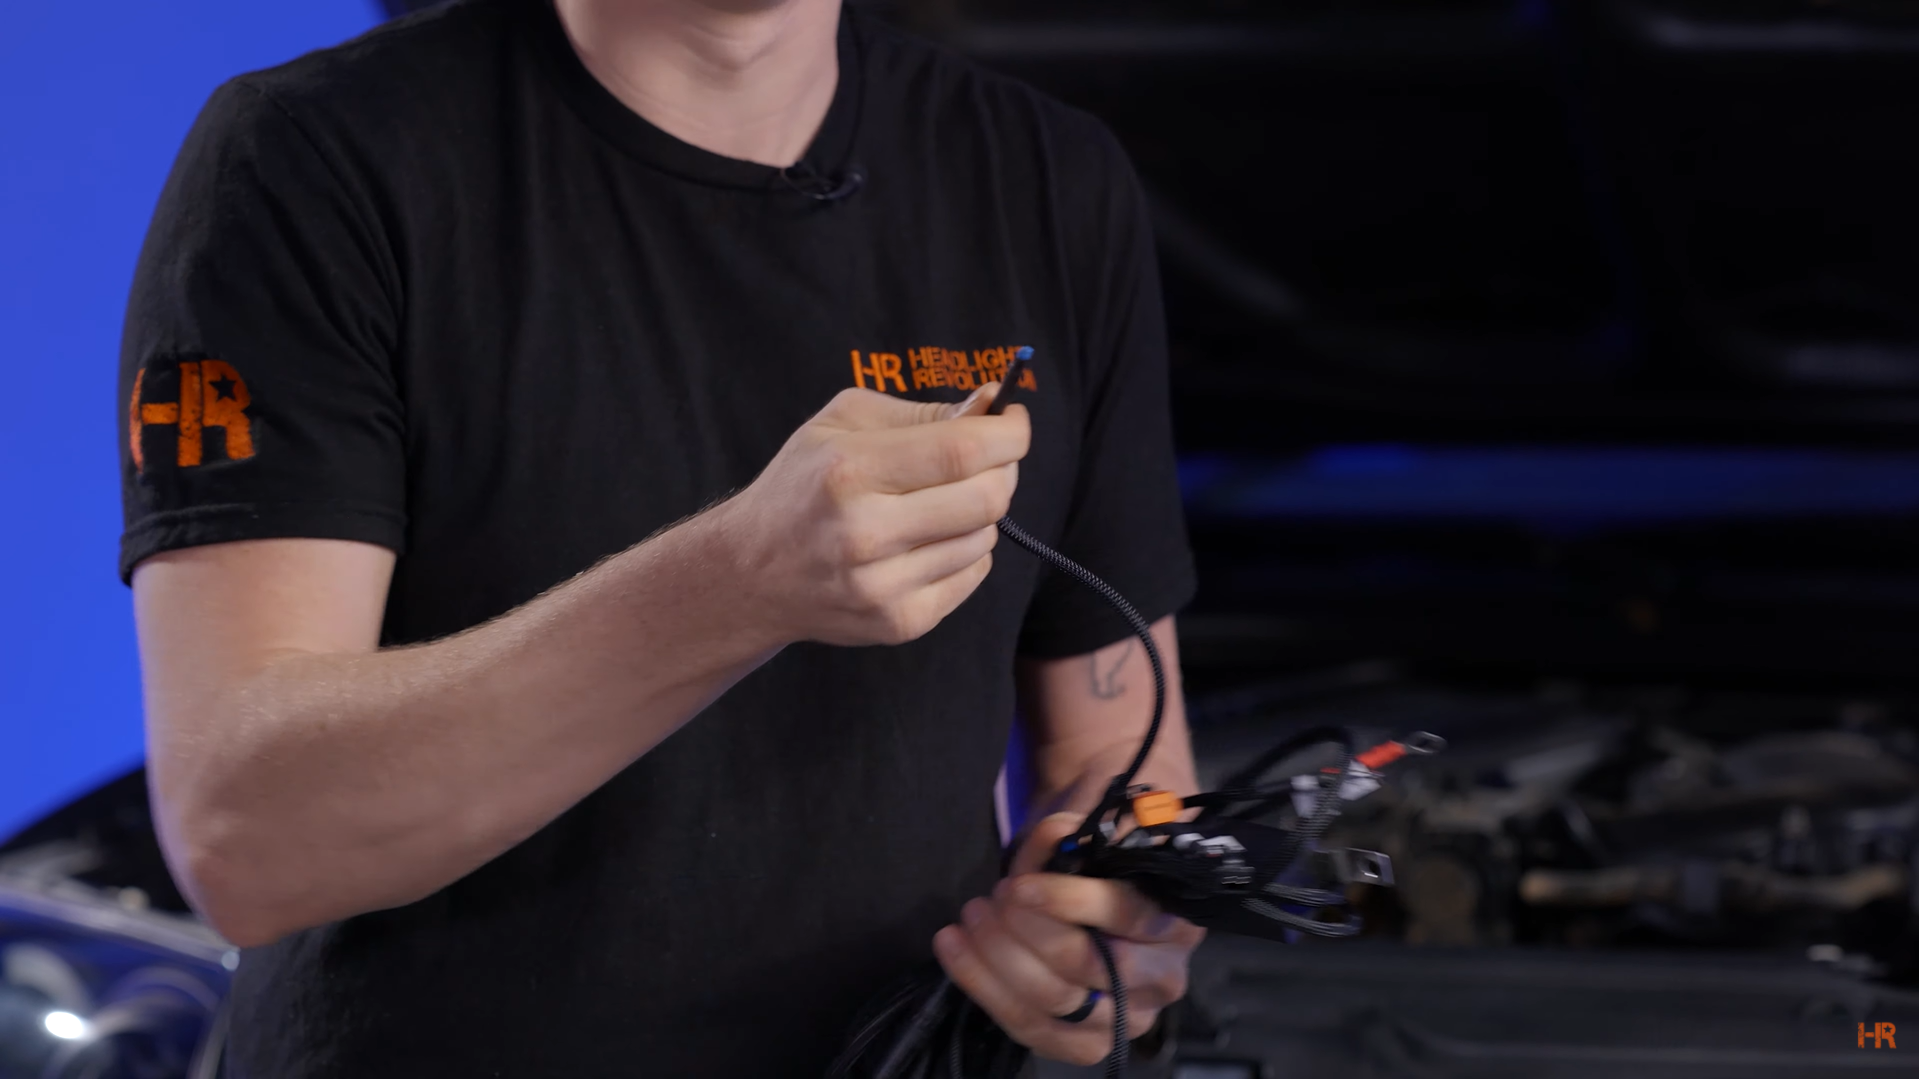
Next, you can pop the hood so we can install the relay harness for the 4Banger. These LED pod lights come with a Morimoto relay harness that has two different plug-ins for the pod lights, a ground, a positive, and a Morimoto button switch.
You need to mount the relay harness with the wires facing downwards to avoid water intrusion. Additionally, if these are going anywhere beyond your front bumper or hood, we have extension wires to help you reach the pod lights.
Place the ‘Light One’ Deutsch connector by the driver’s side and ‘Light Two’ by the passenger side. You will need an extension wire to reach the passenger car. We will tidy up the wires later.
Bracket Install
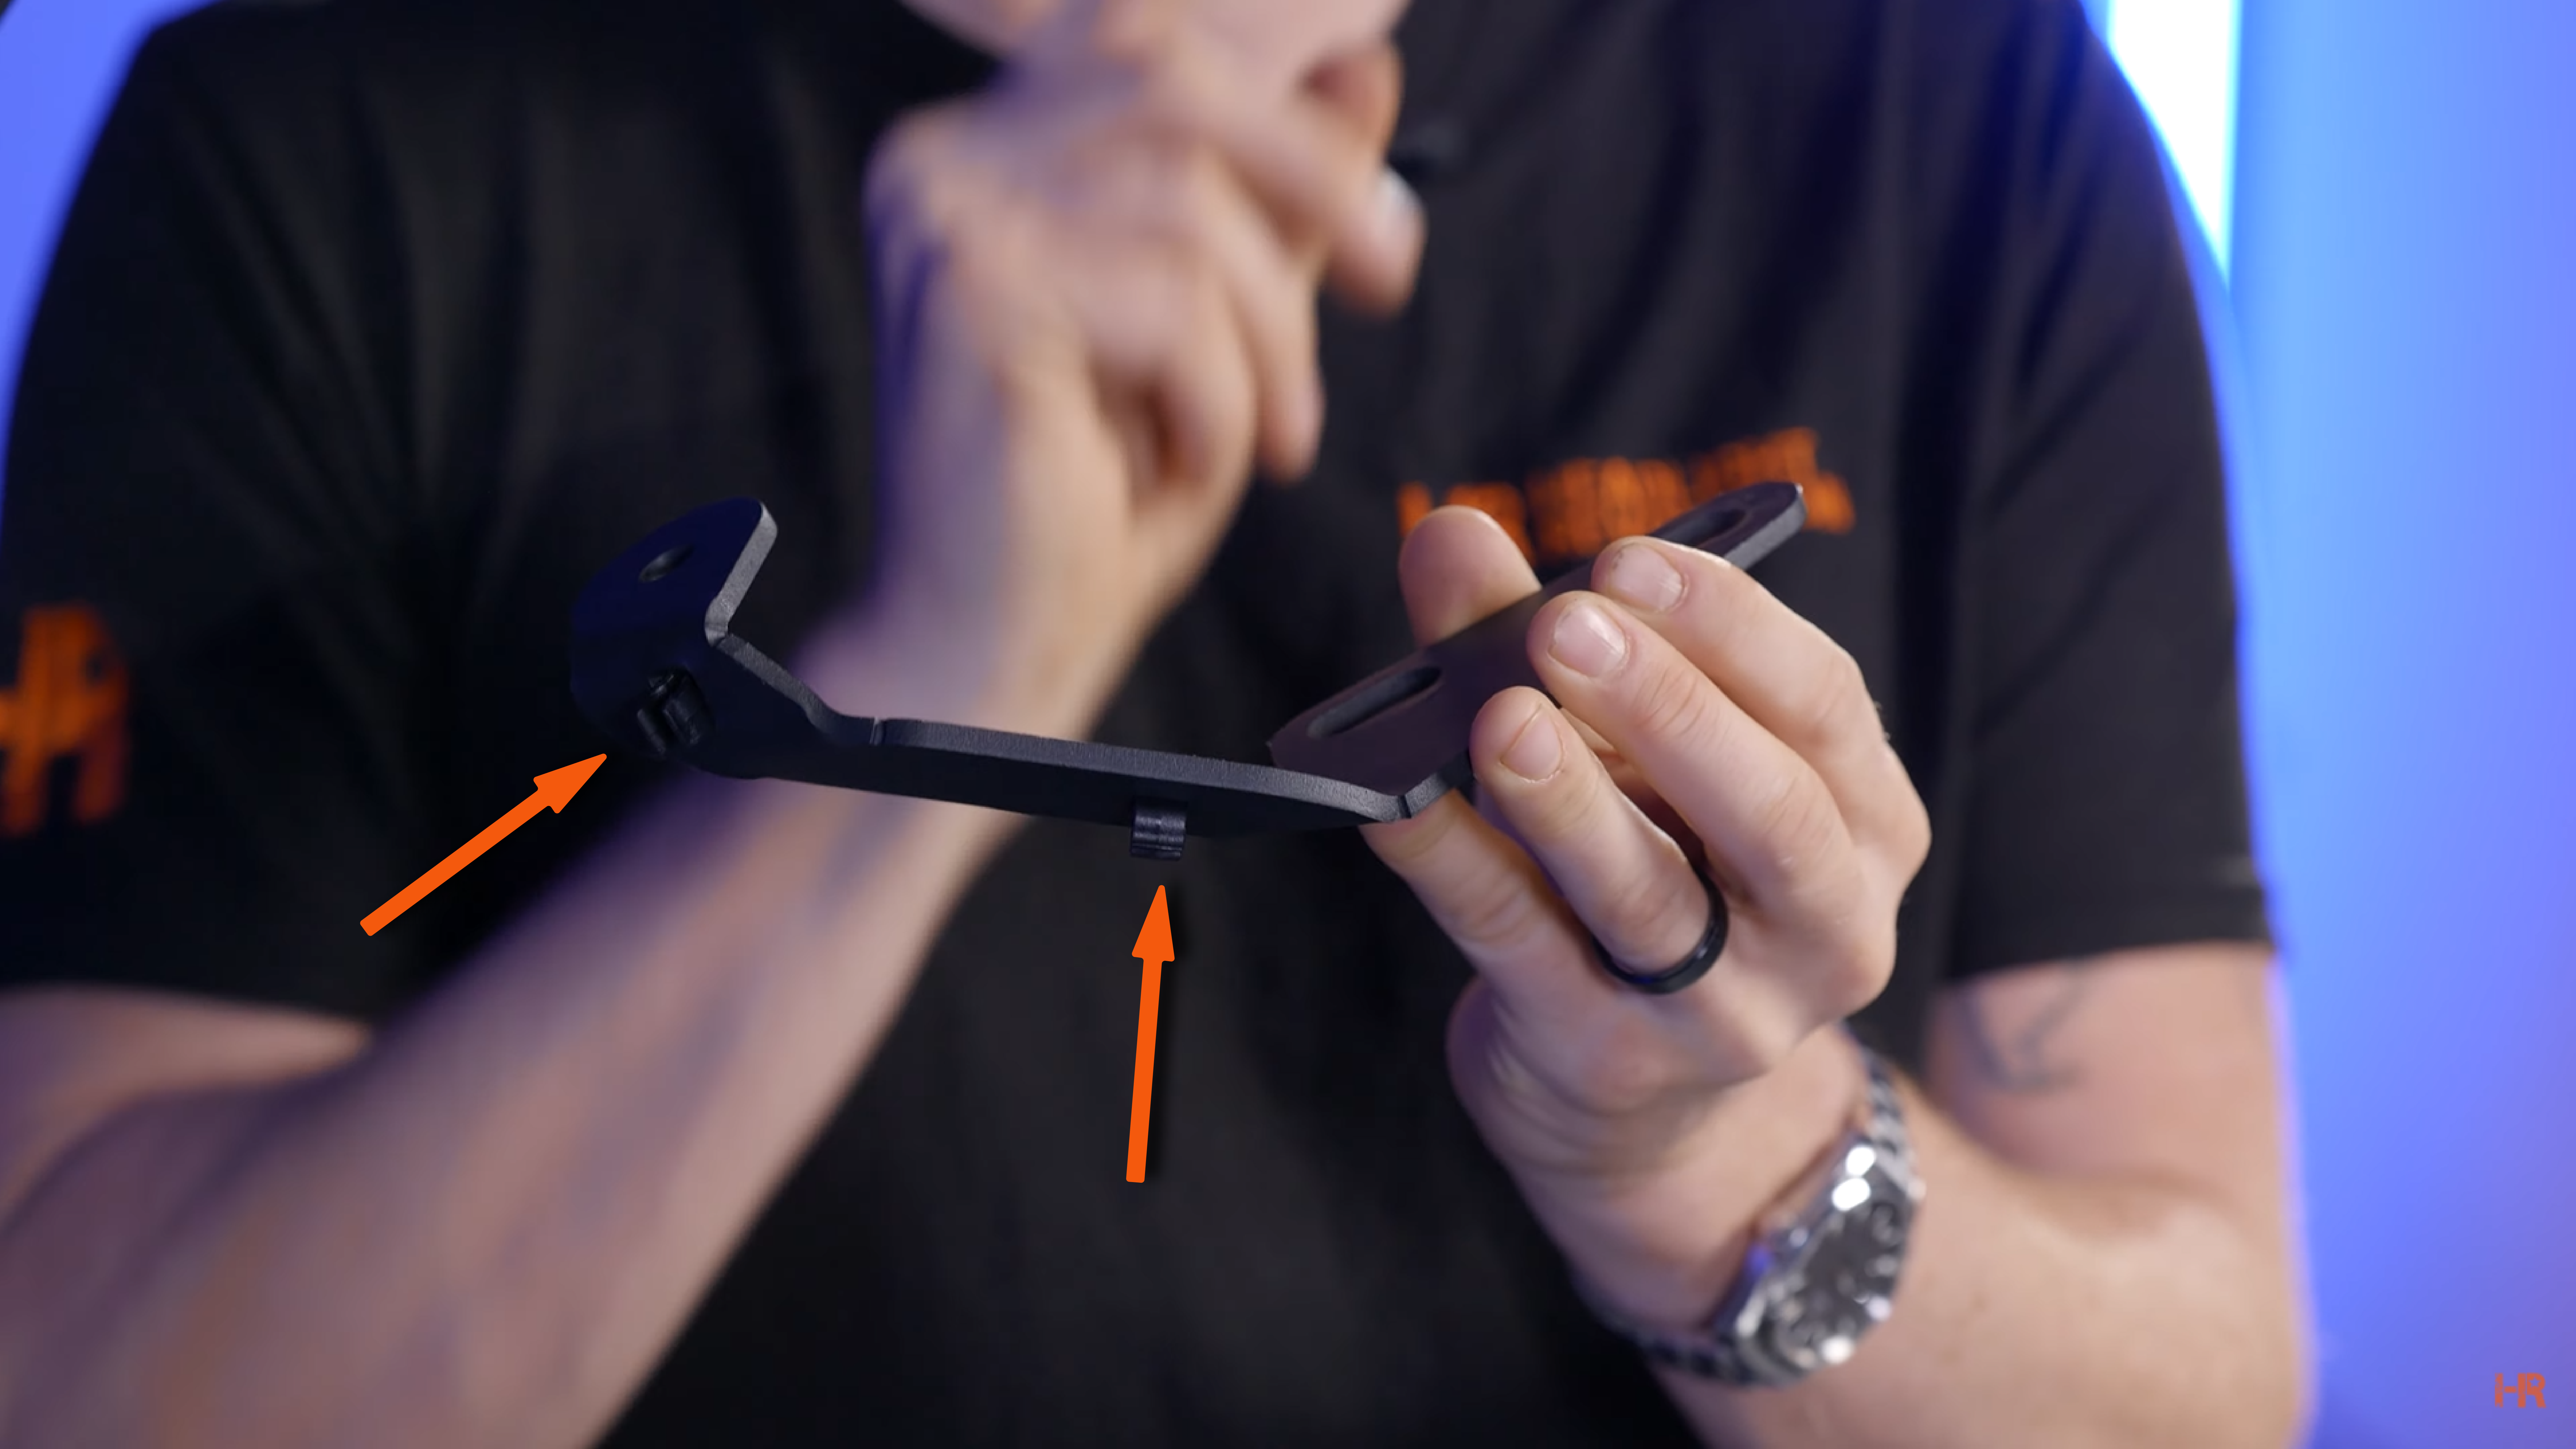
Next, we will install the 4Banger A-Pillar mount to the hood. We recommend getting an extra pair of hands to hold the hood to stop it from falling on your fingers or your windscreen. Before installing, put the plastic clips on the tall arm of the bracketry. This will be used to hold your wire in place.
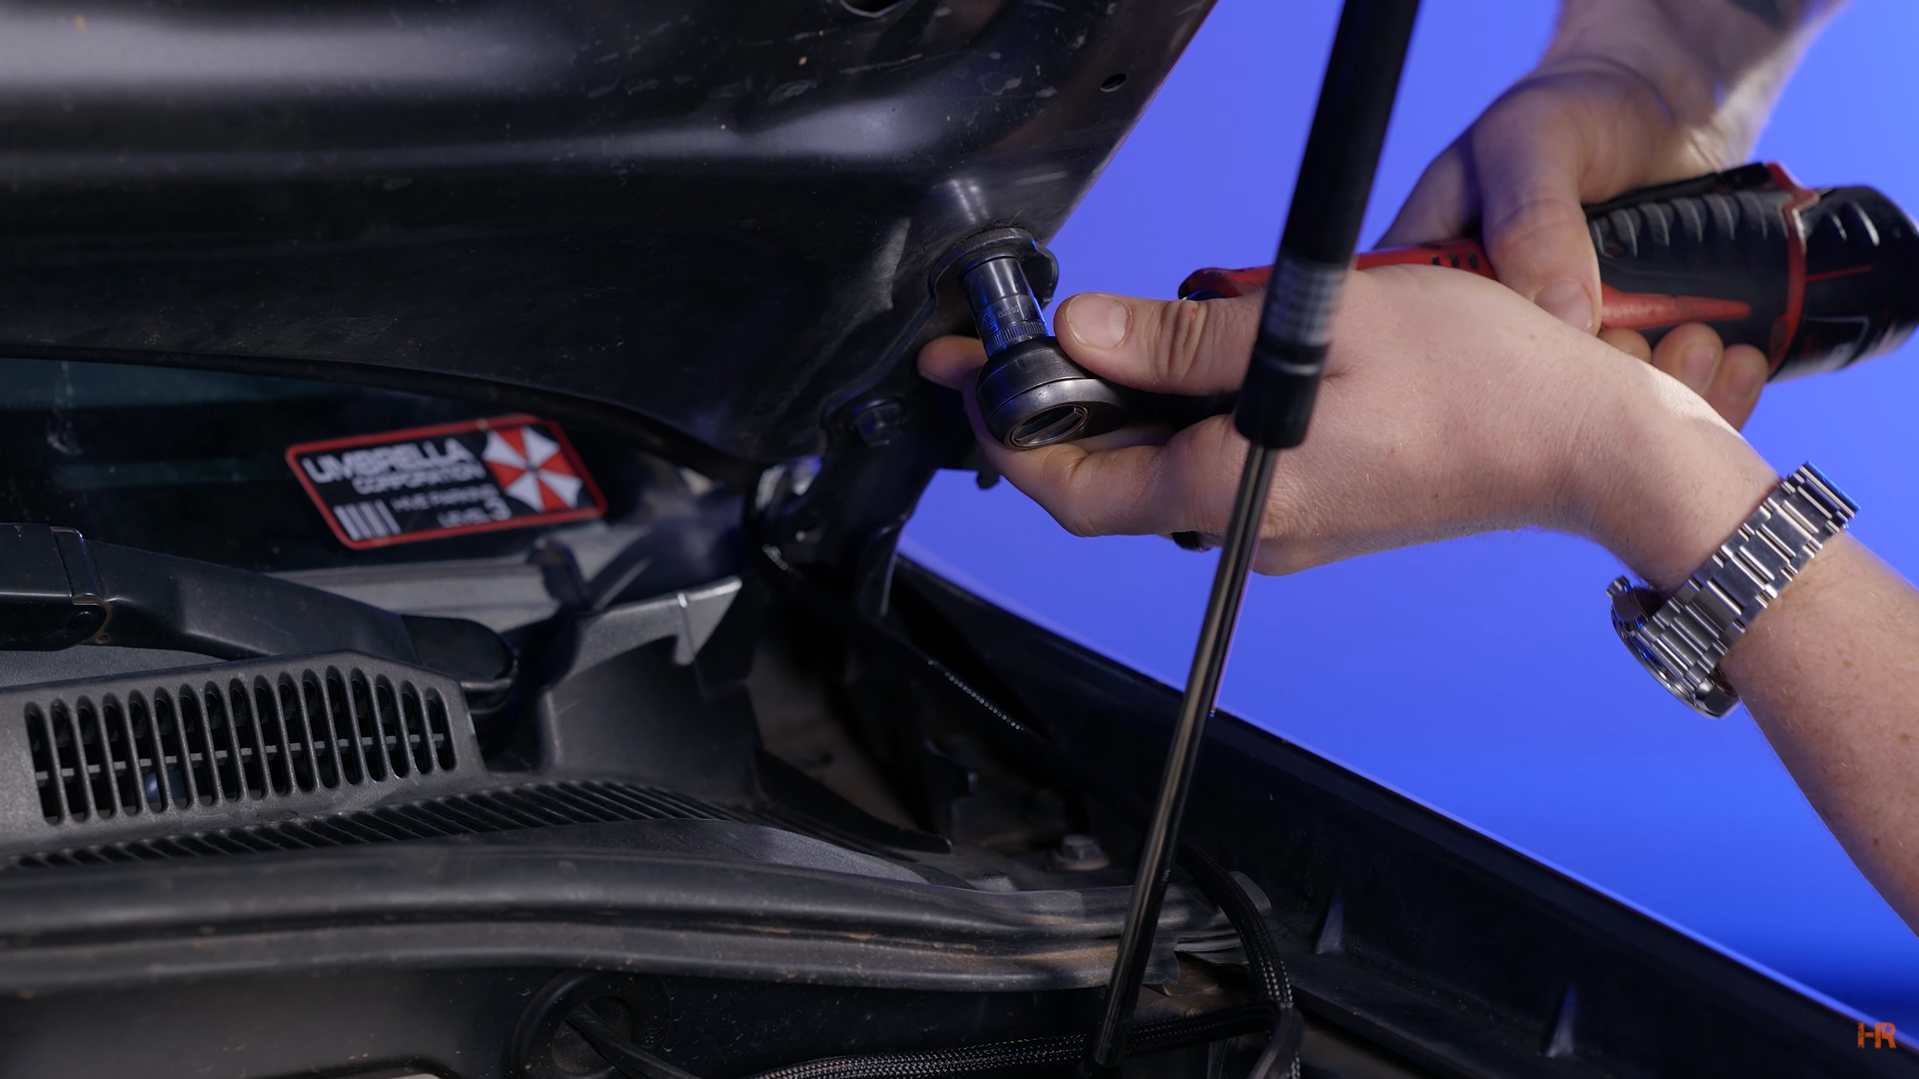
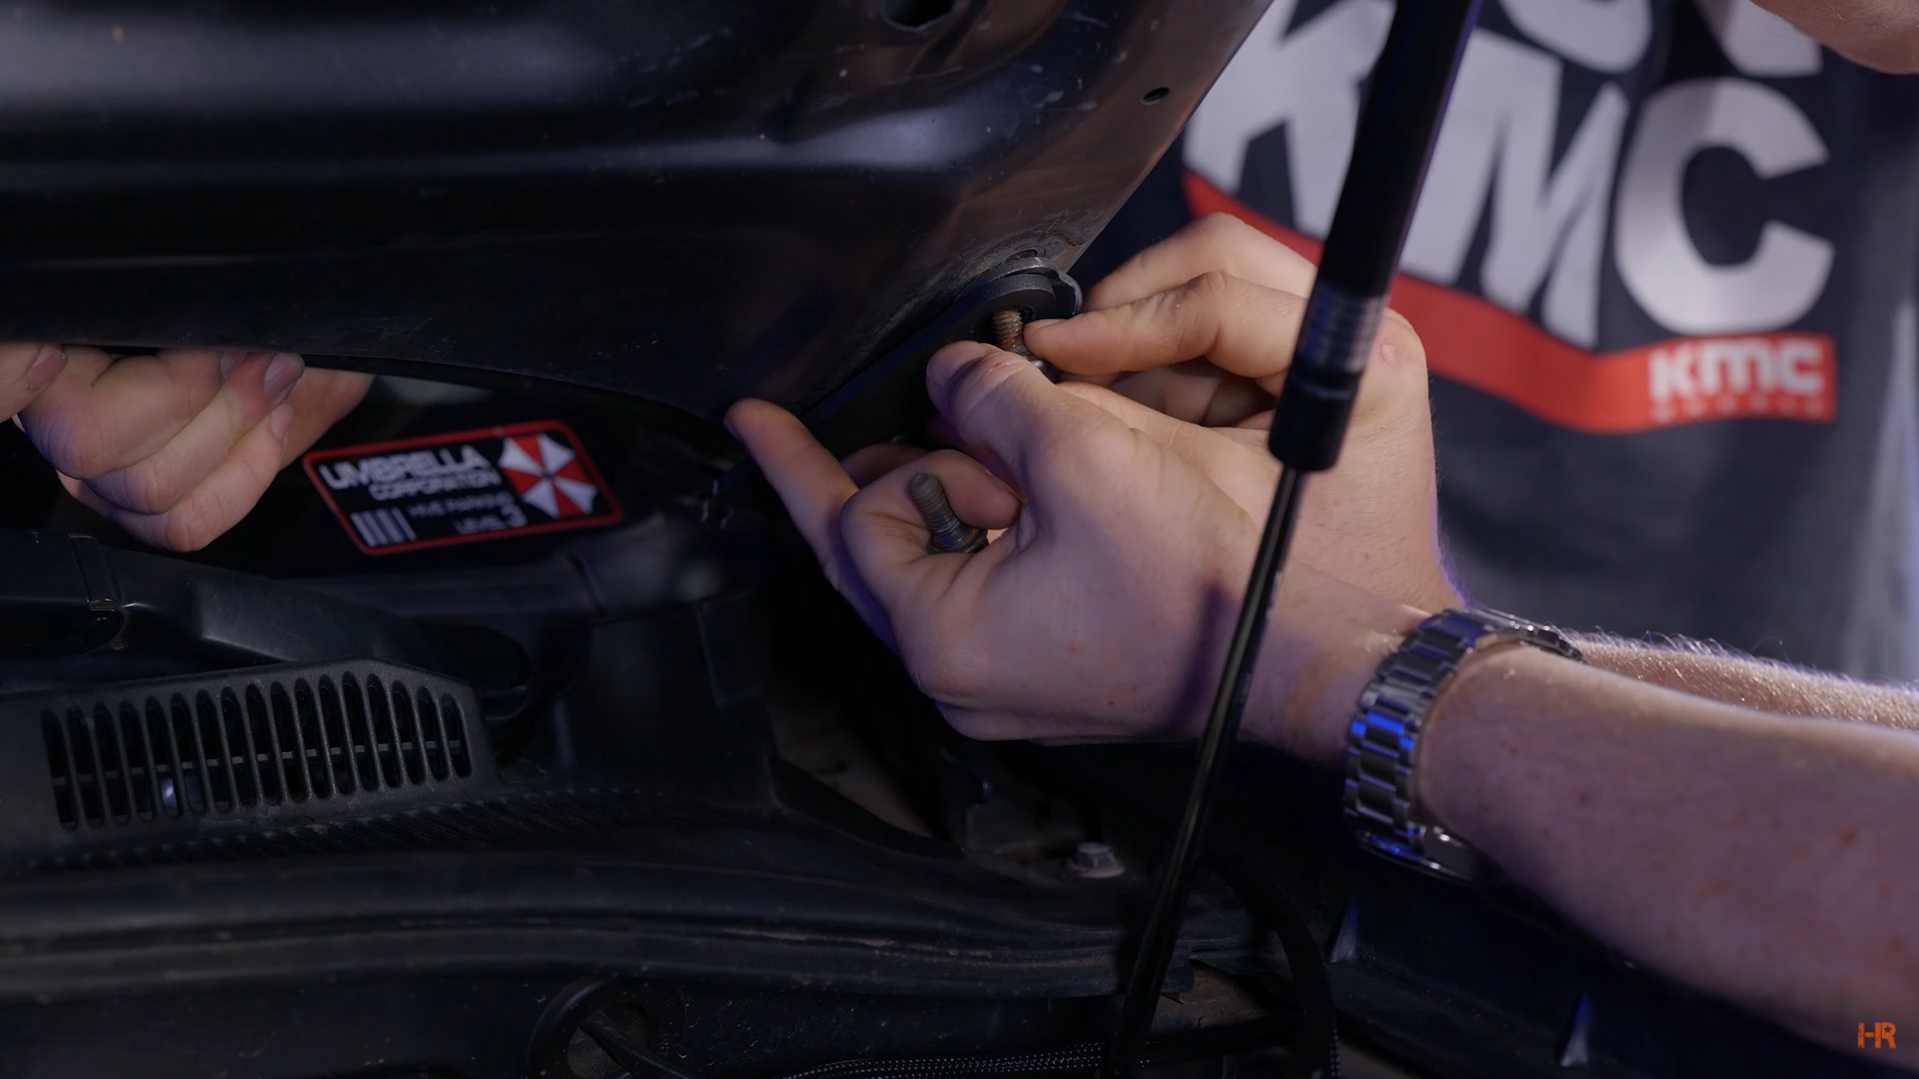
Start by undoing the 12mm bolts that hold the hood to its latch. Then place the A-Pillar bracket over where the bolts were removed from. Then screw in the OEM bolts back into place. Make sure your hood is properly lined up before fully tightening the bolts into place.
 |
 |
Repeat for the other side.
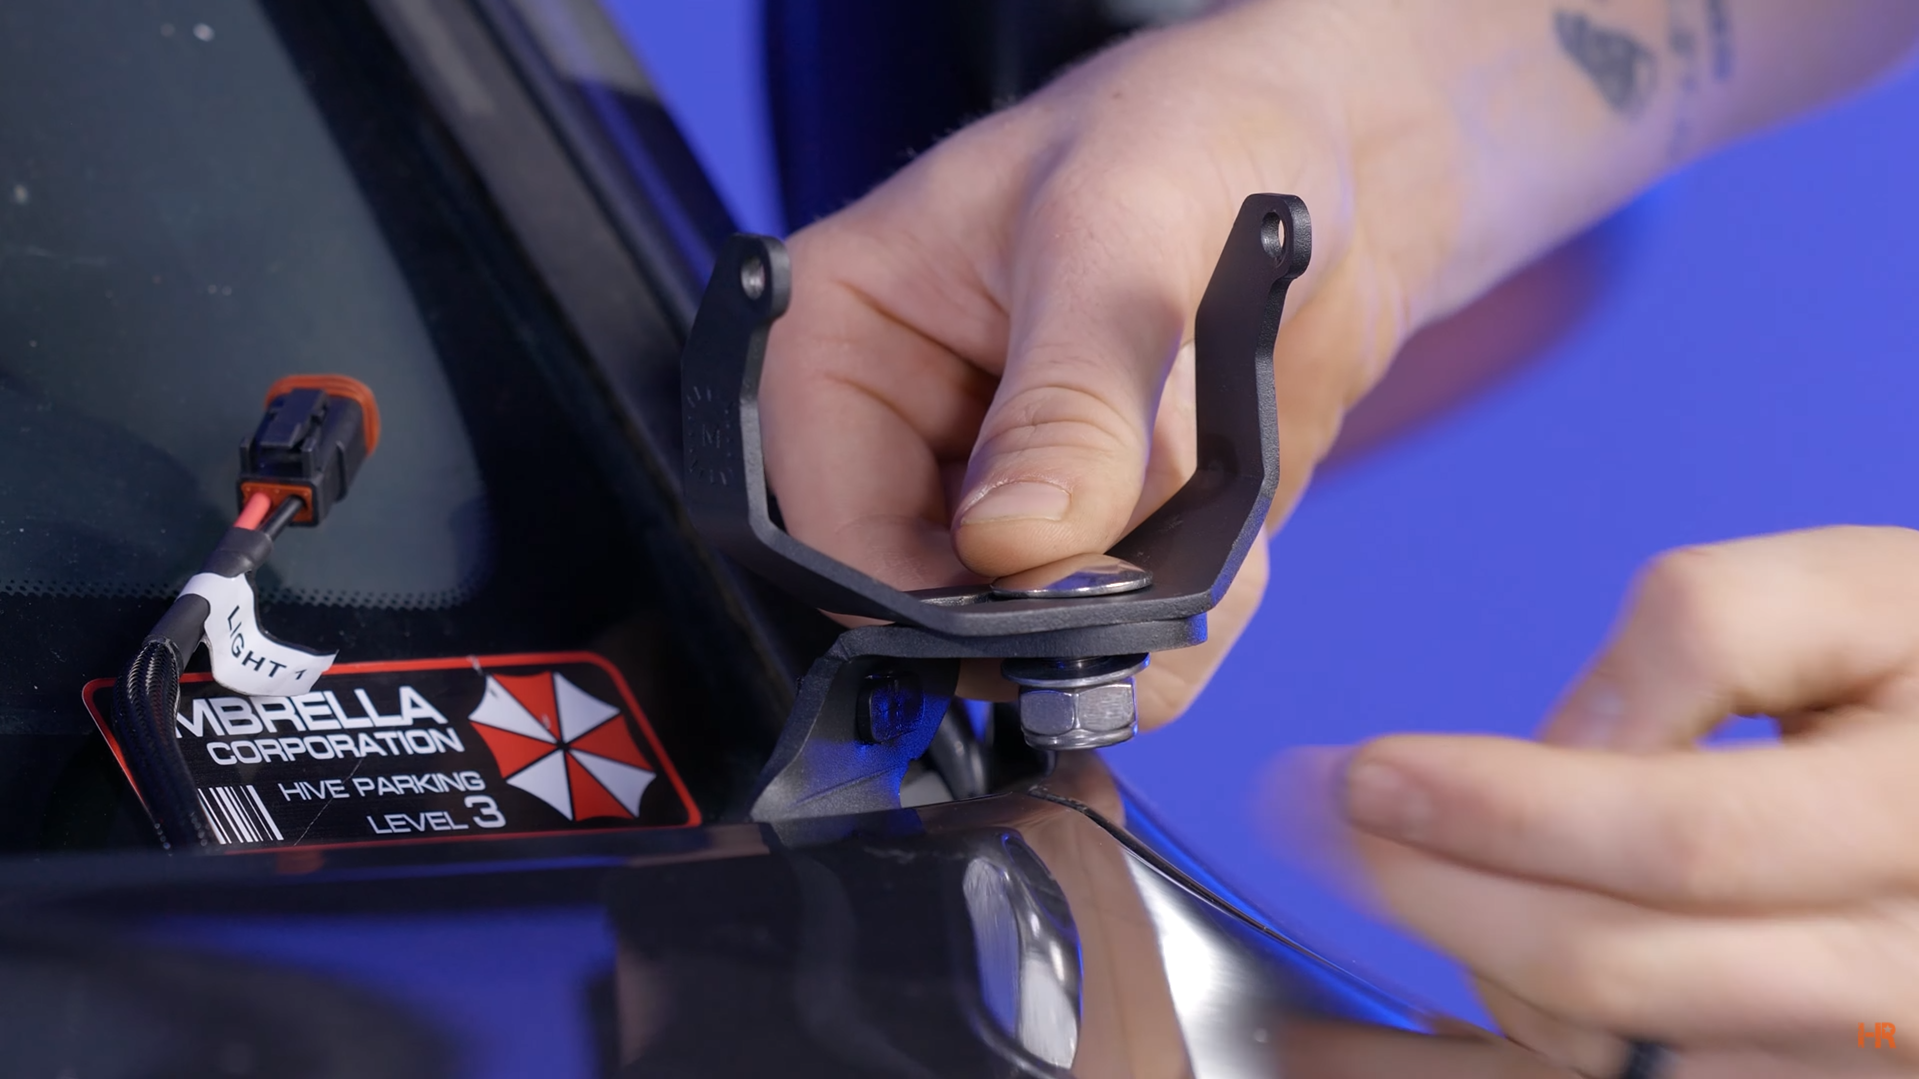
Grab the ‘U-bracket’ and place it on top of the A-Pillar bracket. Put the bolt from the kit through the base of the U-bracket. Place a washer and locking nut on the base of the bolt and tighten lightly.
Since this is an A-Pillar mount, we recommend using a combo or spotlight beam patterned 4Banger, but the choice is yours. The installation will be the same regardless.
Put your 4Banger in the U-Bracket and tighten it into place with the two T30 Torx screws.
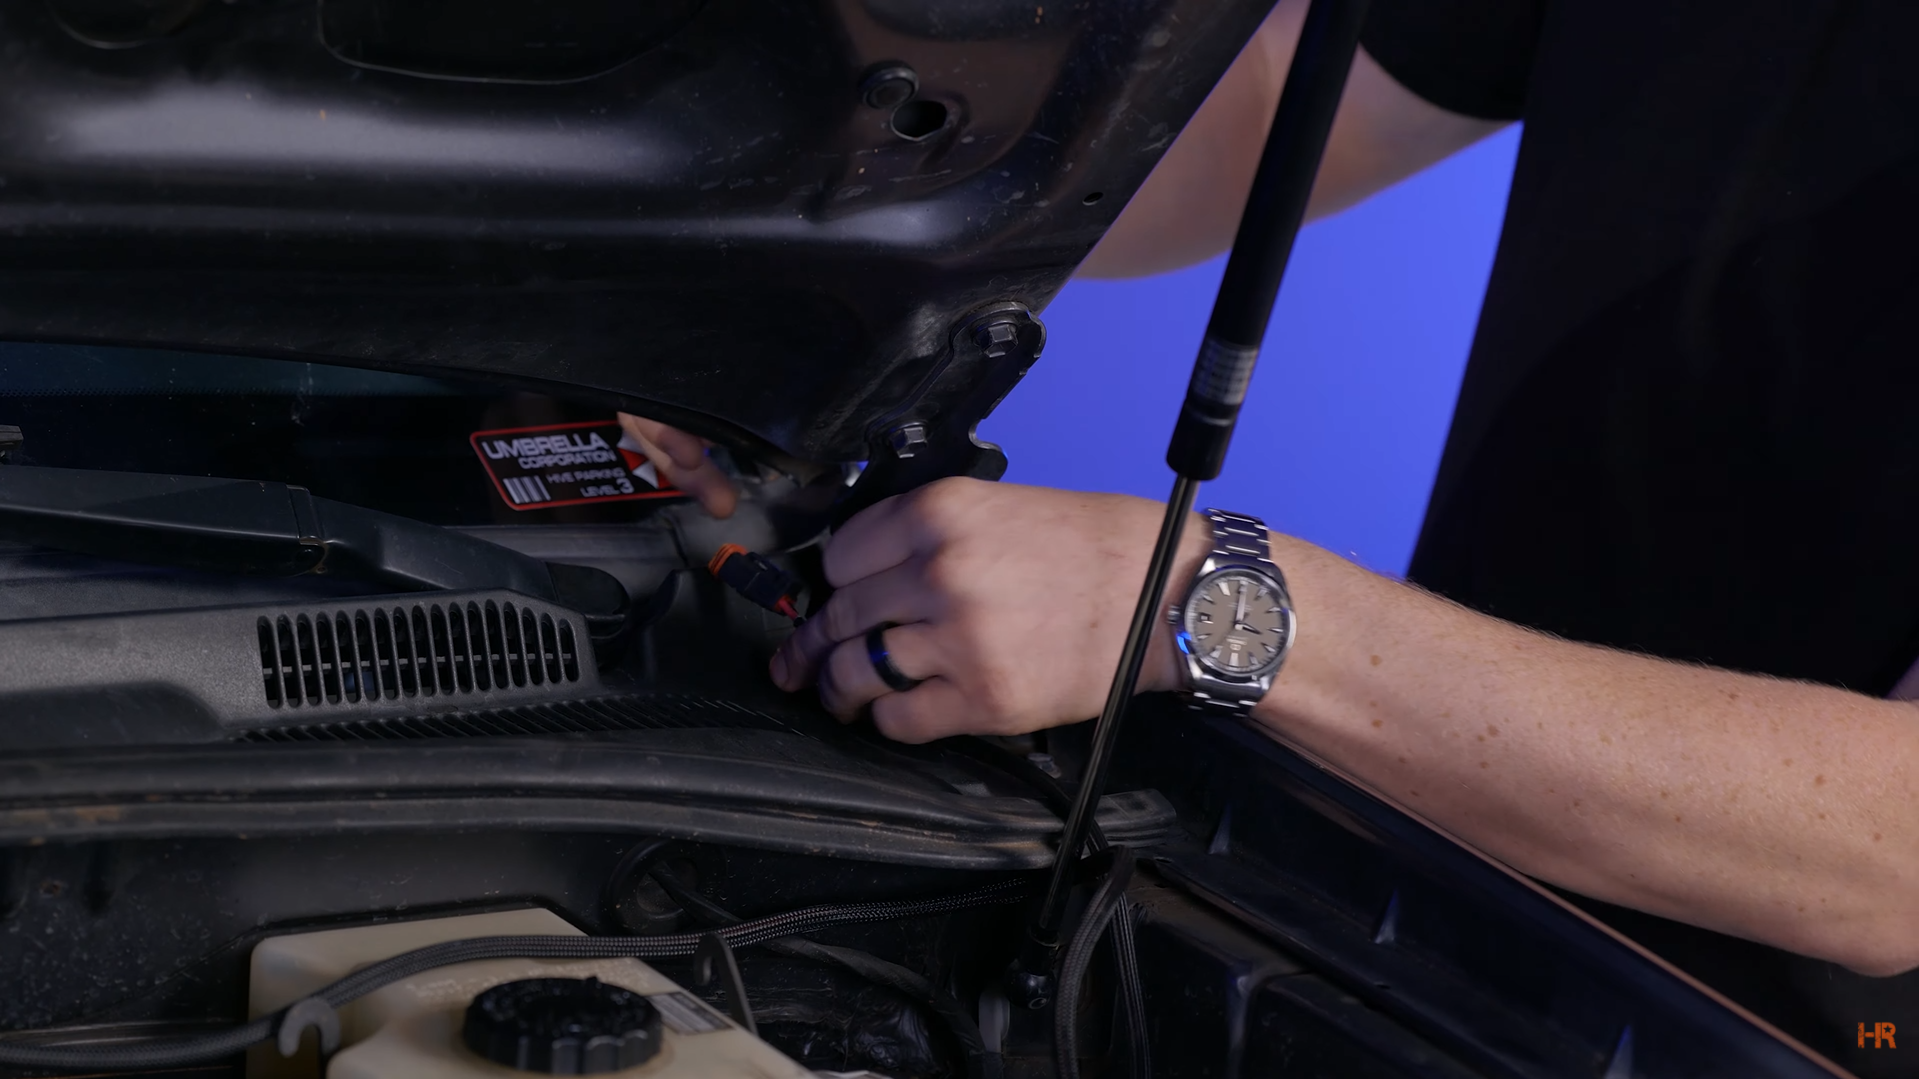
Plug in the Deutsch connector to the 4Banger. Then gently route the 4Banger back into the car.
Repeat for the passenger side of the car.
Switch Install
To install the switch, you will need to route it through the firewall. First, unscrew the barrel connector for the Morimoto ‘M’ switch. Doing so will make it easier to route through the firewall rubber grommet. Alternatively, you can drill a hole through the firewall to route the wire through.
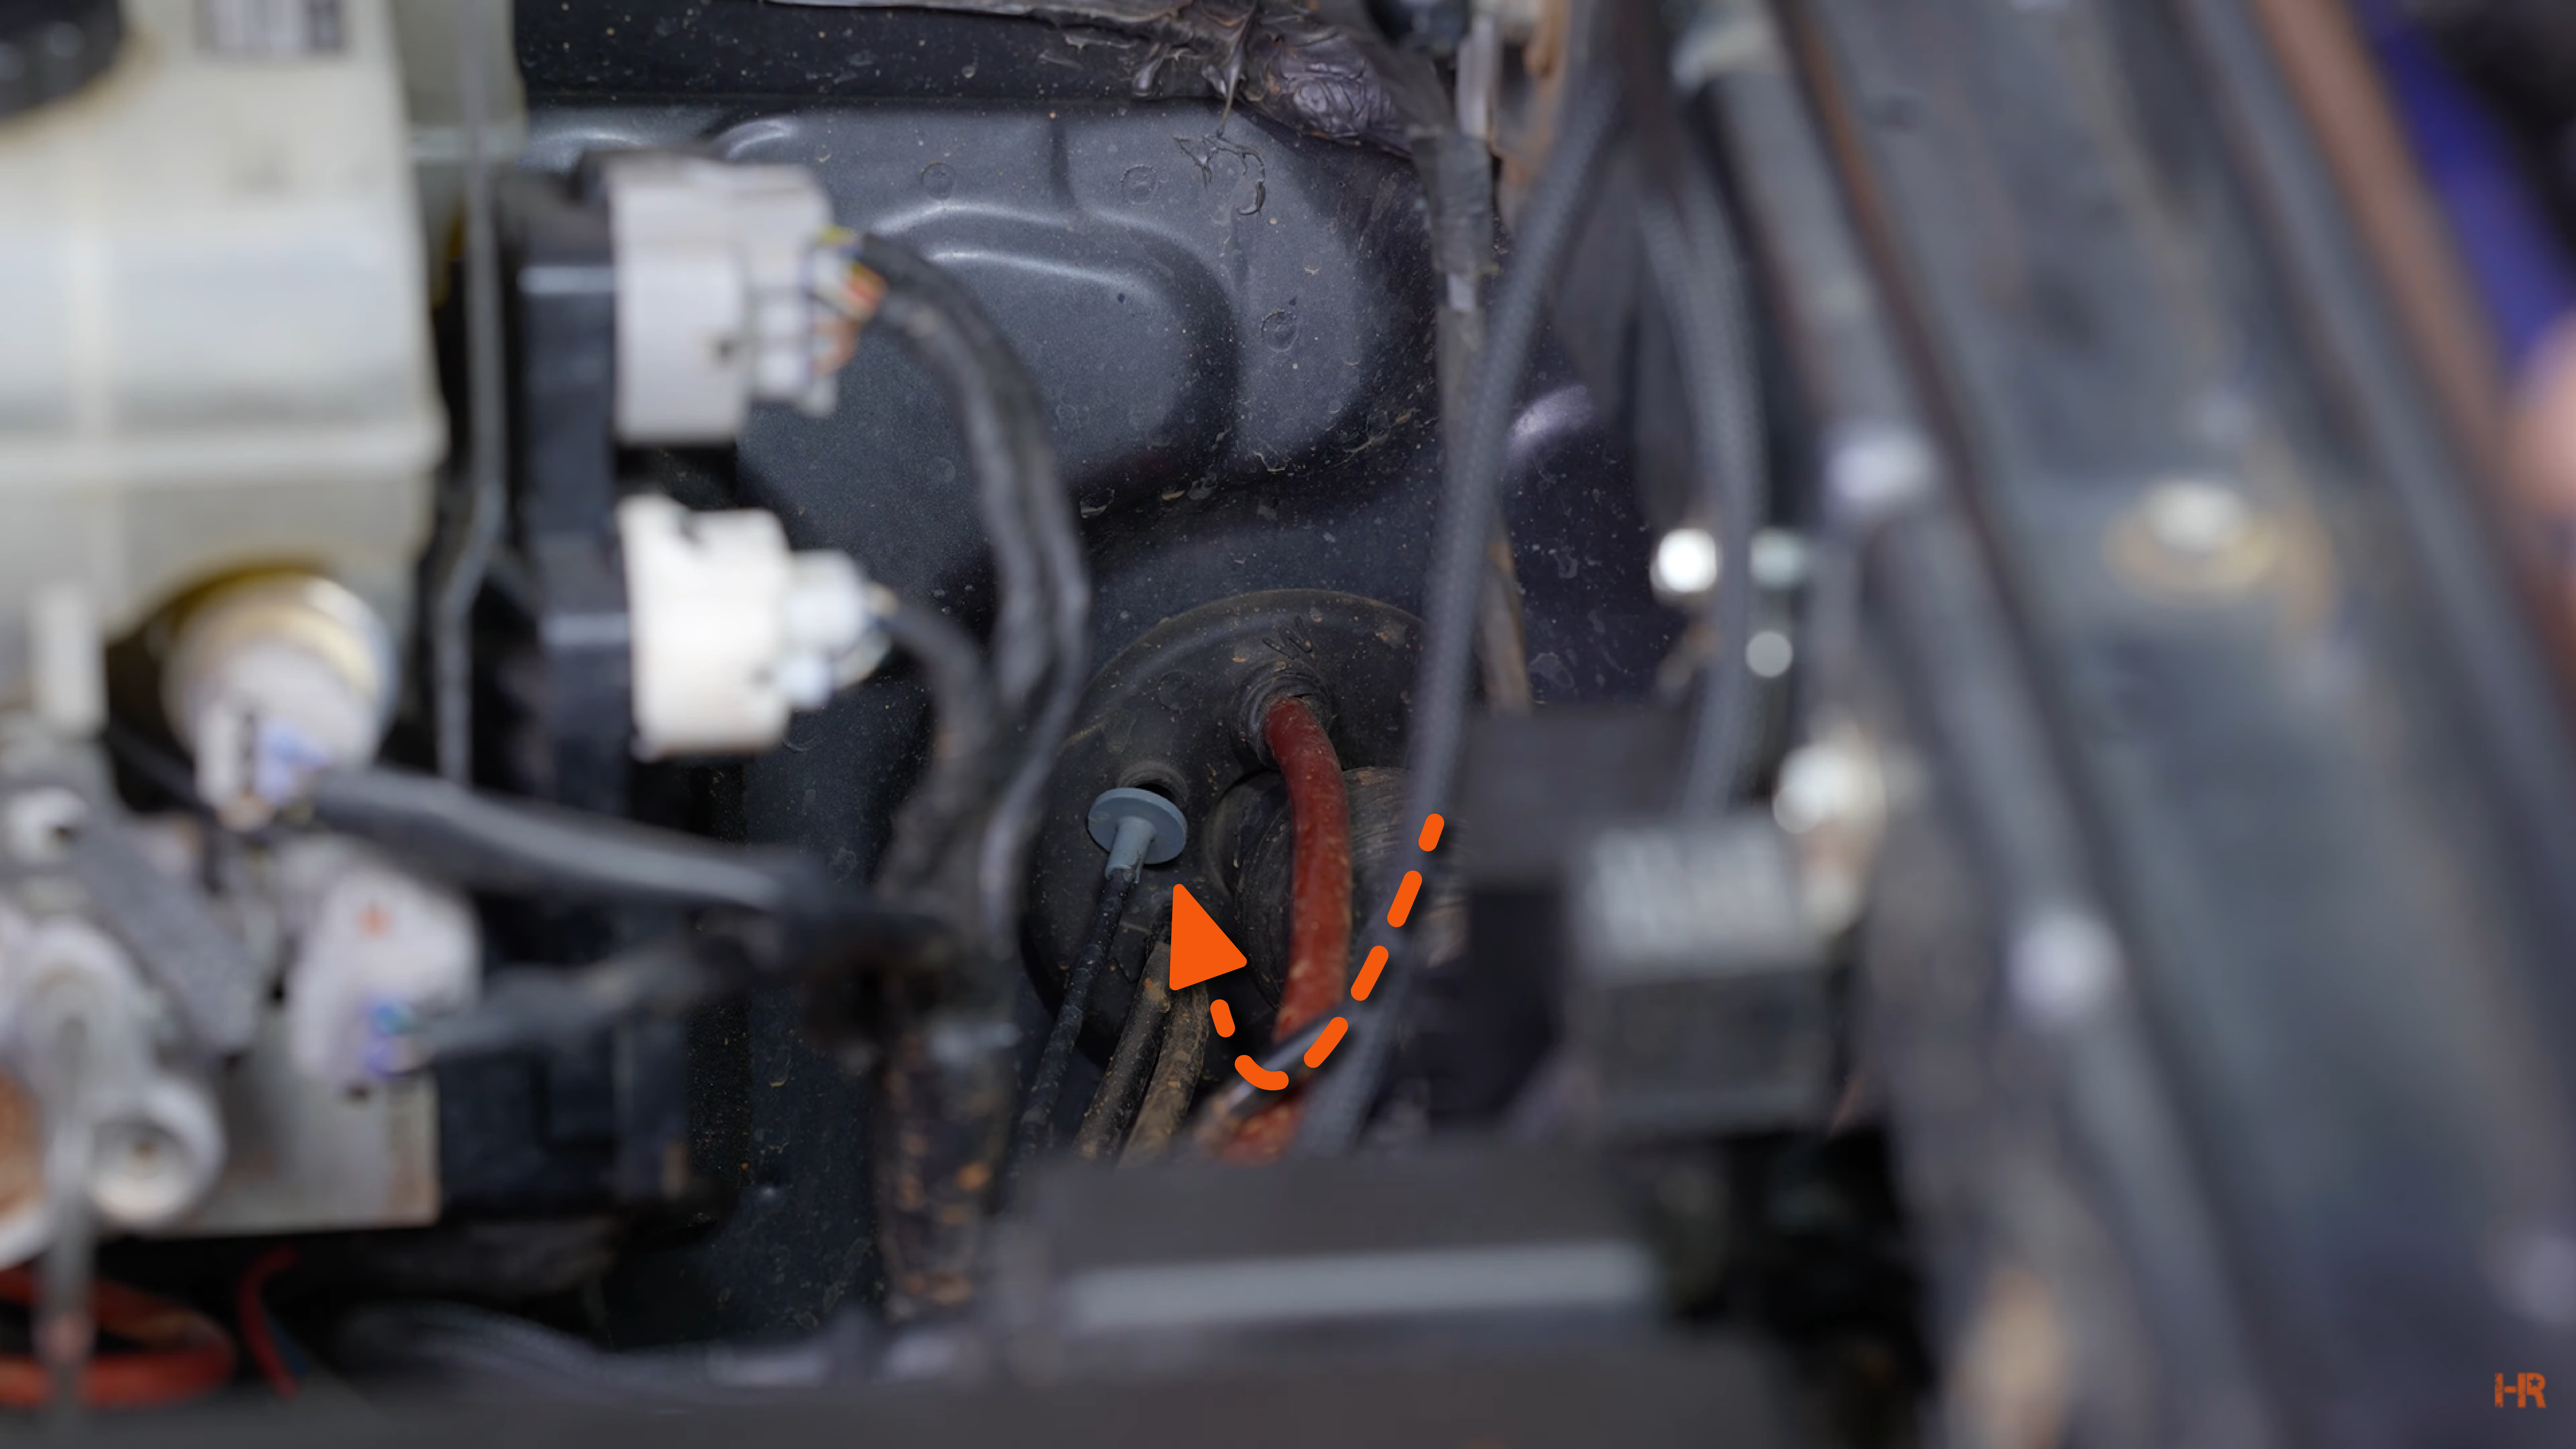
Once you have gotten the switch into the cabin of your 4Runner, you will either need to use a step bit on a drill to create a ¾ inch hole for the switch. Then, route the switch connector-first into the hole and use the locking washer to secure it into place.
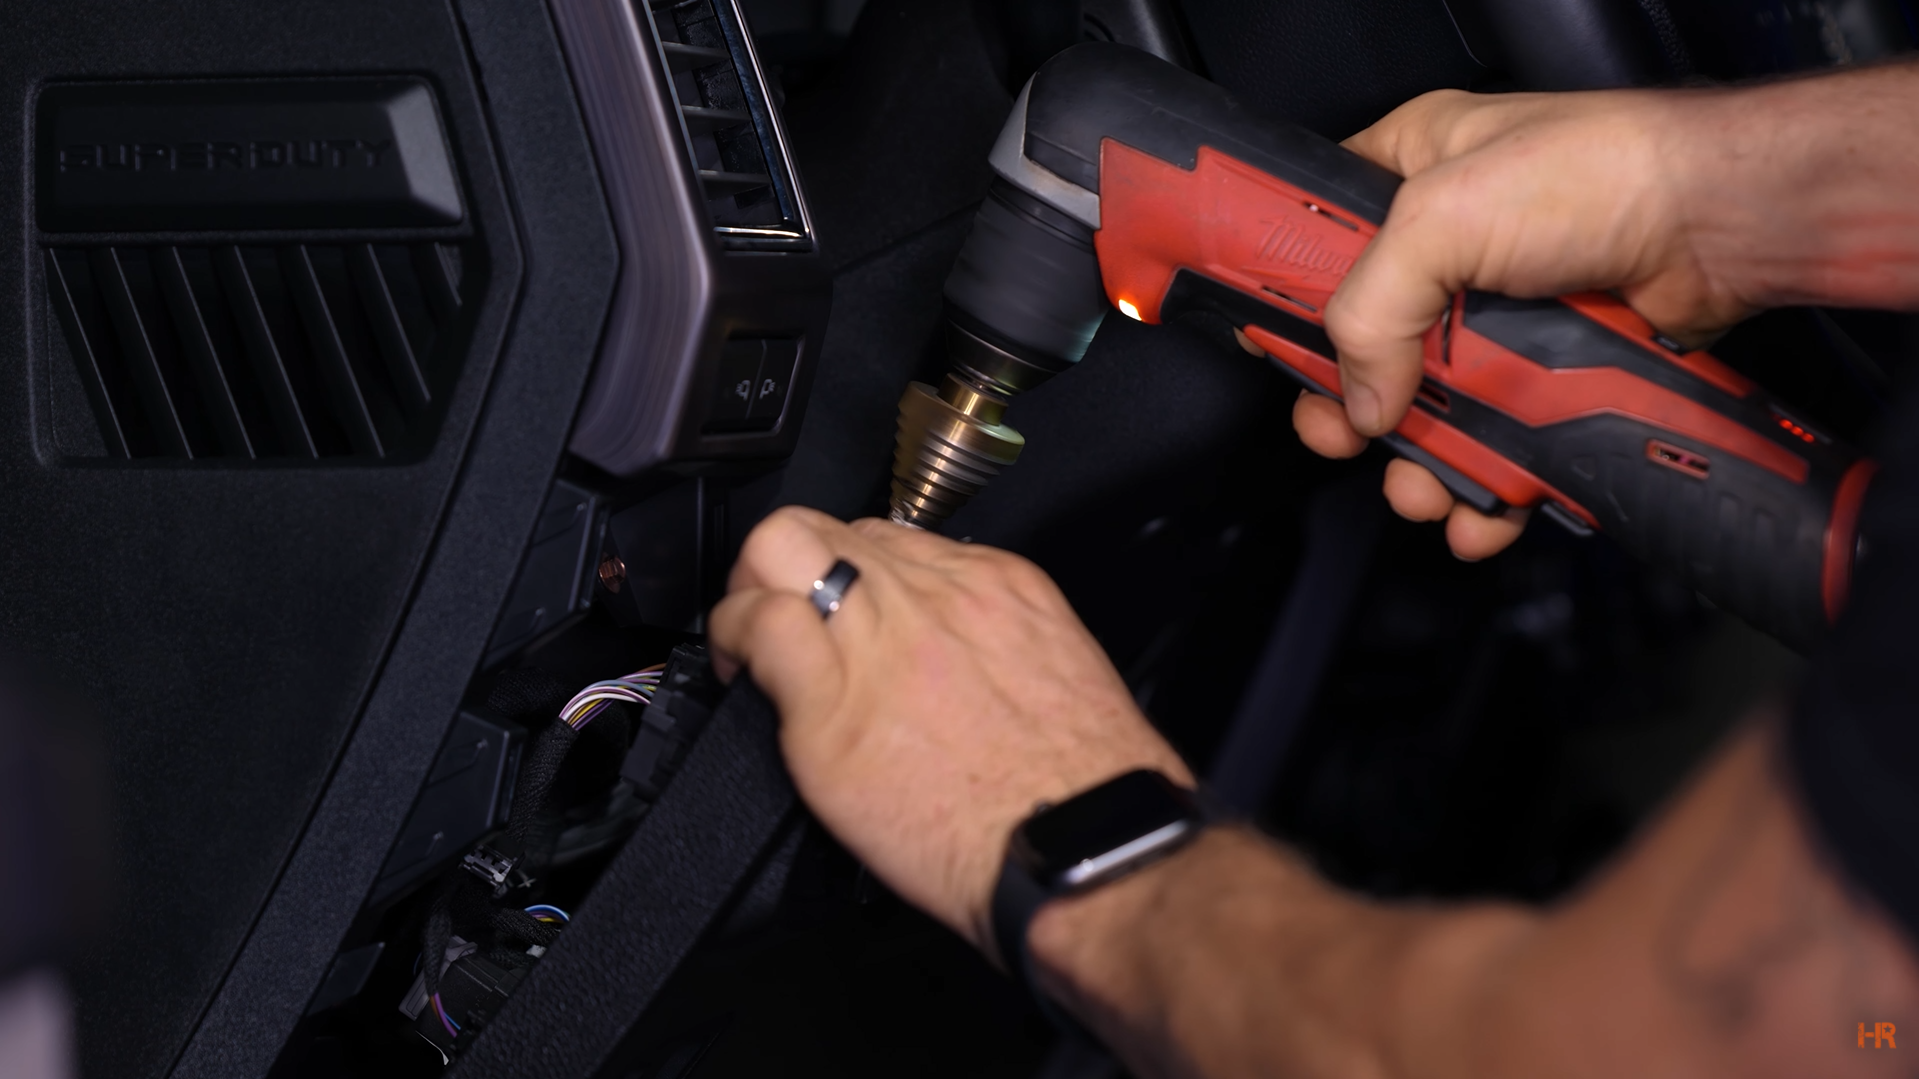
Before closing your dashboard, be sure to connect the switch and tighten it for a waterproof connection.
An alternative to this would be to use the bare wire that comes with the 4Banger harness. This allows users to take advantage of existing switches and uplifter switches.
Power Connection
Lastly, you can undo the 10mm bolt for the negative terminal on your battery. Then place the black wire over the negative terminal and tighten the bolt back over it.
Undo the 12mm bolt on the positive terminal on your battery and place the red wire over it. Tighten the bolt back over it to finish the installation.

Now that you have everything wired, make sure your 4Bangers work. Once you have that figured out, you can use zip ties to clean up your engine bay of those pesky wires.
CONCLUSION
And there you have it! You are ready to hit the trails with your ’03 - ‘09 4Runner and 4Banger LED pod lights.
If you are more of a visual learner, be sure to check out our video on the Morimoto 4Banger LED Pods for the ’03 - ‘09 4Runner. While you are there, make sure to like and subscribe to our channel for the latest lighting upgrades for your vehicle.
Have any questions about one of the products we mentioned? Contact us today, and our customer service team would be happy to help.