2021+ Ford Bronco Morimoto 4Banger Fog Light Install
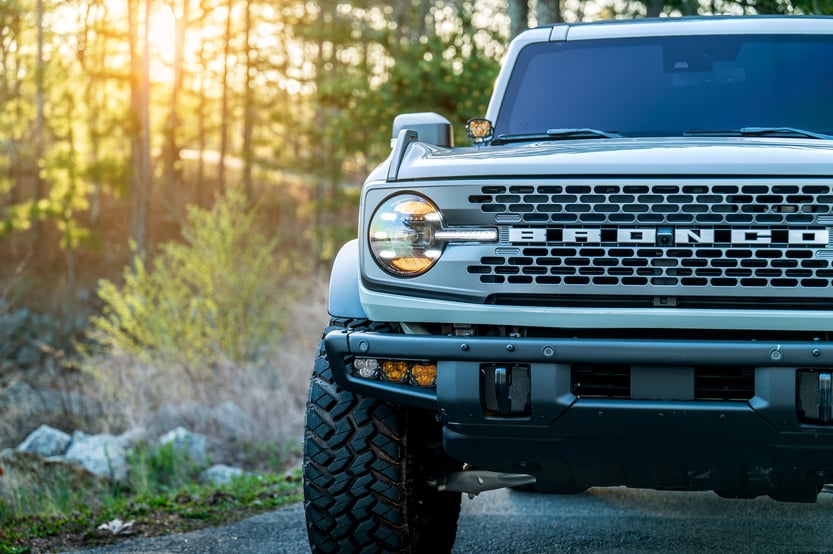
The brand-new 2021 Ford Bronco is here and you can build your Bronco into an even more legendary off-road machine with the Morimoto 4Banger LED pod lights. They are an unbelievable combination of off-road performance and off-road lighting. The rugged, but classical styling of the Bronco meets the aggressive styling of the 4Banger pod light.
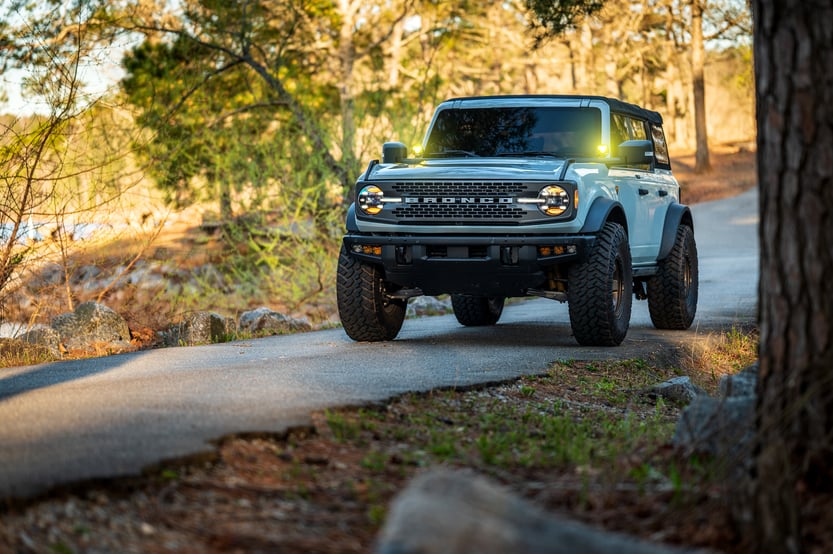
The Morimoto 4Banger is available with a number of vehicle-specific bracketry to fit your car or truck of choice. We are talking about A-Pillar brackets and vehicle-specific fog light brackets that have an OEM-quality fit. In this article, we will be going over the fog light bracketry for the Ford Bronco and showing you how to install them.
ABOUT THE 4BANGERS
Available in two different trim levels, the Morimoto 4Banger LED Pod lights bring a mixture of design, output, and versatility to the LED pod light market. With the entry-level 4Banger NCS model, you get a Nichia LED chip spec for its output source. For the premium HXB model, an Osram HX Boost LED chip packs its punch behind the TIR optics, which can be found on both models.
As we mentioned before, the fitment of these pod lights is really well done. There are a number of vehicle-specific mounts so that your 4Bangers do not look like they have just been tacked on your car. Modifications on your car need to look natural, and these mounts do just that.
Beam Patterns
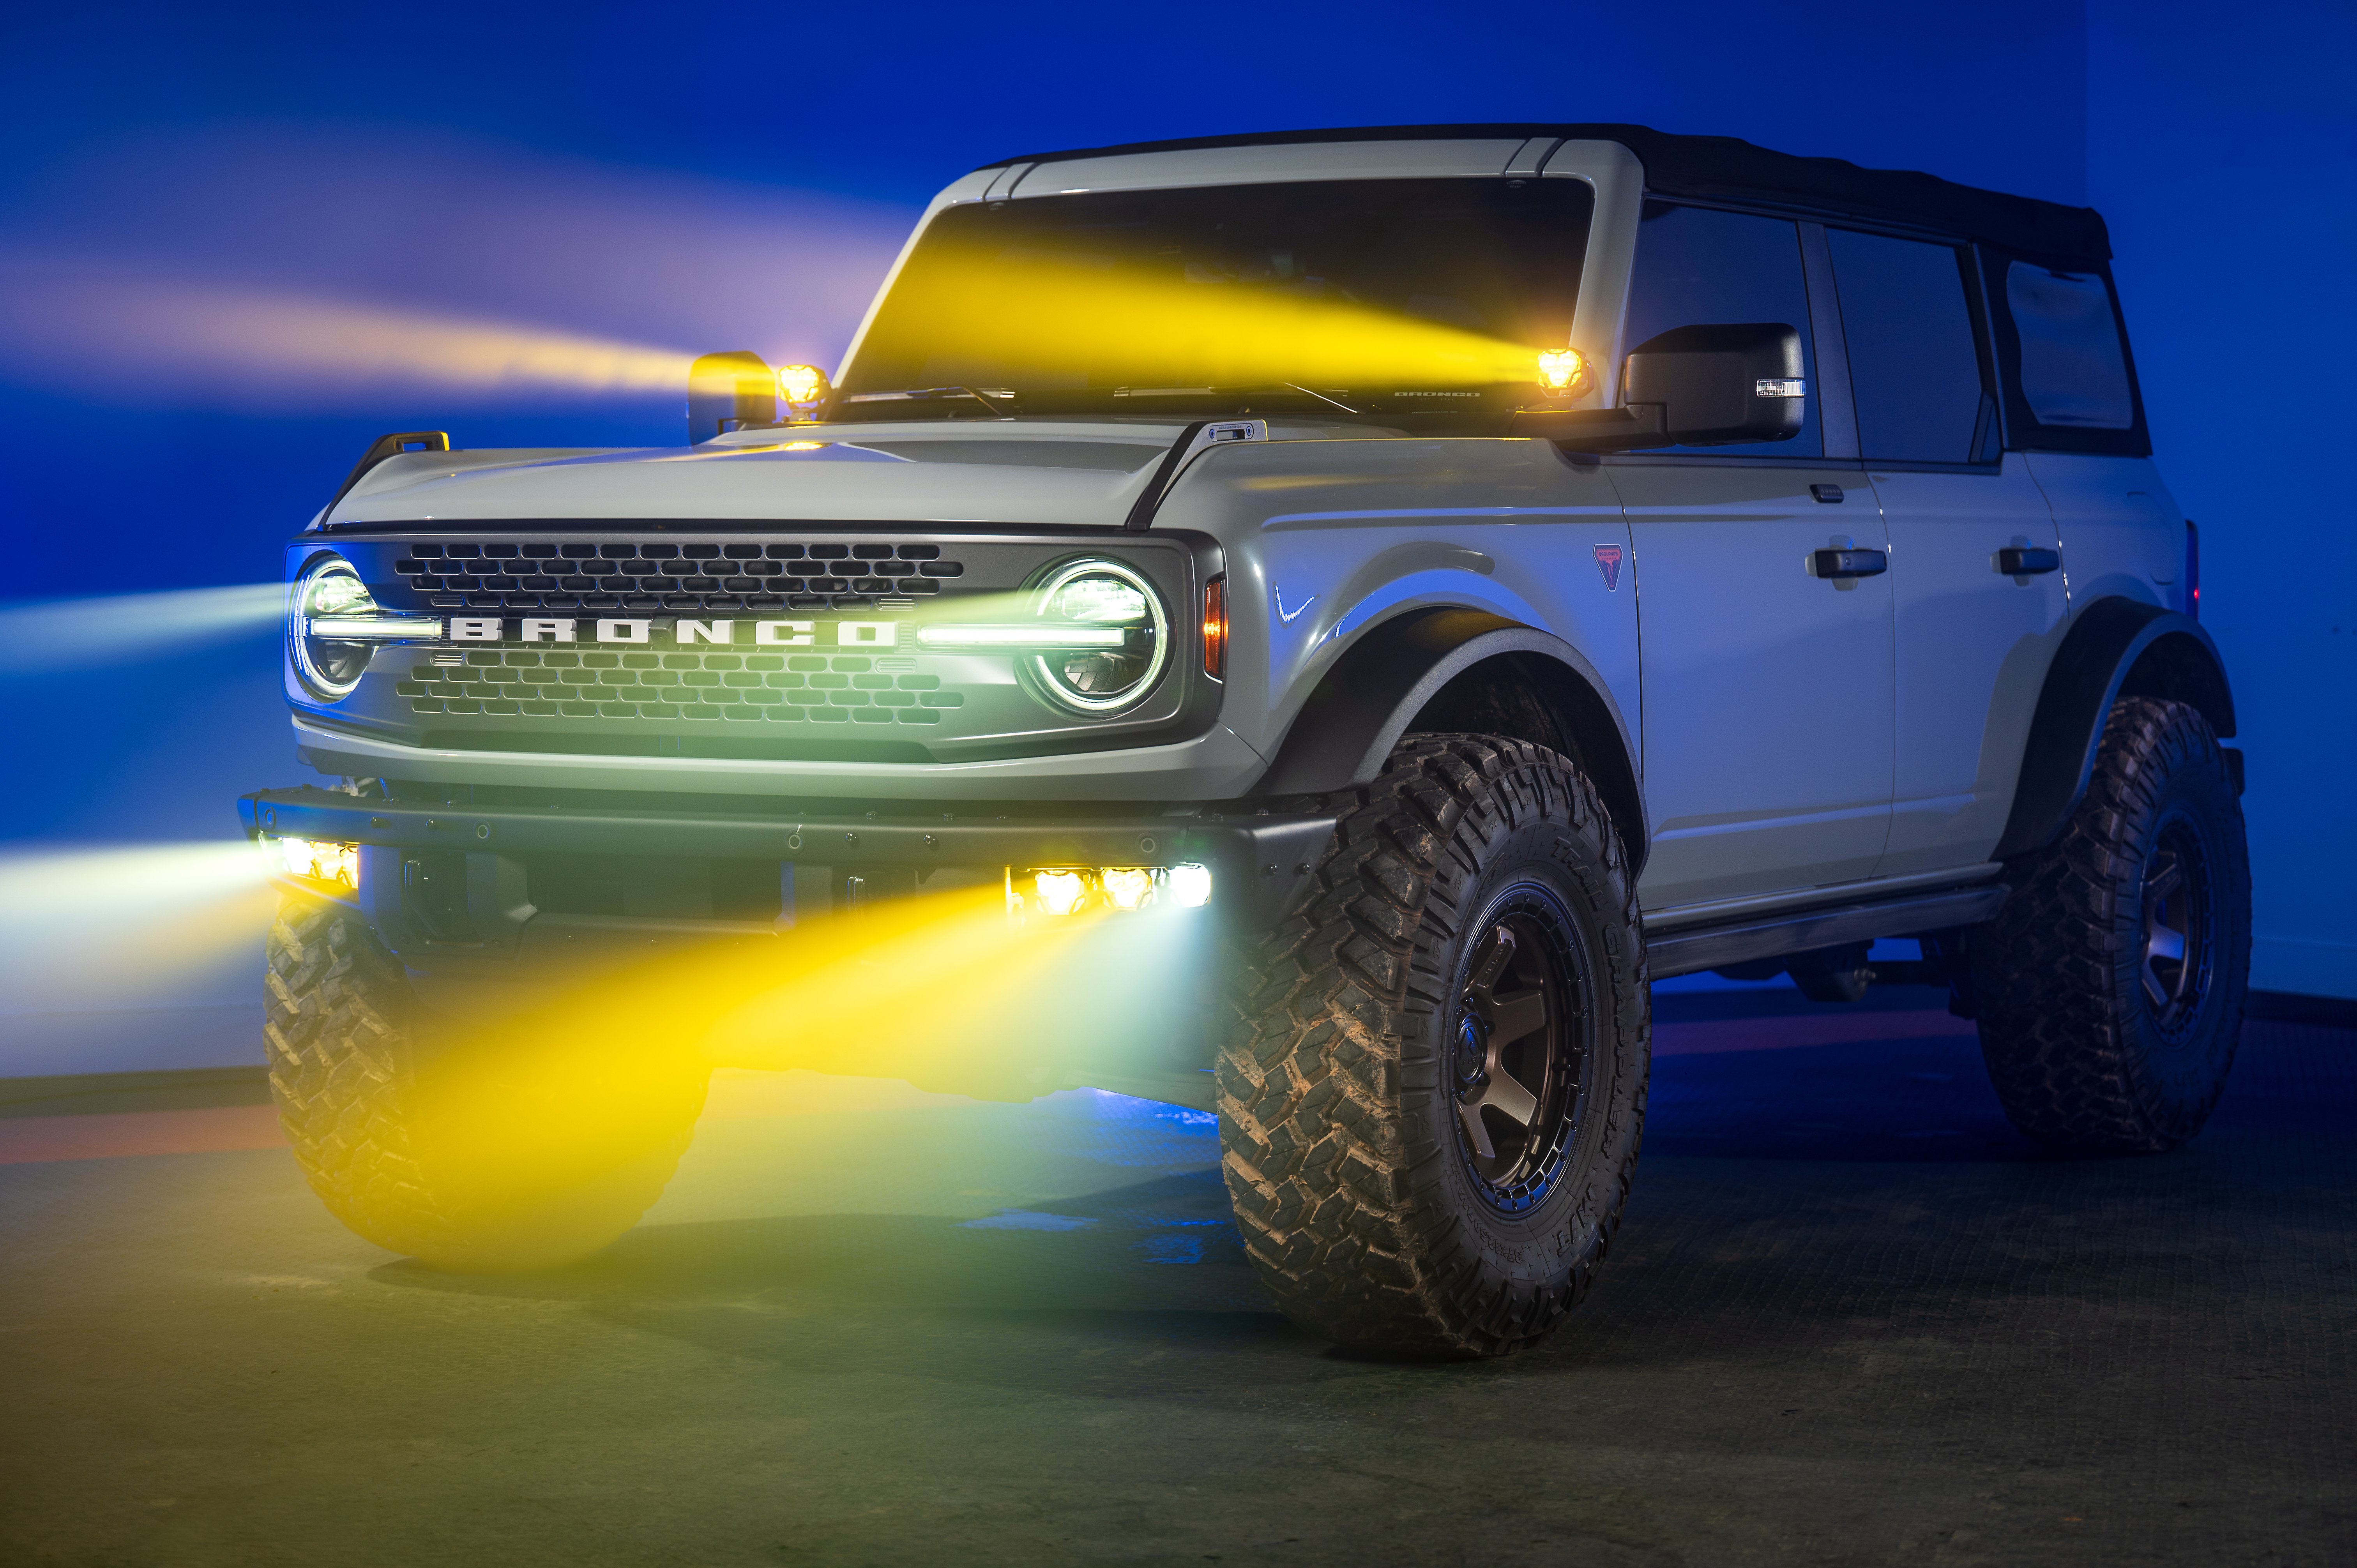
The NCS and HXB models both come in three different beam patterns: combo (driving), wide (fog/SAE), and spot. The most popular among the three will likely be the wide beam pattern. This can ideally be used in a fog light application and is legal for road use when aimed at -3°.
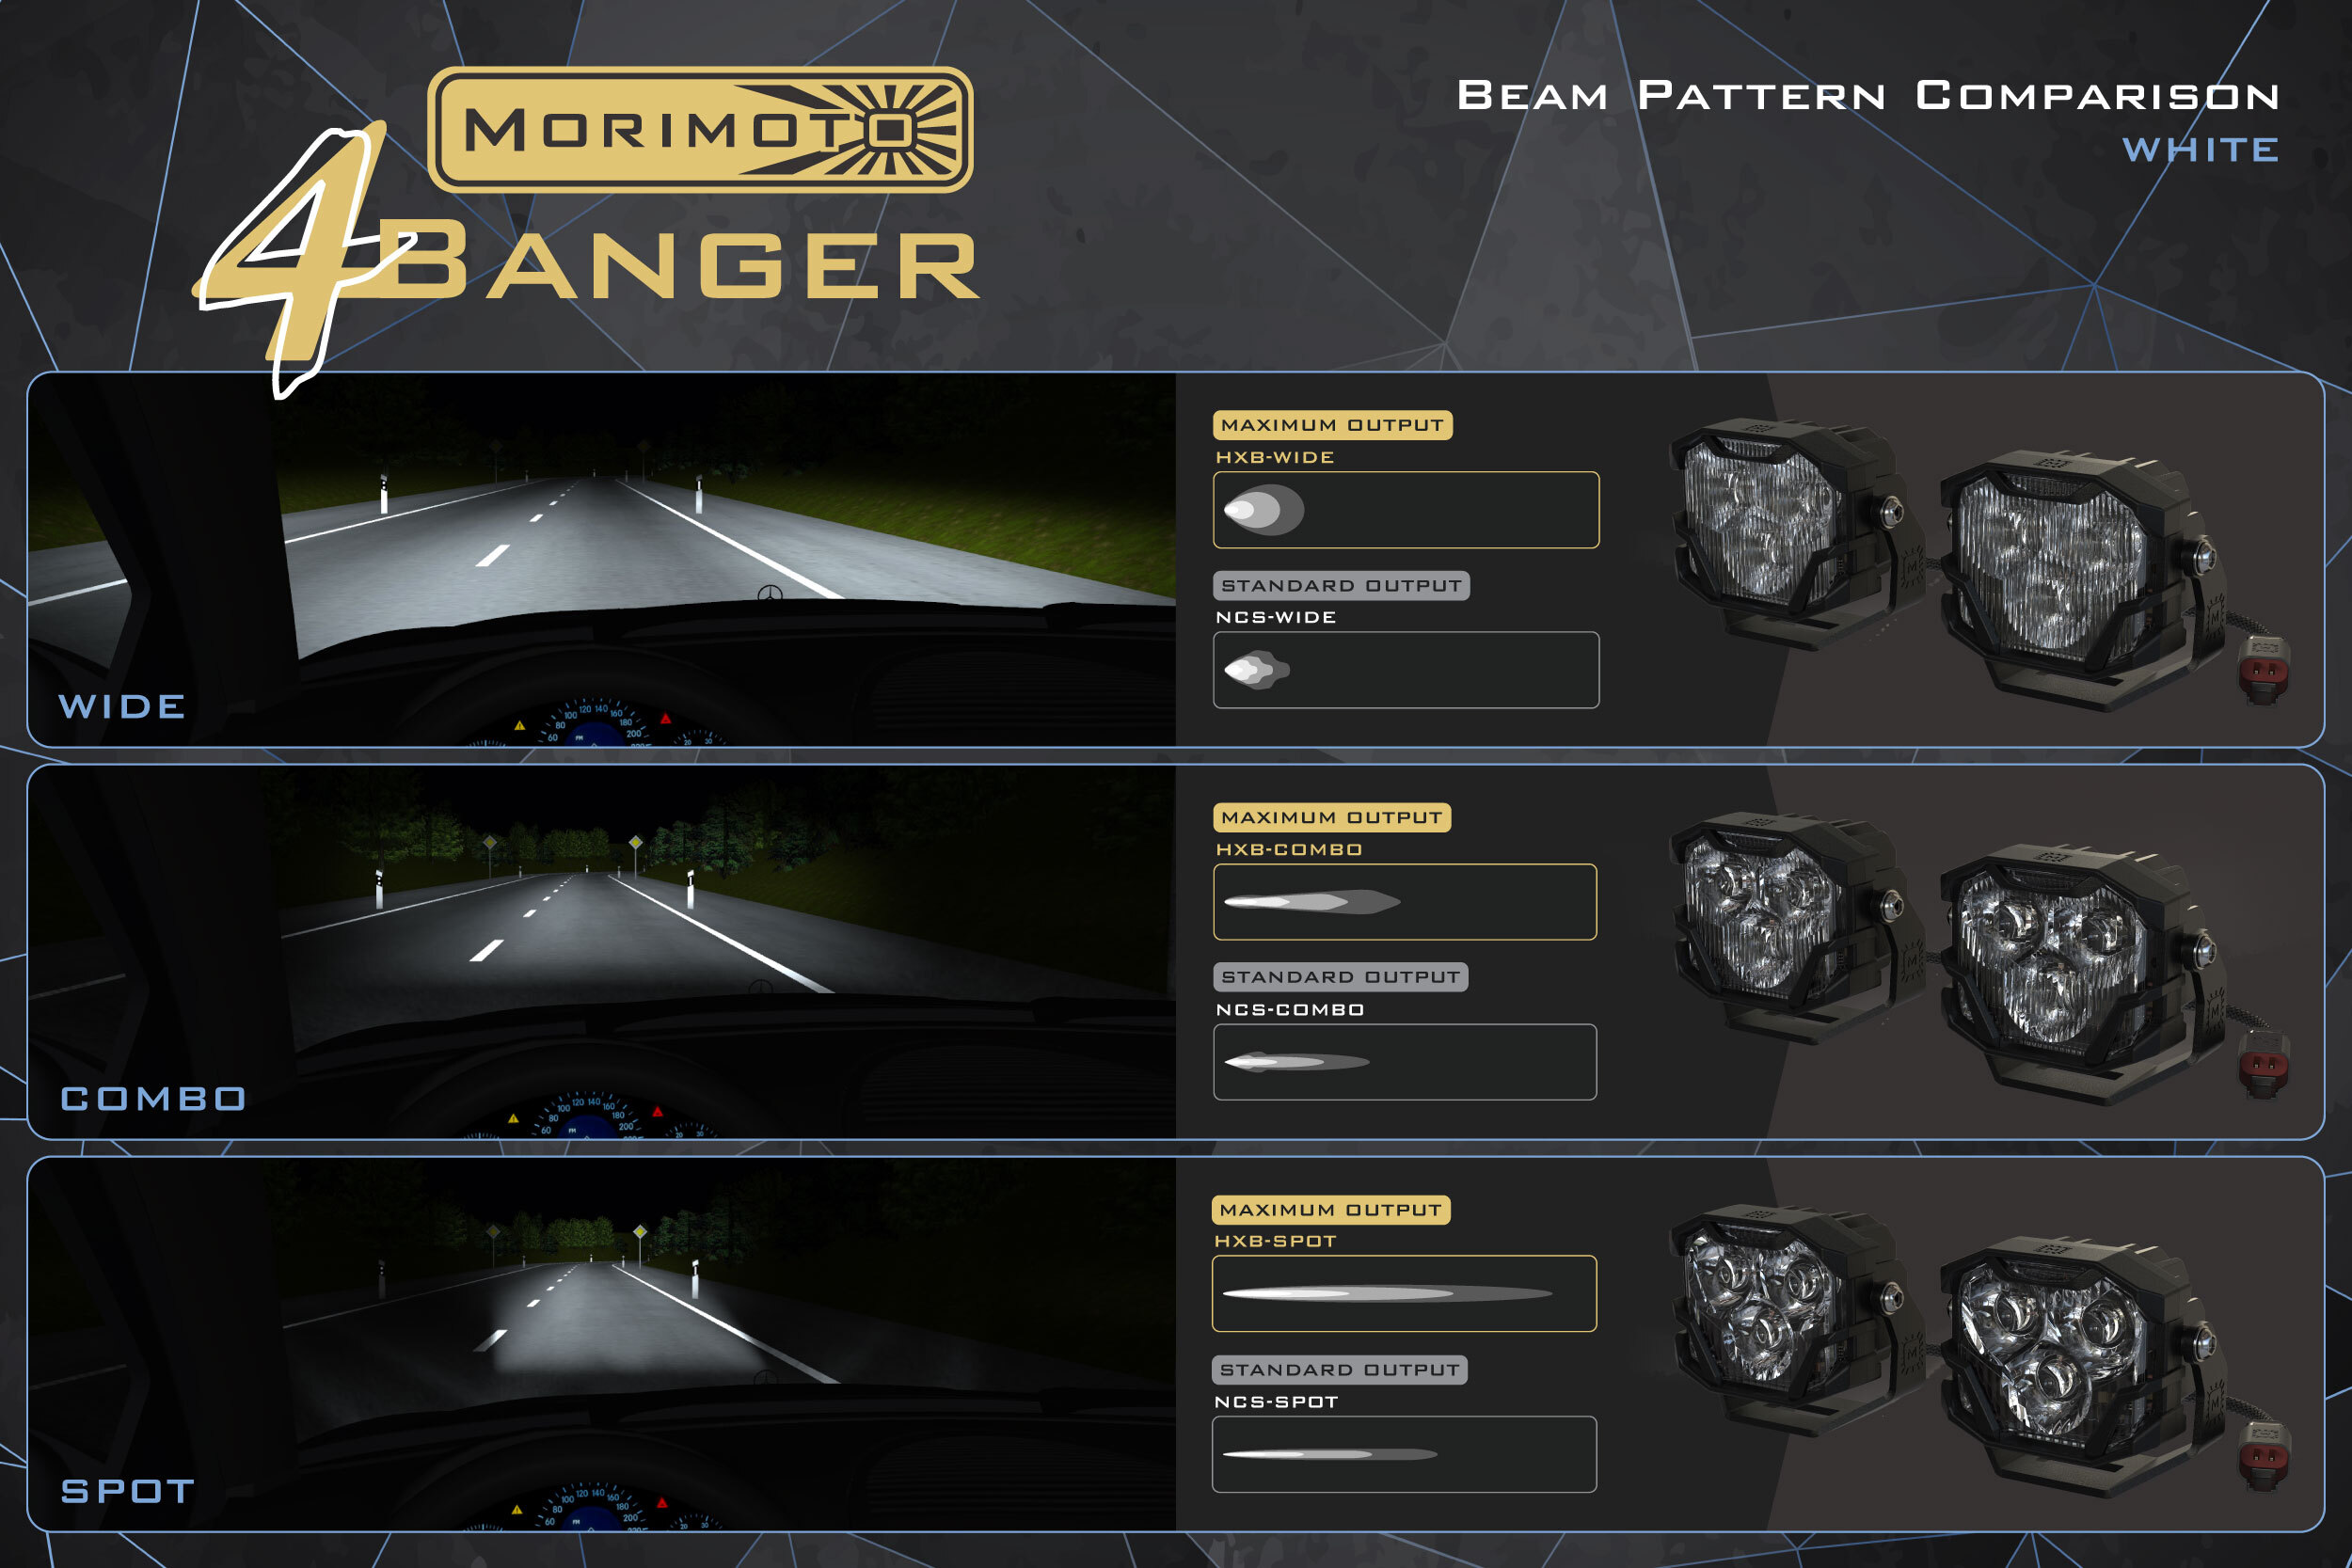
The combo or driving pattern is useful when it comes to off-roading and will likely be a favorite of that crowd. The same can be said about the spotlight beam pattern which is almost exclusively meant for an off-road application.
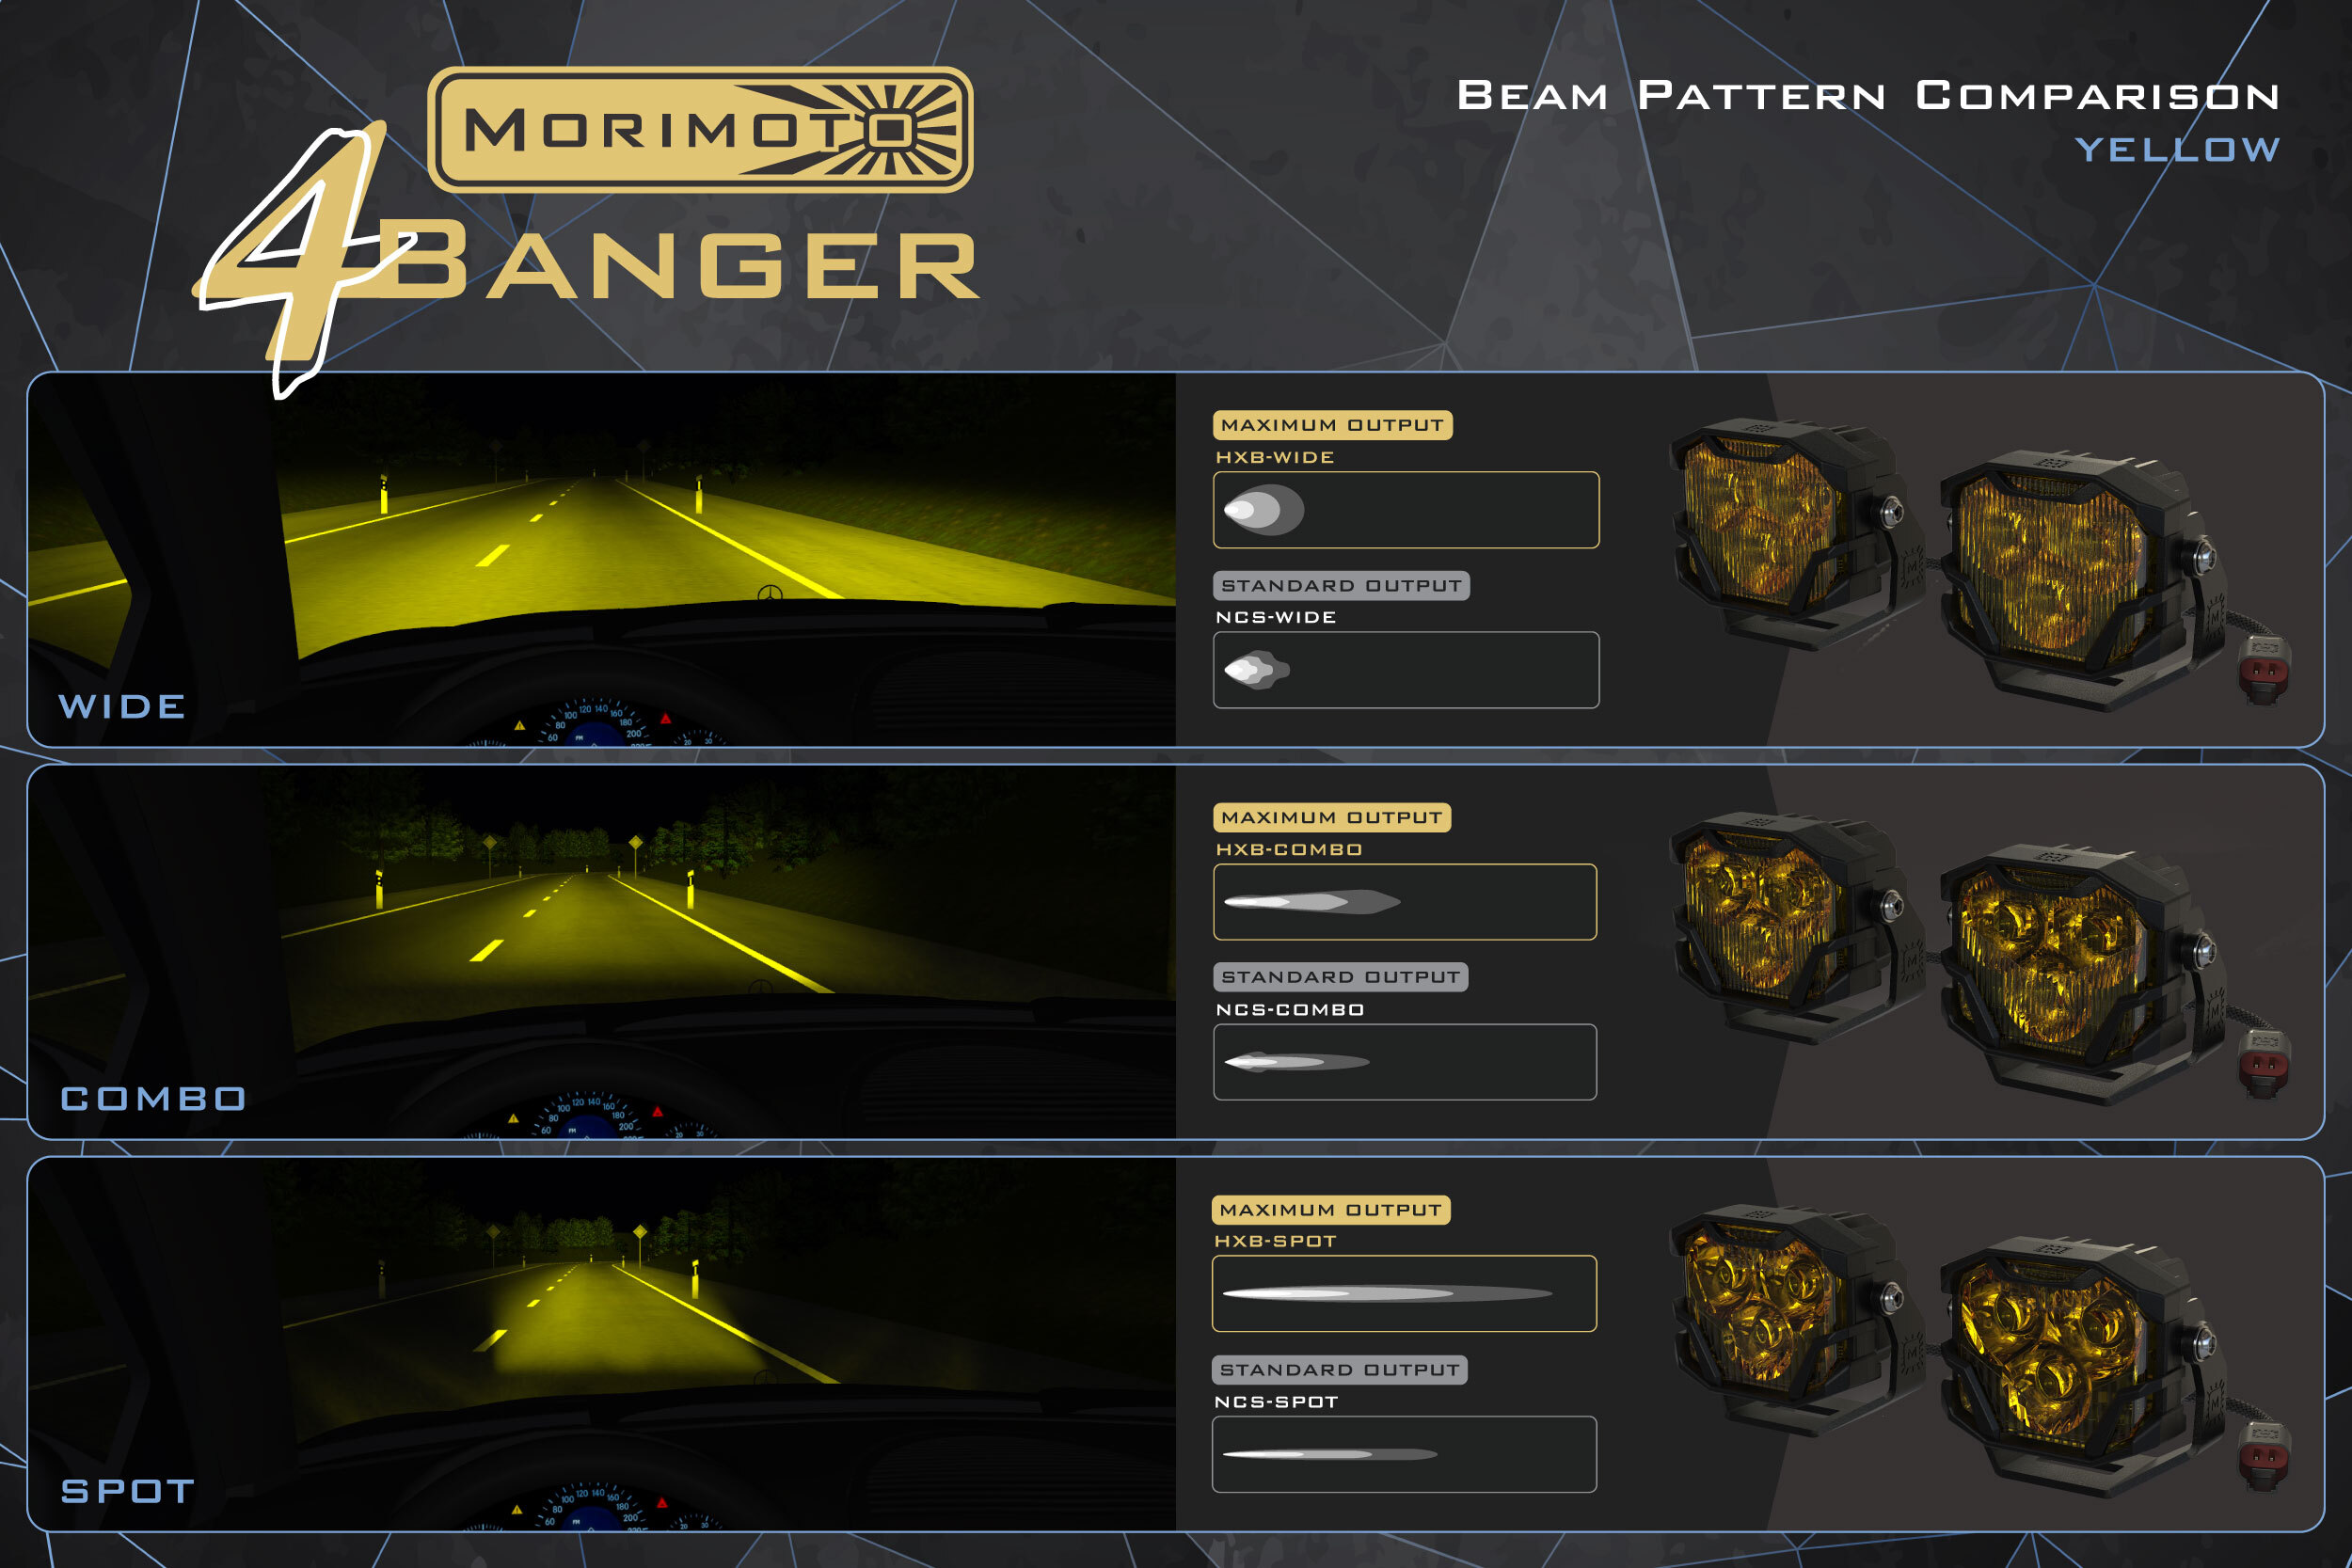
Color Options and Optics
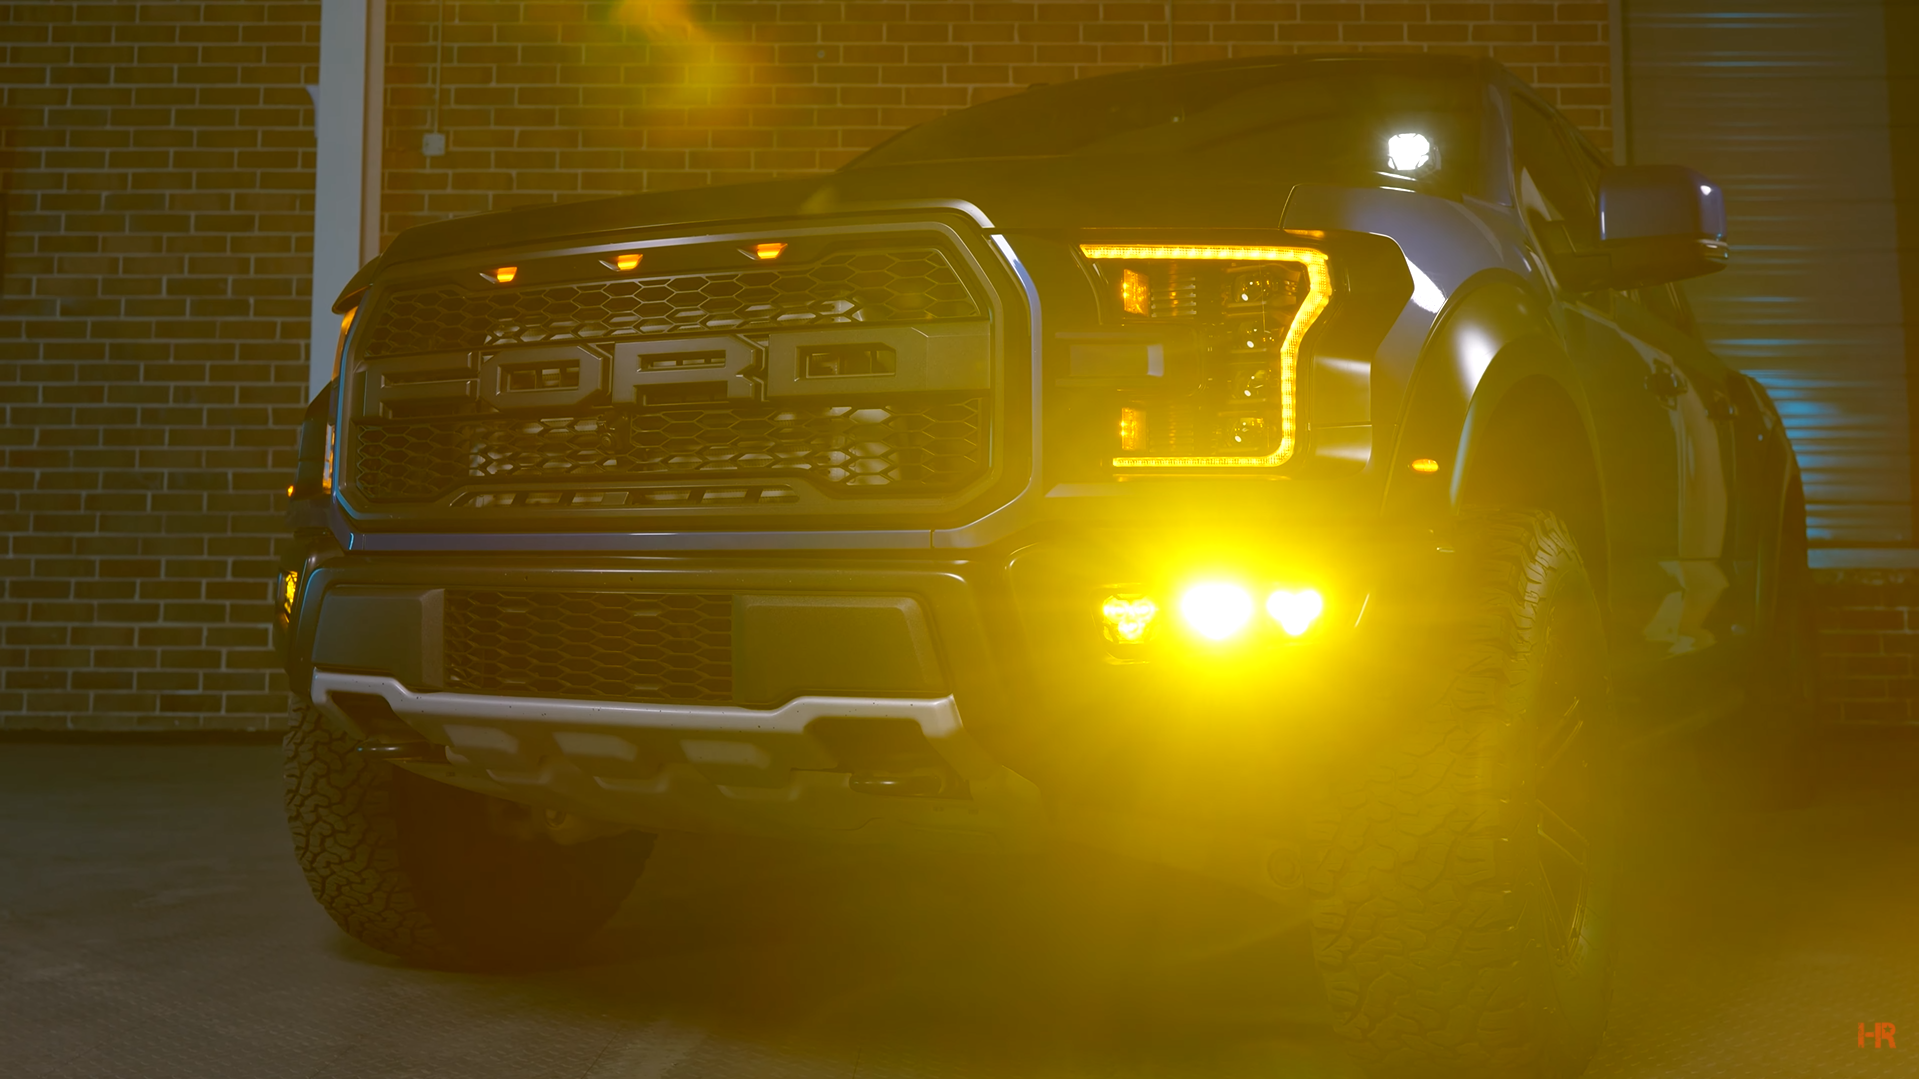
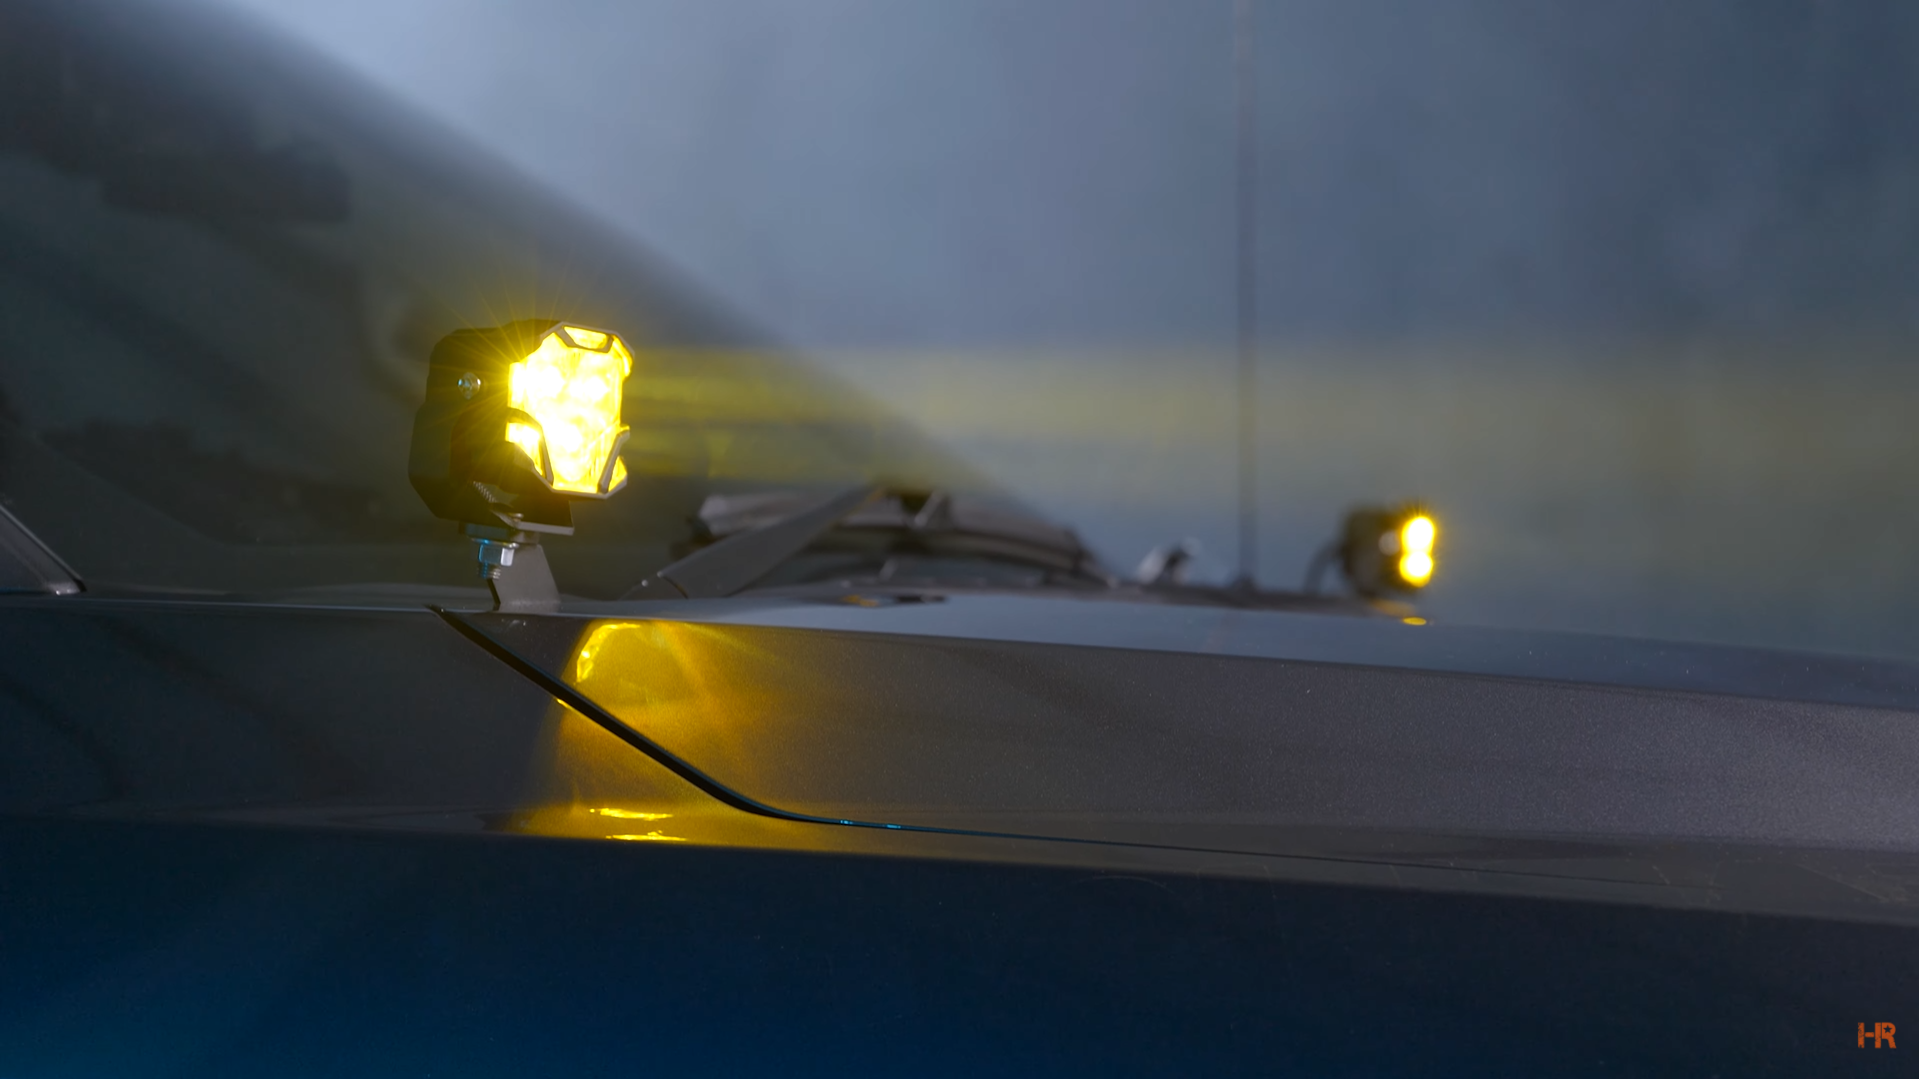
Additionally, each of those beam patterns for both the NCS and HXB models can be purchased with a white or yellow beam pattern.
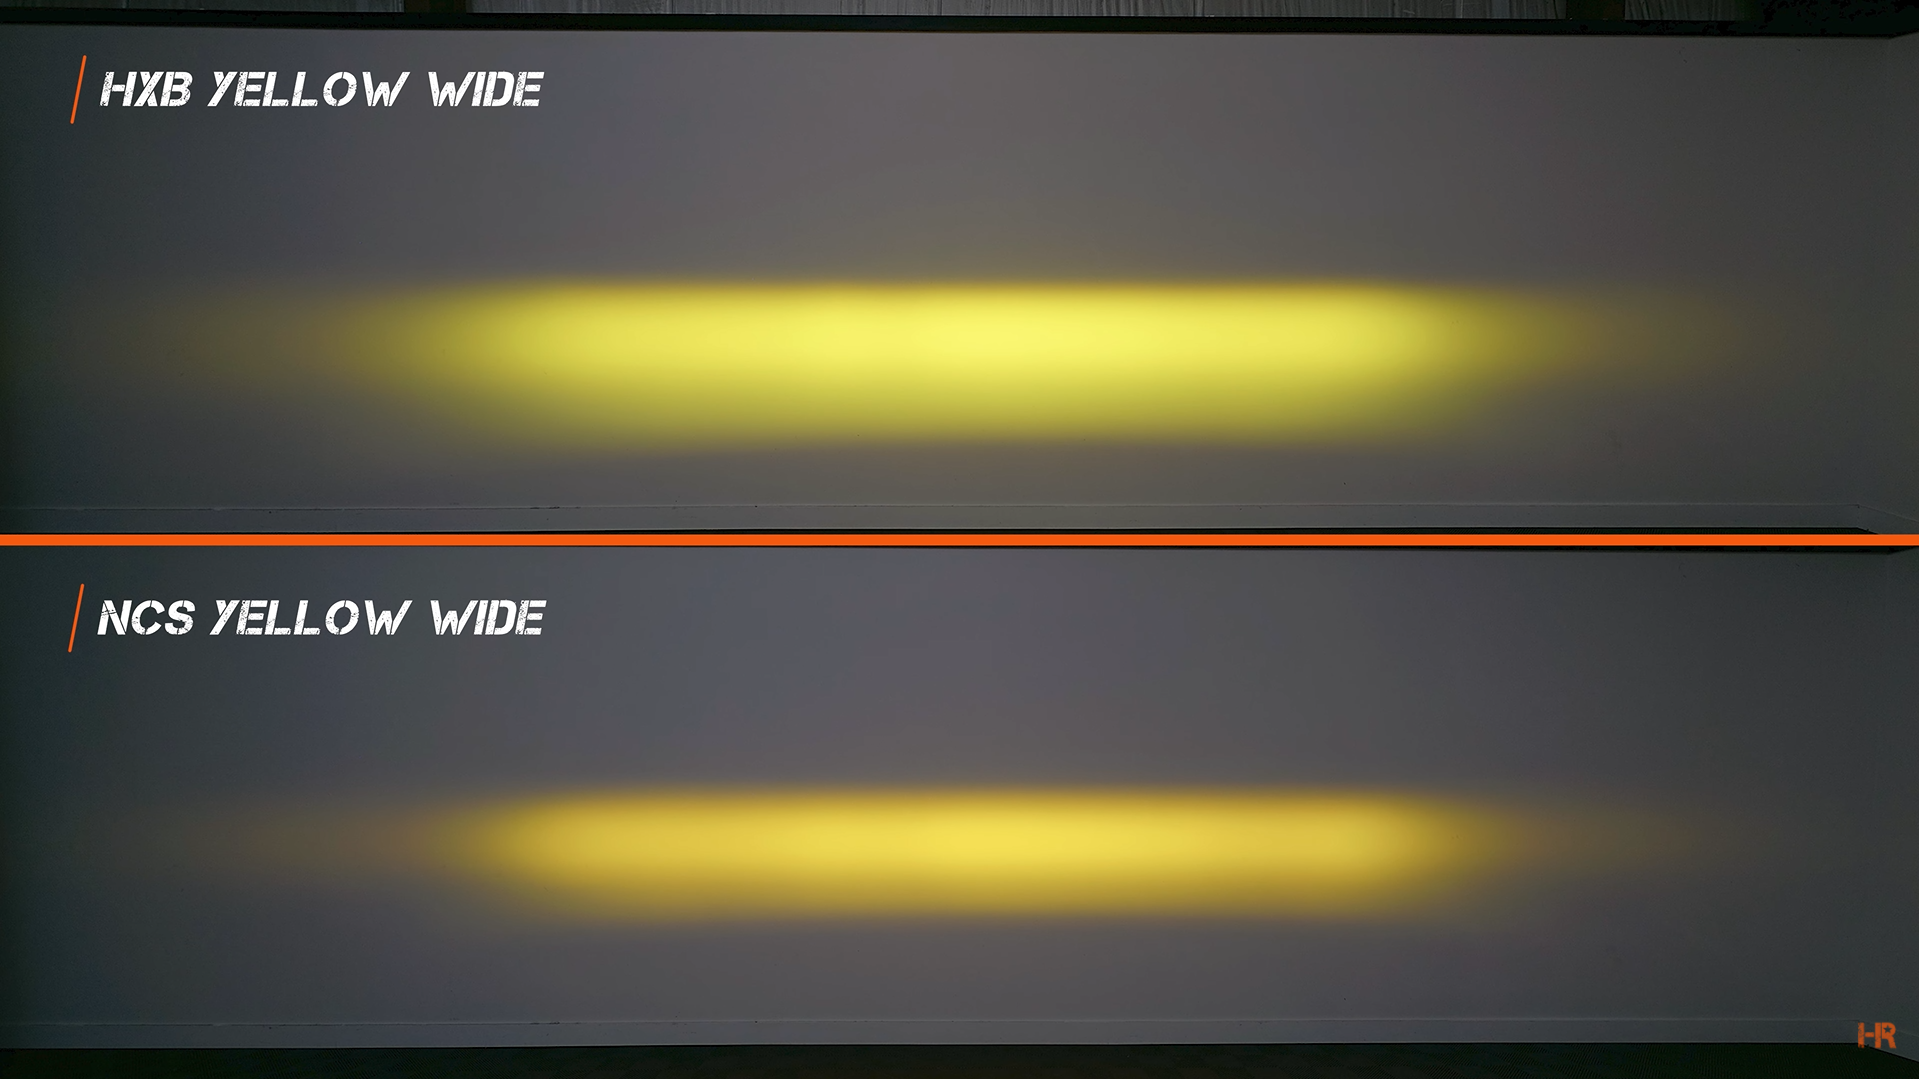
If you choose to go with the yellow NCS model, you will be using a Nichia true-yellow LED chip with a yellow-filtered lens. This is in contrast to the HXB model that uses a white Osram chip with a yellow-filtered lens. To compare the output between the HXB white and yellow options, you will lose roughly 30% of your brightness when you switch from the premium white HXB 4Banger to the premium yellow HXB.
This also produces a slightly different shade of yellow between the two lights that you can see below.
Speaking of the lenses, the TIR optics we mentioned before, stands for Total Internal Reflector. Essentially, rather than having the LED chip within the 4Banger Pod light, the lens optic creates the individual beam patterns.
BRONCO 4Banger INSTALL
Thankfully, the 4Banger is entirely plug-and-play, making the installation process straightforward.
Tools Needed for the Job
T30, T40+ Torx Bit
8mm, 10mm, 13mm Socket
17mm Wrench
Pry Tool
Phillips Screwdriver
Wire Stripper
Butt Connector
Crimp Tool
Wire Fish (Optional)
Triple Fog Light Install
The 4Banger triple fog light kit ONLY works on Broncos equipped with the modular bumper.
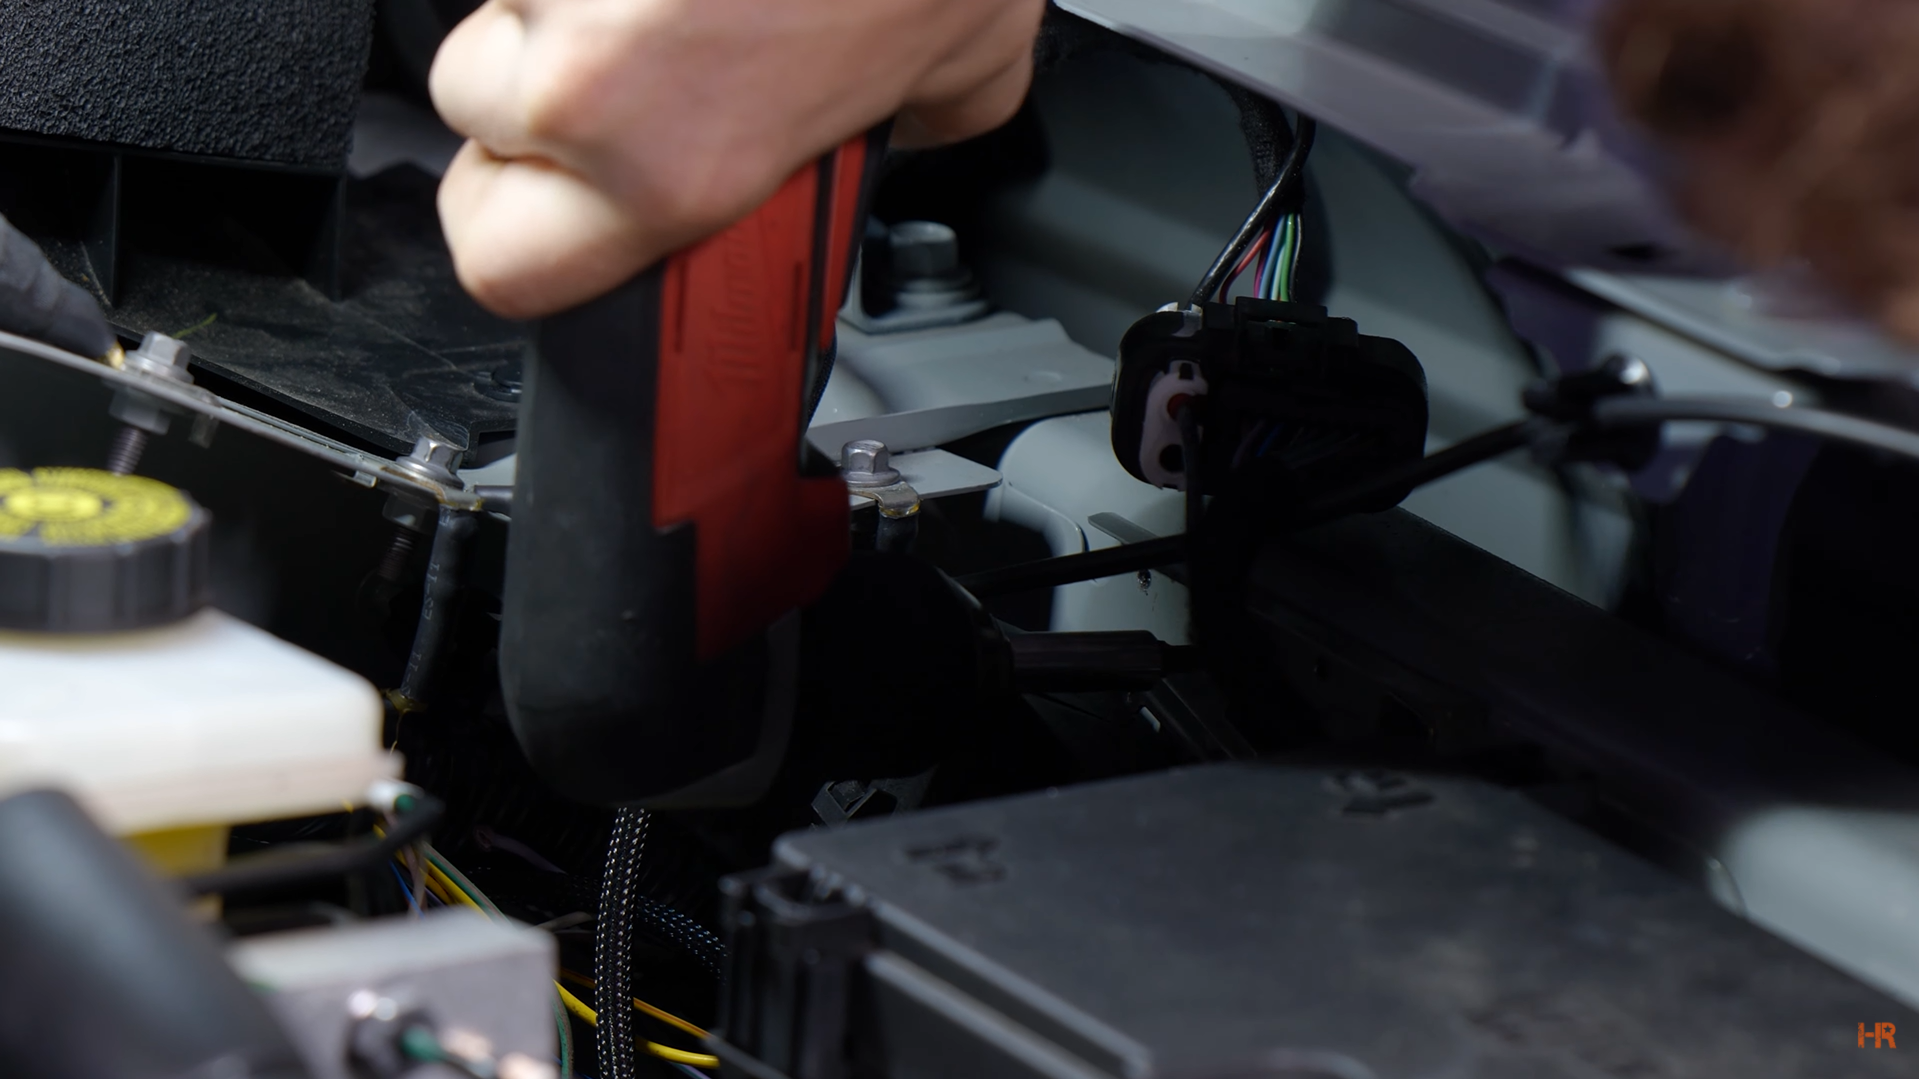
Wiring
This relay harness is different from the one you use for the A-Pillar kit. This one has three pairs of Deutsch connectors for the six total 4Bangers in the kit. We chose to mount our relay harness next to the same one we mounted the A-Pillar kit harness.
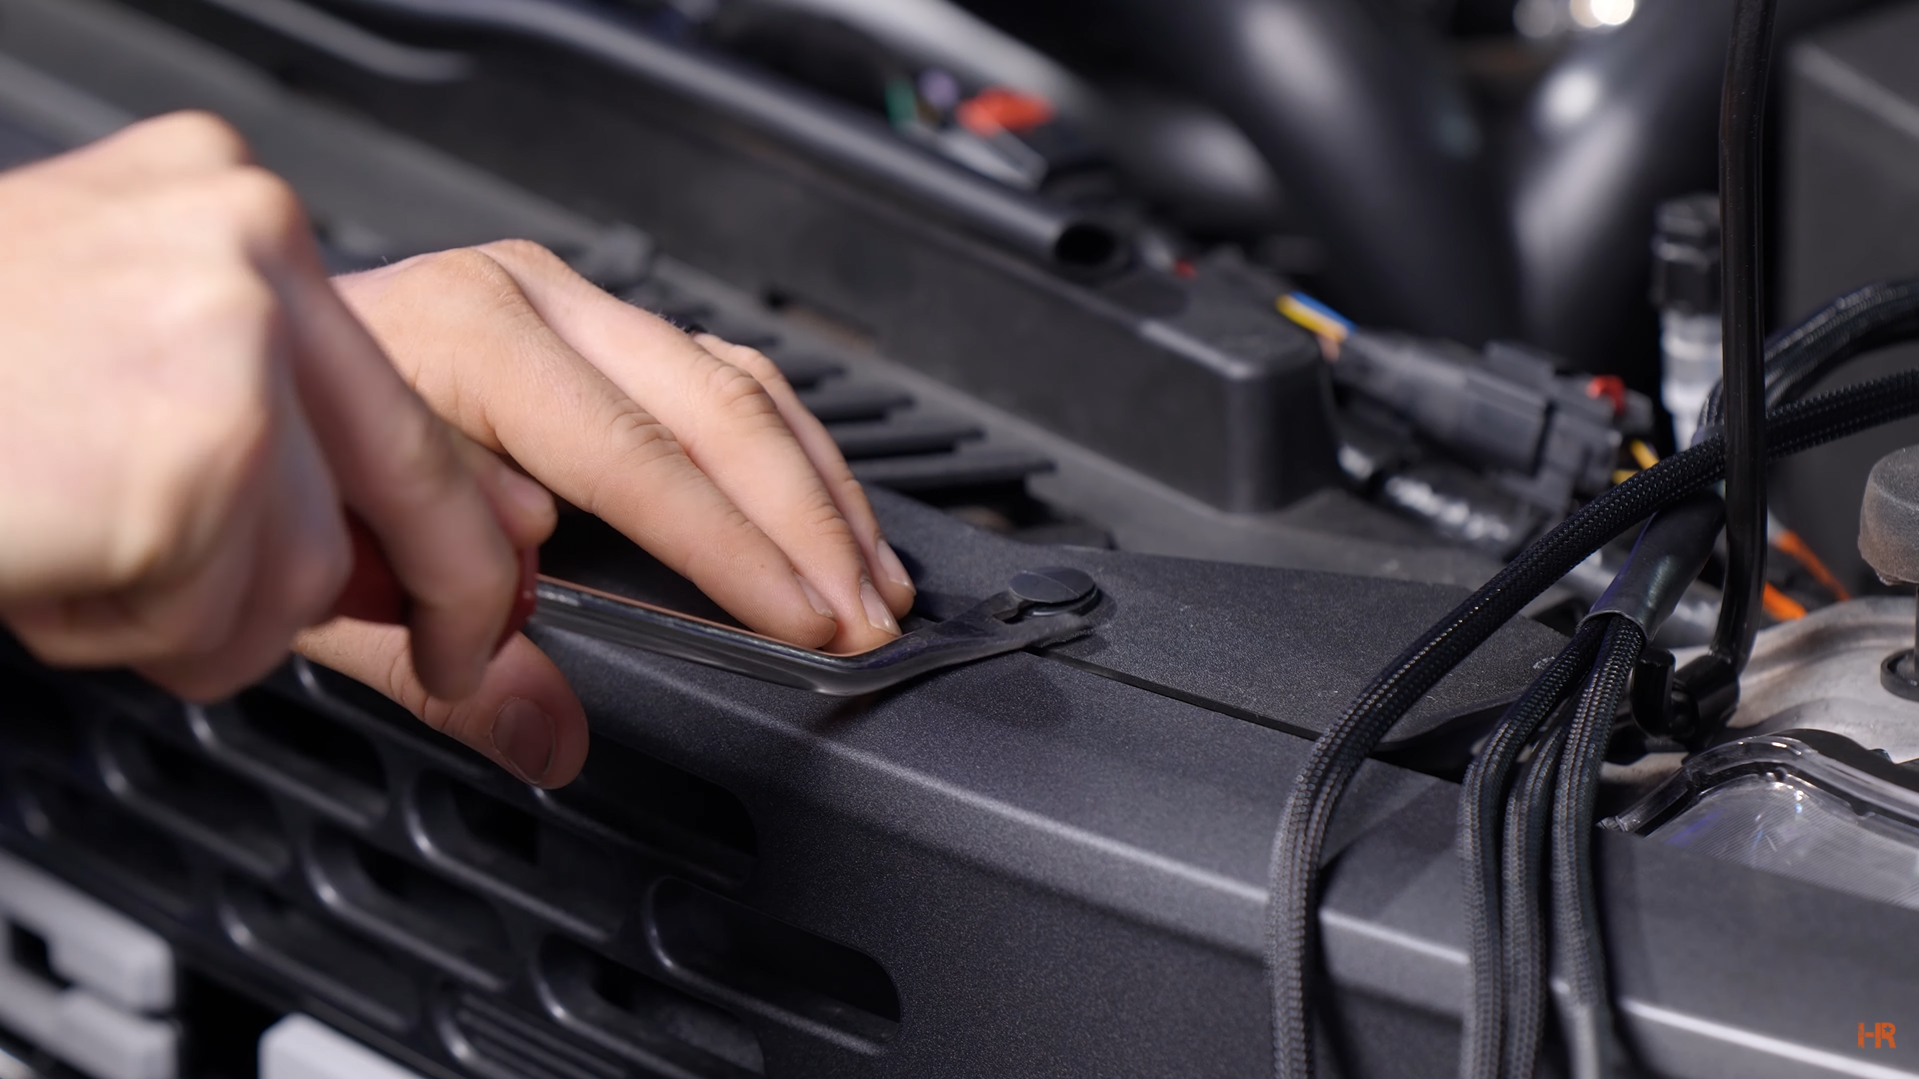
Once that is mounted, remove the plastic cowl over the radiator using a pry tool.
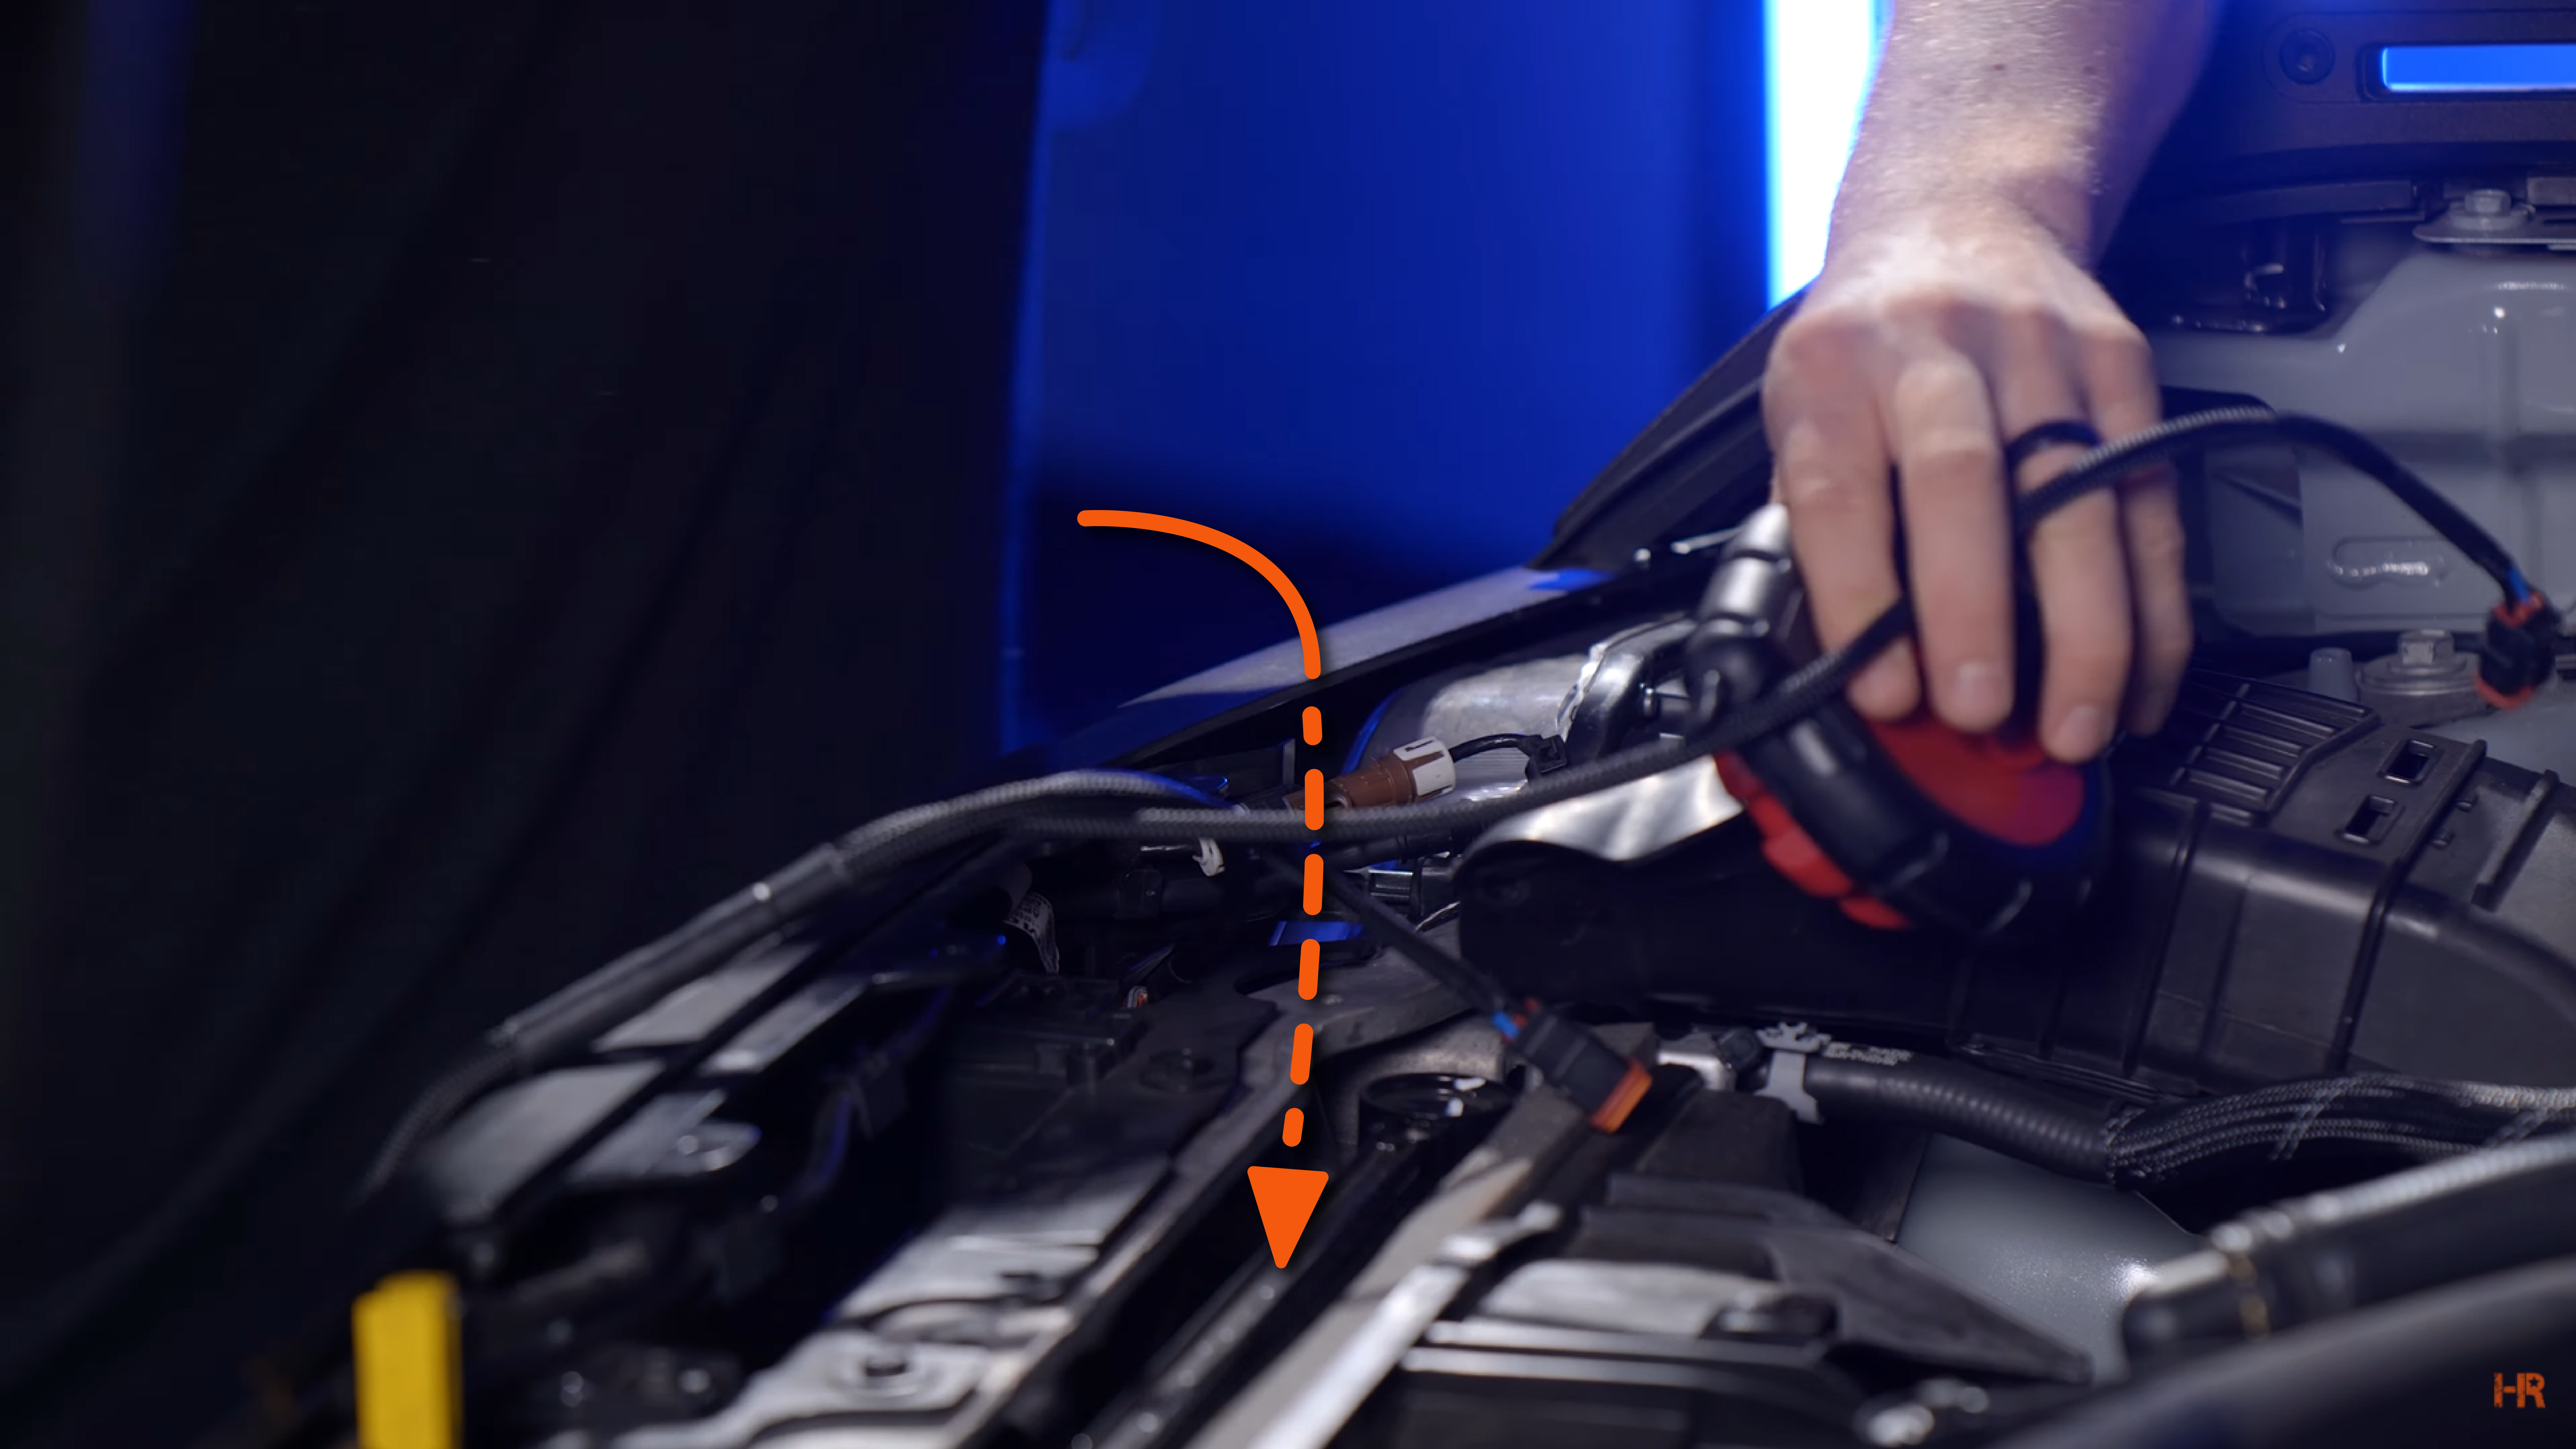
Run the longest wire across the front of the truck and through to the bottom of the car. There will be a hole located behind the headlight that goes straight through the car to the floor. You can either drop the wires through this hole or use a wire fish.
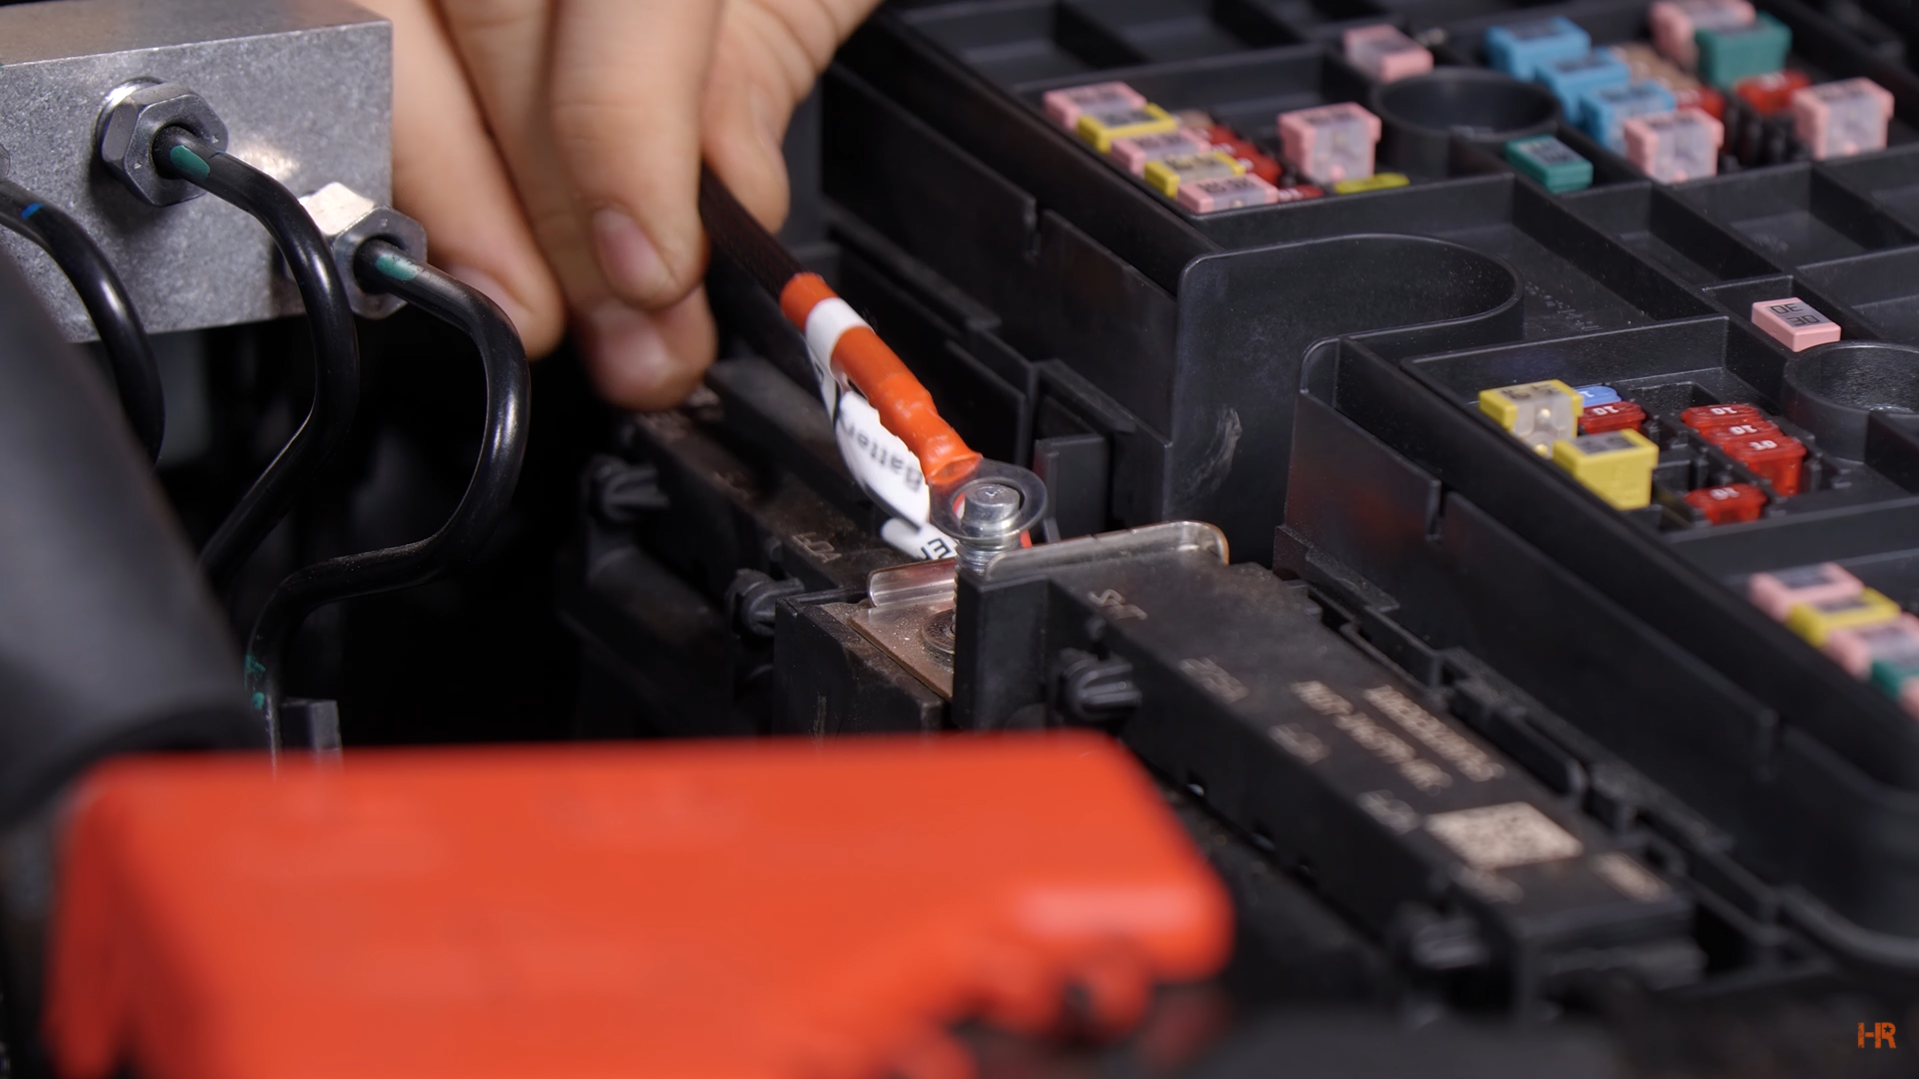
Grab the exposed wire (blue) to connect it to the Upfitter switches. Before proceeding, ensure the negative battery terminal is disconnected.
Strip the auxiliary three wire and the bare wire from the Morimoto harness. Take a 20-gauge butt connector and crimp together the two wires.

Bracket Assembly
Here you can really make your fog light mount your own. We opted for two wide beam patterns and one combo, with the combo and one of the wide beams being in yellow.
Each bracket will have an ‘L’ (for the driver’s side) and an ‘R’ (for the passenger’s side). You will then take the smallest U-Bracket and place it on the outside beneath the bracket. Work your way up to the medium-size bracket in the center and the largest one on the inside mount.
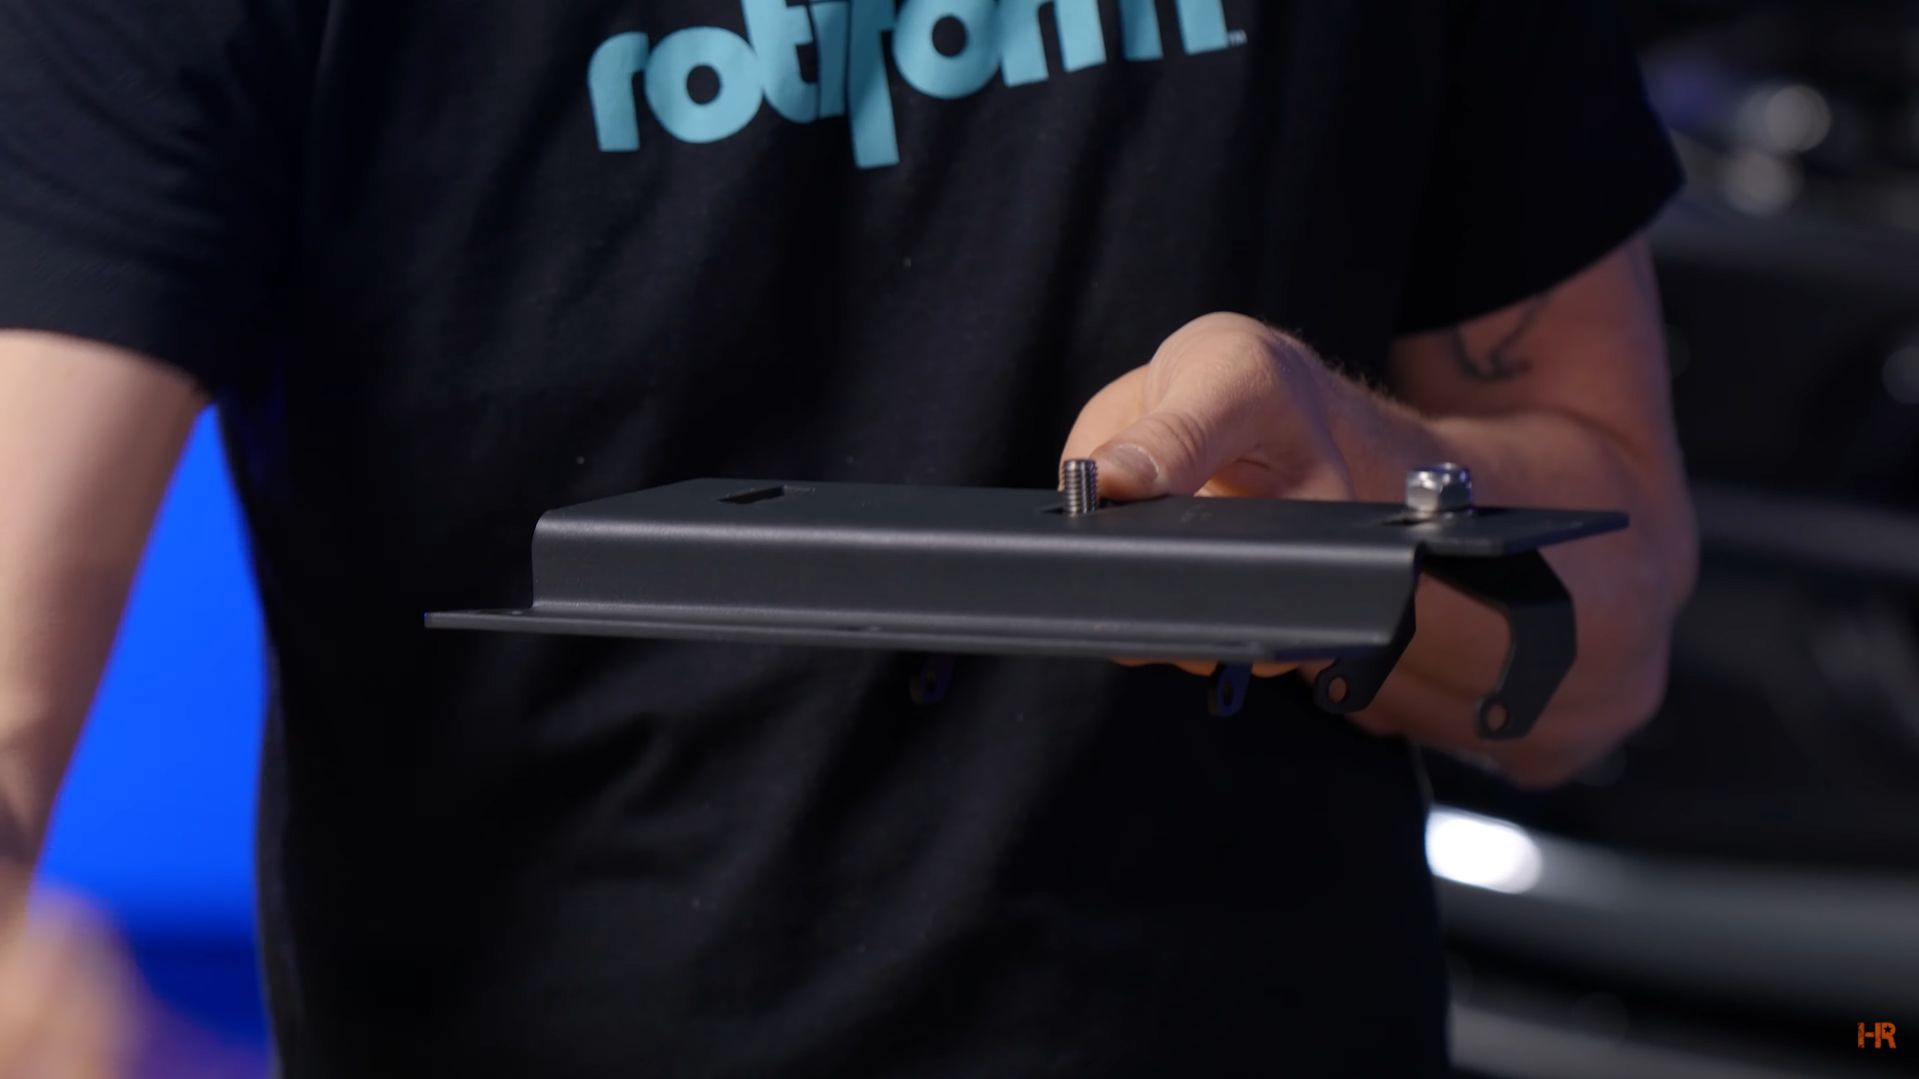
Use the screws to mount the U-Brackets from the bottom side up. Do not tighten them too tightly as you will need to aim your pod lights once they are installed.
Install the desired 4Banger into each U-Bracket. Use T30 Torx screws to put them into place.
Mirror your setup for the passenger side.
Bracket Install
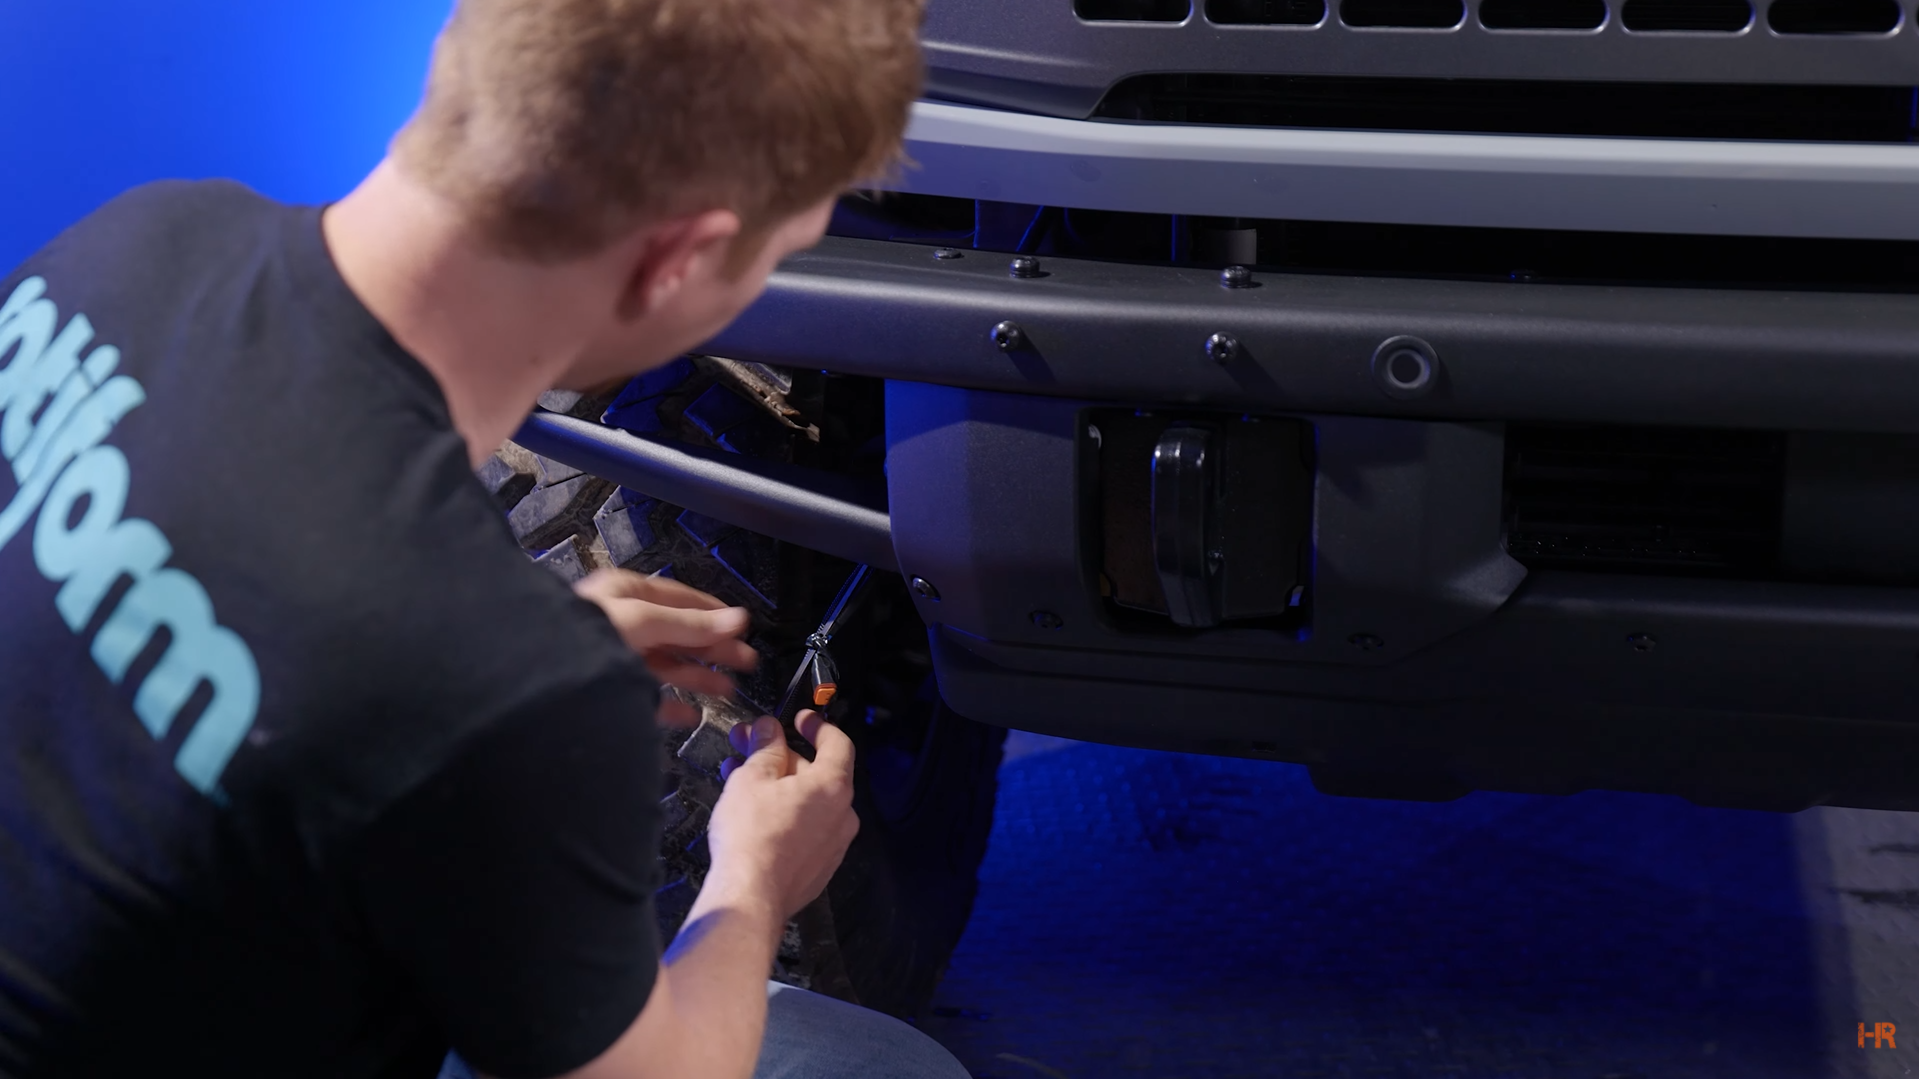
Beginning with the passenger side, you will need to remove part of your bumper using a T40 Torx bit and a pry tool. While this is not always necessary, it will be if your Bronco has larger wheels or is lifted.
Remove the two bolts on top of the lower part of the bumper.
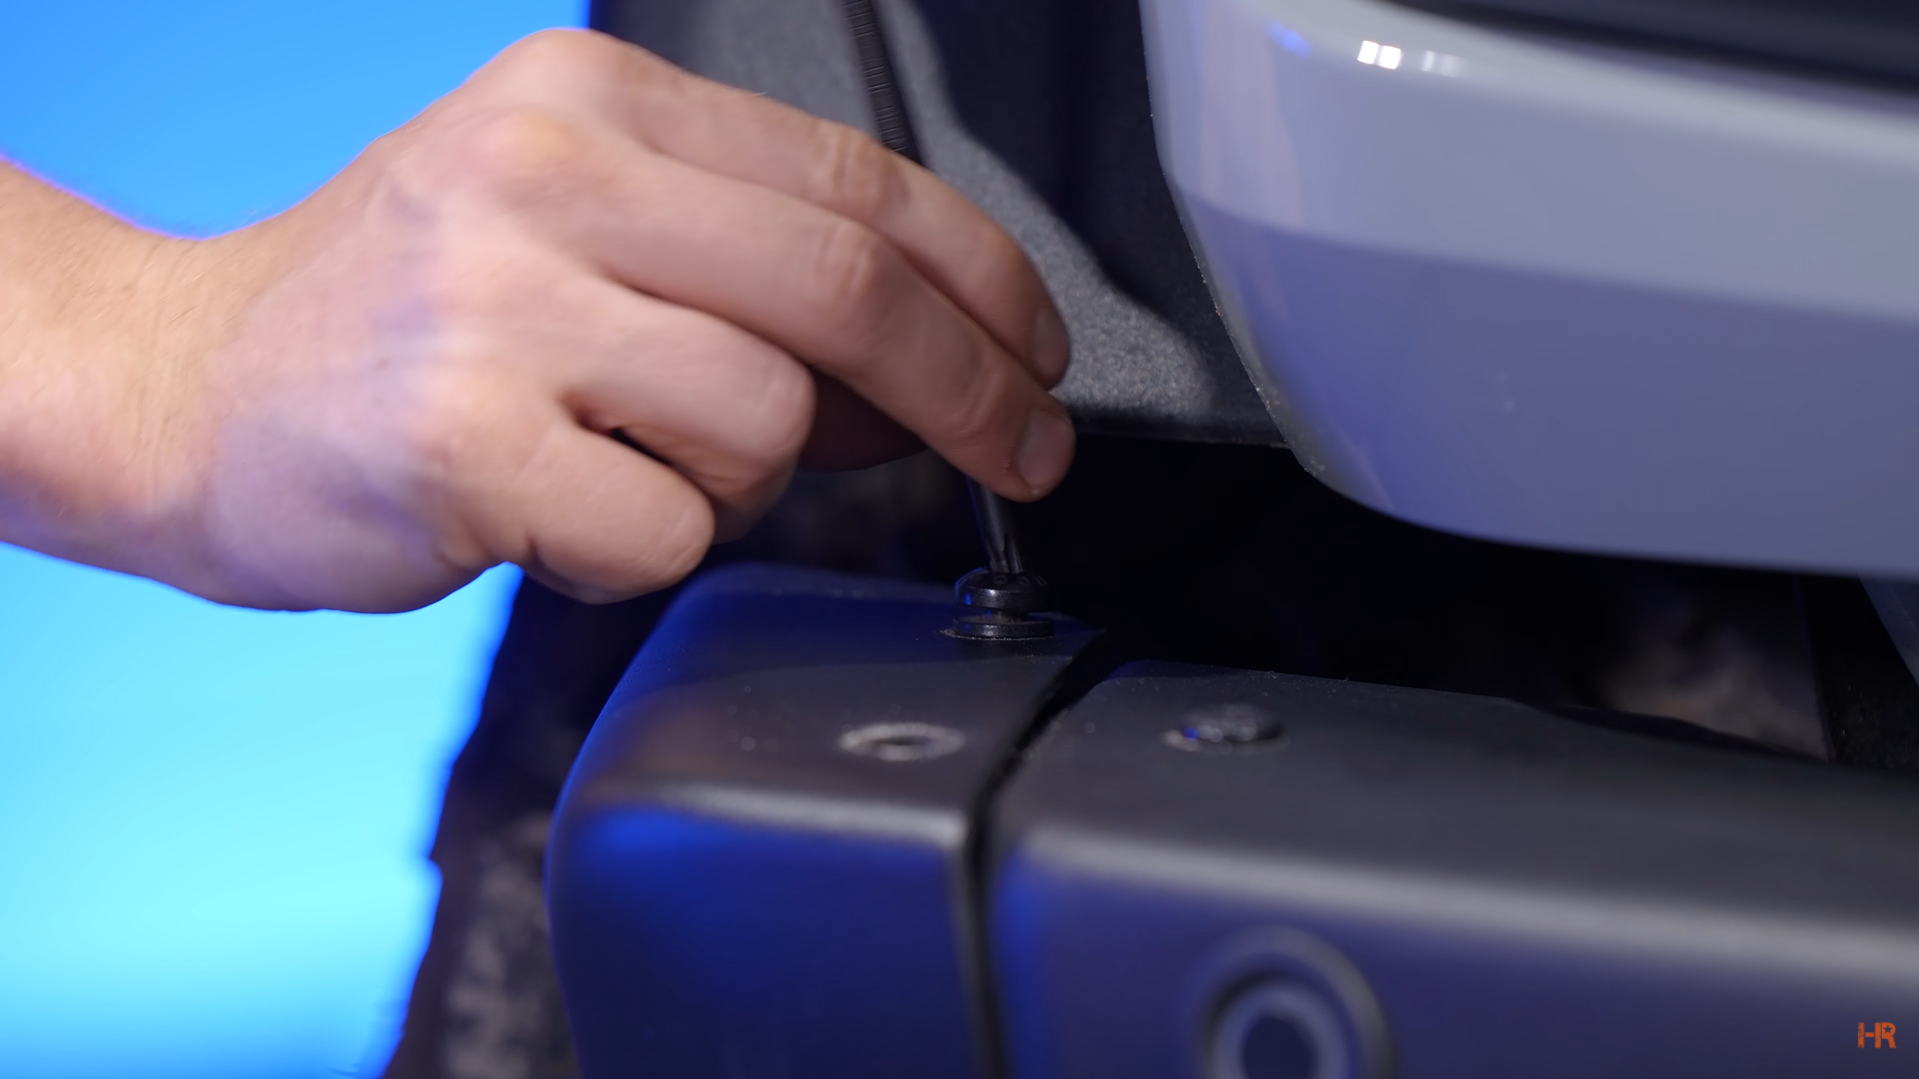
Then, remove the four push pins holding in the plastic piece around the tow mount. This will remove three bolts holding in the bumper corner.

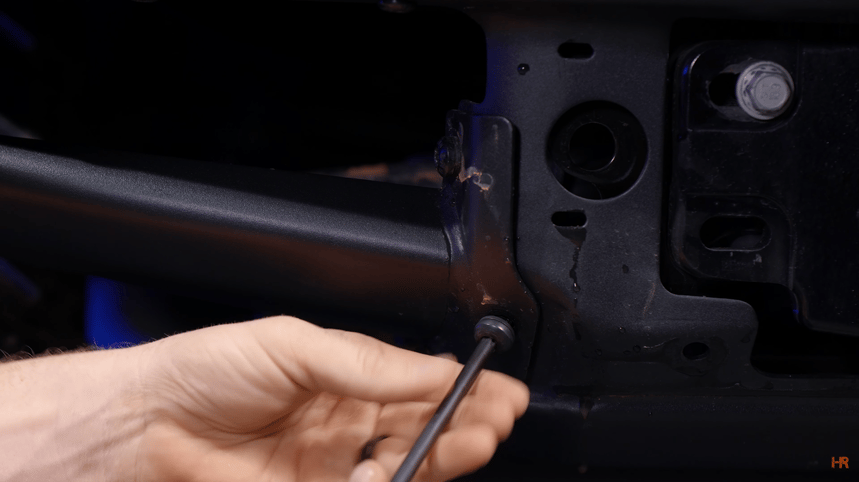
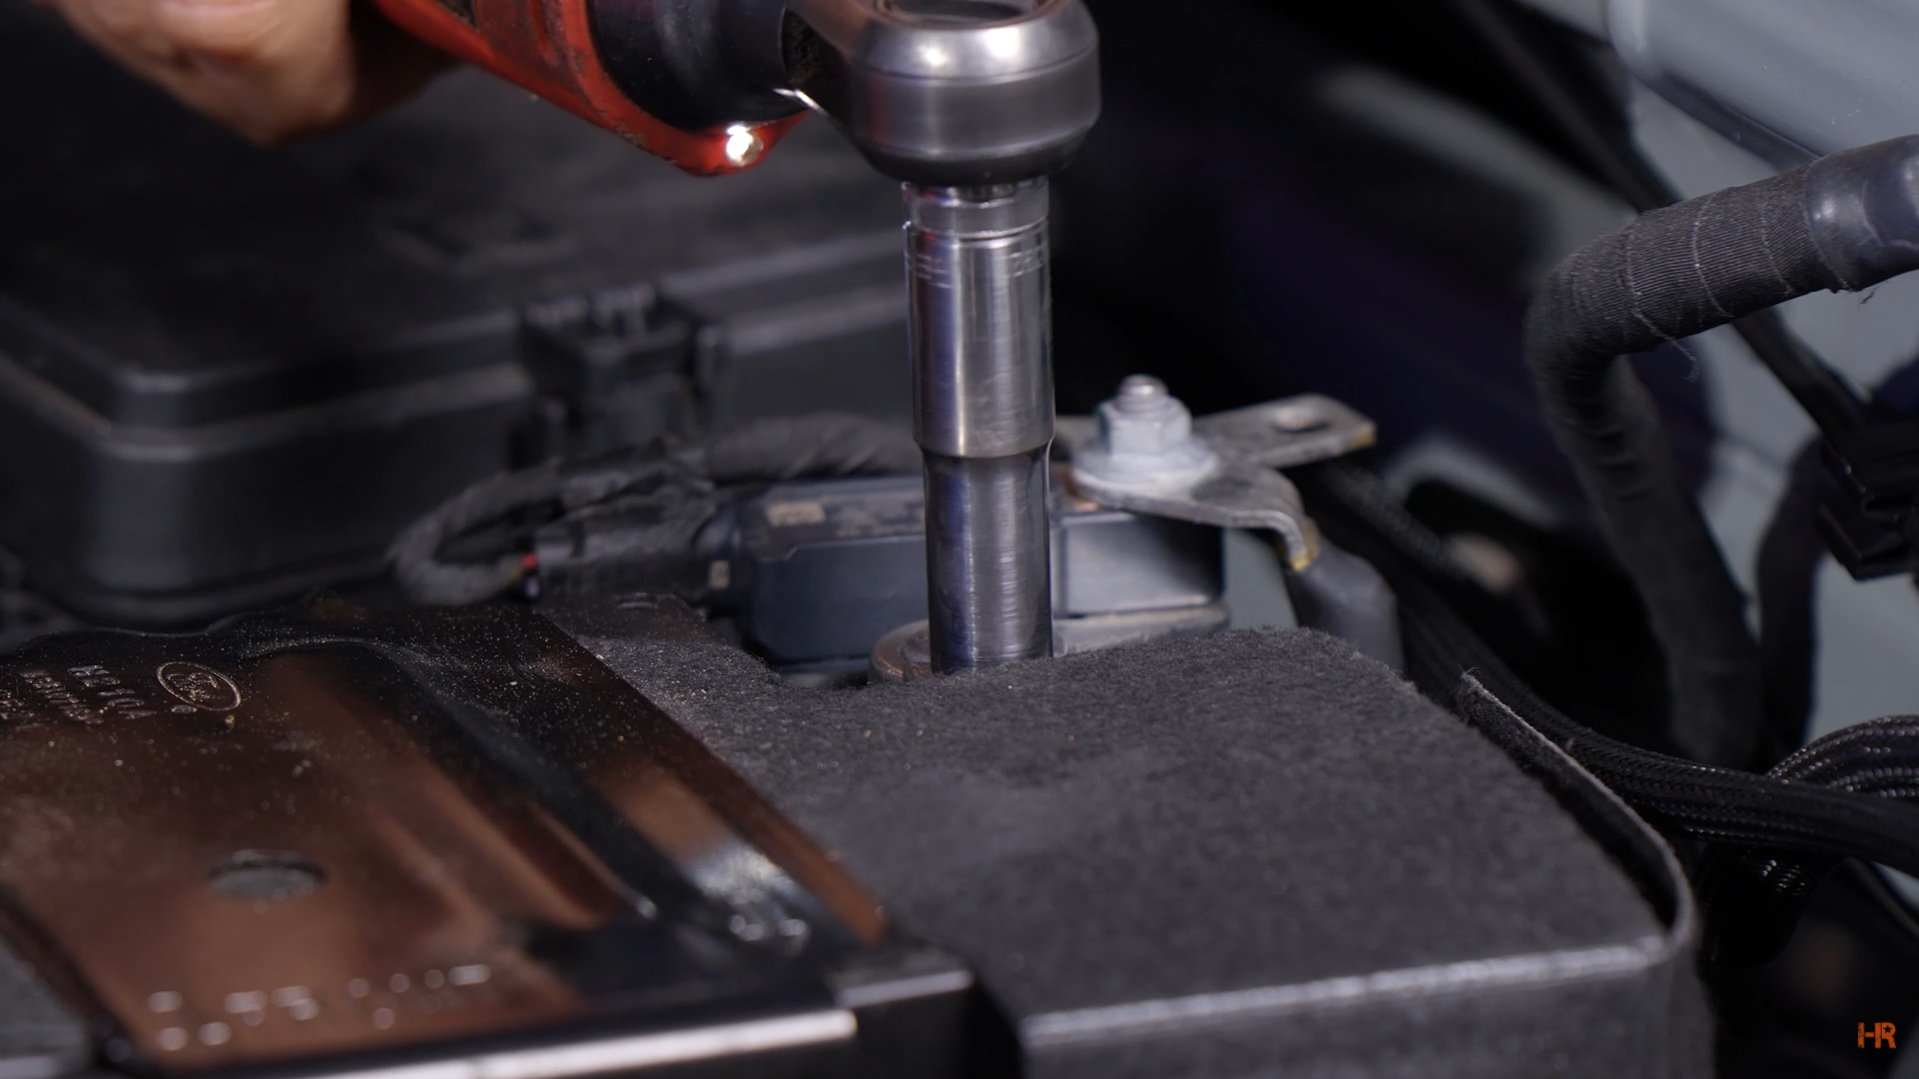
With that done, you can then remove the three T40 screws facing downward. Place the 4Banger bracket over these screws and reinstall the OEM screws. Tighten these as best you can.

Plug in all your 4Banger LED Pod lights and tidy up your wires. Repeat for the driver’s side fog lights.
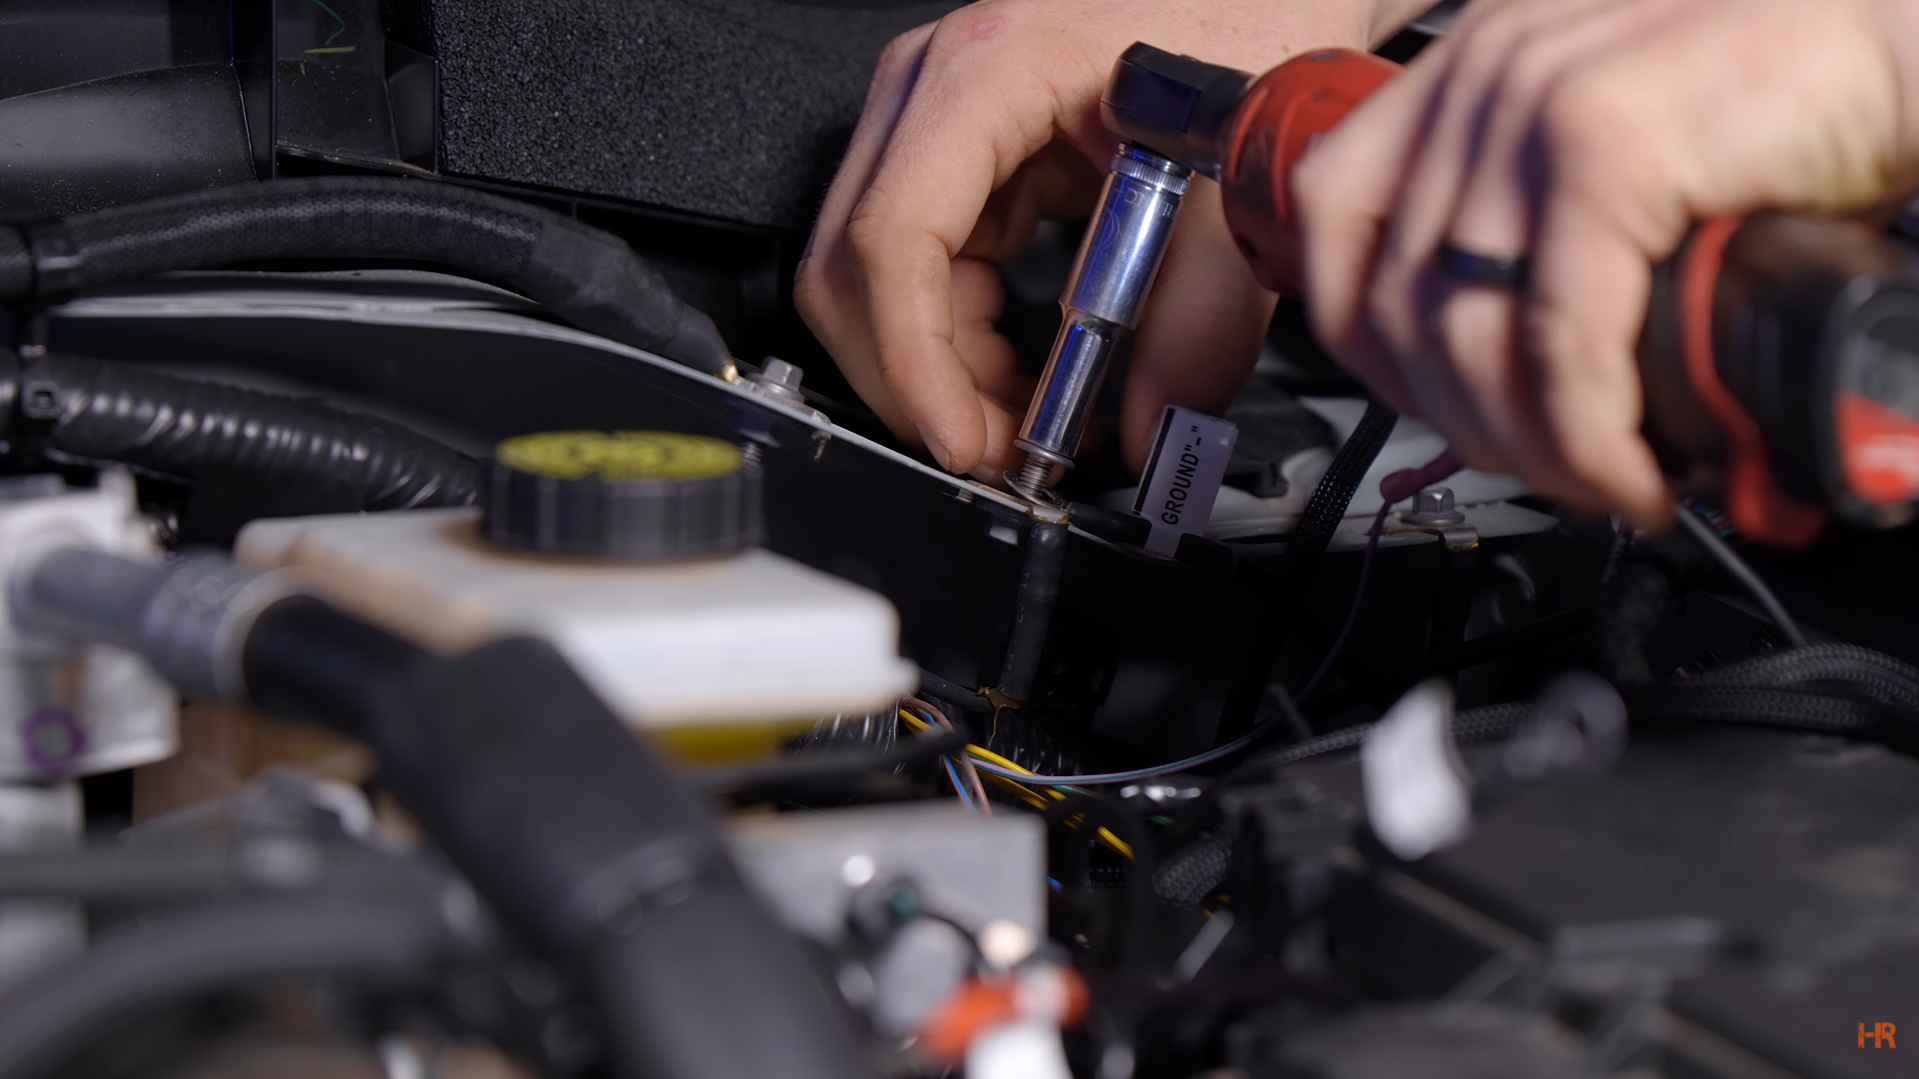
Connect the negative wire to the ground terminal and the positive wire to the bolt beneath the fuse box cover. The same locations as the A-Pillar terminals are okay.
 |
 |
Reconnect your battery’s negative terminal you originally disconnected before you did your work.
Test the lights and aim them to your preferred height.
Conclusion
And there you have it! You are ready to hit the trails with your Bronco and 4Banger LED pod lights. If you are interested in the A-Pillar mounting kit, check out our blog post here on how to install it.
If you are more of a visual learner, be sure to check out our video on the Morimoto 4Banger LED Pods for the 2021+ Ford Bronco. While you are there, make sure to like and subscribe to our channel for the latest lighting upgrades for your vehicle.
Have any questions about one of the products we mentioned? Contact us today, and our customer service team would be happy to help.