Review: BRAND NEW! Corvette C6 Housing from GTR Lighting
Welcome to the GTR Lighting Carbide Series, C8 Style headlights for your 2005-2013 Chevrolet Corvette. The idea to put 8th gen Vette headlights onto the sixth-generation Corvette C6 is honestly pretty cool.
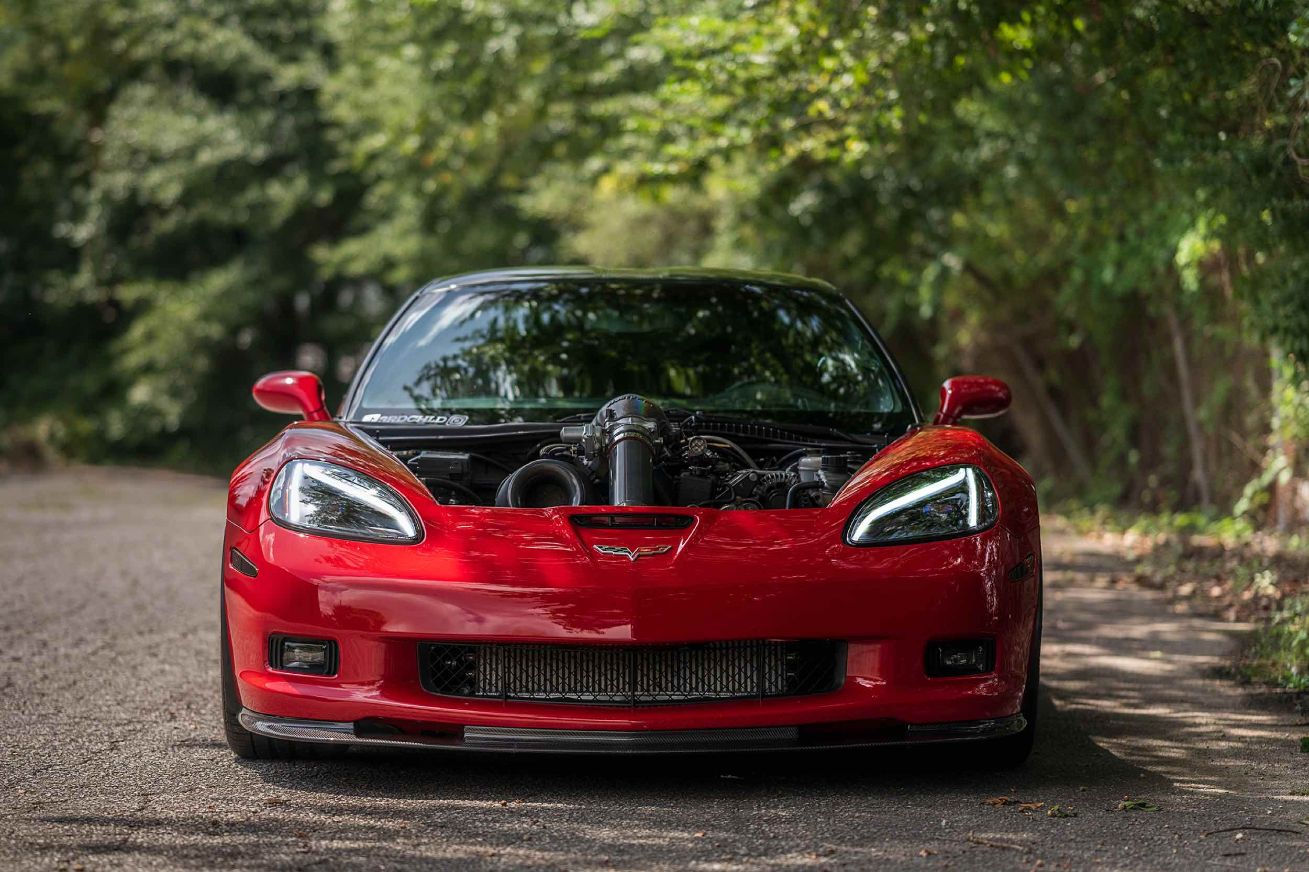
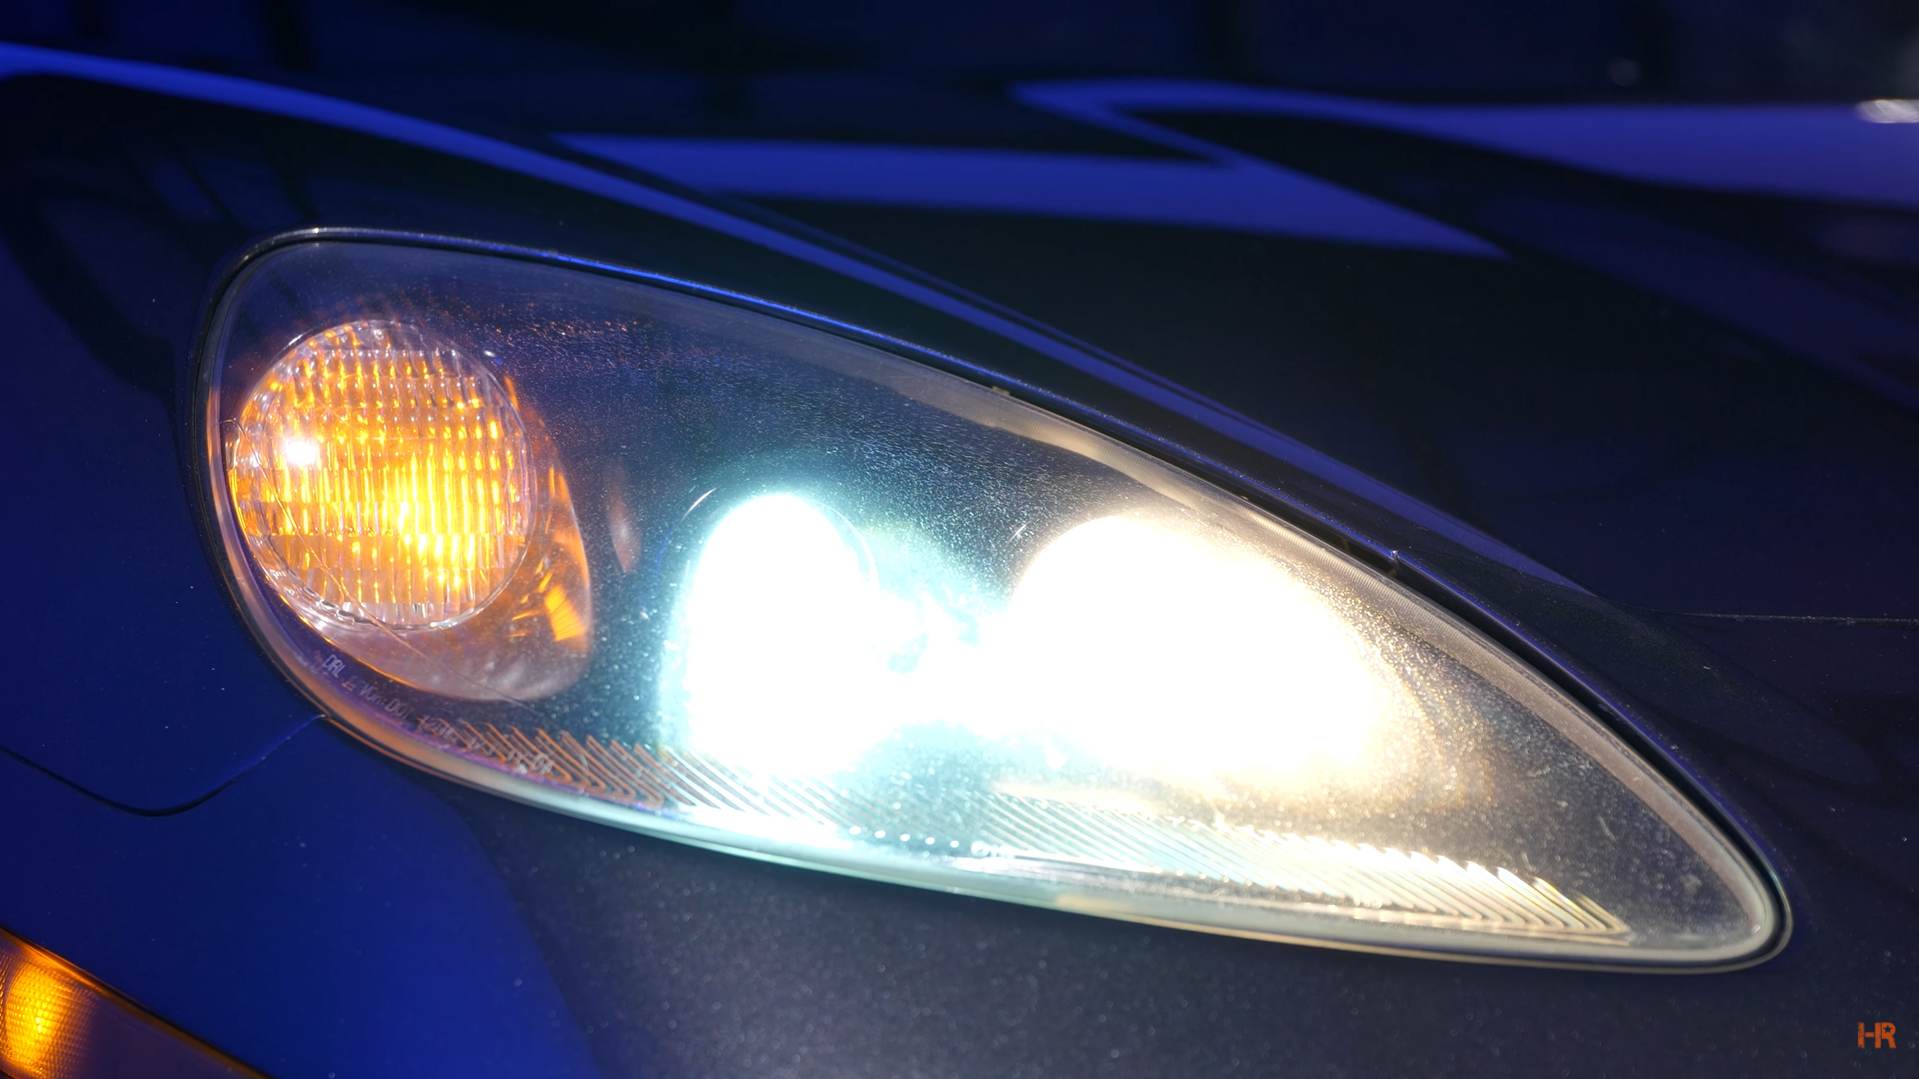
The projectors mixed with the paint-matched interior gave a pretty cool look. Unfortunately, they were not very bright and the lenses were facing the sky leaving them vulnerable to UV damage. Most new cars have their headlights facing forward, preventing them from receiving UV damage if not treated.
Making the switch to the new GTR Lighting components, will not only give you a more modern look to your C6, but will better your lighting output.
LIGHT OUTPUT
With the new C8 Style lights produced by GTR Lighting, you will receive a 540% increase in light output over stock. To test this, we parked the car 25 feet away from a wall and turned on the headlights. Then we measured the brightest point with a Lux meter. Remember the Lux rating does not have any application in real life, this is just a way to measure the maximum output of light by the headlight.
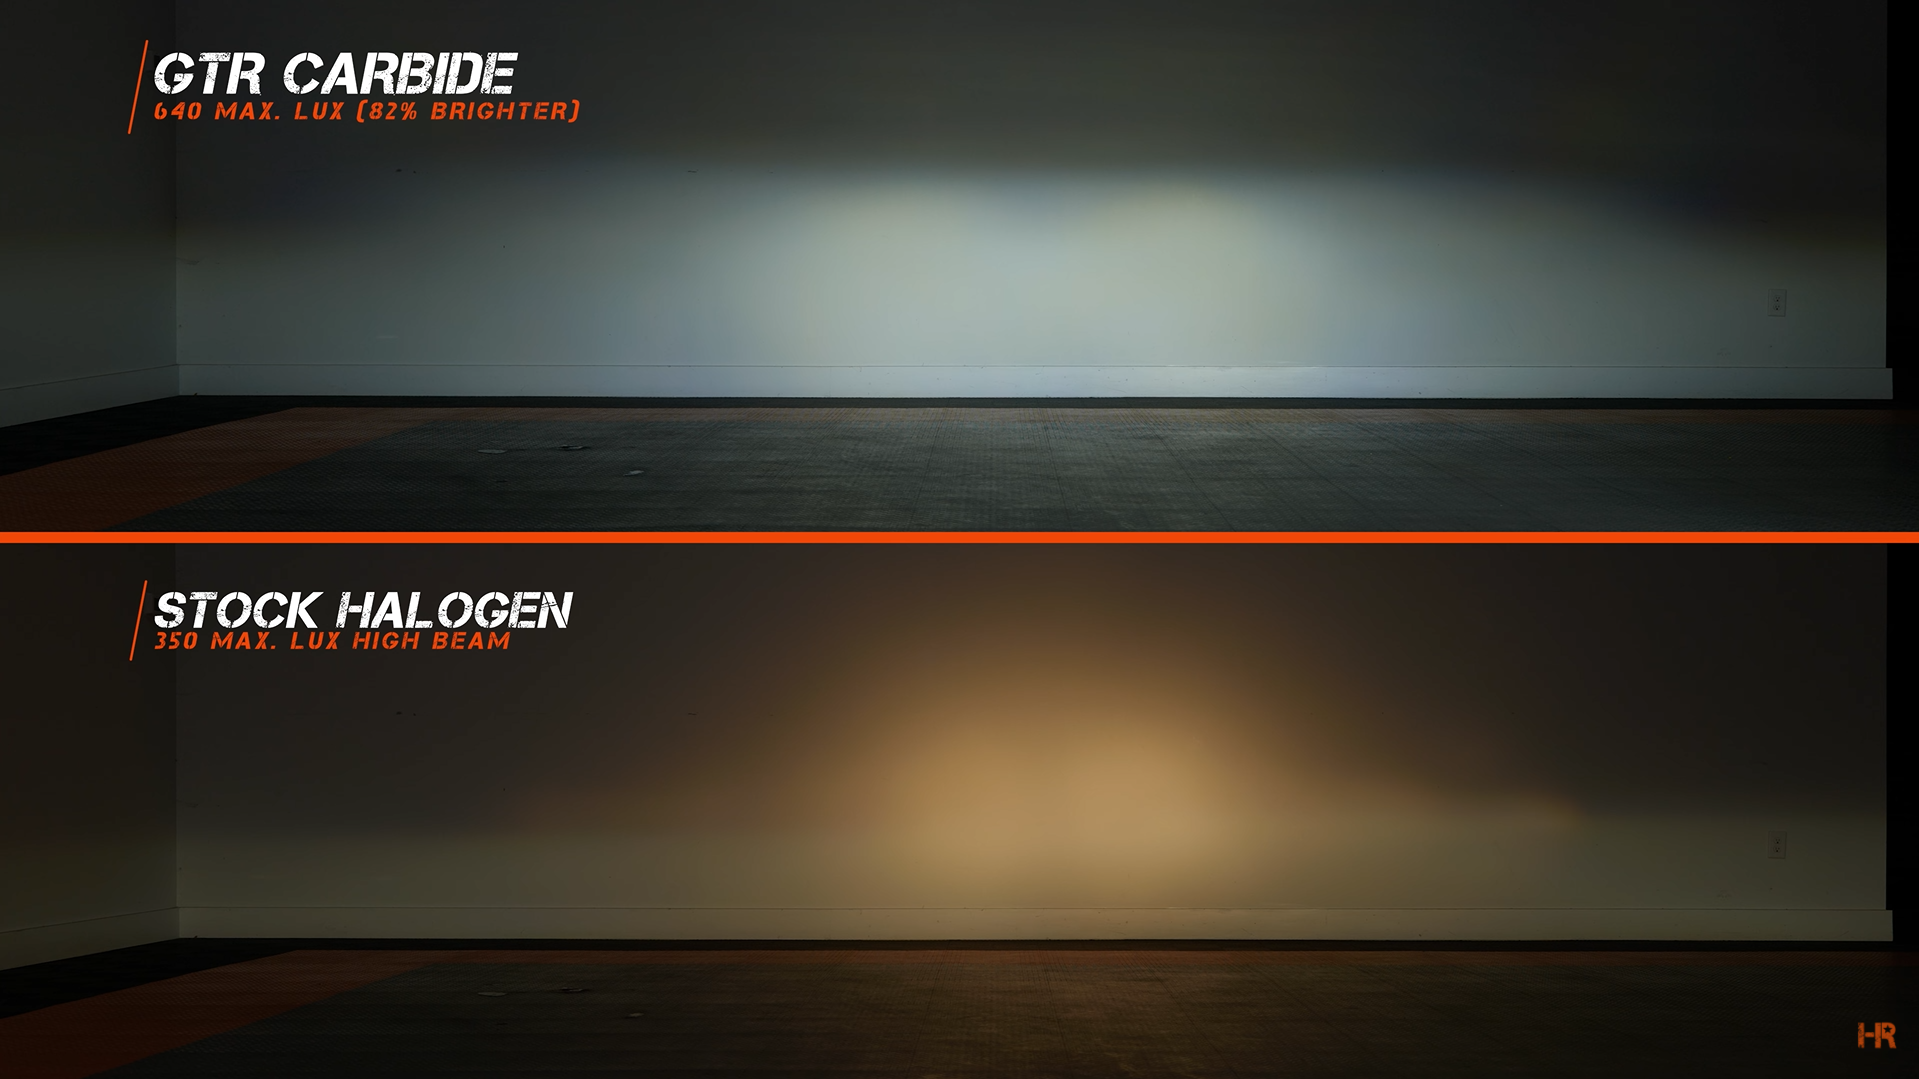
Firstly, check out the stock halogen headlights on the C6. These come in at 100 maximum Lux for the low beams. This is terrible! The GTR Carbide puts out a 640 maximum Lux low beam. Again, that is 540% brighter than stock.
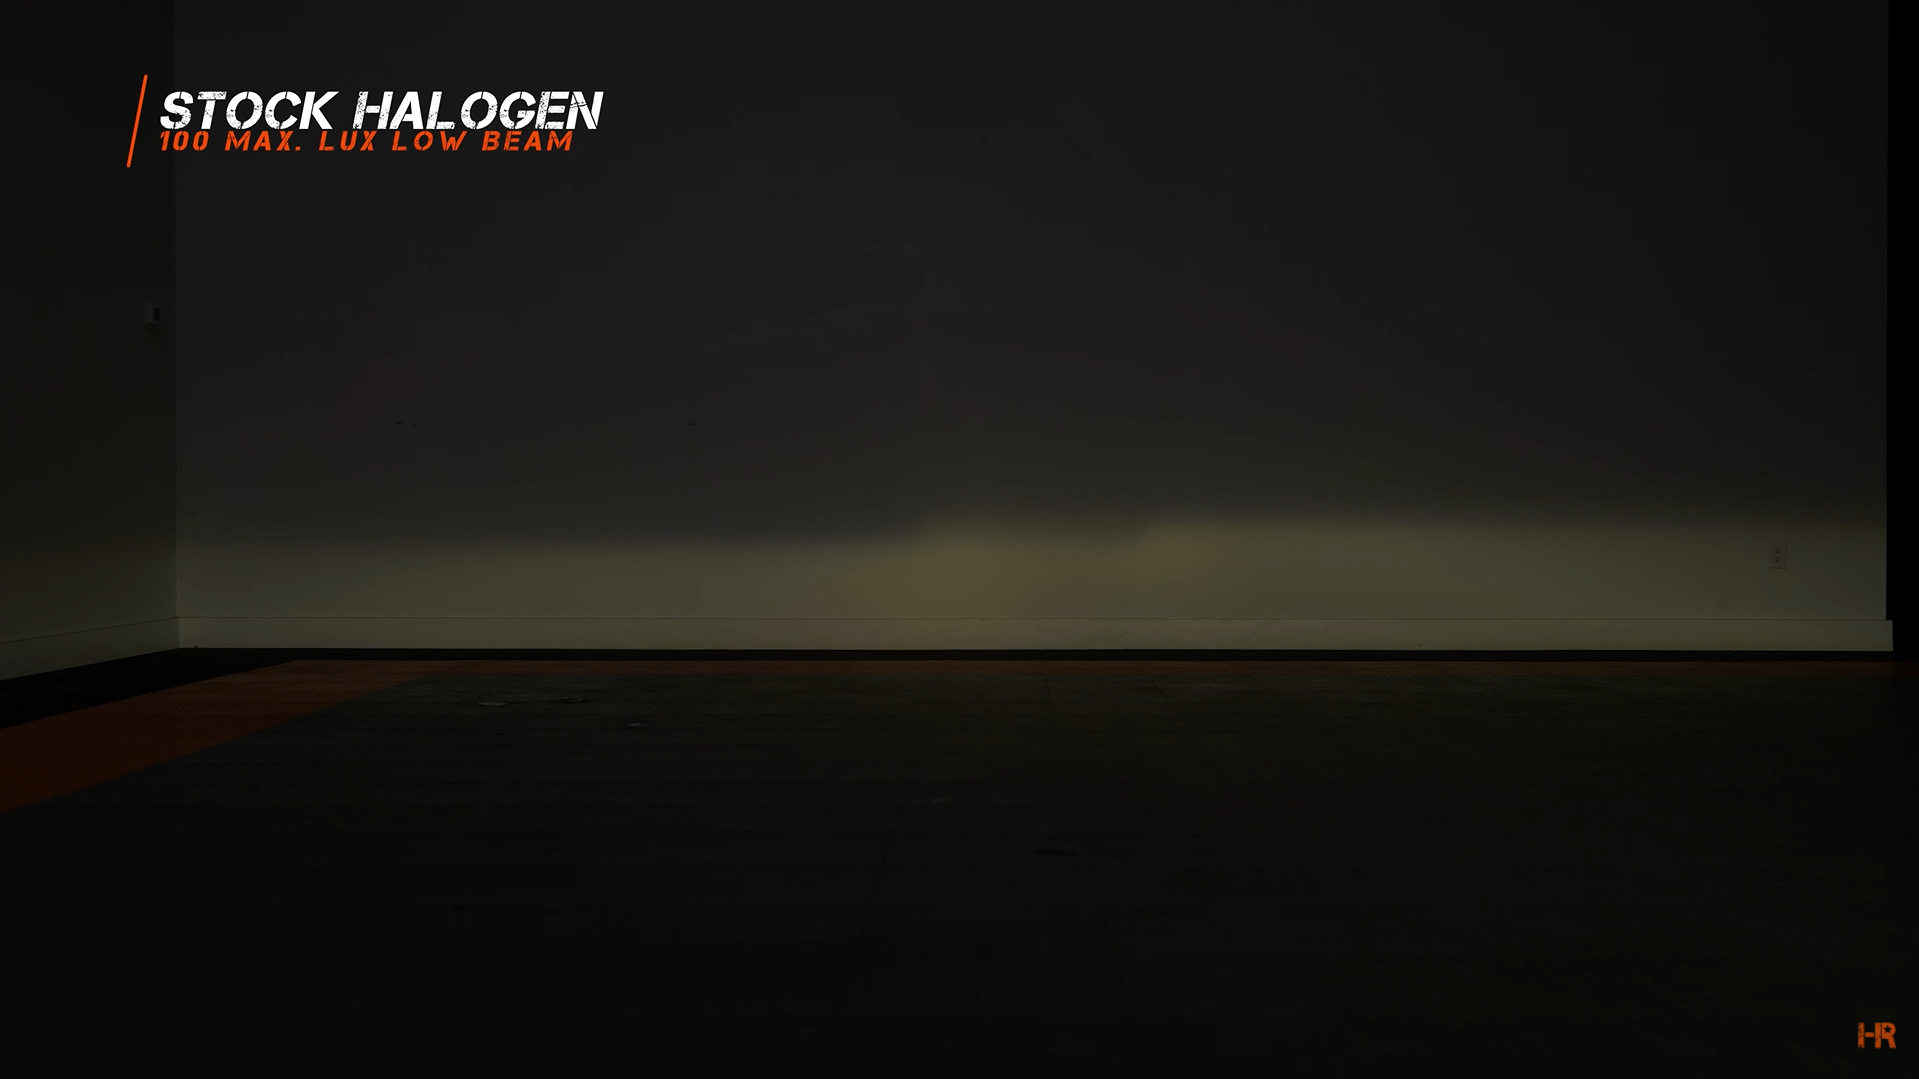
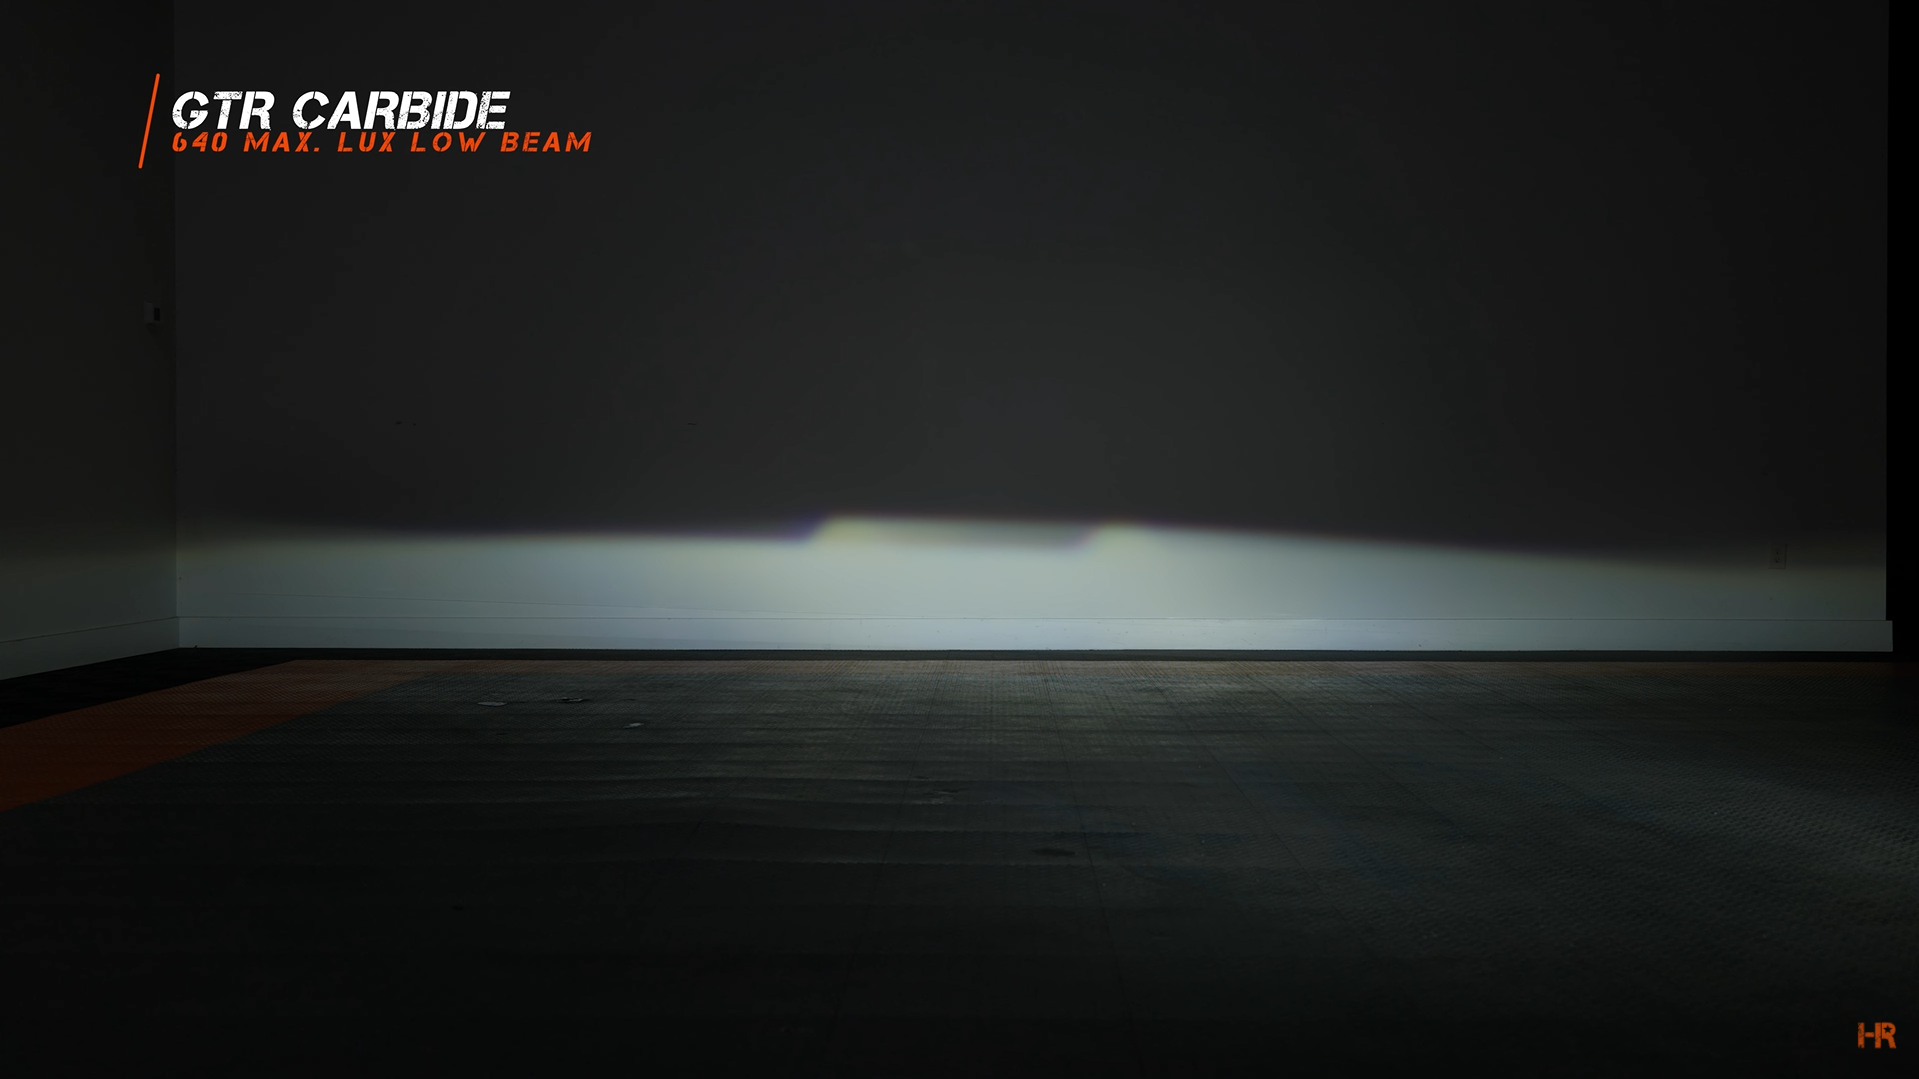
GTR Lighting has been known to have the brightest headlights in the world and this is a testament to that mantel.
Before we take a look at the different high beams, it is important to note that the C6 headlights have separate low and high beams. This allowed for the driver to stack the headlights and create an increased light output.
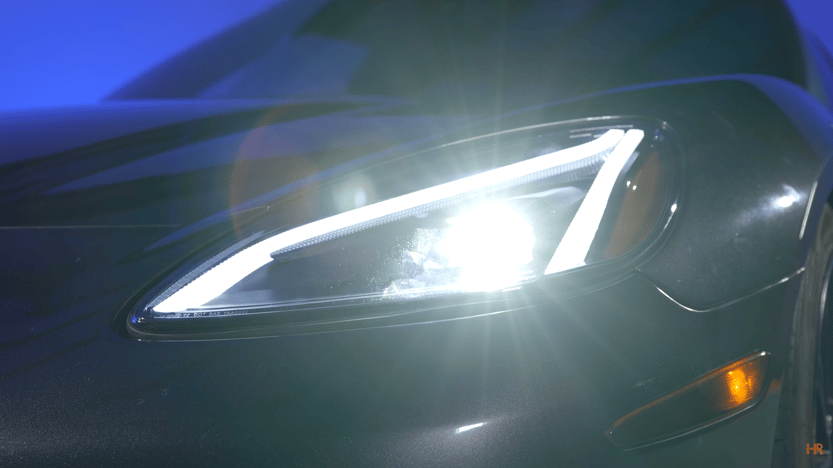
The GTR Carbide set operates by allowing the brightest point to remain the same and a bi-LED projector to open up to make a larger beam pattern.
When we tested the high beams, we found that the stock halogens from the C6 make 350 maximum Lux on high beams with a less than desirable beam pattern. The GTR Carbide puts out 640 maximum Lux (82% brighter than stock).
QUALITY
While cool and retro-looking, the stock C6 headlights were prone to intense UV damage if left outside for long periods of time or just never properly taken care of. Whether by routine cleanings or with protection film.
The GTR Lighting Carbide series have a hardened UV-resistant polycarbonate lens that looks brand new. The styling is inspired by that of the C8 Corvette (2020-) and it features that blacked-out look that everyone loves.
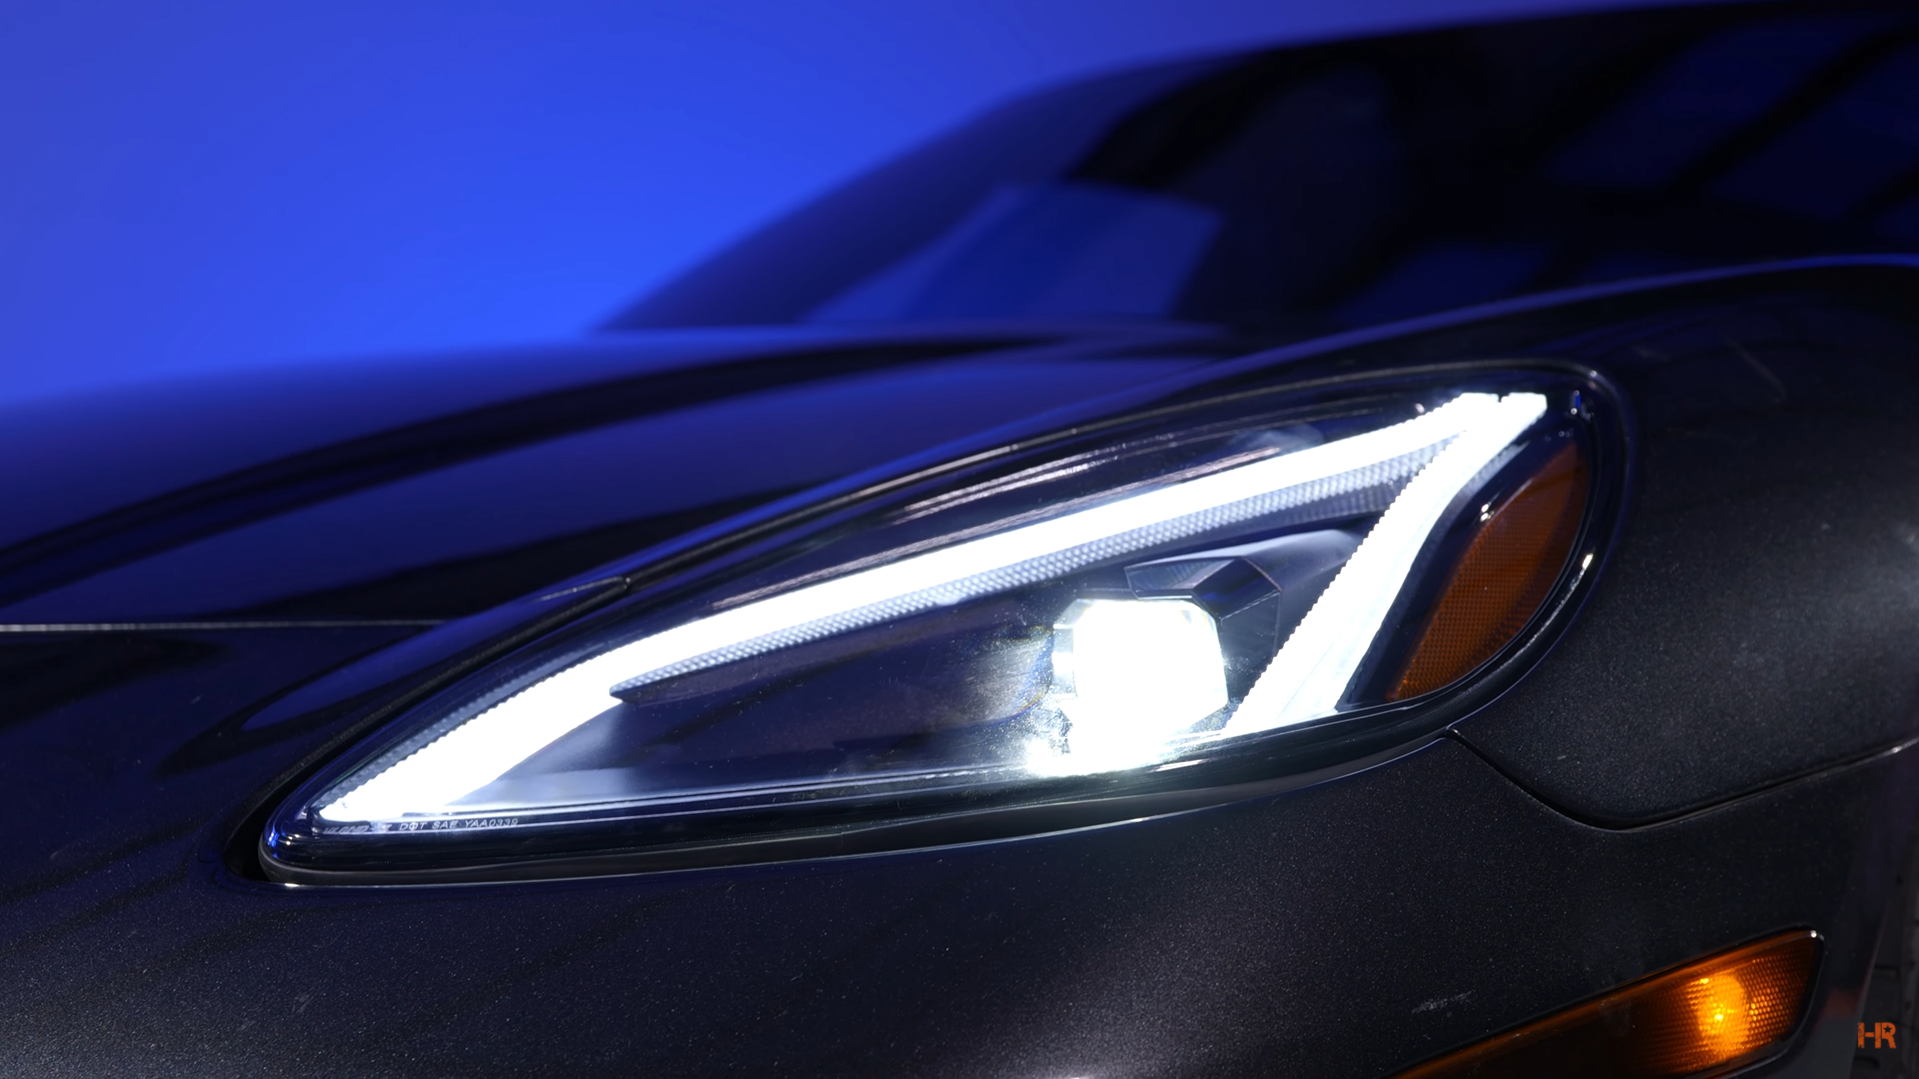 The single LED light strip on the inside acts as a daytime running light and a turn signal. When you flip the blinker on, the DRL pulses from bottom to top. As a note, the light is only sequential, no blinking.

Stock C6 headlights use a stock projector with an HID bulb and HID ballast. The new headlights are entirely LED integrated. You do not have to worry about swapping out any bulbs so it is maintenance-free.
There is a high-powered LED mounted on a surface board in the back of the headlight that shines through the projector. When you want a high beam, the projector opens up, creating a higher beam.
Before we move on to technical installation stuff, you HAVE TO check out the start-up sequence on these Carbide headlights.

CUSTOMIZATION AND WIRE CONFIGURATIONS
With the new headlights, you have the option of allowing the startup sequence to begin in two possible situations. The first is when you start up the car and the second is when you turn on the lights.
On the rear of the headlight housing, there is a wire connector. If you plug it in and do not add any other wiring, then the LED light strips will not illuminate white when you are driving with your headlights off. Instead, the one top strip will be amber. The startup sequence will only begin when you turn on the headlights.
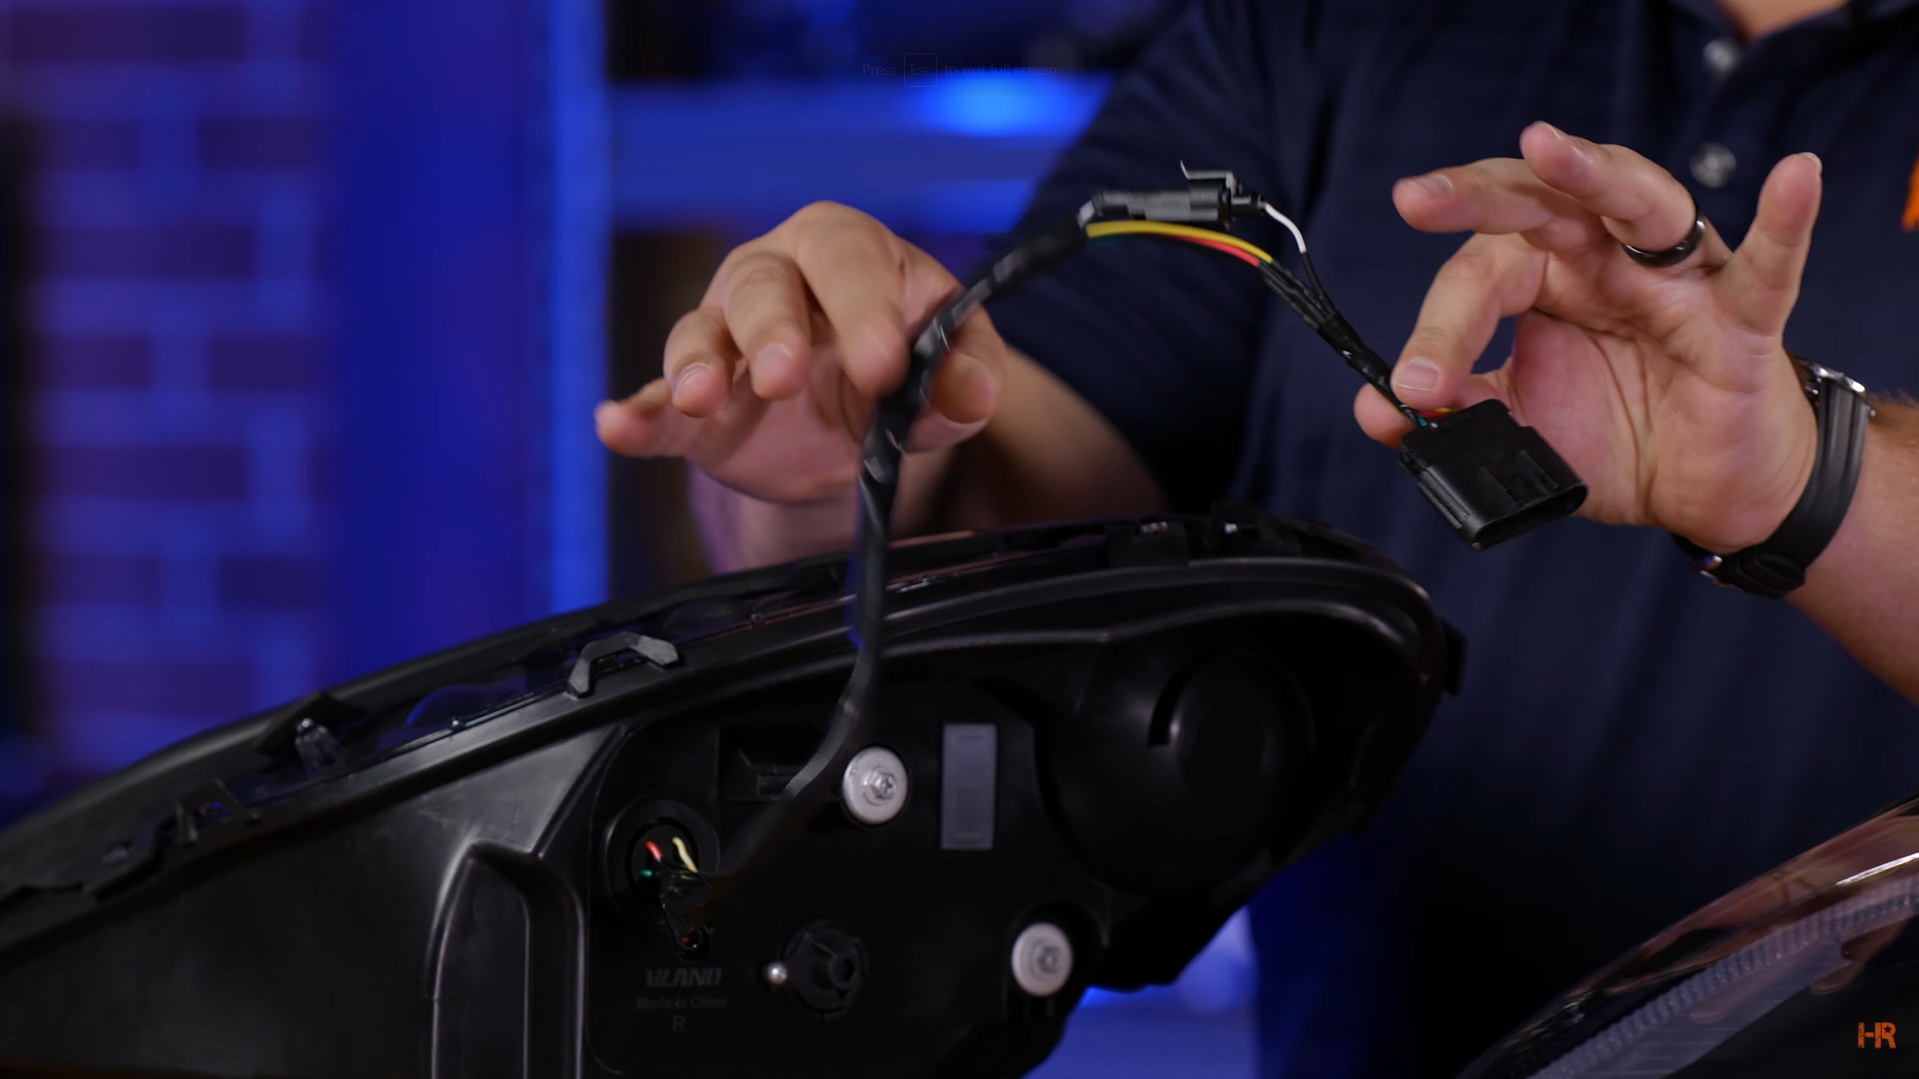
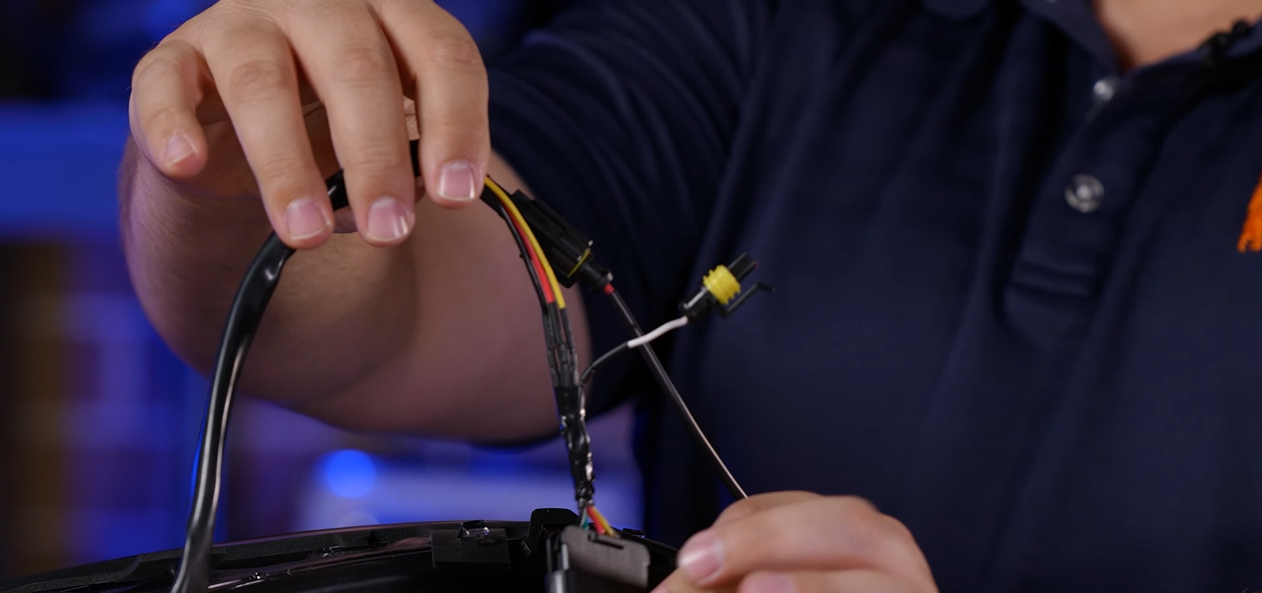
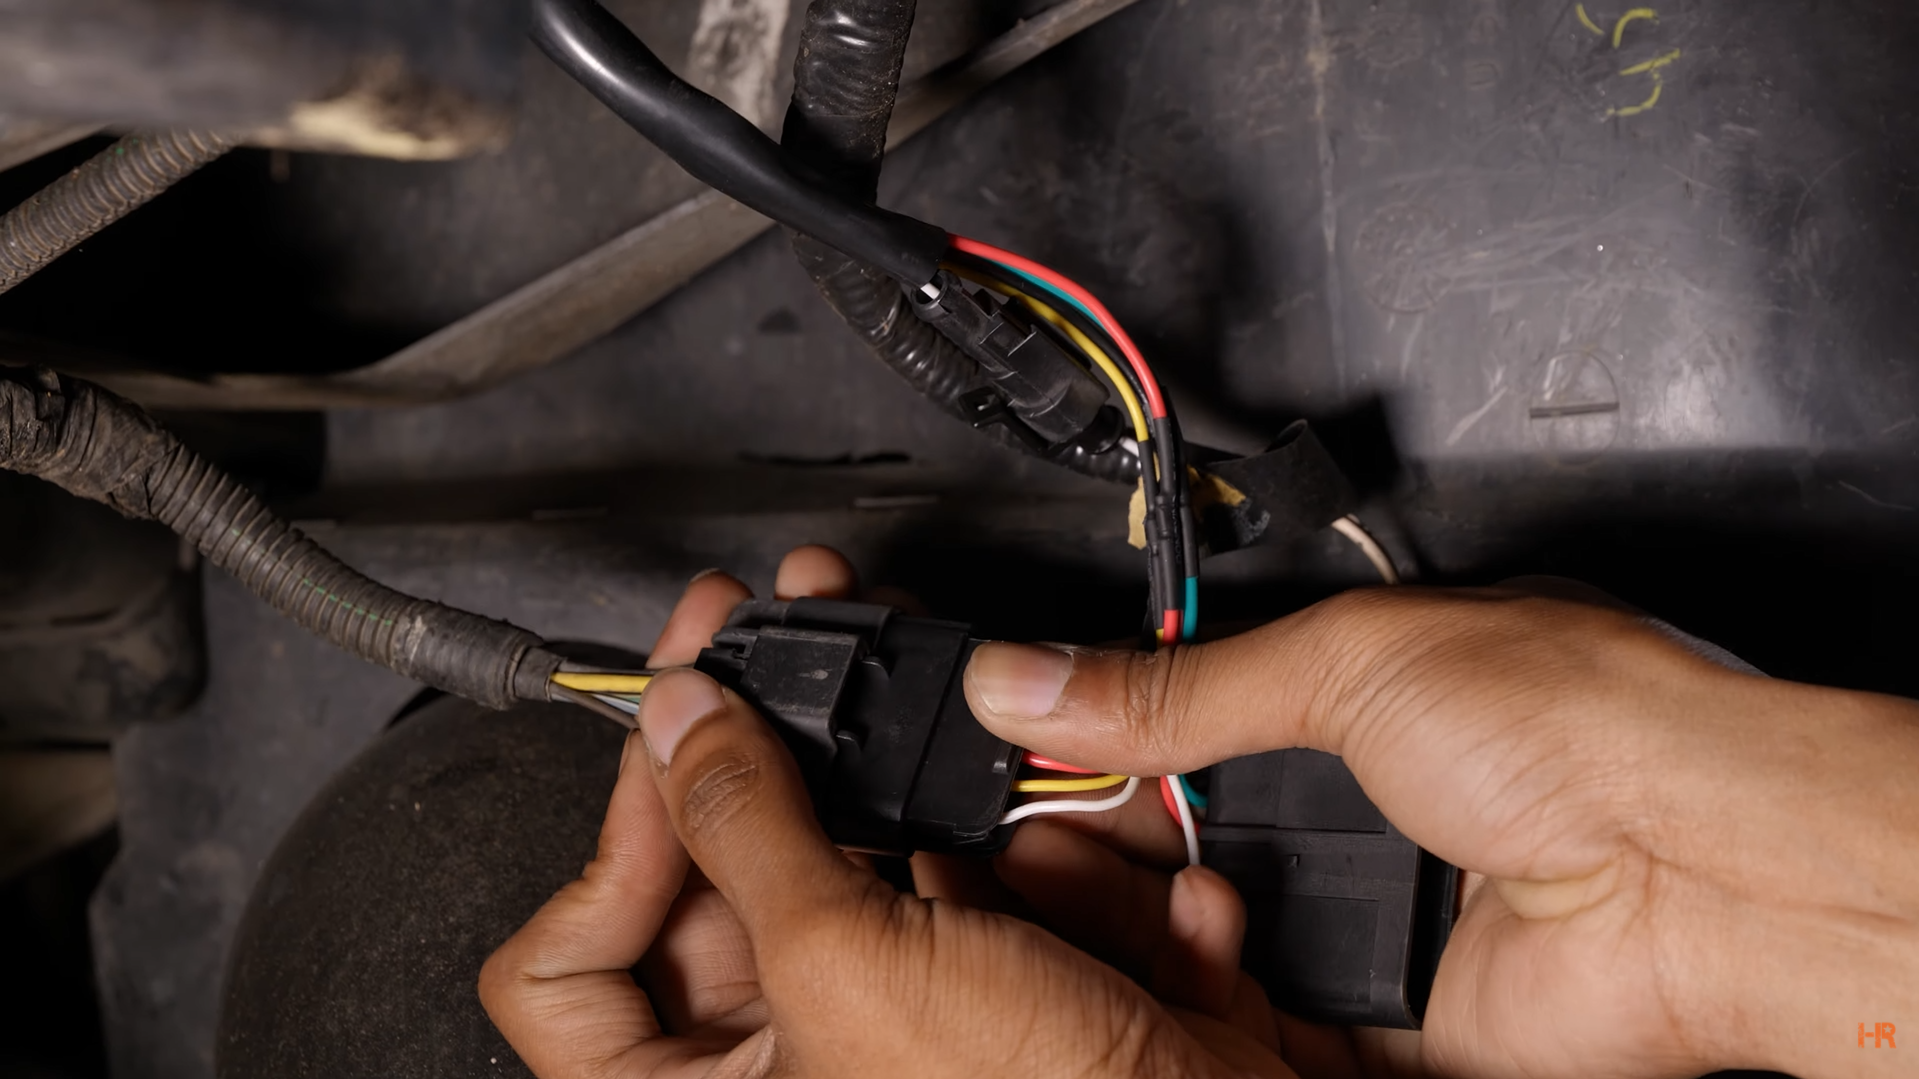
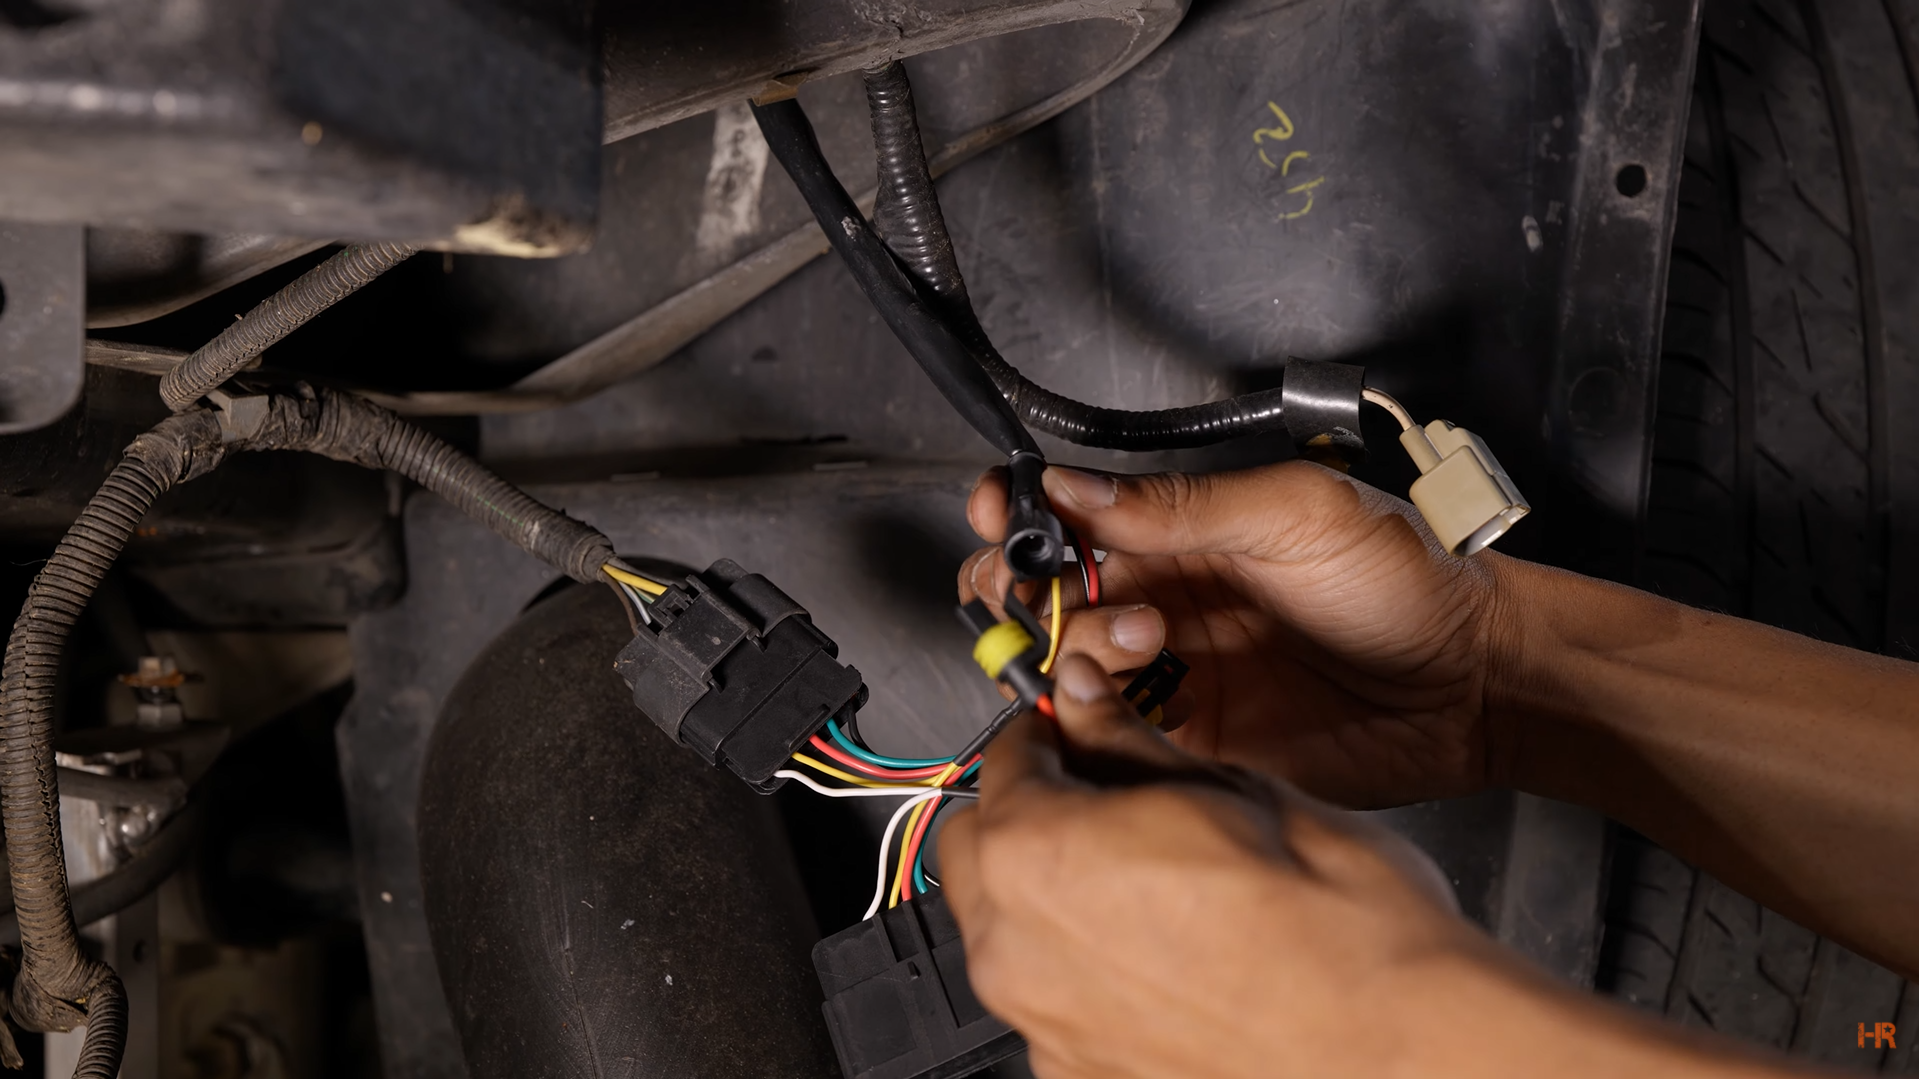
The way they are meant to be installed, but you get a choice in the matter, is to disconnect the wire pictured below, and connect the DRL fuse-tap wire. The DRL fuse-tap wire has a connector that goes into the fuse and the other side has two single-wire connectors. One wire goes to the ignition box and the other into the DRL connector.
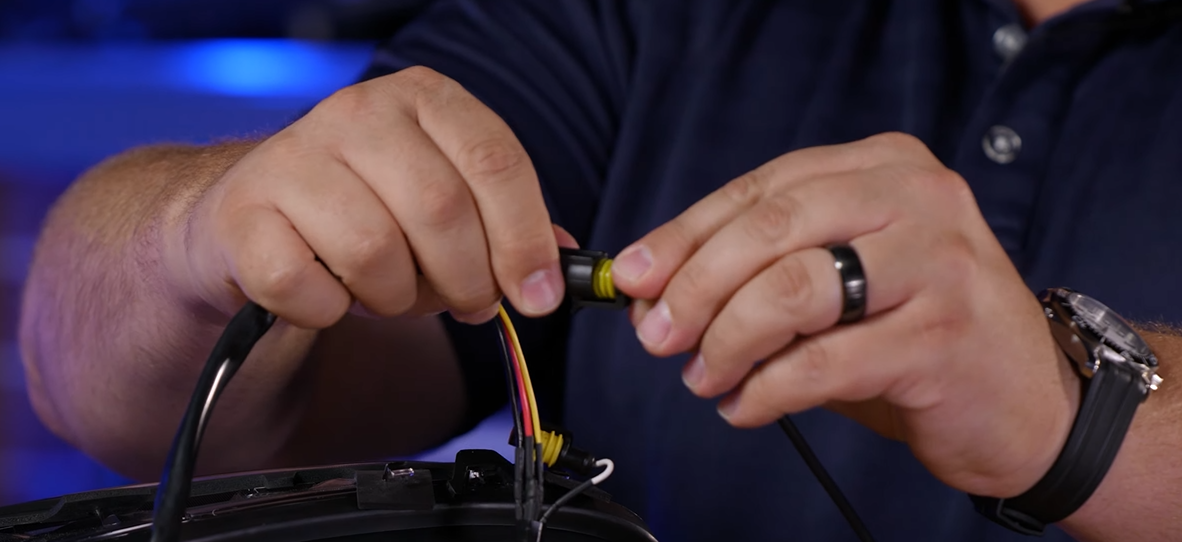
Once that is done, there will be a white-labeled wire disconnected that once was your parking light. Now you will have the bright white LED light strips shining for your DRL and that slick start-up sequence we mentioned before.
HOW TO INSTALL
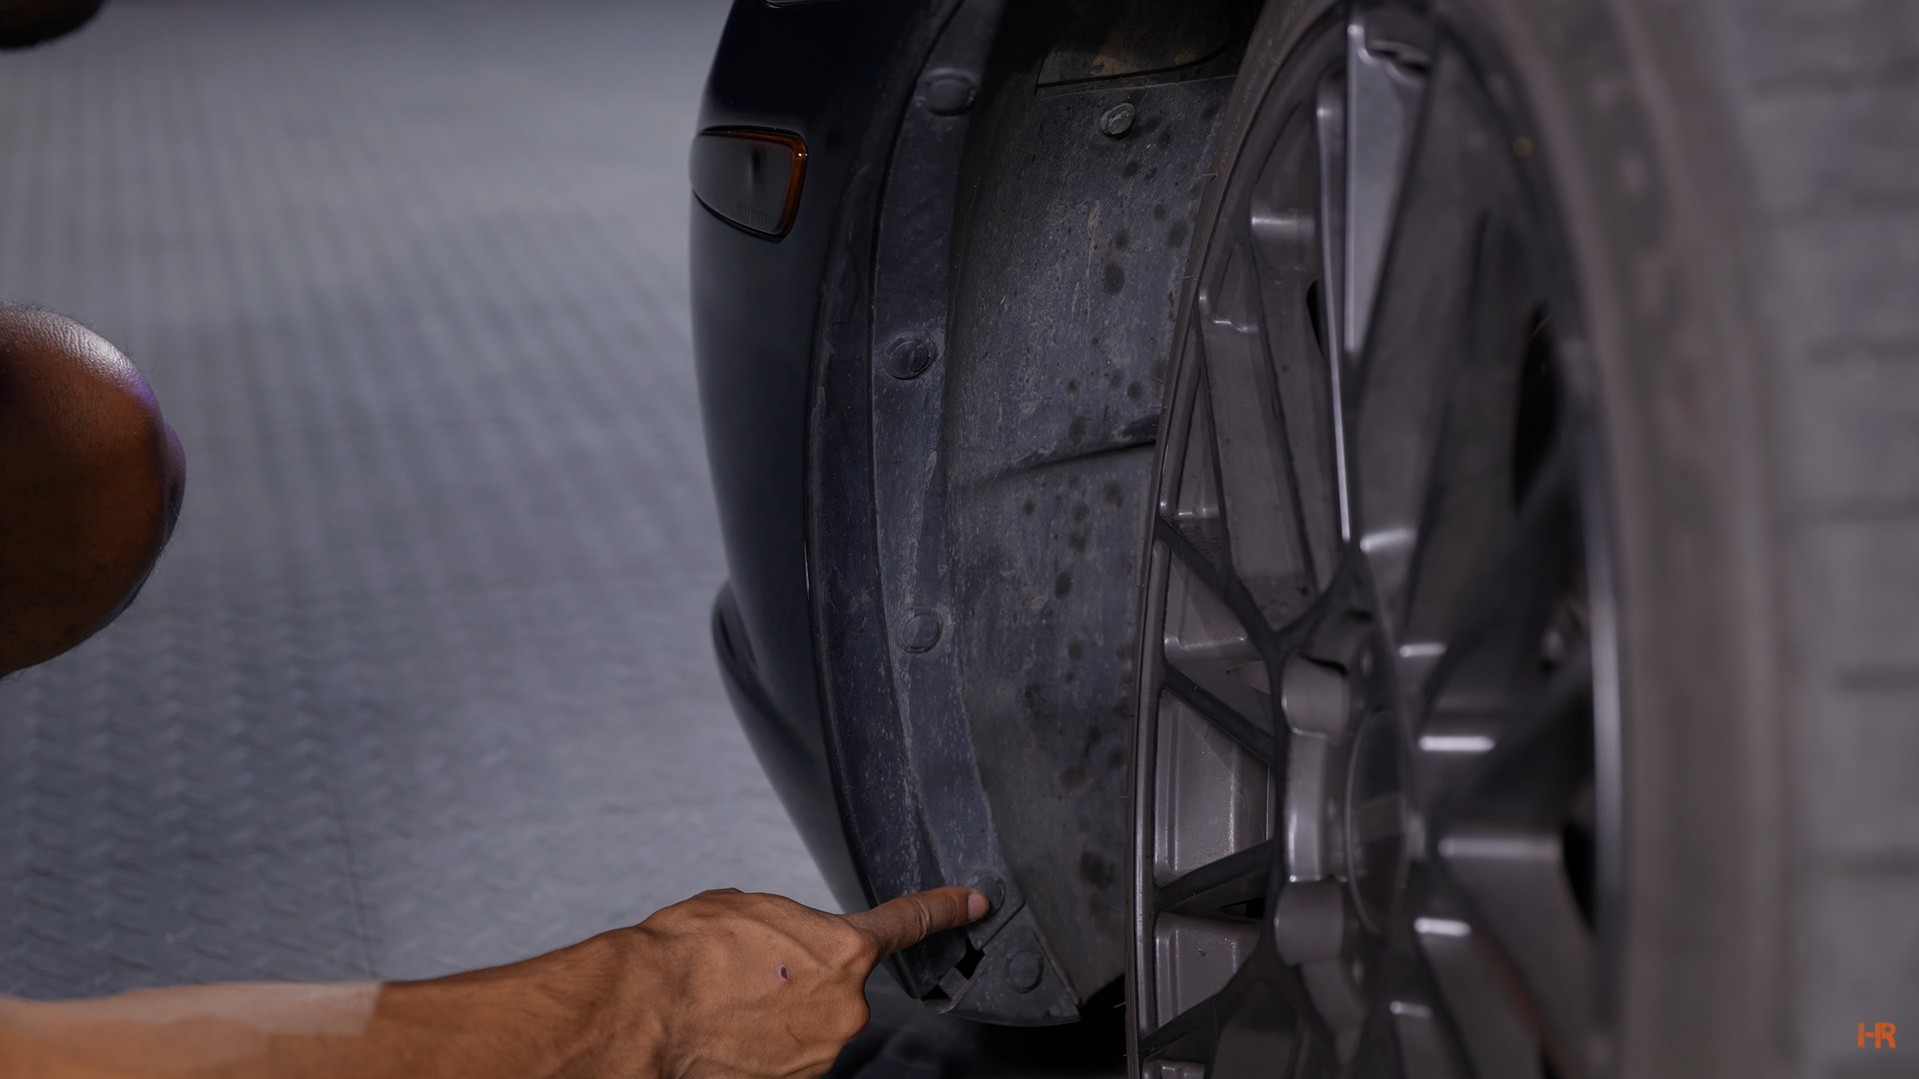
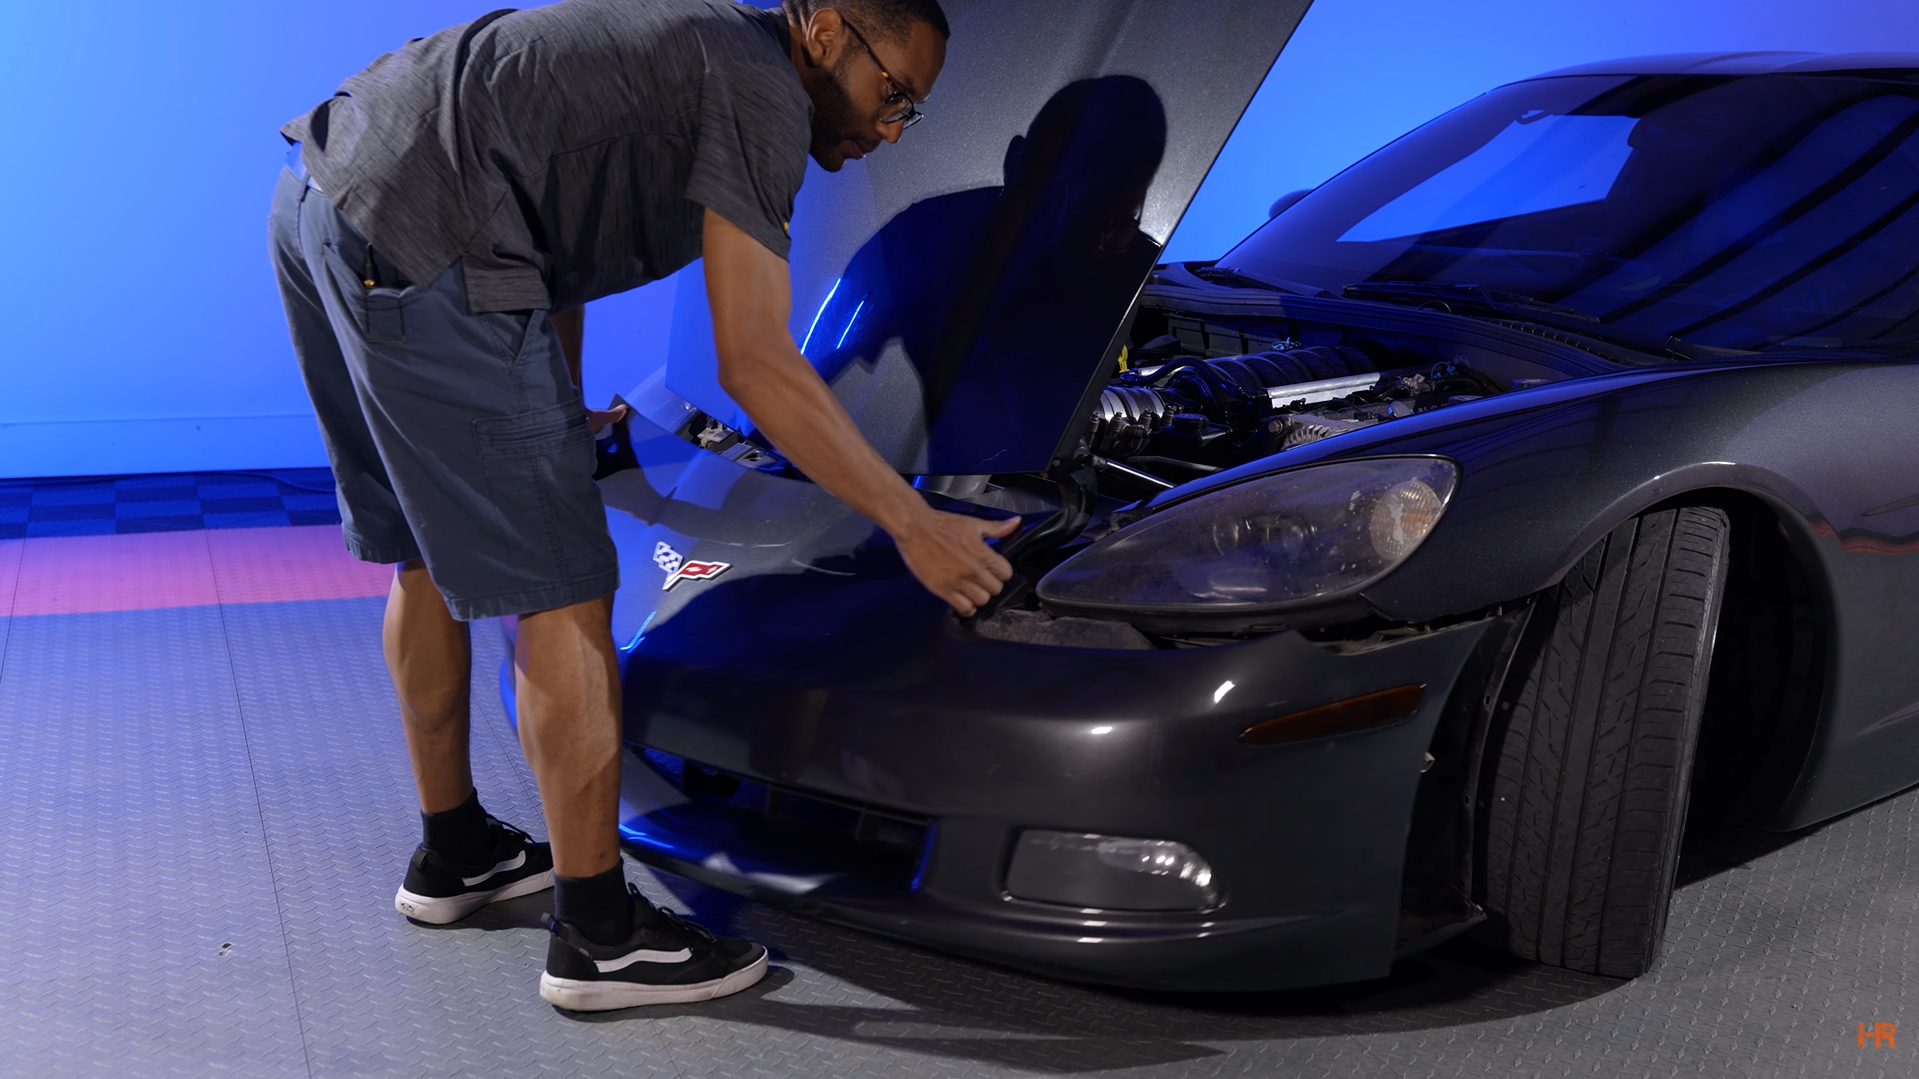
Step 1. Open the hood and turn the wheel to the side so you can reach the fender liner.
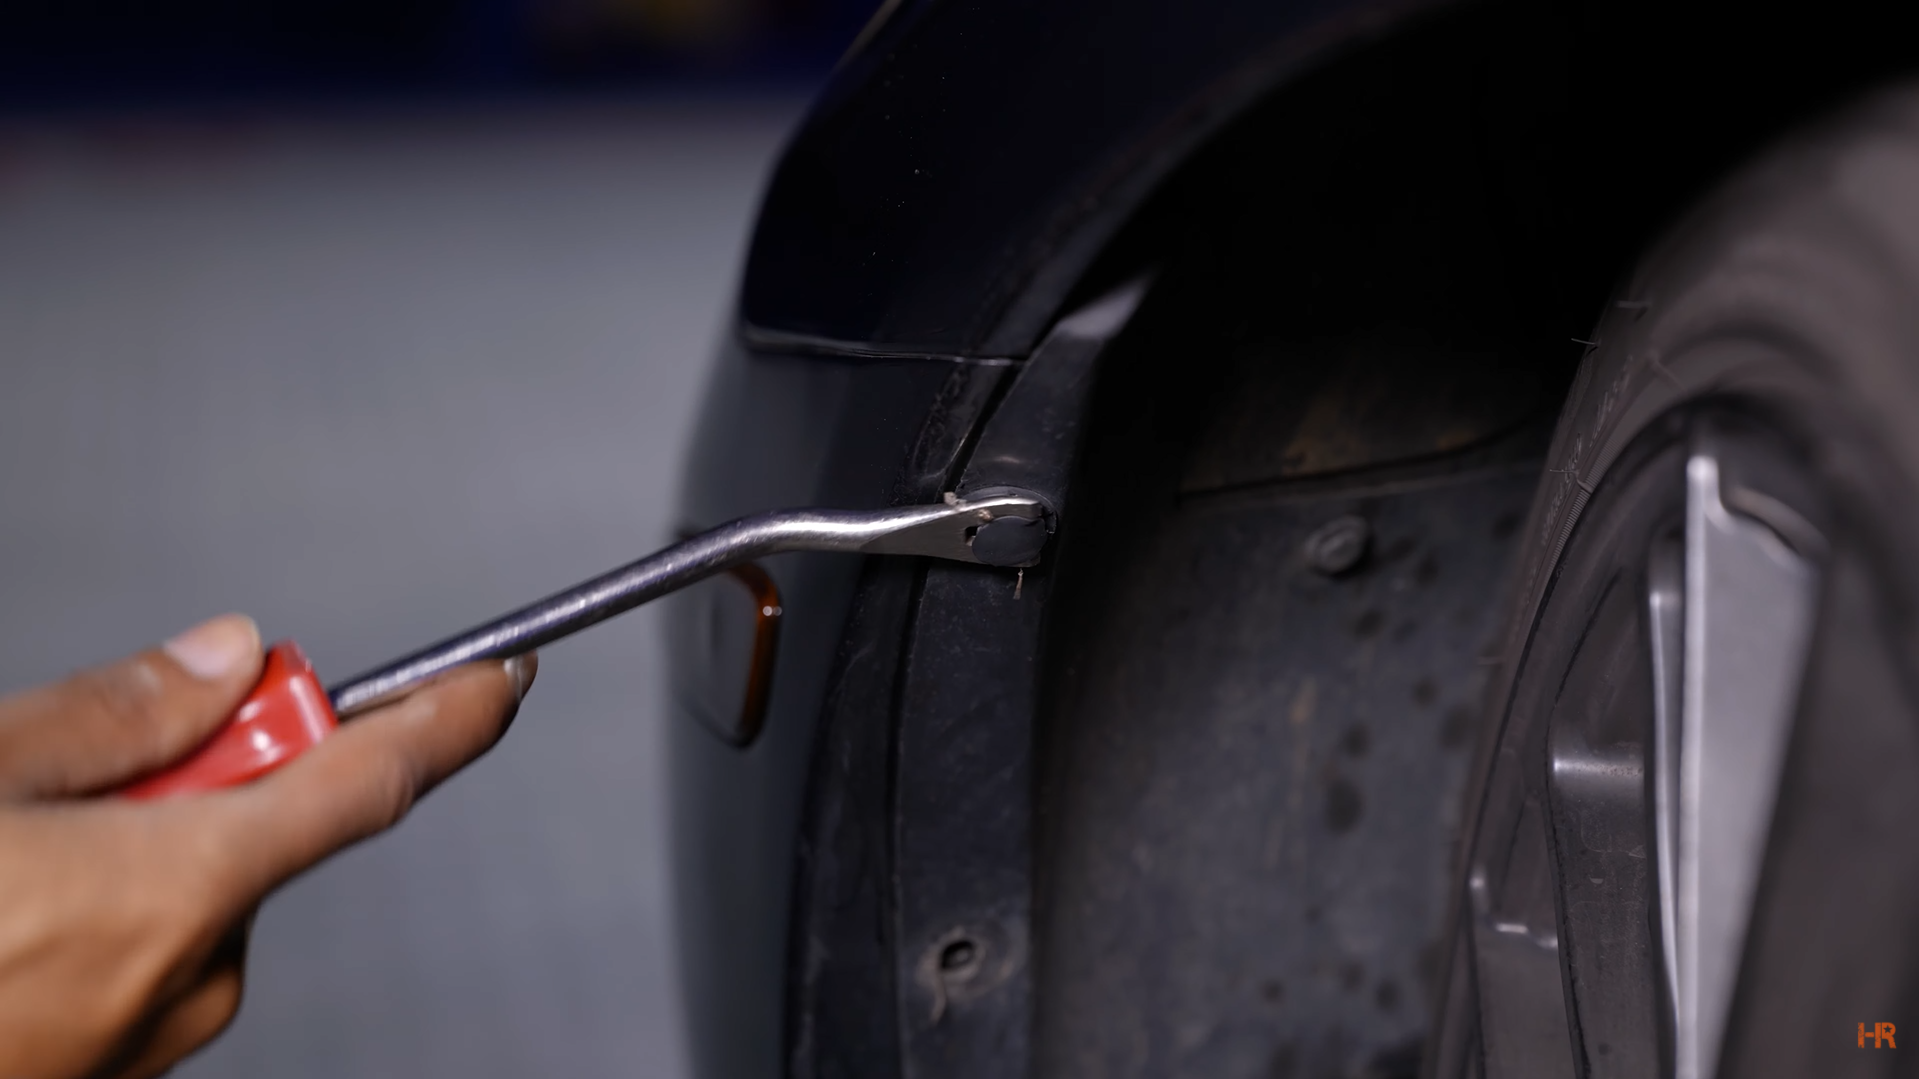
Step 2. Remove the fender liner by removing the five clips with a pry tool or flathead screwdriver.
 |
 |
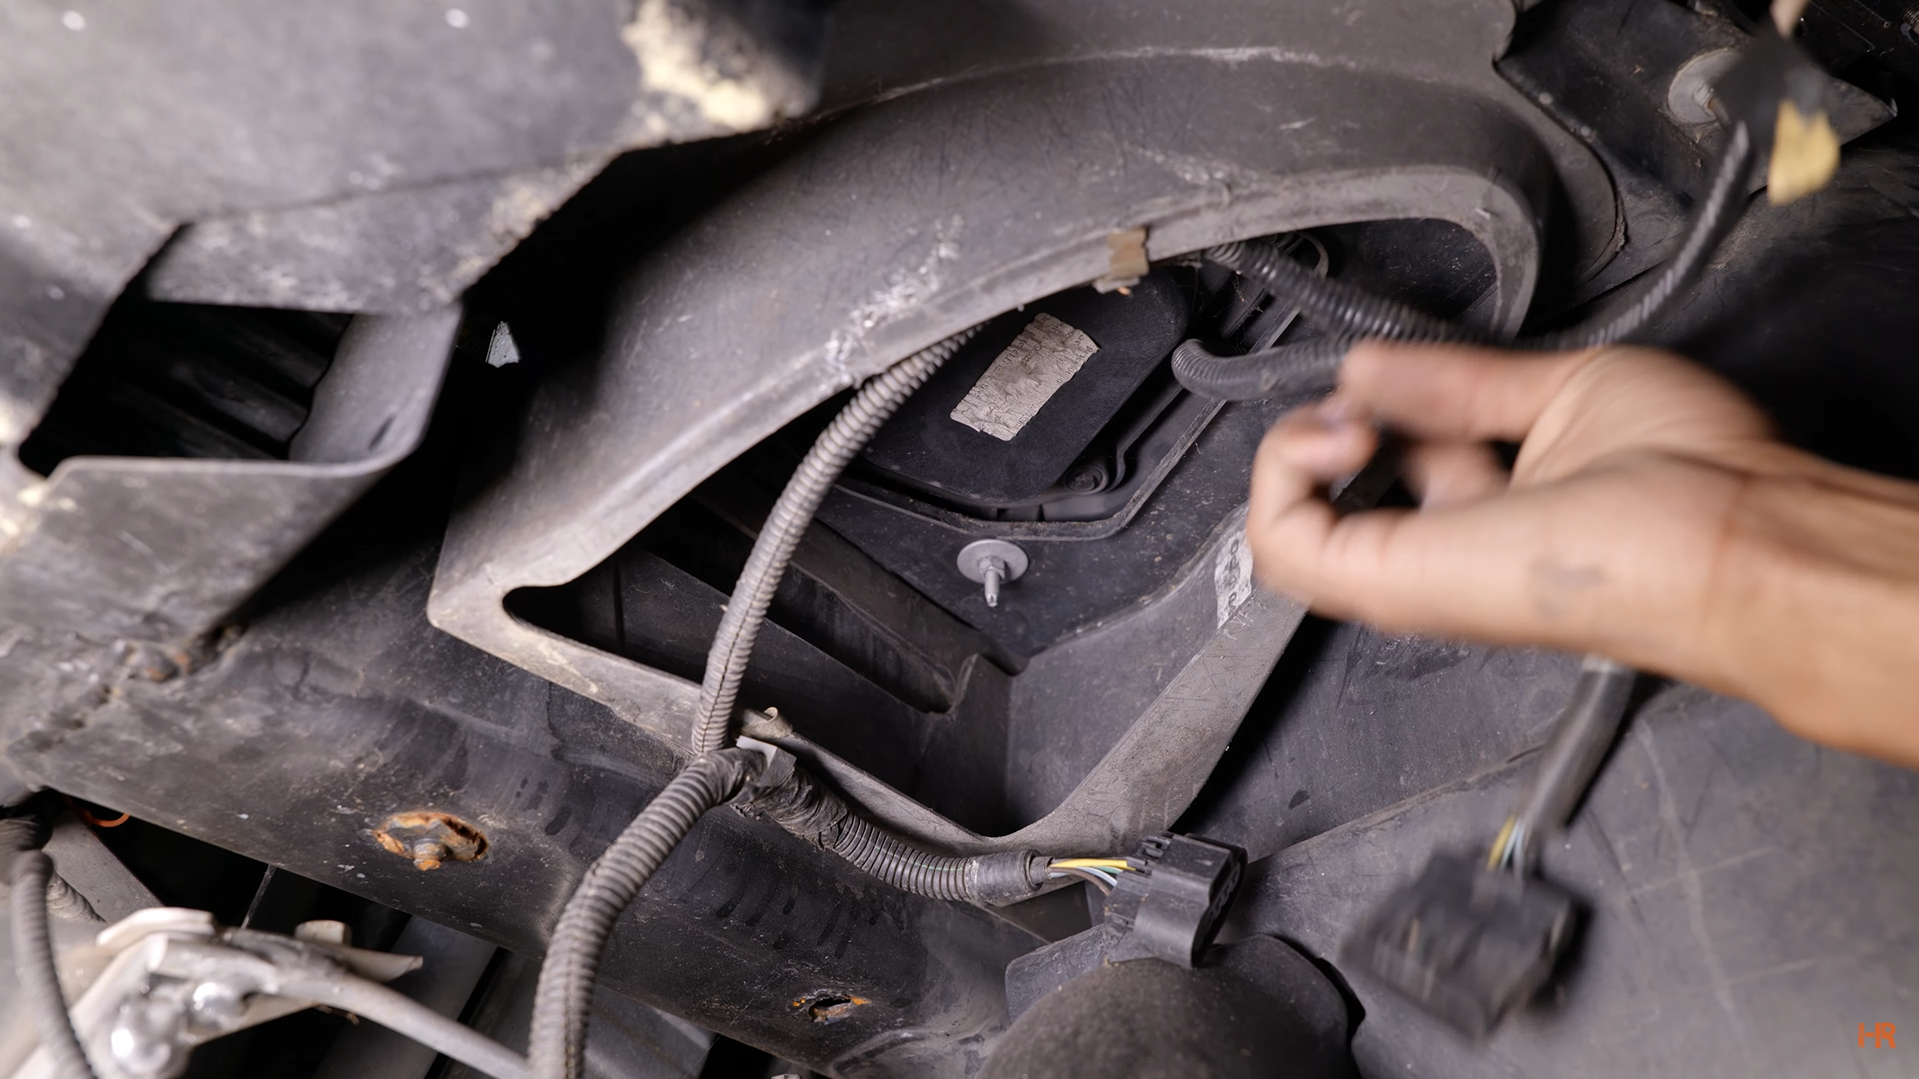
Step 3. Reach into the fender and unplug the side marker and fog light.
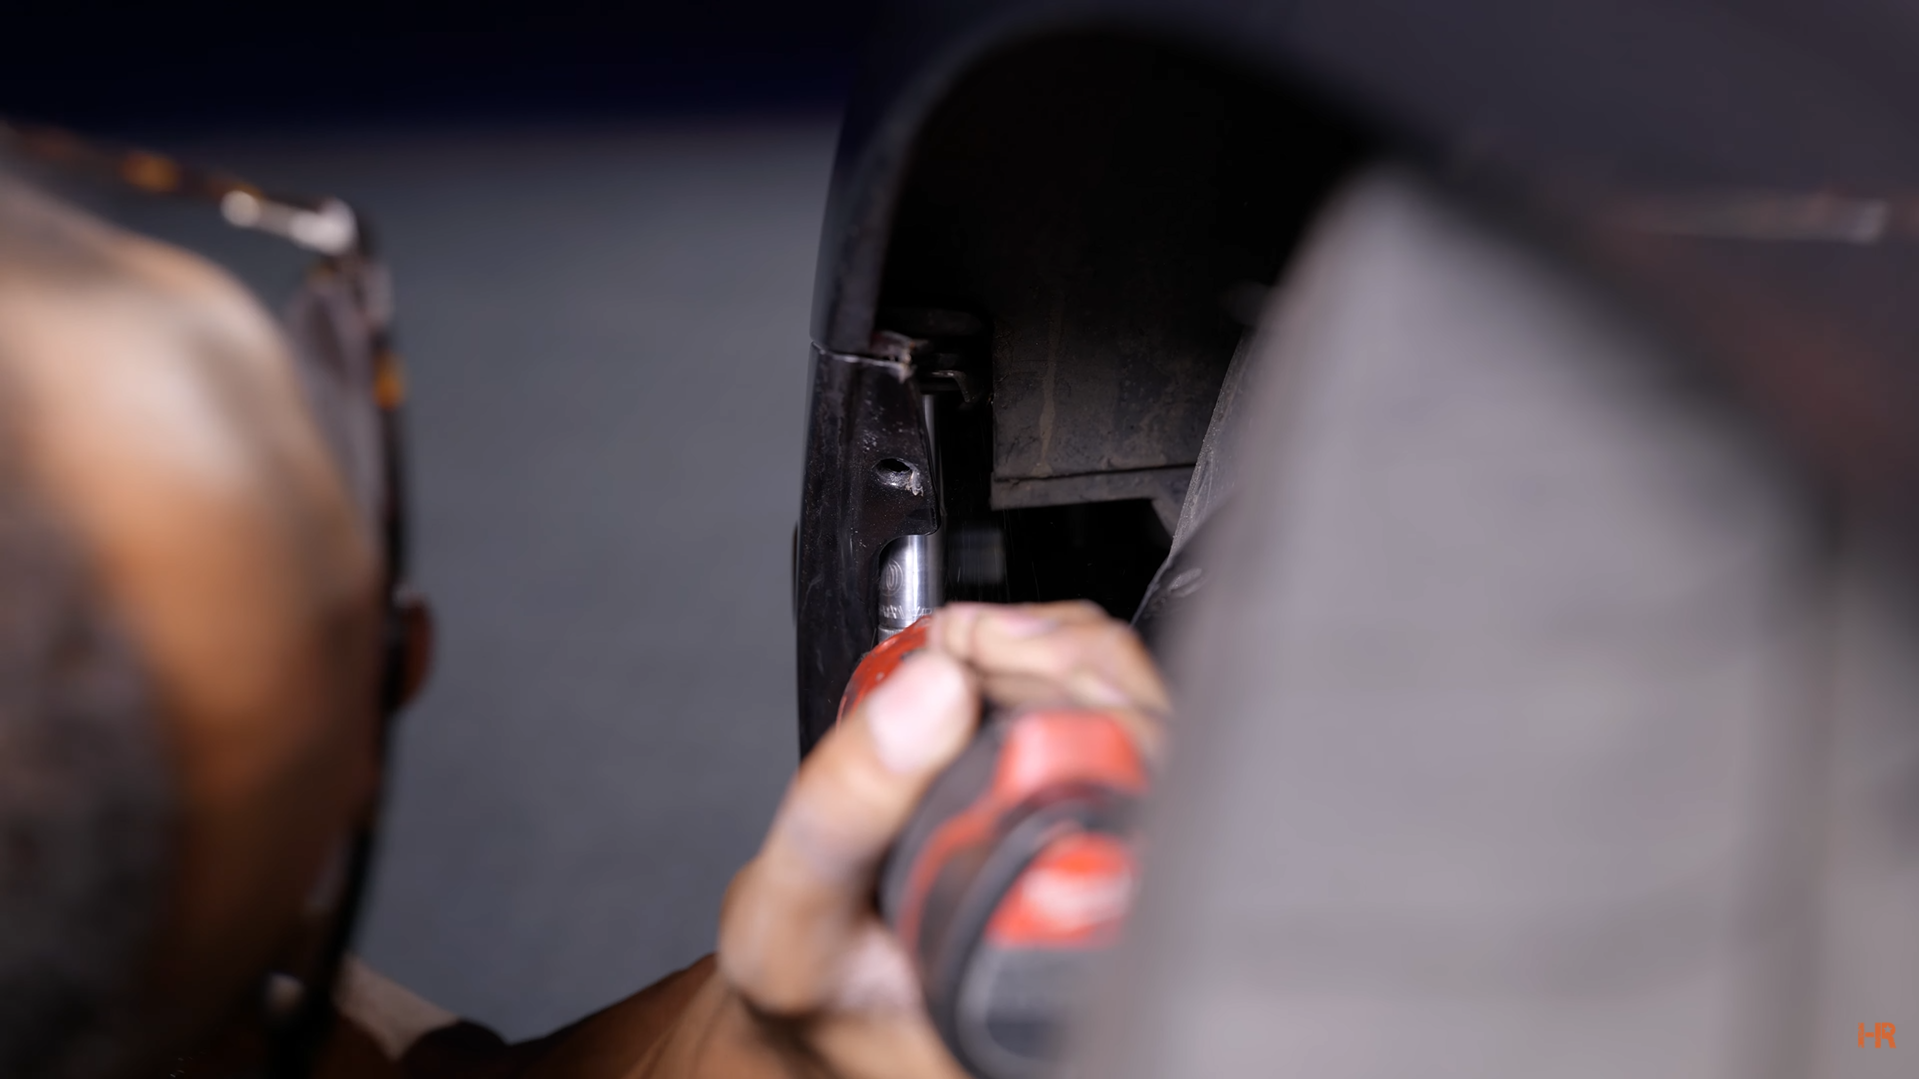
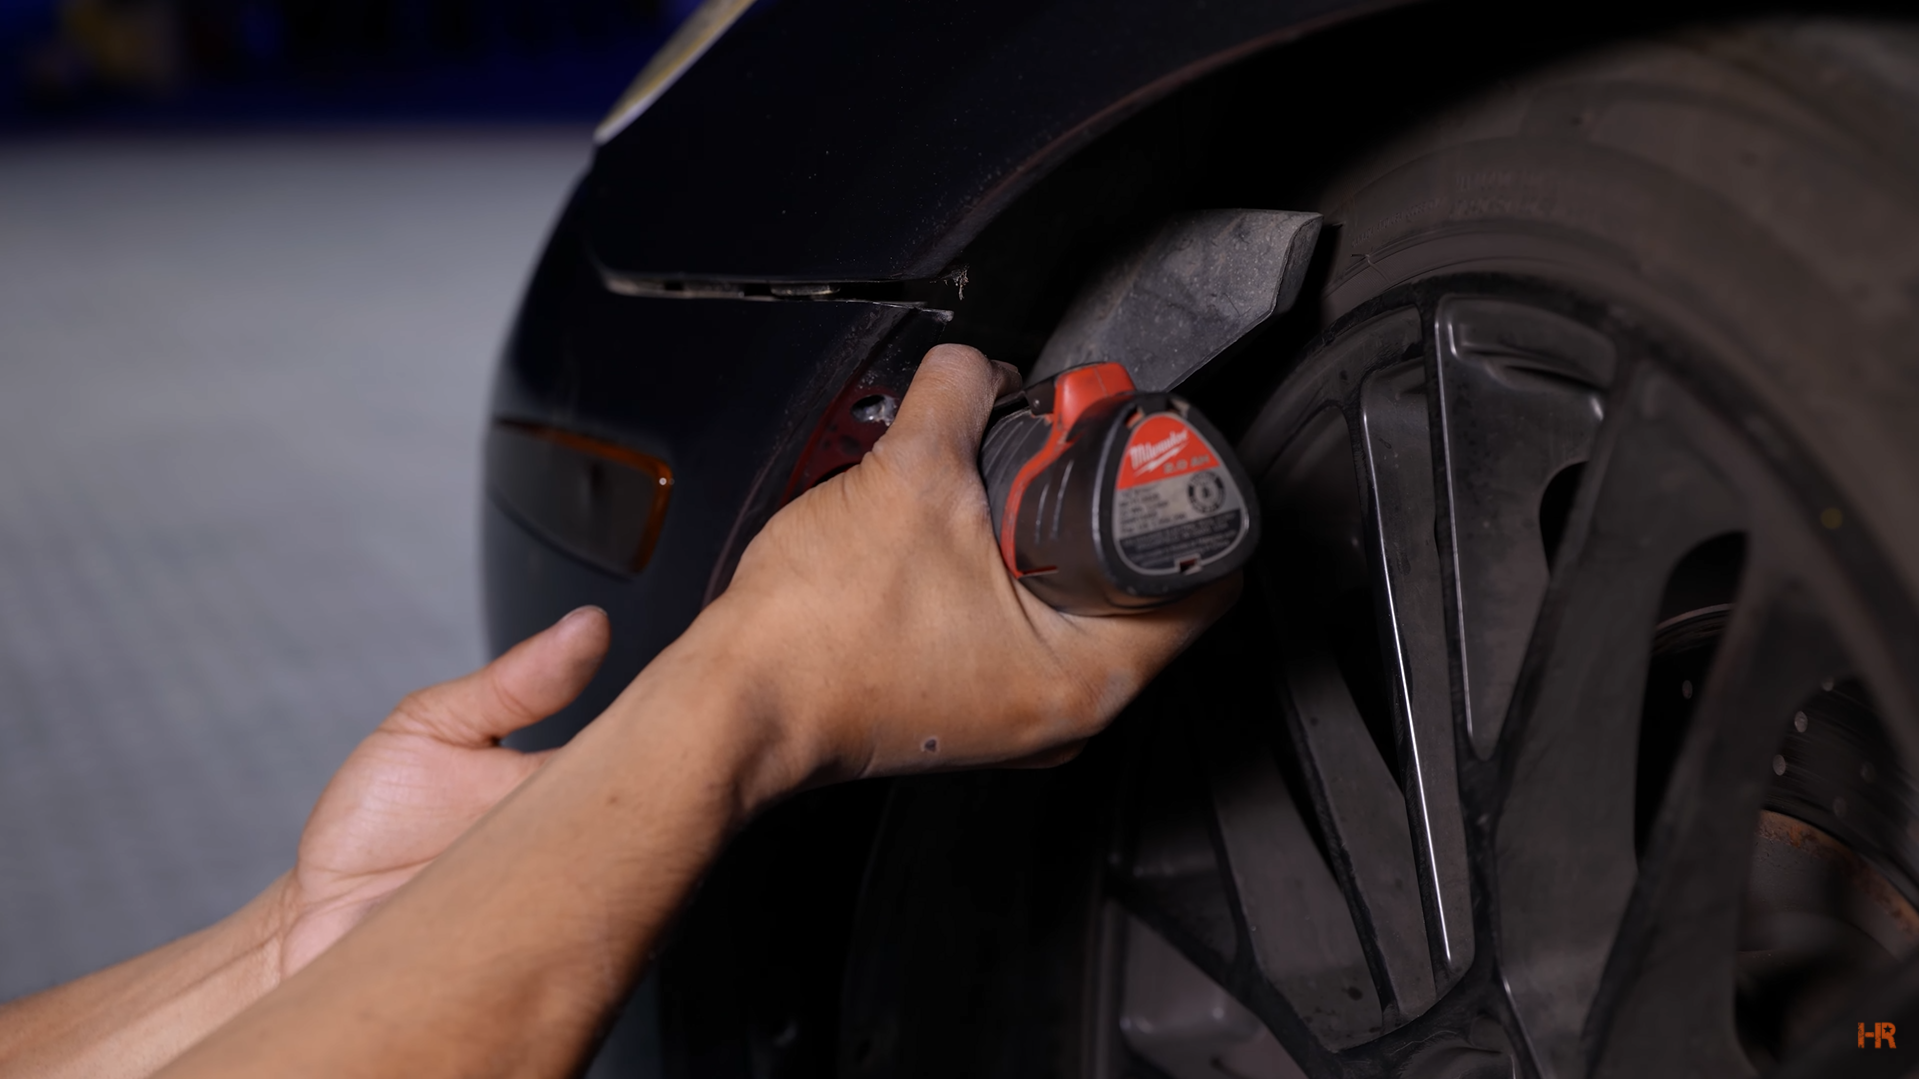
Step 4. Remove two 10mm bolts at the front of the fender and another behind the side marker.
 |
 |
Repeat steps 1-4 for the other side of the car.
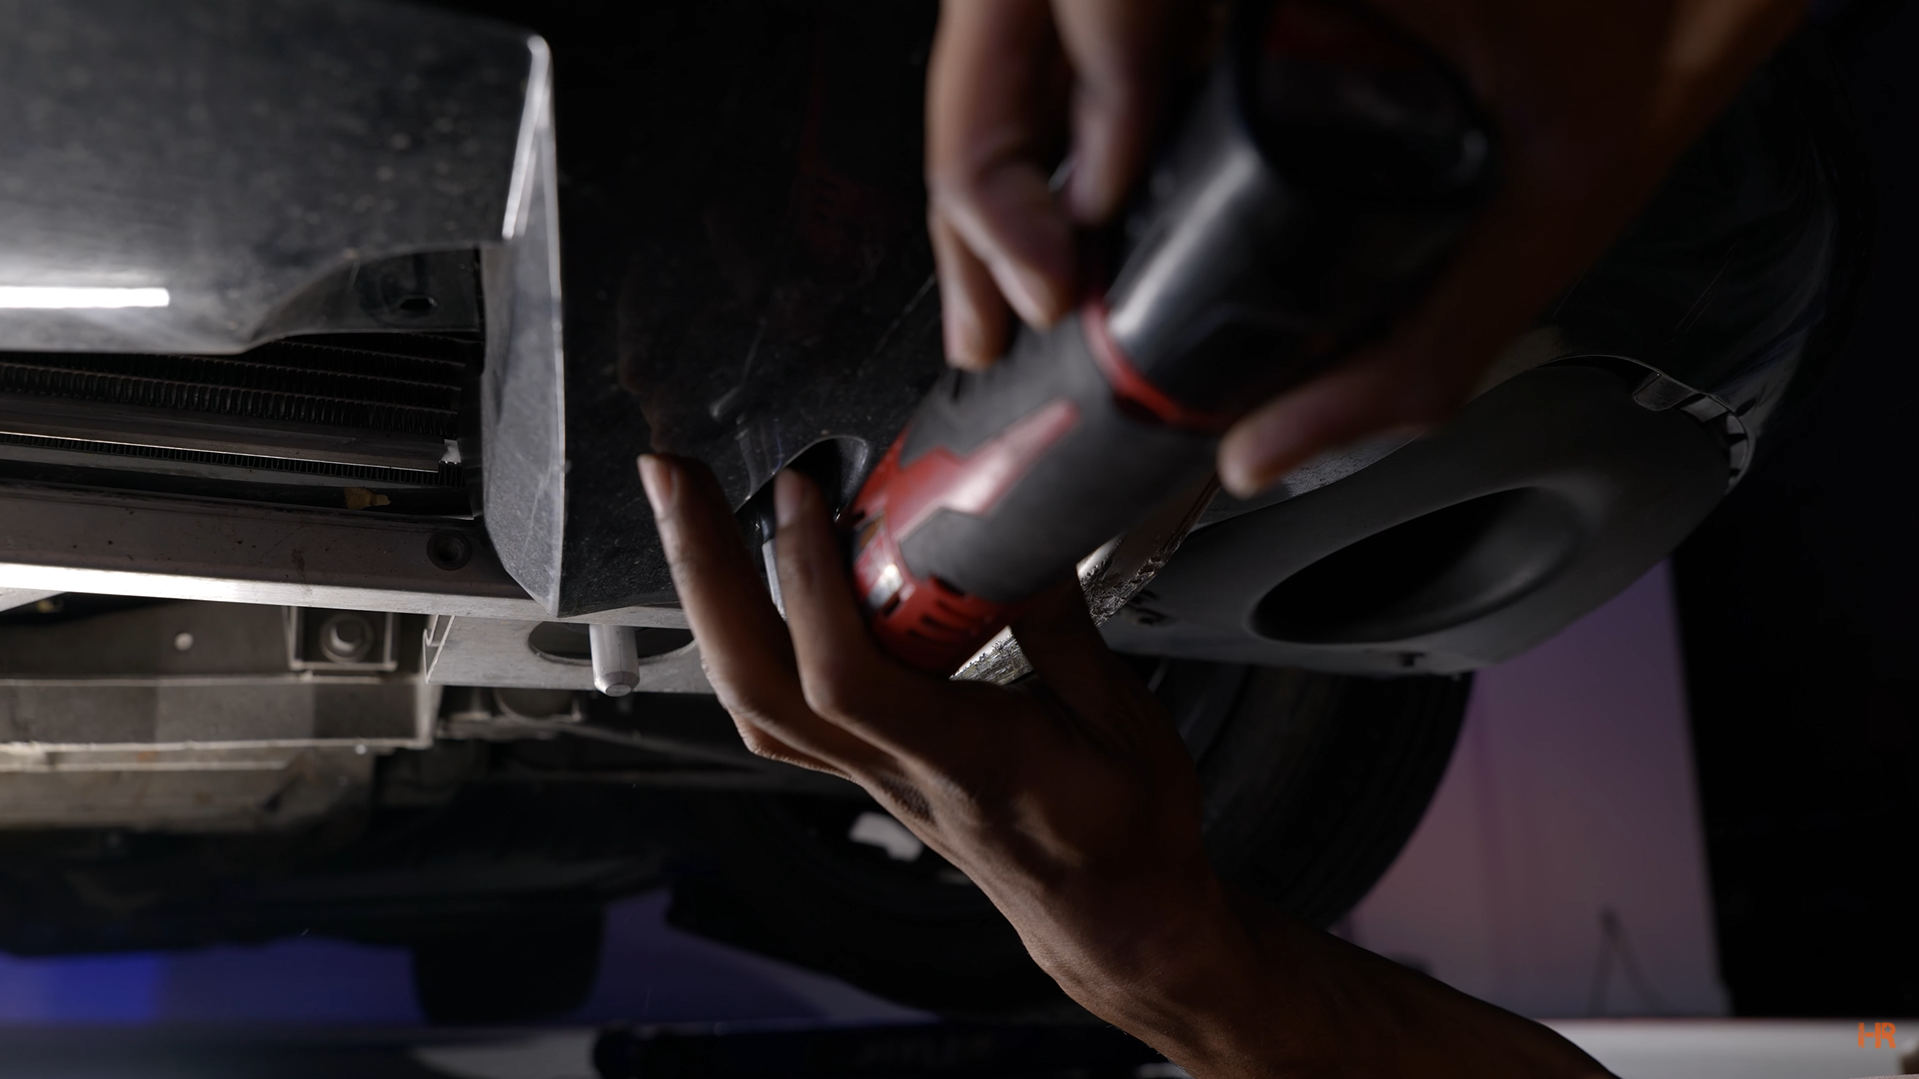
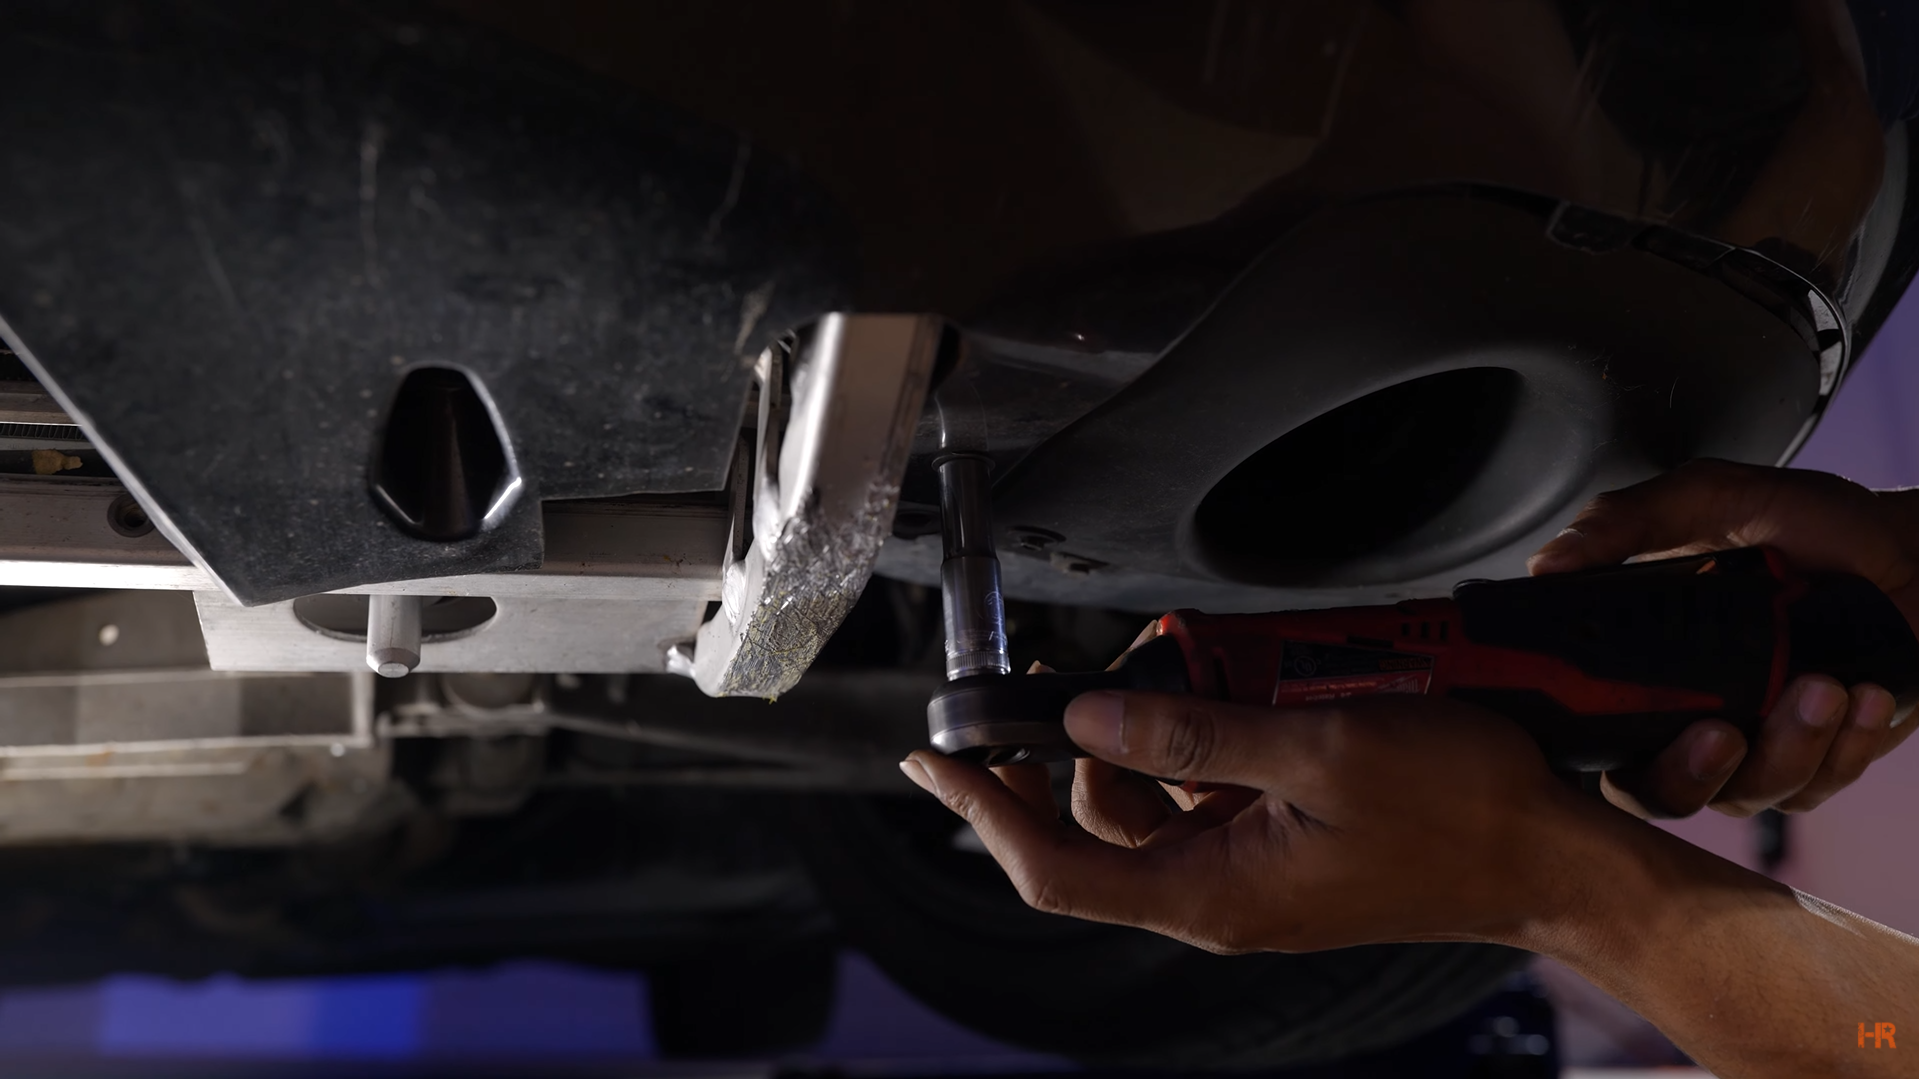
Step 5. Get underneath the car and remove 10mm nut and three 7mm bolts.
 |
 |
Repeat for the other side of the car.
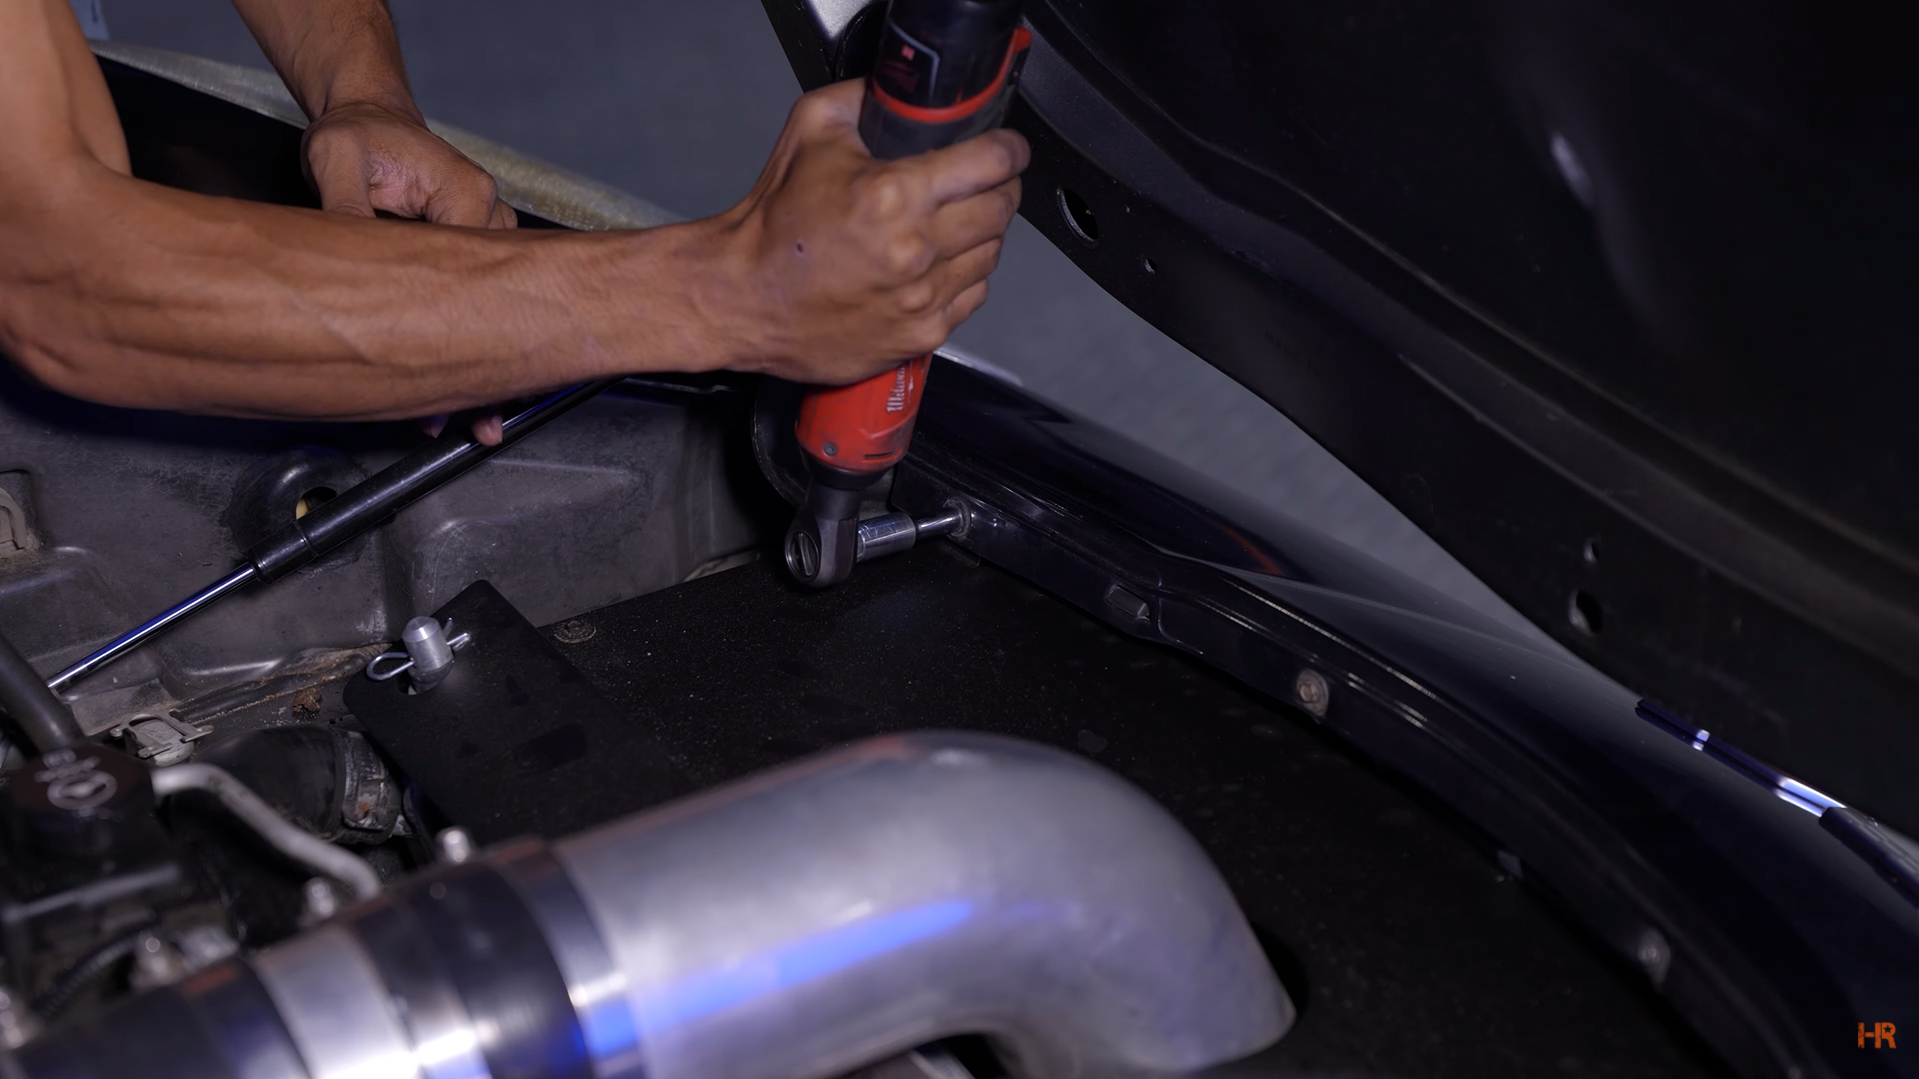
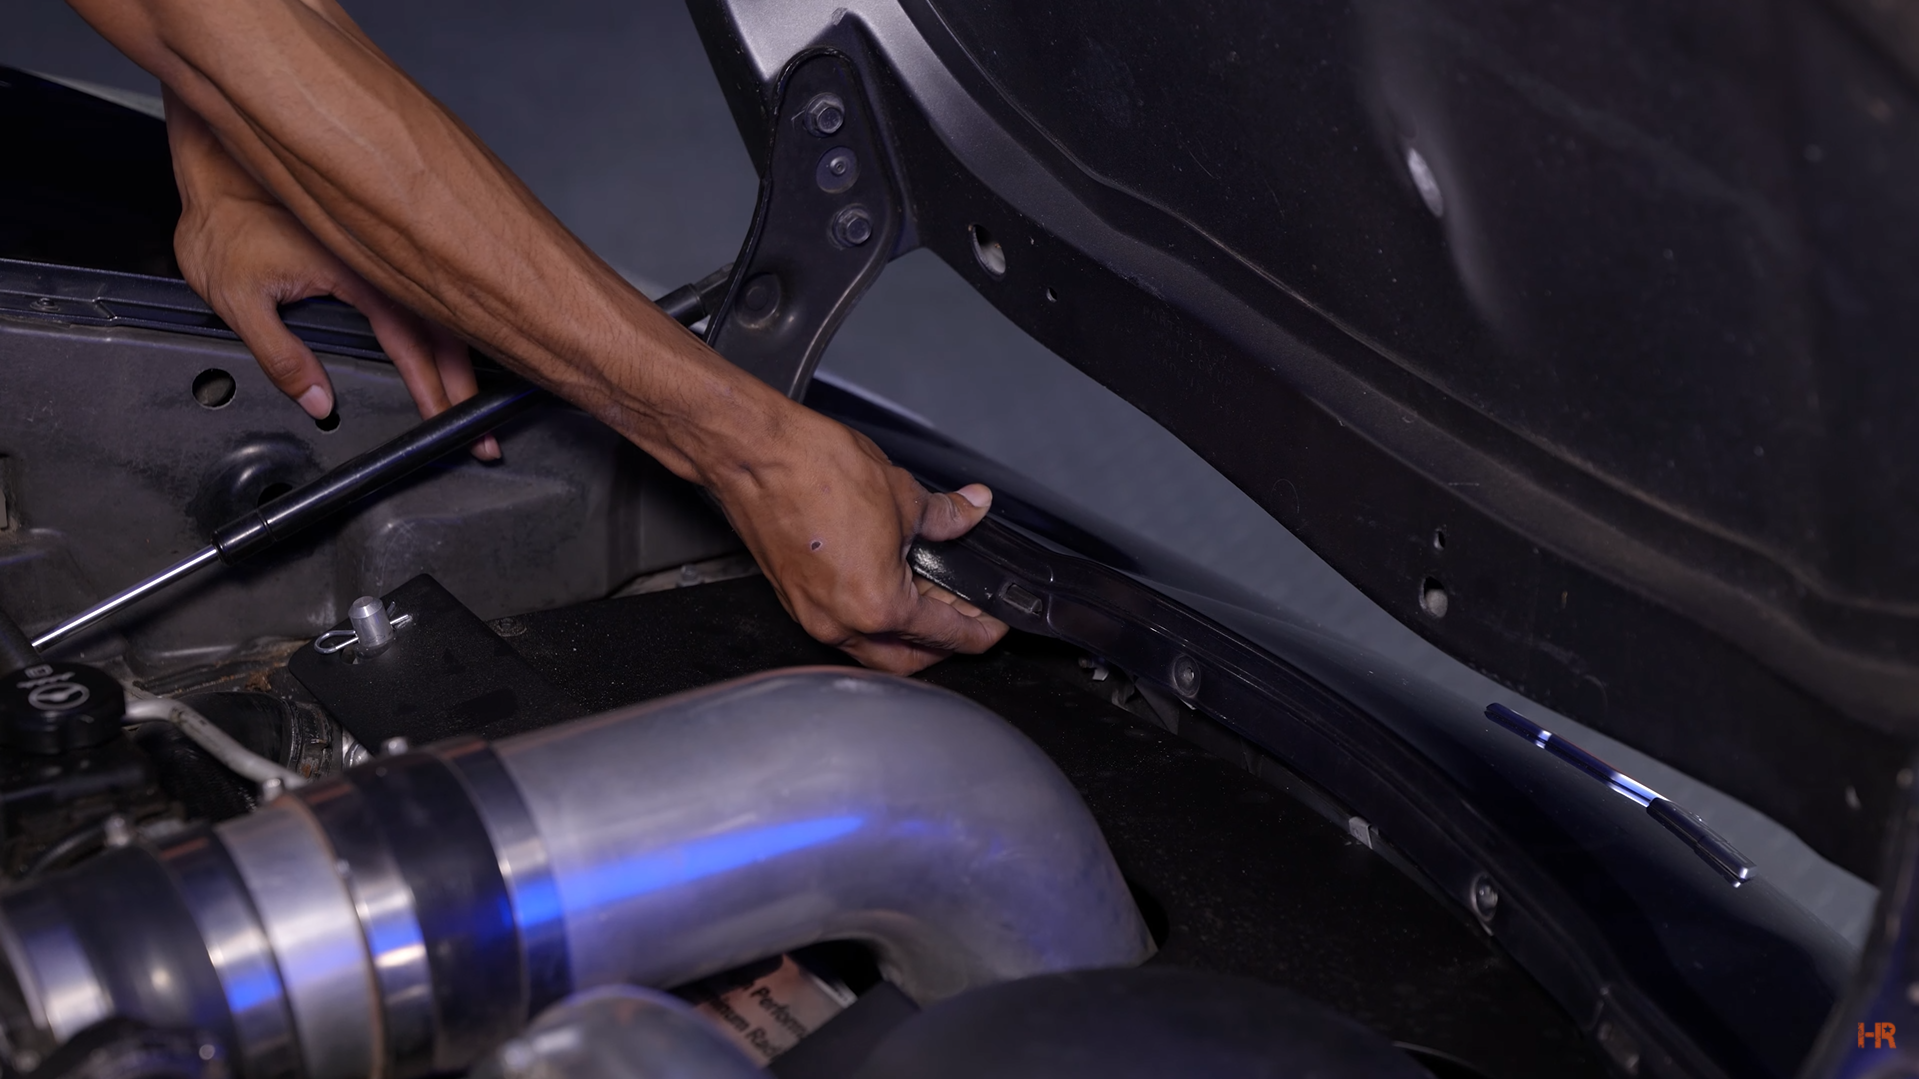
Step 6. Under the hood facing forward, there are four 7mm bolts that must be removed for you to then pry off the bumper. Once removed use a prying tool to unlatch the inside panel.
 |
 |
Step 7. Use a pry tool to loosen the sidestep by the headlights. Repeat for both sides.
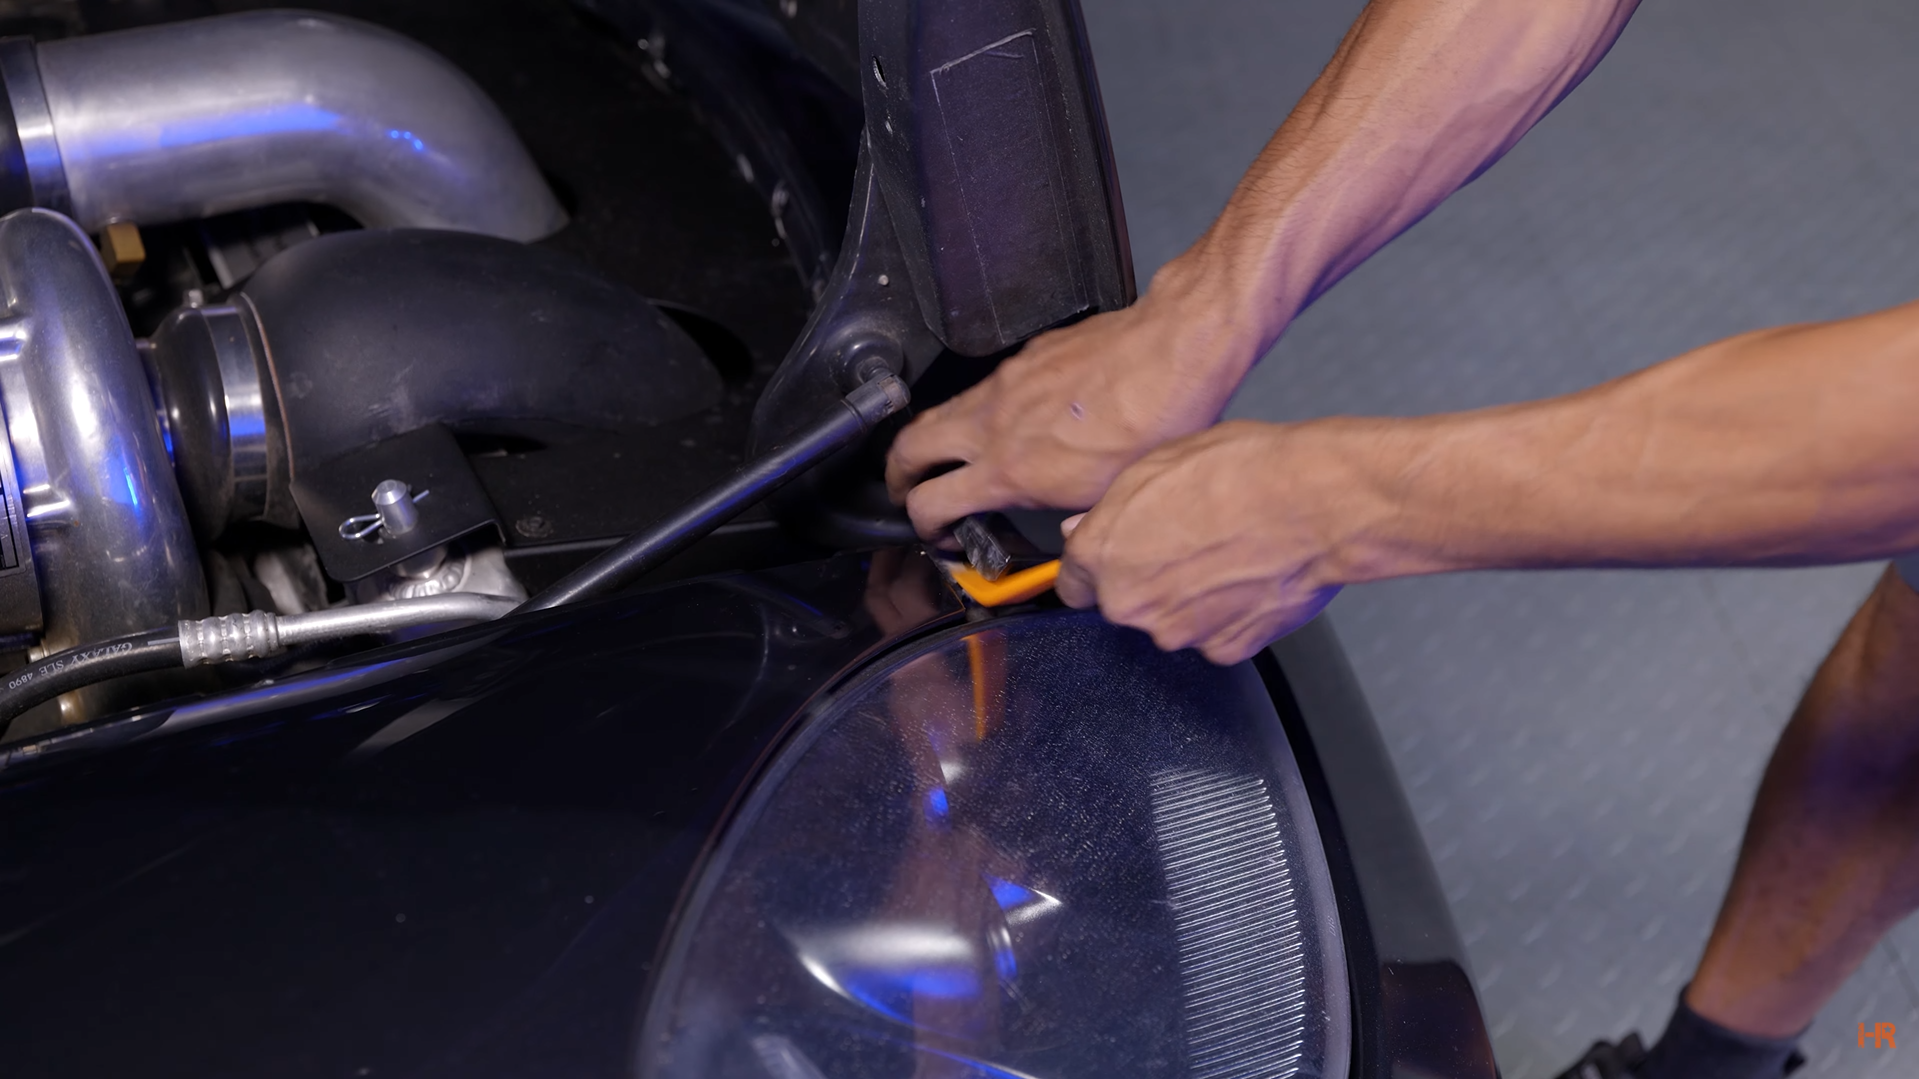
Step 8. Loosen either side of the bumper by the headlights and then pull from the center (beneath the hood) to separate the bumper from the car.
Step 9. Now that the bumper is gone, we can remove the headlights. There is one connector and three 10mm bolts for each light. Unplug and remove both respectively.
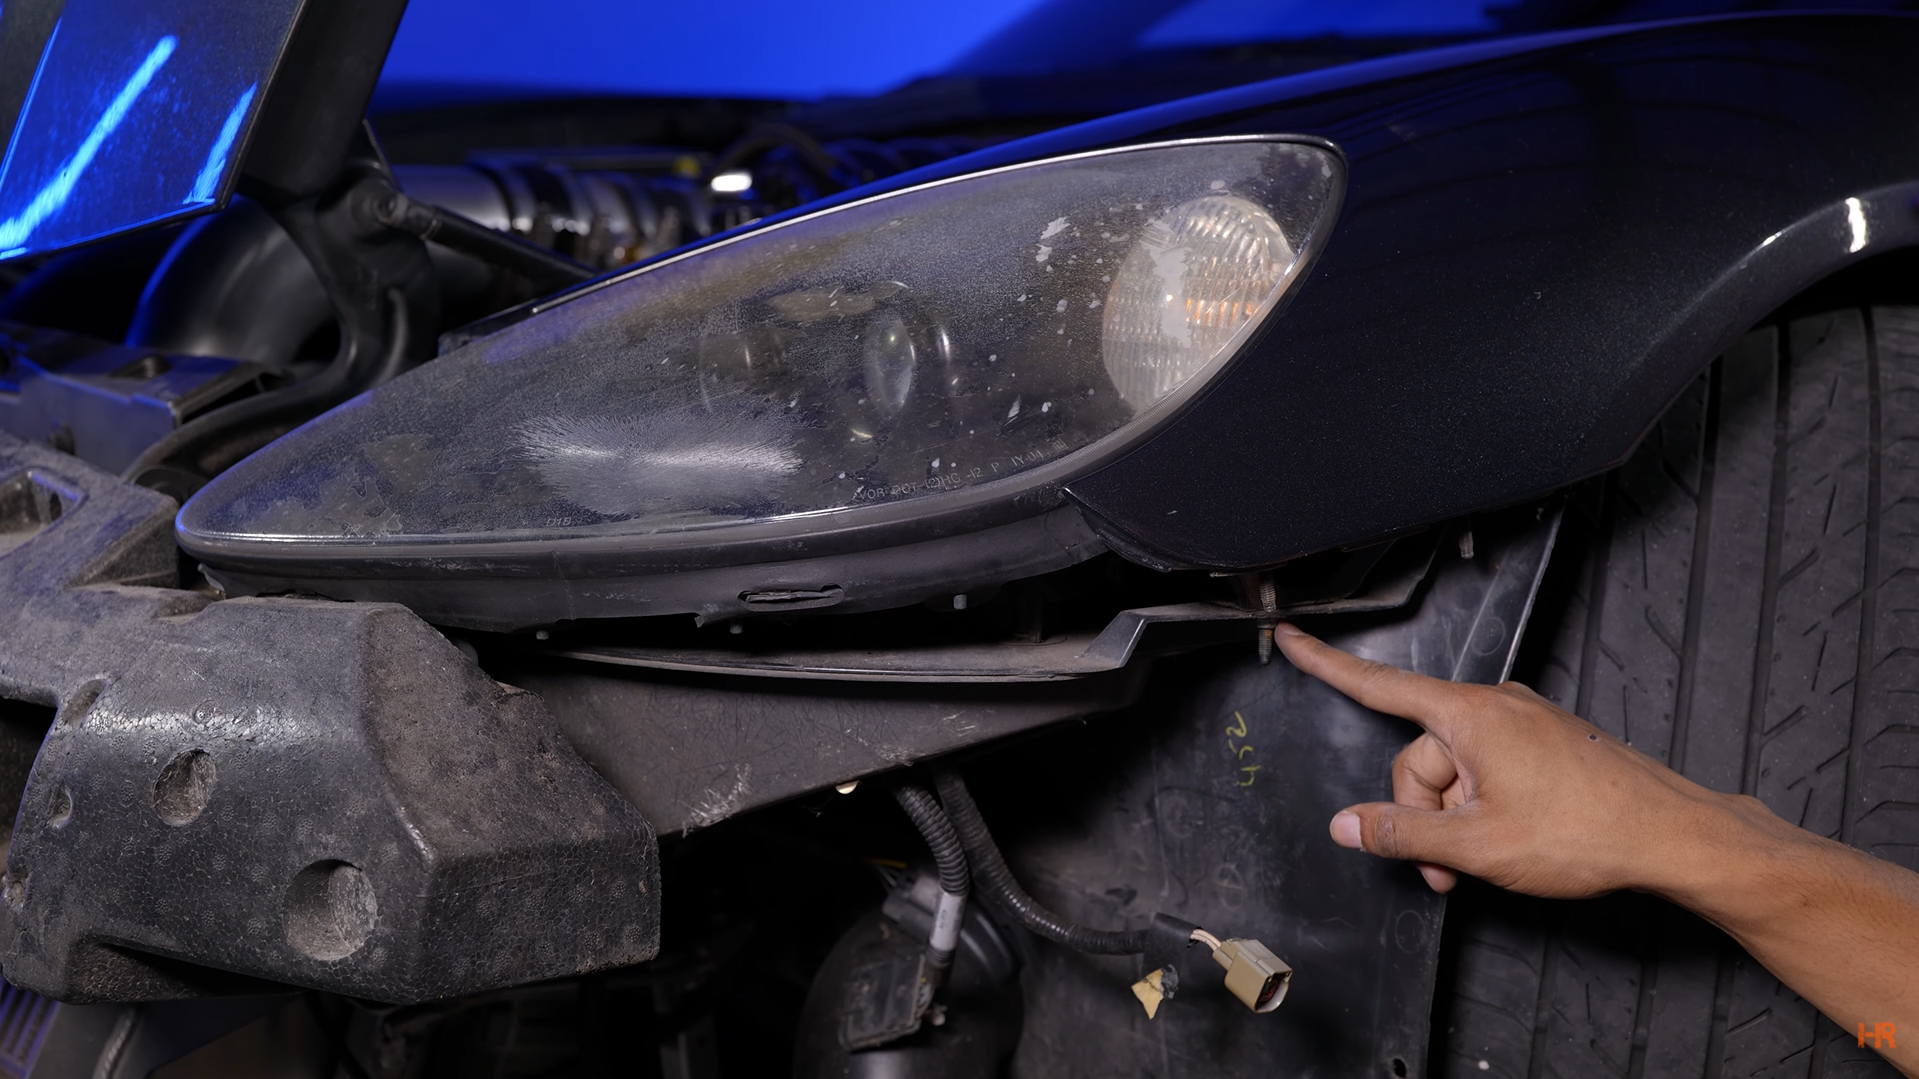
Step 10. Loosen the fender by removing the 10mm beneath the headlight on the exterior of the car.
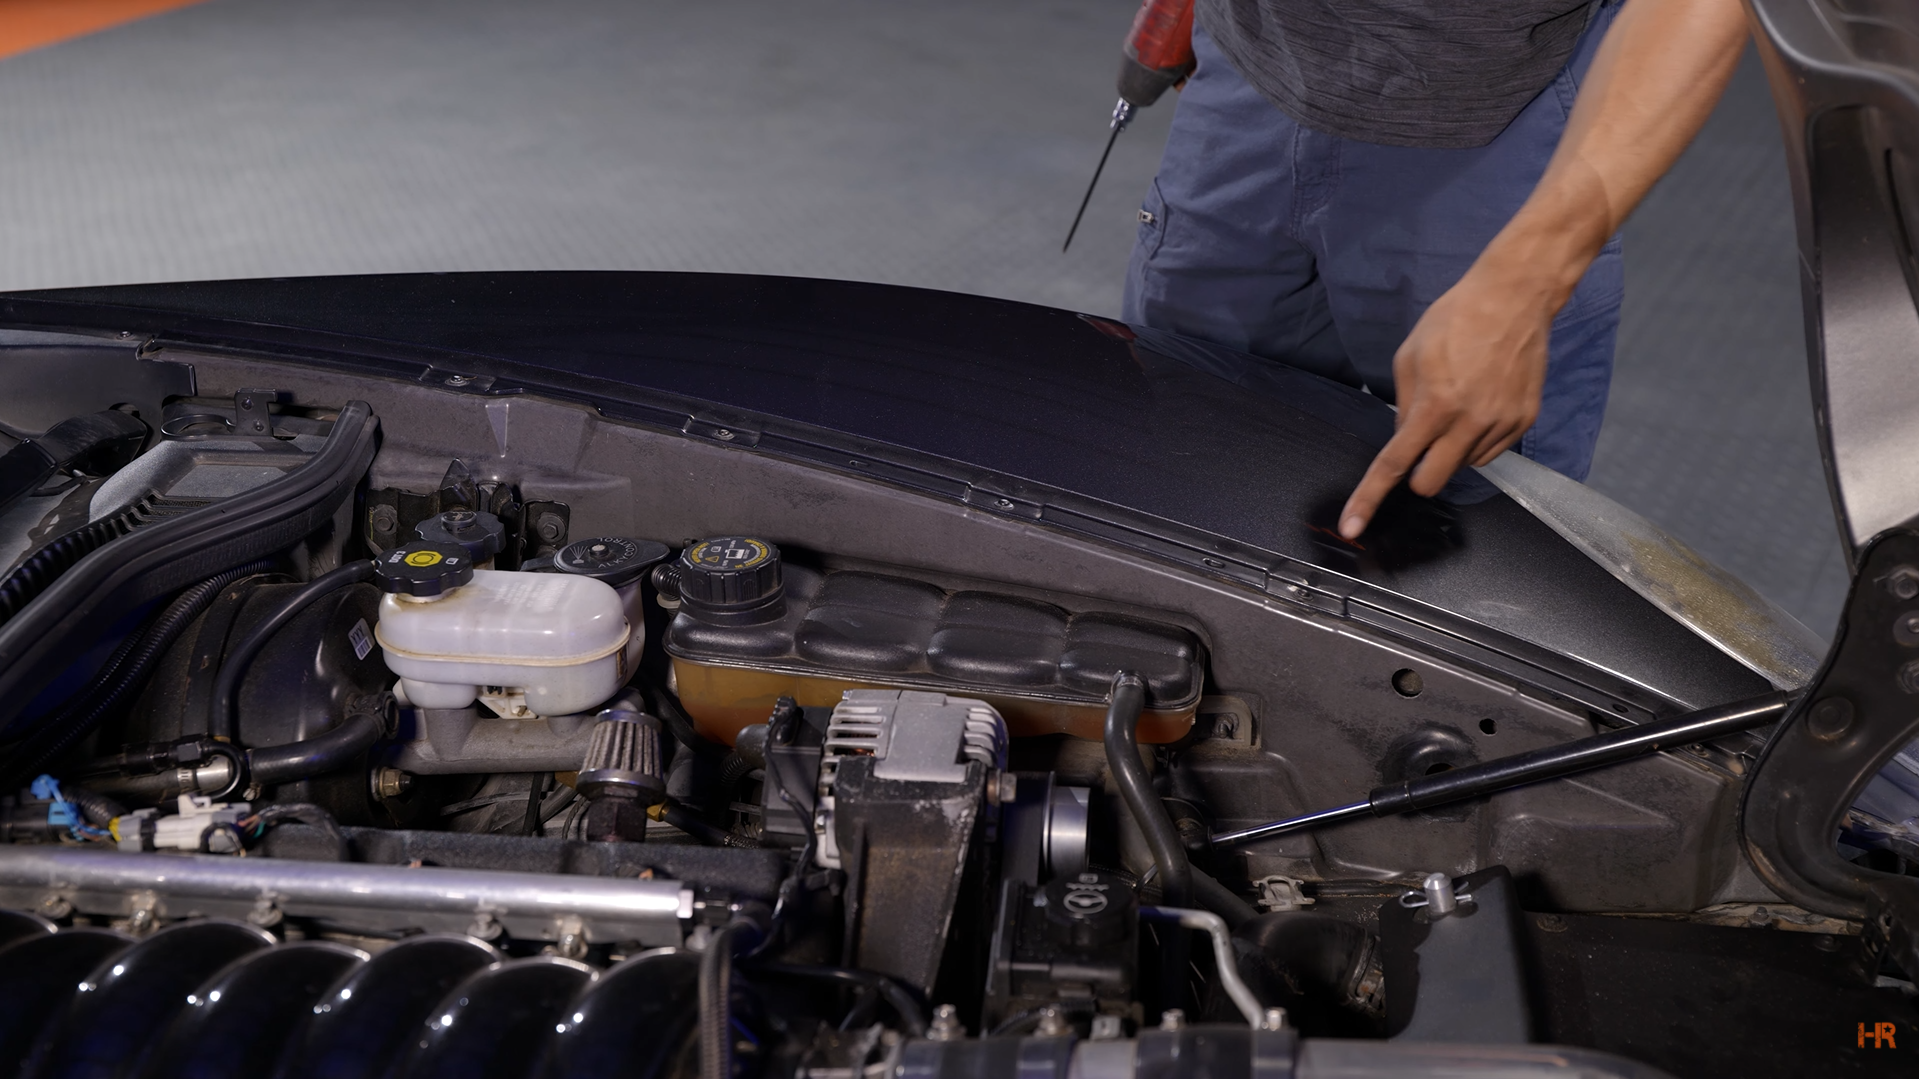
Step 11. Remove the six T15 screws on top of the fender.
Step 12. To remove the headlight, begin by tugging on the fender and pulling the fender up slightly. Next is to remove the headlight gently.
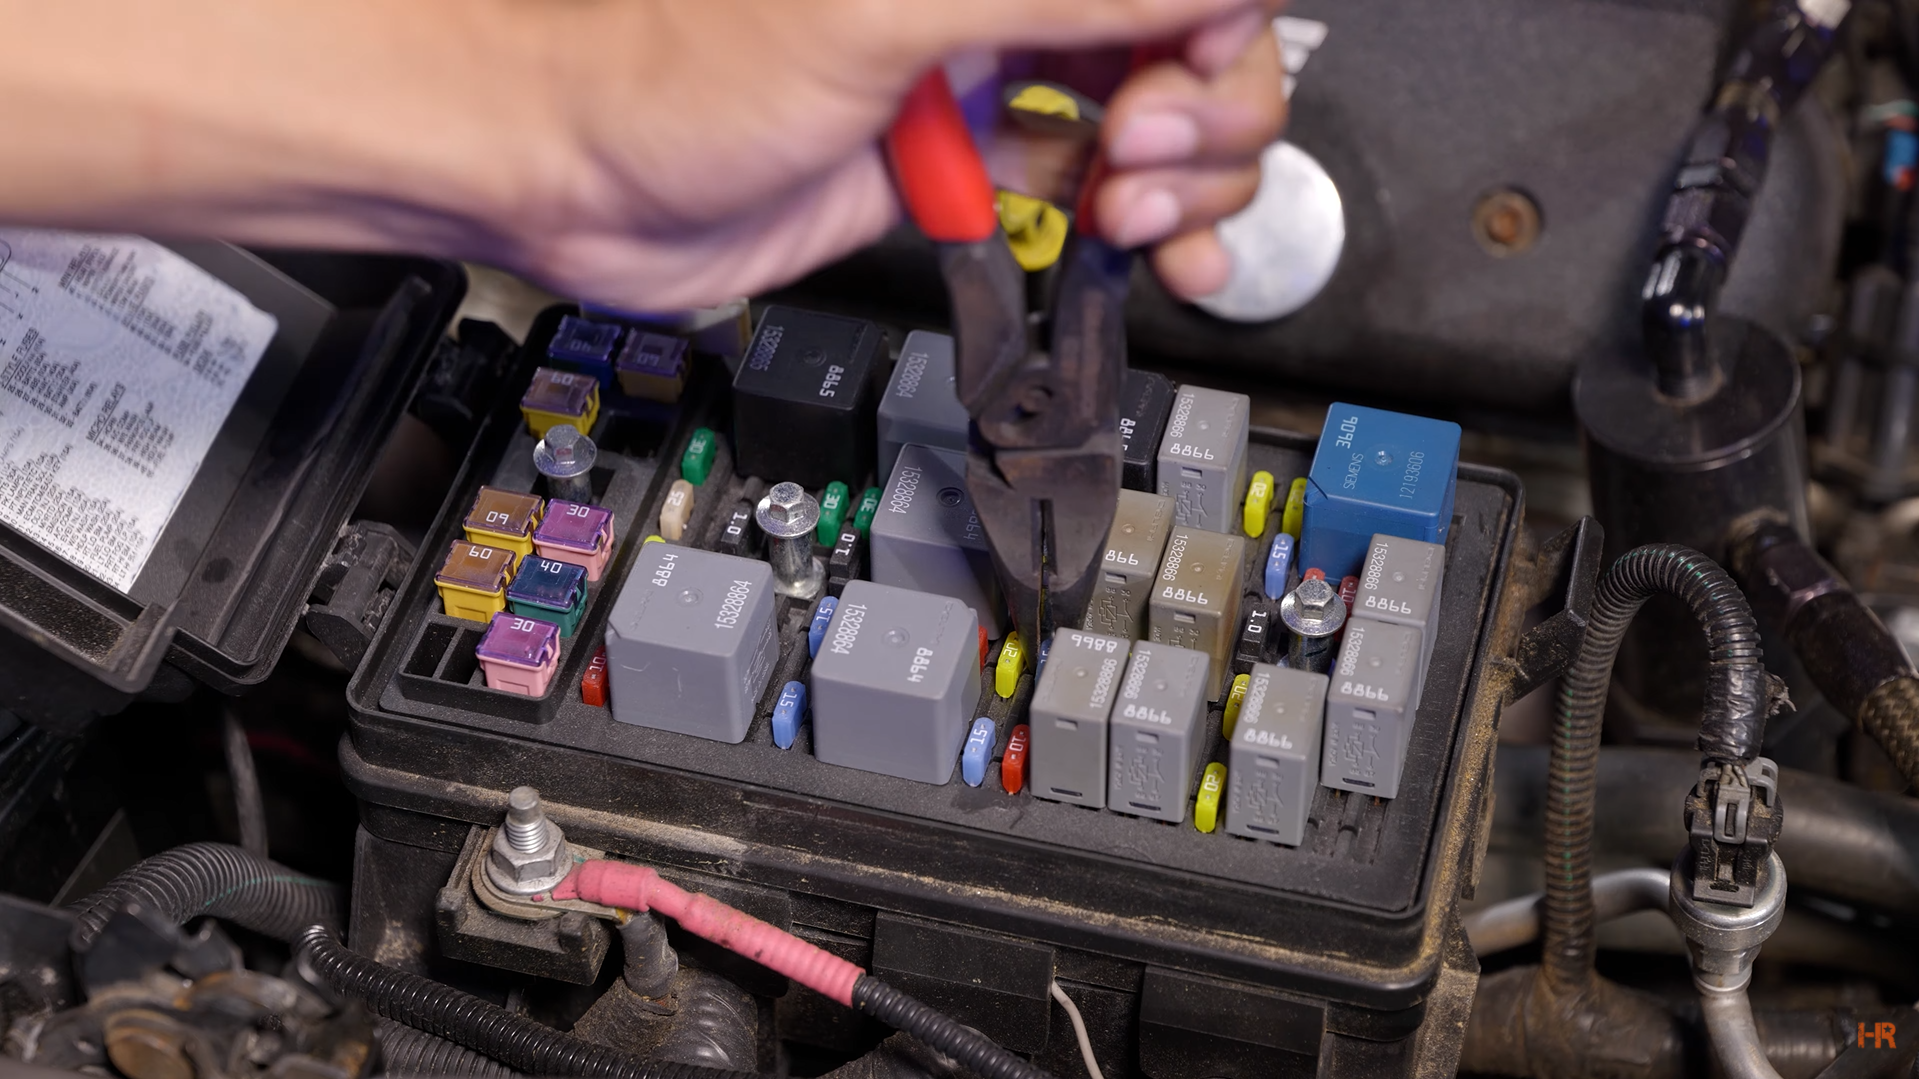
Step 13. Before installing the GTR Lighting Carbide headlights, first, you must connect the DRL harness to the fuse box.
 |
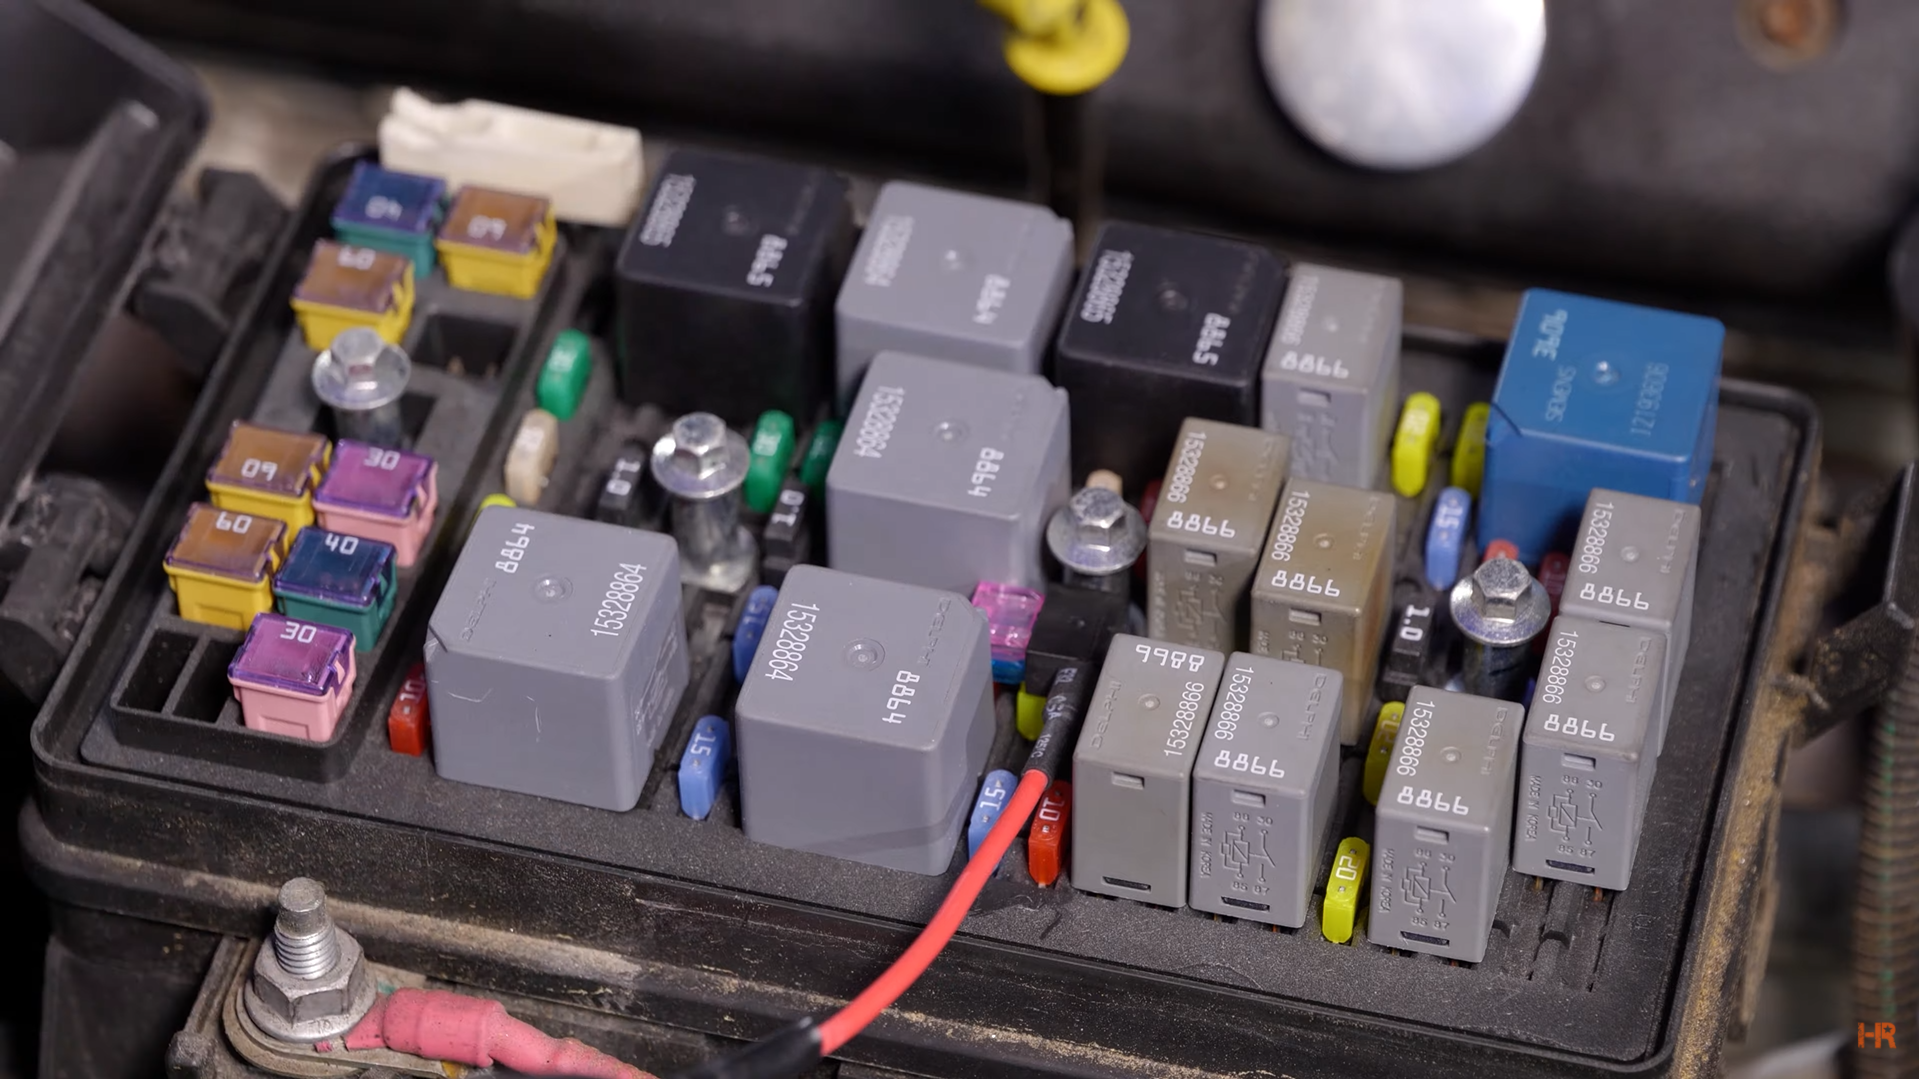 |
Remove the 15amp fuse and replace it with the DRL harness. Close the fuse box.
Run the short side of the harness to the passenger side and the long side to the driver’s side of the car.
Step 14. Place the GTR Lighting Carbide Series LED headlight into the holes. Be careful when putting in the new housing to not scratch the fender.
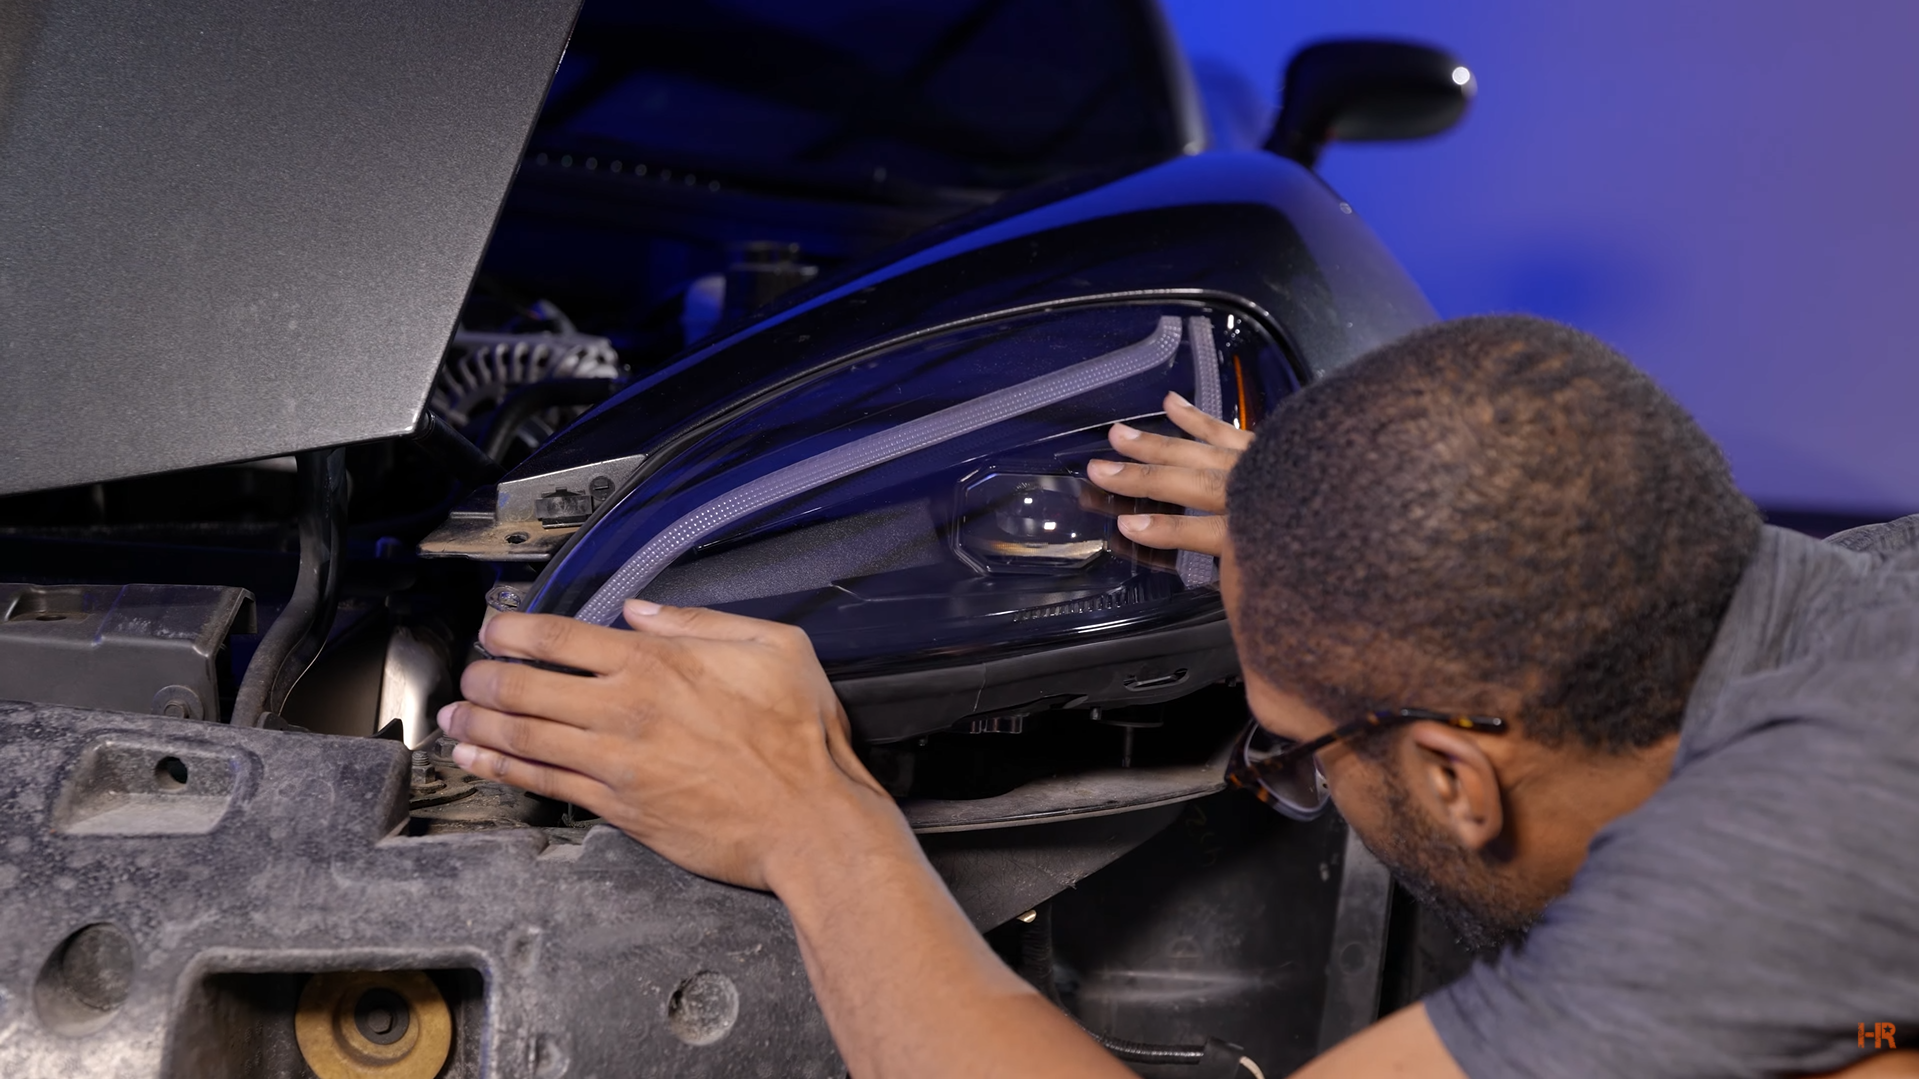
Plug in both the main headlight plug and the DRL harness.
 |
 |
Before continuing, be sure to go through all headlight functions to ensure it is working properly.
Step 15. Once you have confirmed the headlights are working, you can button up the rest of the car and be on your way with your new GTR Lighting Carbide Series LED headlights!
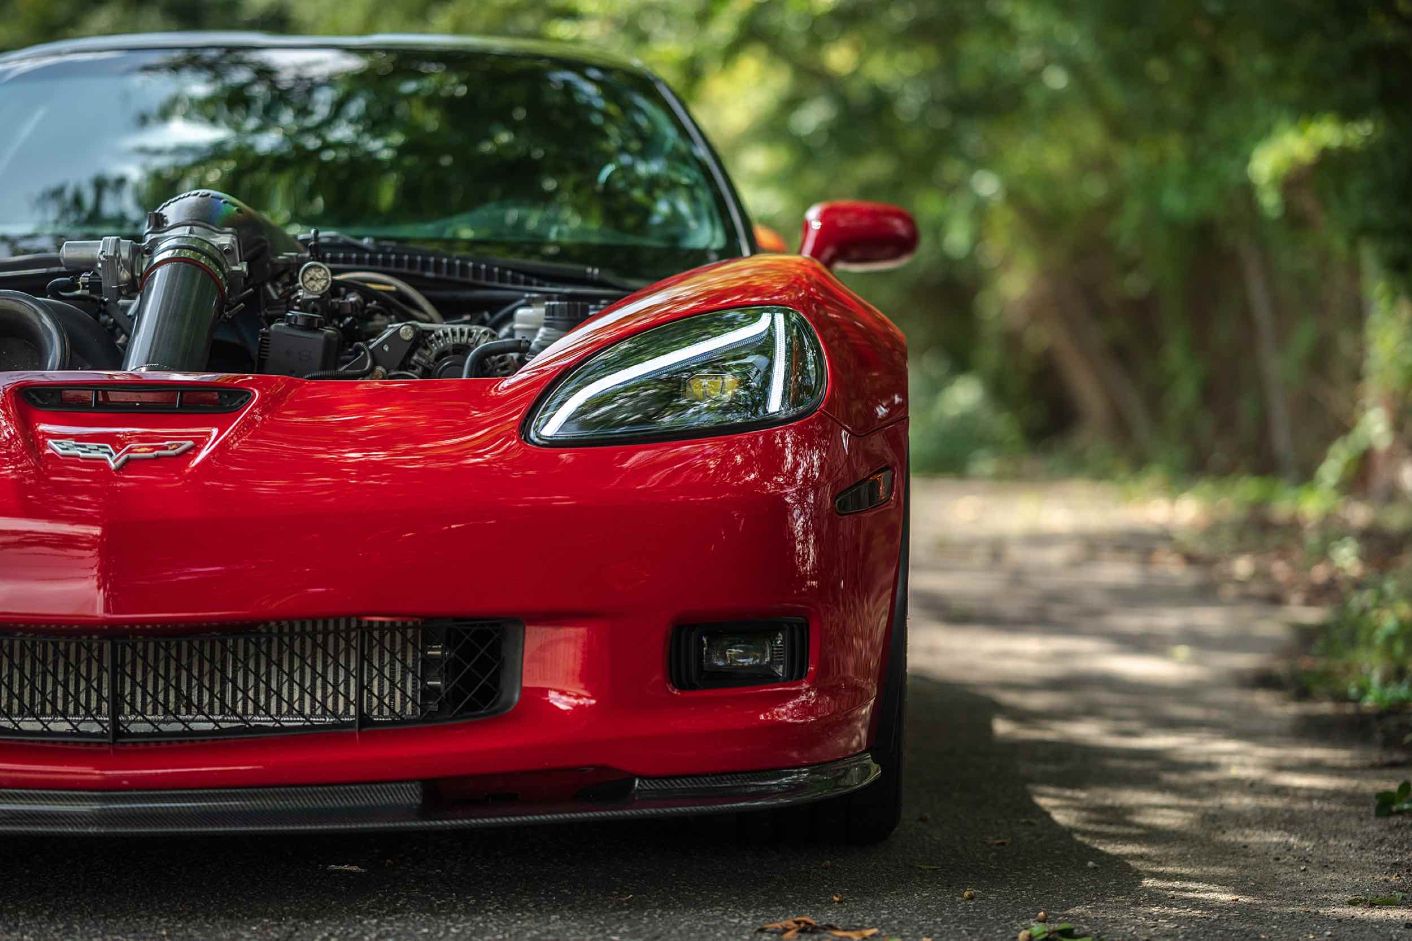
If these stunning GTR Lighting Carbide Series LED headlights do not suit your build, we have plenty of other options for your Corvette. Go check out HeadlightRevolution.com and put in your year/make/model to see what is available.
If you are more of a visual learner, be sure to check out our video on these new headlights. While you are there, make sure to like and subscribe to our channel for the latest lighting upgrades for your vehicle.
Have any questions about one of the products we mentioned? Contact us today, and our customer service team would be happy to help.
