Review: BRAND NEW Carbide Series Tacoma 2016+ Housing by GTR Lighting
The Carbide Series by GTR Lighting has graced the 2016 and up Toyota Tacoma. These things are 173% brighter than stock. Today we will go over all you need to know about these new LED light housing and how to install them.
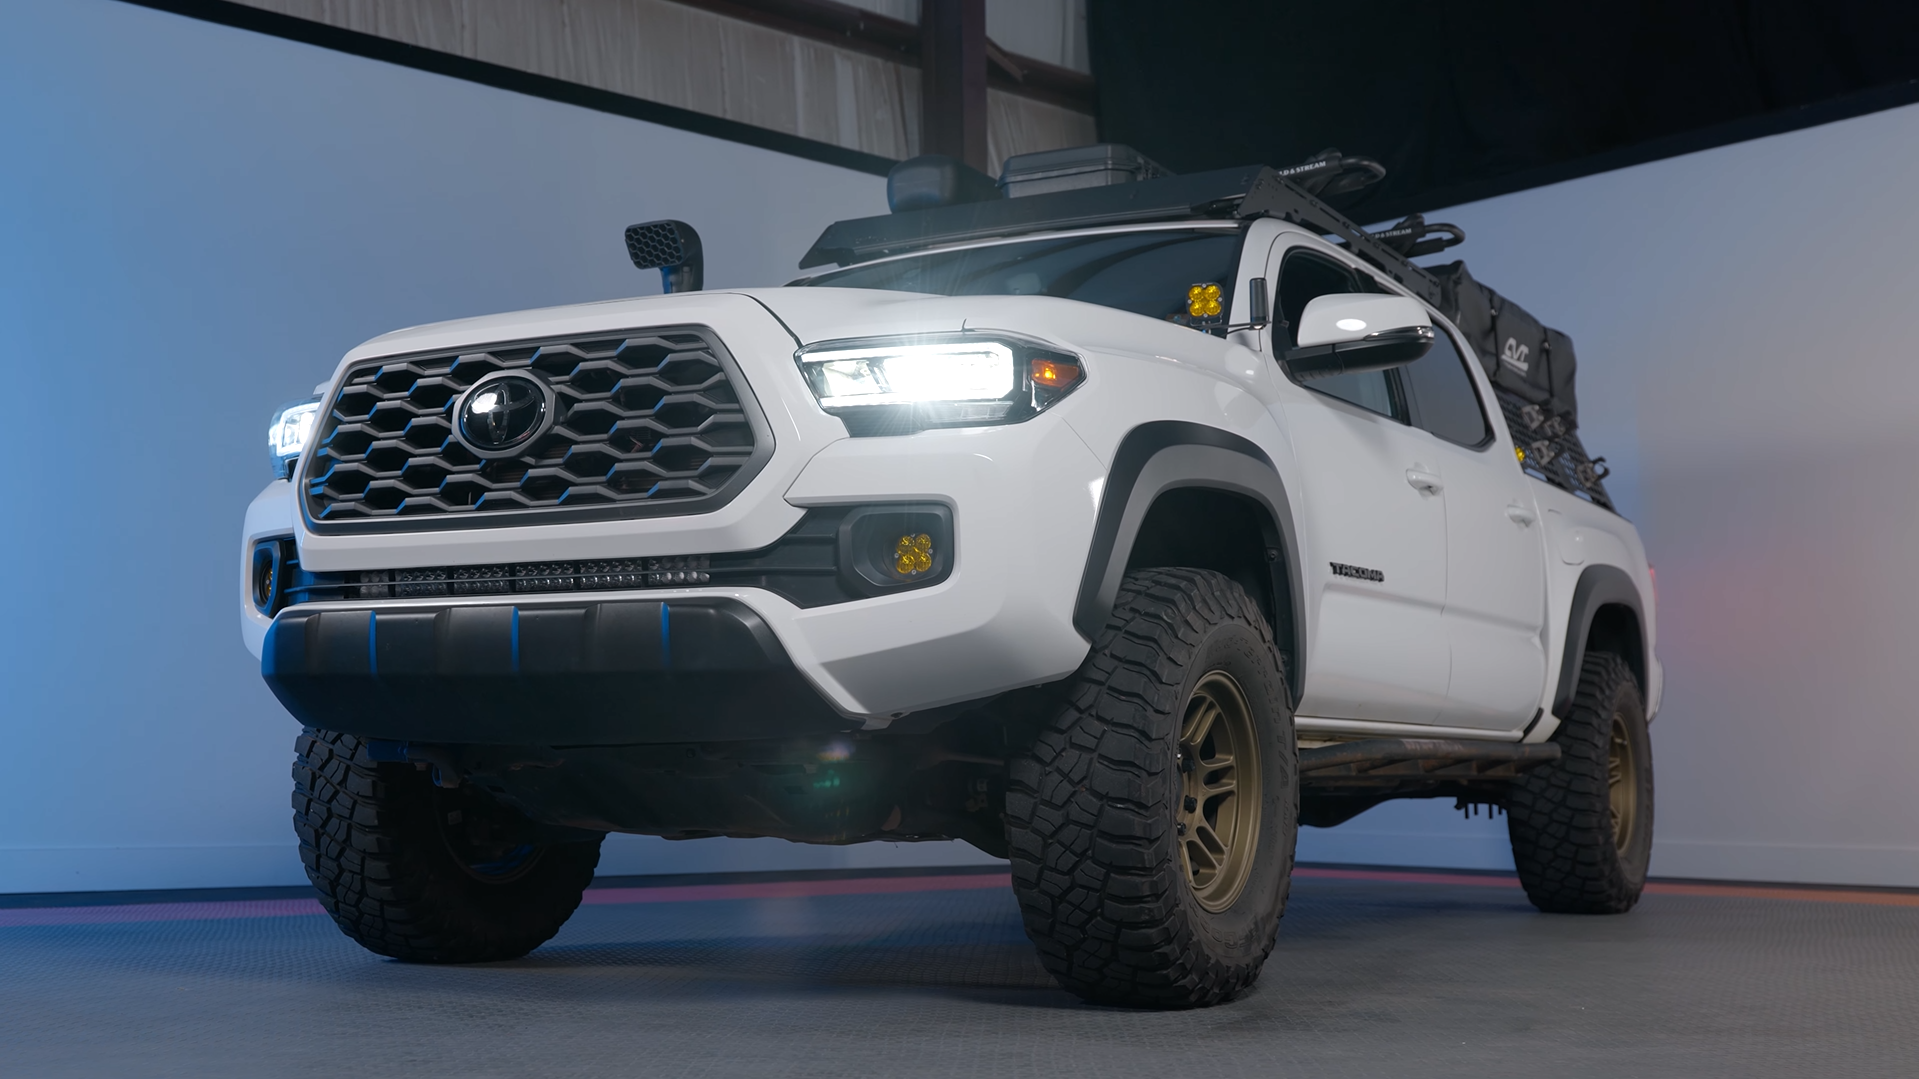
These new LED headlights from GTR Lighting Carbide Series, feature a blacked-out interior trim to give your vehicle a darker, but OEM+ look. The LED reflector style headlights give that factory original look. but are way brighter. These easy-to-install headlights are equipped with LED daytime running light (DRL), LED reflector low beam and high beam, and an amber LED turn signal.
STOCK vs GTR LIGHTING
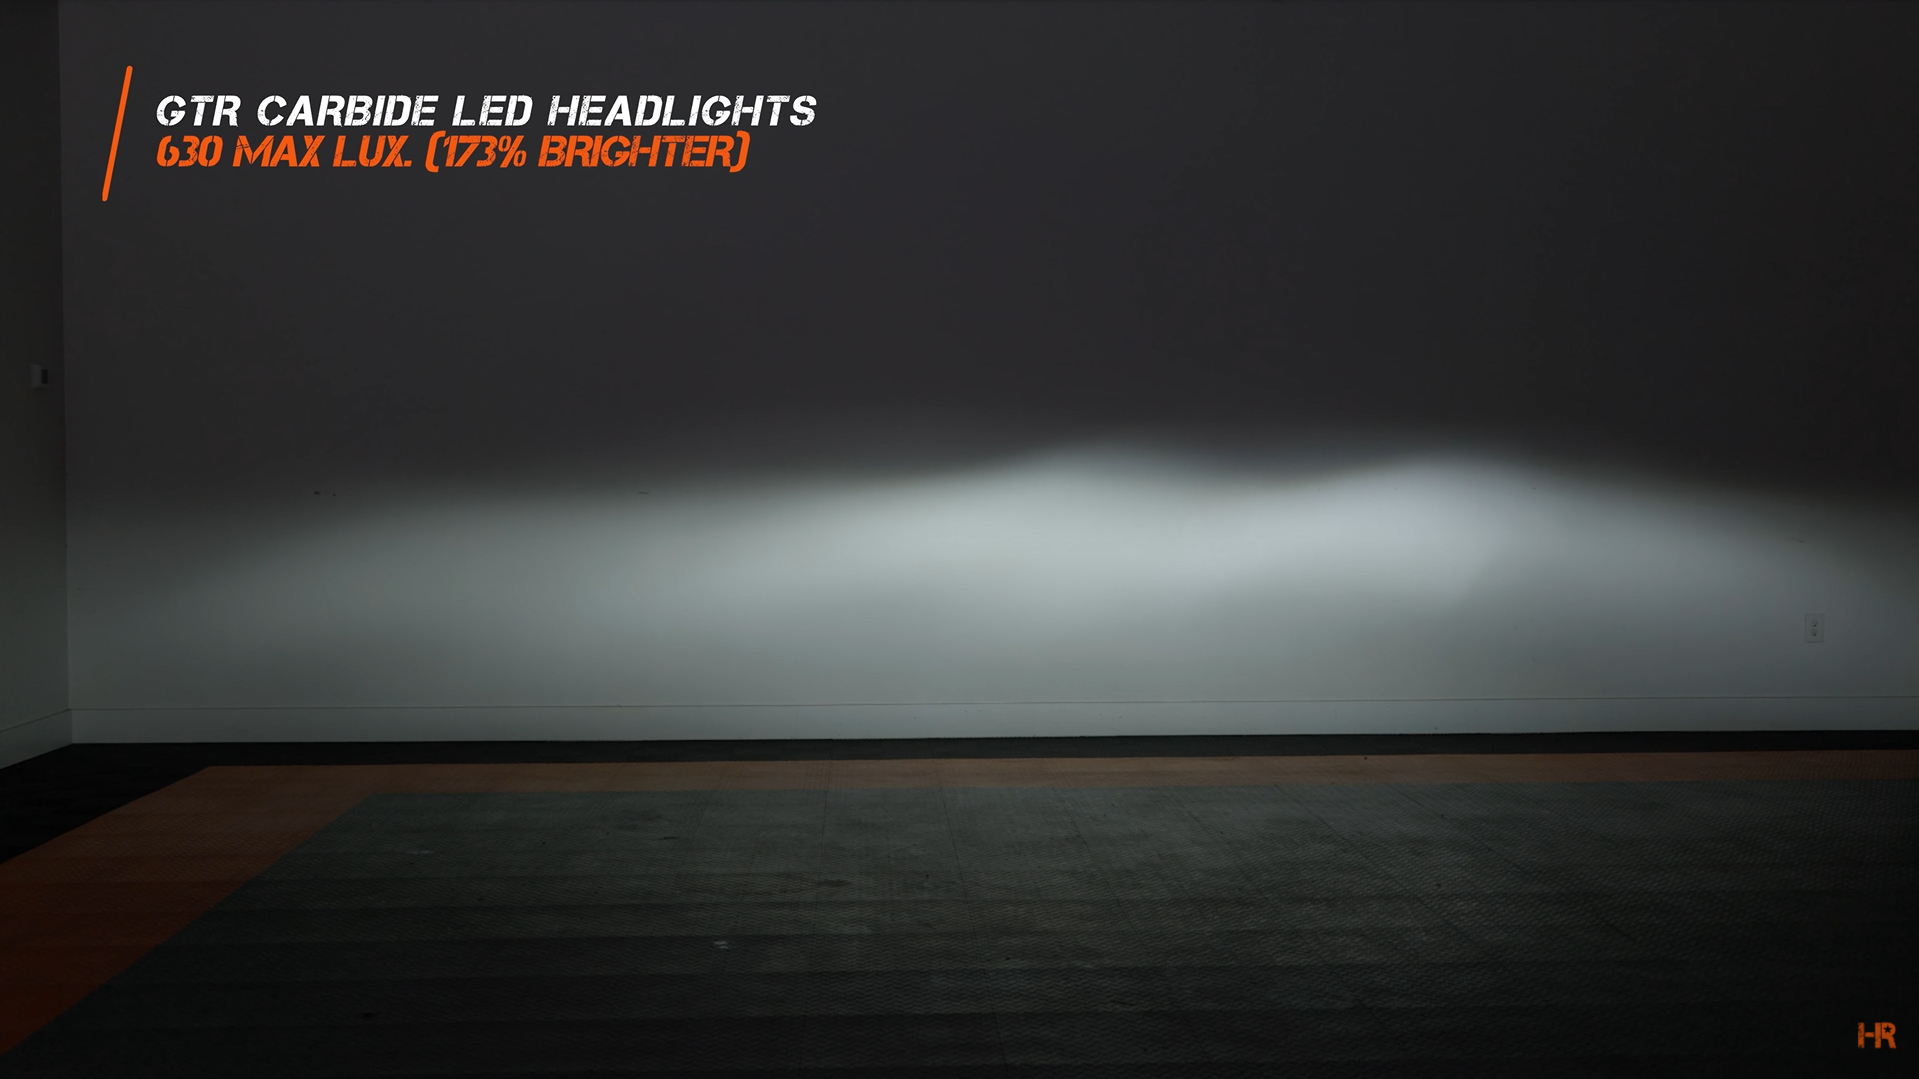
In order to put the new Carbide Series lights to the test, we parked the car 25ft away from a wall and flipped on the headlights. From there, we measured the maximum Lux to get an idea of its brightest point. Remember that Lux readings are irrelevant outside this test and are only used to give you an idea of how bright these lights are.
The stock halogen headlights come in at 230 maximum Lux for the low beams. The Carbide Series LED headlights that come in at 630 maximum Lux. That means the new lights are 187% brighter than stock.

The Carbide Series light may not be wider than the stock halogen headlights, but they are brighter overall. This will grant you more dependable coverage. There is also a larger hotspot which will give you a larger brightness footprint.
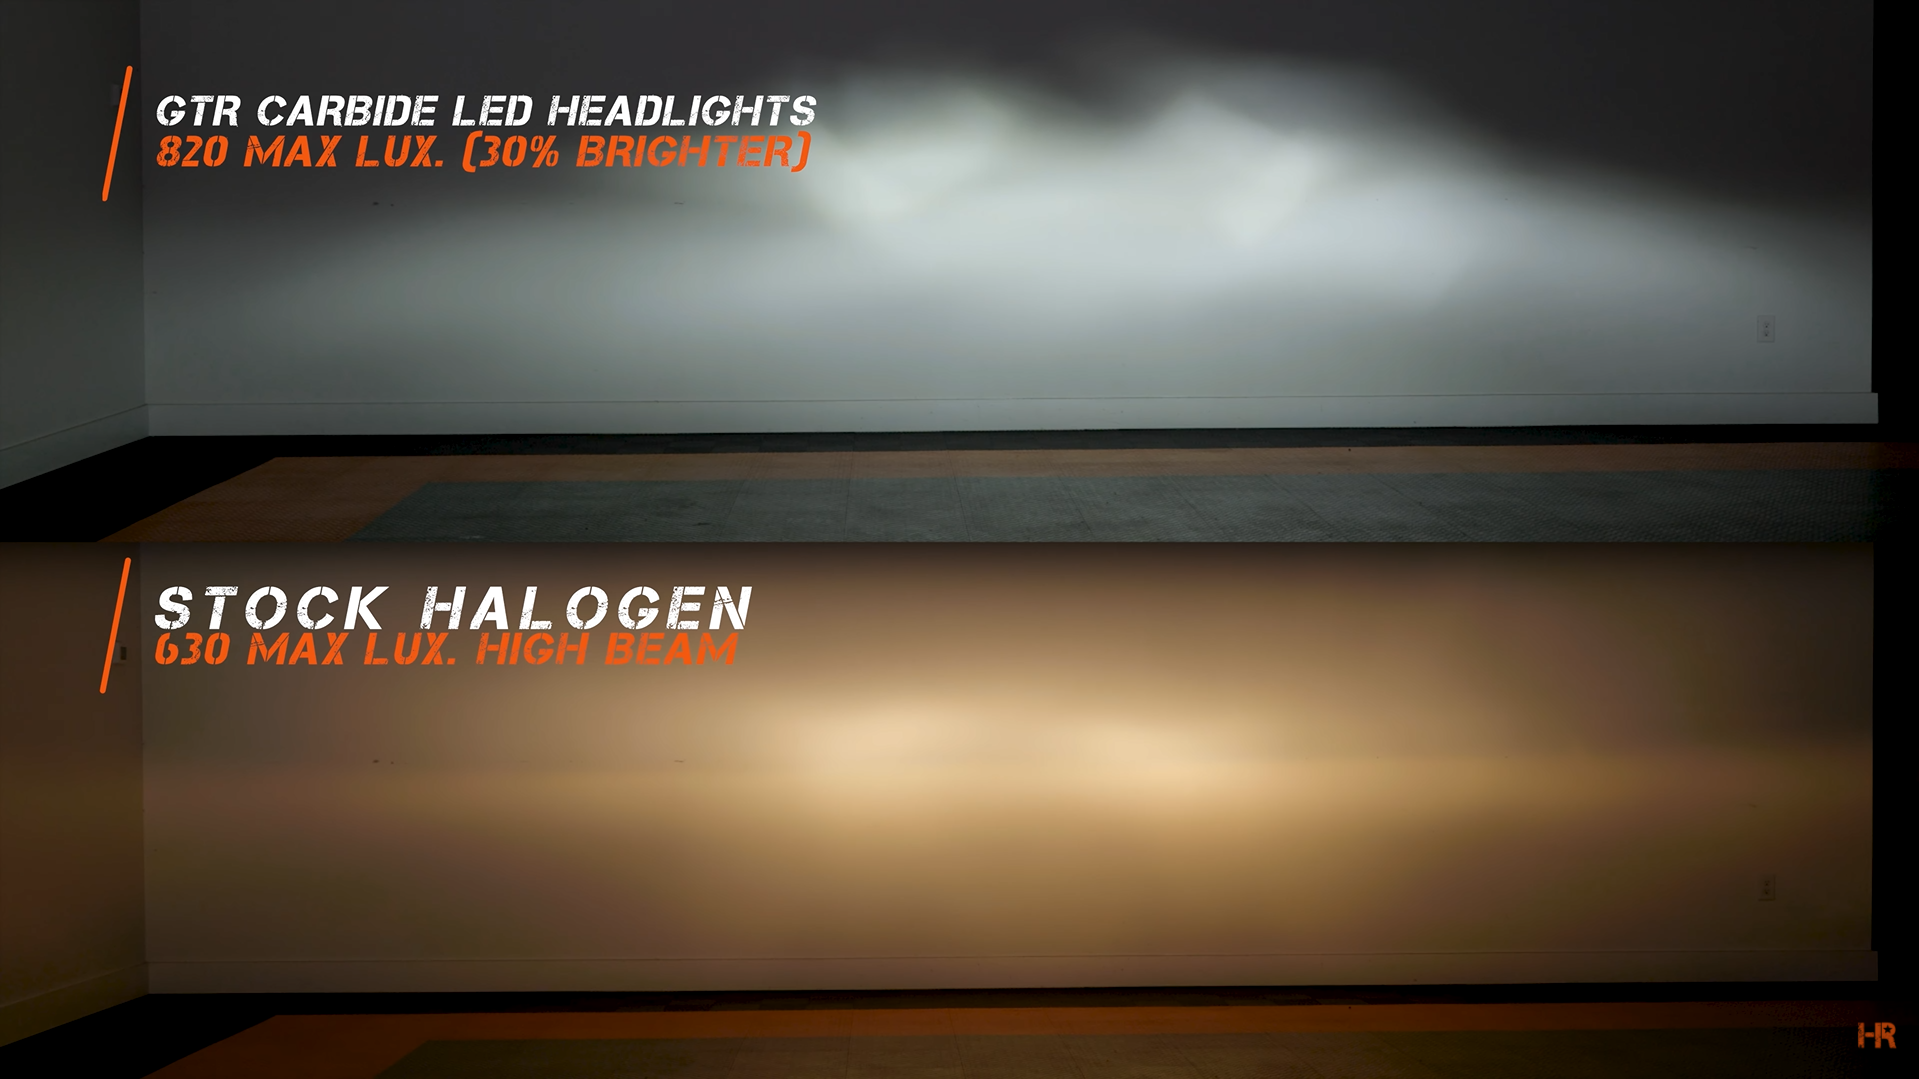
As for the high beams, the stock halogens have 630 maximum Lux, just a bright as the Carbide Series’ low beams. The high beams on the Carbide Series light are rated at 820 maximum Lux (30% brighter than stock).
A CLOSER LOOK
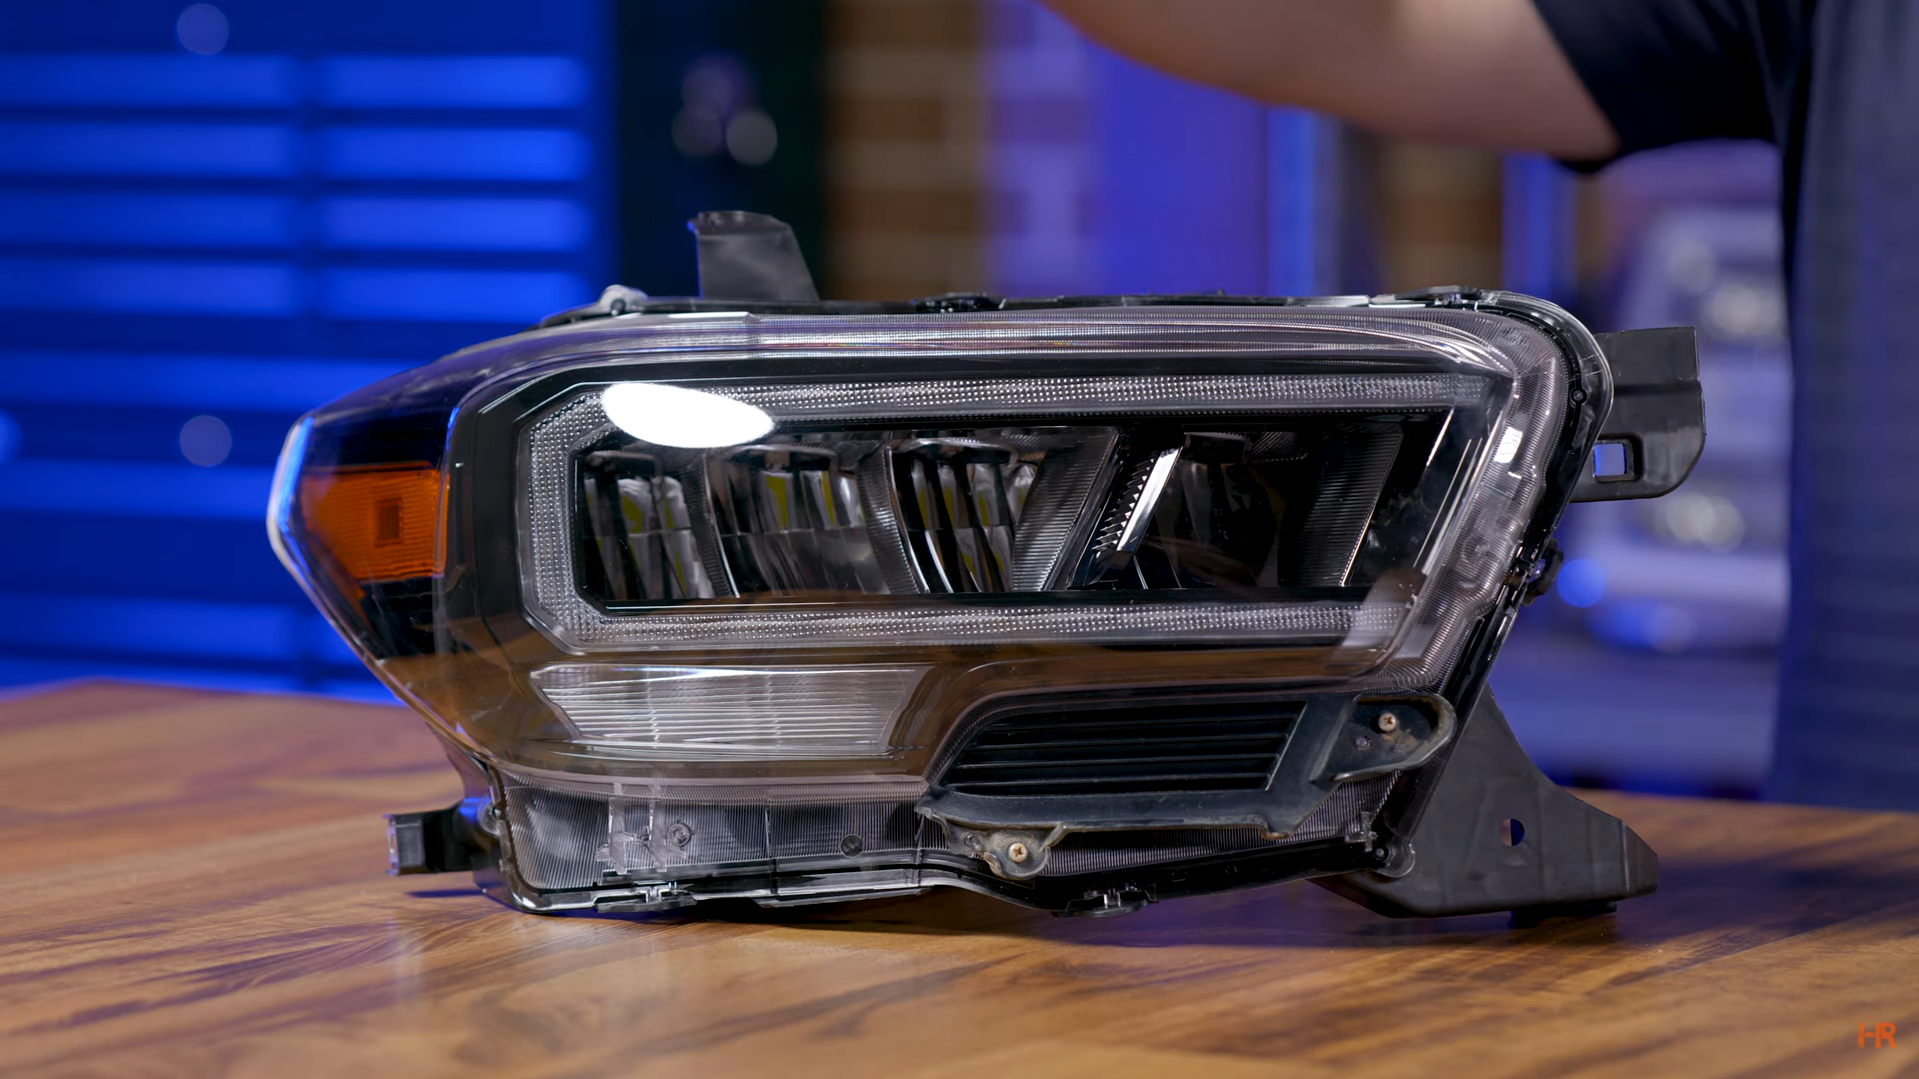
With the GTR Lighting set, the low beams have a larger section on the Carbide Series light, much larger than the high beams. Below the low beams are the LED turn signal, which entirely lights up entirely. All of which are much brighter and more defined than the stock equivalent.

There is also a modern-style, dual brightness LED DRL that you can find on a lot of brand-new vehicles. When driving during the day, it illuminates a very bright white. Once the headlights are turned on, the DRL dims to 50% of its original brightness.
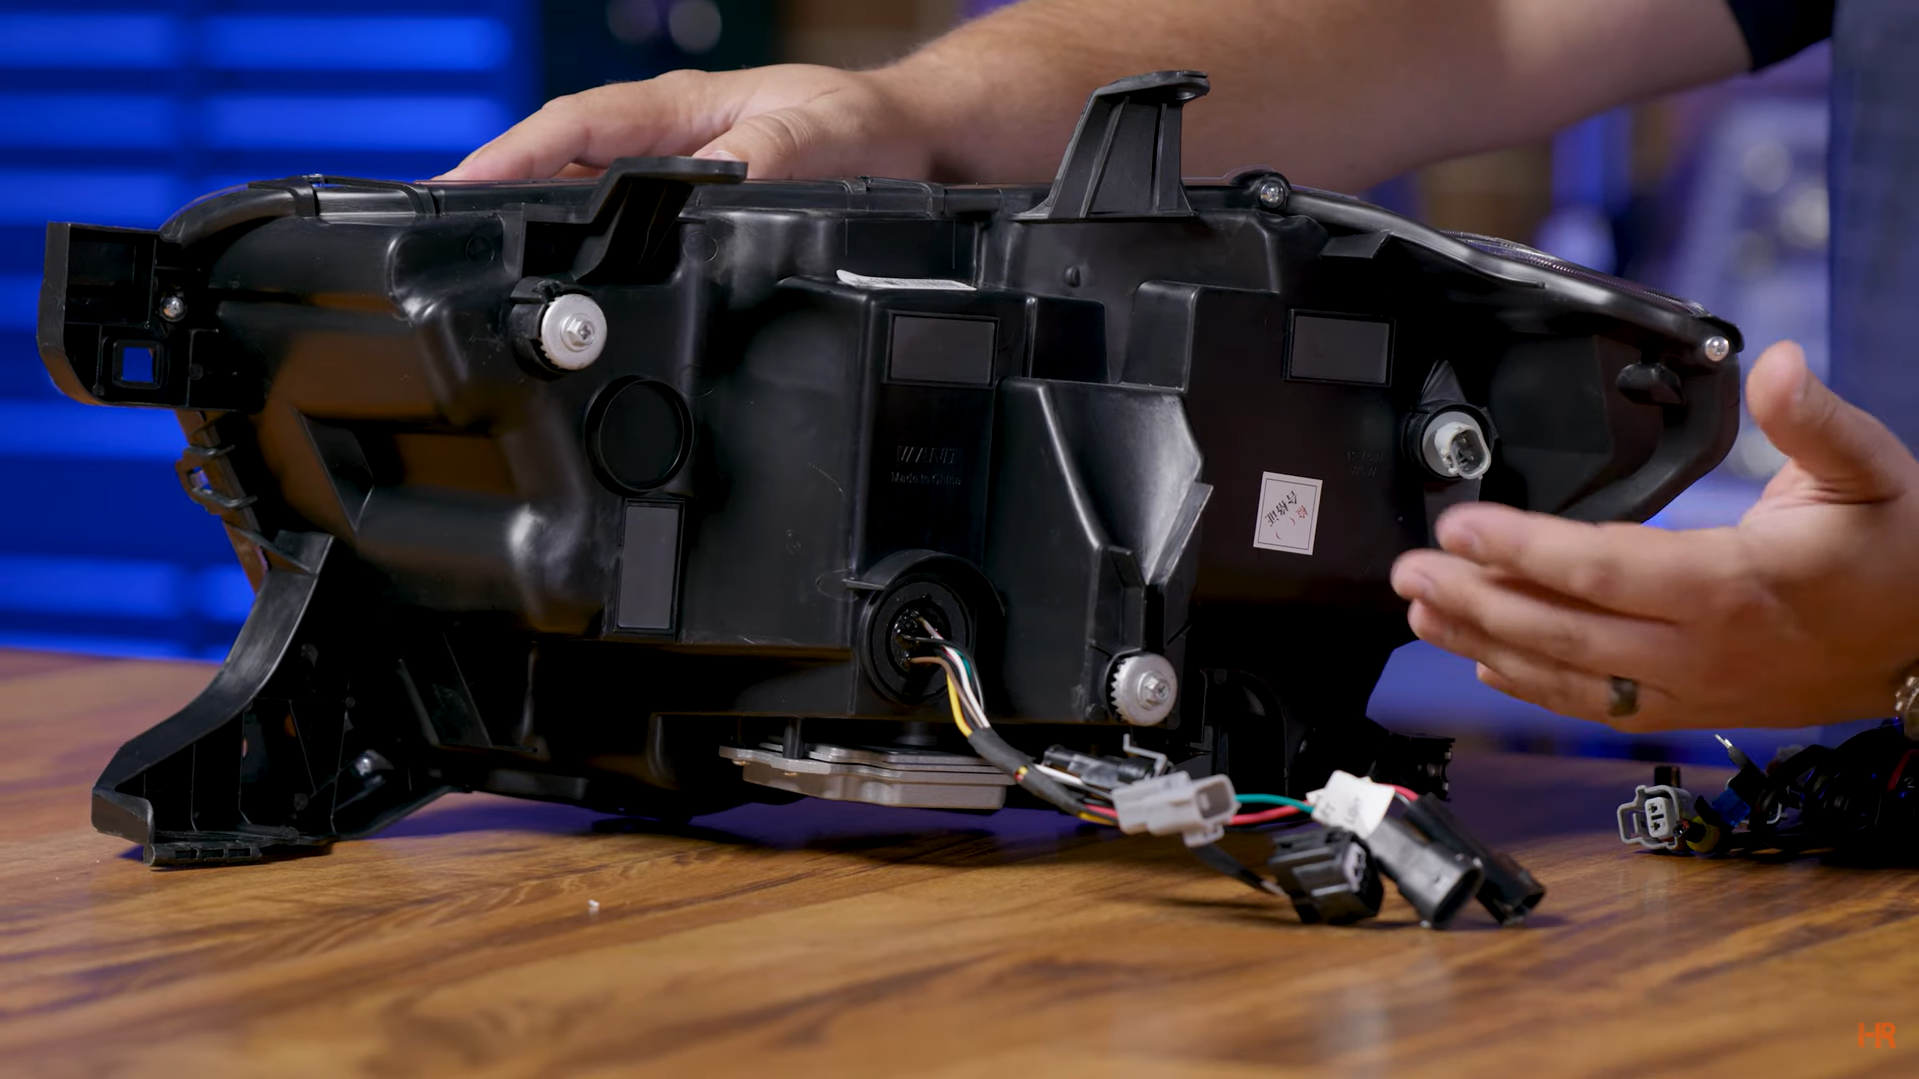
For ease of install, the shape and mounting points remain the same as stock. There is also an easy adjusting screw for you to easily aim your headlights as needed.
The Carbide Series light also uses the stock trim panel that is attached to the OEM headlight. We will get into the in-depth install in a moment.
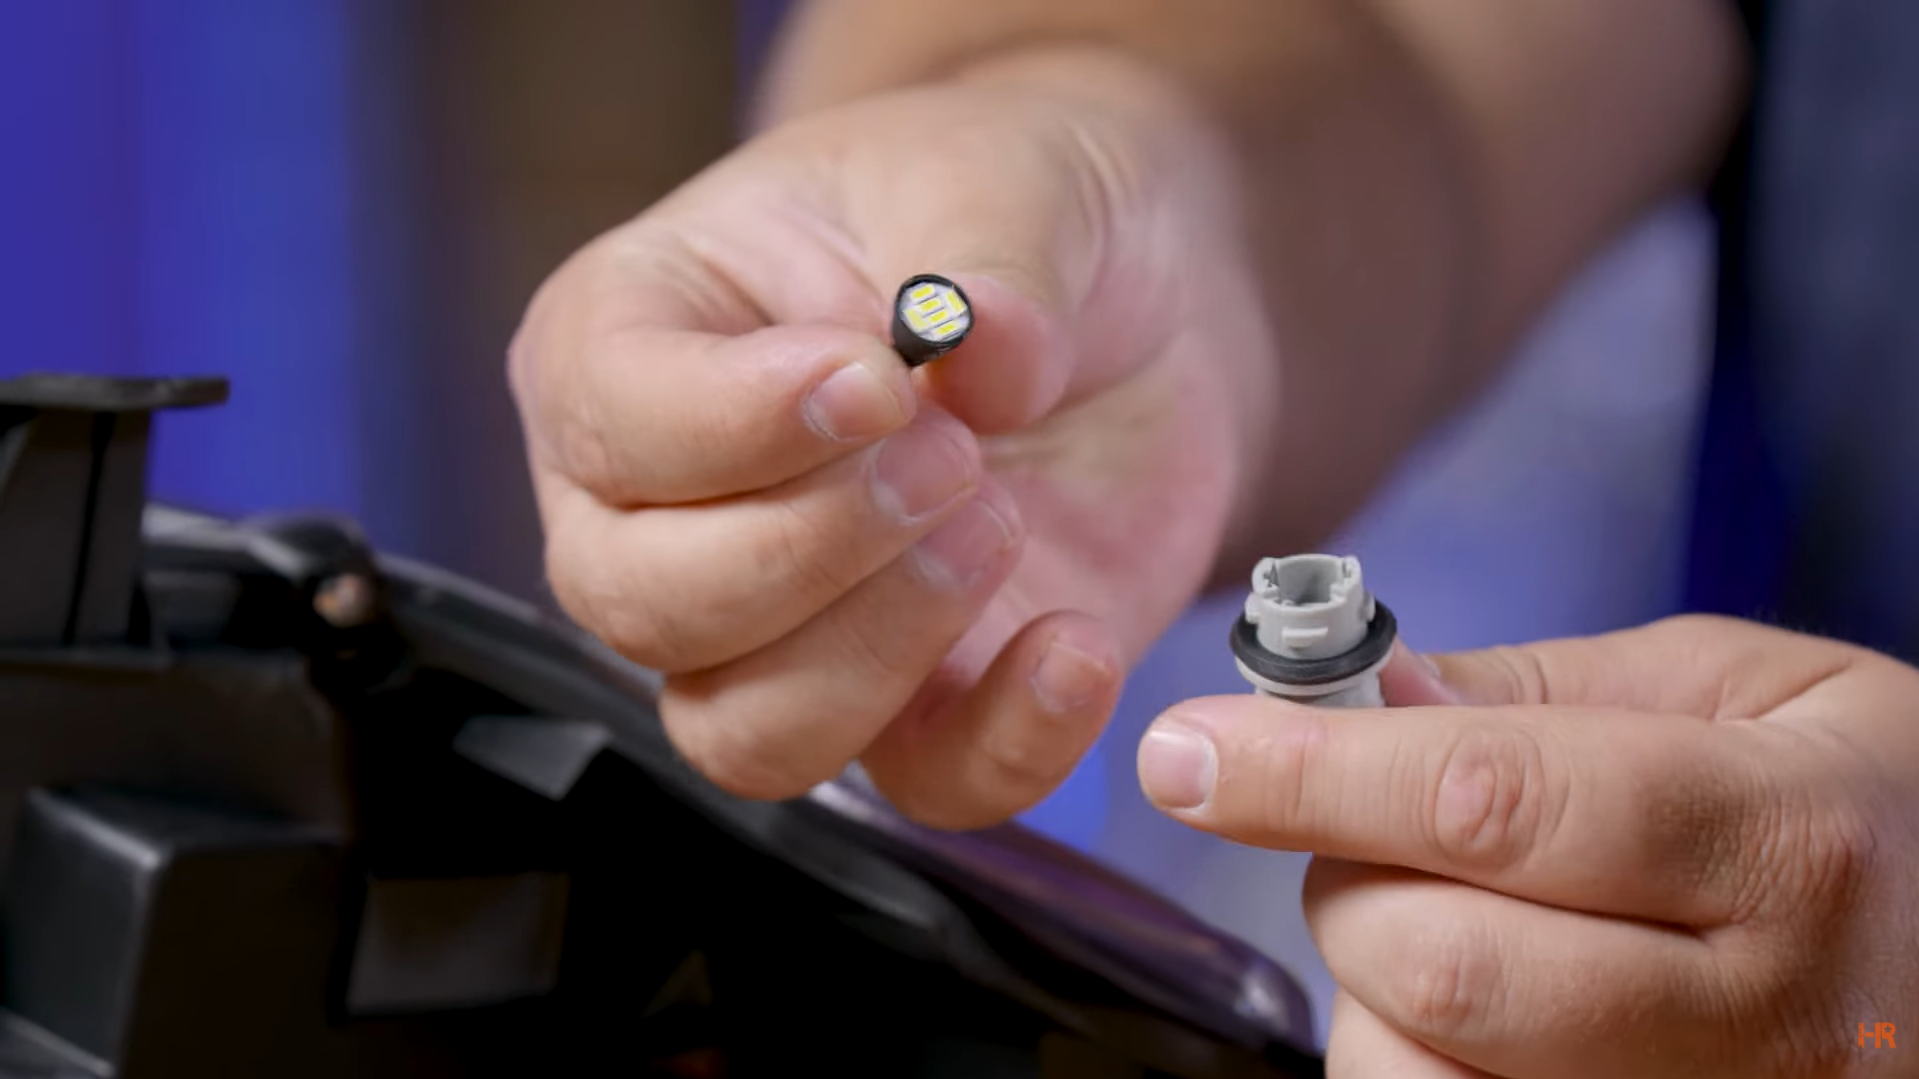
Additionally, there is a standard bulb socket for the front parking light in the top right corner on the back of the housing. It is a standard T10 incandescent bulb and we recommend removing that bulb and installing the GTR Lighting low-profile T10 bulb (amber). This will ensure your headlight is fully LED.
INSTALLATION
Step 1. Pop the hood and begin removing the grill by unscrewing the two bolts and undoing the two (or four if a TRD edition) clips.
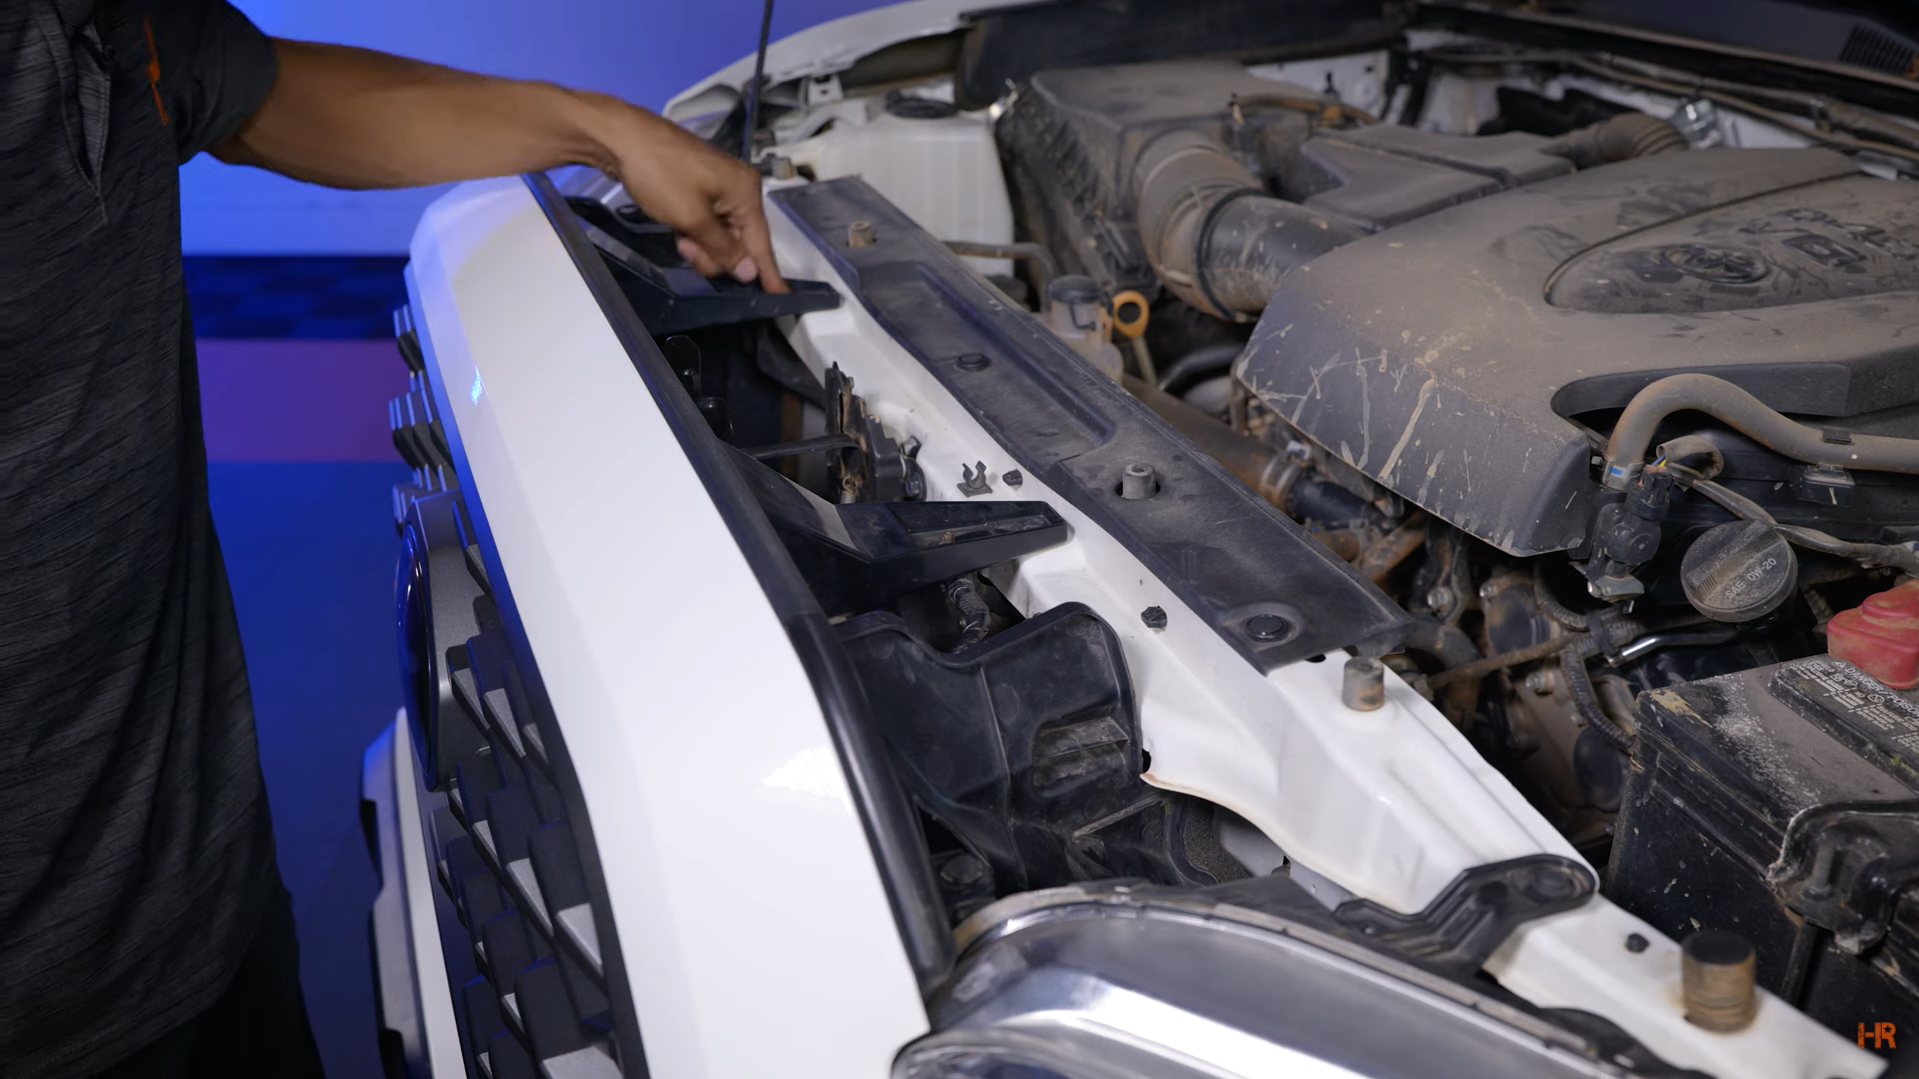
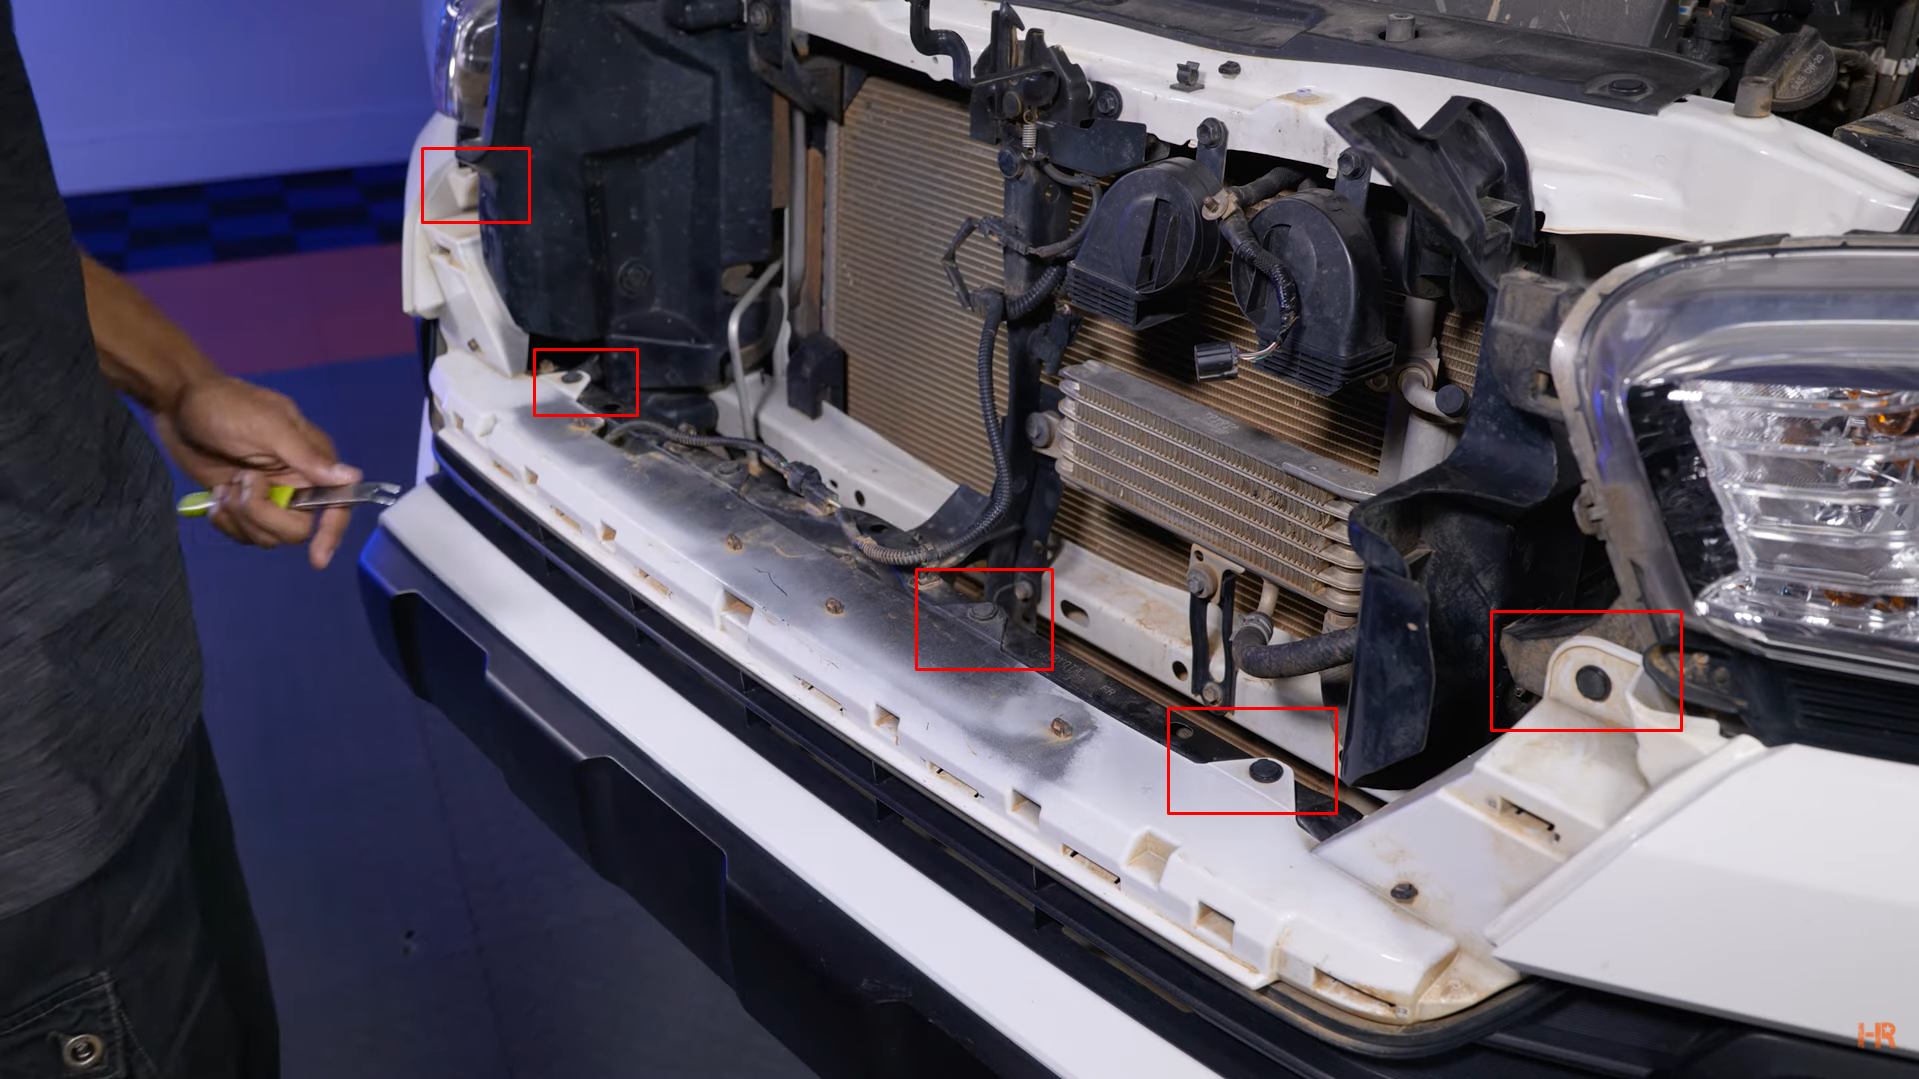
Step 2. Once the grill is removed, loosen the front bumper by removing the six pushpins along the top of the front bumper with a pry tool.
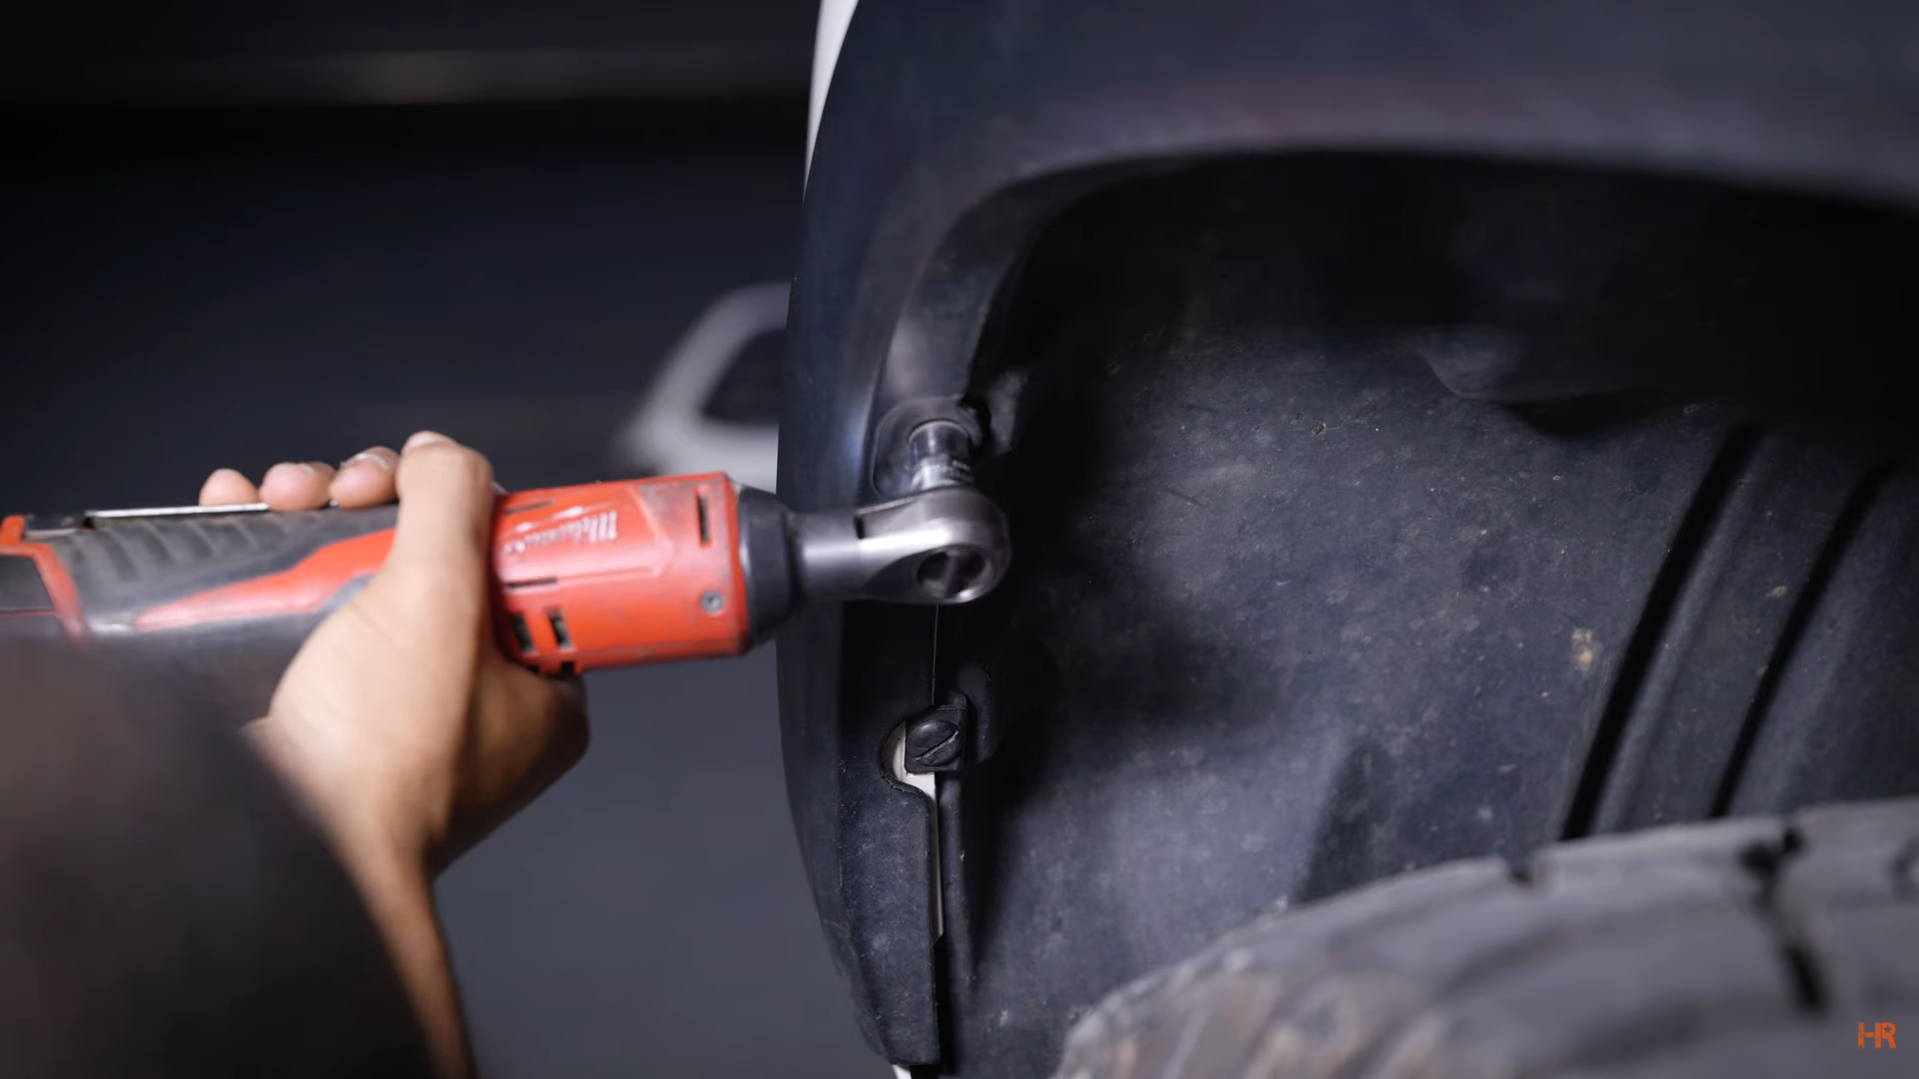
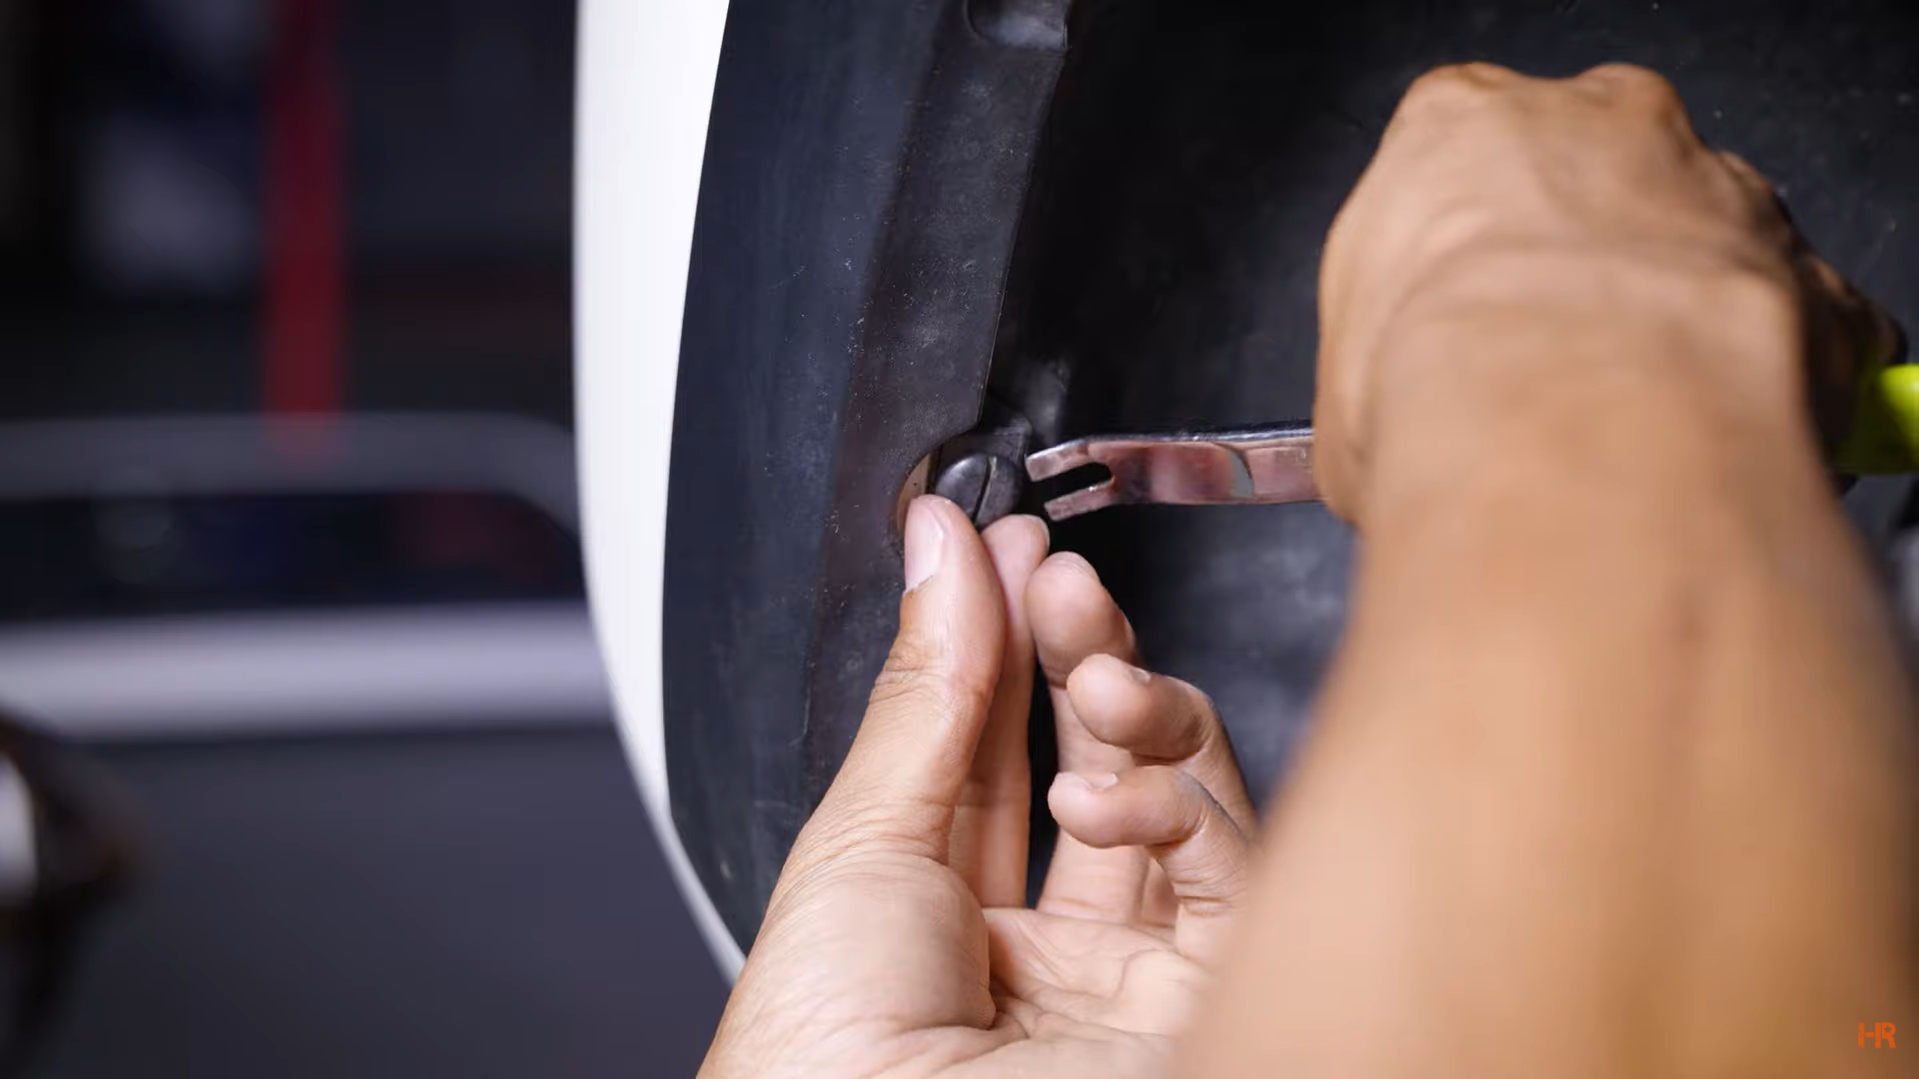
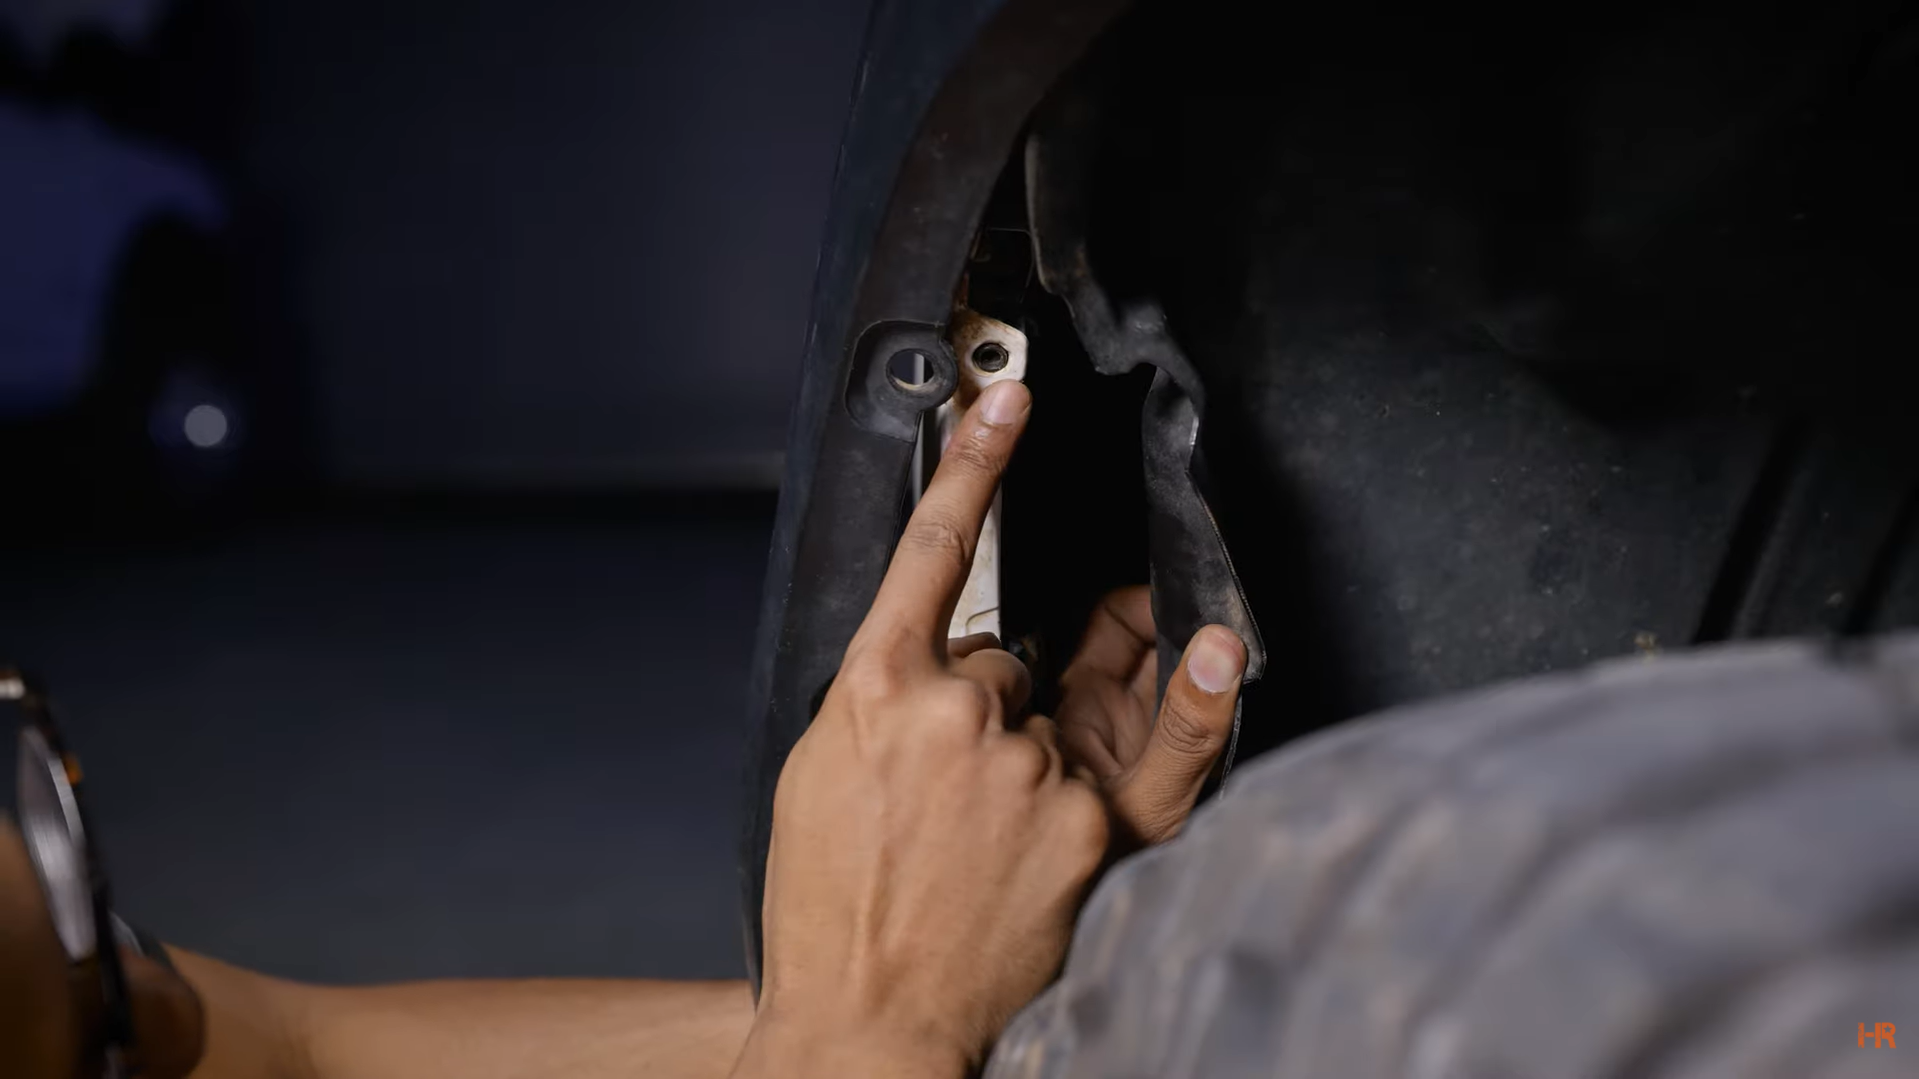
Step 3. Move to the fender liner. First, remove the 10mm bolt towards the top of the fender and then turn the screw 90° and remove.
 |
 |
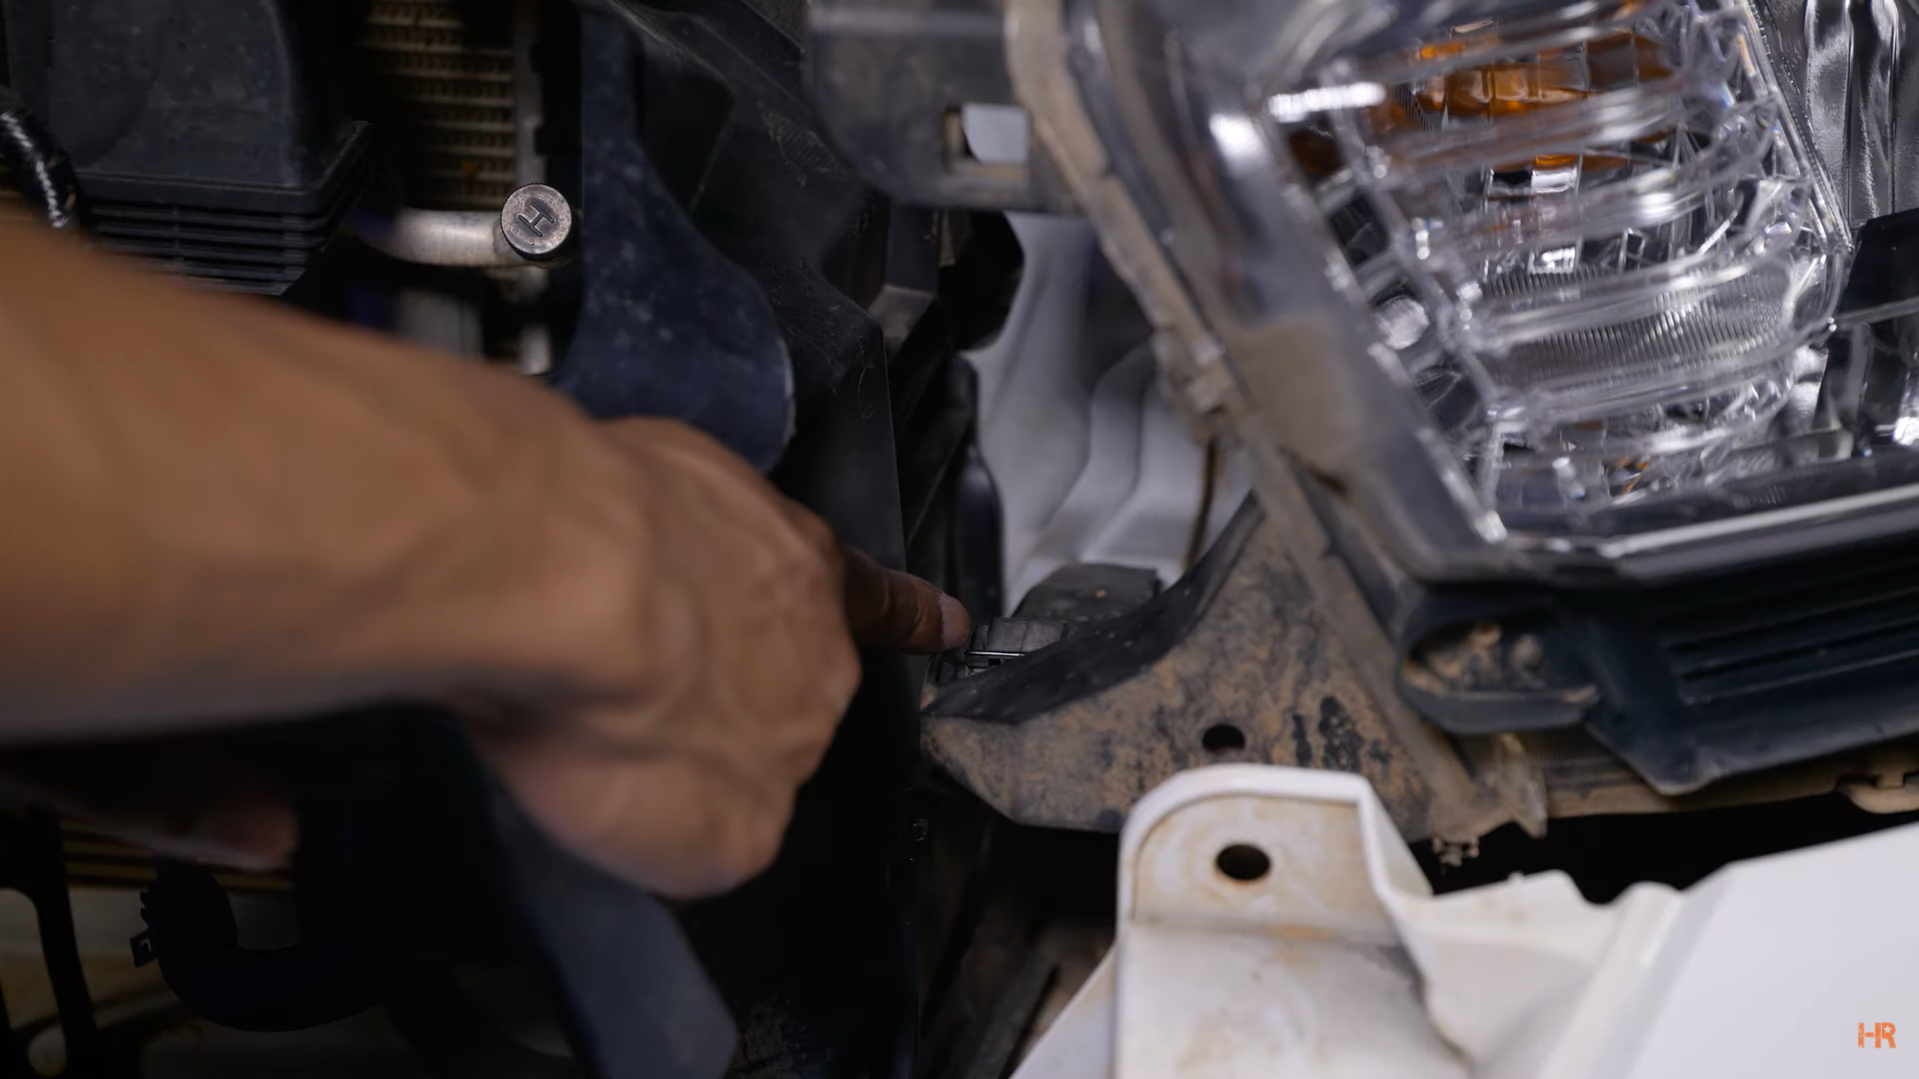
Step 4. Before loosening the bump, push the tabs that hold the fender flare, these are behind the bumper.
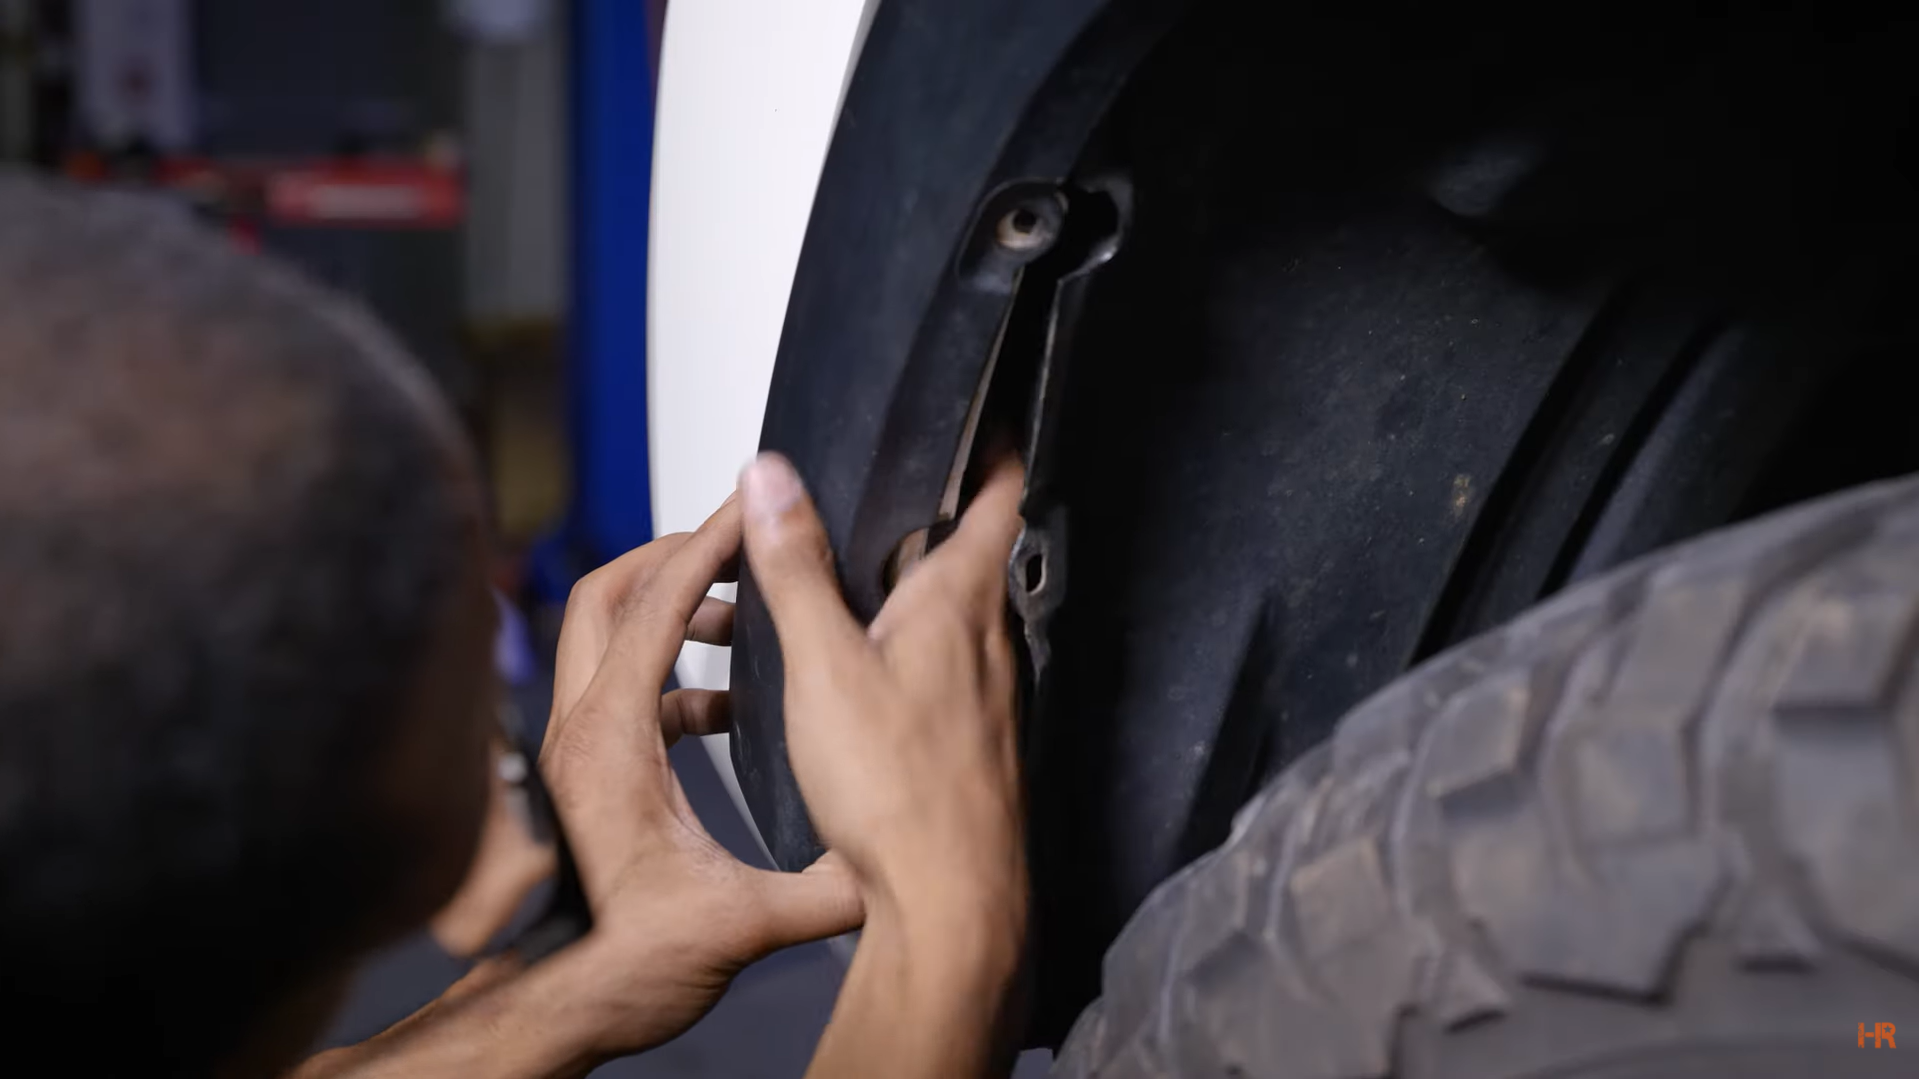
Additionally, there is a small tab that guides the bumper located toward the top of the fender, pull back and over.
 Once you remove the fender flare, use a pry tool to release the bumper clips from the front fender and gently pull down the bumper to reveal the bolt. Remove that 10mm bolt.
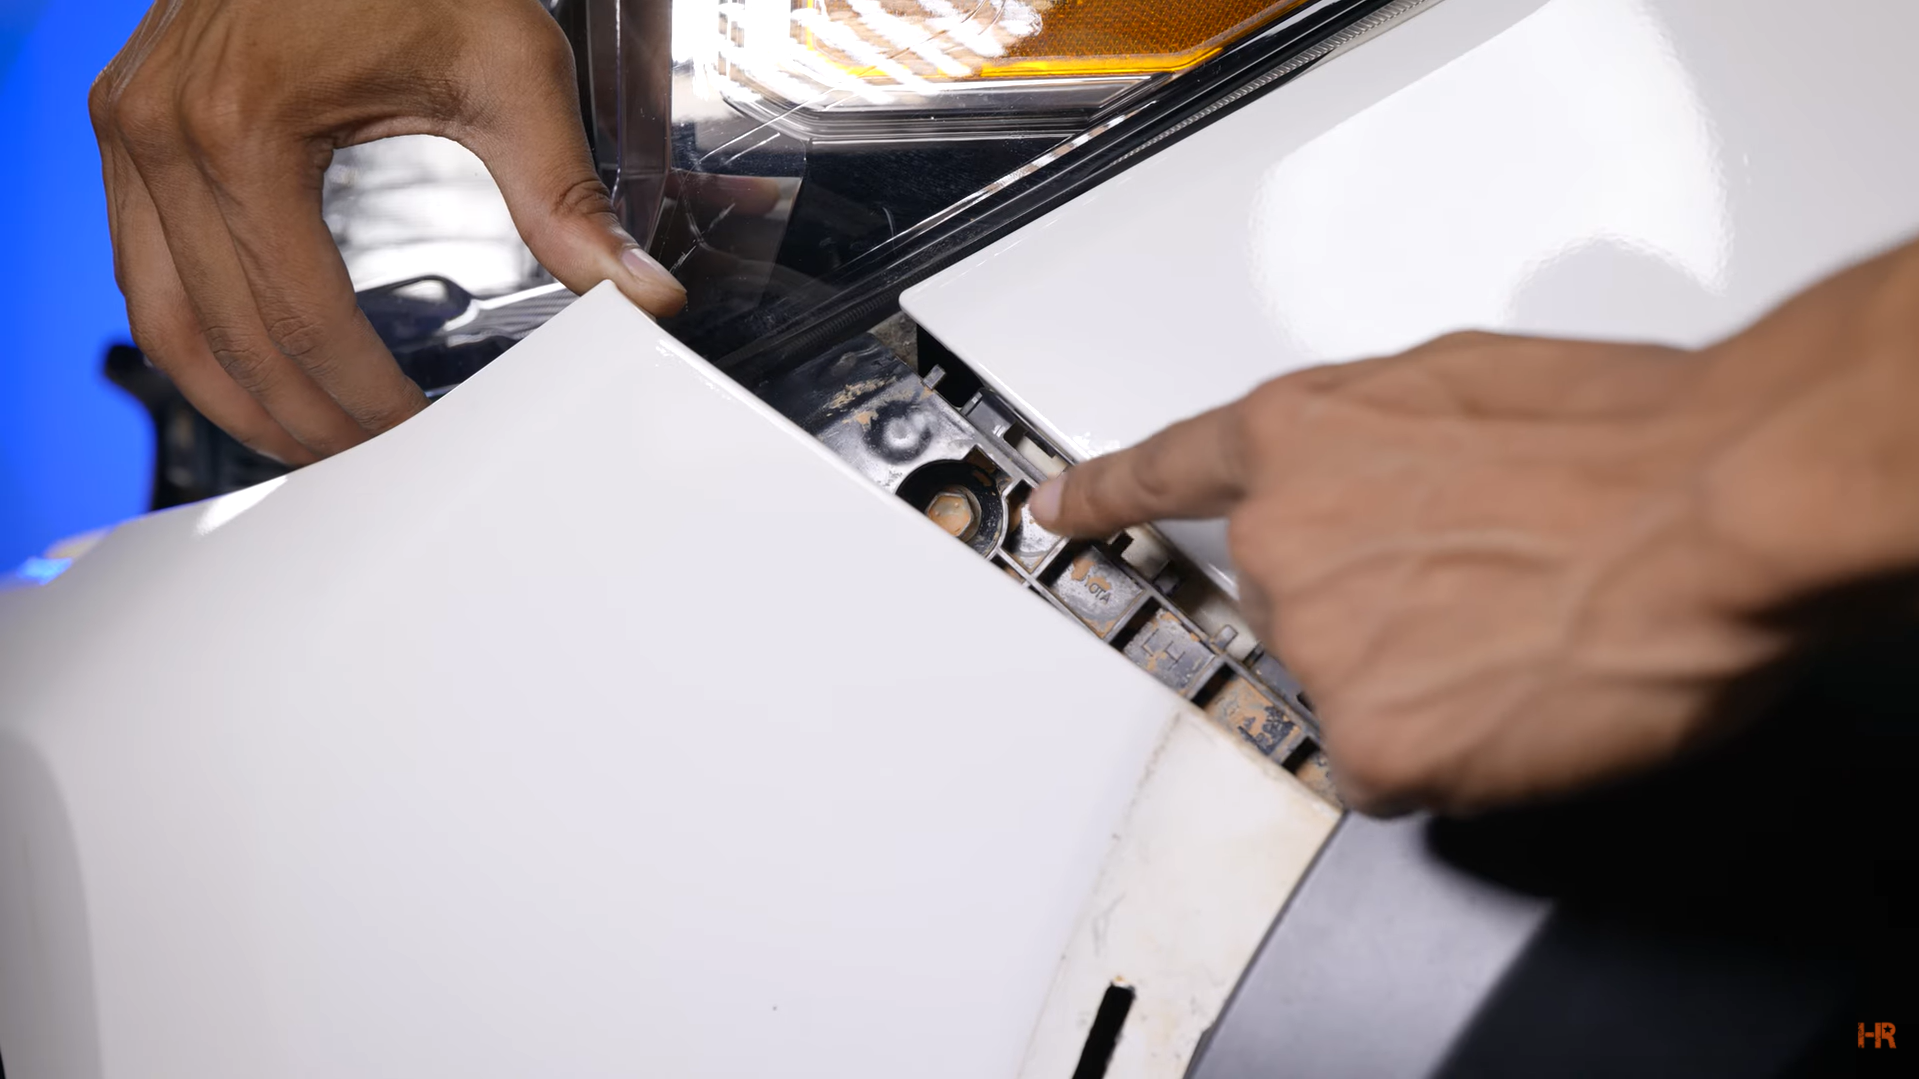
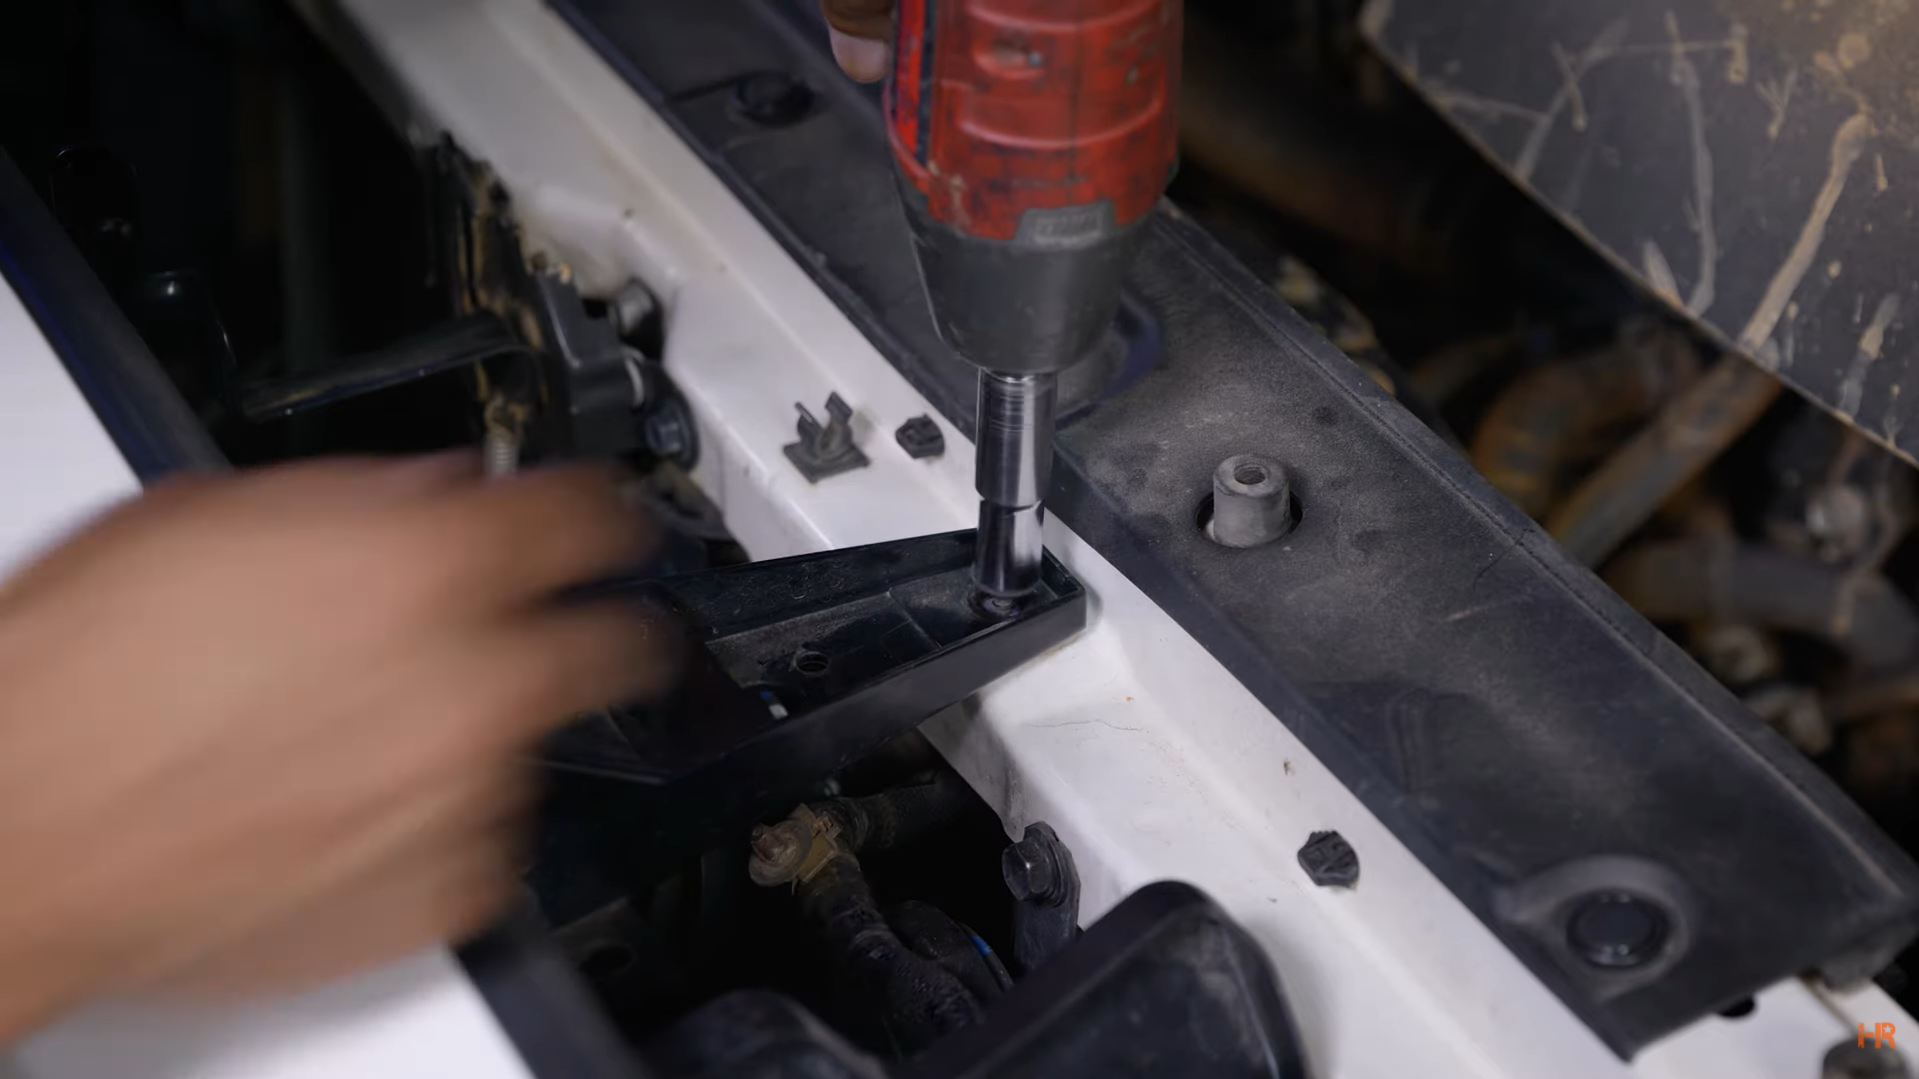
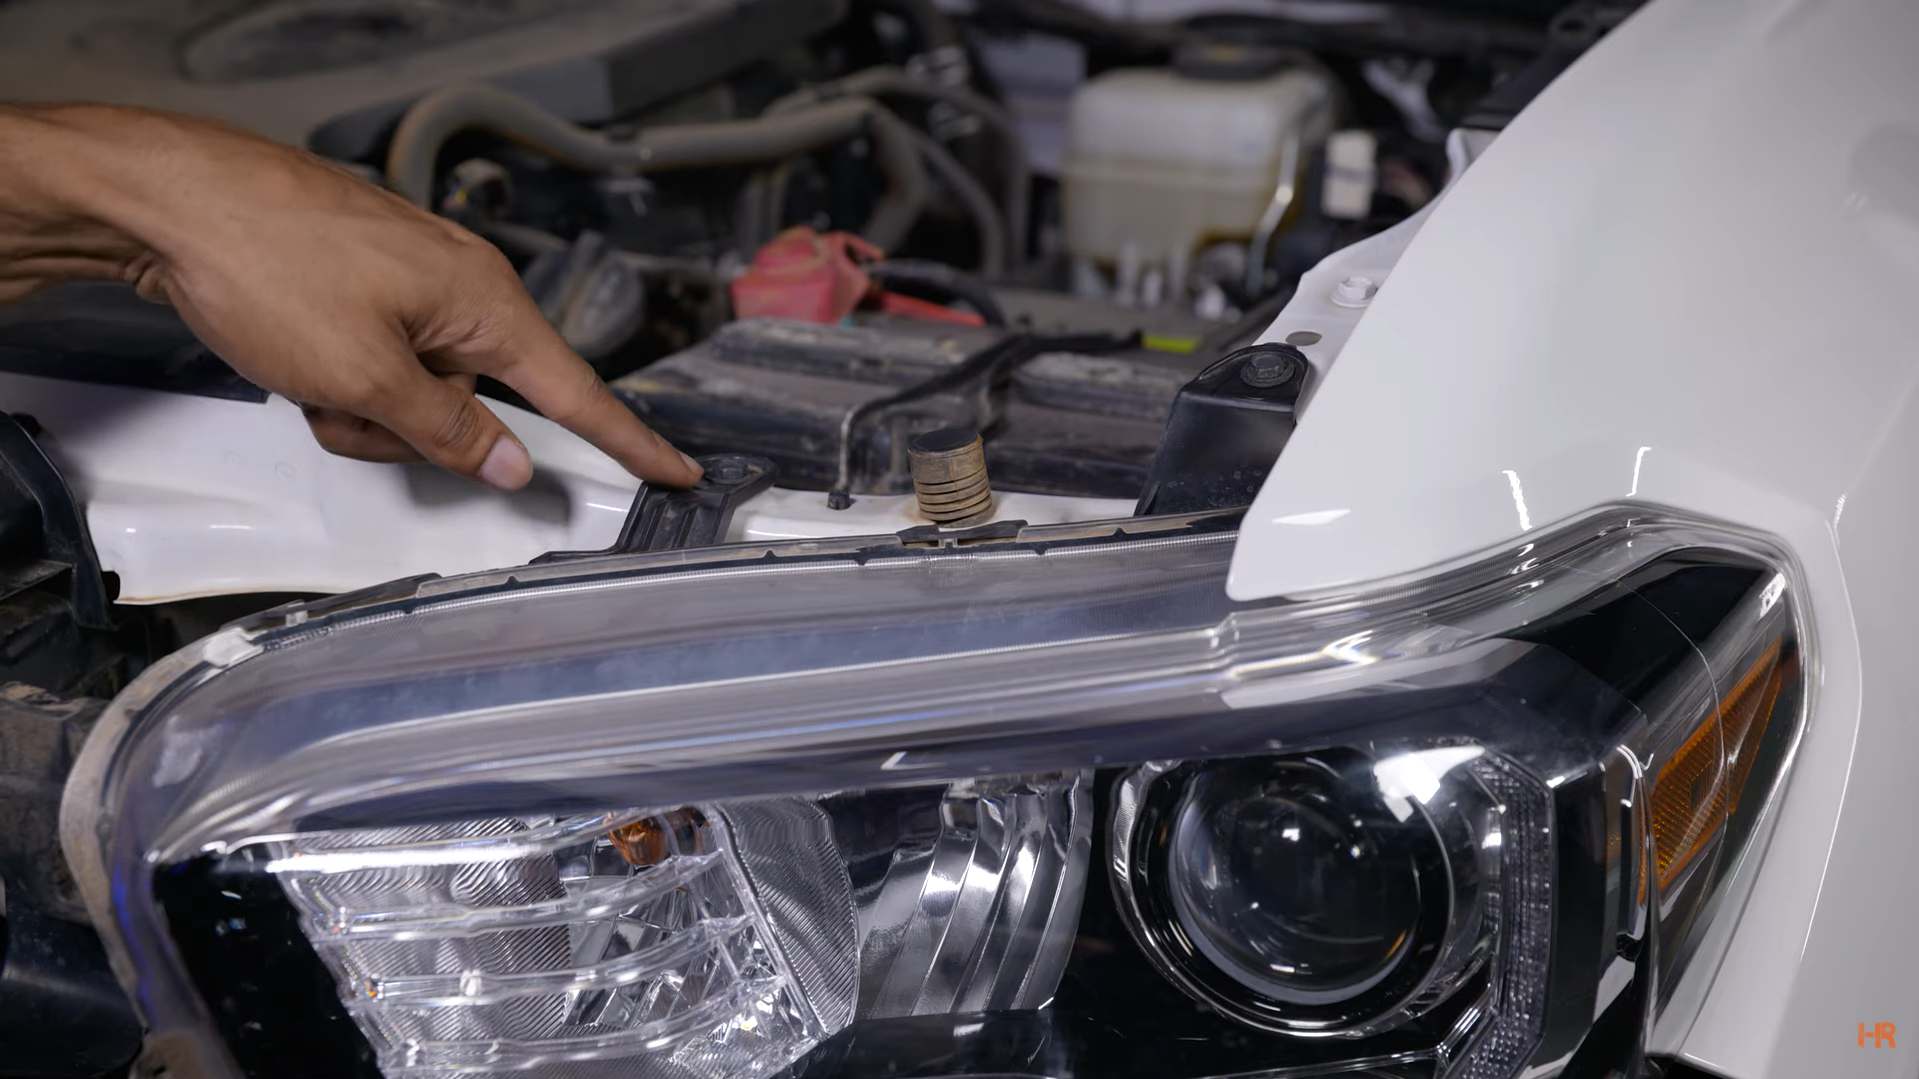
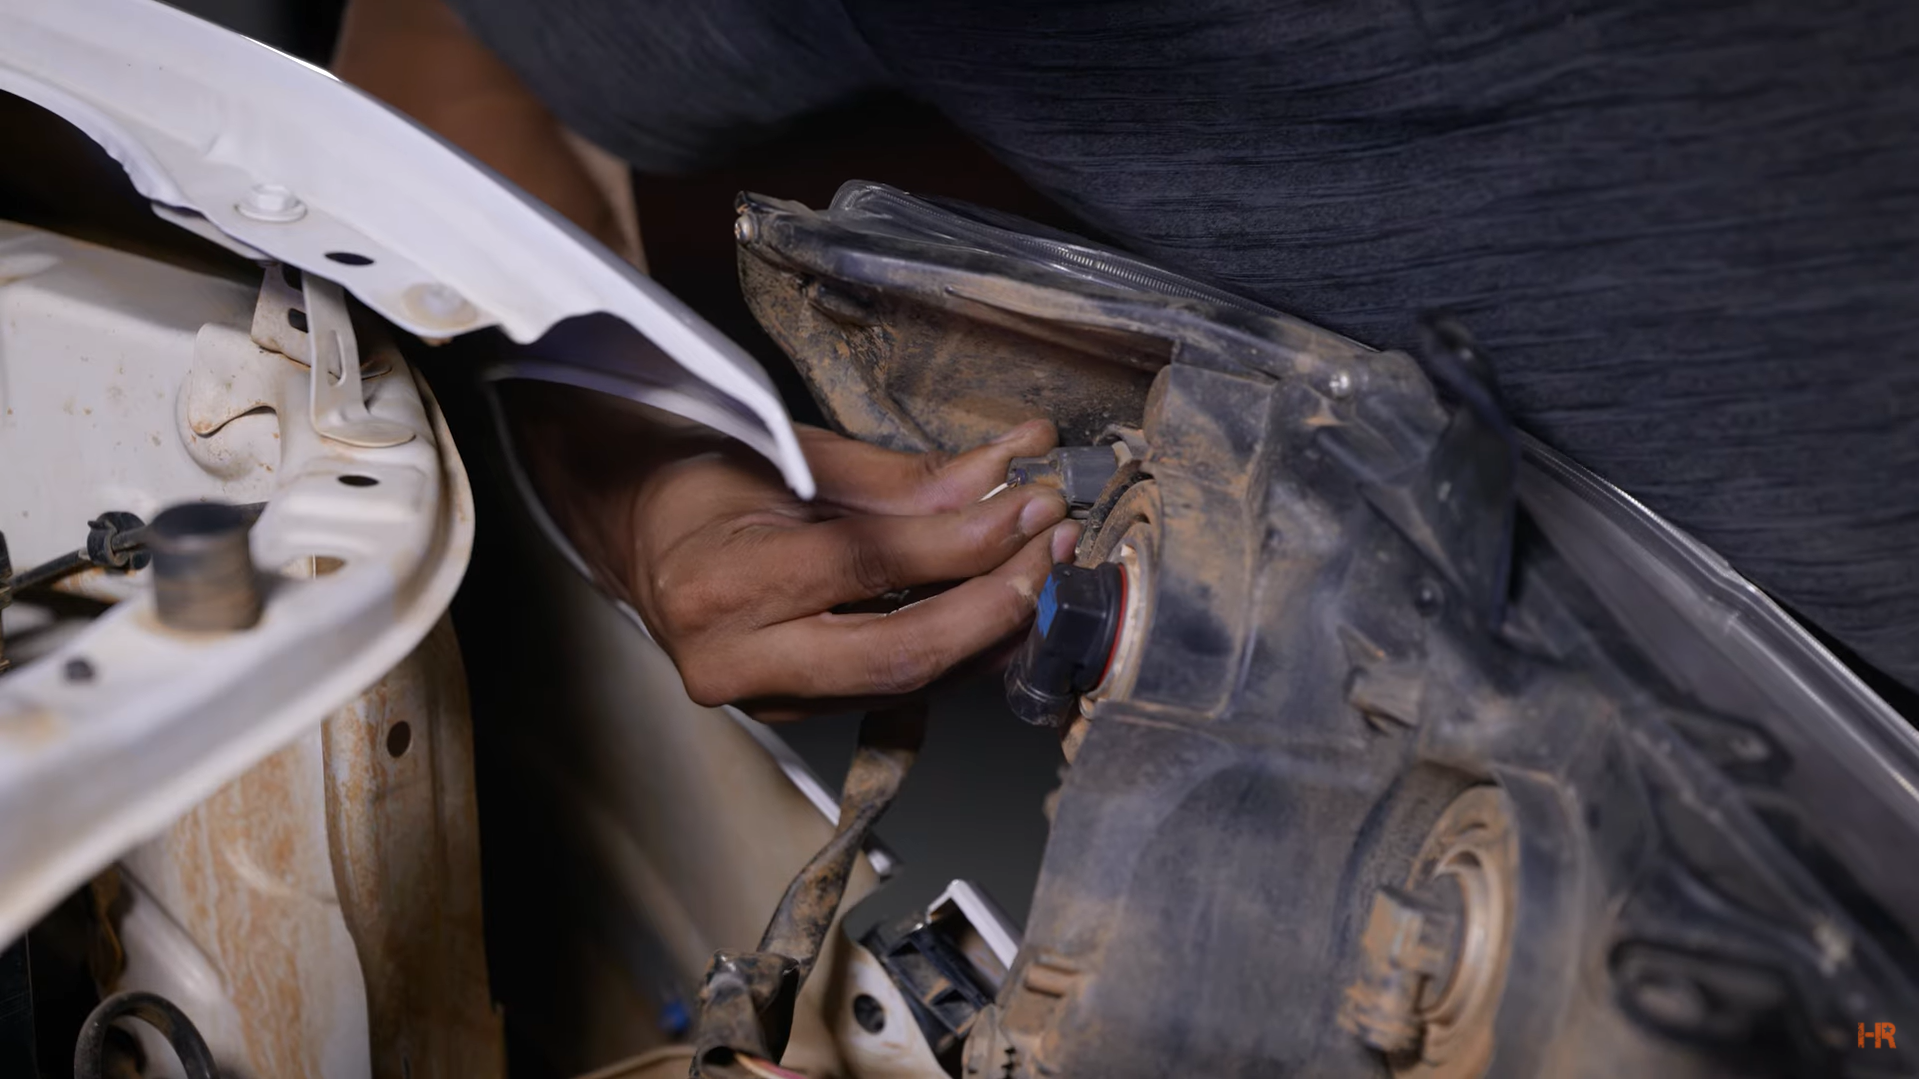
Step 5. Move to the top of the headlight and remove the two bolts on the top of the housing. Once removed, lift up on the top tabs holding in the housing and then pull on the bottom tab to release it from the vehicle.
Repeat steps 3-5 for both sides.
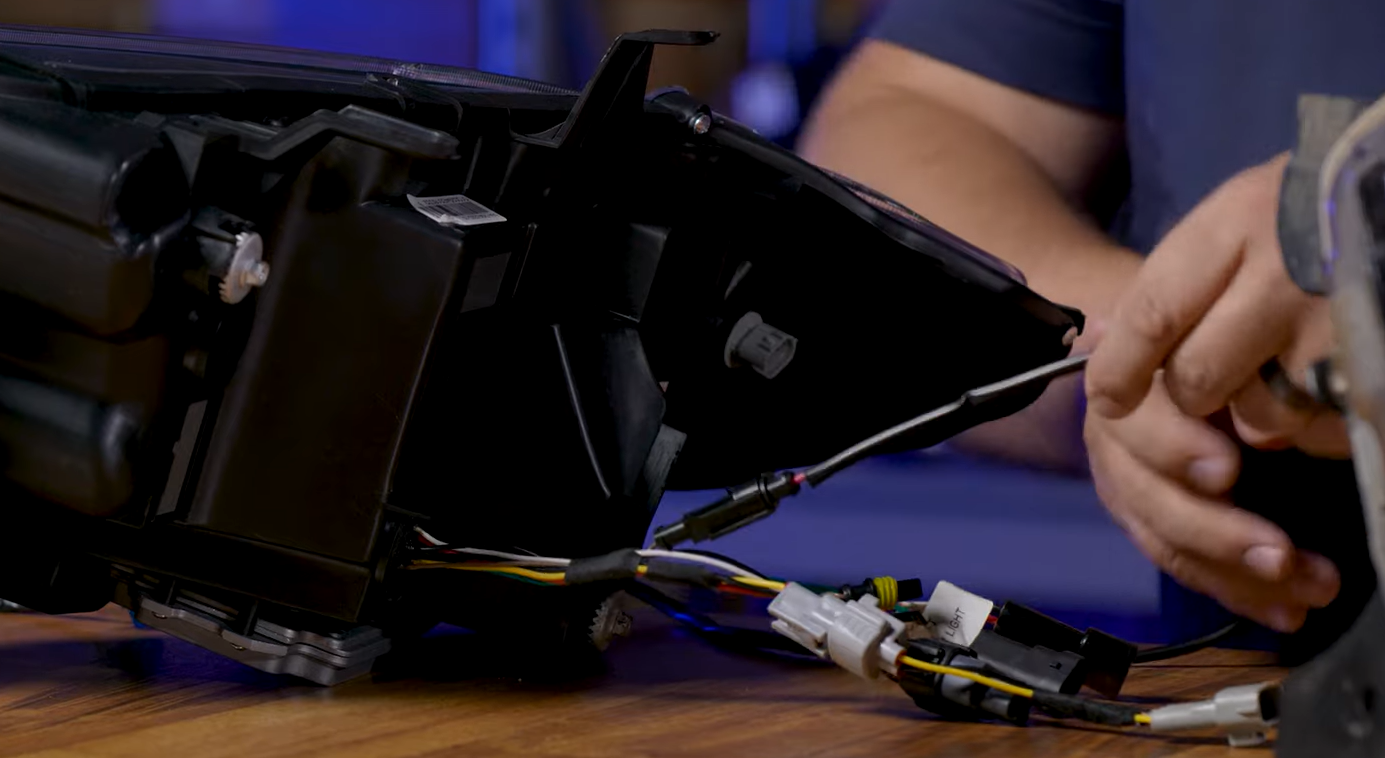
Be sure to disconnect the wiring from the stock housing before you pull the stock headlight housing away.
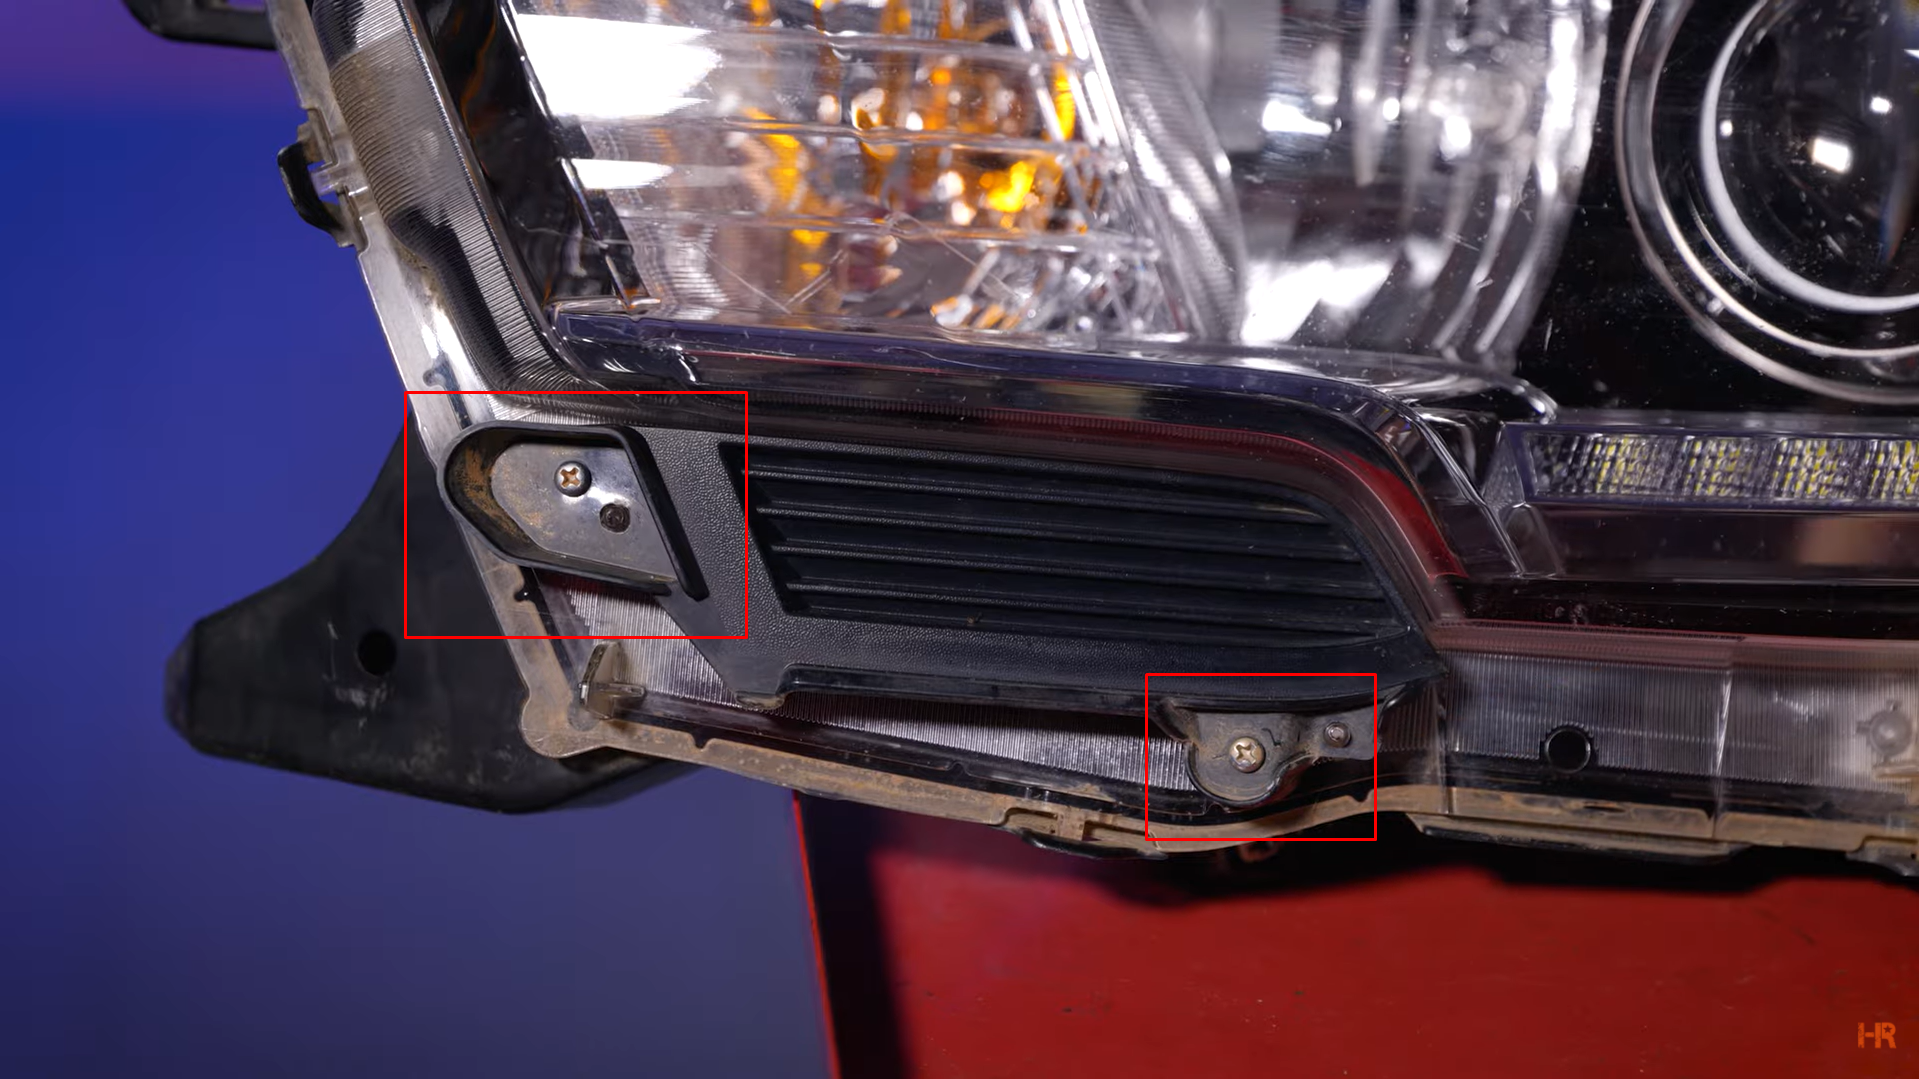
Step 6. Remove the two screws from the headlight trim and take the trim and apply it to the new GTR Lighting housing. Repeat for both lights.
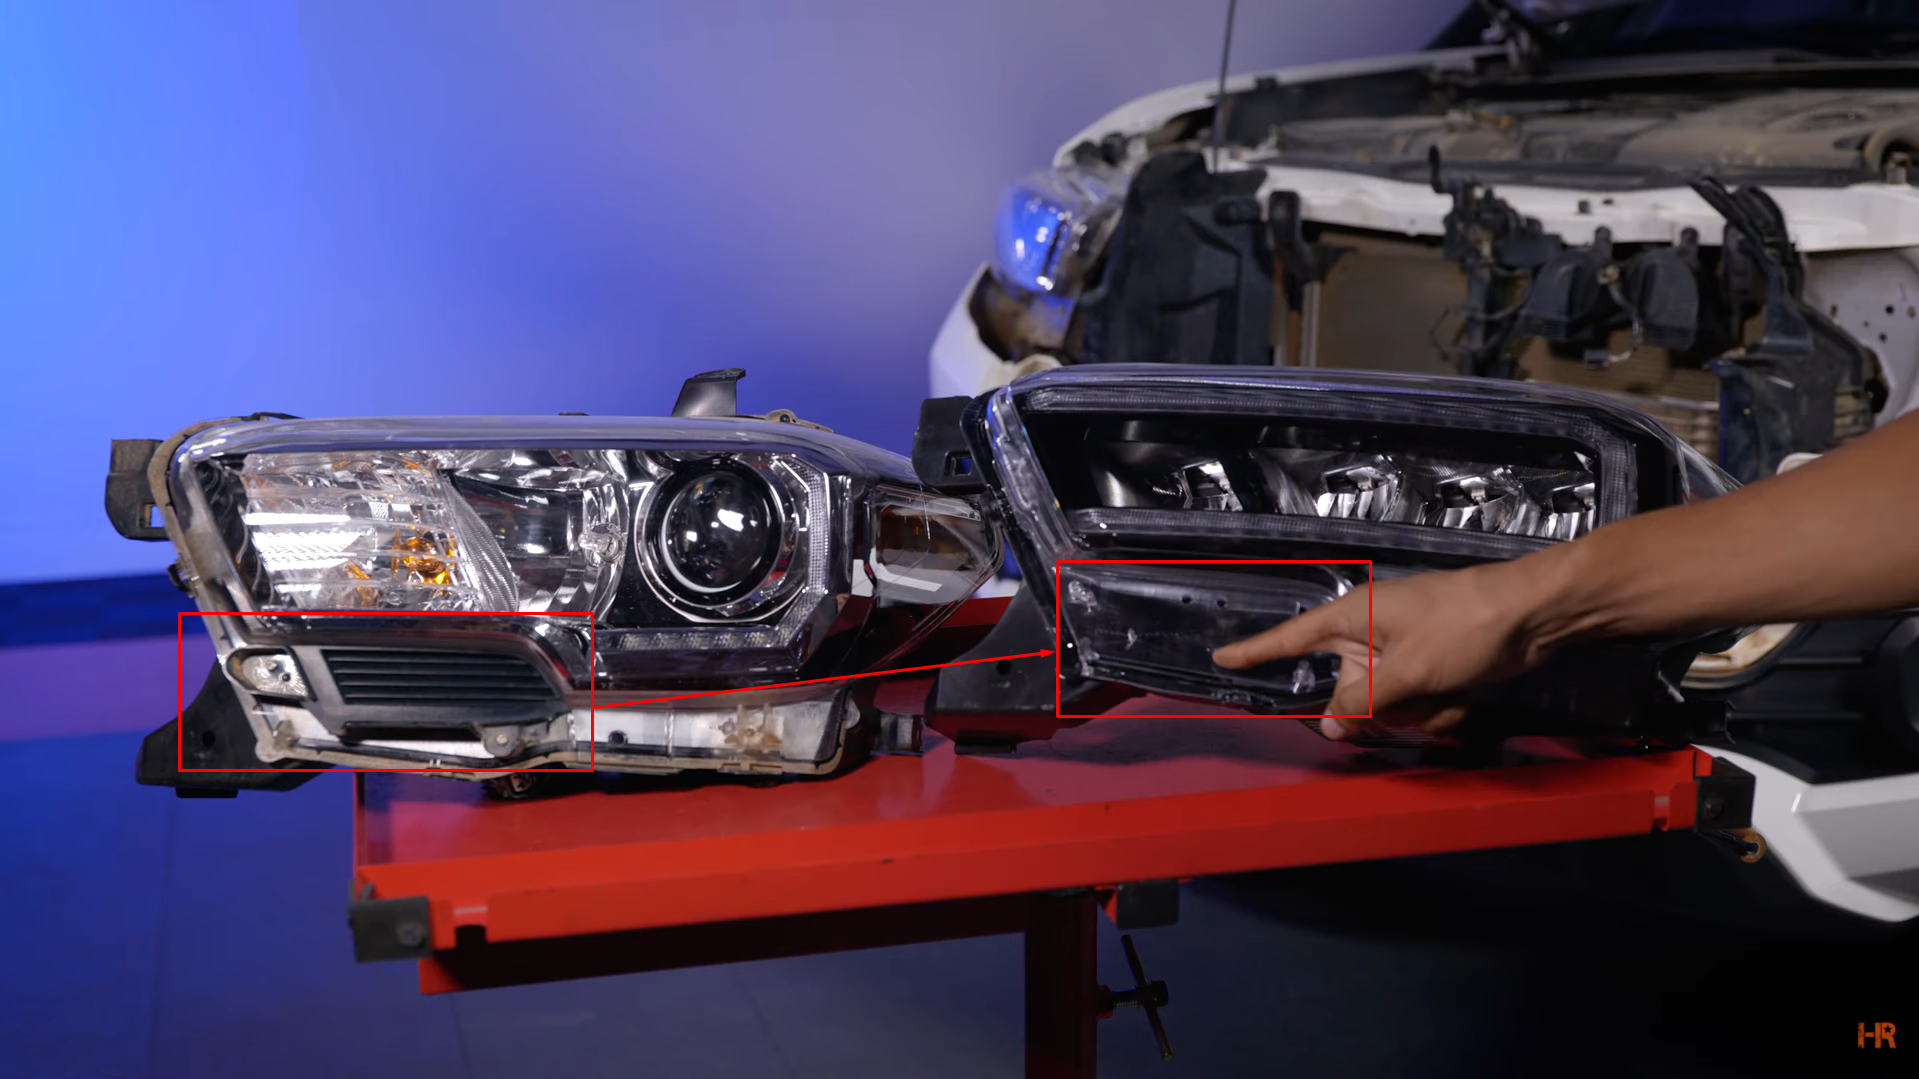
Step 7. Next, take the new housing and place it on the vehicle. Refer to the steps in the next set of instructions on how to properly plug in your headlights in accordance with your Tacoma specifications.
SETTING UP DRL AND BLINKERS
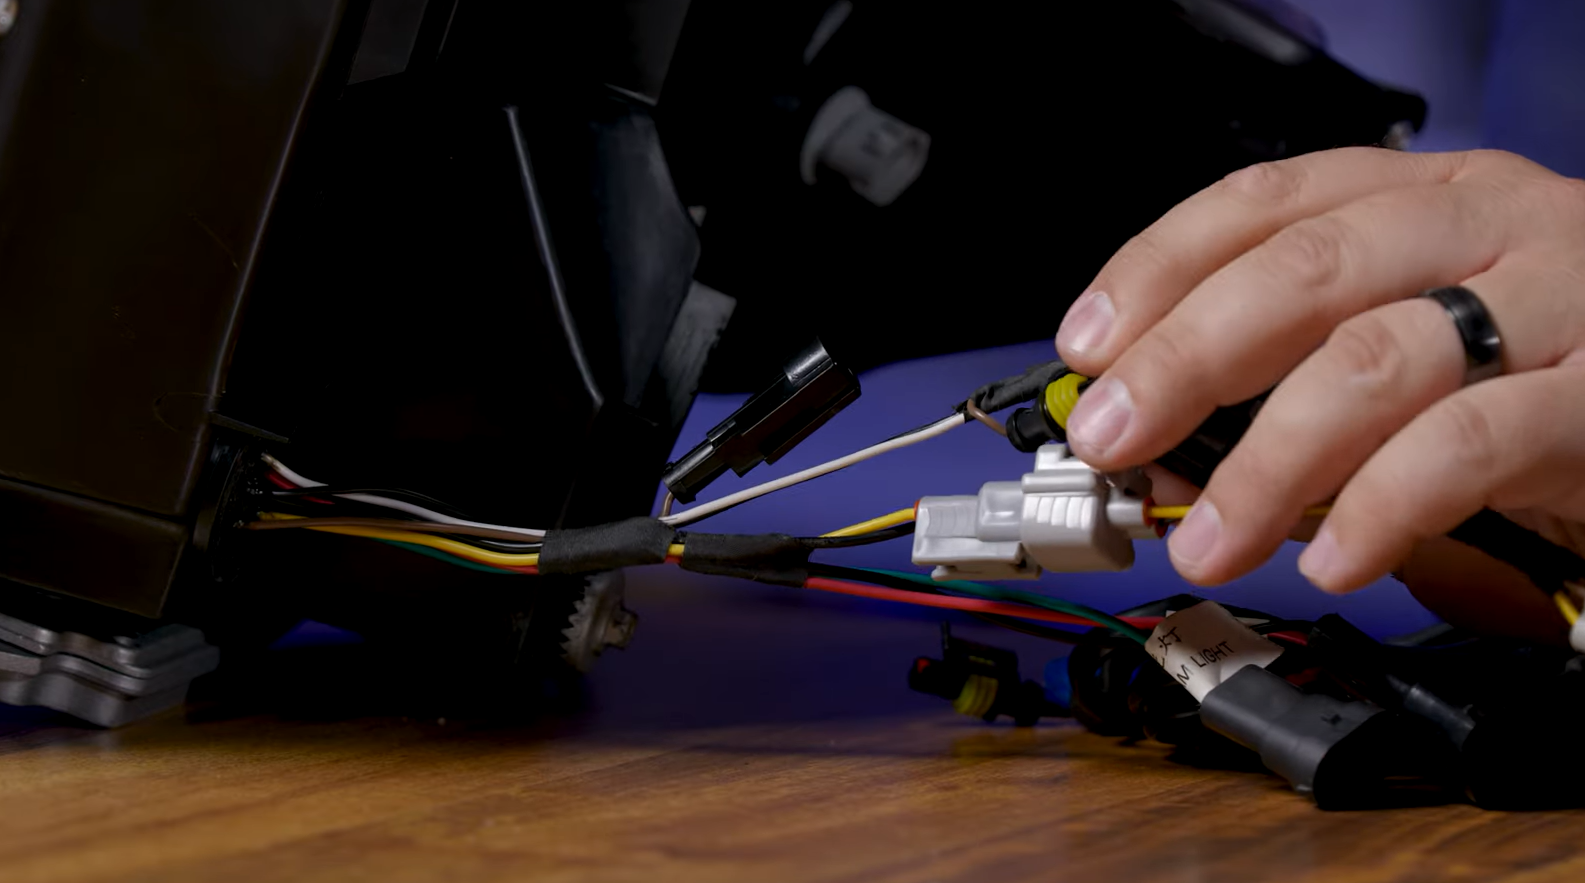
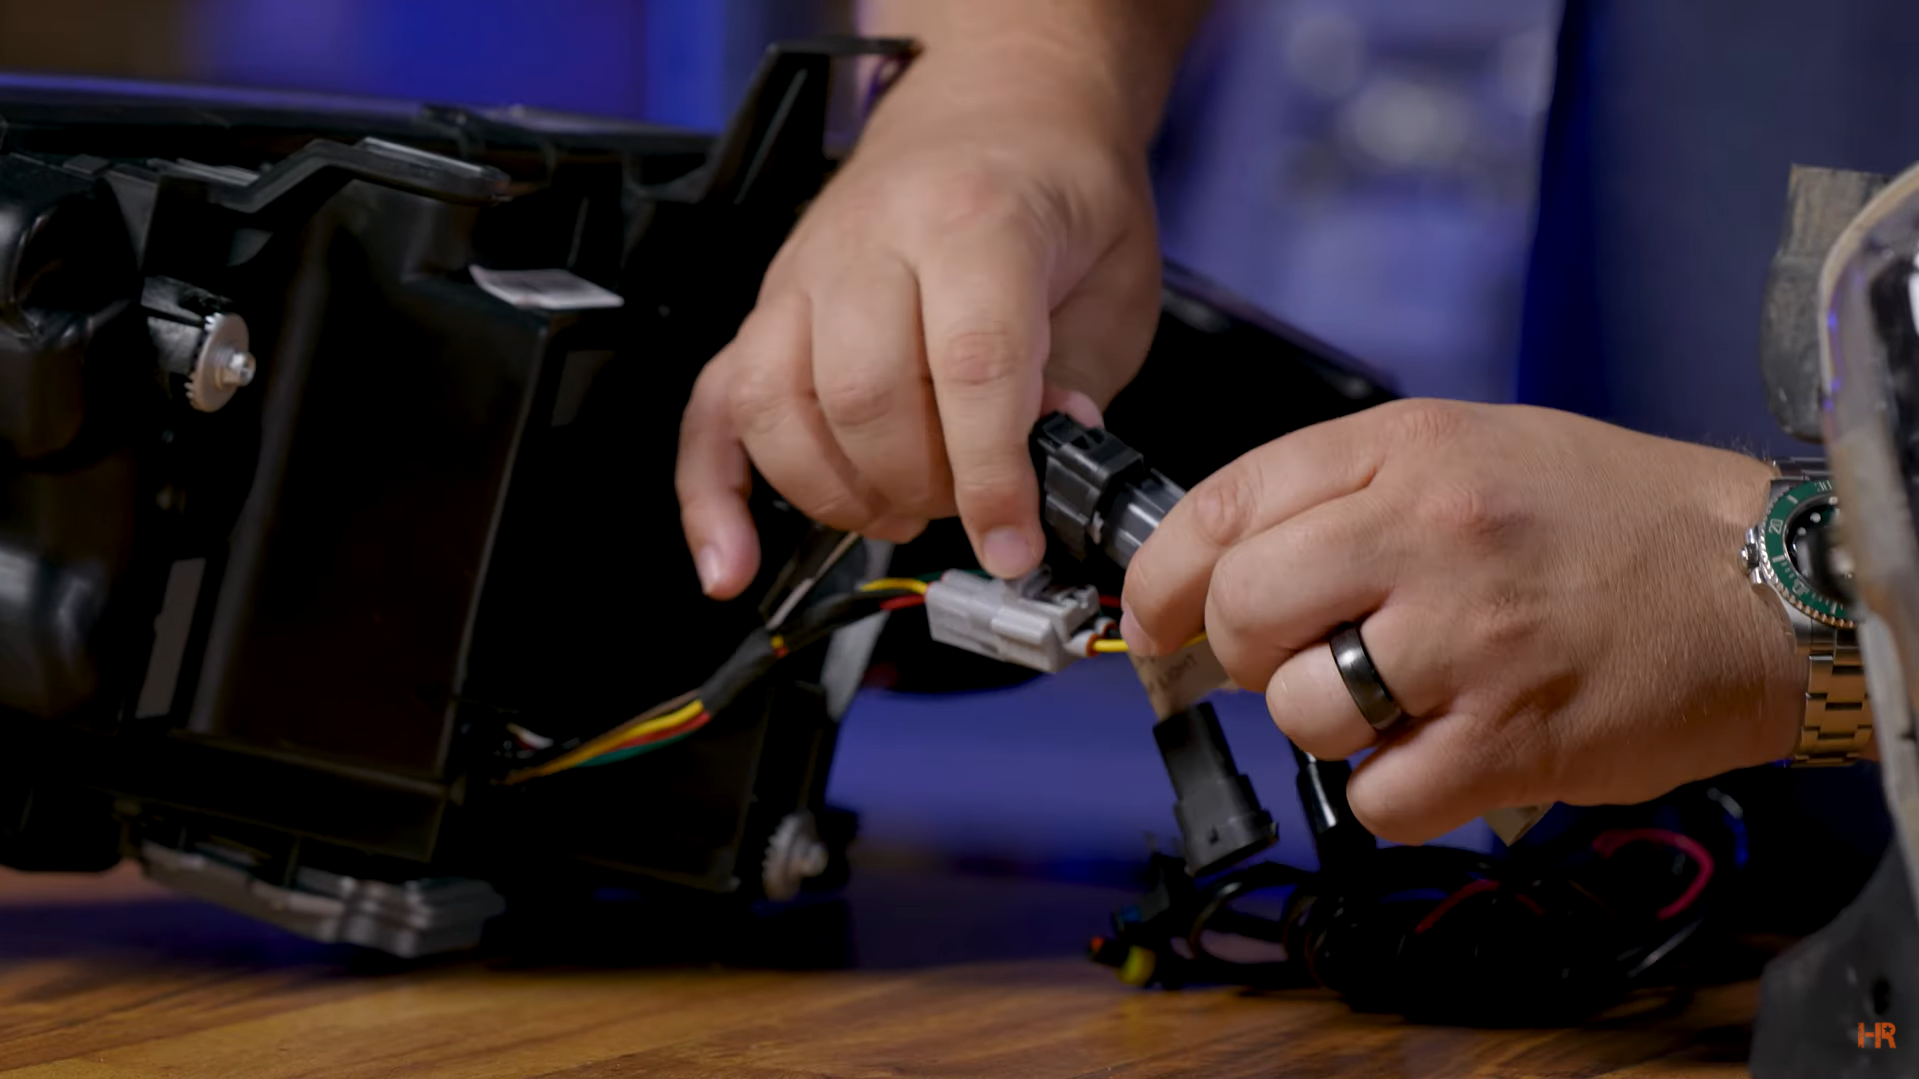
Lastly, if you own a Tacoma that came equipped with LED lights from factory, you need to install the wiring exactly how it comes on the rear of the new headlight. All of the connectors are OEM style and plug ‘n play.
If your Tacoma does not have the OEM DRL, you need to use two adapters. The first one is the turn signal splitter that converts the two turn signal connectors into one. Match up the connectors with their respective wire harness and then install that with the factory wiring.
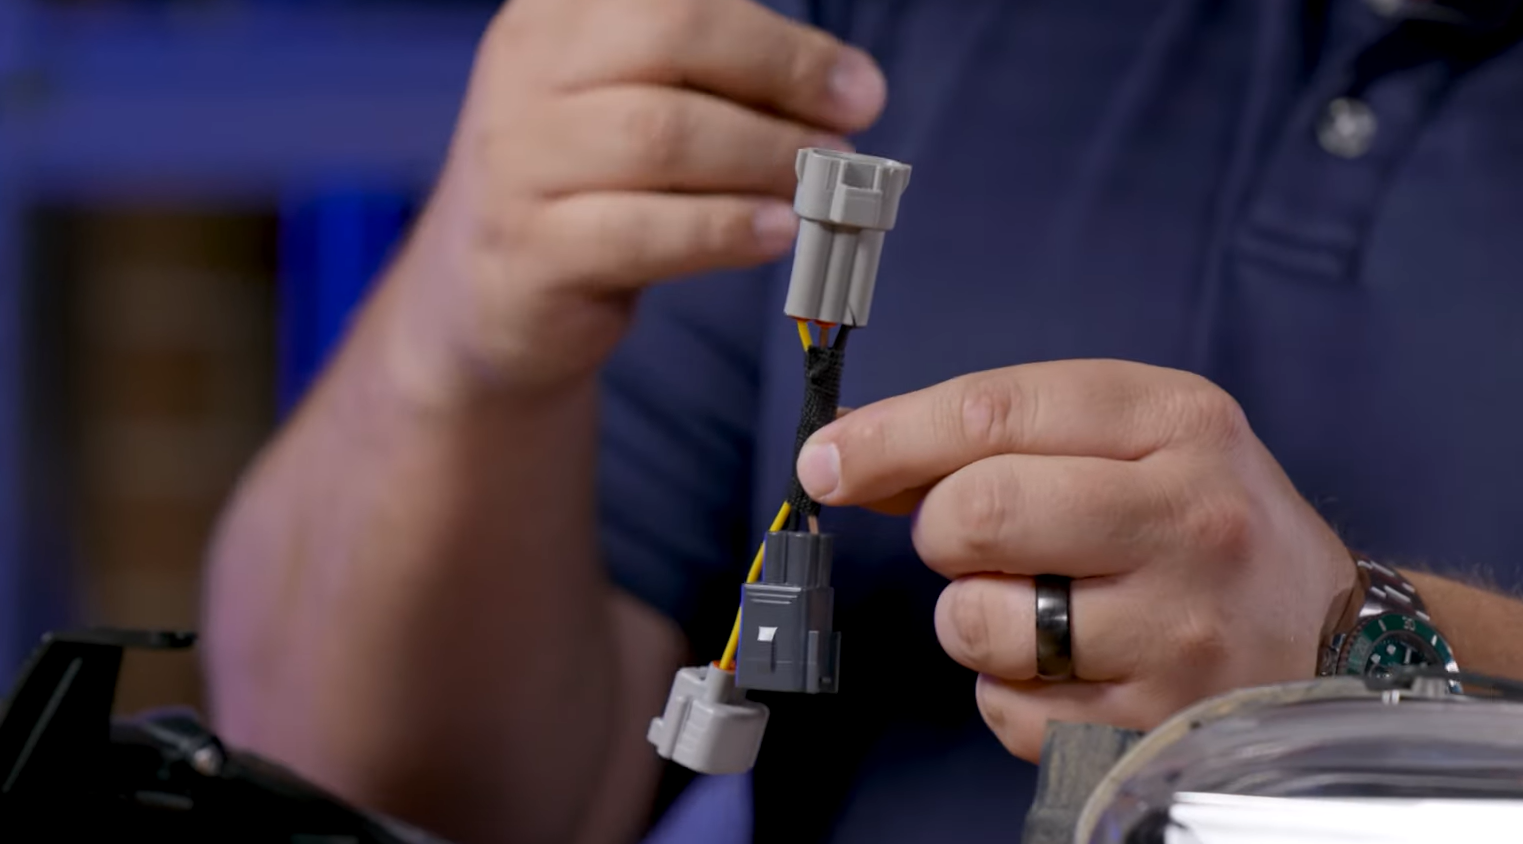
To make the DRL work, there is a single-wire connector built into the new housing. Disconnect that and you can either tap it to the wire or leave it alone. Either way, it should not be connected to anything.
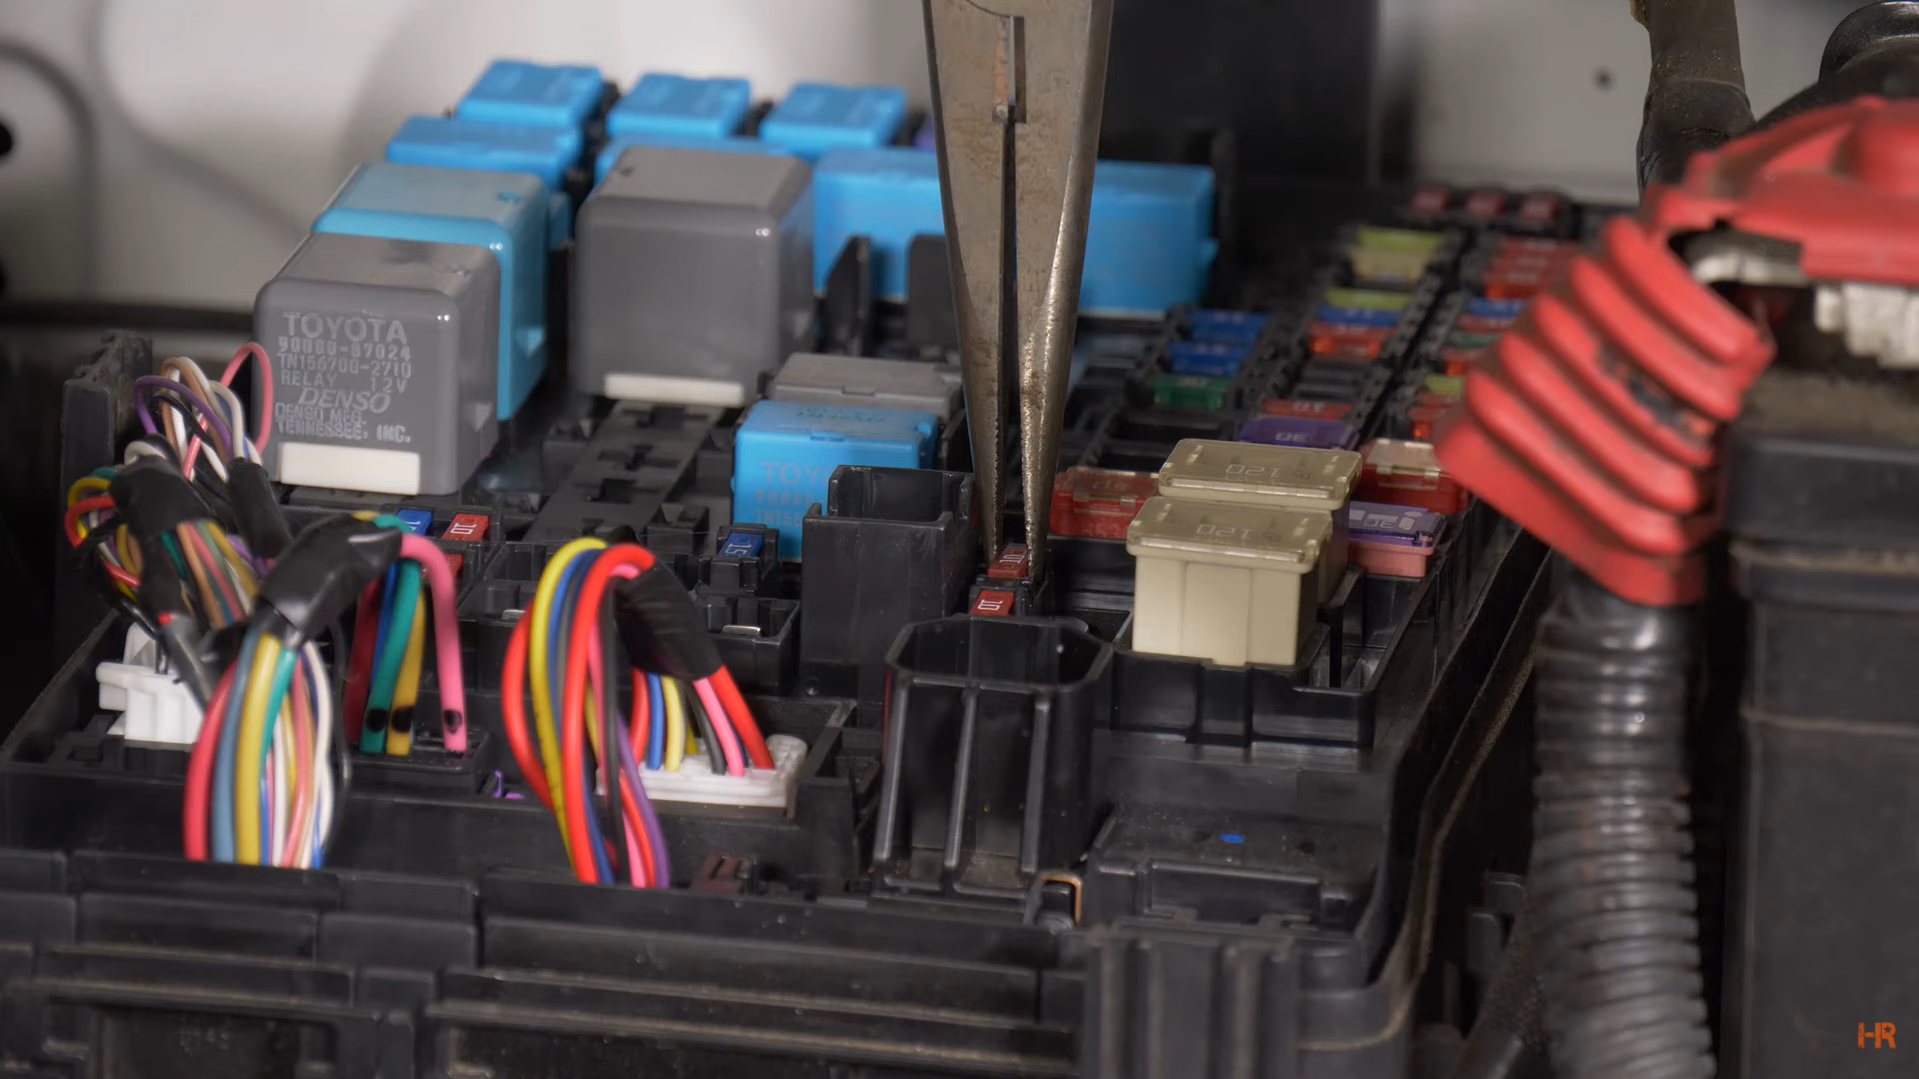
The second adapter is for the fuse tap harness (two connectors and one fuse tap). To install, locate the fuse from the instructions and replace it with the fuse tap. Once that is complete, run the shortest wire to the closest headlight and the longest on the opposite-side light. Then connect those connectors to the wire harness that points to the headlight.
Before bolting your fenders and bumpers back together, be sure to test your headlights’ functions.
These full LED reflector headlights are a major upgrade to your Tacoma when considering safety, style, lighting, and performance. But, if you are not ready to make the jump to LED lights, check out our website HeadlightRevolution.com and put in the Year/Make/Model of your car, and see what options are available to you.
If you are more of a visual learner, be sure to check out our video on these new headlights. While you are there, make sure to like and subscribe to our channel for the latest lighting upgrades for your vehicle.
Have any questions about one of the products we mentioned? Contact us today, and our customer service team would be happy to help.