Morimoto 4Banger Fog Light & A-Pillar Install for 2012-2015 Toyota Tacoma
The Tacoma is one of the greatest trucks in history. It is rugged. It is capable. It is endlessly customizable. Over the years, Morimoto has offered a fair number of top-of-the-line products for the Tacoma, such as their XB LED Headlights. Now you can equip the new 4Banger LED pod lights in both an A-Pillar mount and fog light mount.
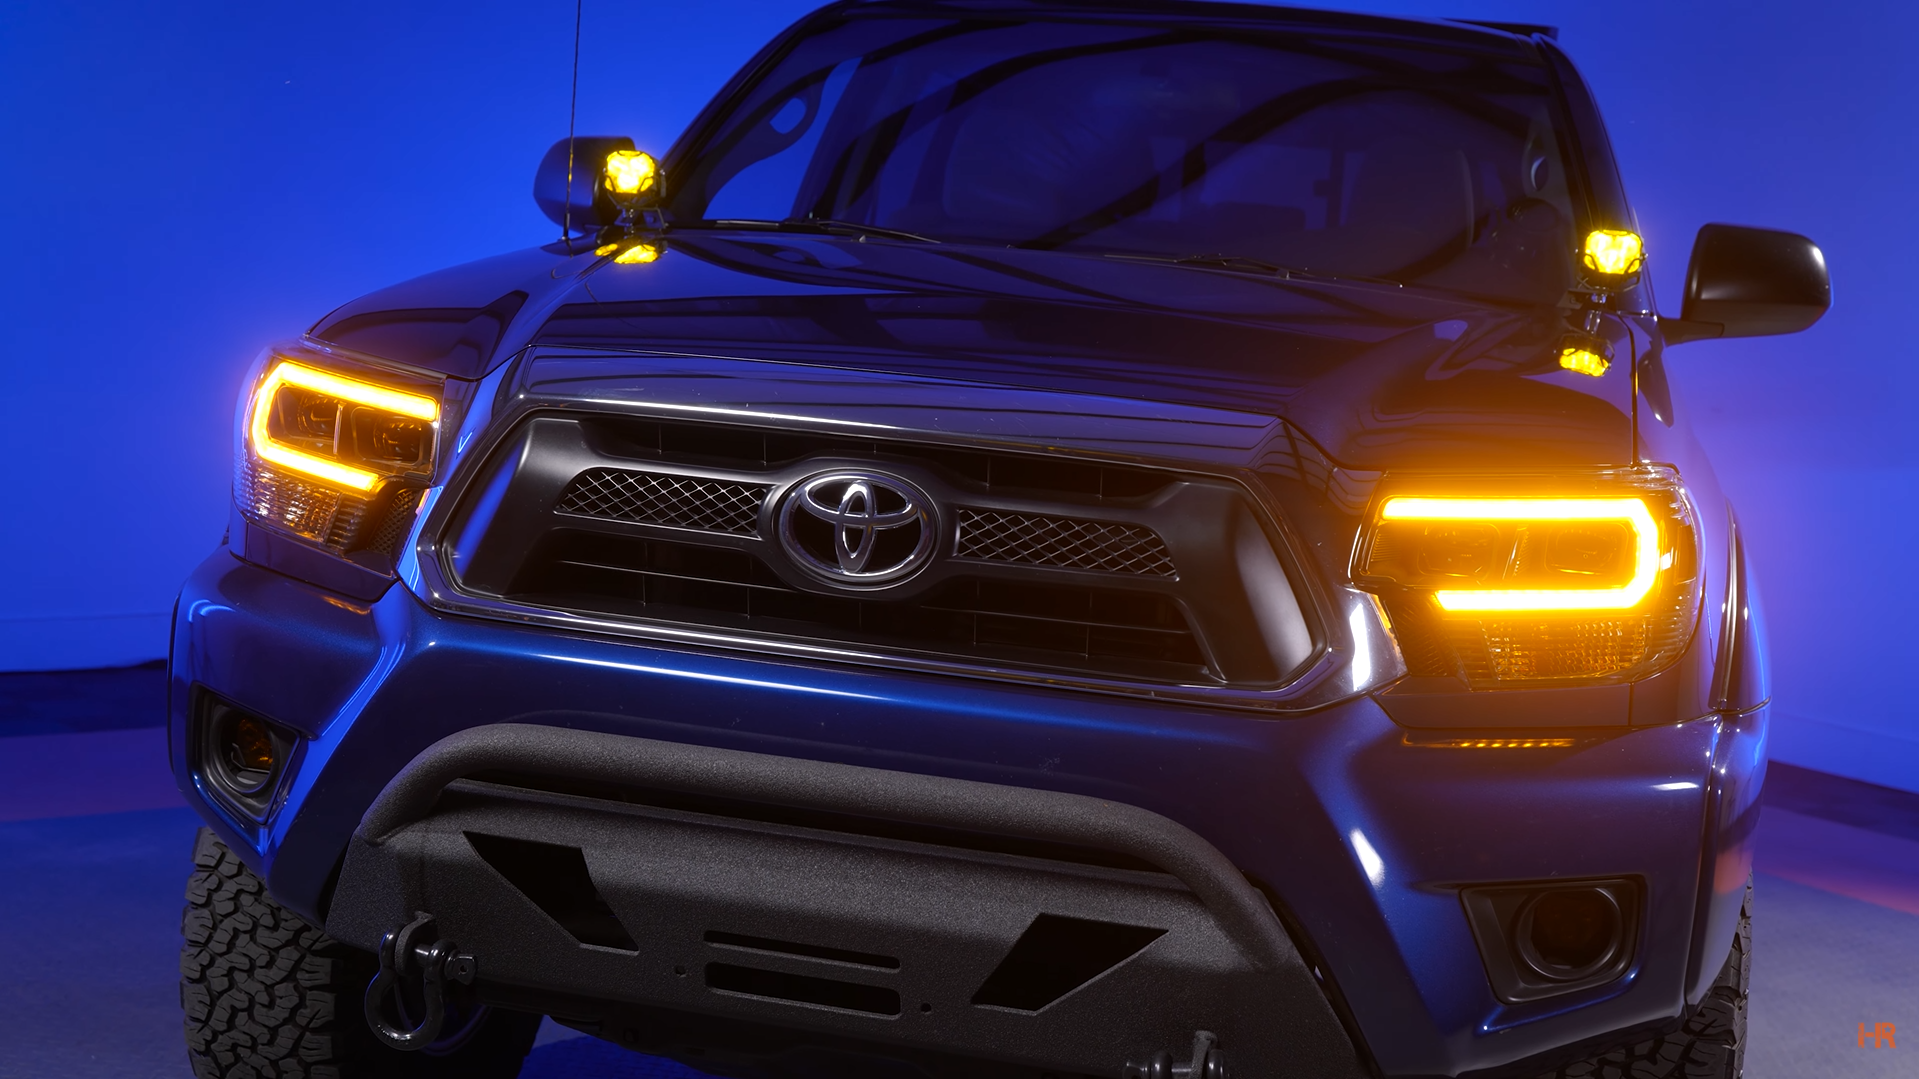
Today we will walk you through all of the 4Banger’s features and options, as well as how to install these fantastic pod lights. The 4Bangers come in three different beam patterns, two different colors, and two trim levels so you have plenty of options to choose from for your 2012-2015 Toyota Tacoma.
ABOUT THE 4BANGERS
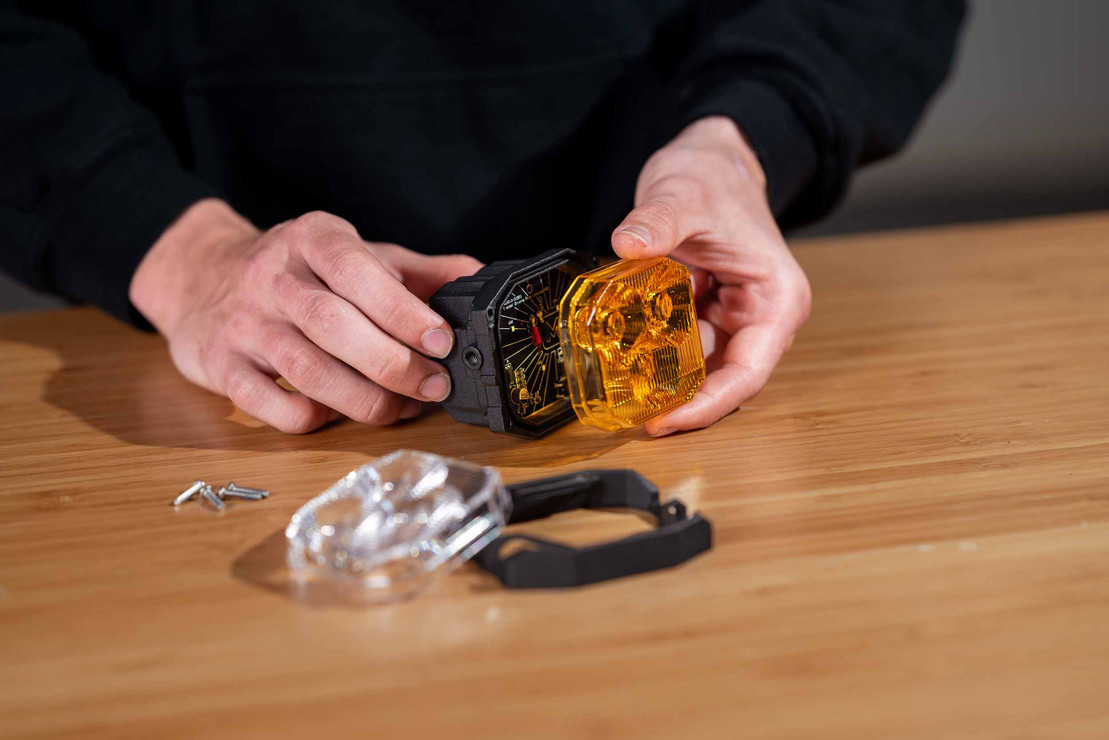
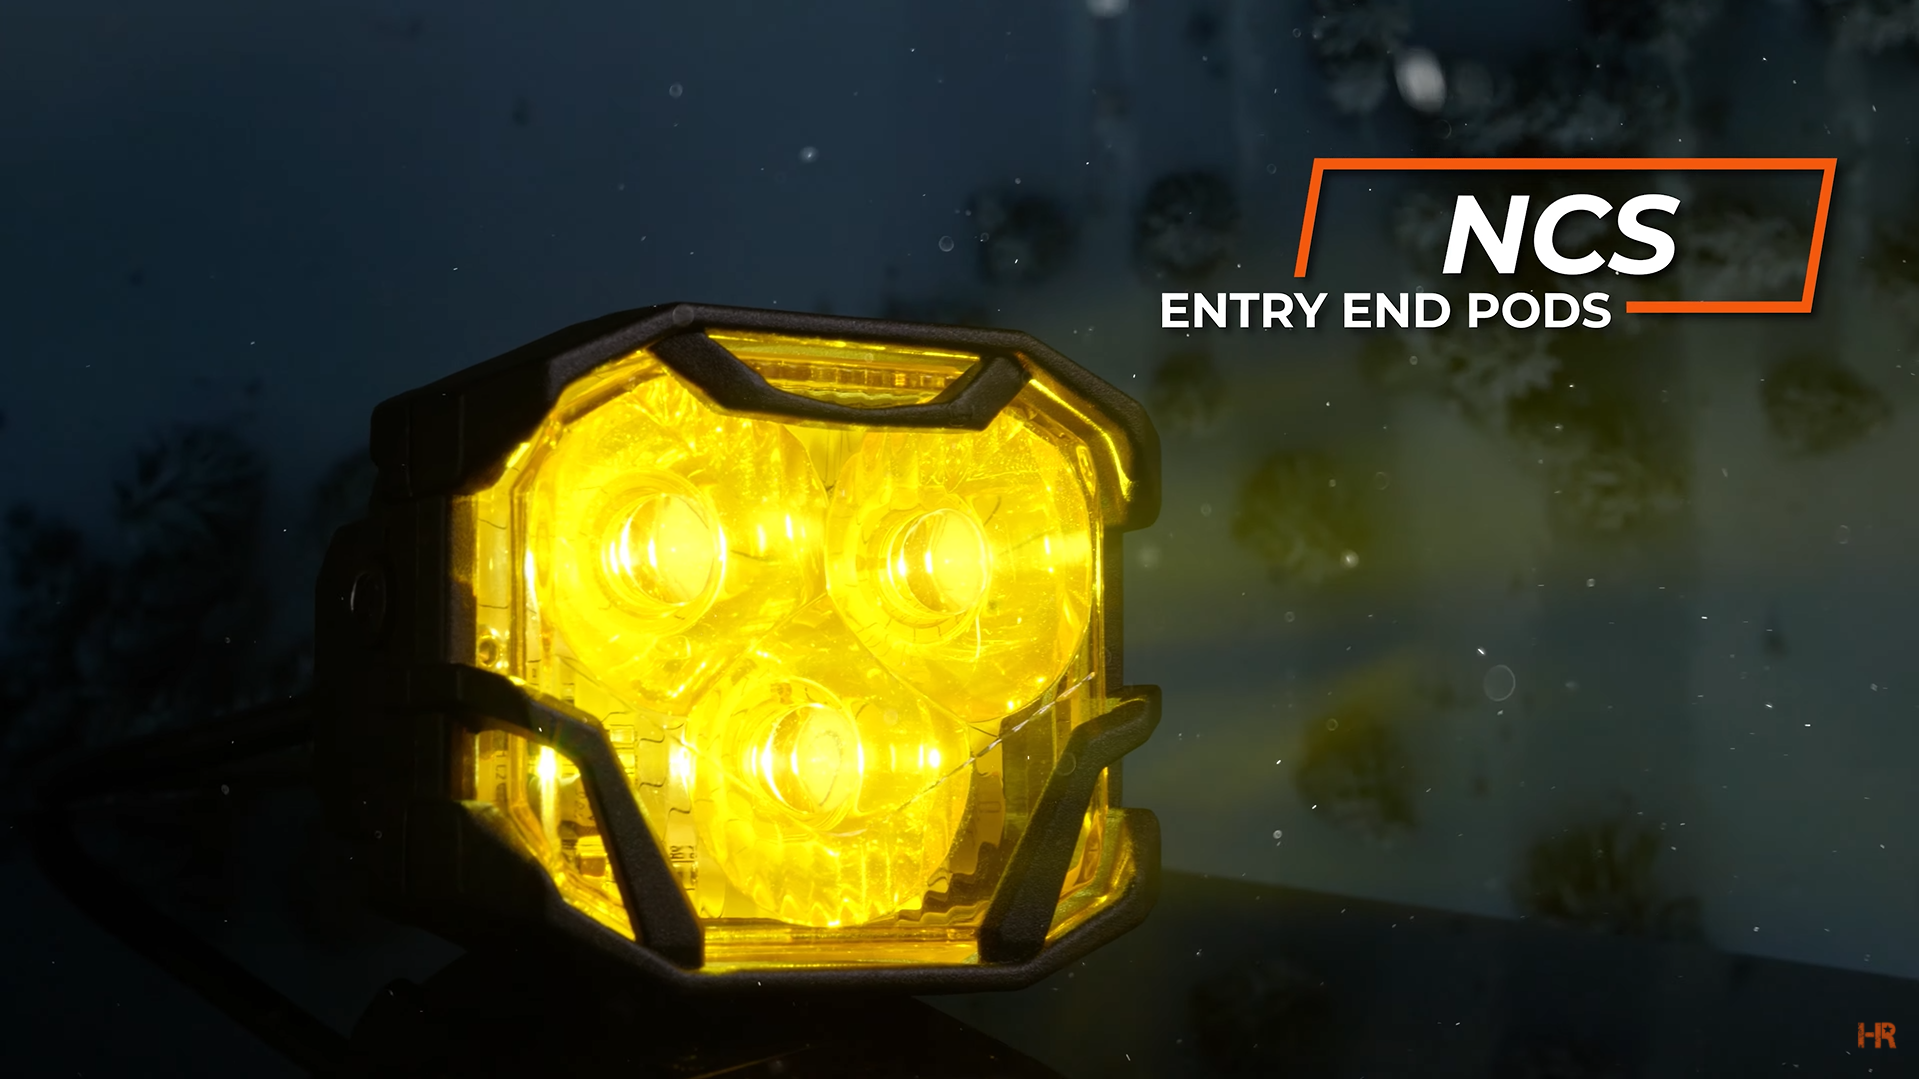
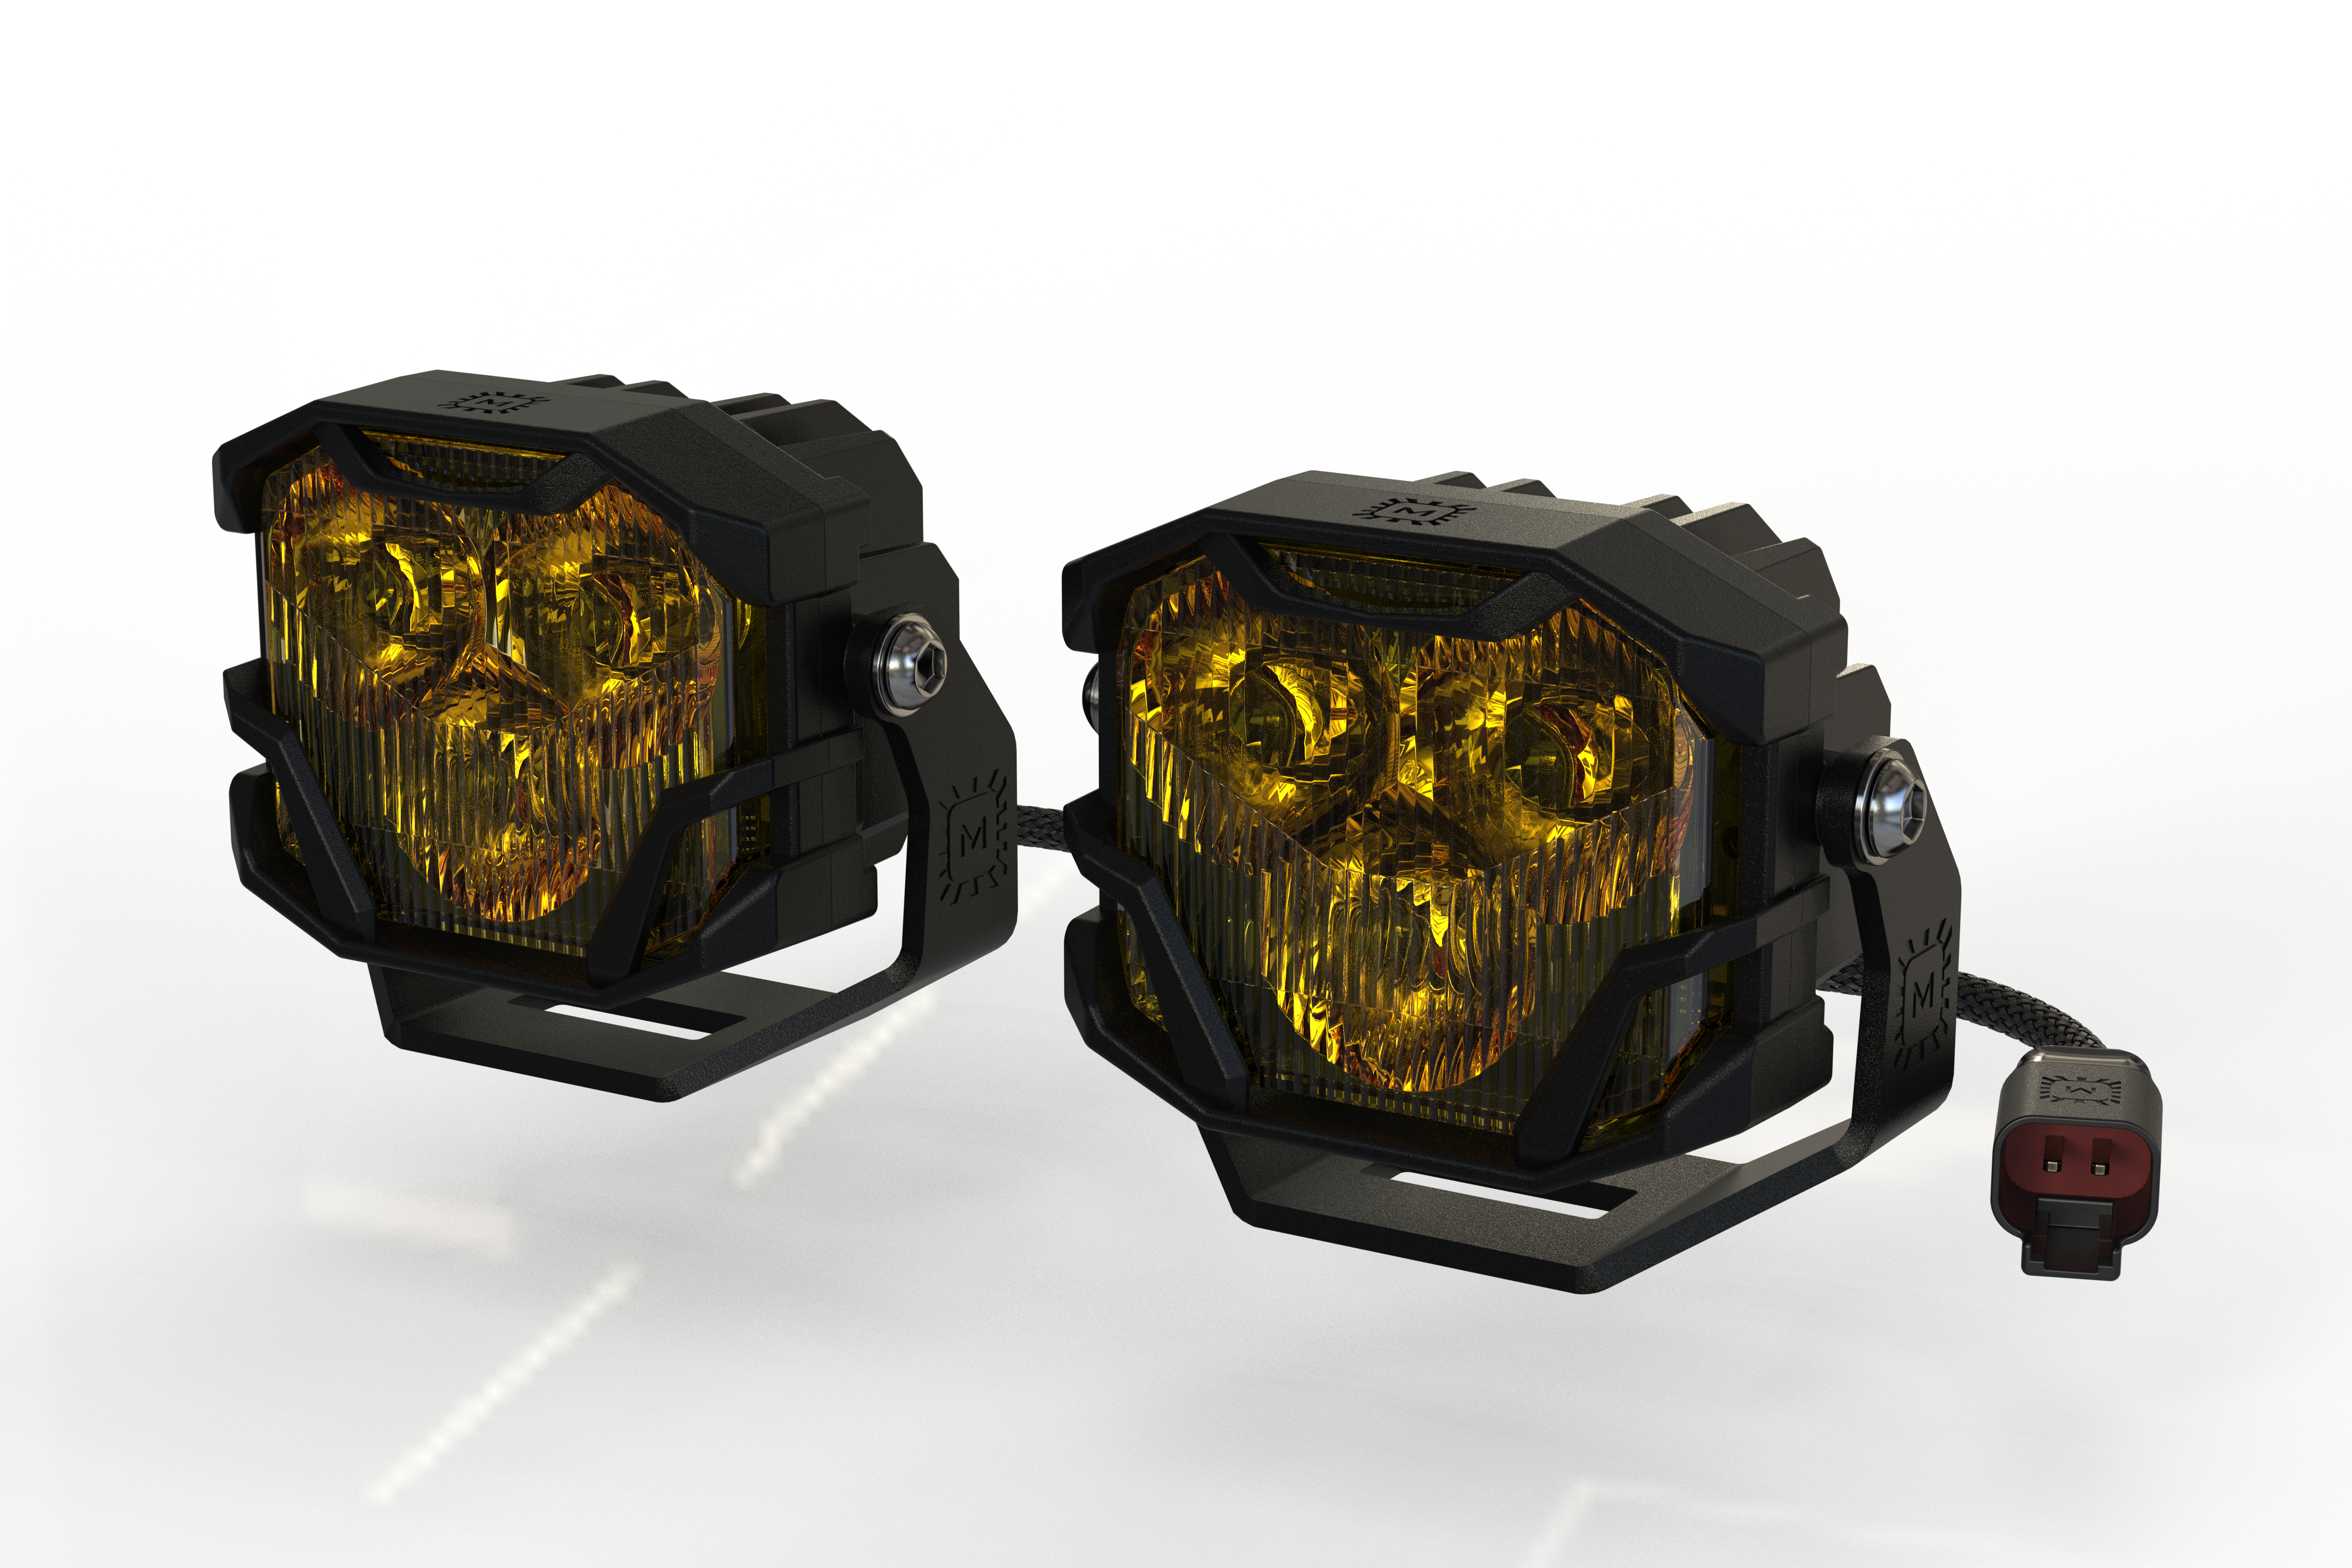
Available in two different trim levels, the Morimoto 4Banger LED Pod lights bring a mixture of design, output, and versatility to the LED pod light market. With the entry-level 4Banger NCS model, you get a Nichia LED chip spec for its output source. For the premium HXB model, an Osram HX Boost LED chip packs its punch behind the TIR optics, which can be found on both models.
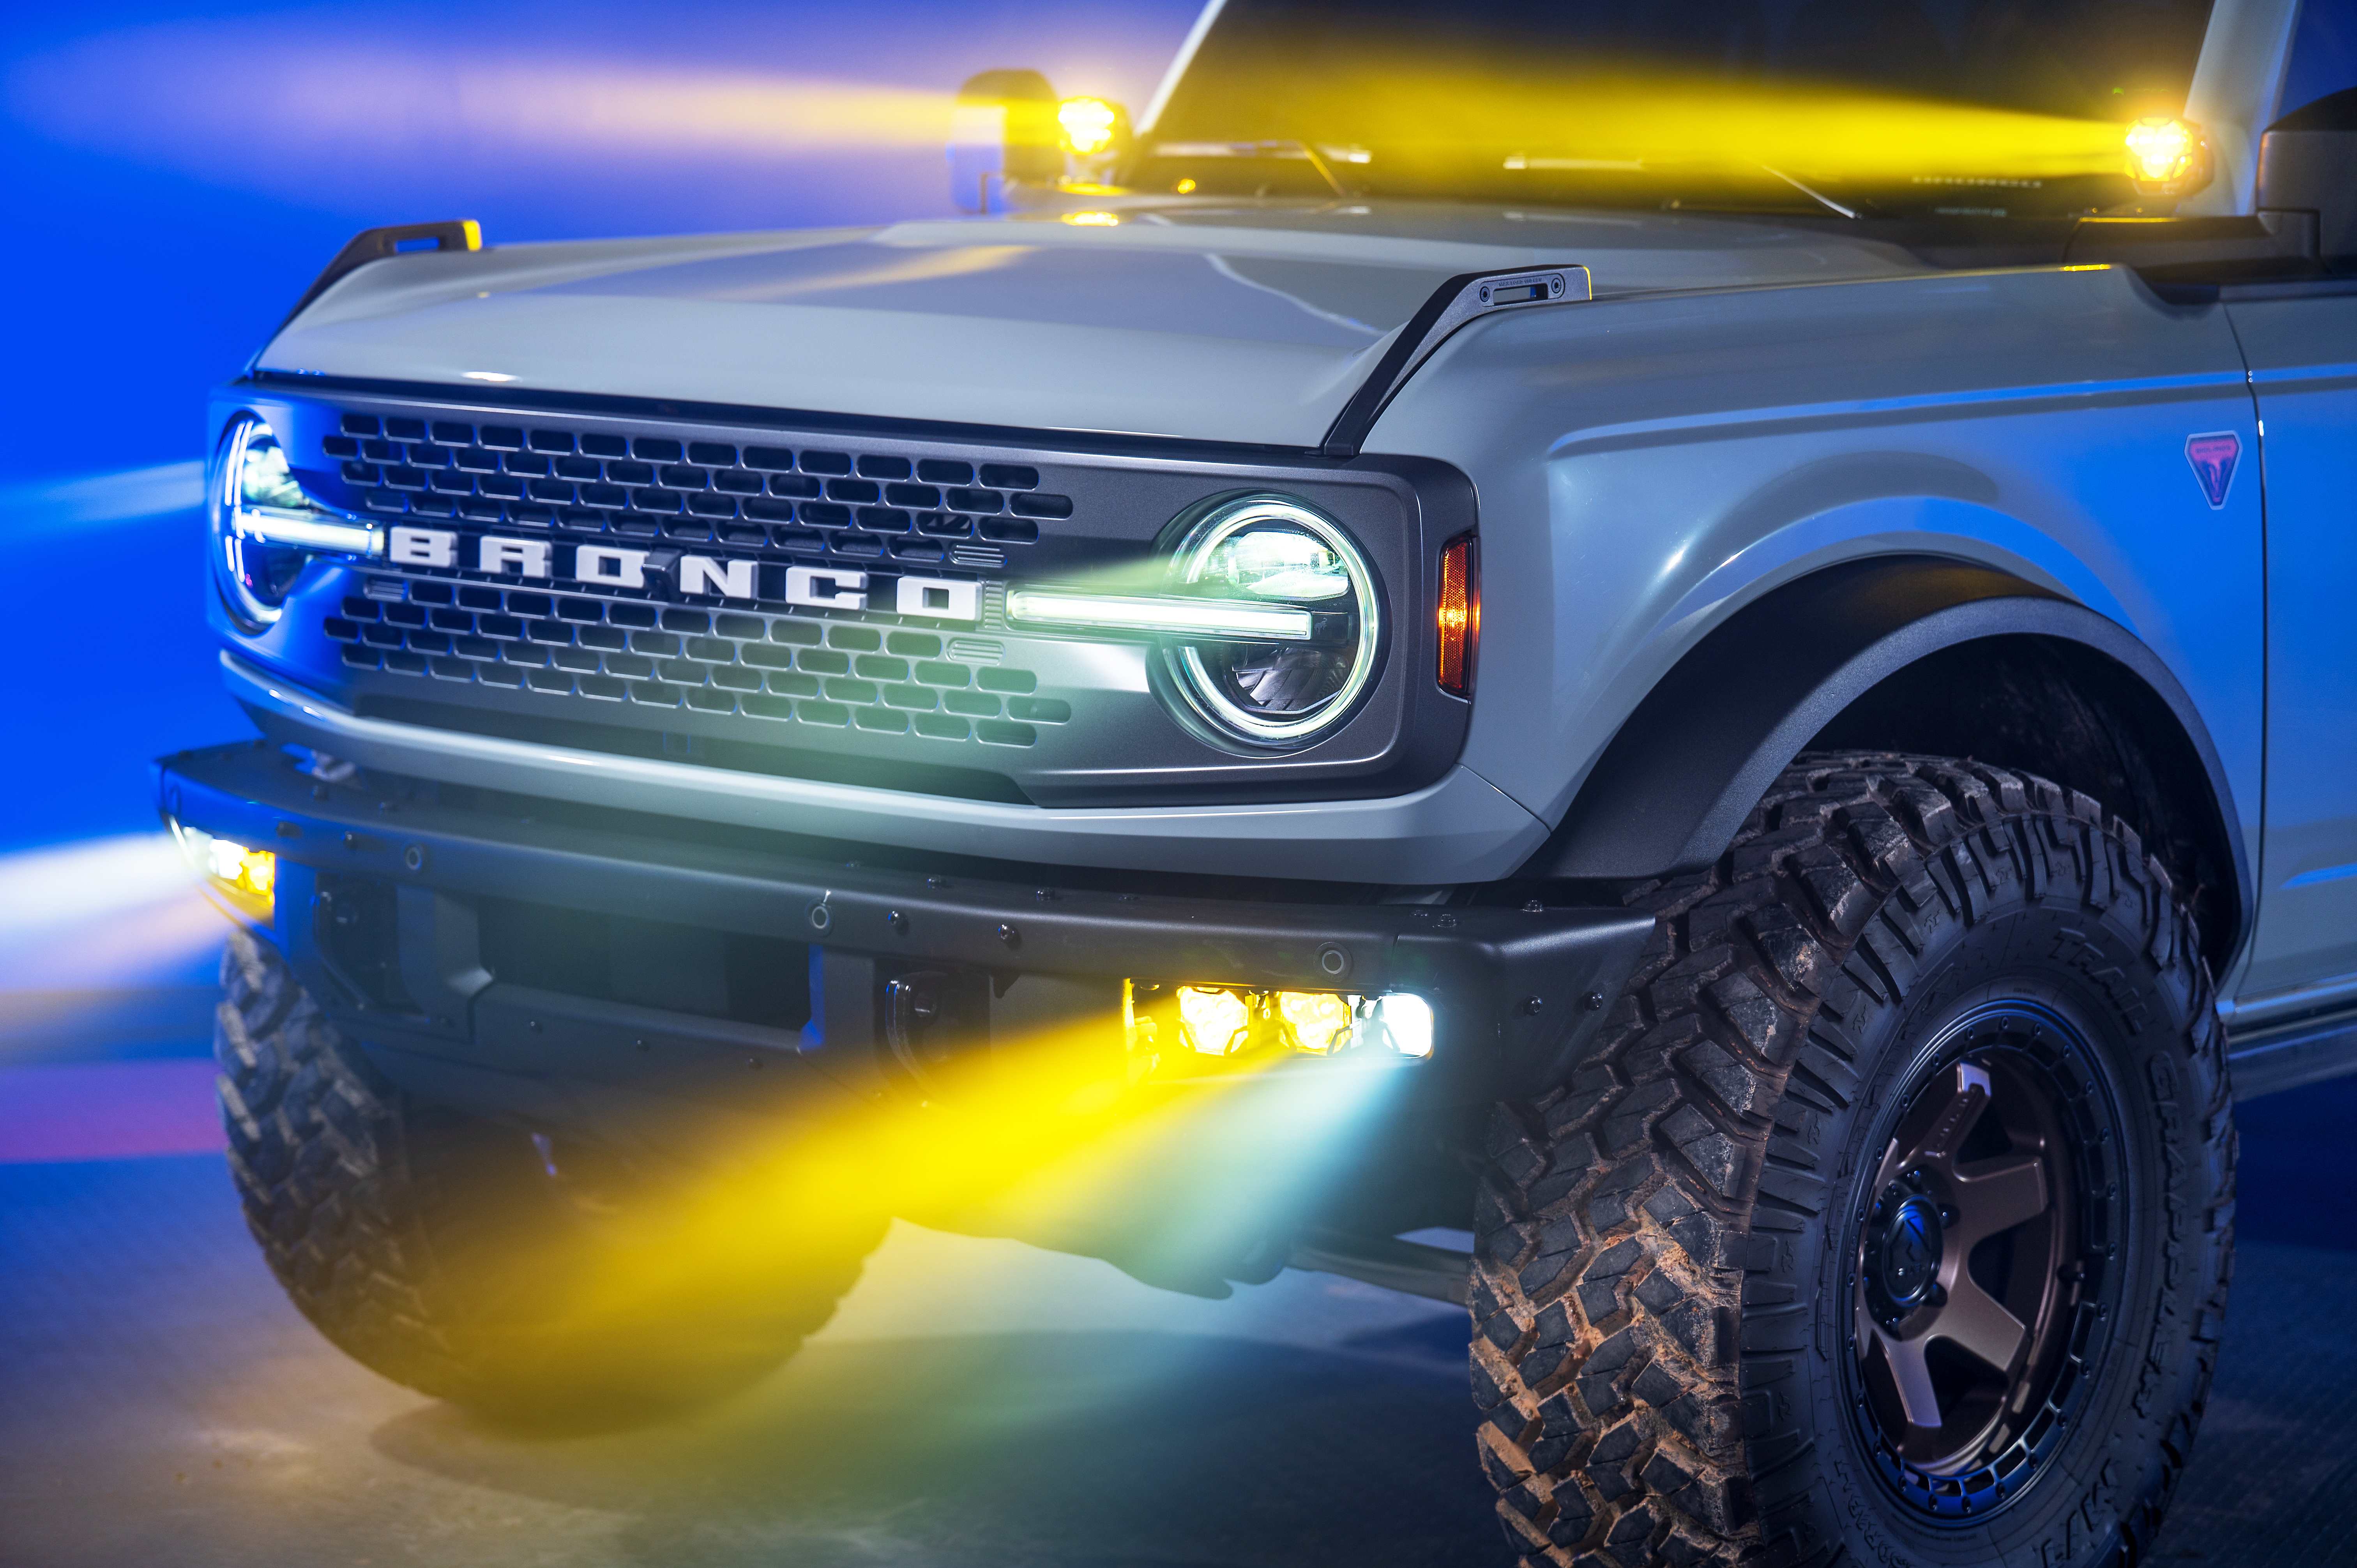
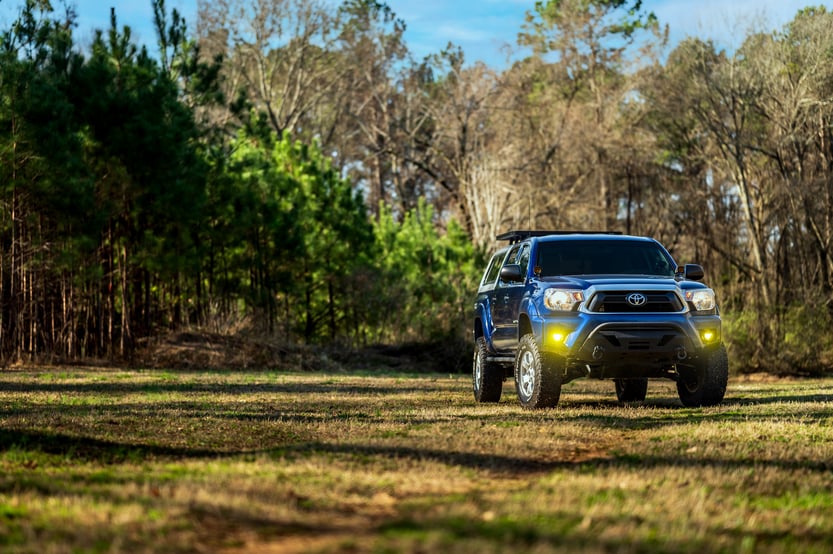
As we mentioned before, the fitment of these pod lights are insane. There are a number of vehicle-specific mounts so that your 4Bangers do not look like they have just been tacked on your truck. Modifications on your truck need to look natural, and these mounts do just that.
Beam Patterns
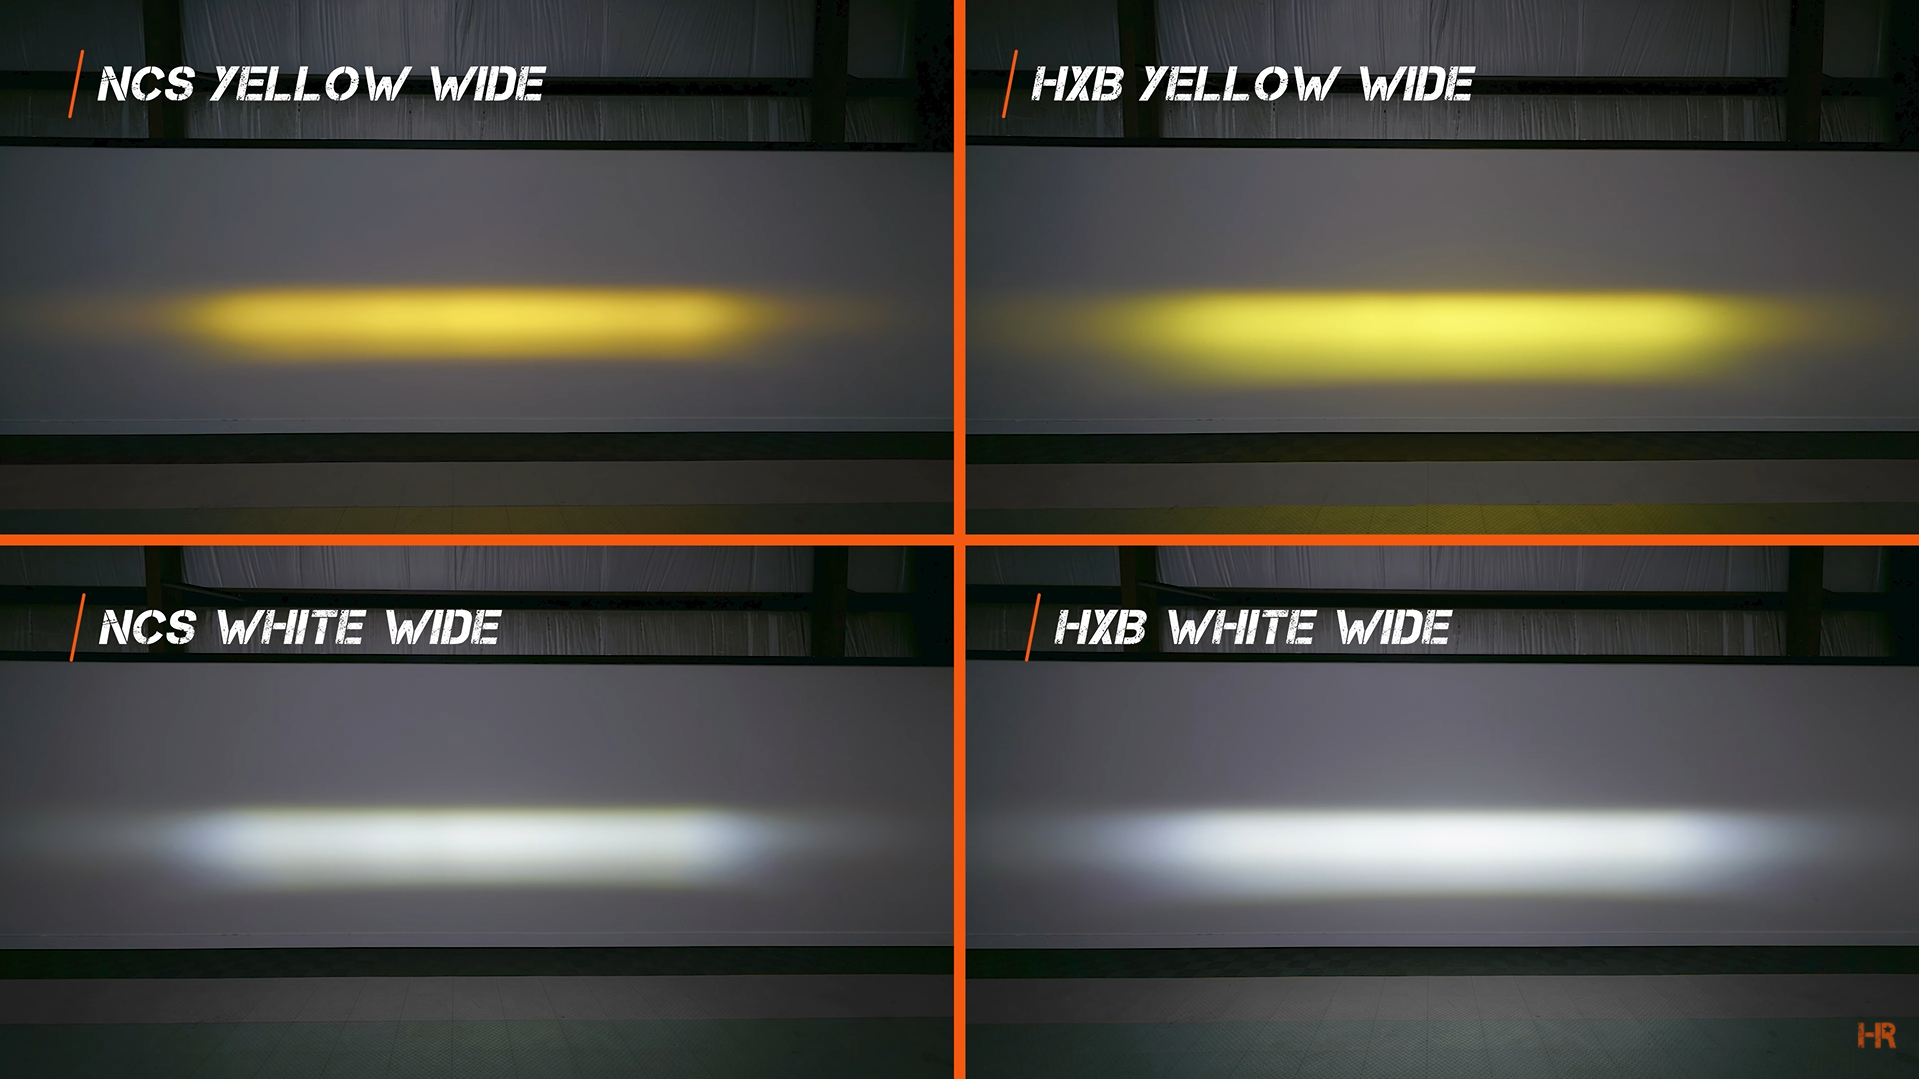
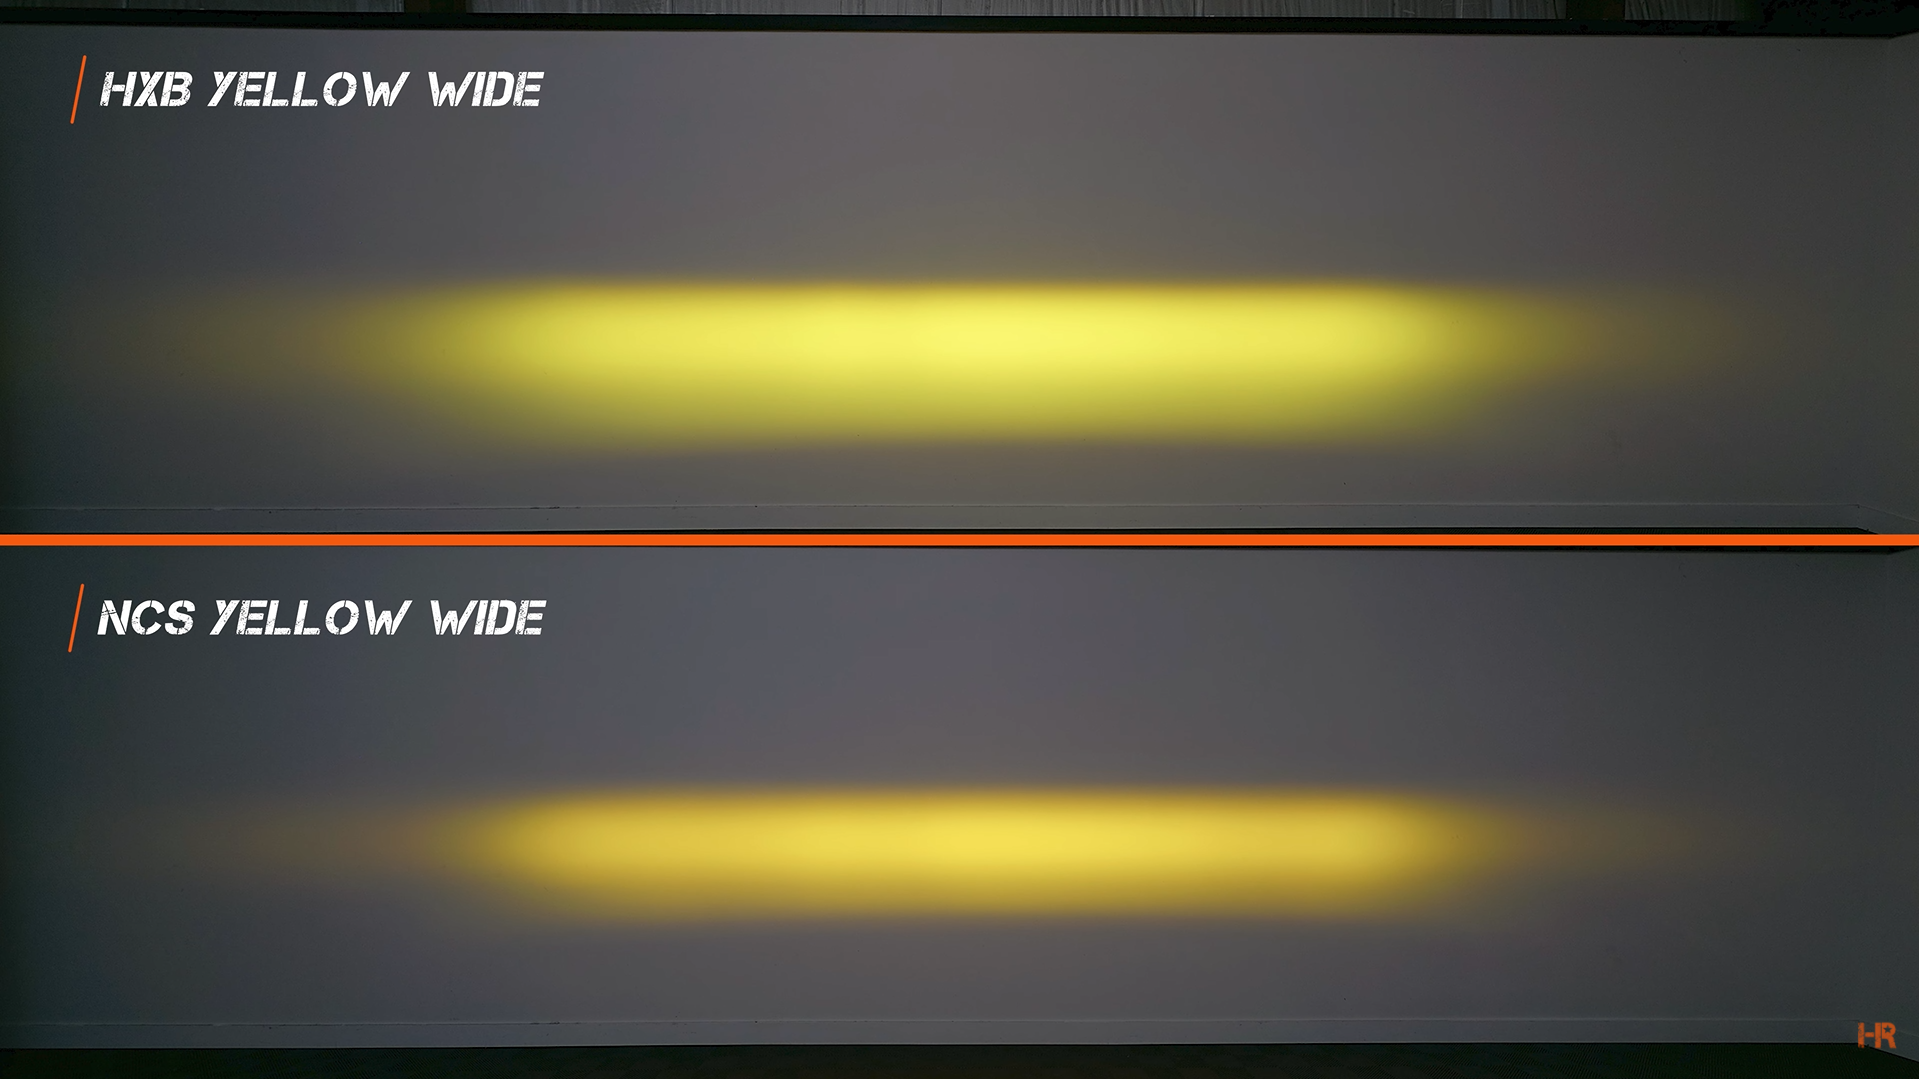
The NCS and HXB models both come in three different beam patterns: combo (driving), wide, and spot. The most popular among the three will likely be the wide beam pattern. This can ideally be used in a fog light application and without worry, too. Both the NCS and HXB wide beam pattern pod lights are legal for road use when aimed at -3°.
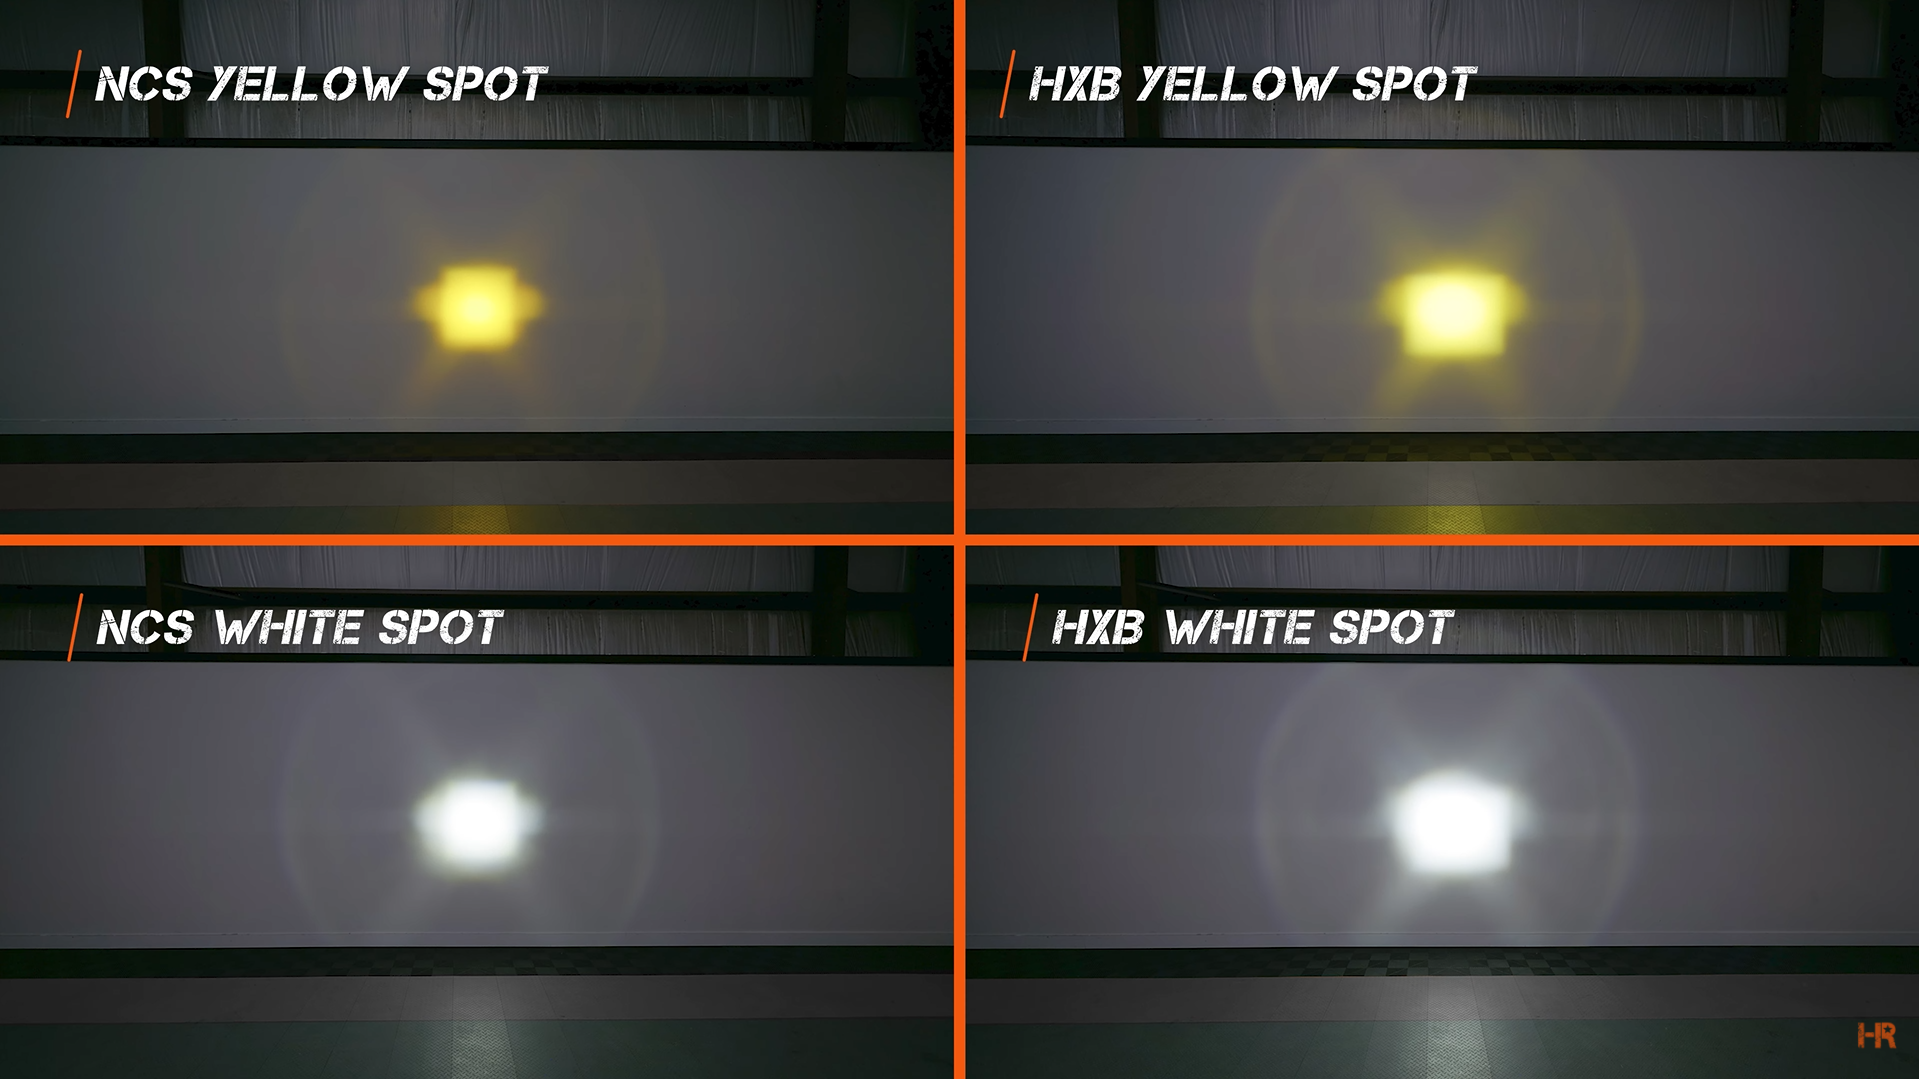
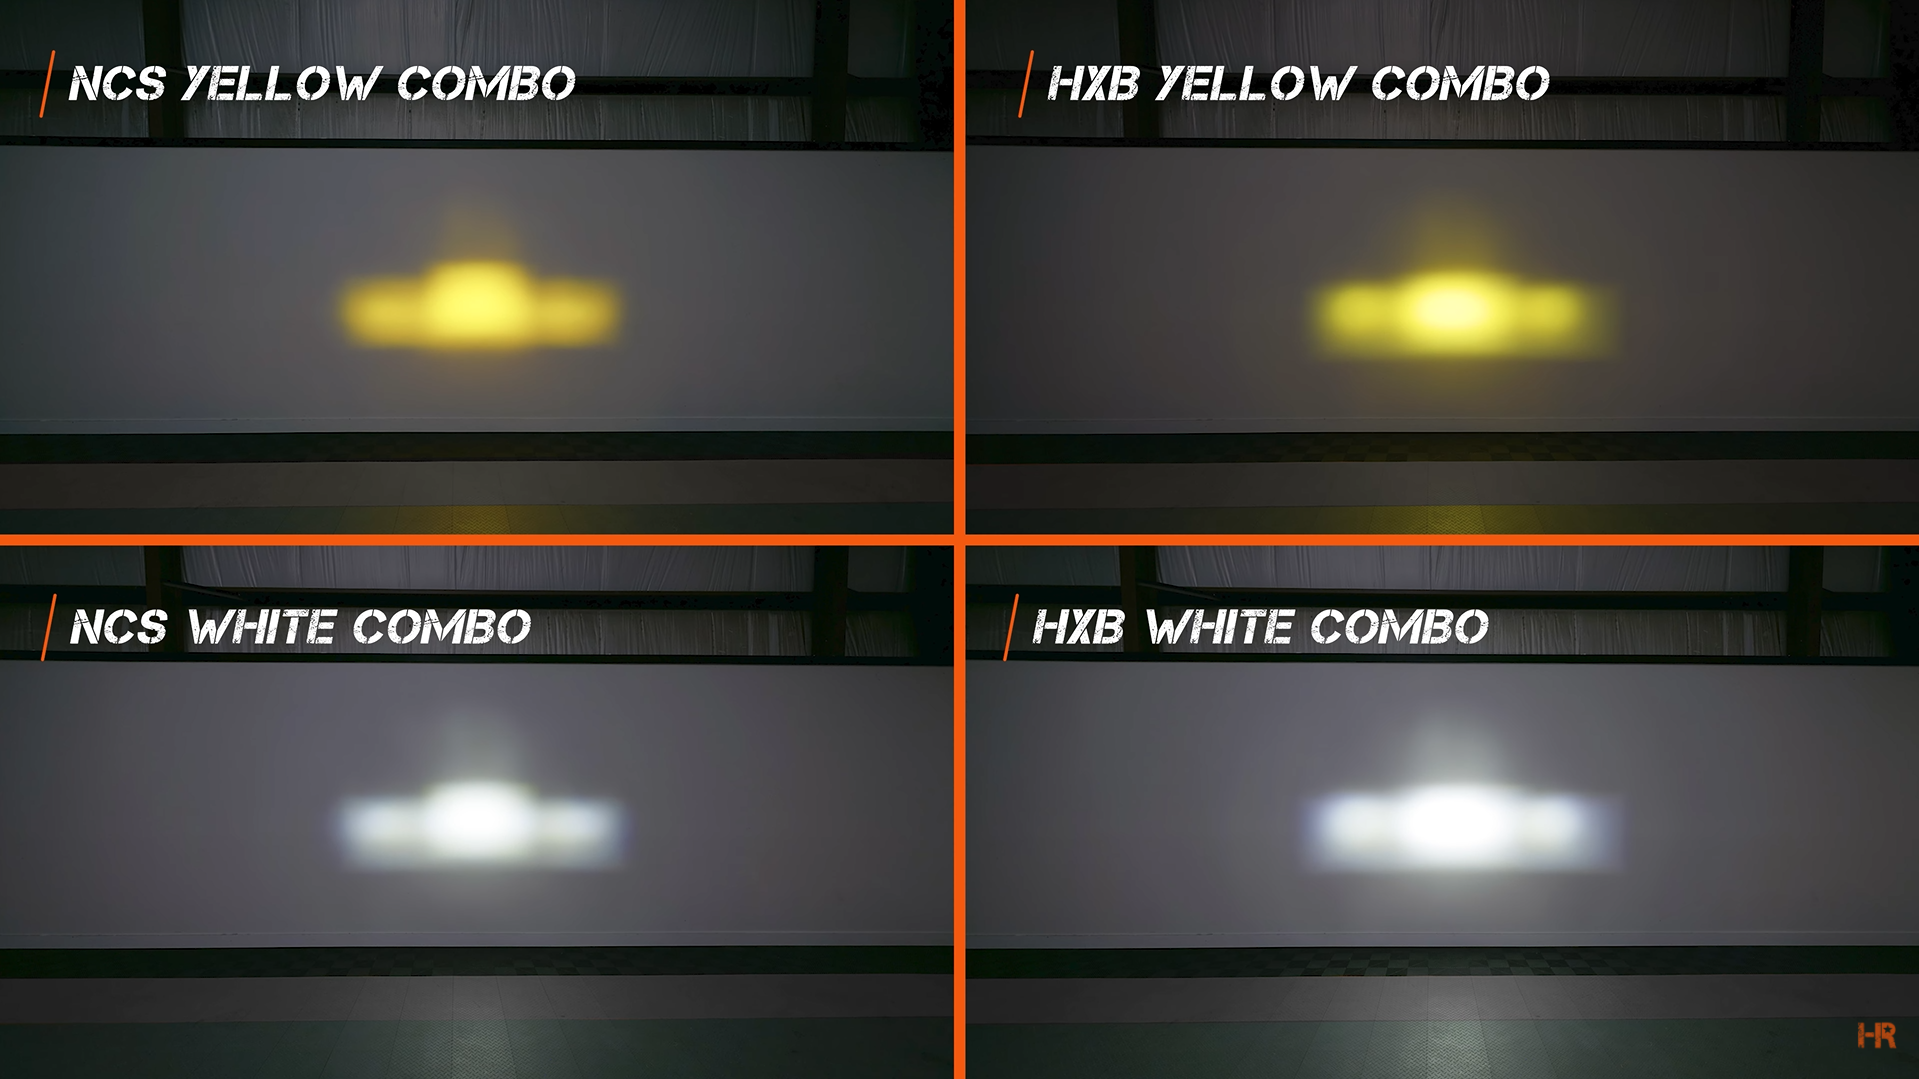
The combo or driving pattern is useful when it comes to off-roading and will likely be a favorite of that crowd. The same can be said about the spotlight beam pattern which is almost exclusively meant for an off-road application.
Color Options and Optics
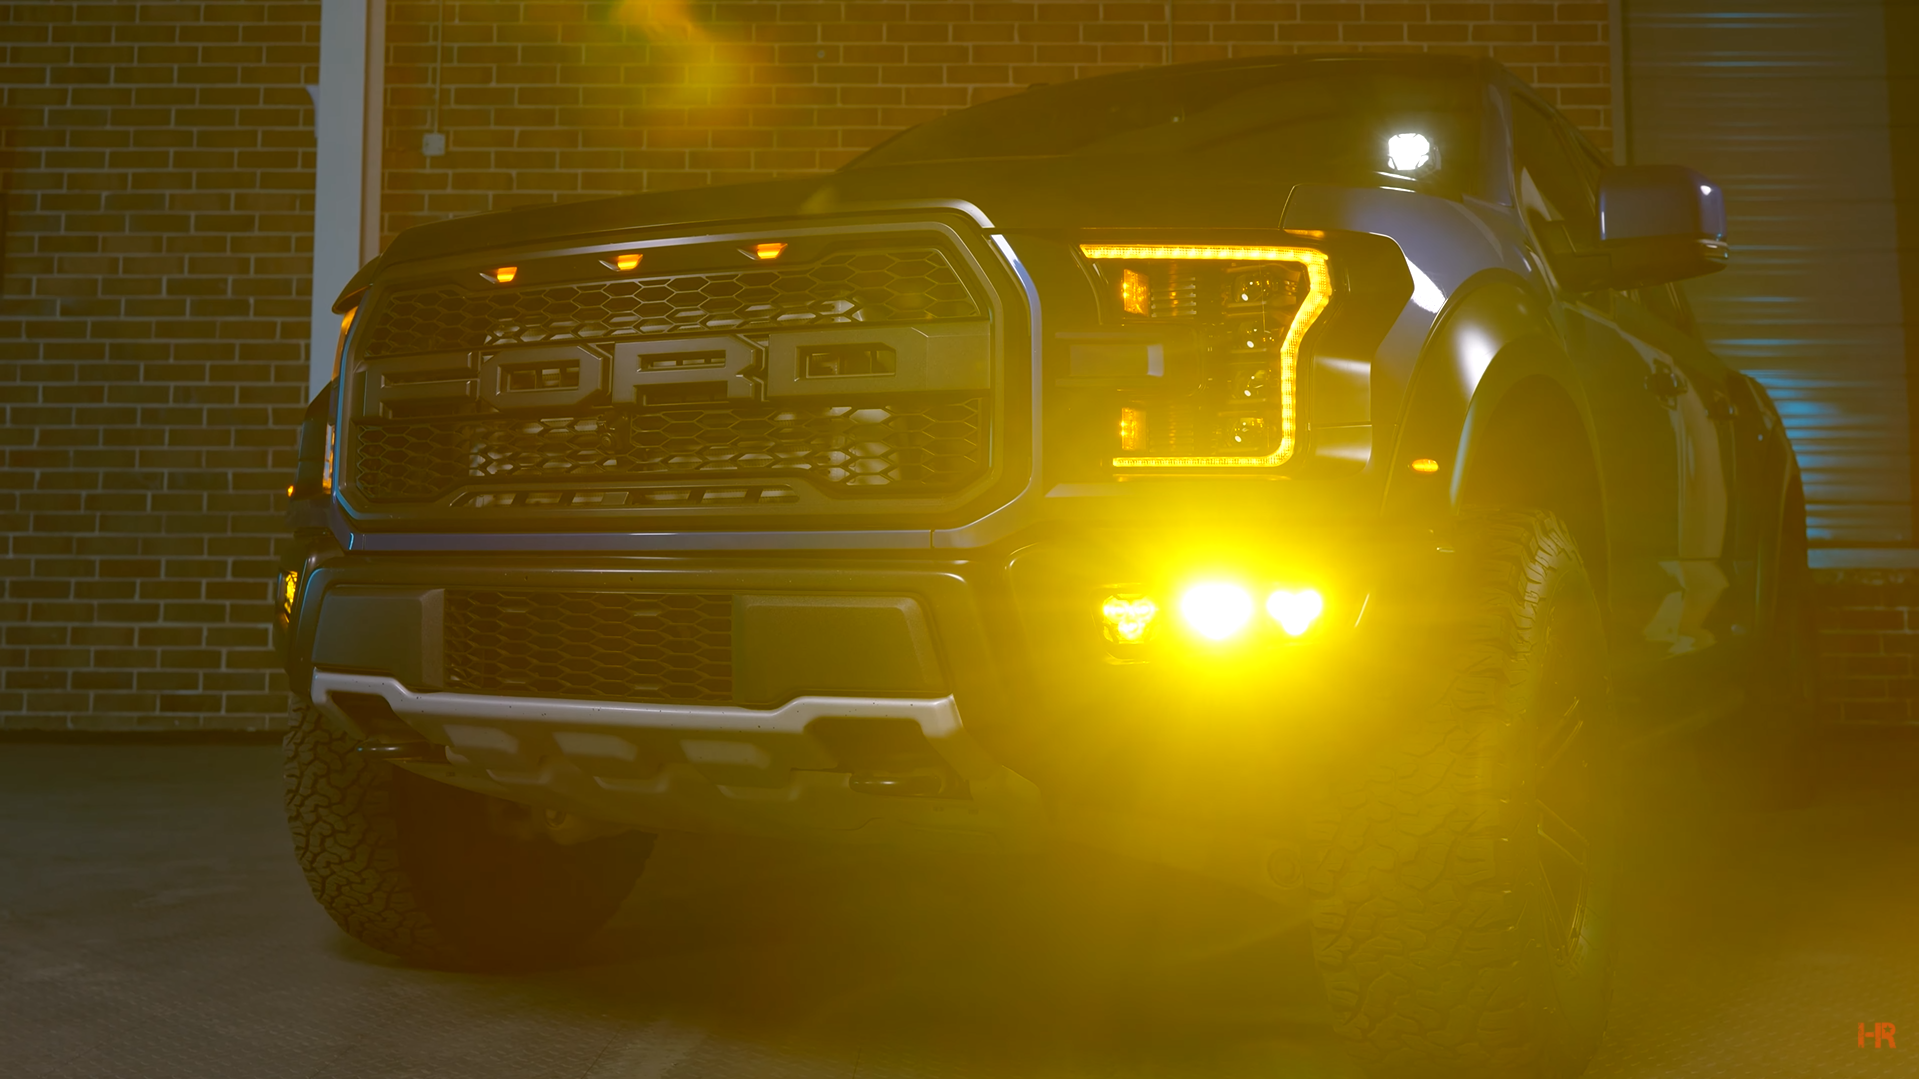
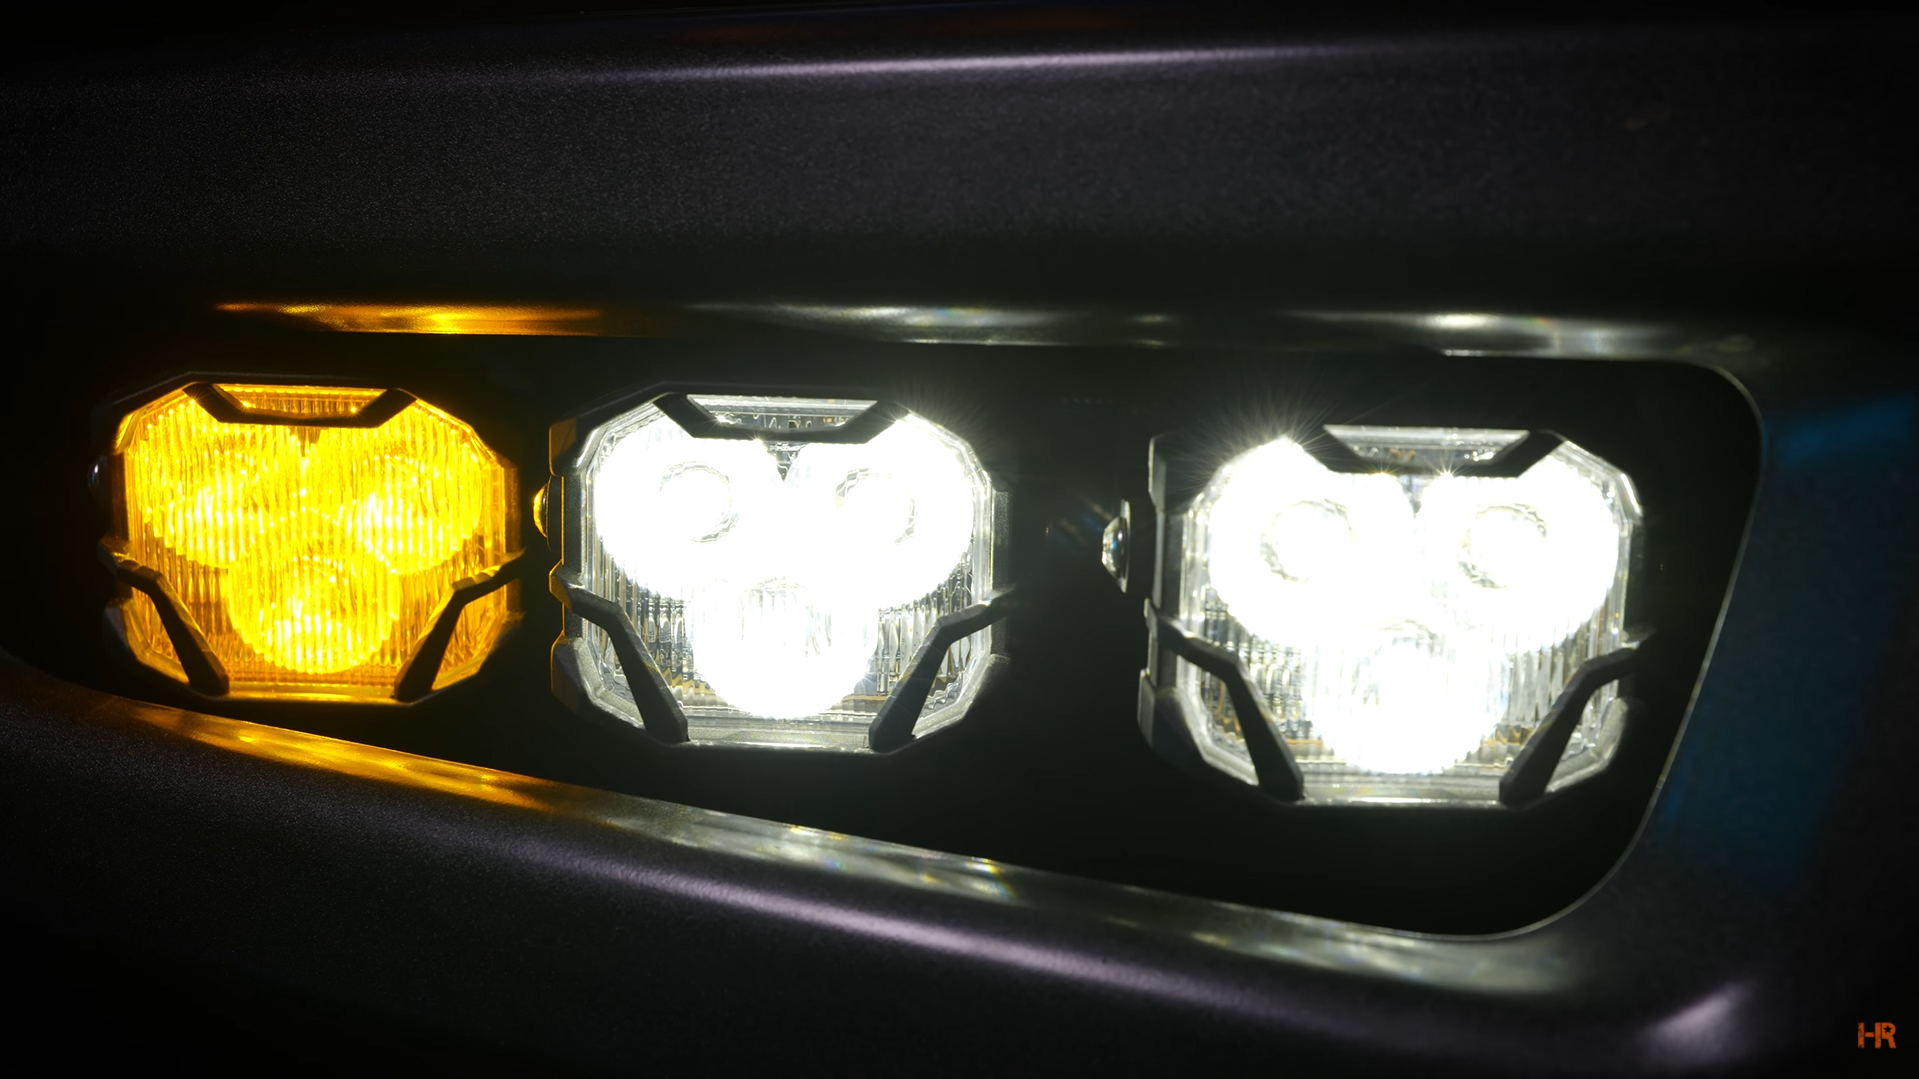
Additionally, each of those beam patterns for both the NCS and HXB models can be purchased with a white or yellow beam pattern.
If you choose to go with the yellow NCS model, you will be using a Nichia true-yellow LED chip with a yellow-filtered lens. This is in contrast to the HXB model that uses a white Osram chip with a yellow-filtered lens. To compare the output between the HXB white and yellow options, you will lose roughly 30% of your brightness when you switch from the premium white HXB 4Banger to the premium yellow HXB.
This also produces a slightly different shade of yellow between the two lights that you can see below.
Speaking of the lenses, the TIR optics we mentioned before, stands for Total Internal Reflector. Essentially, rather than having the LED chip within the 4Banger Pod light, the lens optic creates the individual beam patterns.
TACOMA INSTALL
Tools Needed for the Job
Phillips Screwdriver
10mm Socket
Impact/Ratchet Wrench
Zip Ties
Fog Light Mount
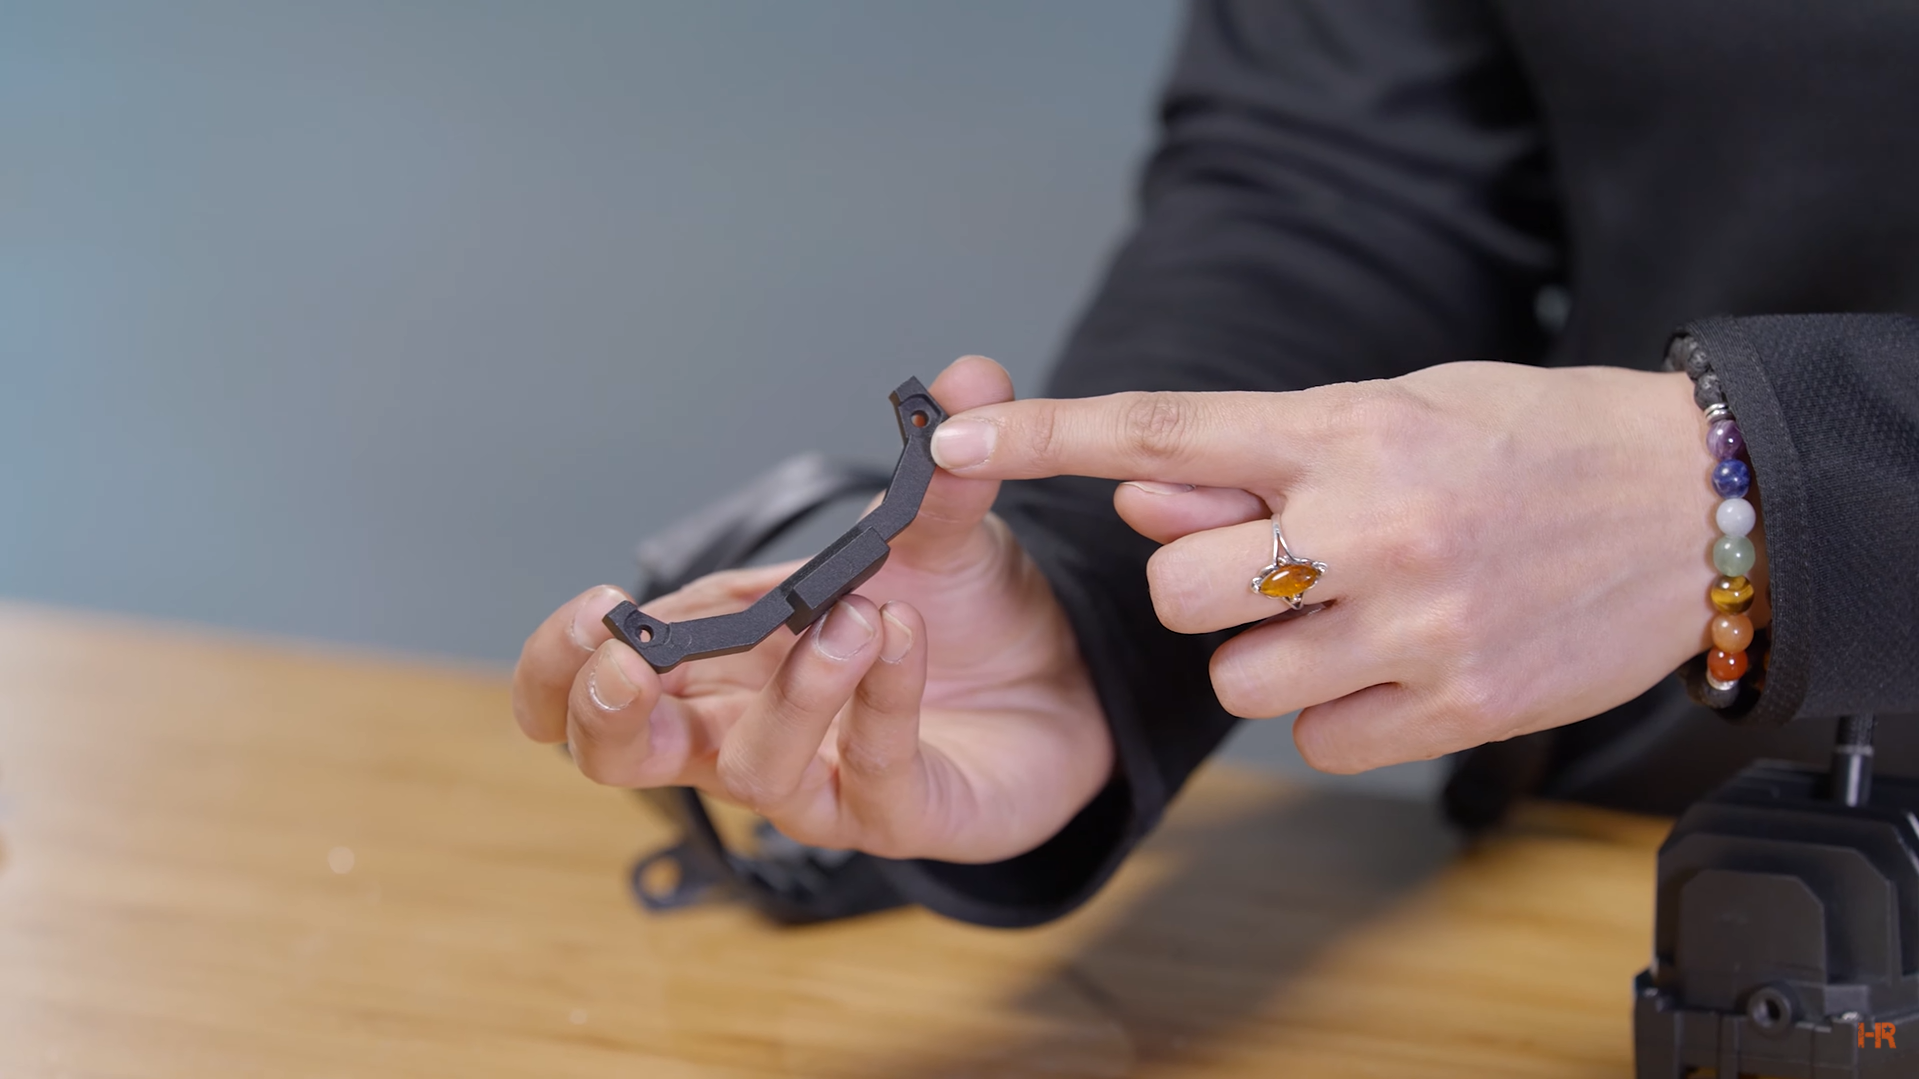
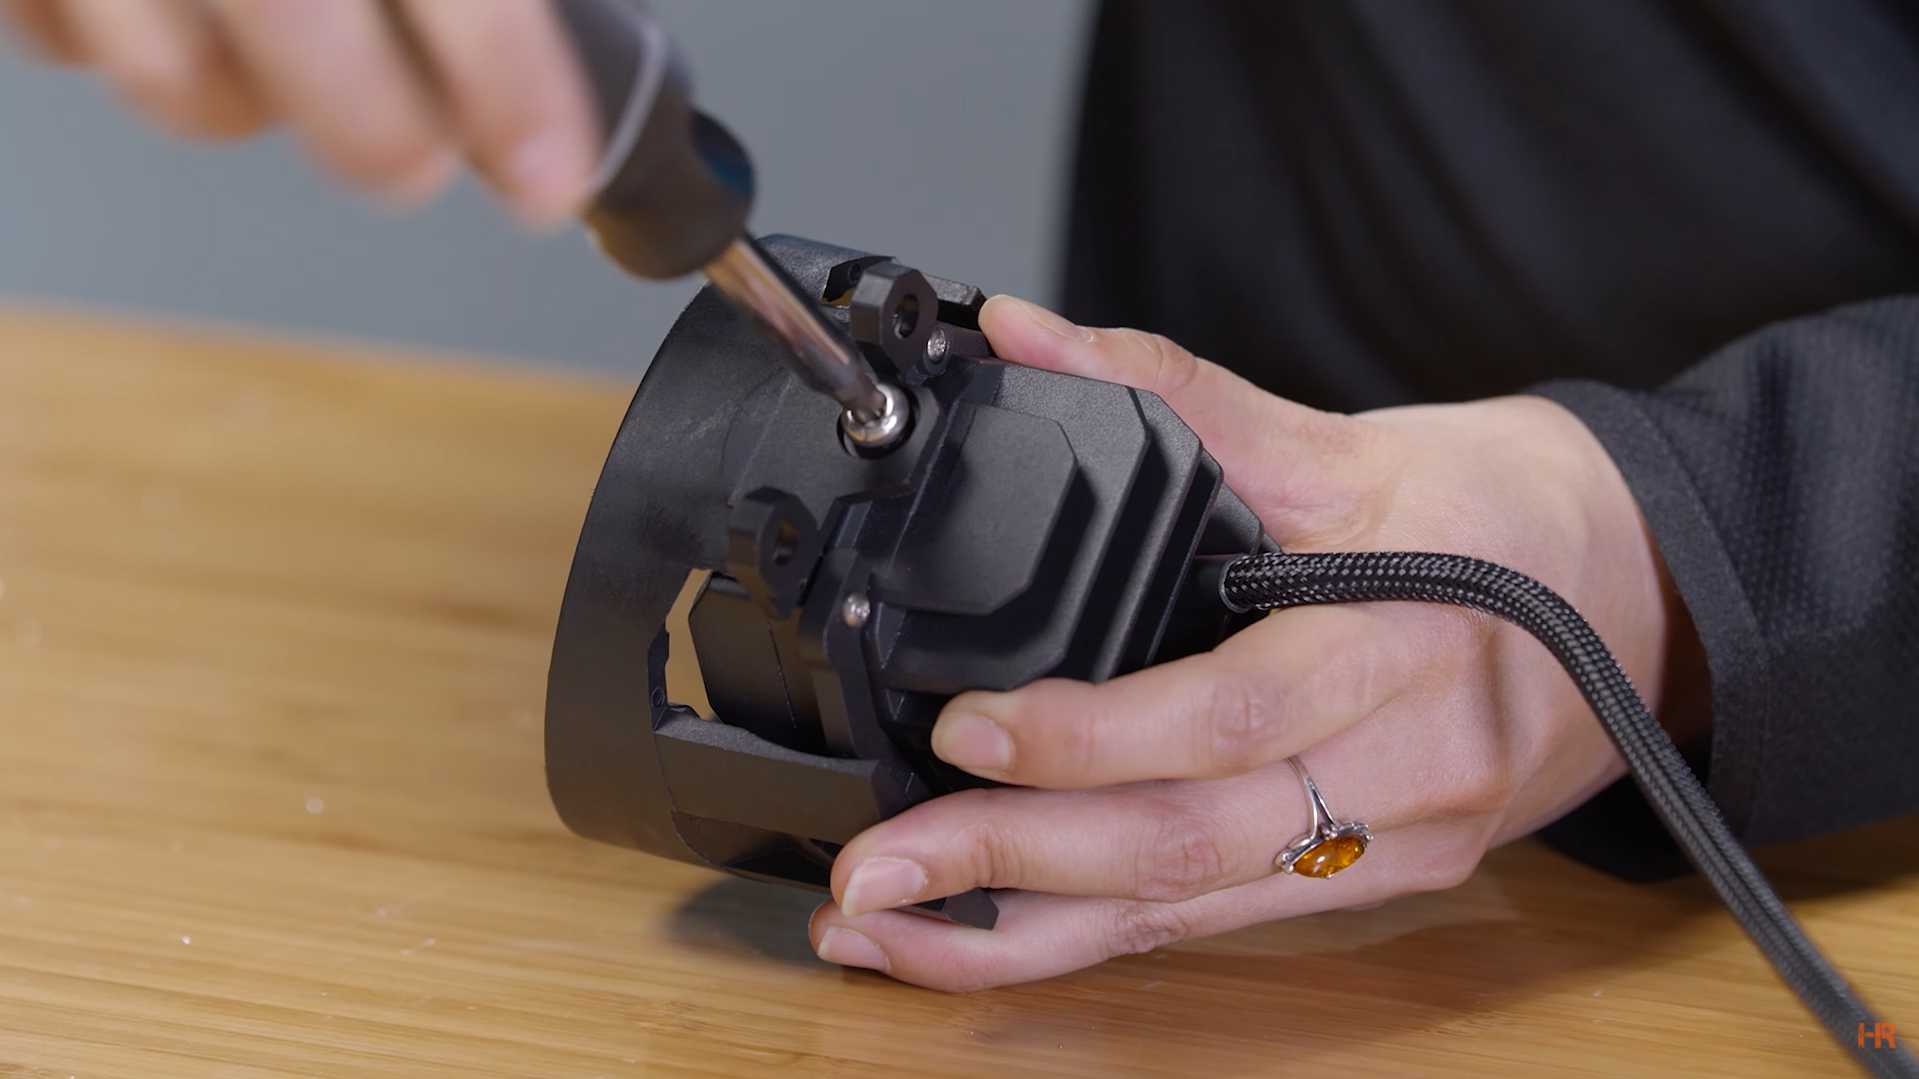
To begin, grab the adjustment bracket and remove the two bottom screws on the 4Banger. You will be placing the adjustment bracket over these screws and replacing the screws with the two longer ones that come with the kit.
There is only one way the 4Banger bracket can sit on the light.
 |
 |
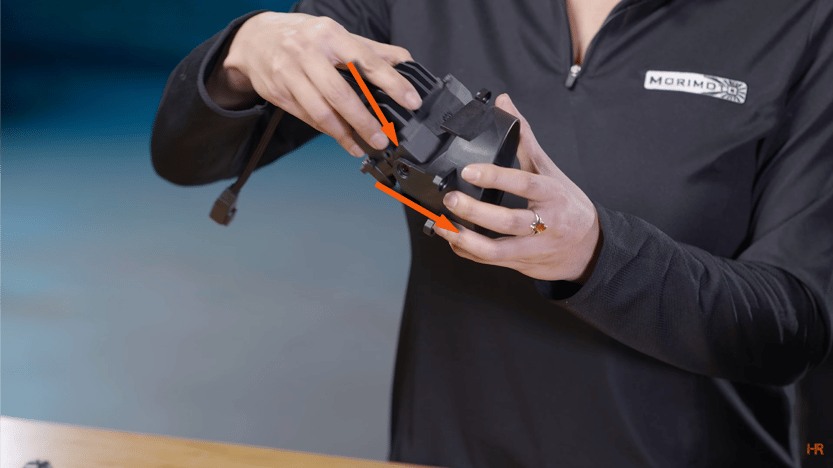
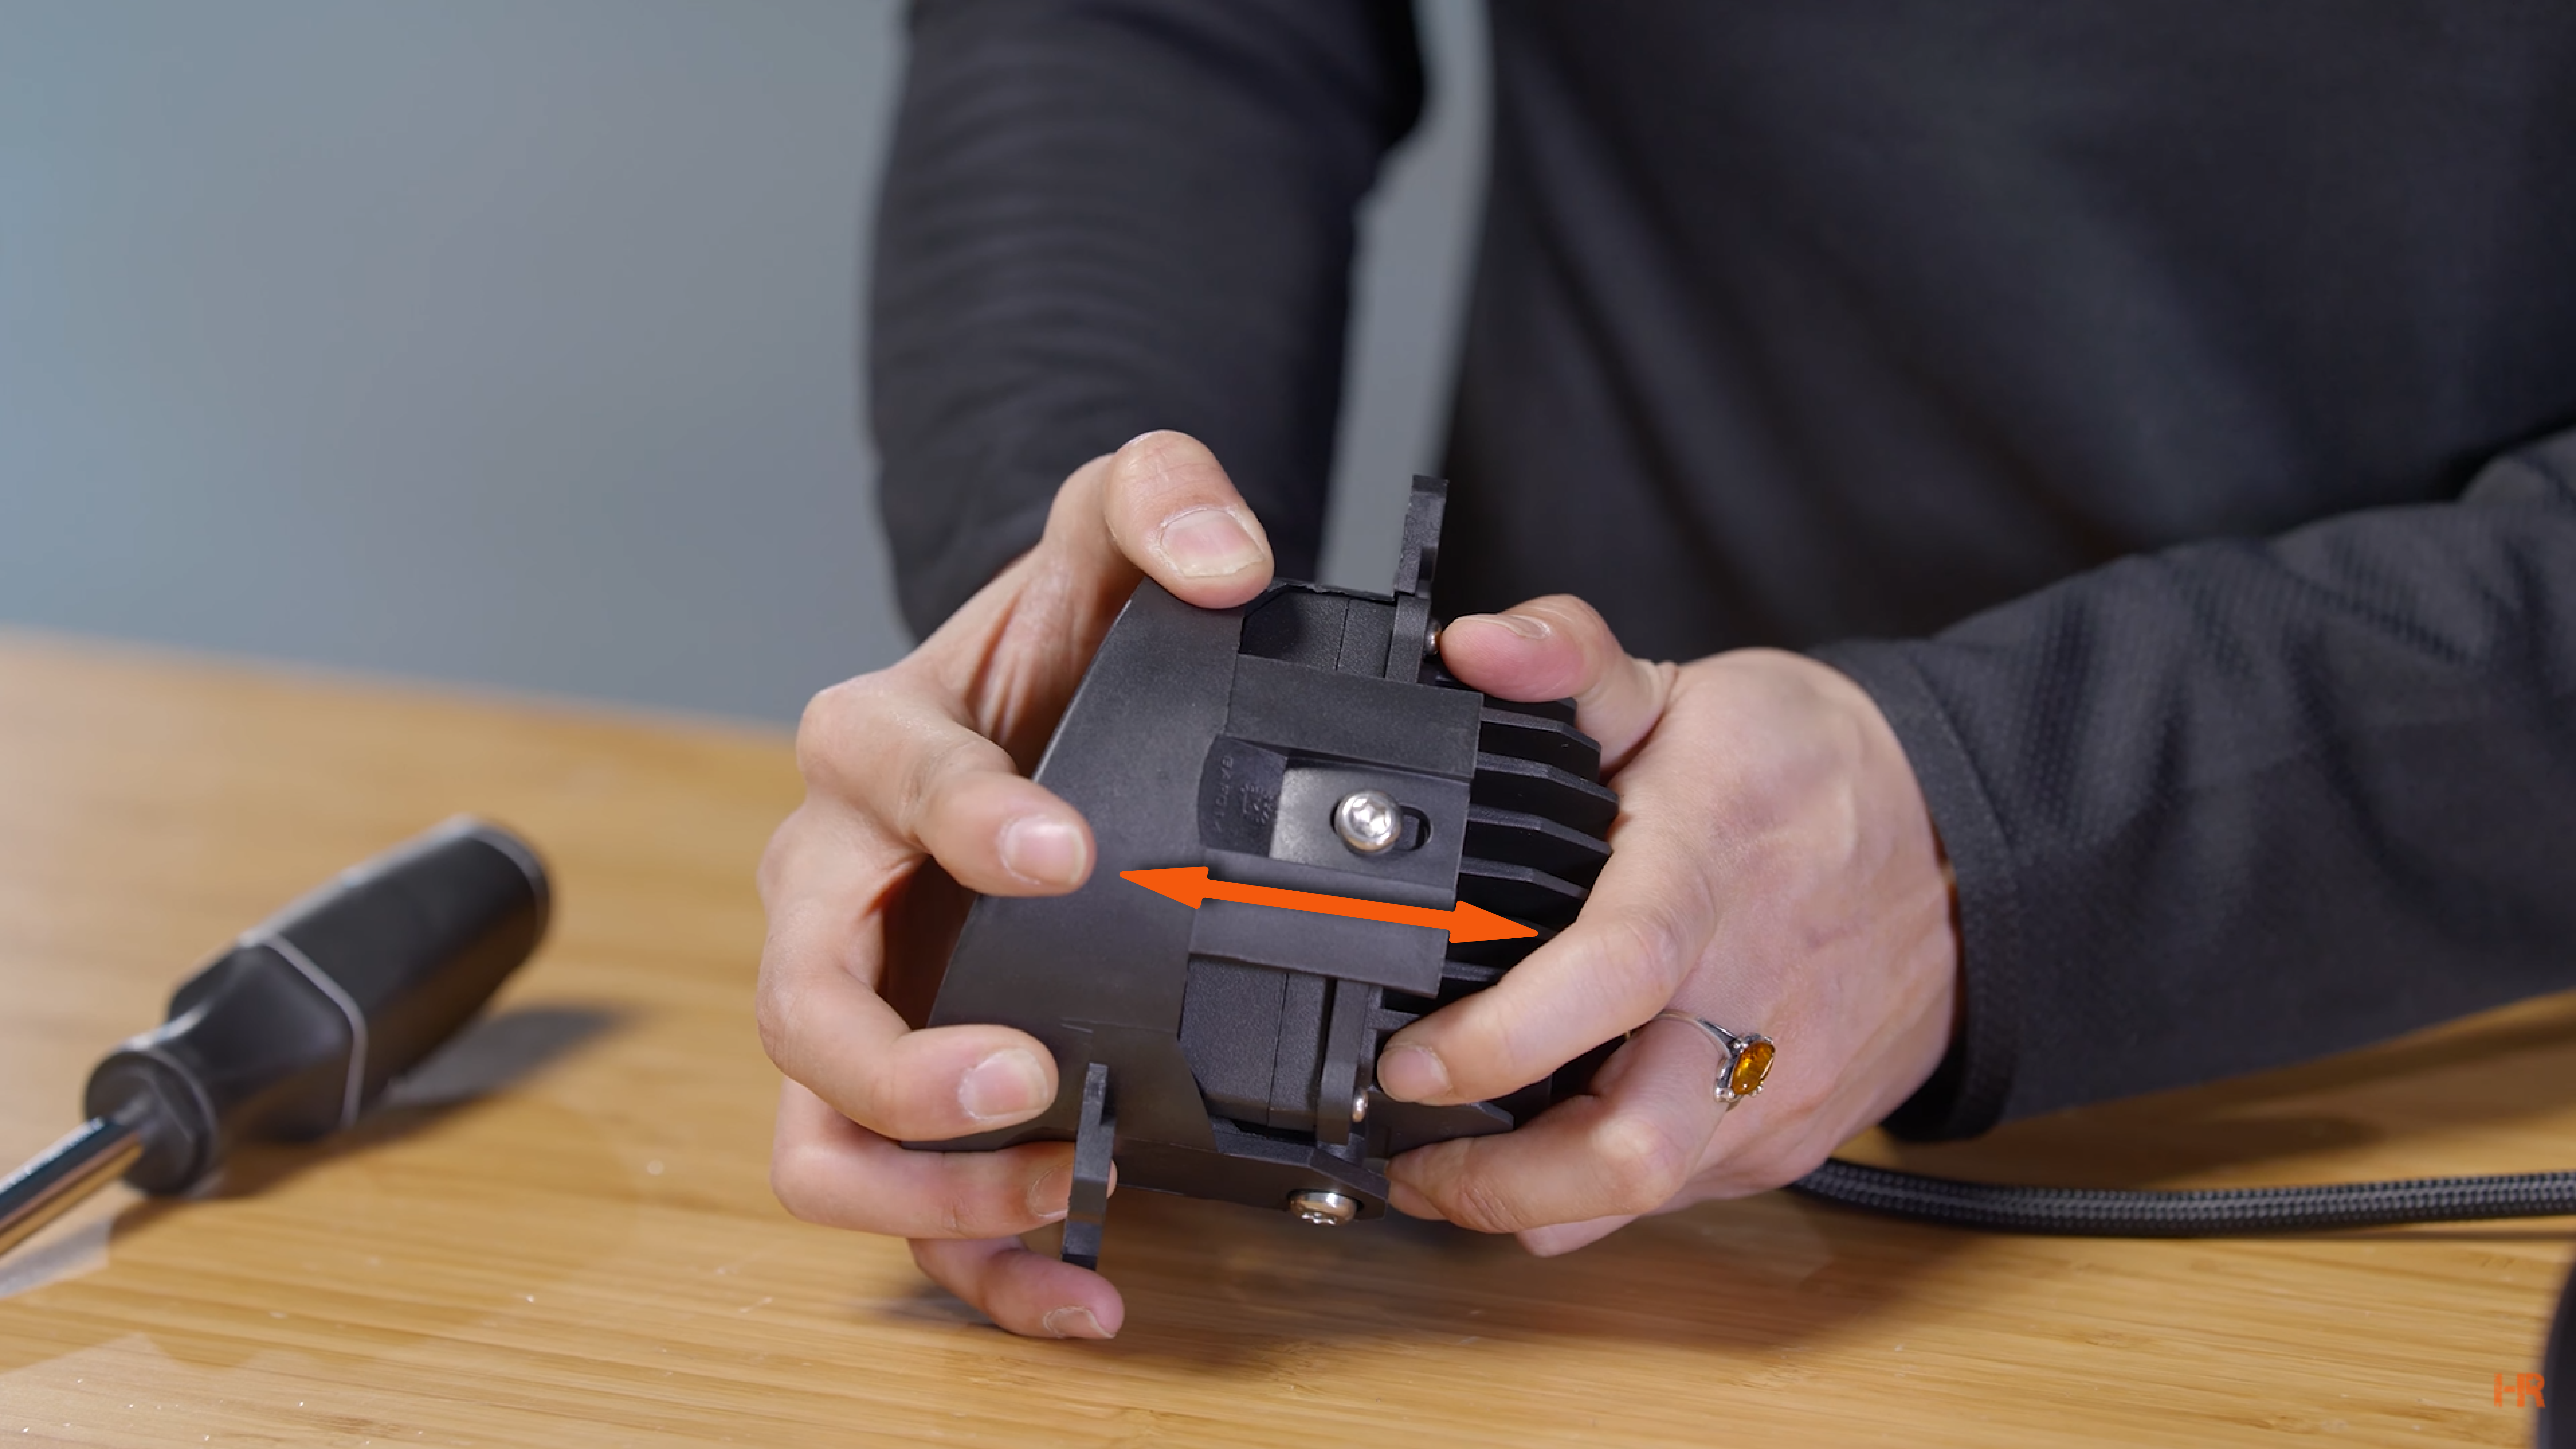
Take your 4Banger and slide it into the bracket at an angle like shown below. When it is in position, you will hear a small ‘click’ noise.
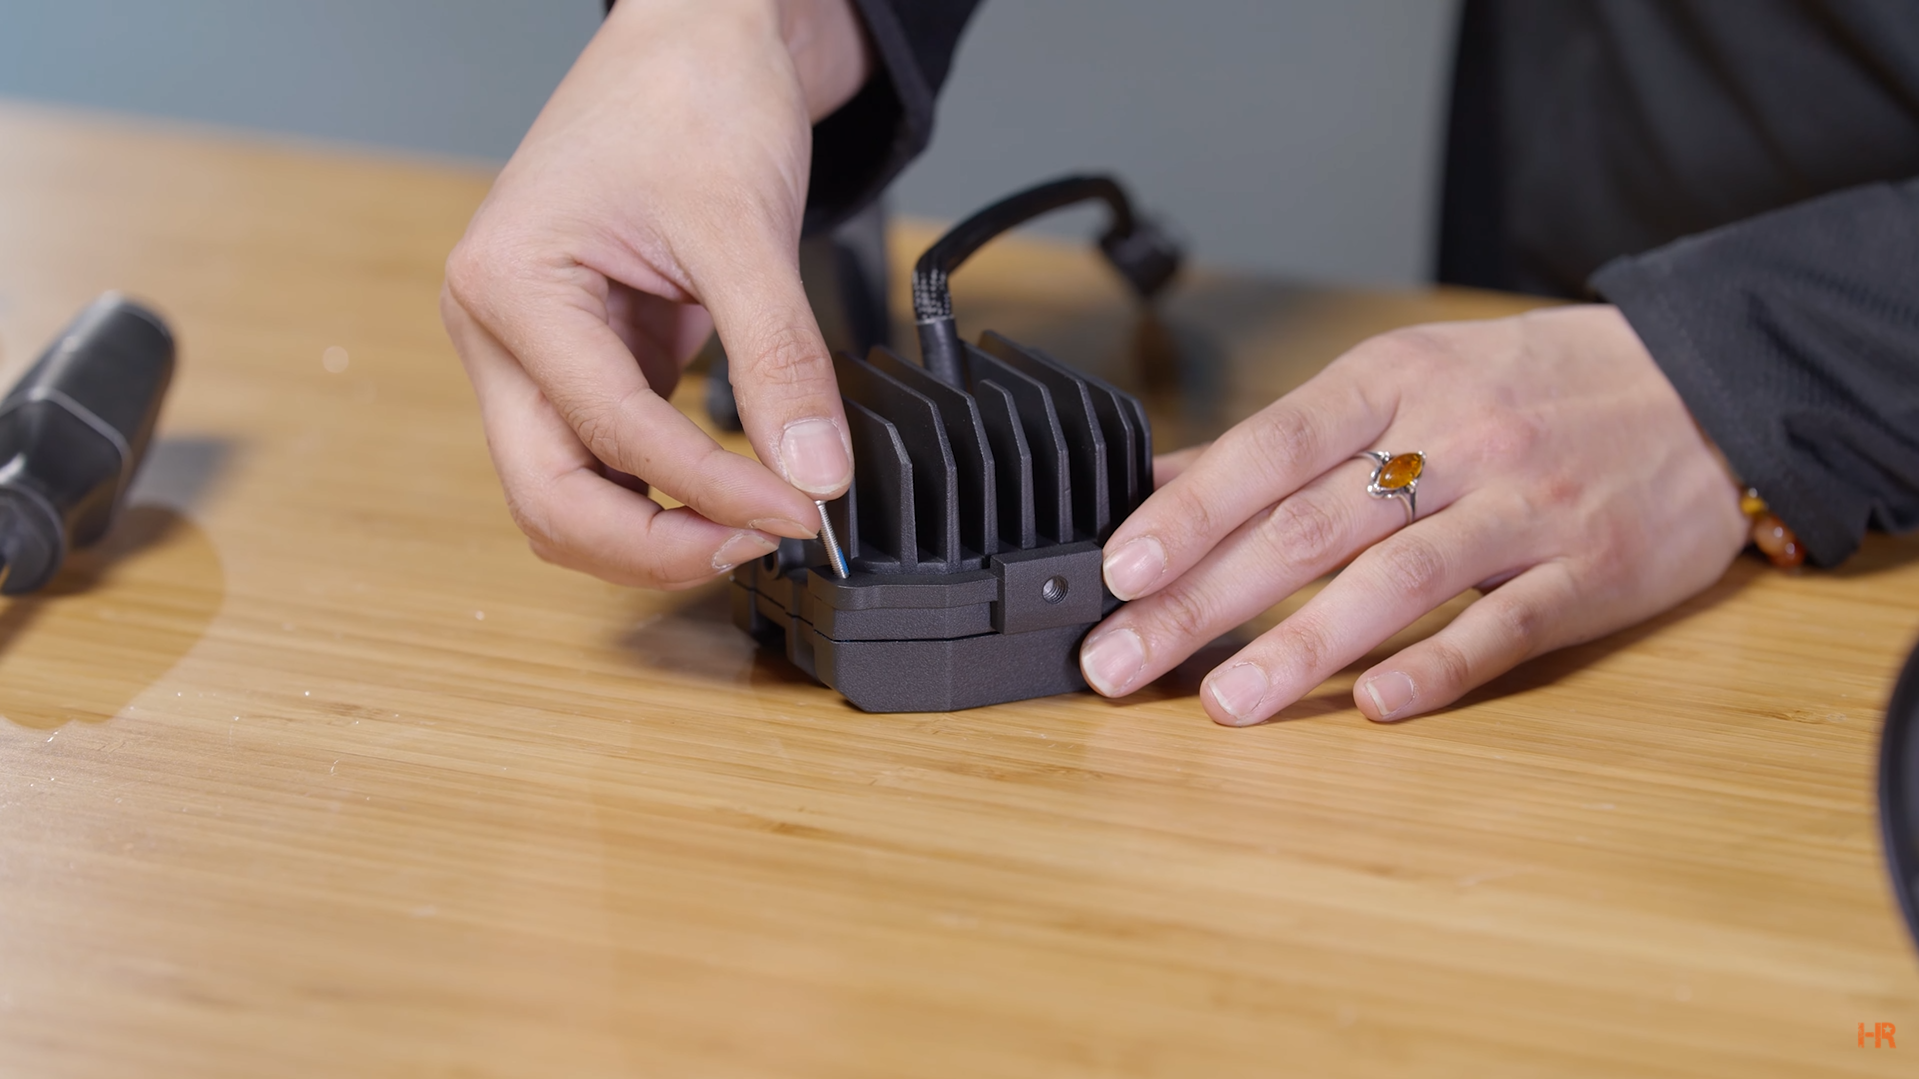
Next, take the two screws available in the kit and place them into the side holts.
Then, take the adjustment screw and on the side of the 4Banger. This will allow you to adjust the LED pod light after you have installed it.
Before moving to install the light on the Tacoma, connect the accessory harness to the 4Banger.
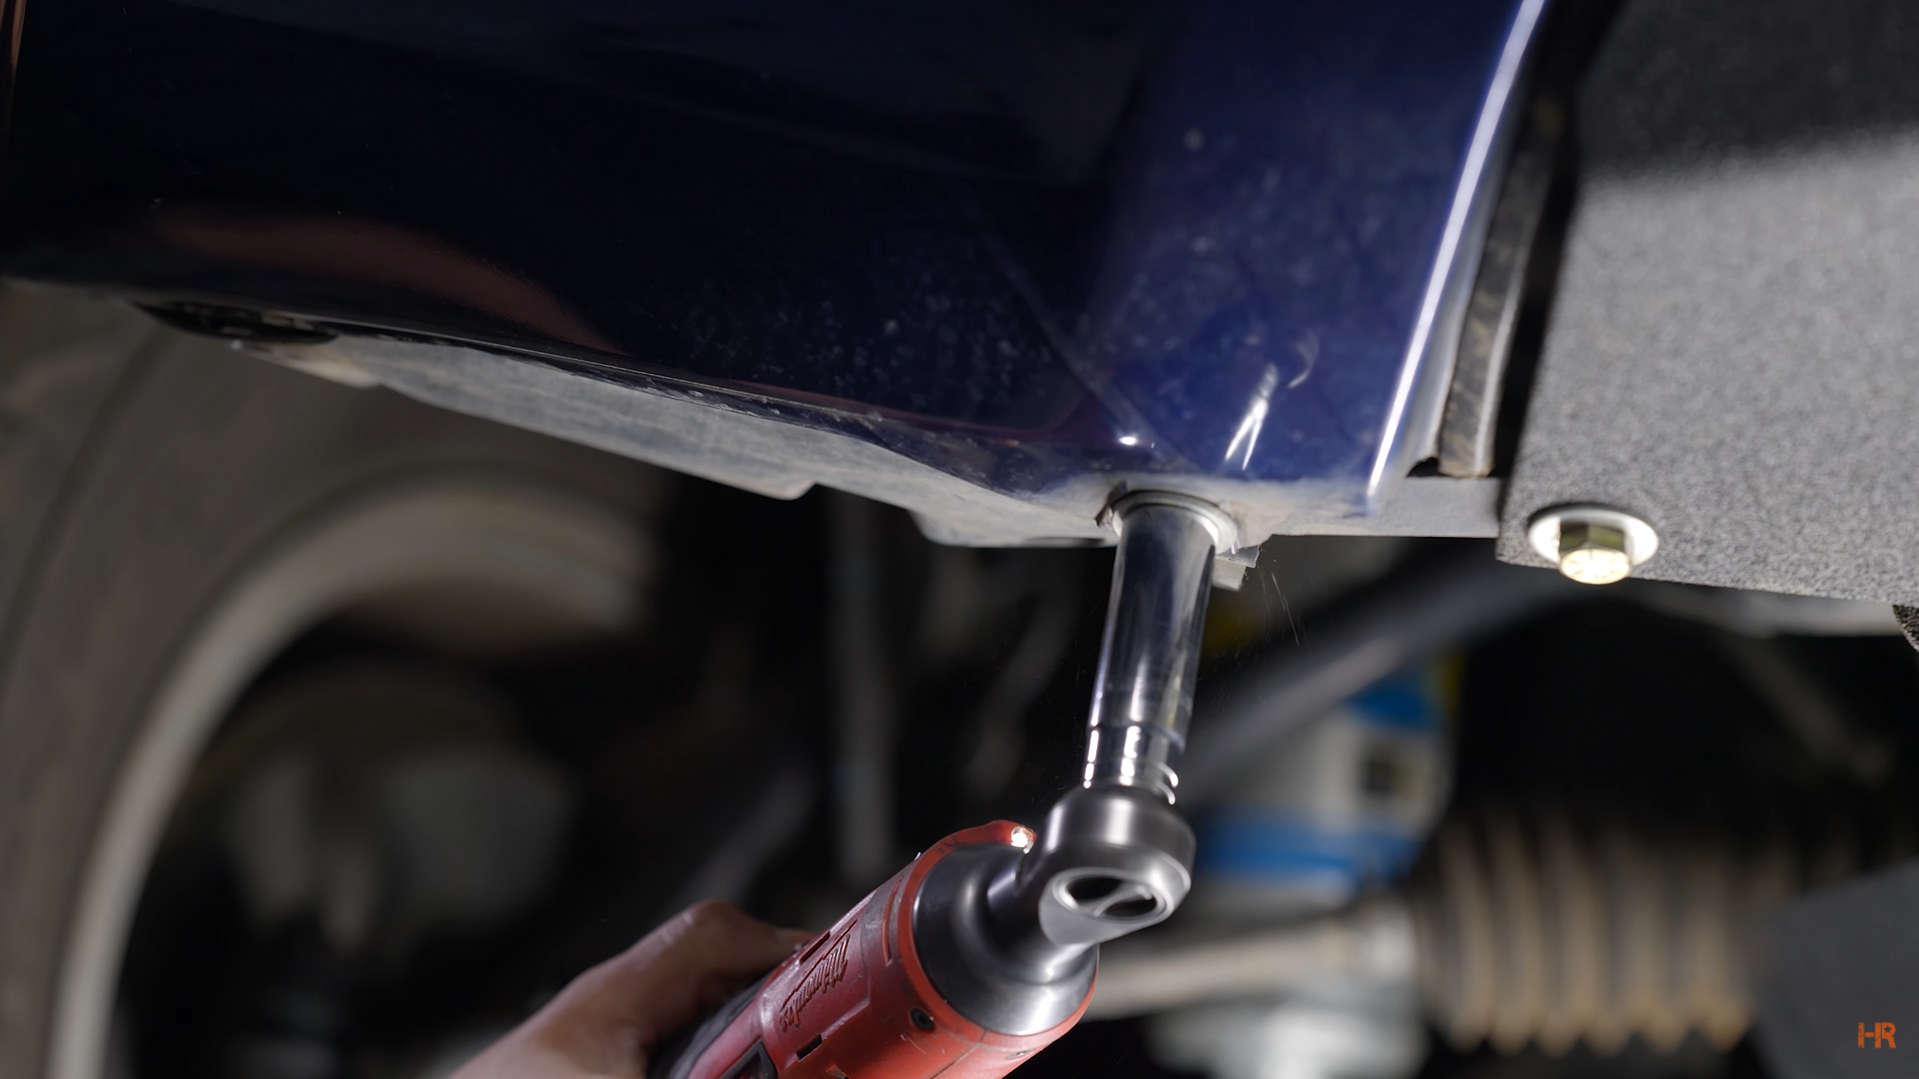
To install it on your truck, go beneath your fog lights and remove two 10mm bolts on the underside of the bumper.
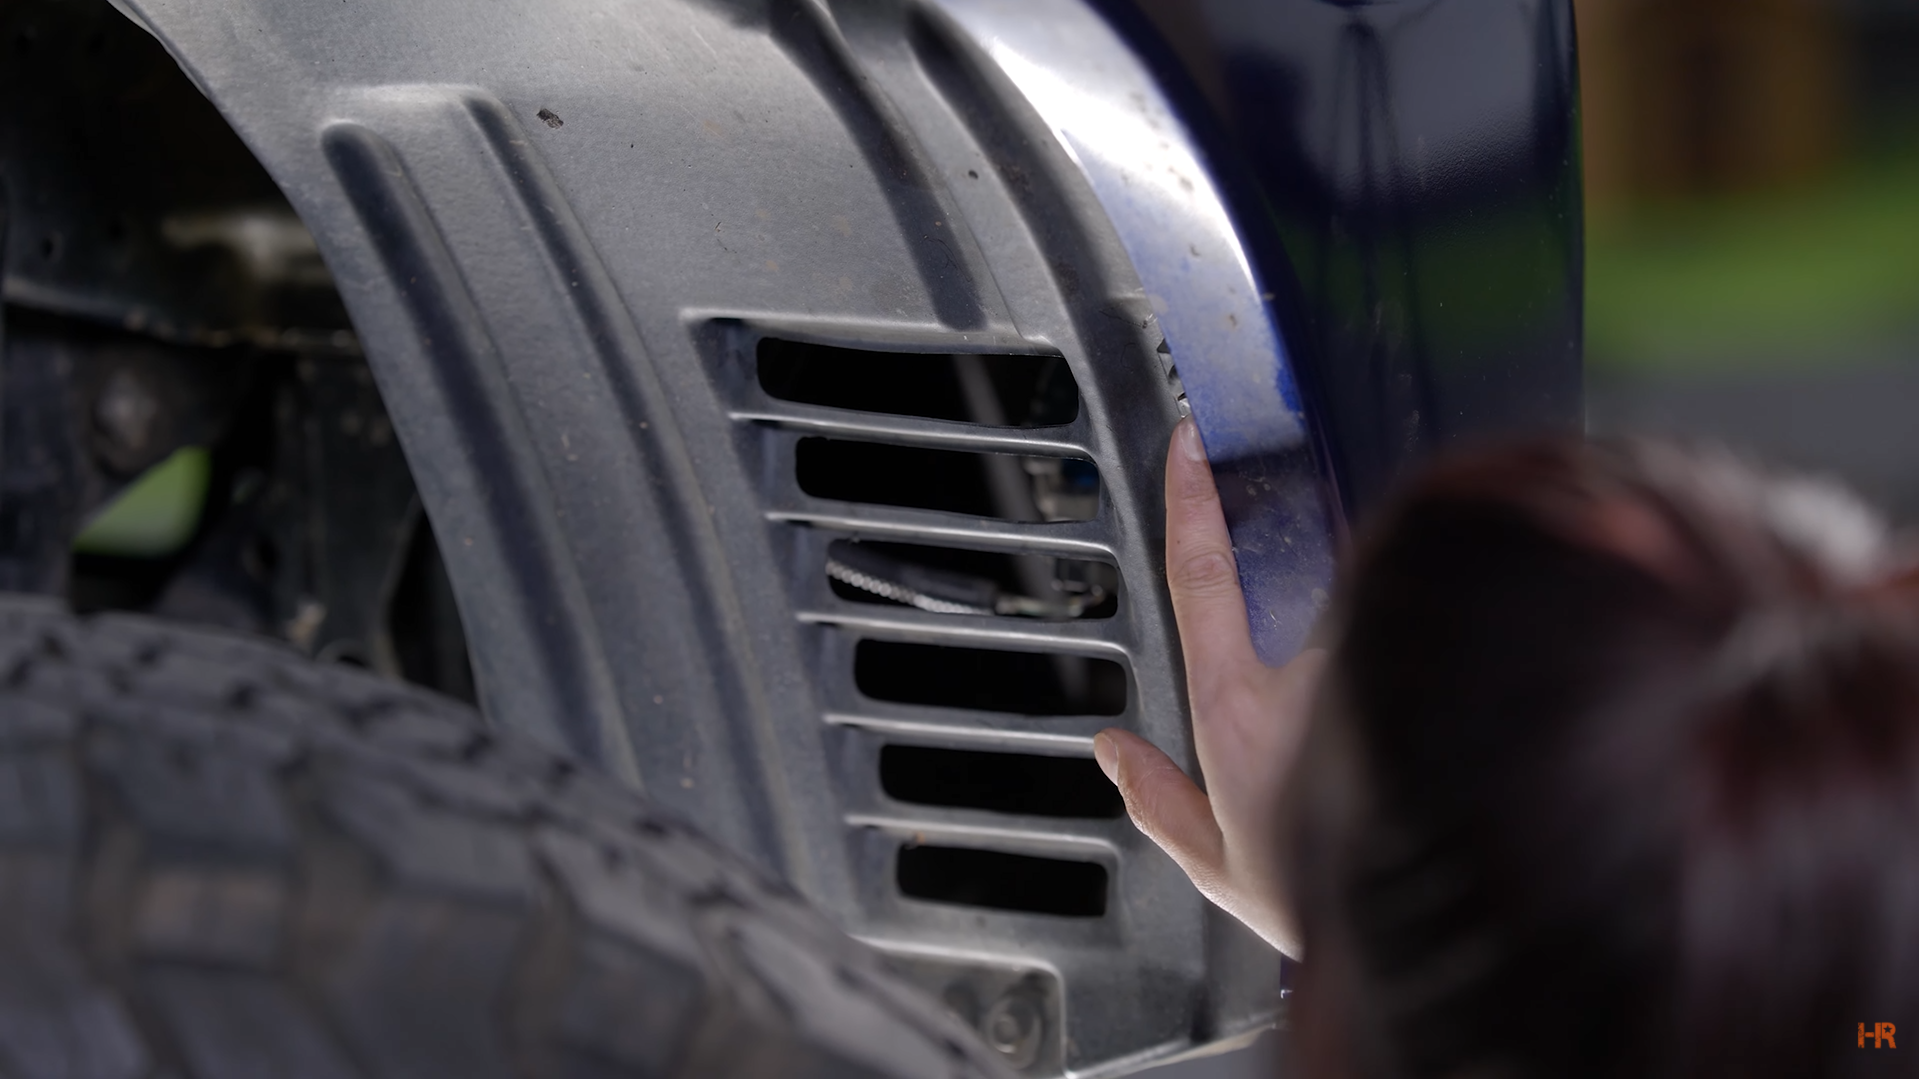
Go to your wheel well and remove the plastic push pin with a pry tool. Once this is out, you can peel back your wheel well trim and gain access to your fog lights.
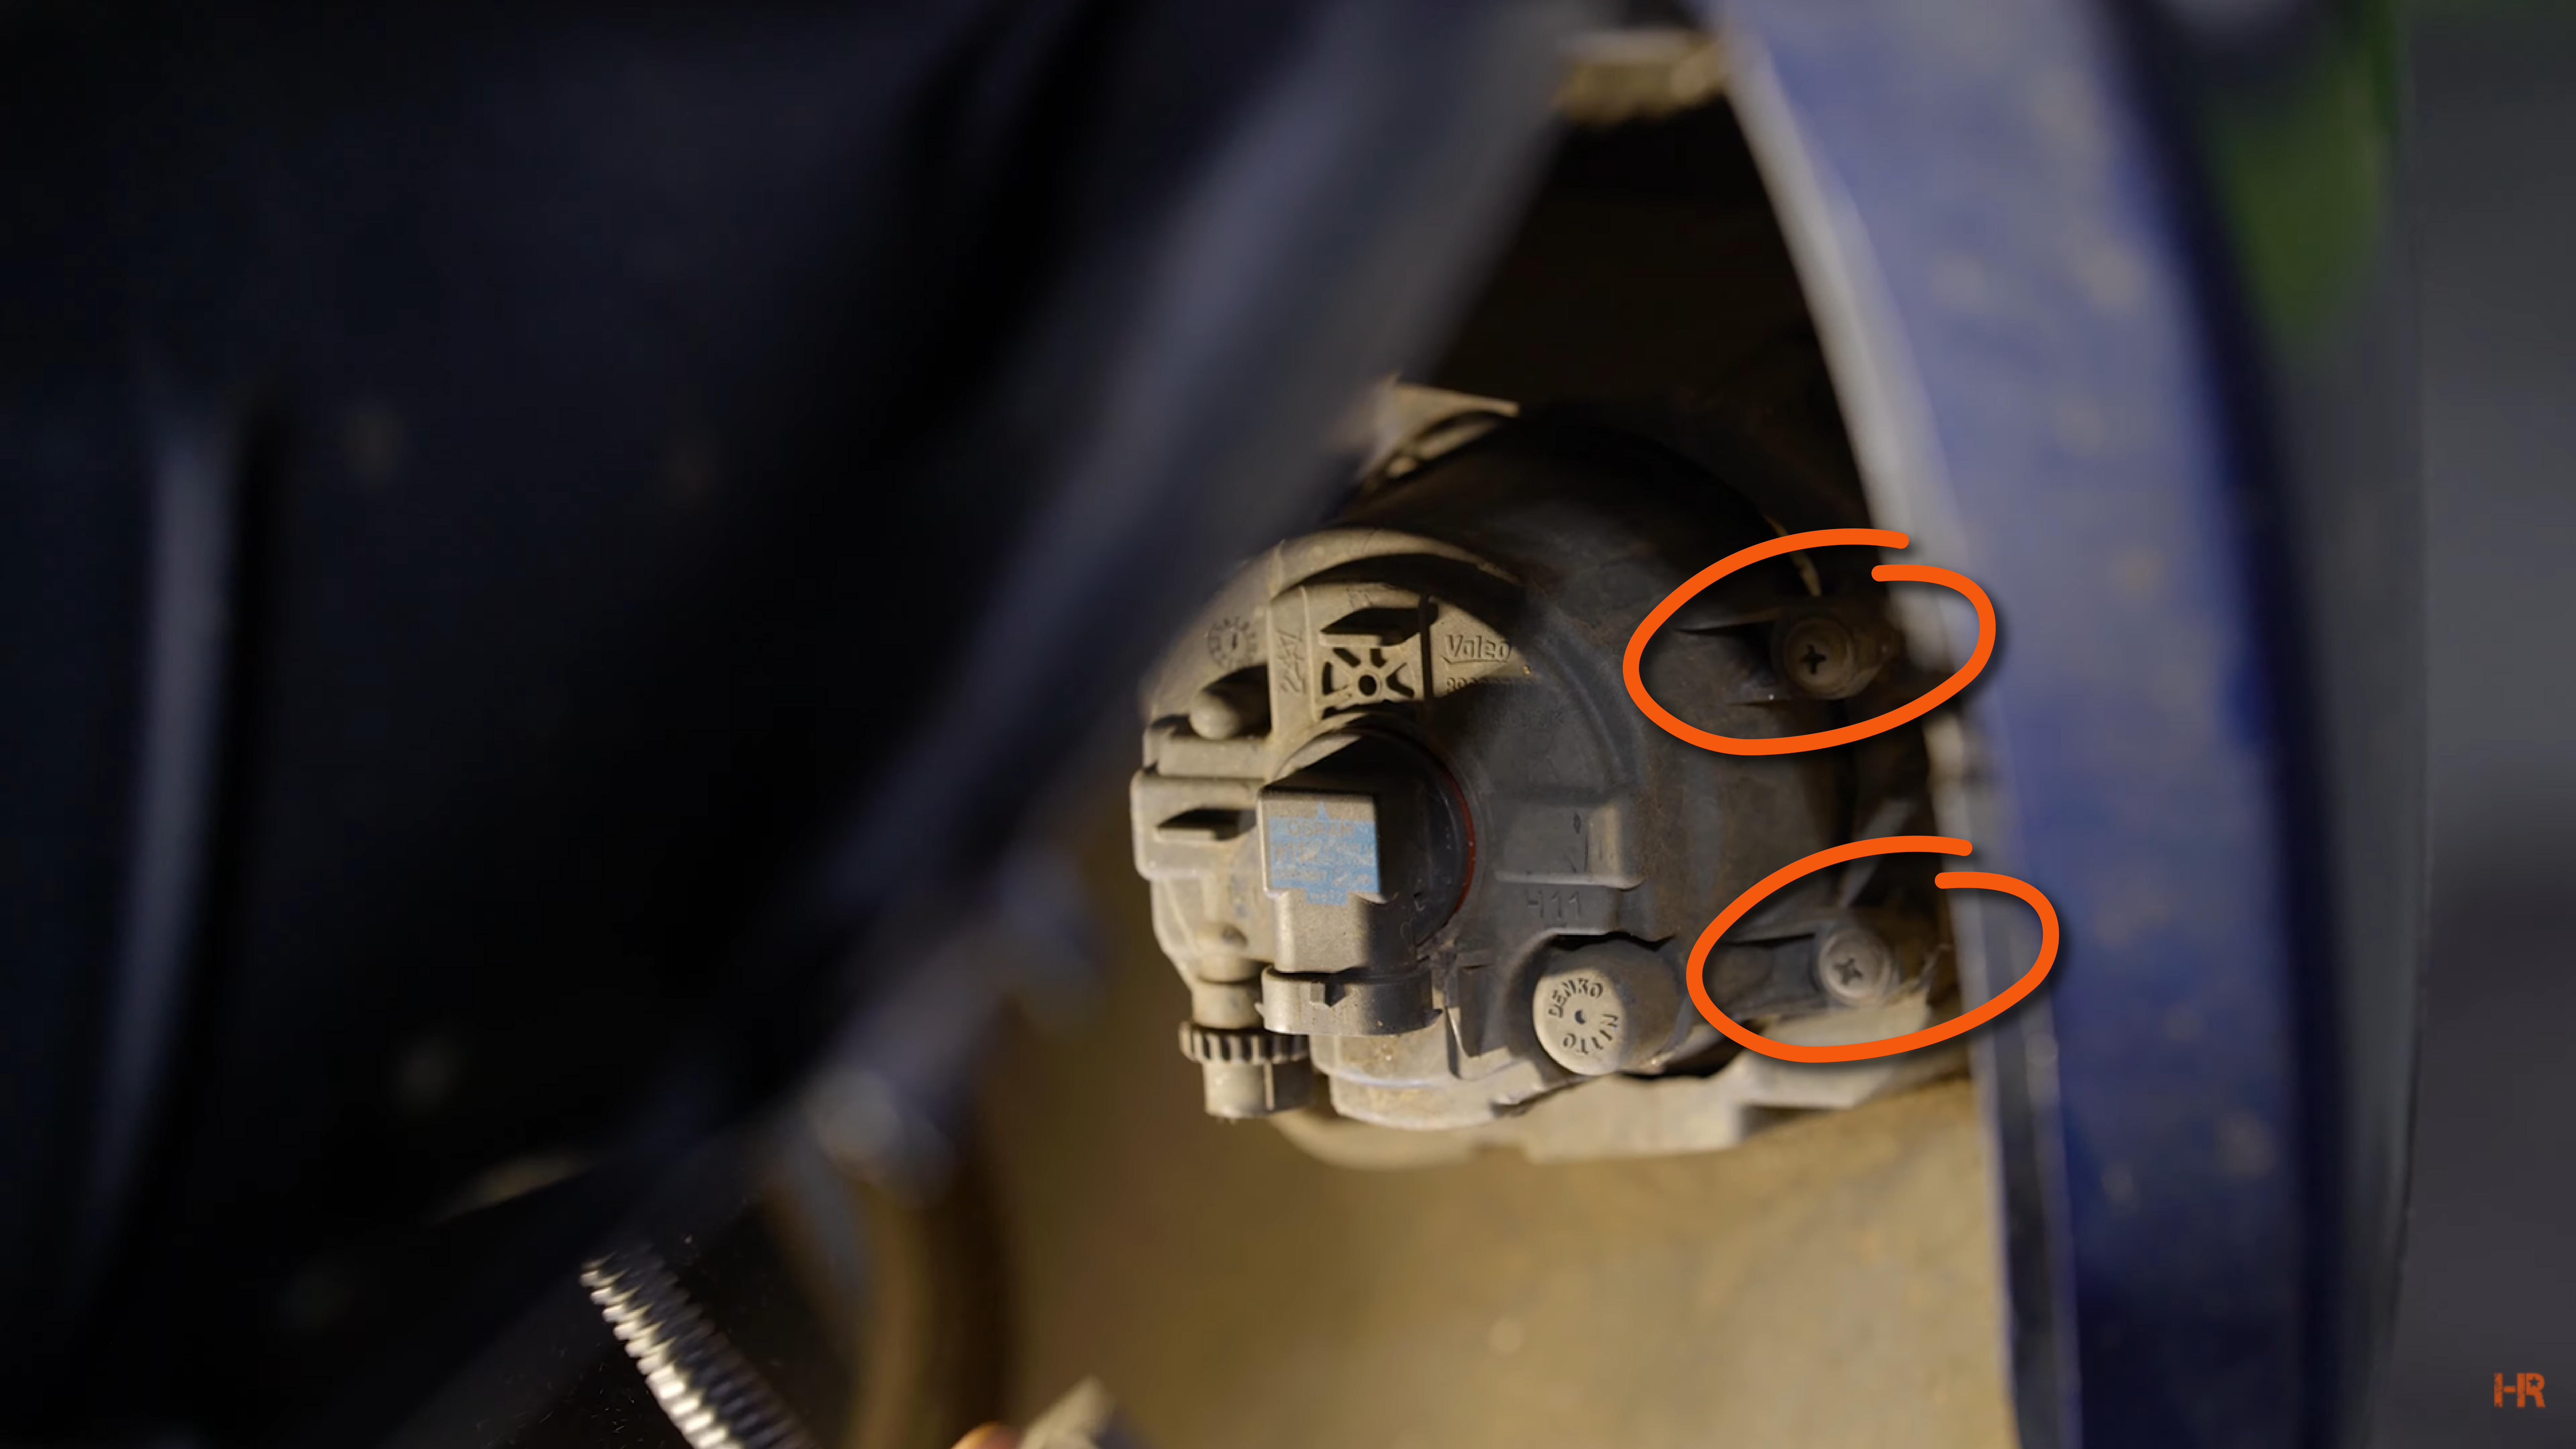
Disconnect the OEM harness and take out the two side screws. You can then remove the OEM fog light.
On the 4Banger bracket, it will designate between the left (L) and right (R) 4Banger with an ‘L’ or ‘R.’
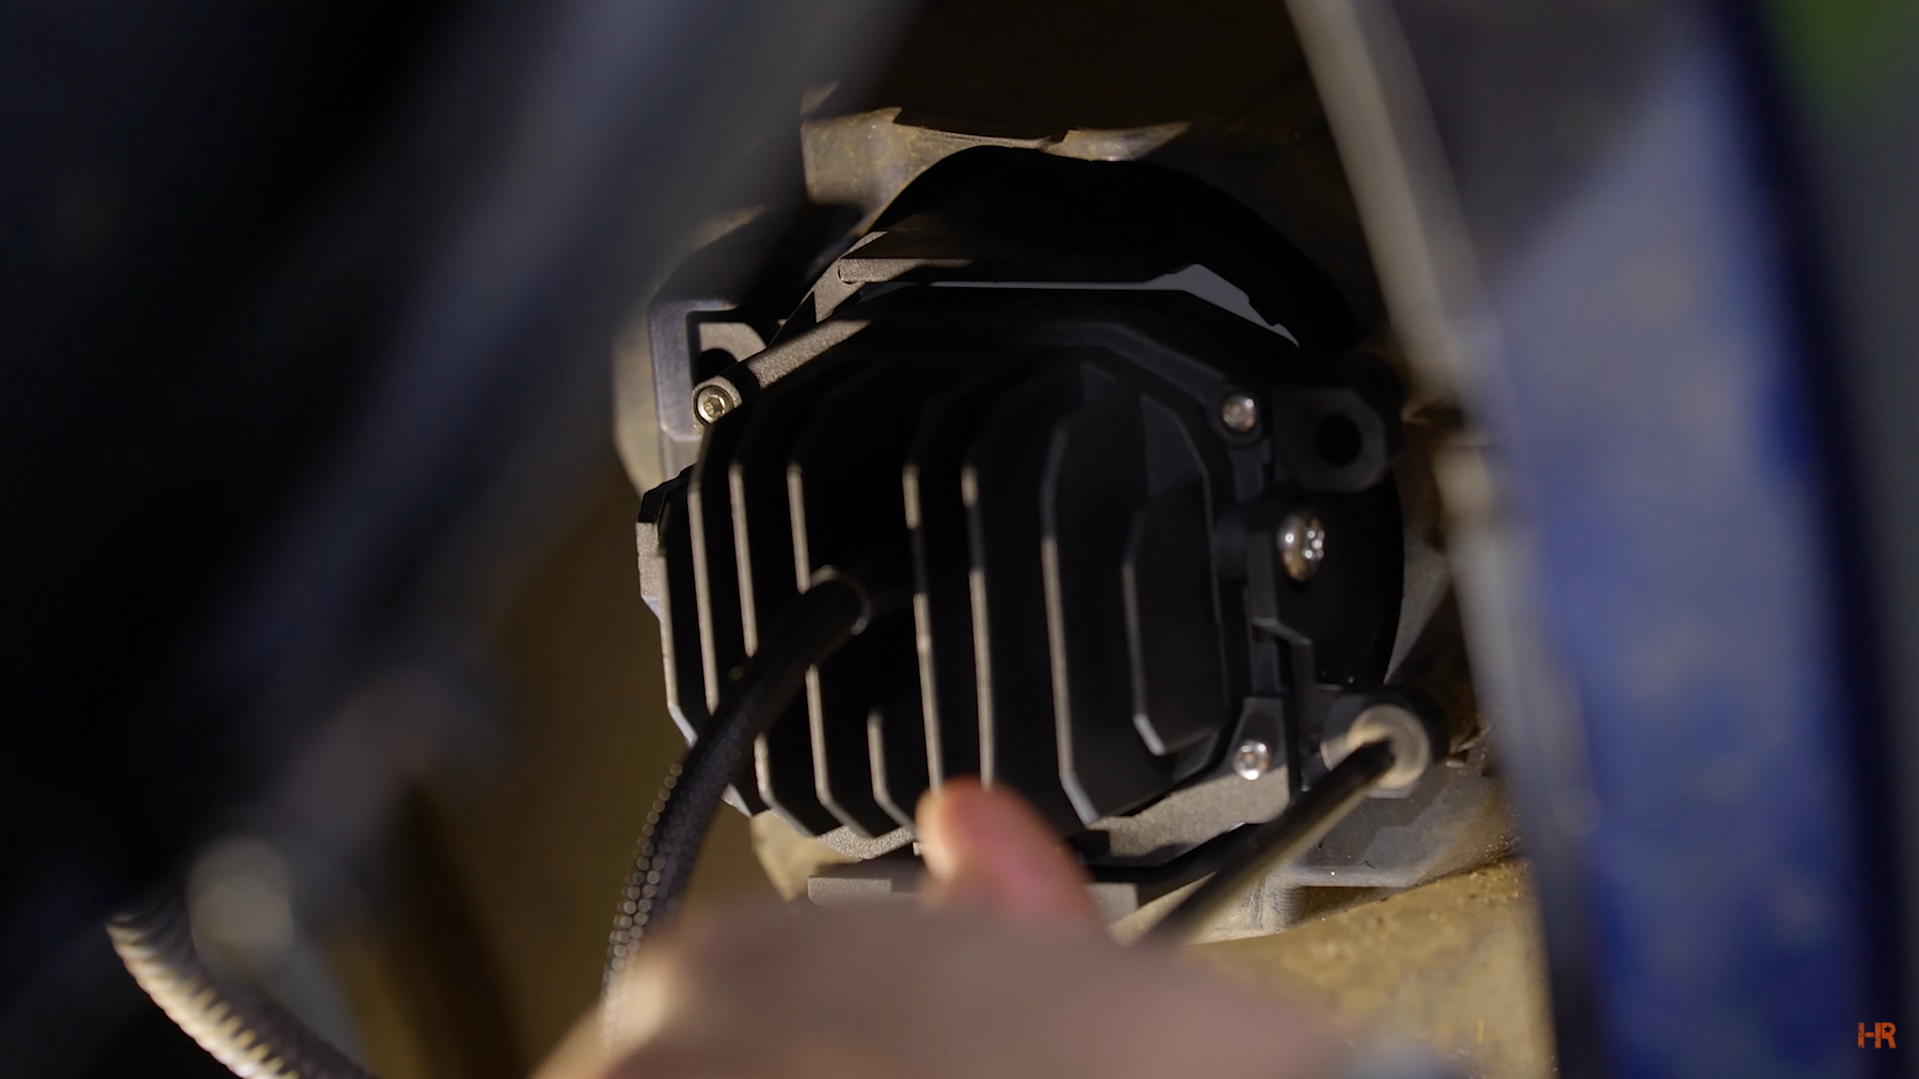
The 4Banger installs just like the OEM, just screw in the two screws on the outside and connect the OEM harness.
Repeat for both sides.
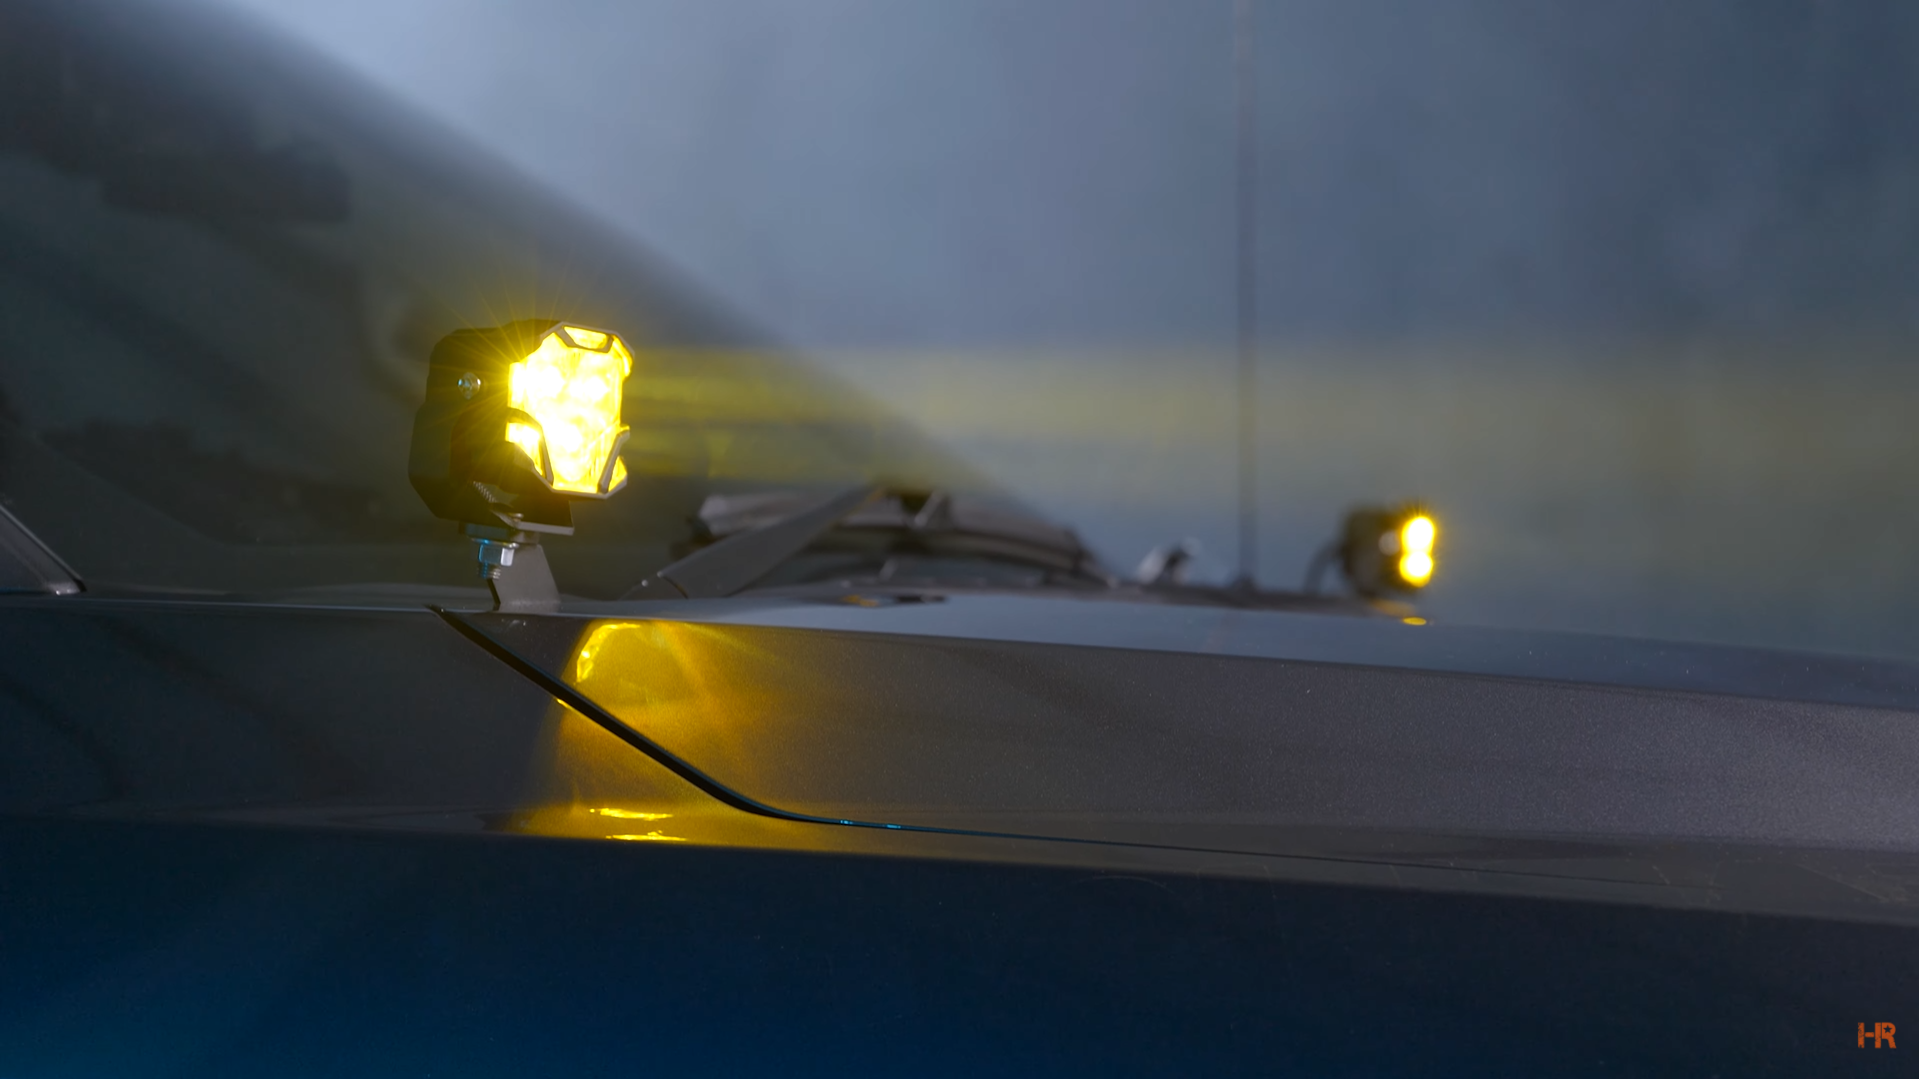
A-Pillar Mount
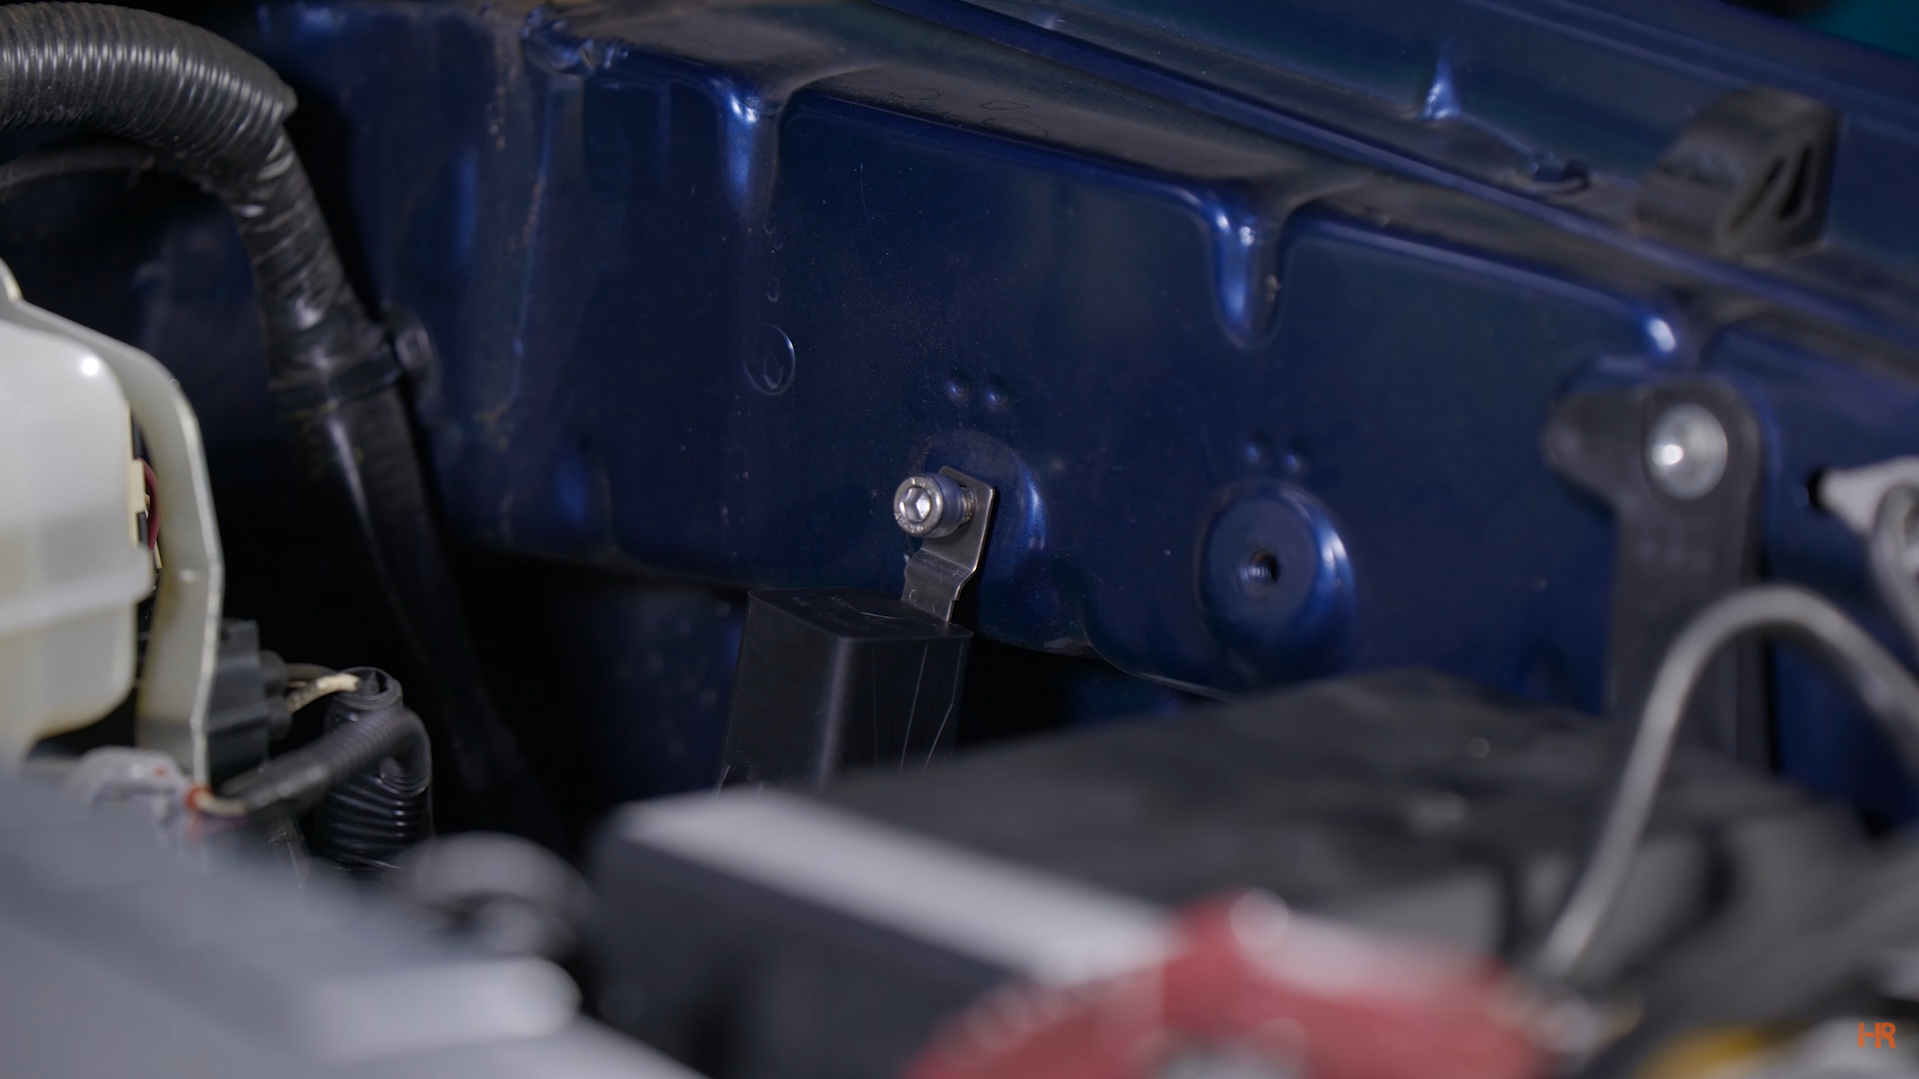
Before starting with the bracketry for the A-pillar mount, we will begin with the wiring. First, take the relay harness vertically. We mounted ours in the factor holes near the battery, but you can mount yours wherever it is convenient. Just be sure to mount it with the wires facing downwards, this is to prevent water intrusion.
Take the ‘Light 1’ harness to the driver’s side of the engine bay, and route ‘Light 2’ to the passenger side. If it does not reach where the 4Banger will be mounted, take the extension harness to make room.
You can tuck and clean up your wires however you please, we recommend zip tying the ‘Light 2’ harness to the body harness.
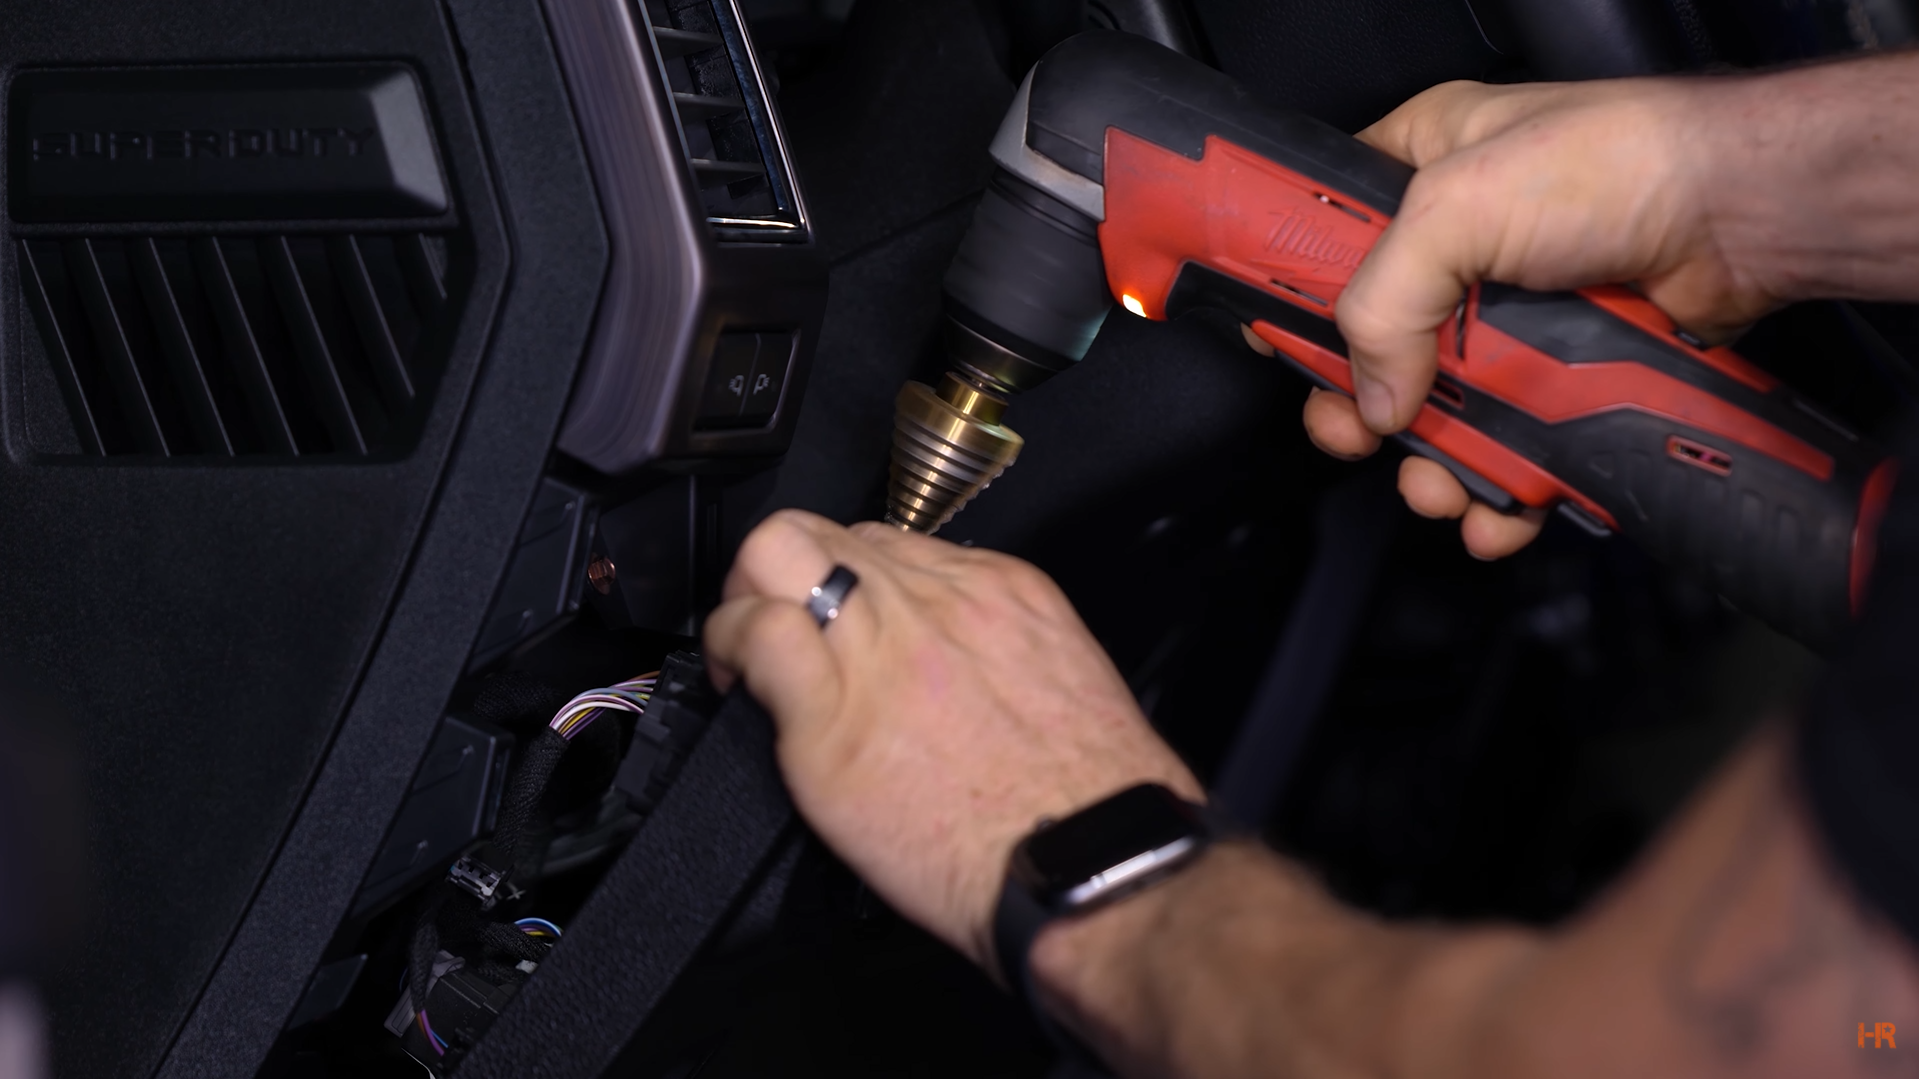
There is a Morimoto Switch that comes with the 4Bangers. You can either use this with a step and drill through your firewall, while using the grommet that comes with the switch, or you can route it alongside the OEM cab harness. Remove the switch at its connection point before routing it.
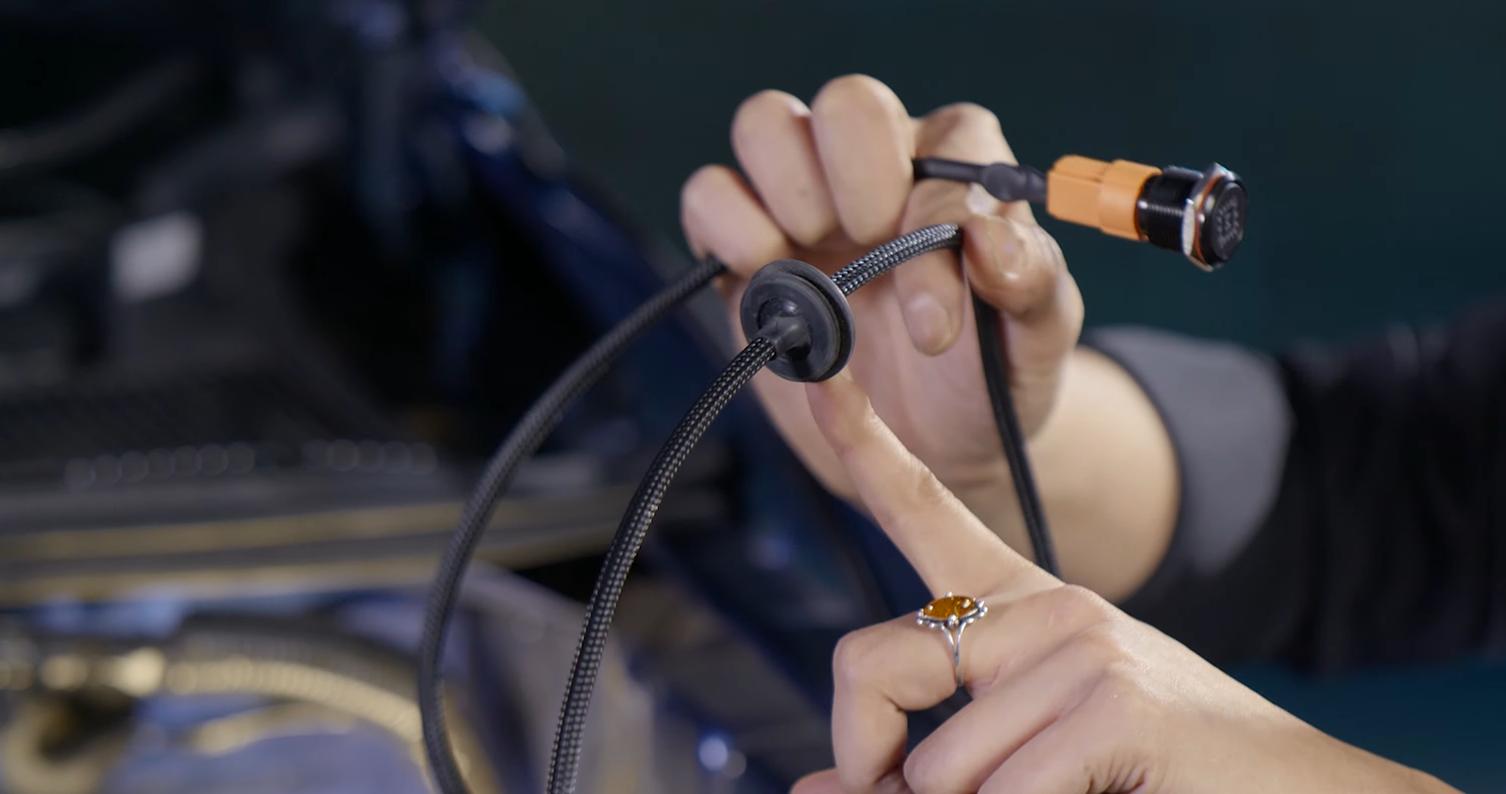
Once you have it routed the way you would like, unscrew the thin bolt, and feed it through the hole you bore. Once you tighten the bolt, reconnect the switch to the harness.
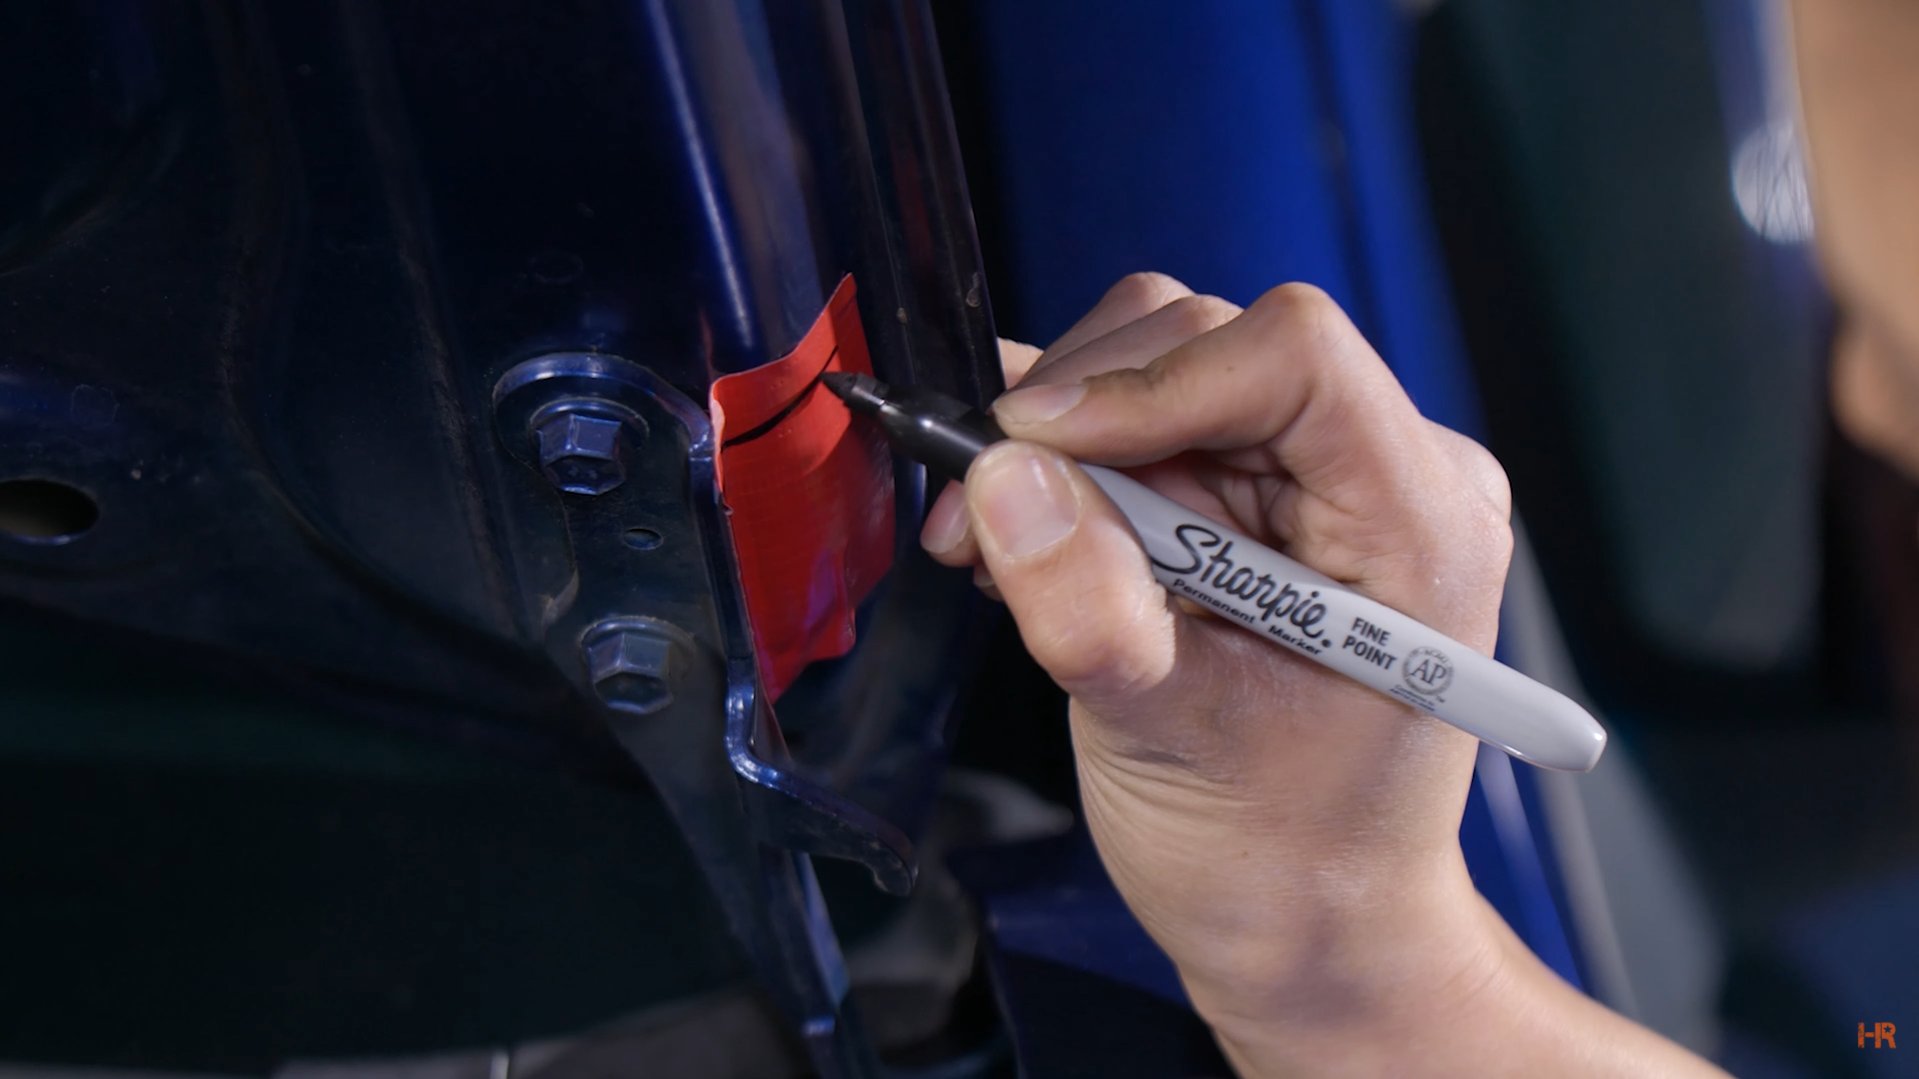
Now we can begin to install the 4Banger A-pillar brackets. Begin by cutting a piece of tape in half and putting it next to the hood mount. Line up the pieces the best you can and then draw two lines that go across each piece from the bolt positions. This is imperative to make sure your hood is properly lined up after you install the brackets.
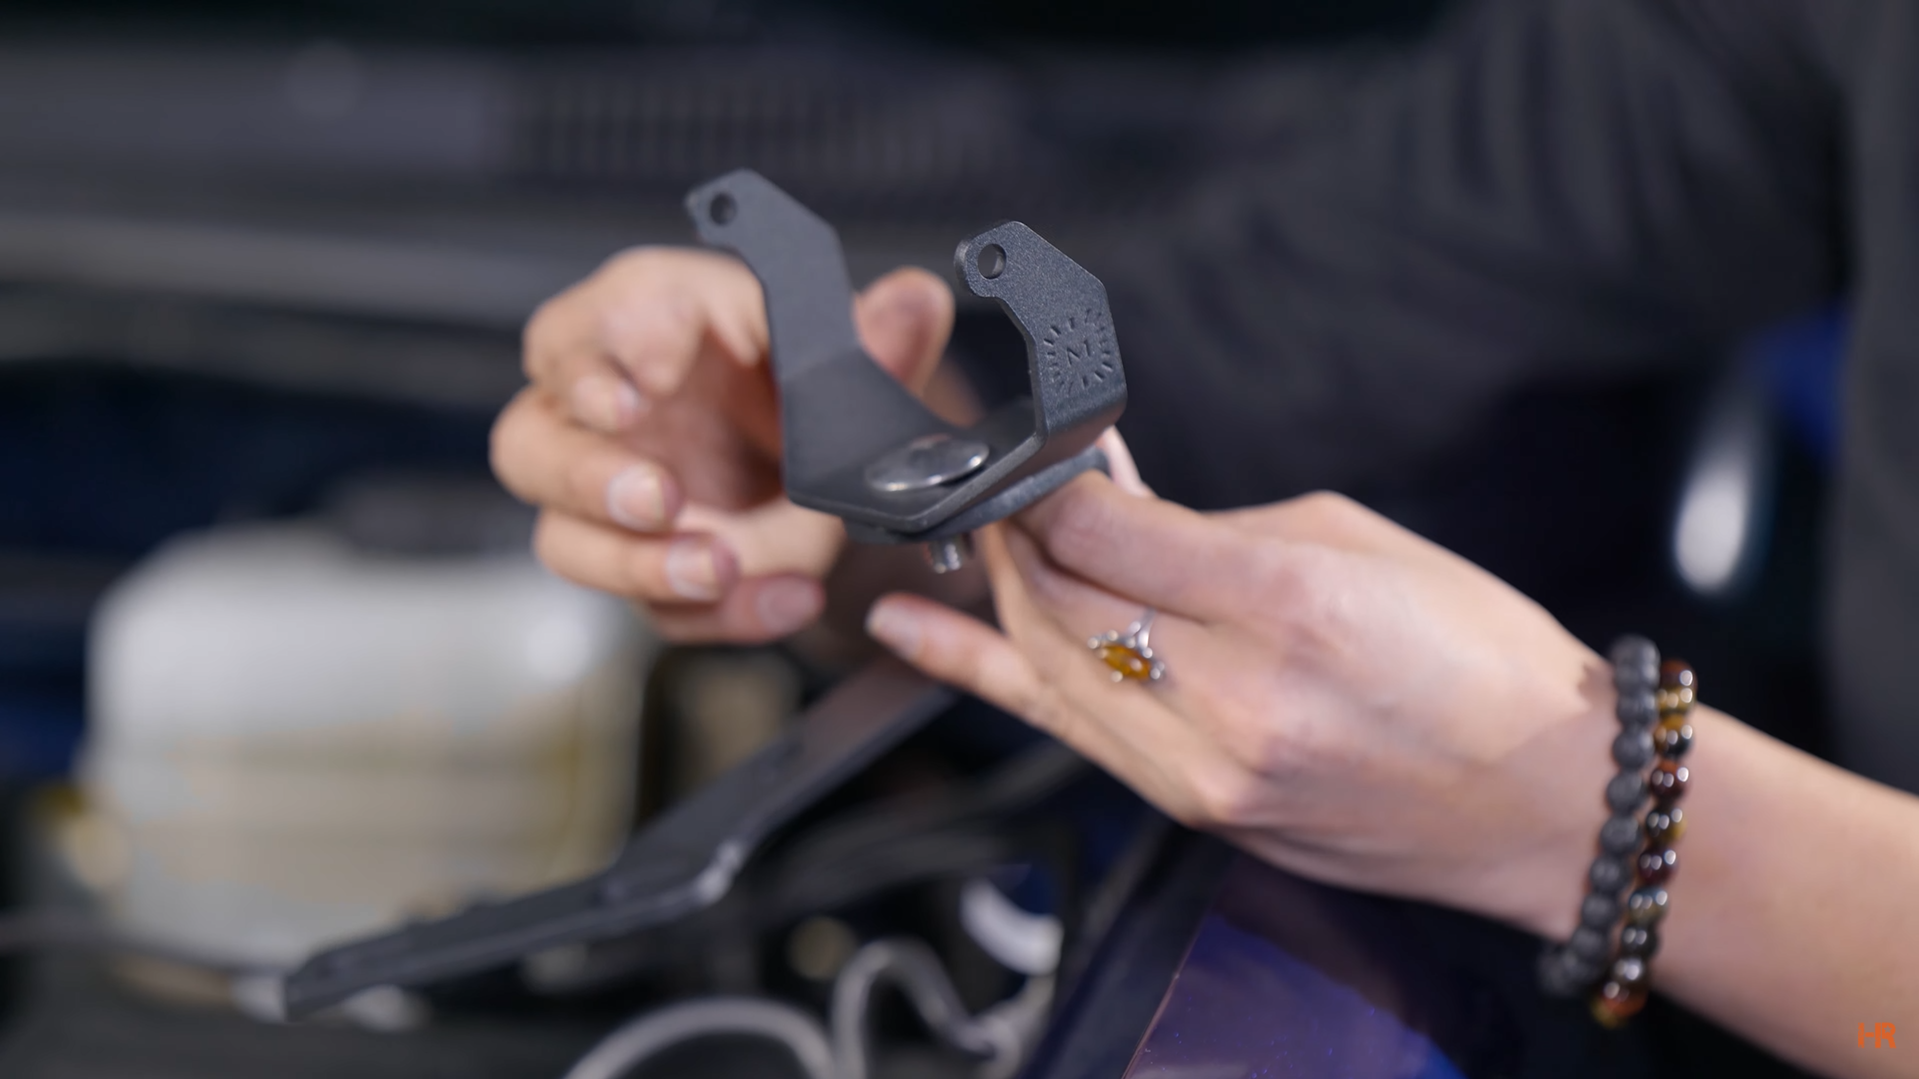
Grab the A-pillar mount and the U-bracket. With the U-bracket facing forward, insert it at the top of the A-pillar mount and lightly tighten the washer and bolt beneath the U-bracket.
We recommend having an extra set of hands for this part. Have the second person hold the base of the hood closest to the windshield while you unscrew the two 10mm hood mounts.
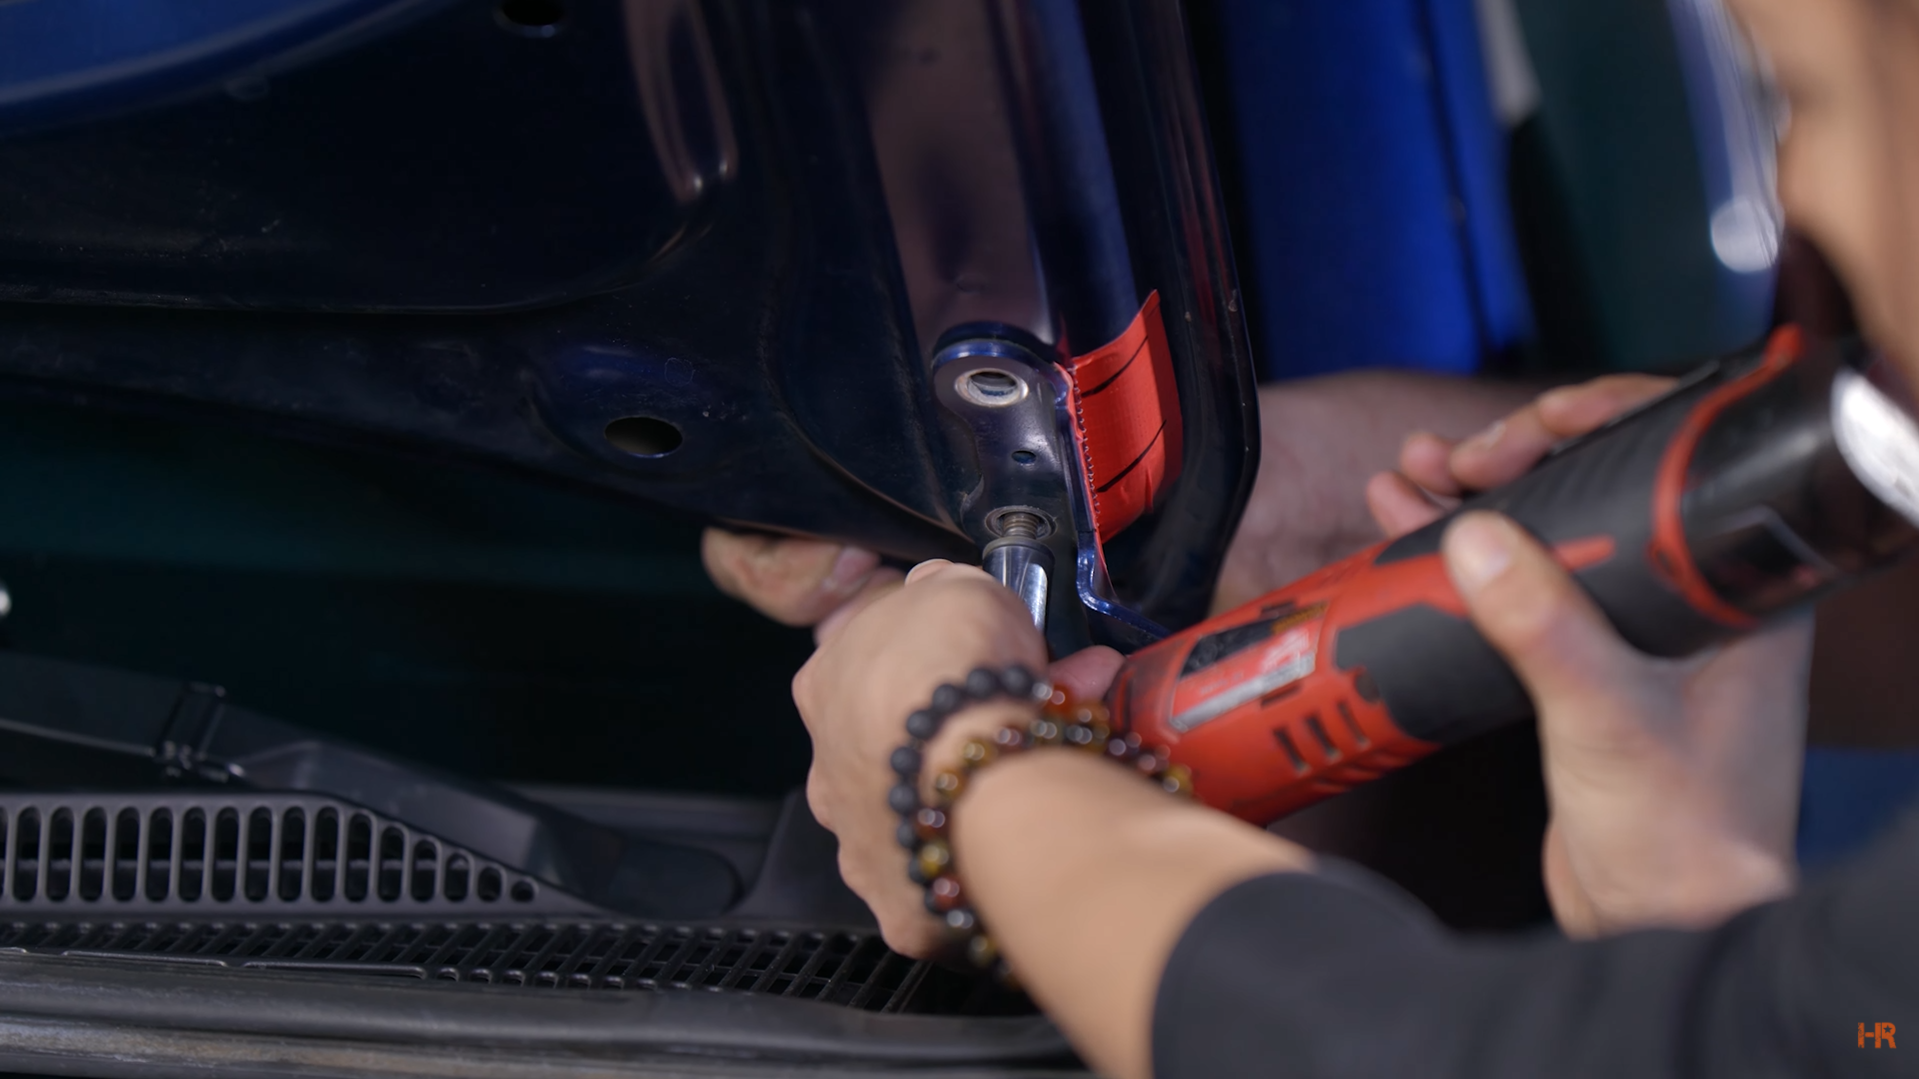
With the person still holding the hood, grab your A-pillar bracket and slide it from behind the hood and line up the two holes for the hood mount. Use the OEM bolts and tighten them back in place. Use the tape pieces we set up to make sure the hood is properly mounted.

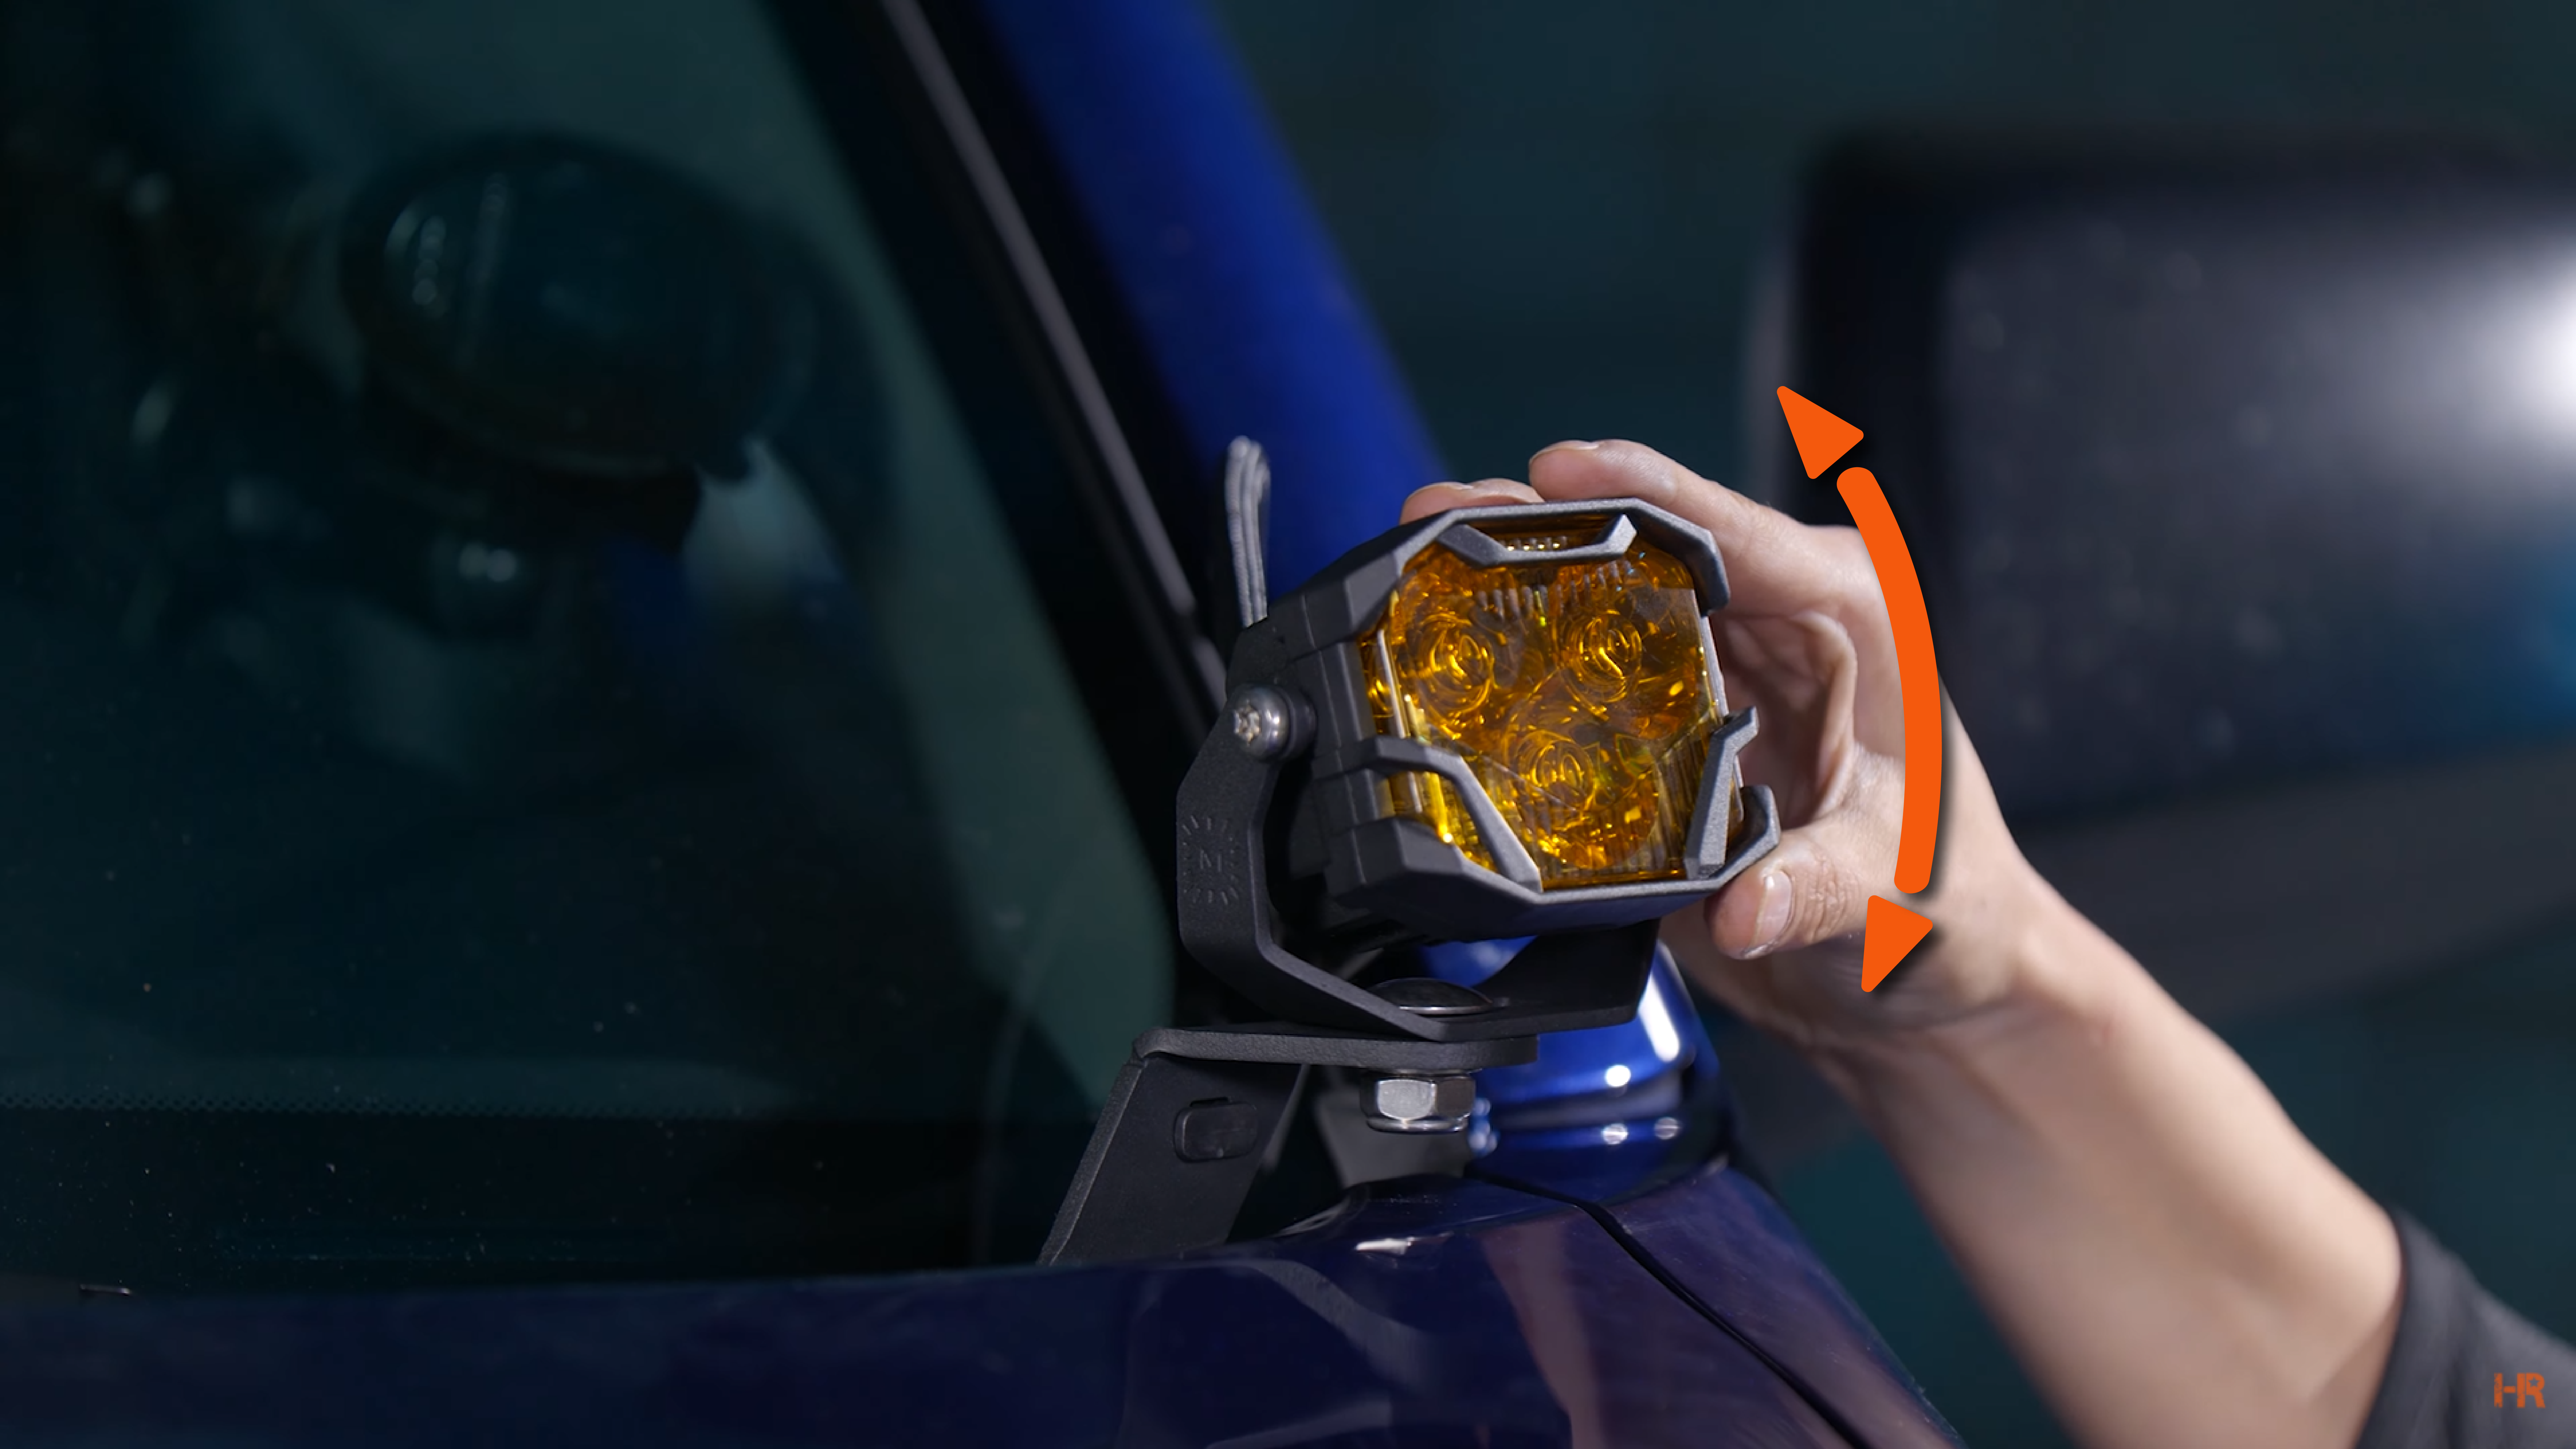
You can then grab your 4Banger and place it into the U-bracket. Use the two screws that come with the kit to tighten it into place lightly.
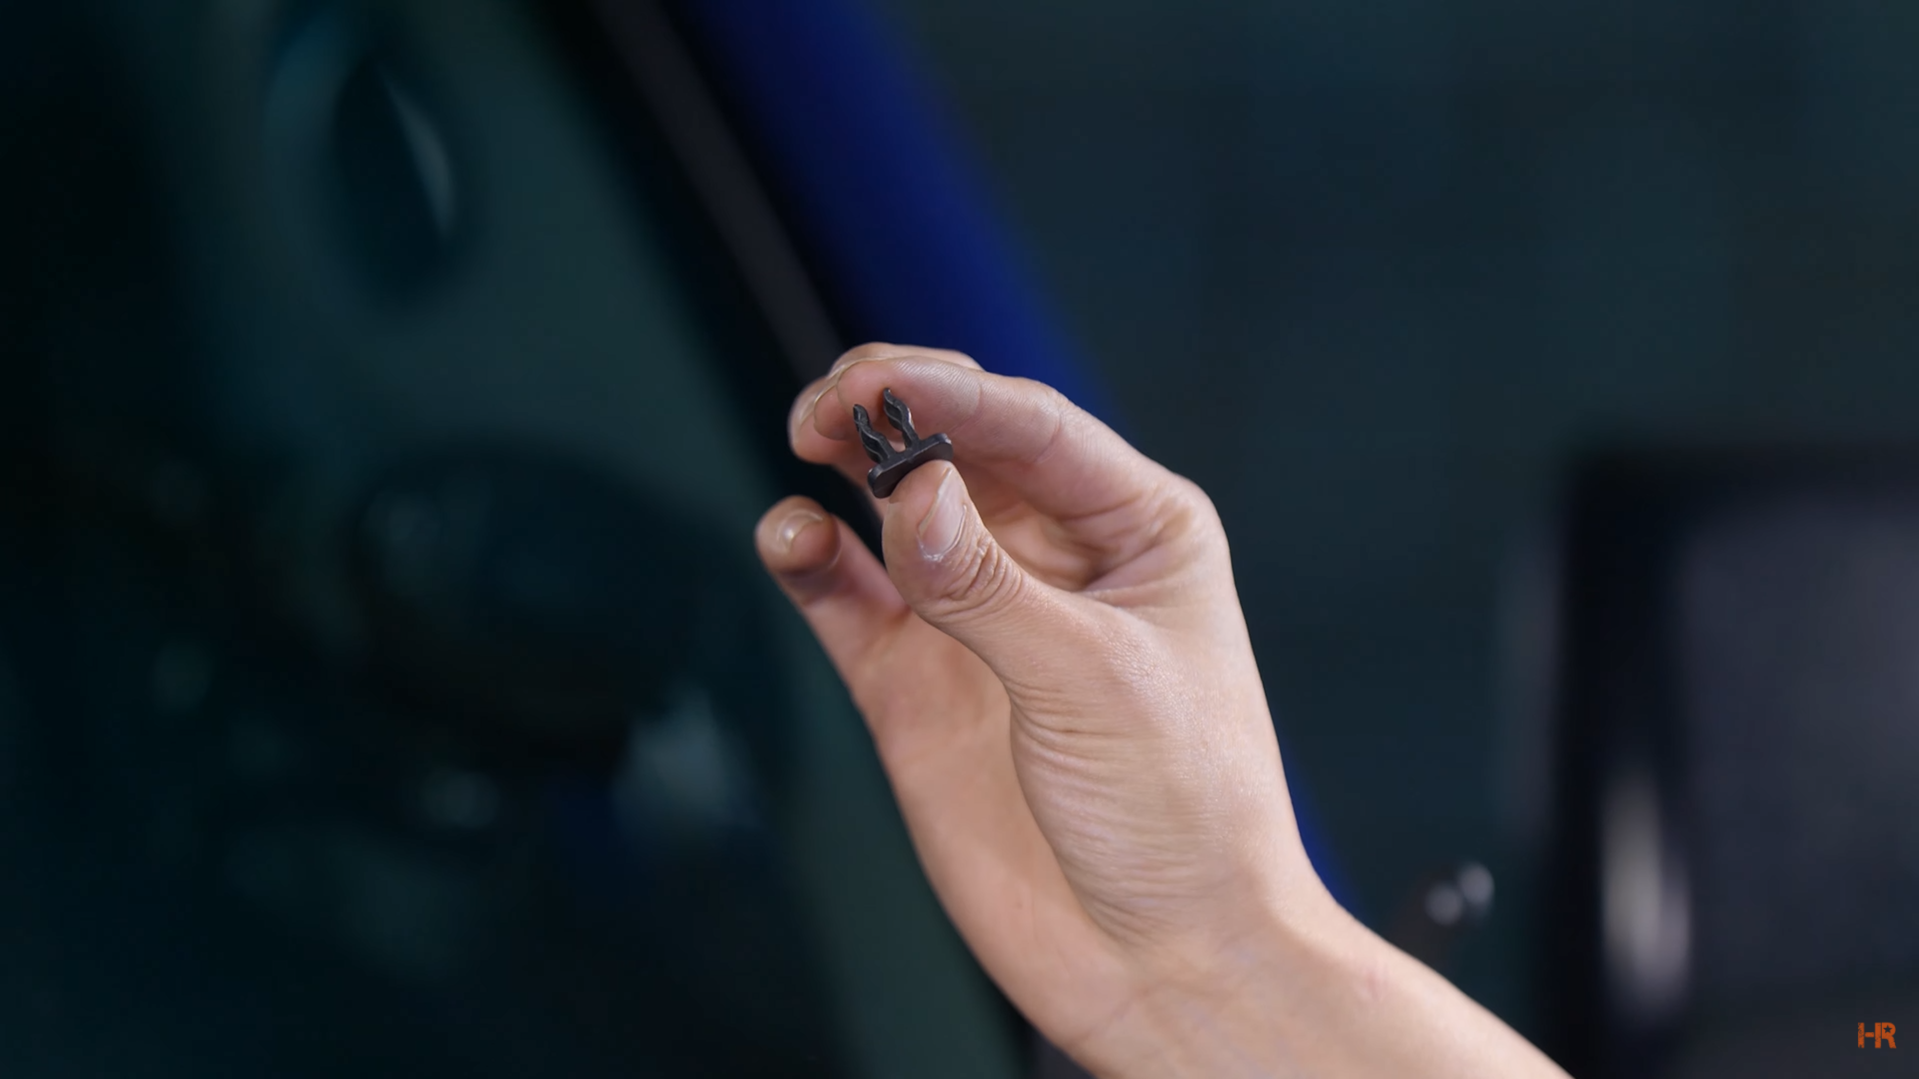
Connect the 4Banger harness to the pod light connector. You can also use the clasp that comes with the 4Banger to grip the wires to the A-pillar mount.
Repeat for both sides.
Wiring
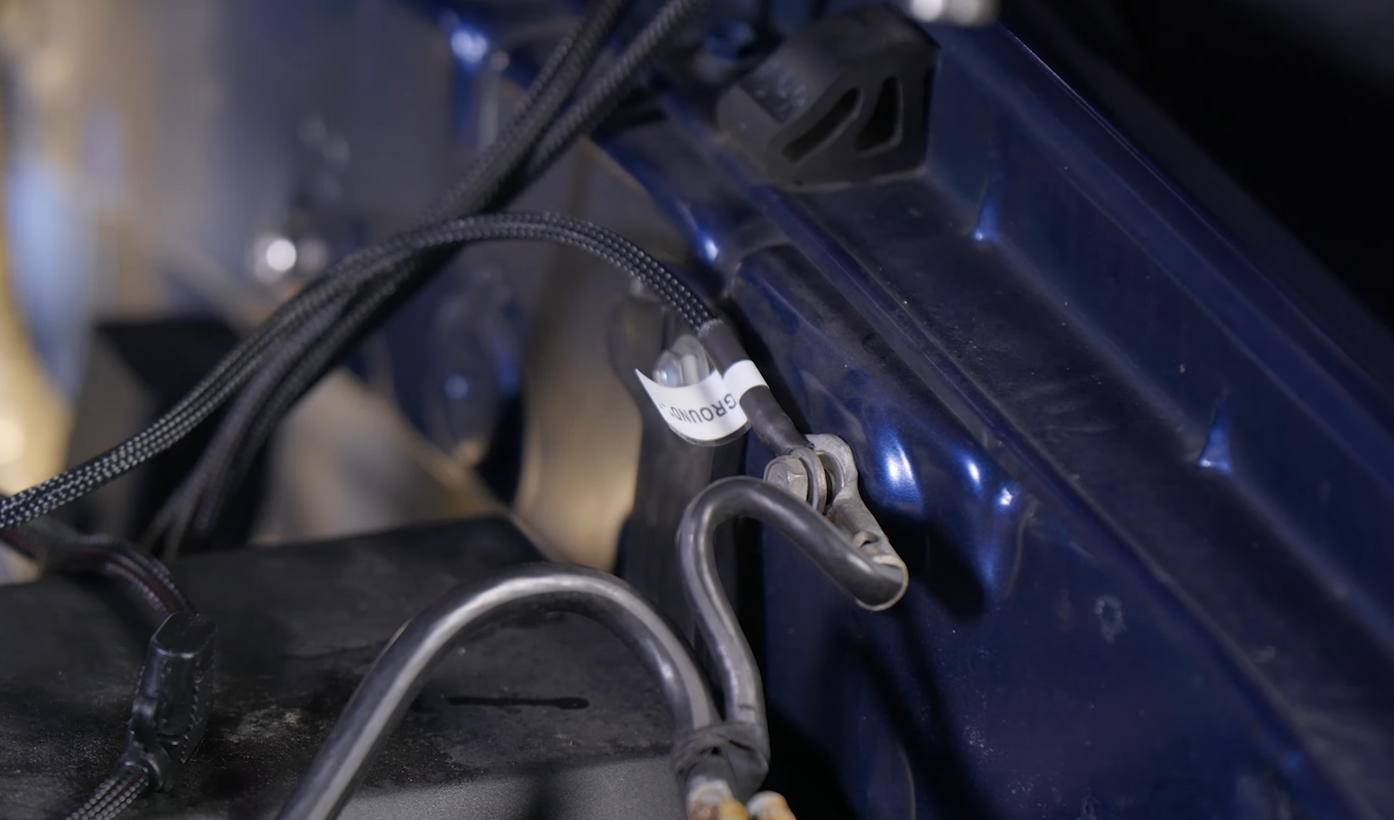
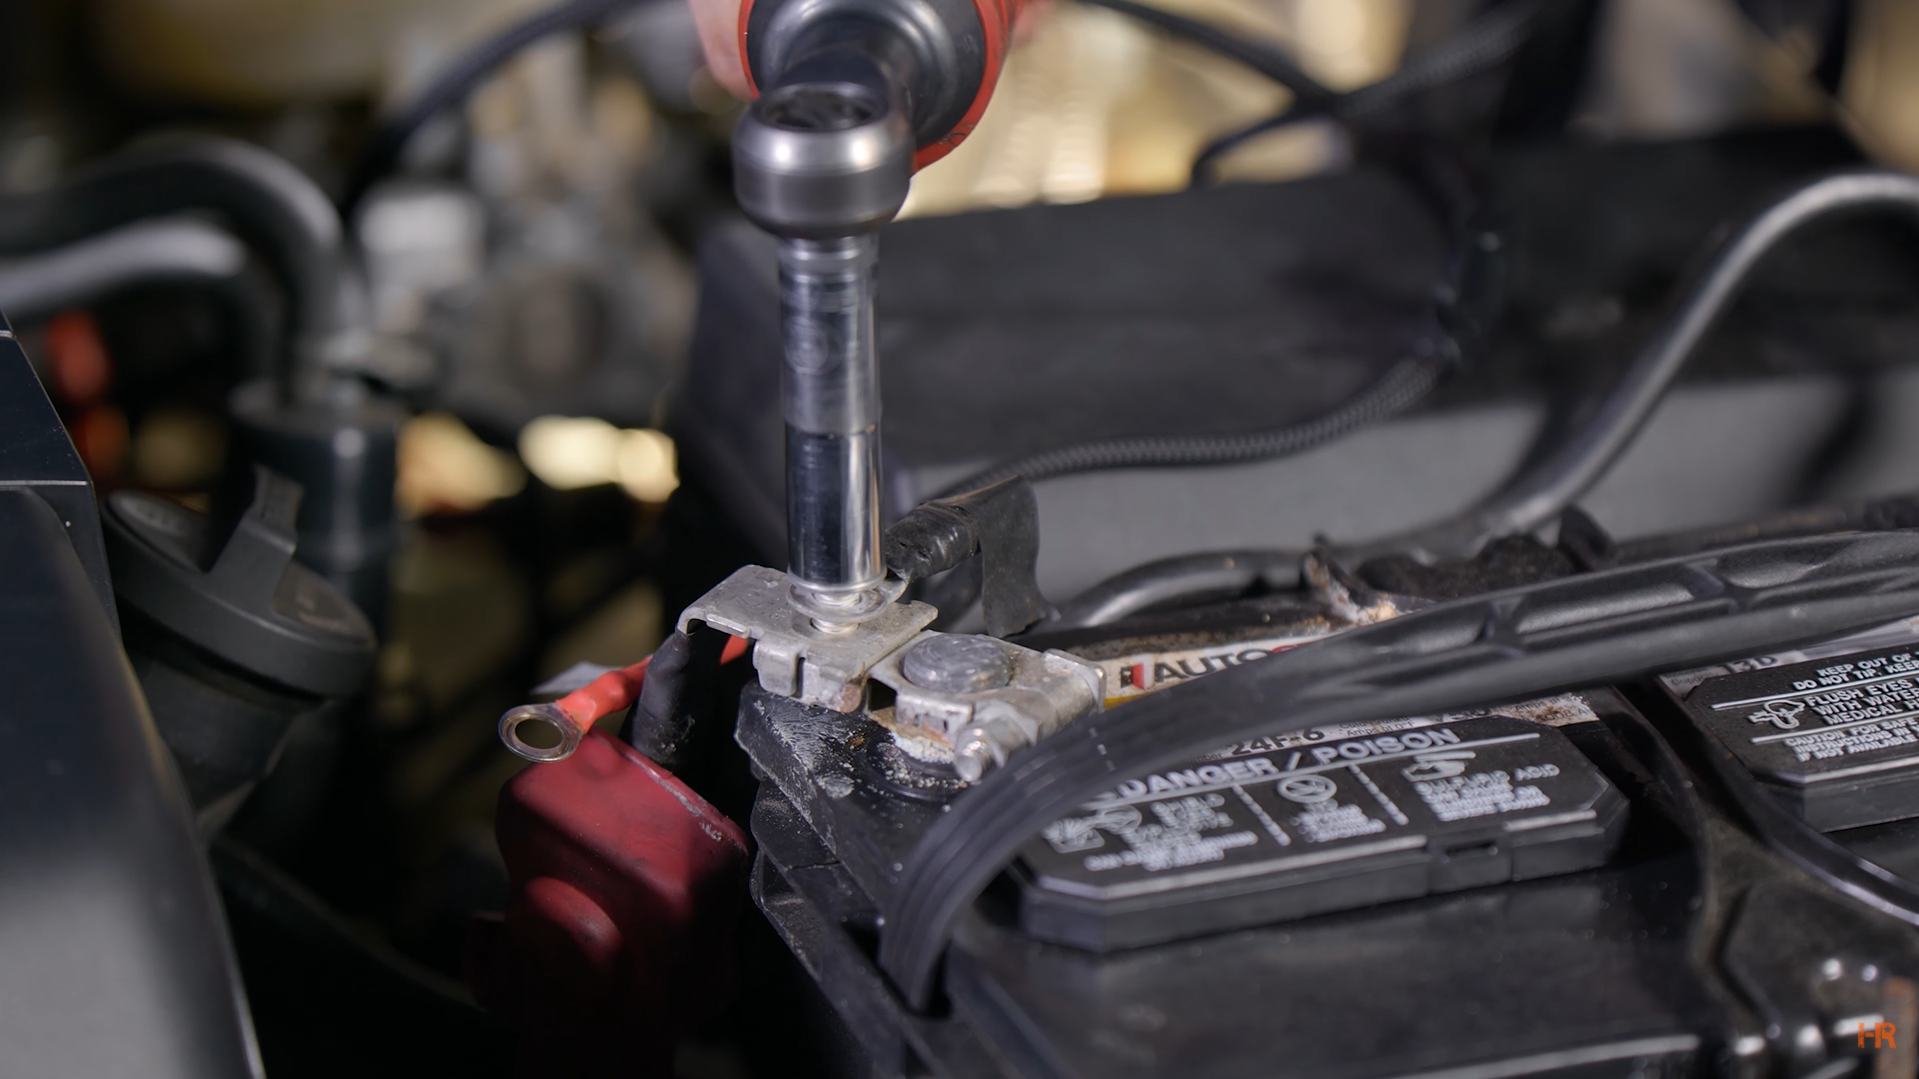
Lastly, you need to remove the bolt for the negative and place the Ground wire on it. Do the same with the same for the positive terminal.
| Ground | Positive |
 |
 |
Test your lights out and get them aimed to your liking. You can then tighten the screws on the sides of your 4Banger and the 17mm bolt beneath the 4Banger.
Now you are all set and ready to hit the roads and trails in your 2012-2015 Toyota Tacoma. These Morimoto 4Banger LED light pods are incredible. If you want to see how incredible, check out our comparison test against the Diode Dynamics SS3 Sports and several other LED light pods on the market.
If you are more of a visual learner, be sure to check out our video on the Morimoto 4Banger LED Pods for the 2012-2015 Toyota Tacoma. While you are there, make sure to like and subscribe to our channel for the latest lighting upgrades for your vehicle.
Have any questions about one of the products we mentioned? Contact us today, and our customer service team would be happy to help.