2014-2021 Toyota Tundra LED Conversion for the Rear & Interior | HR Tested
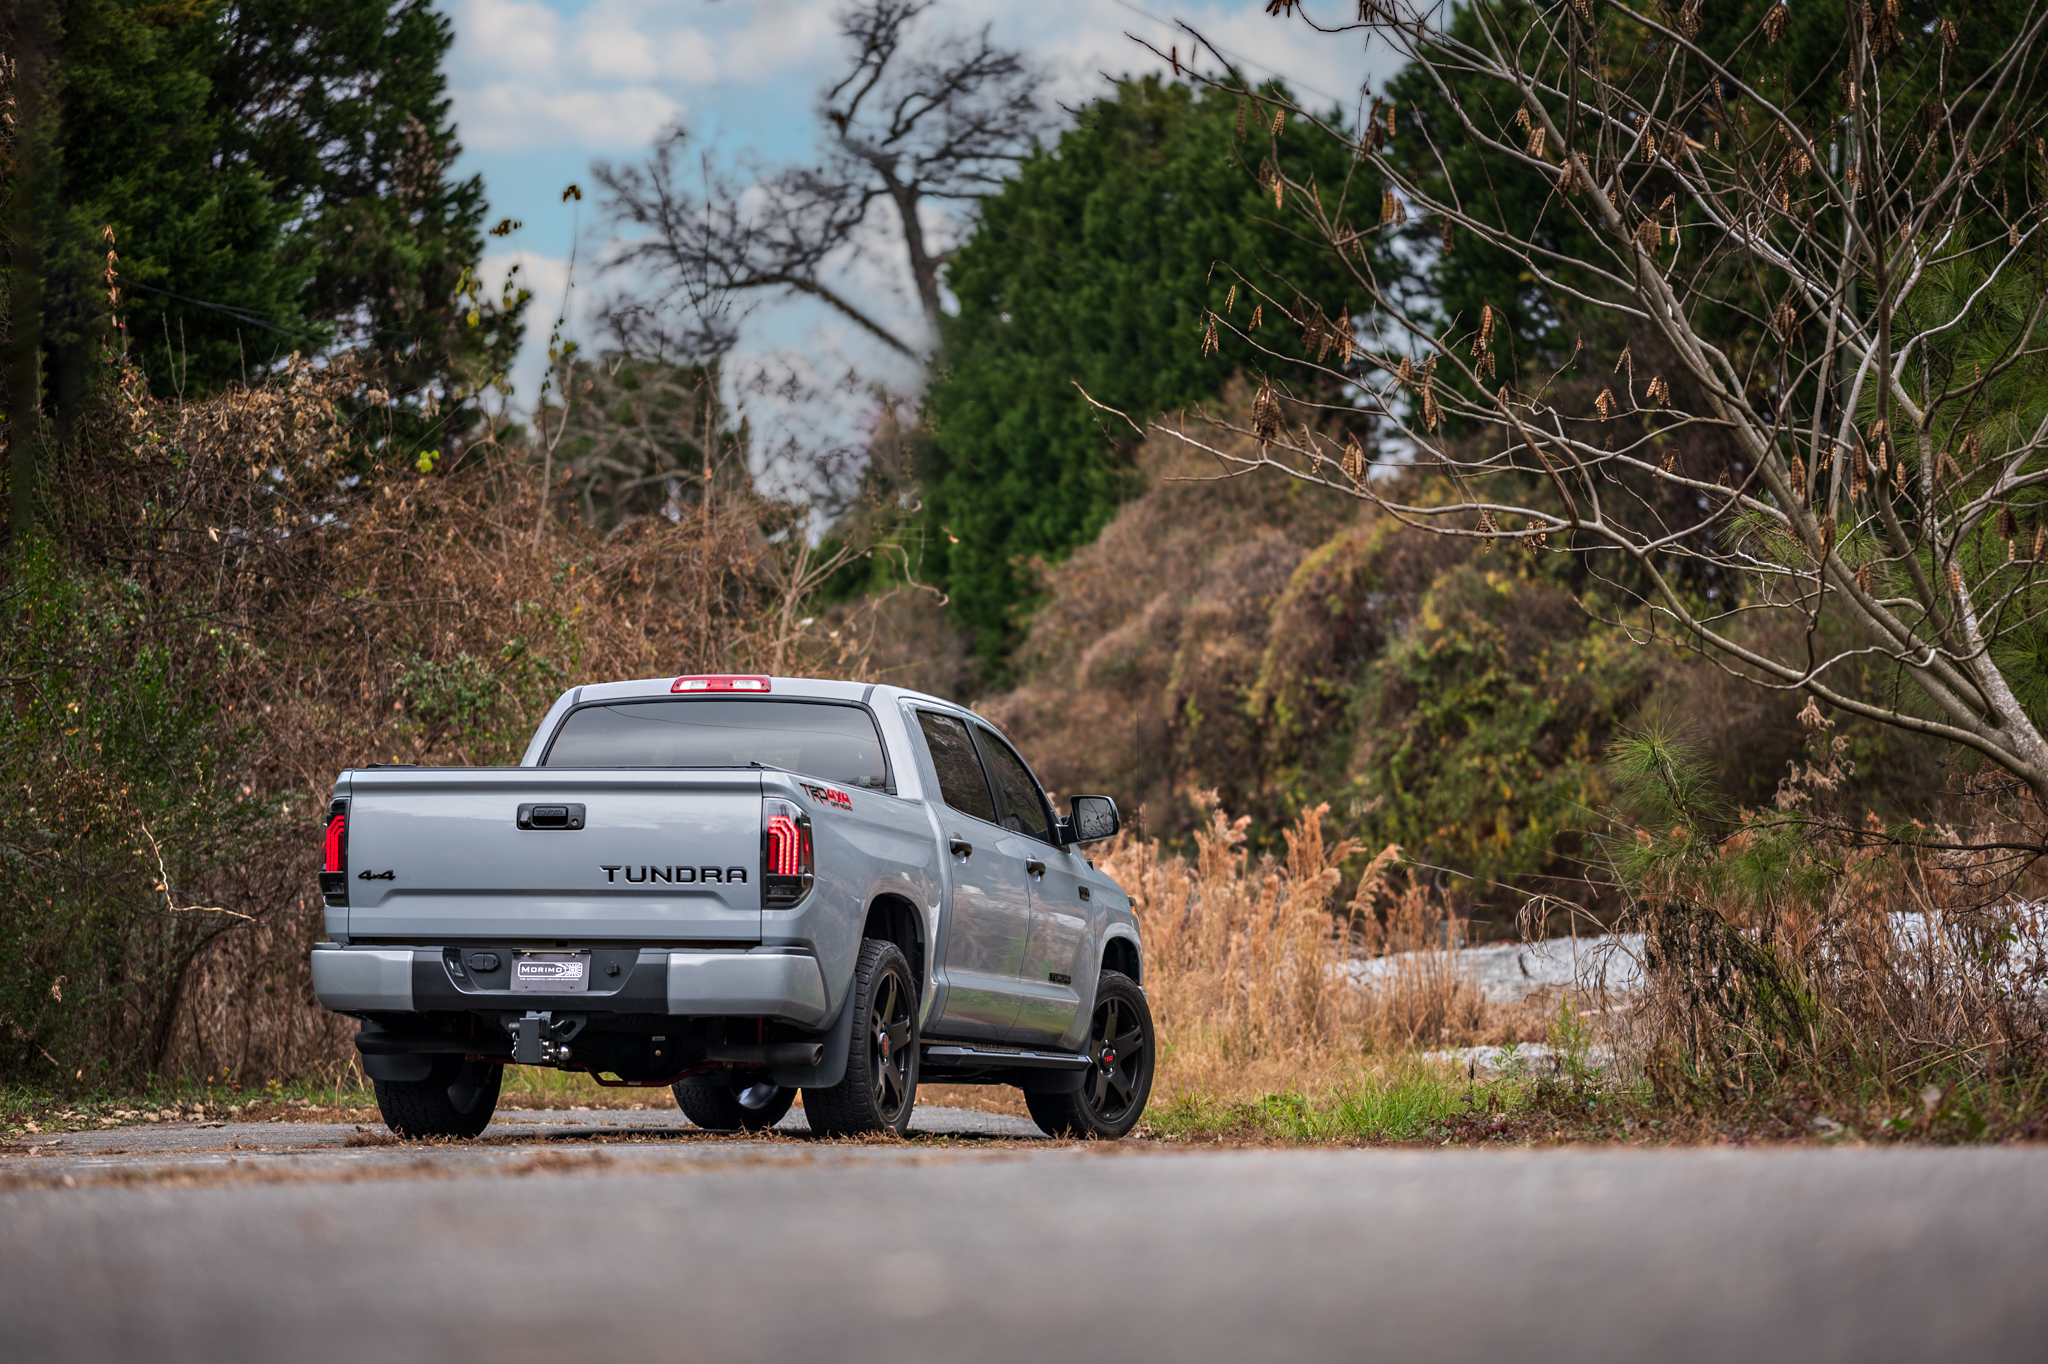
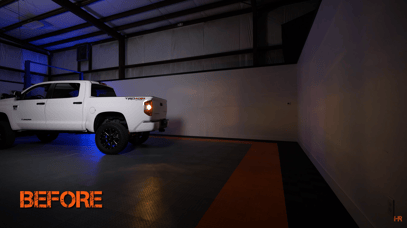
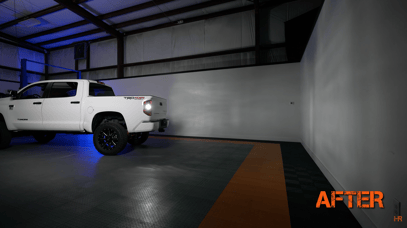
Having already upgraded the headlights and added a powerful light bar to our 2014-2021 XK50 Toyota Tundra, we felt it needed some love in other lighting departments. Today we will look at upgrading the taillights, front blinkers, and a variety of interior lights.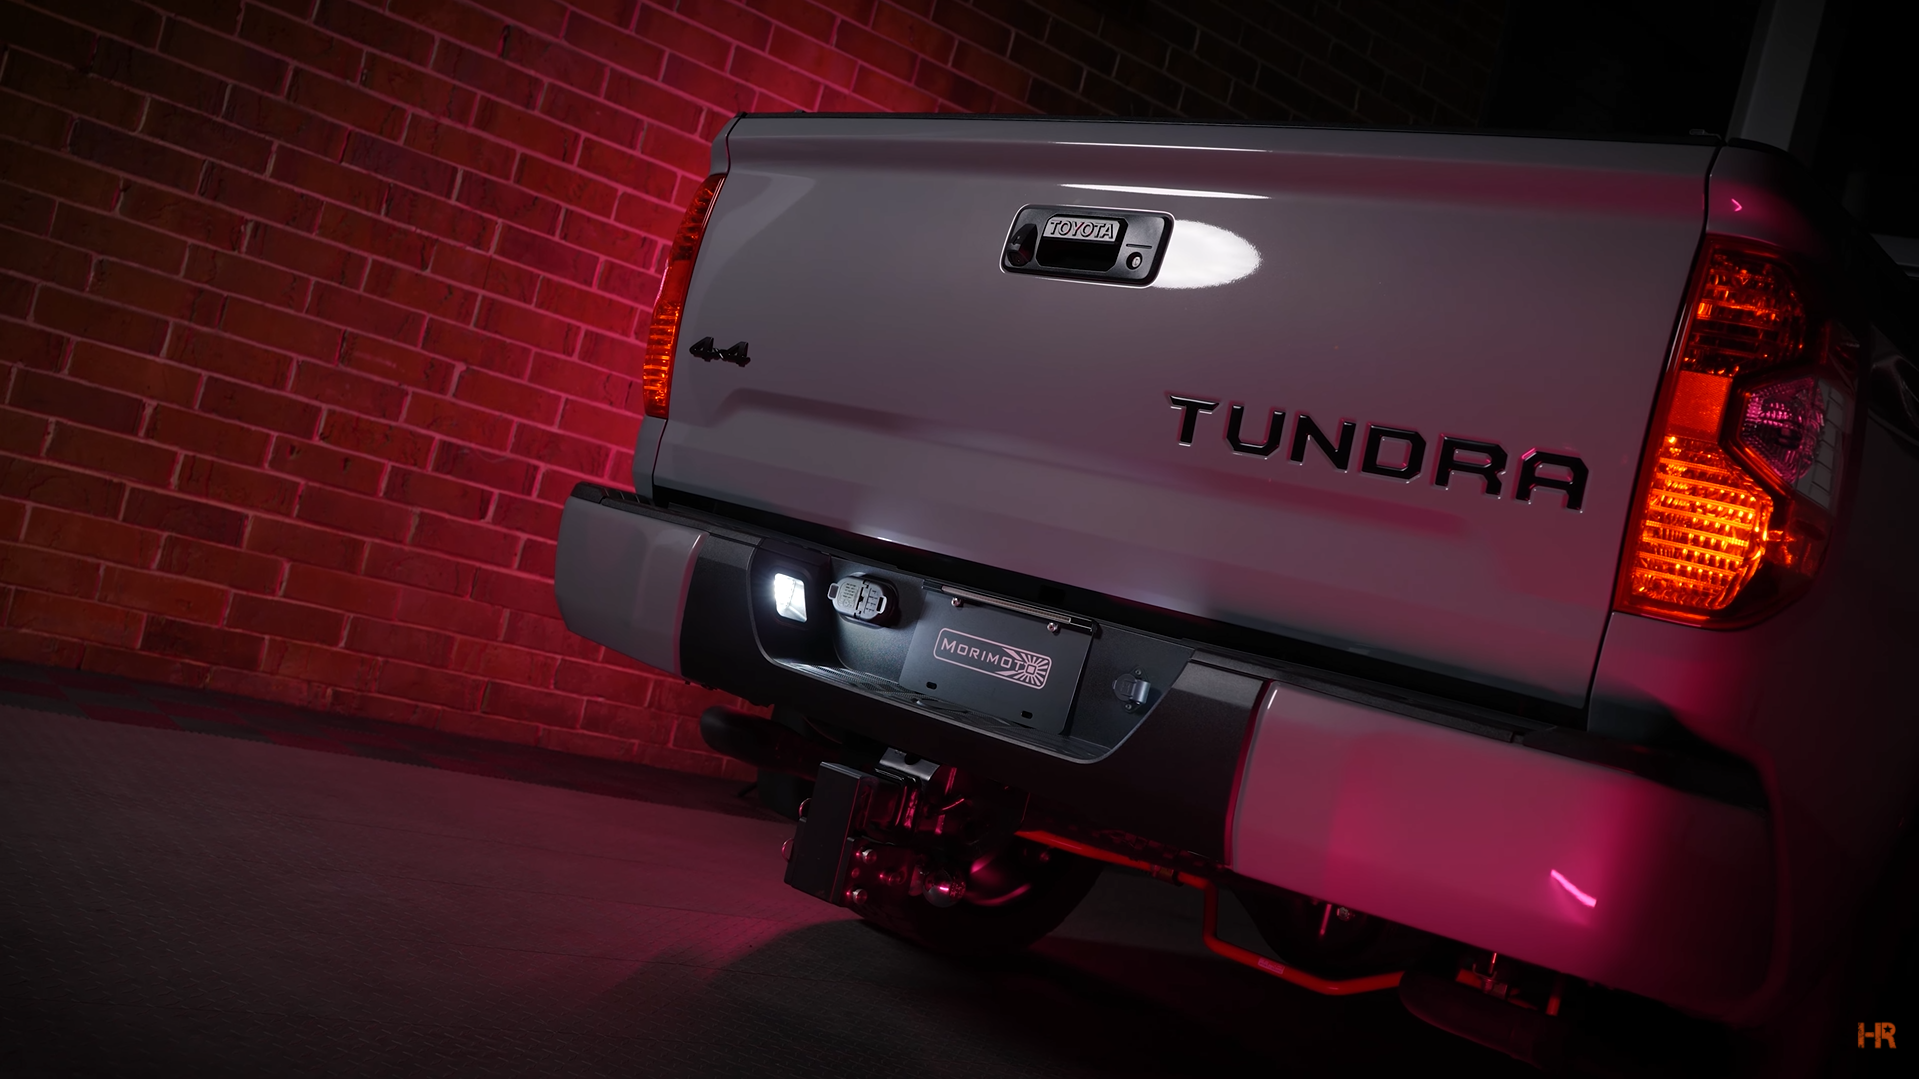
Unfortunately, these lights are not all the same. To make things easier on you we will go through each light to cover all the basics of the bulbs and installation. We will also discuss a few safety precautions you may need to take when installing new bulbs and how to install a resistor.
INSTALLATION
We will not beat around the bush today when it comes to the install. However, one thing we would like to note is before beginning you should have a pry tool kit, needle nose plyers, screwdriver, and a drill. We talk a bit about the tool kit in our blog post here.
Now that our required tools are out of the way, let’s begin!
Turn Signal
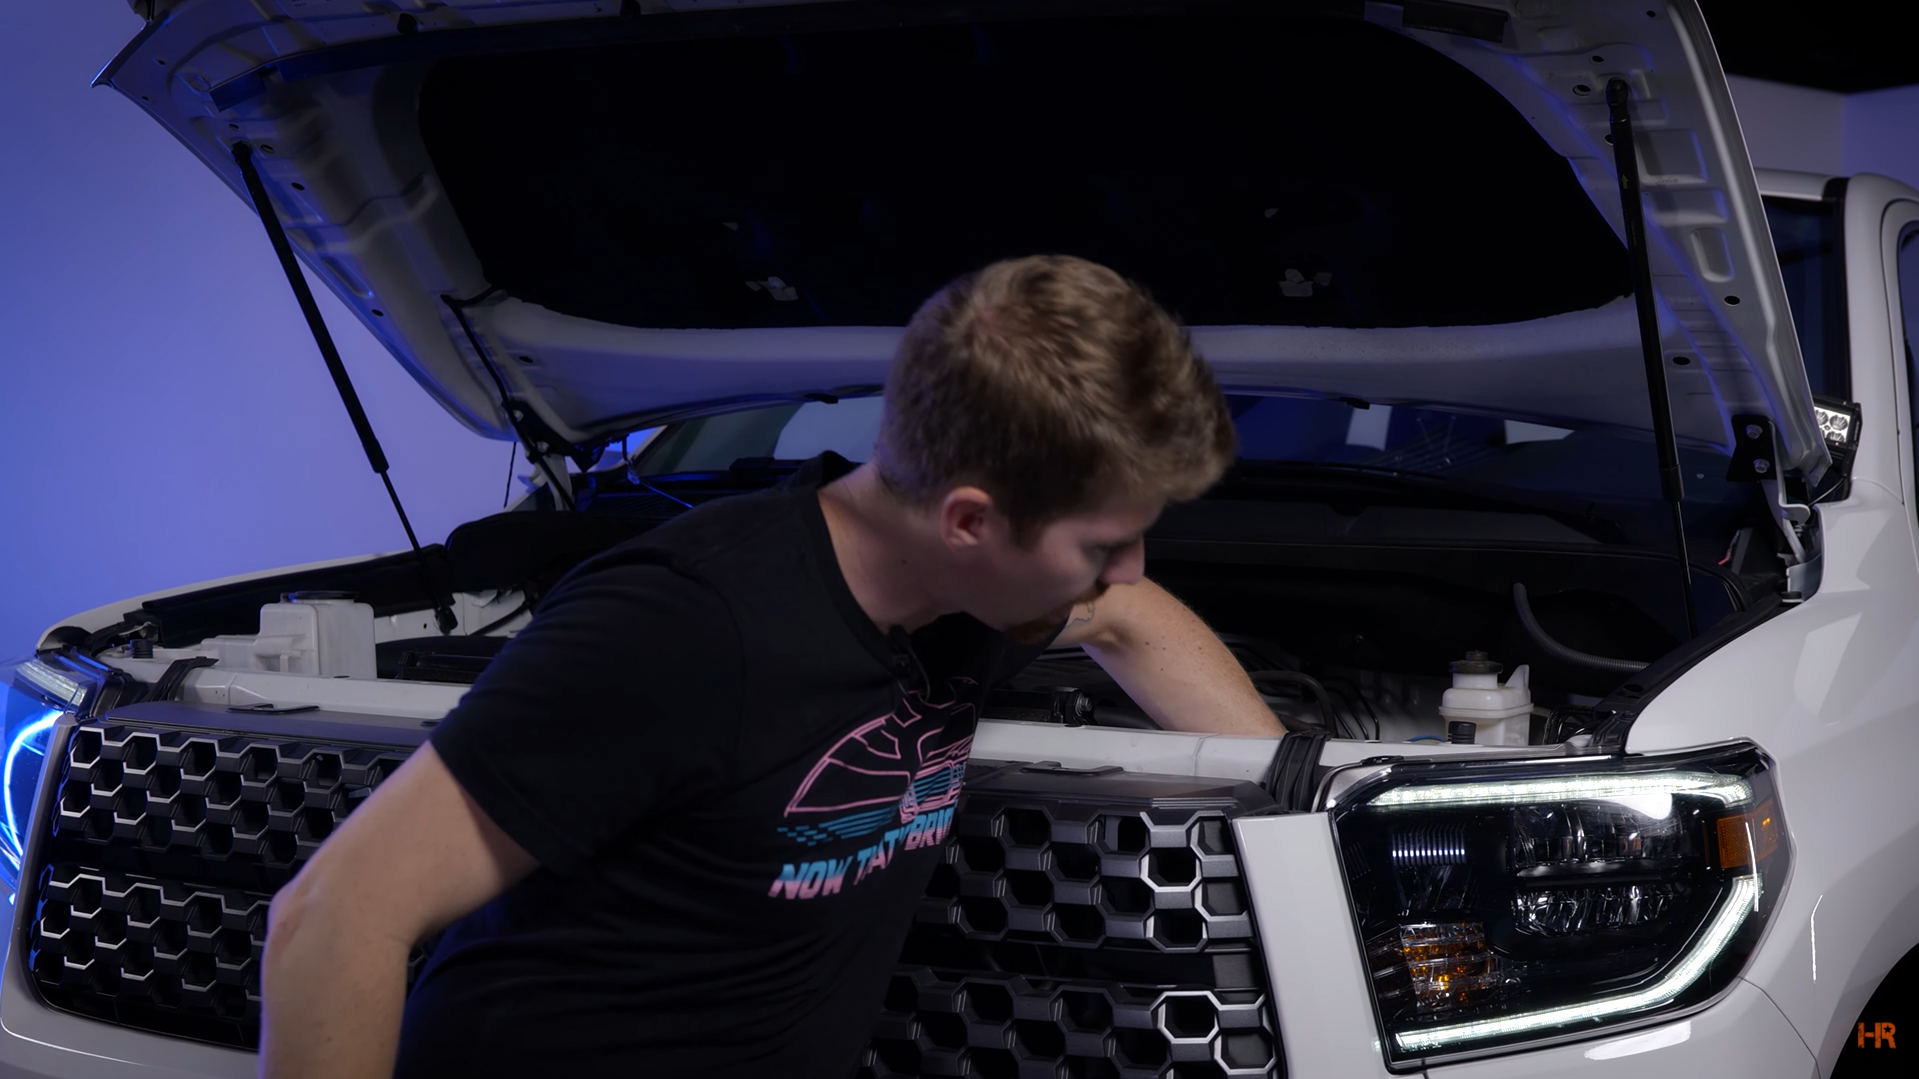
If you are already in the process of installing your headlights, this project will be super convenient for you. If you are like us and have already installed your Morimoto XB LED Gen2 headlights, to install the turn signal bulb you will need access the back of the headlight from the engine bay.
Start by popping the hood and reaching the back of the headlight. Find the 7443 Incandescent bulb and turn it counterclockwise.
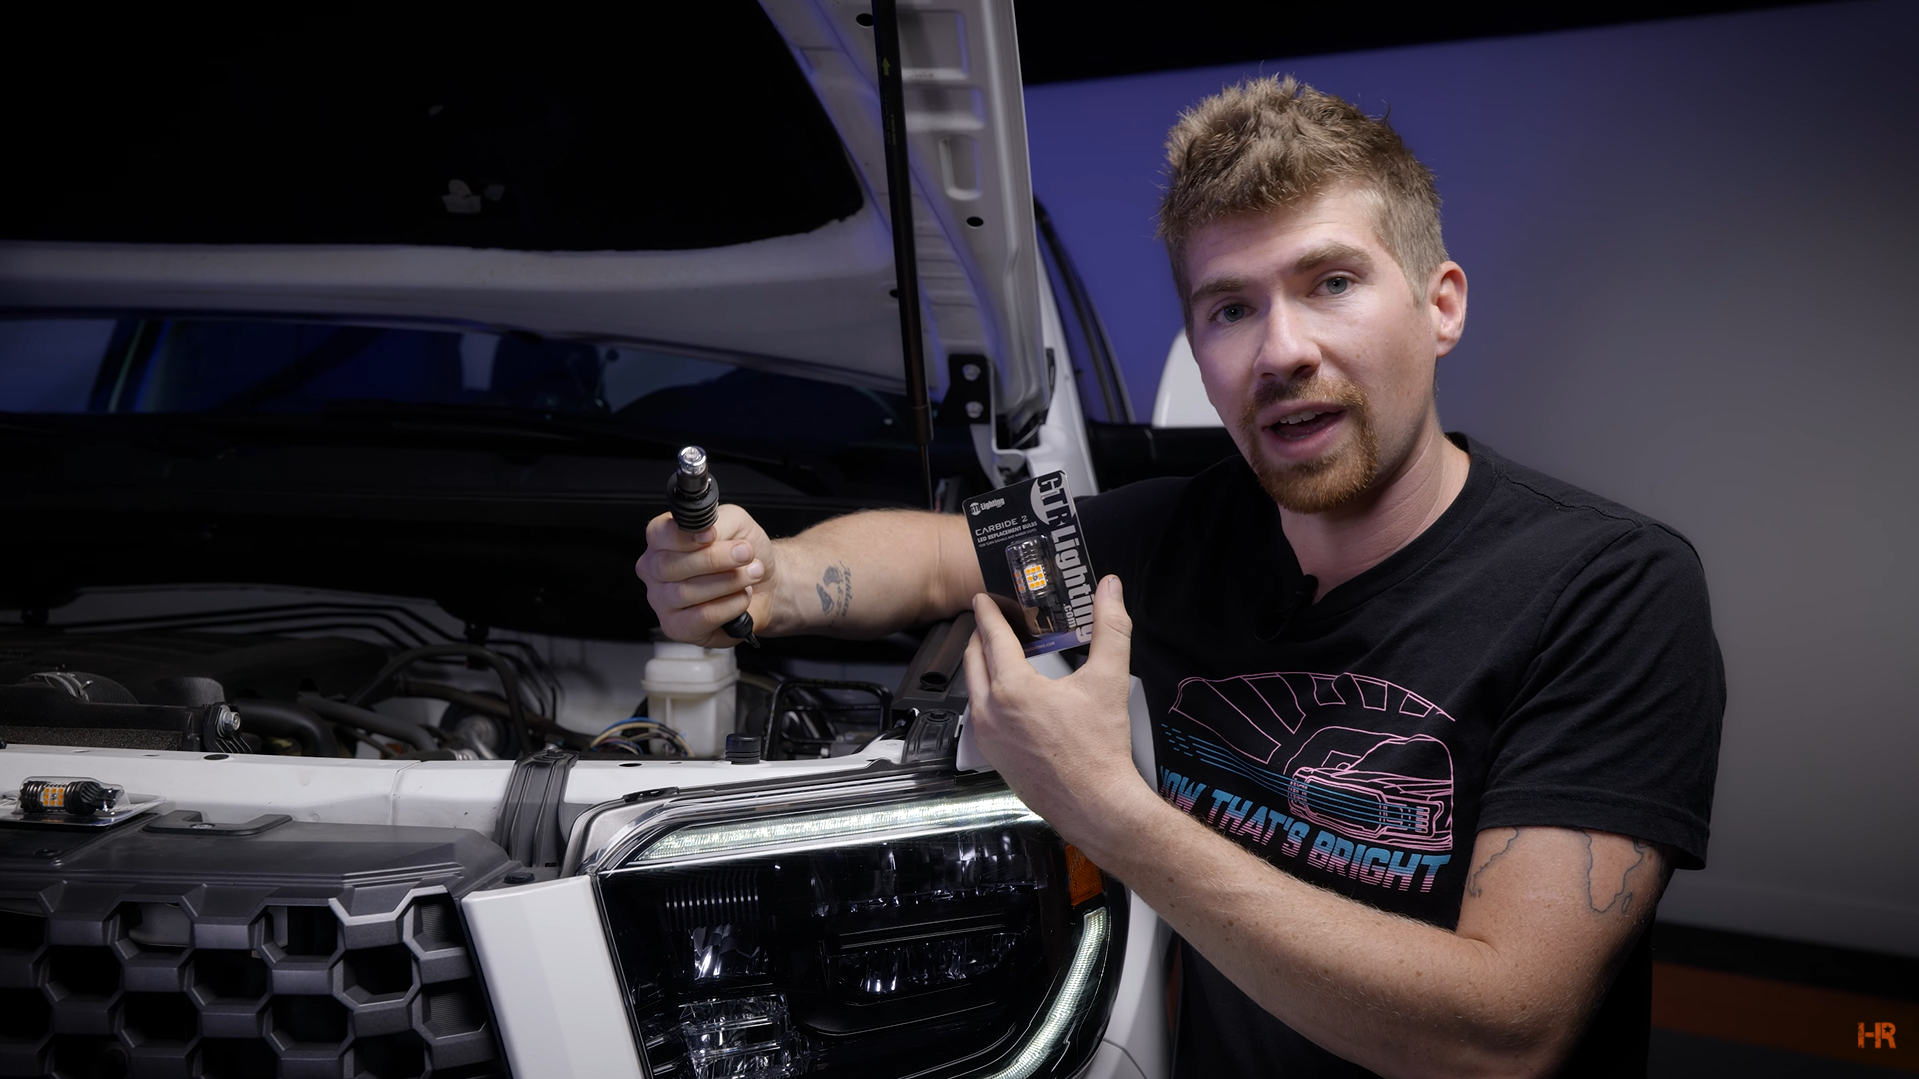
To replace the stock turn signal bulb, we recommend the GTR Lighting Carbide 2 or the indicator I-LED Bulb from GTR Lighting. The I-LED has a great aftermarket look that blends in well with the XB LED headlight. The Carbide 2 is a great option and we have yet to find it hyper flashing.
Installing the I-LED bulb is easy, but if you are looking for more information, check out our video that covers the Ultra I-LED. To fit this bulb into your Tundra, put three screws into the bulb at 12 o’clock, 3 o’clock, and 9 o’clock. You can then plug it in and insert it into the headlight housing.
If it does not work, flip it 180° and plug it back in. These lights are polarity specific so they will not turn on in certain positions.
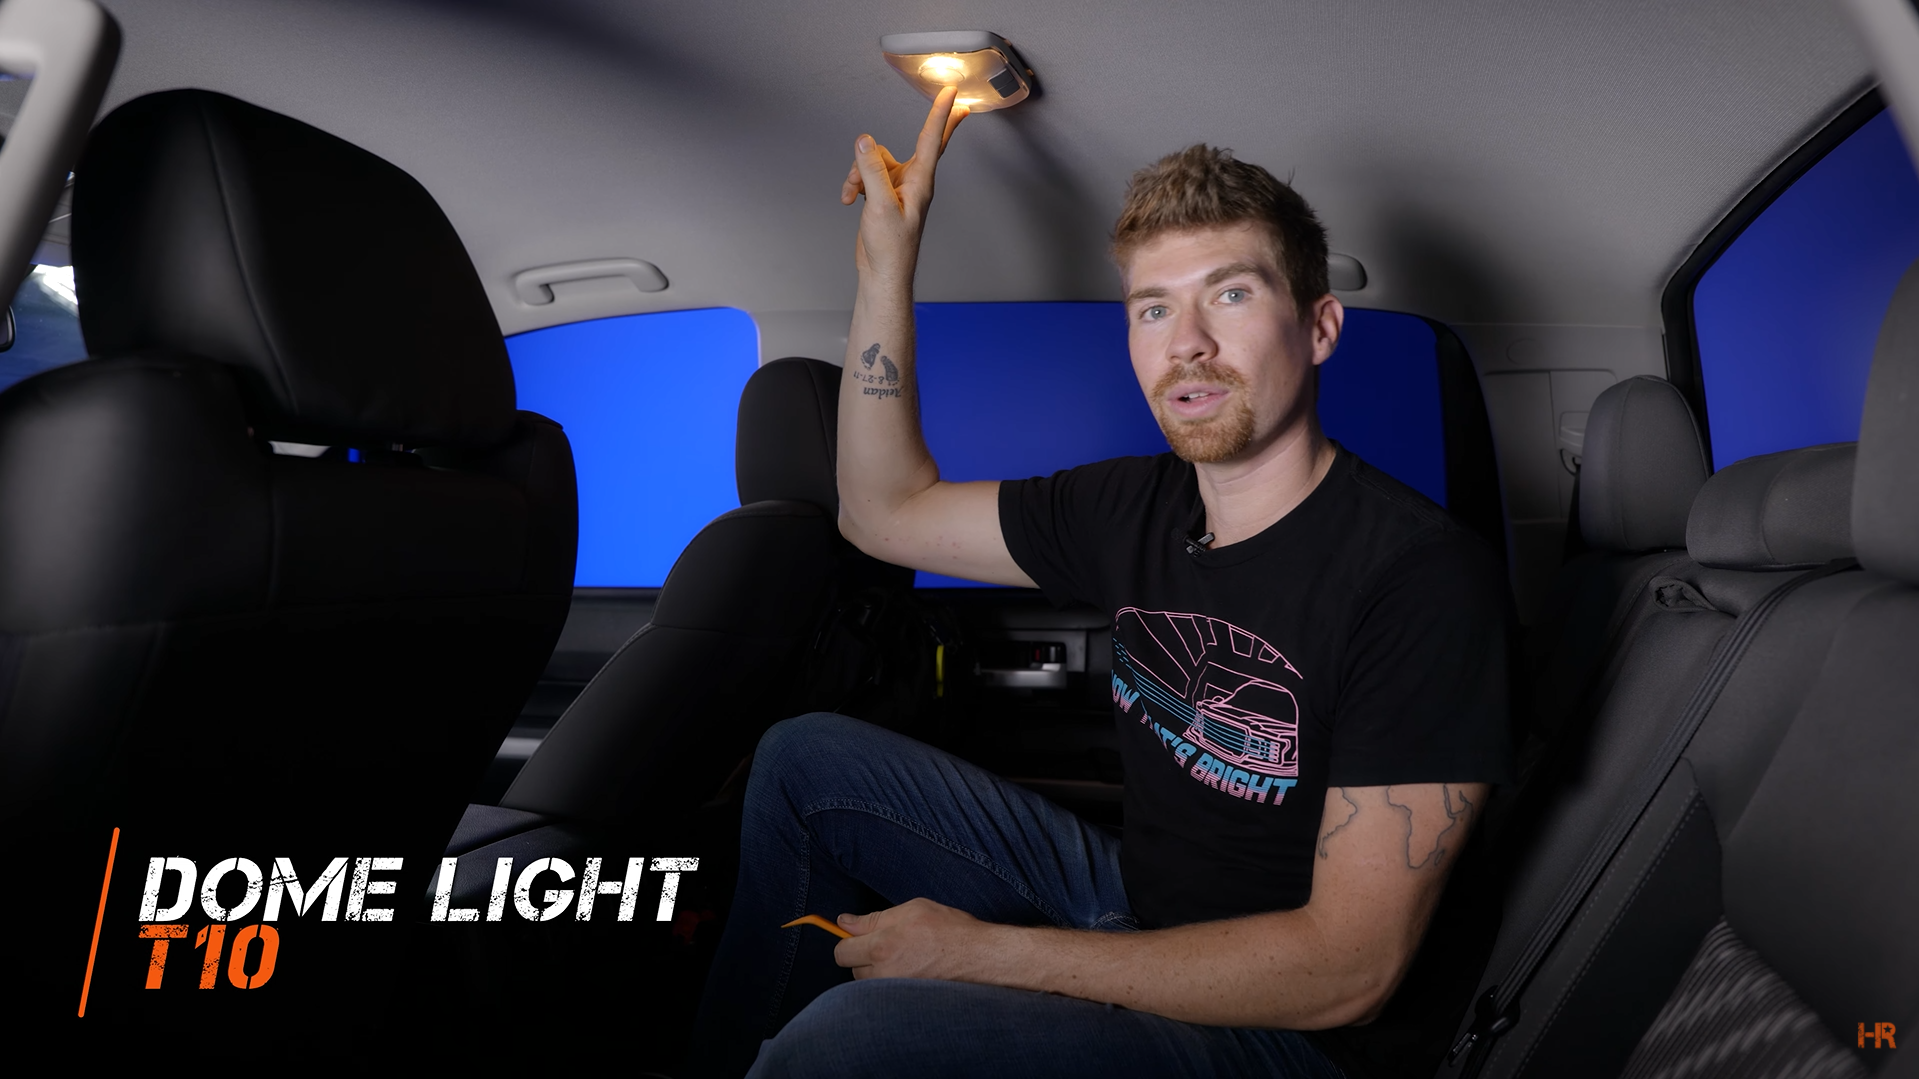
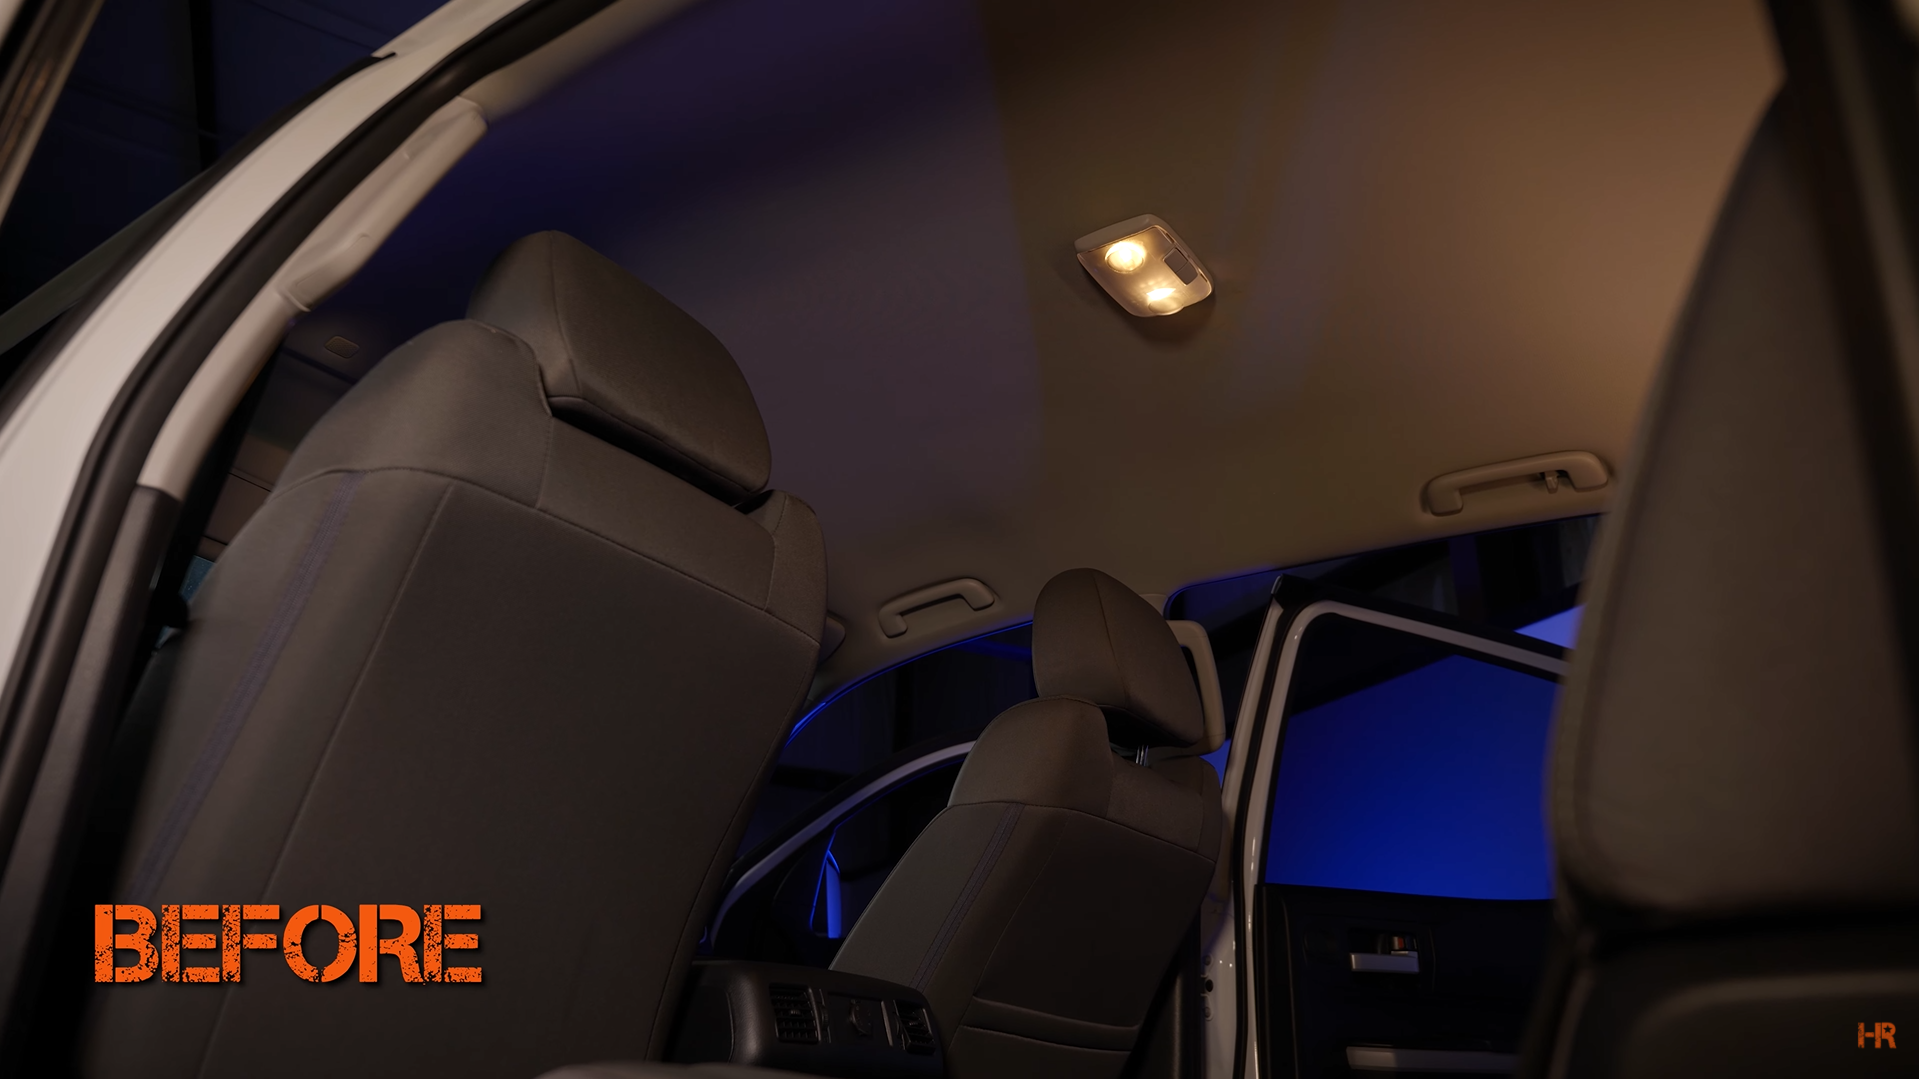
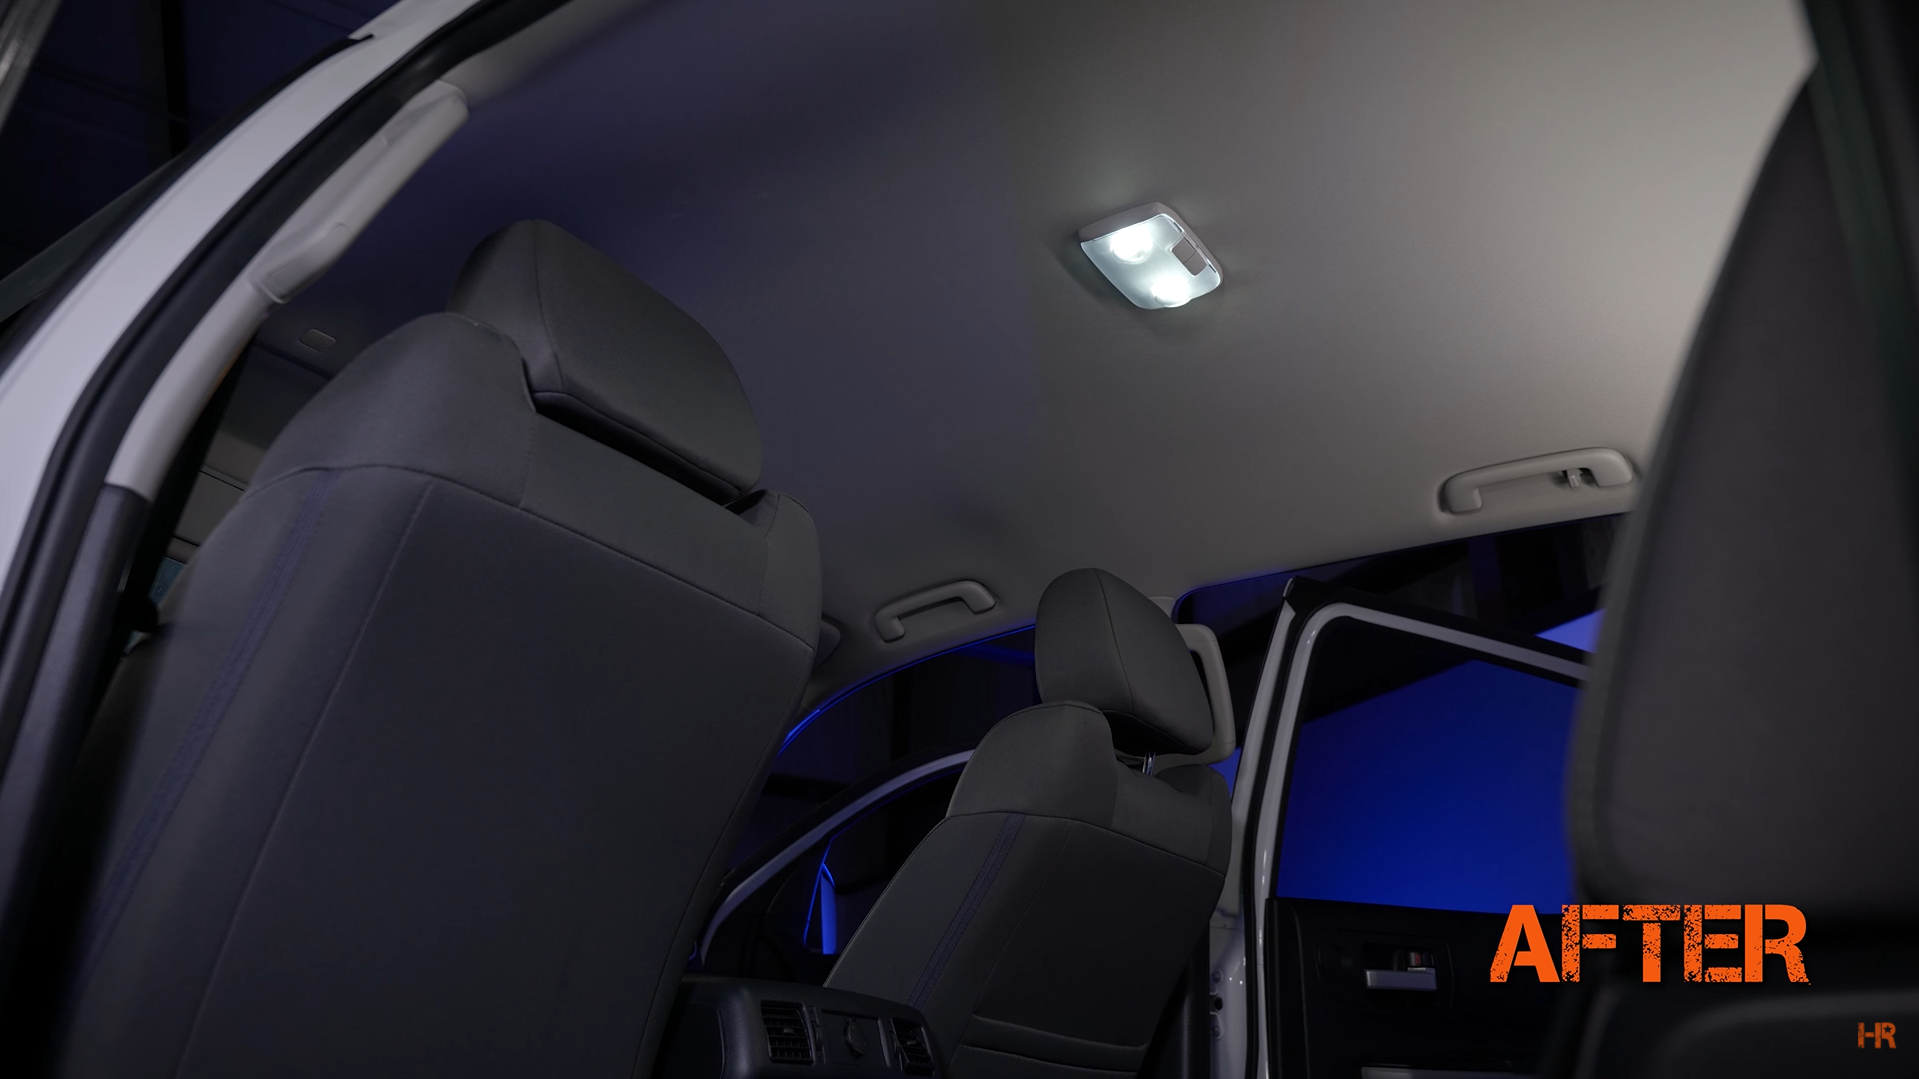
Interior Lights
All those incandescent bulbs dotted throughout your interior provide a dingy experience when sitting in the car. They are super dull and in need of an LED swap. You can use something from that pry tool kit we mentioned or this Interior Pry Tool Kit from Morimoto.
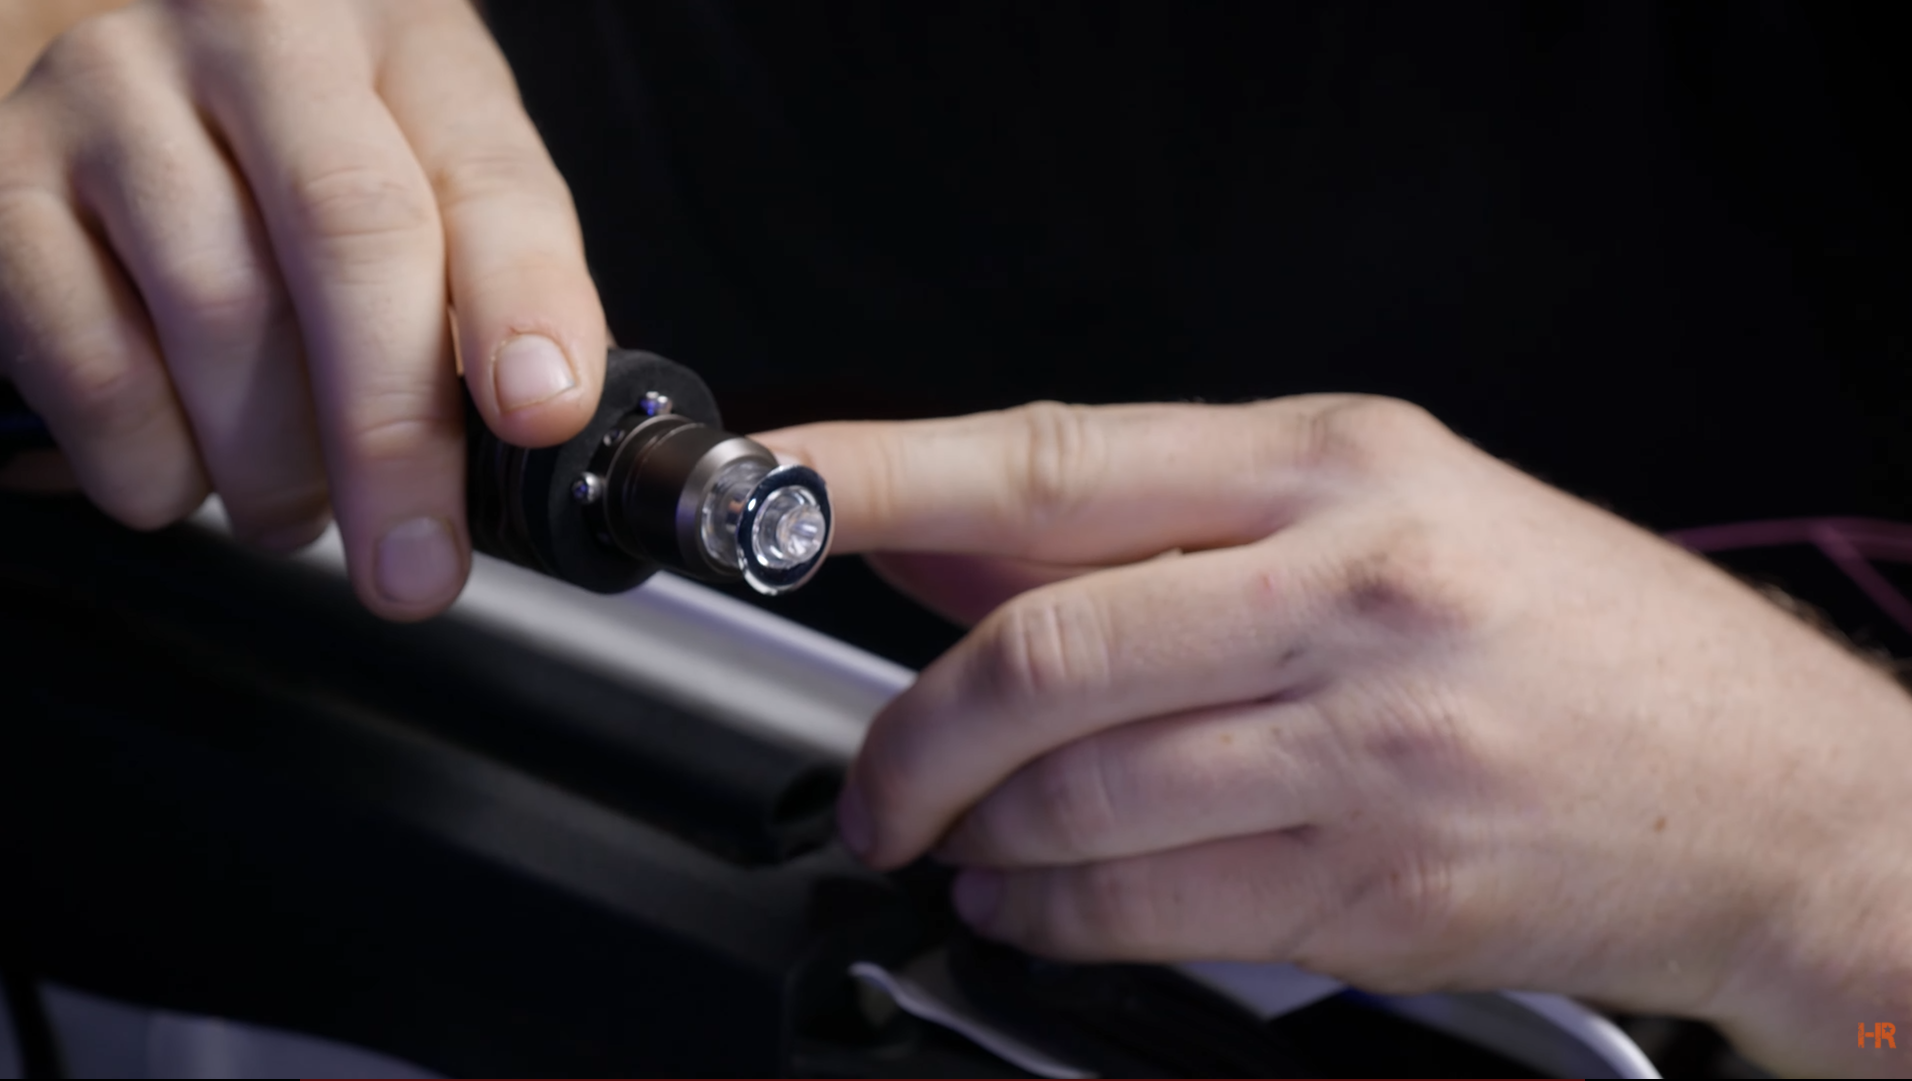
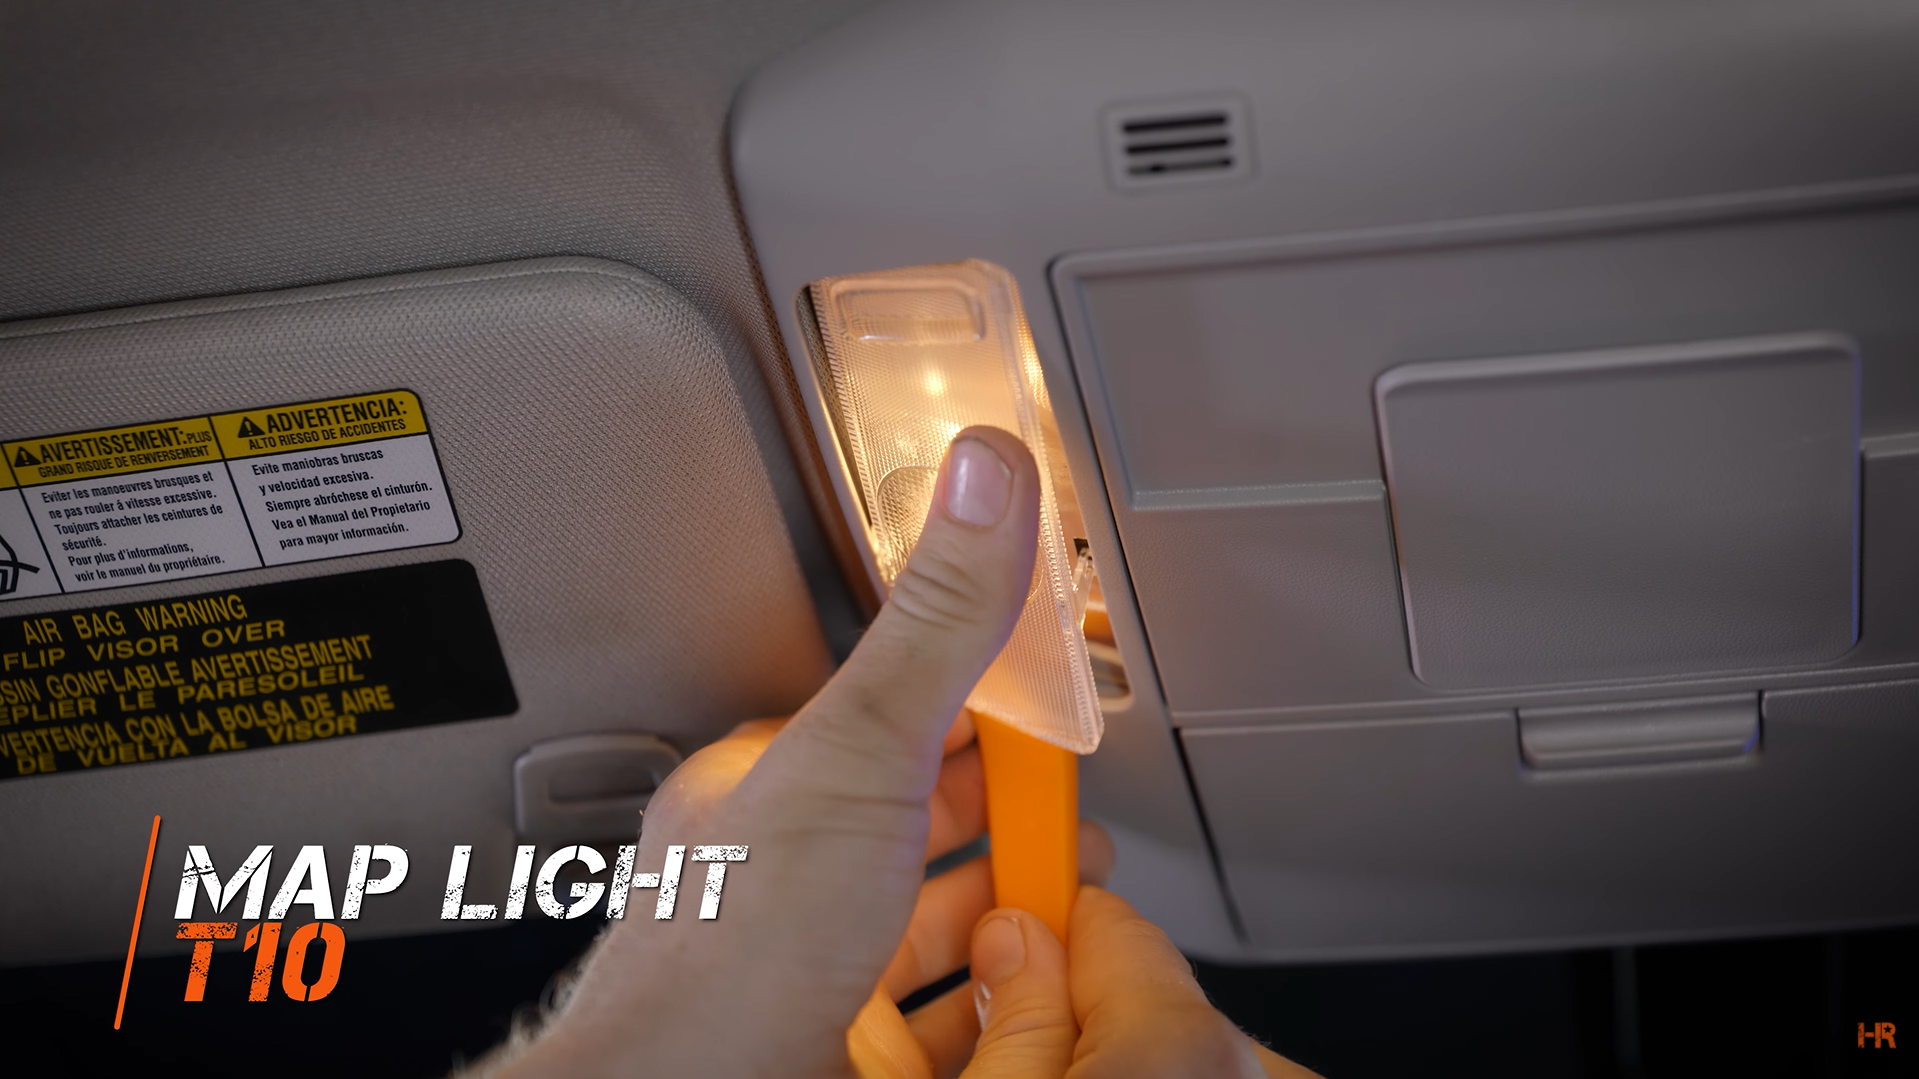
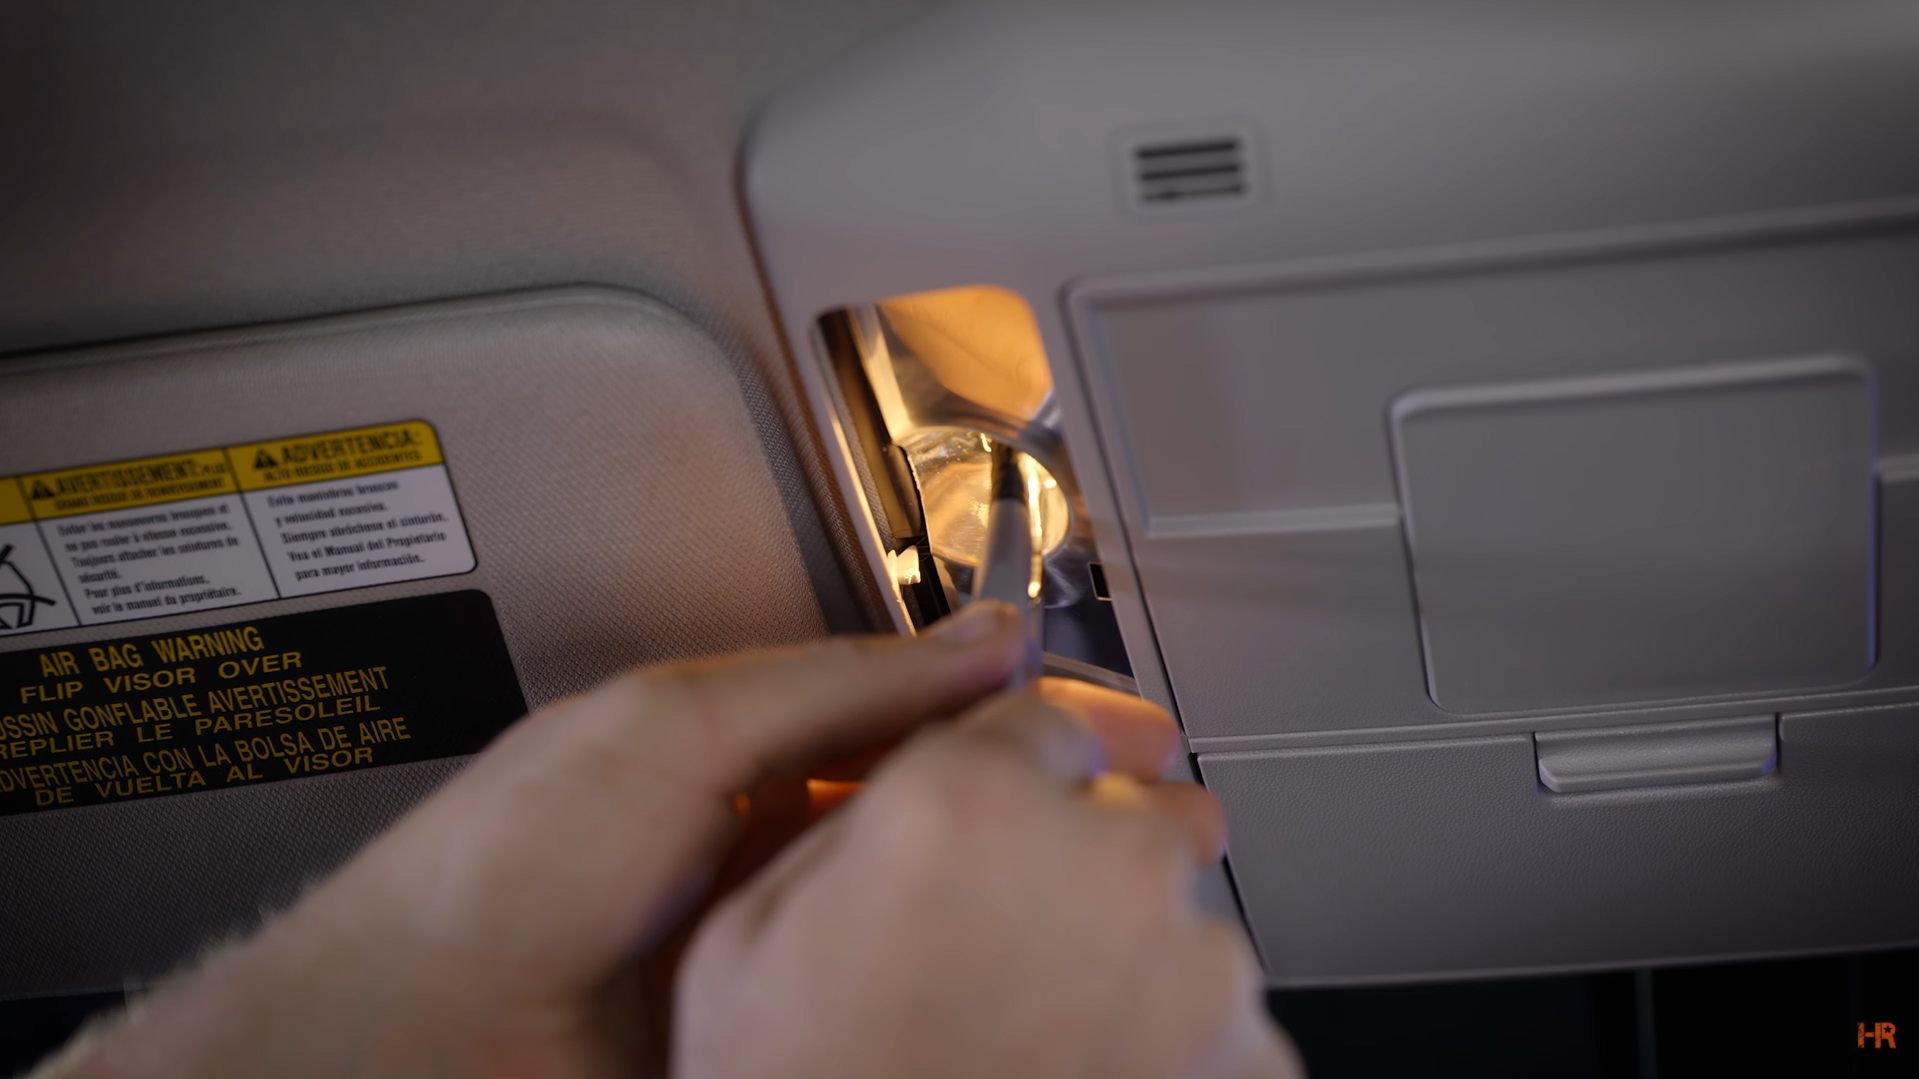
We will start with your map light. First, pop off the plastic lens to reveal the T10 bulb. Do not remove the bulbs with your fingers as they are extremely hot. To remove them, use a pair of needle-nose plyers.
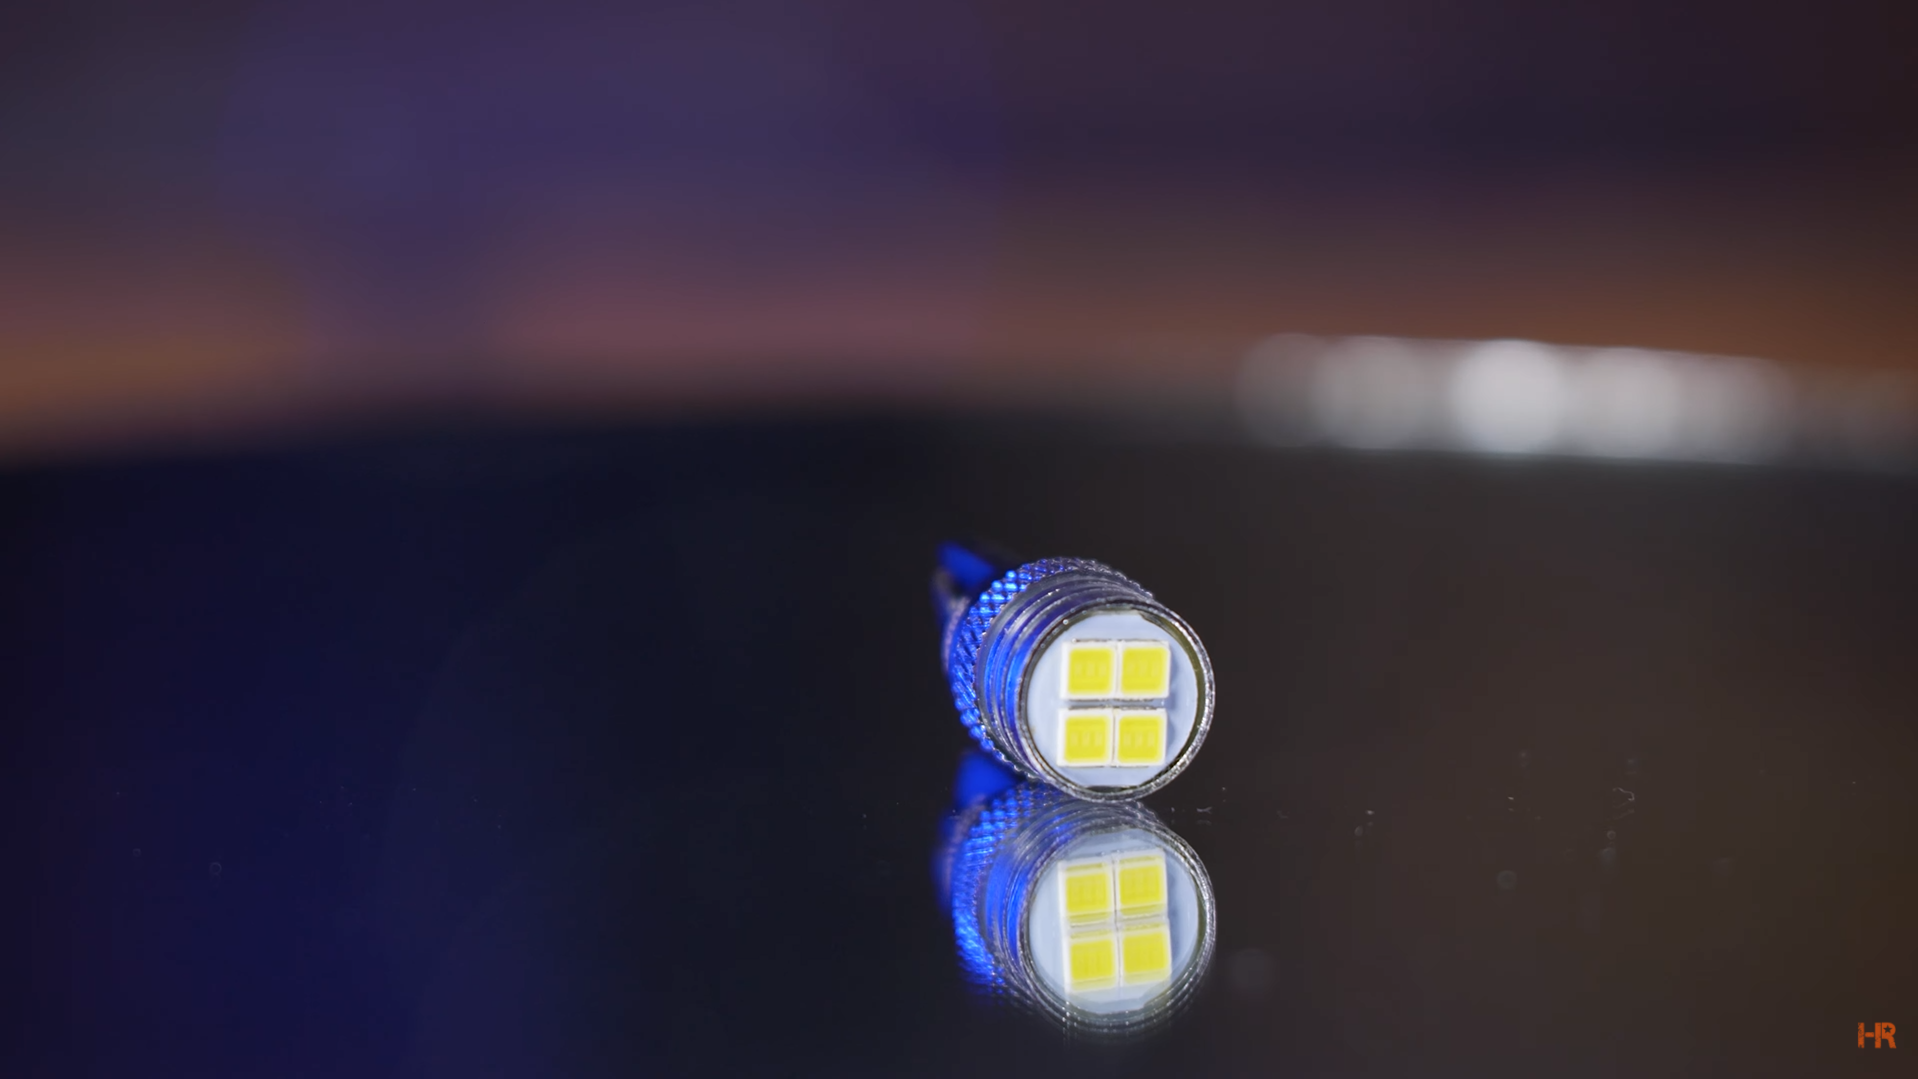
To replace your map light, we recommend either the directional GTR Lighting Carbide 2 or a 6 or 10 Chip bulb. The 6 Chip and 10 Chip bulbs are a bit pricier than the Carbide 2, but they come with improved light output. Some may like this brighter look, and others not so much.
If the light does not come on at first, turn the bulb 180° and plug it back in. These lights are polarity specific so they will not turn on in certain positions. Then you can put your plastic cover back on.
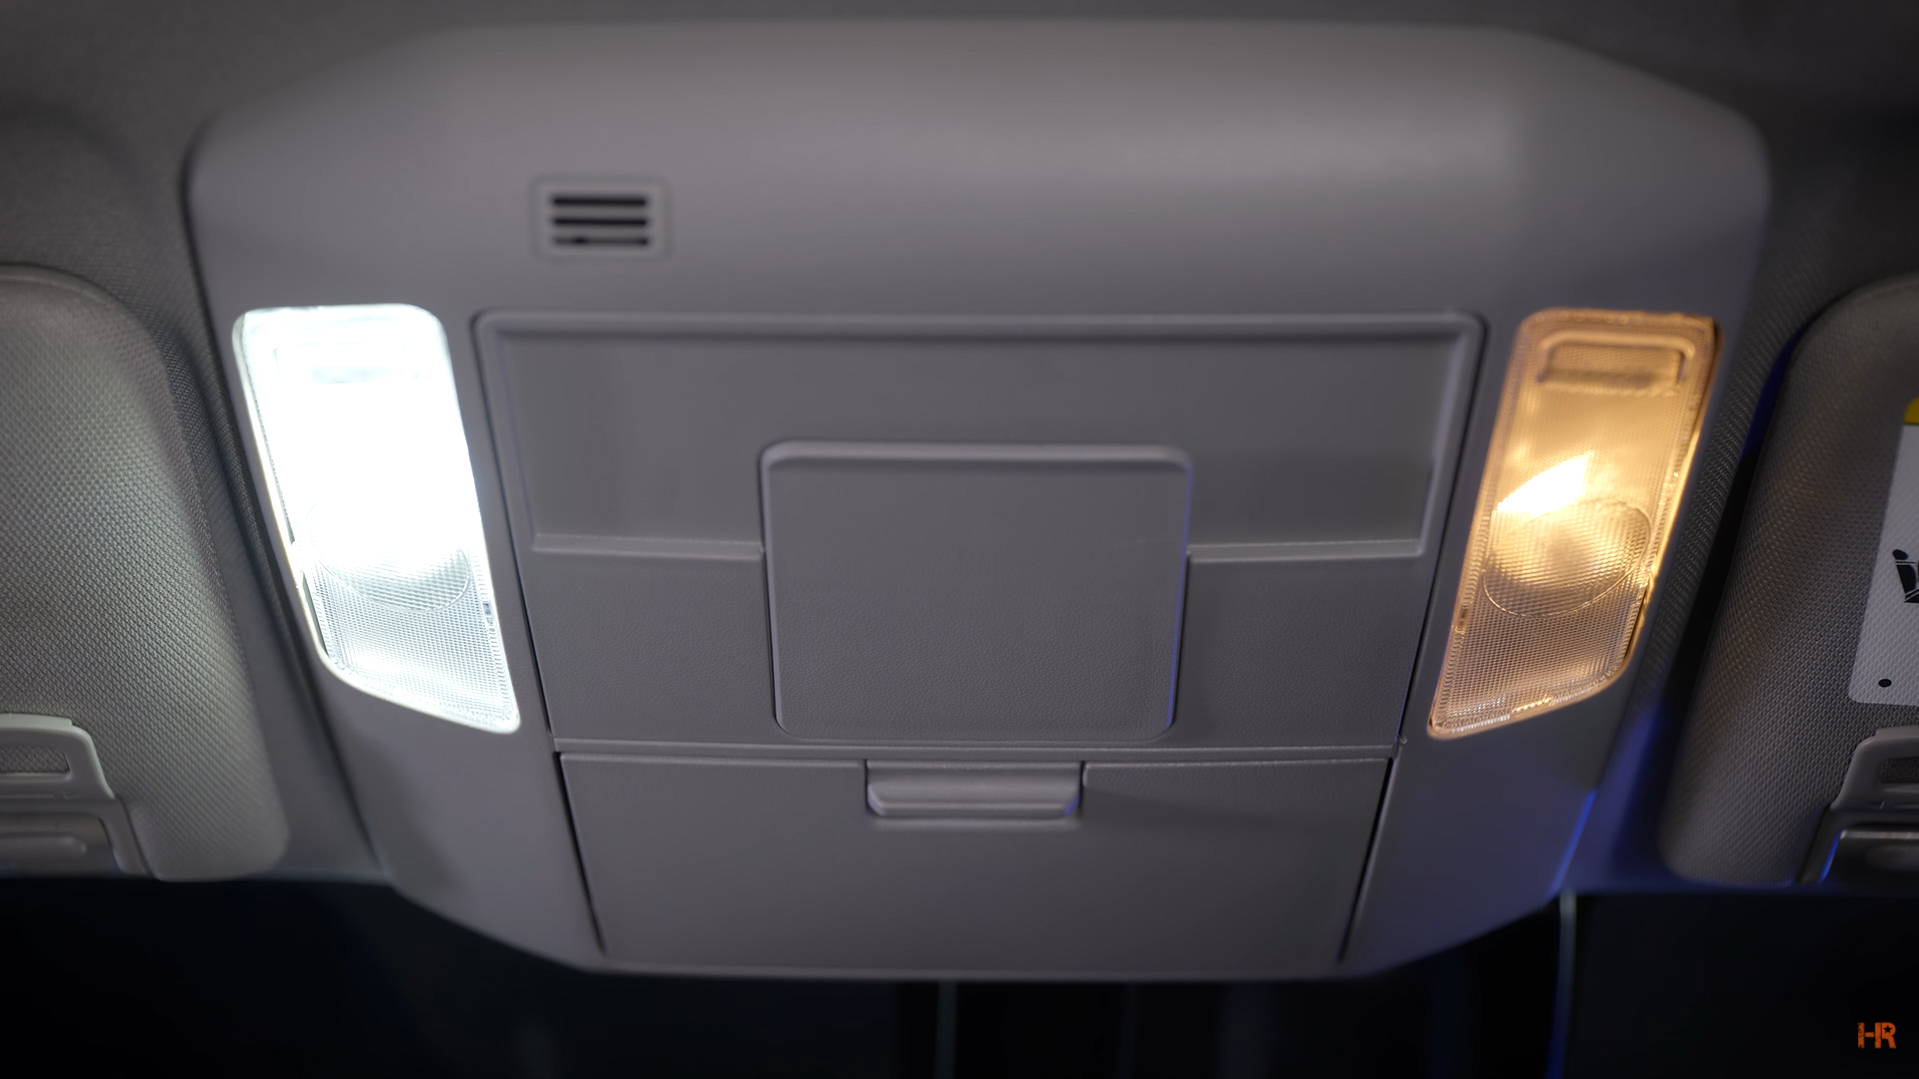
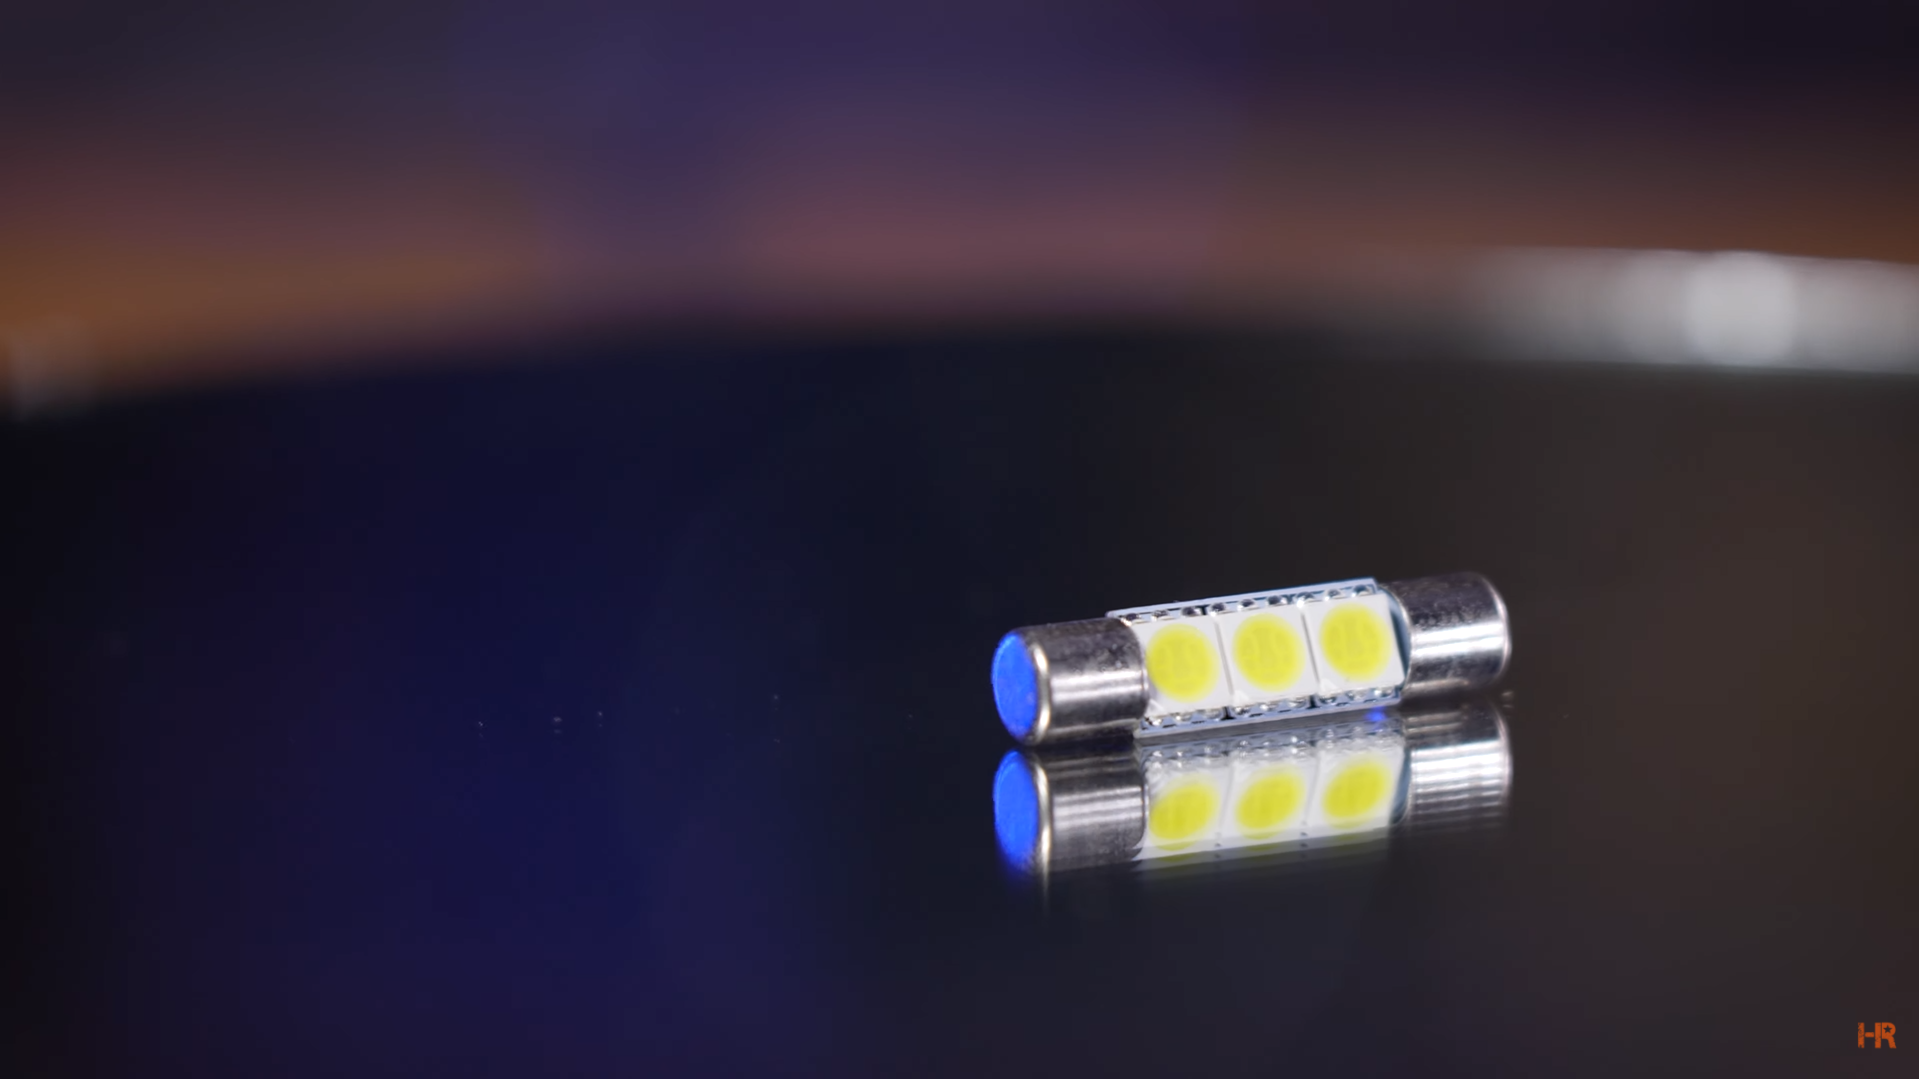
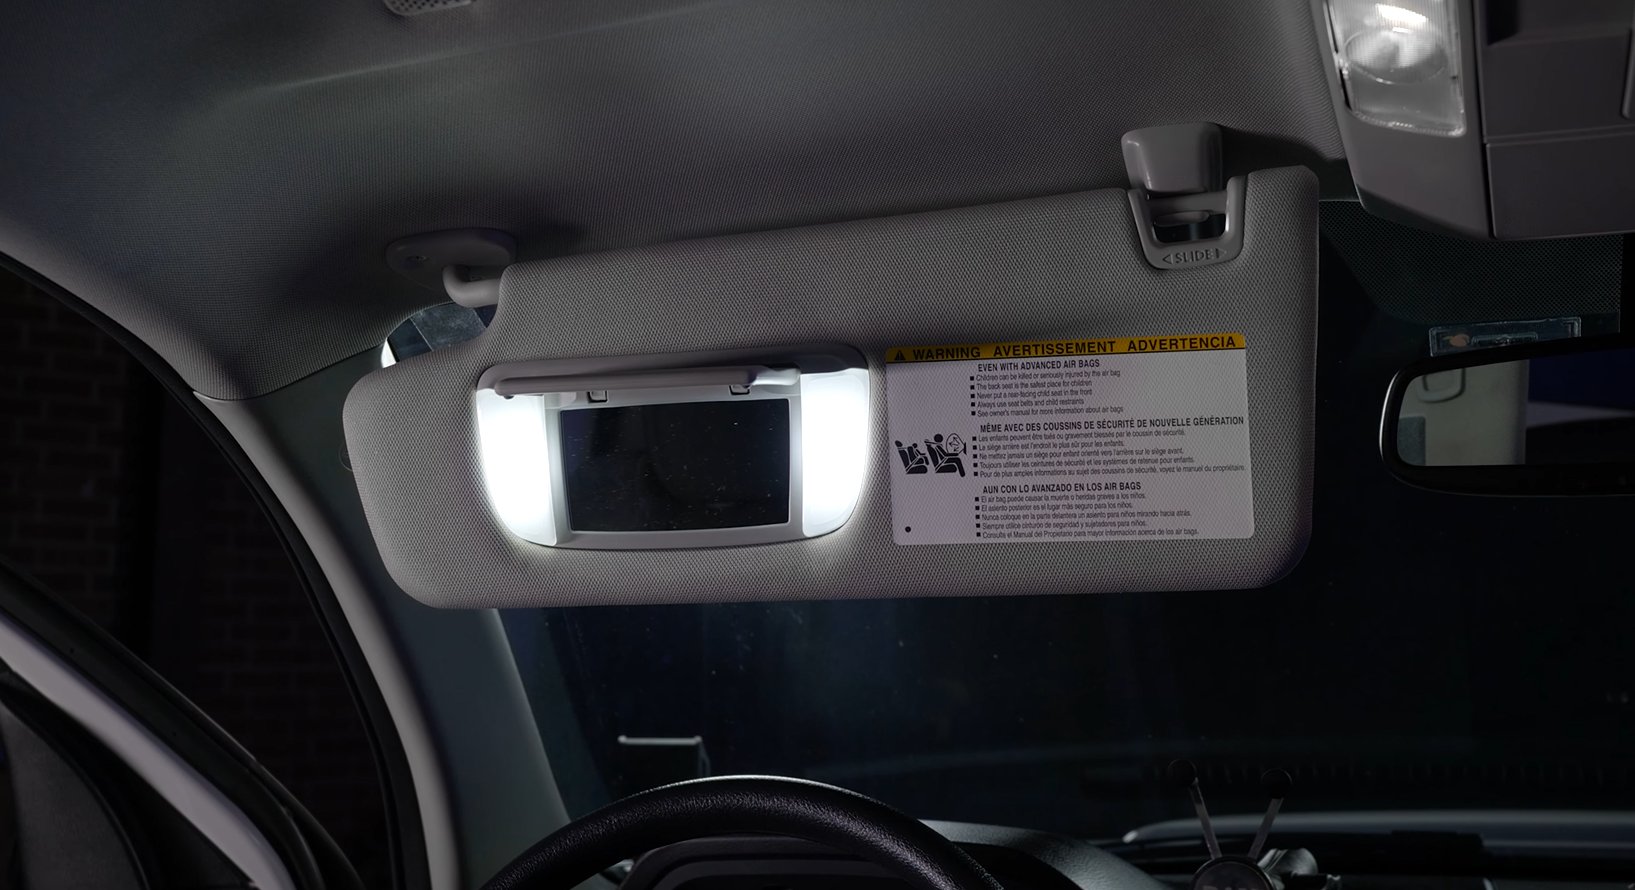
Moving to your vanity light, take the plastic covers off to reveal the 29mm Festoon bulbs. Use your needle nose plyers to remove them. Do not squeeze the bulbs too tight or you will break the festoon.
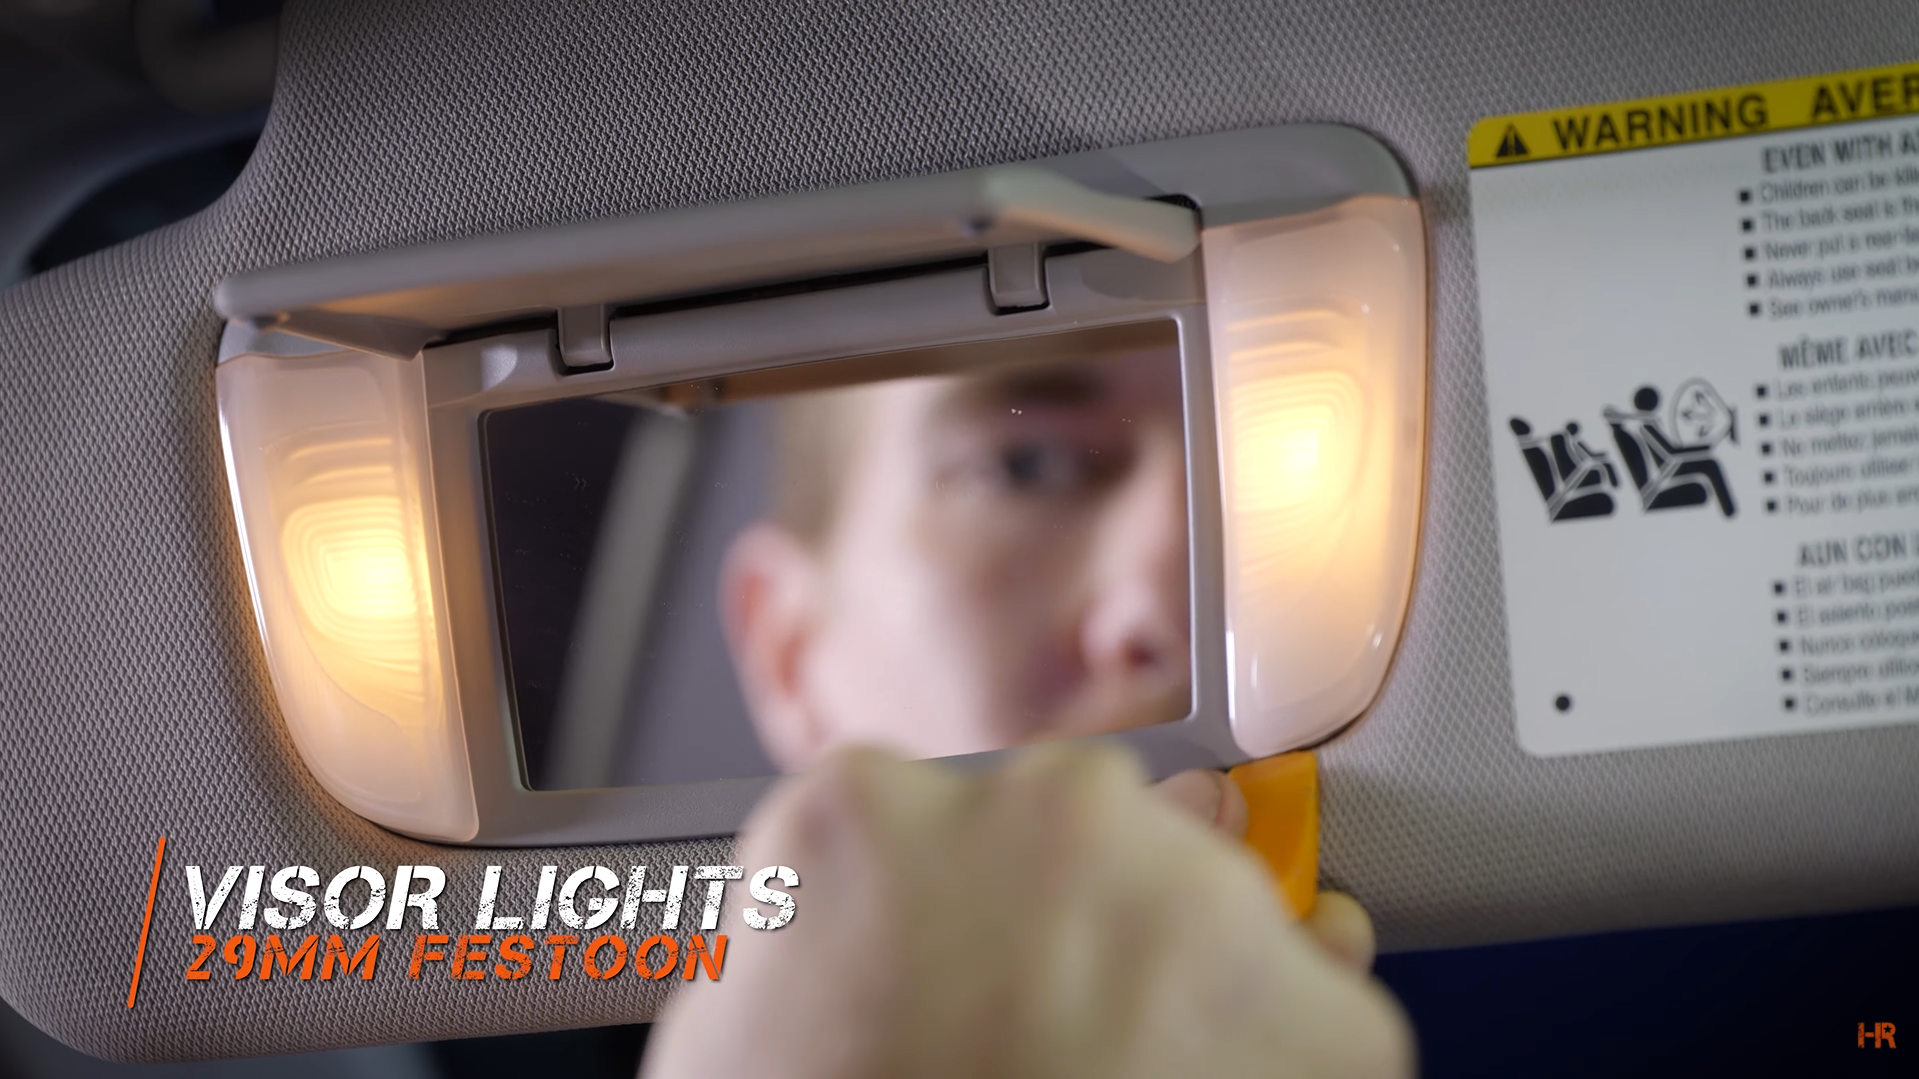
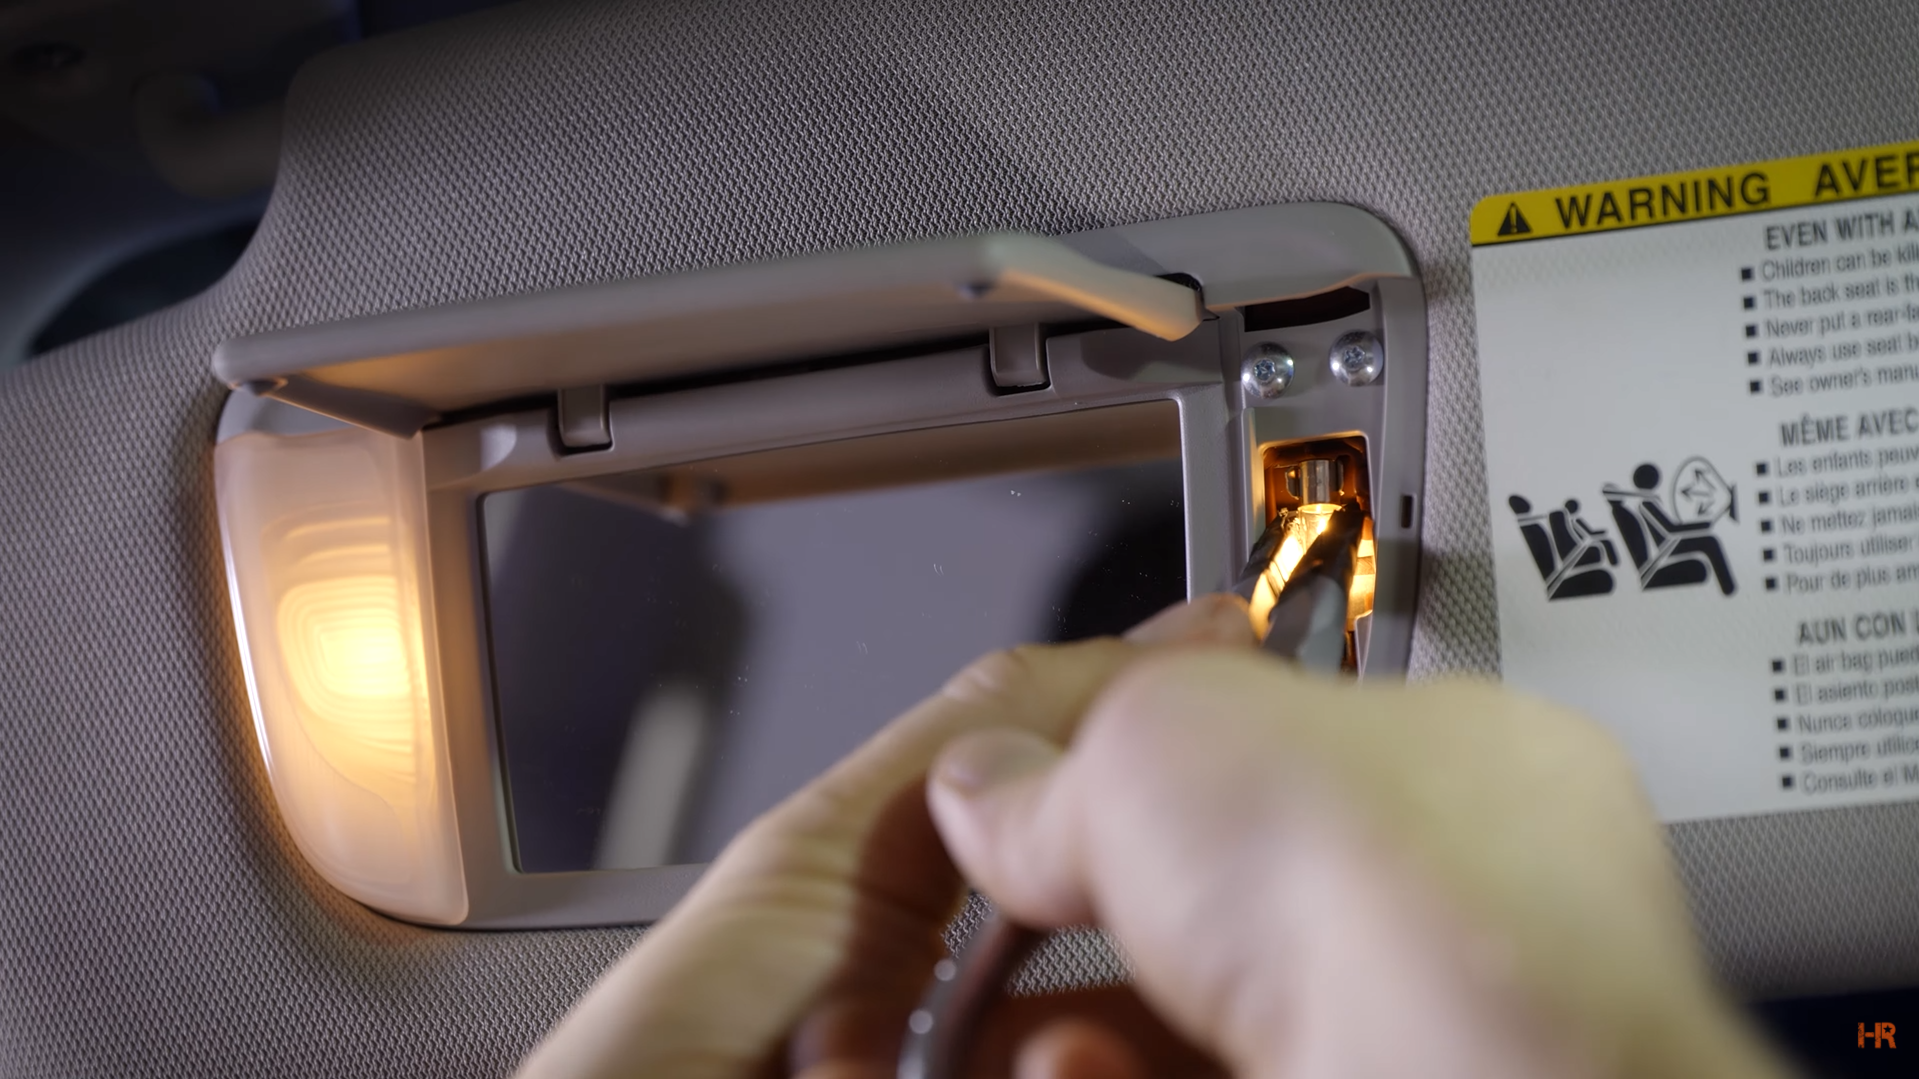
To replace it, we recommend the GTR Lighting series Festoon bulbs. These are really bright, and they do a very good job. Festoon bulbs are also polarity specific so if they do not turn on, turn the bulb 180°.
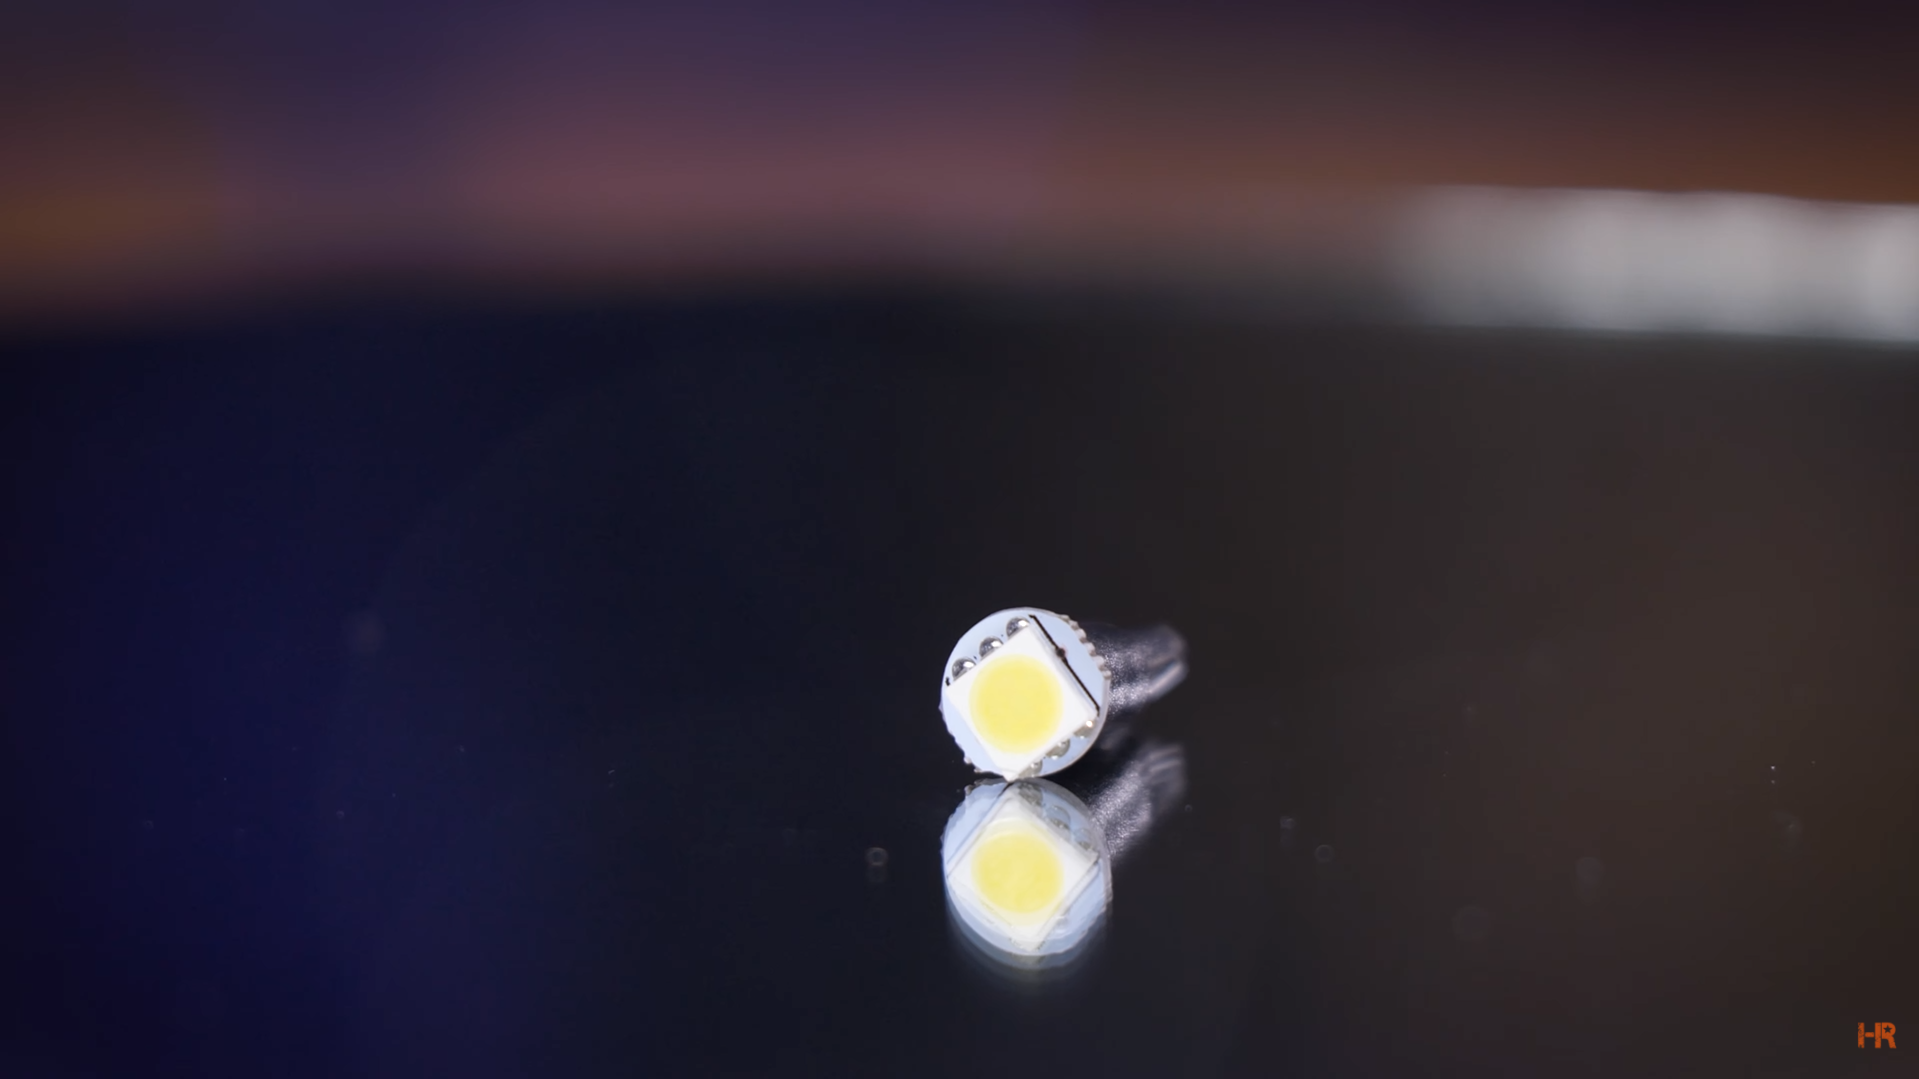
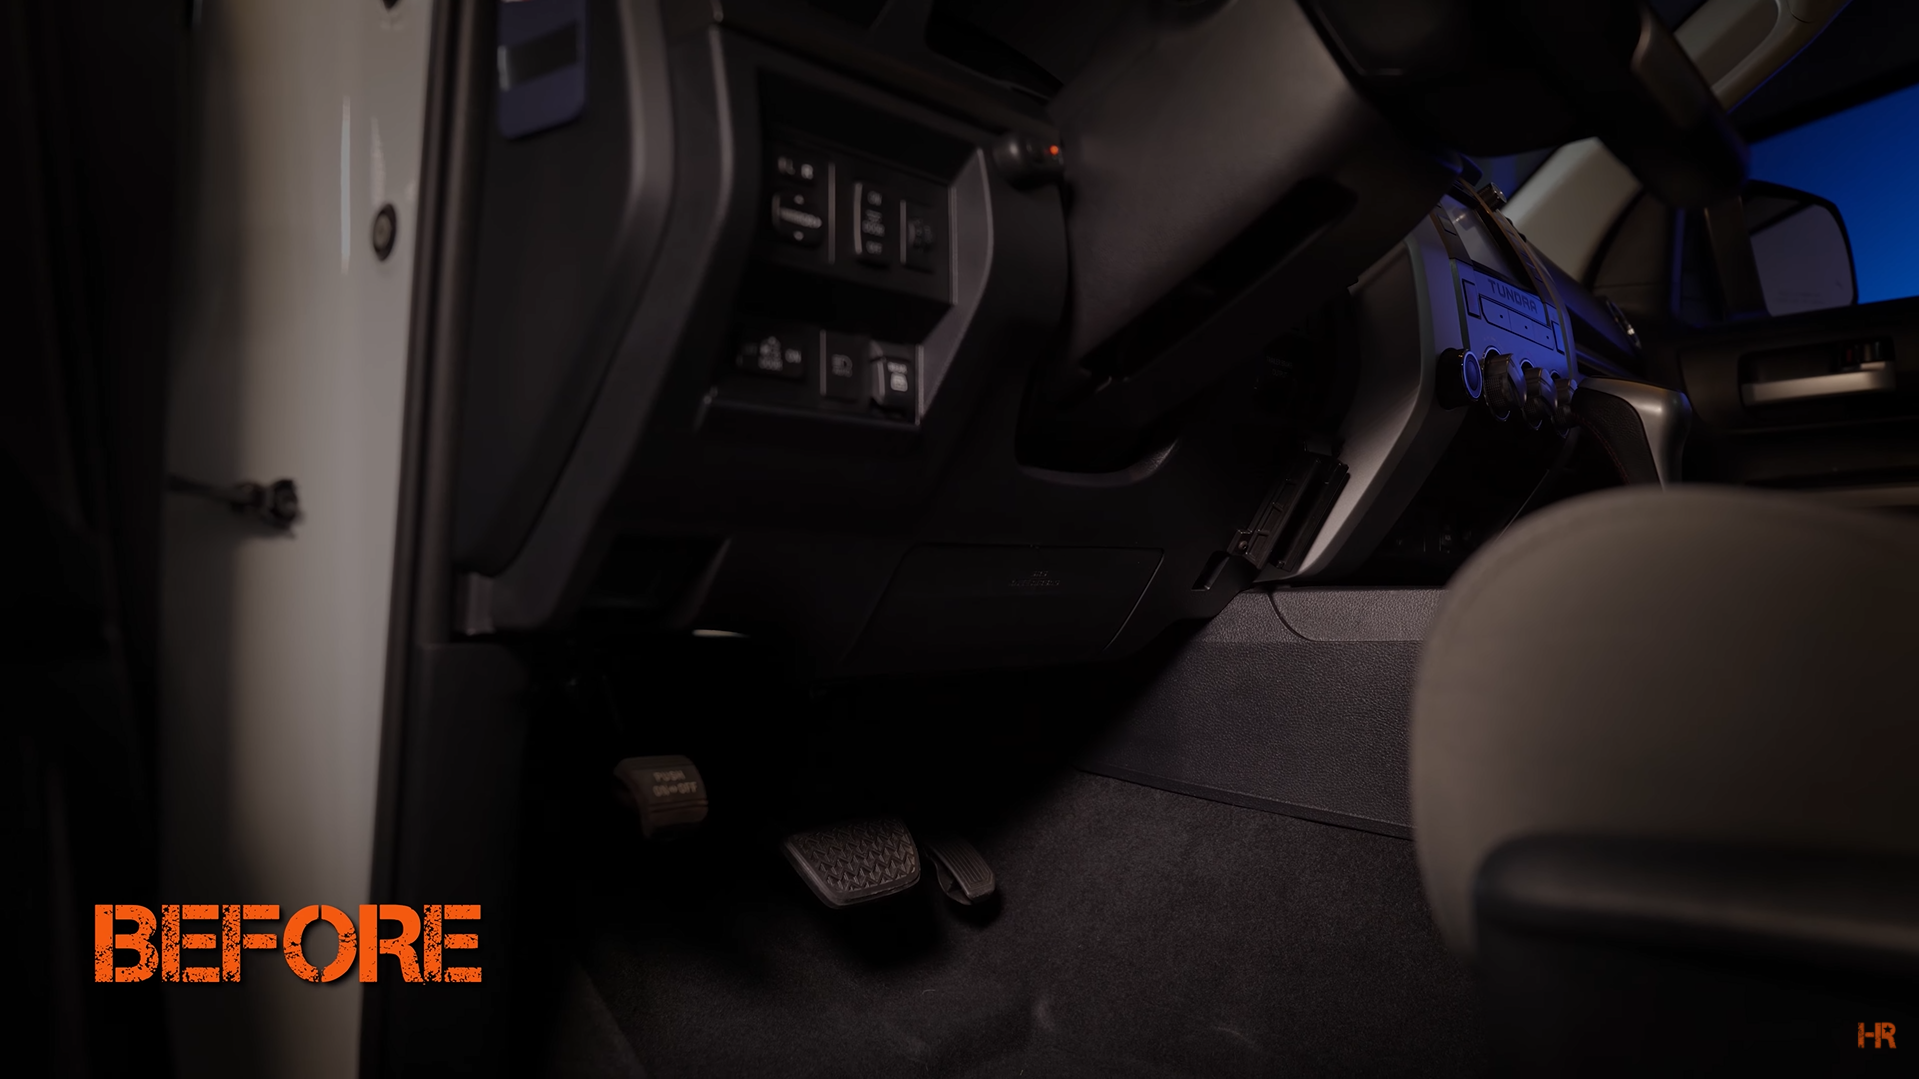
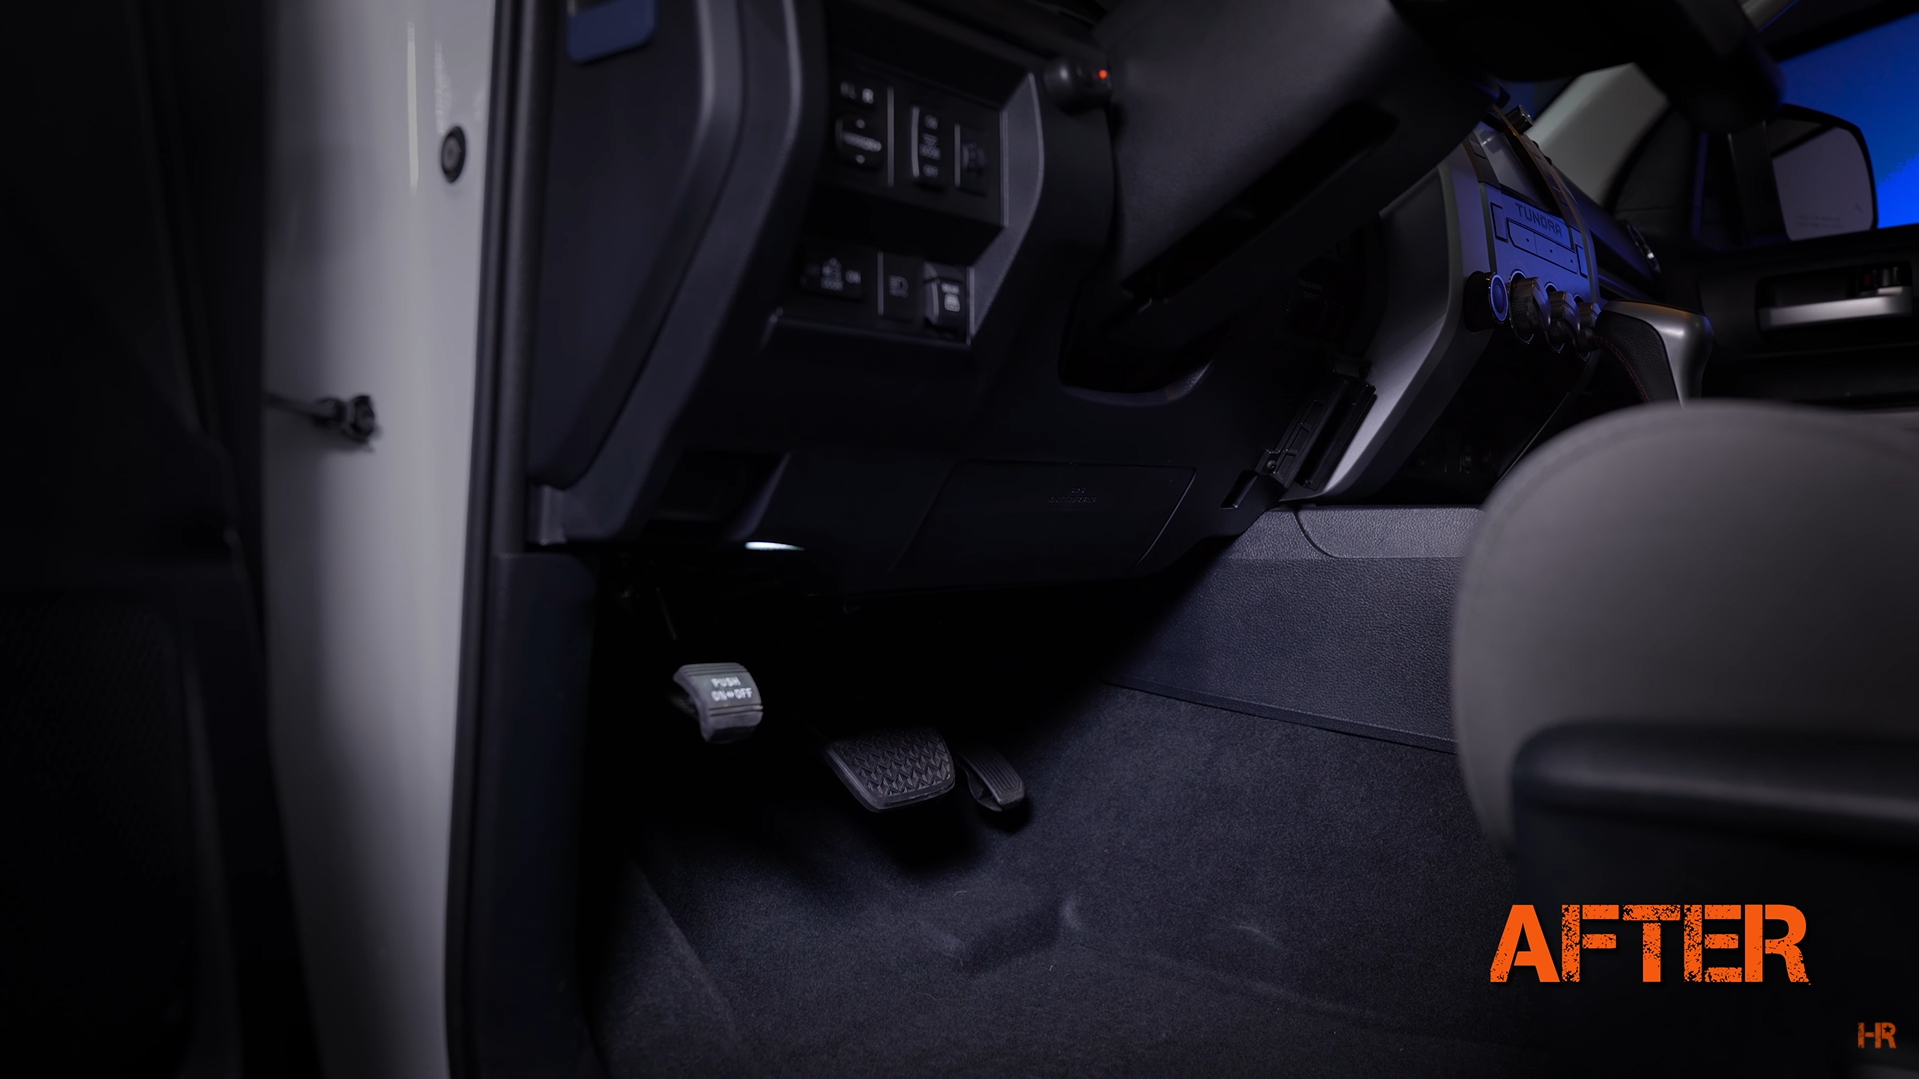
Next, we will replace the footwell light. This requires a T5 bulb. We recommend the GTR Lighting T5 bulb. While it is bright, you could go with the interior illumination kit if you are wanting a lot more output and color options.
The footwell light is super easy to replace, just reach under the dash with needle nose plyers and pull the bulb out. There is no plastic cover.
 |
 |
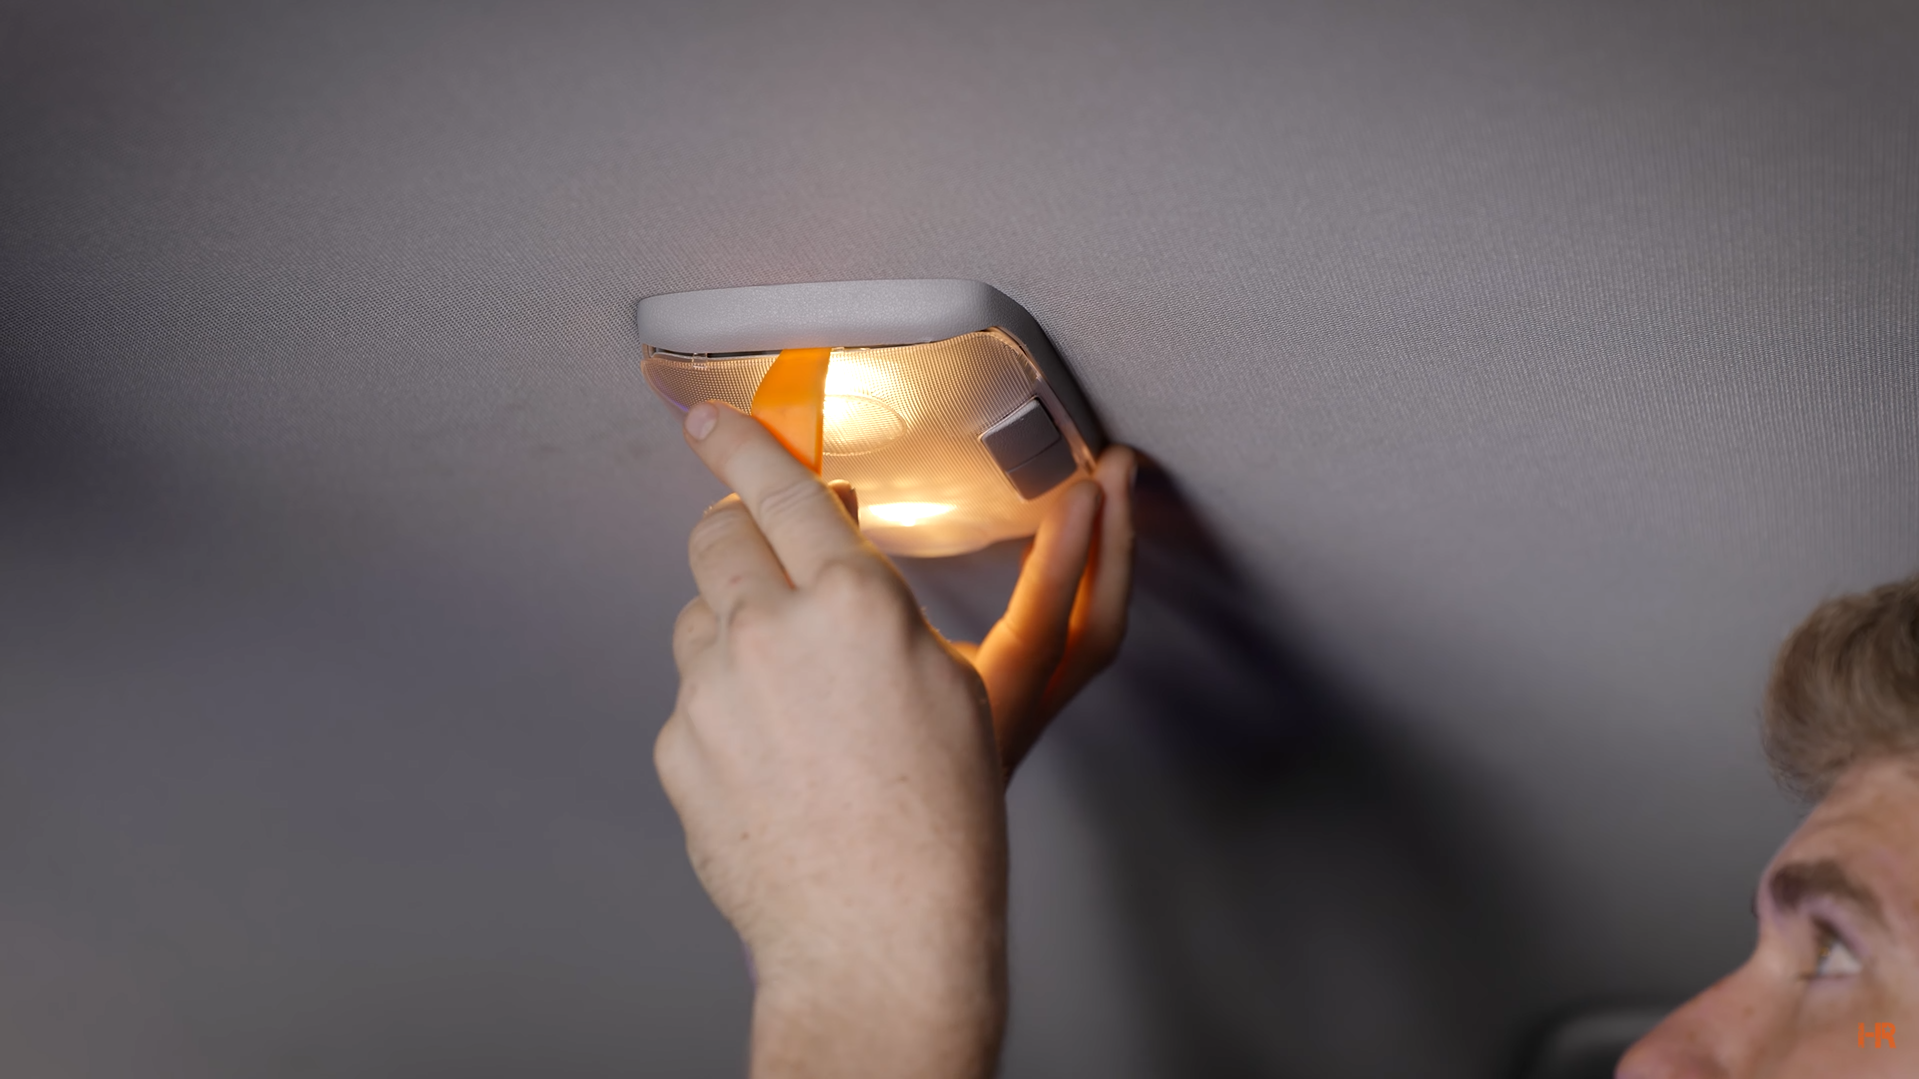
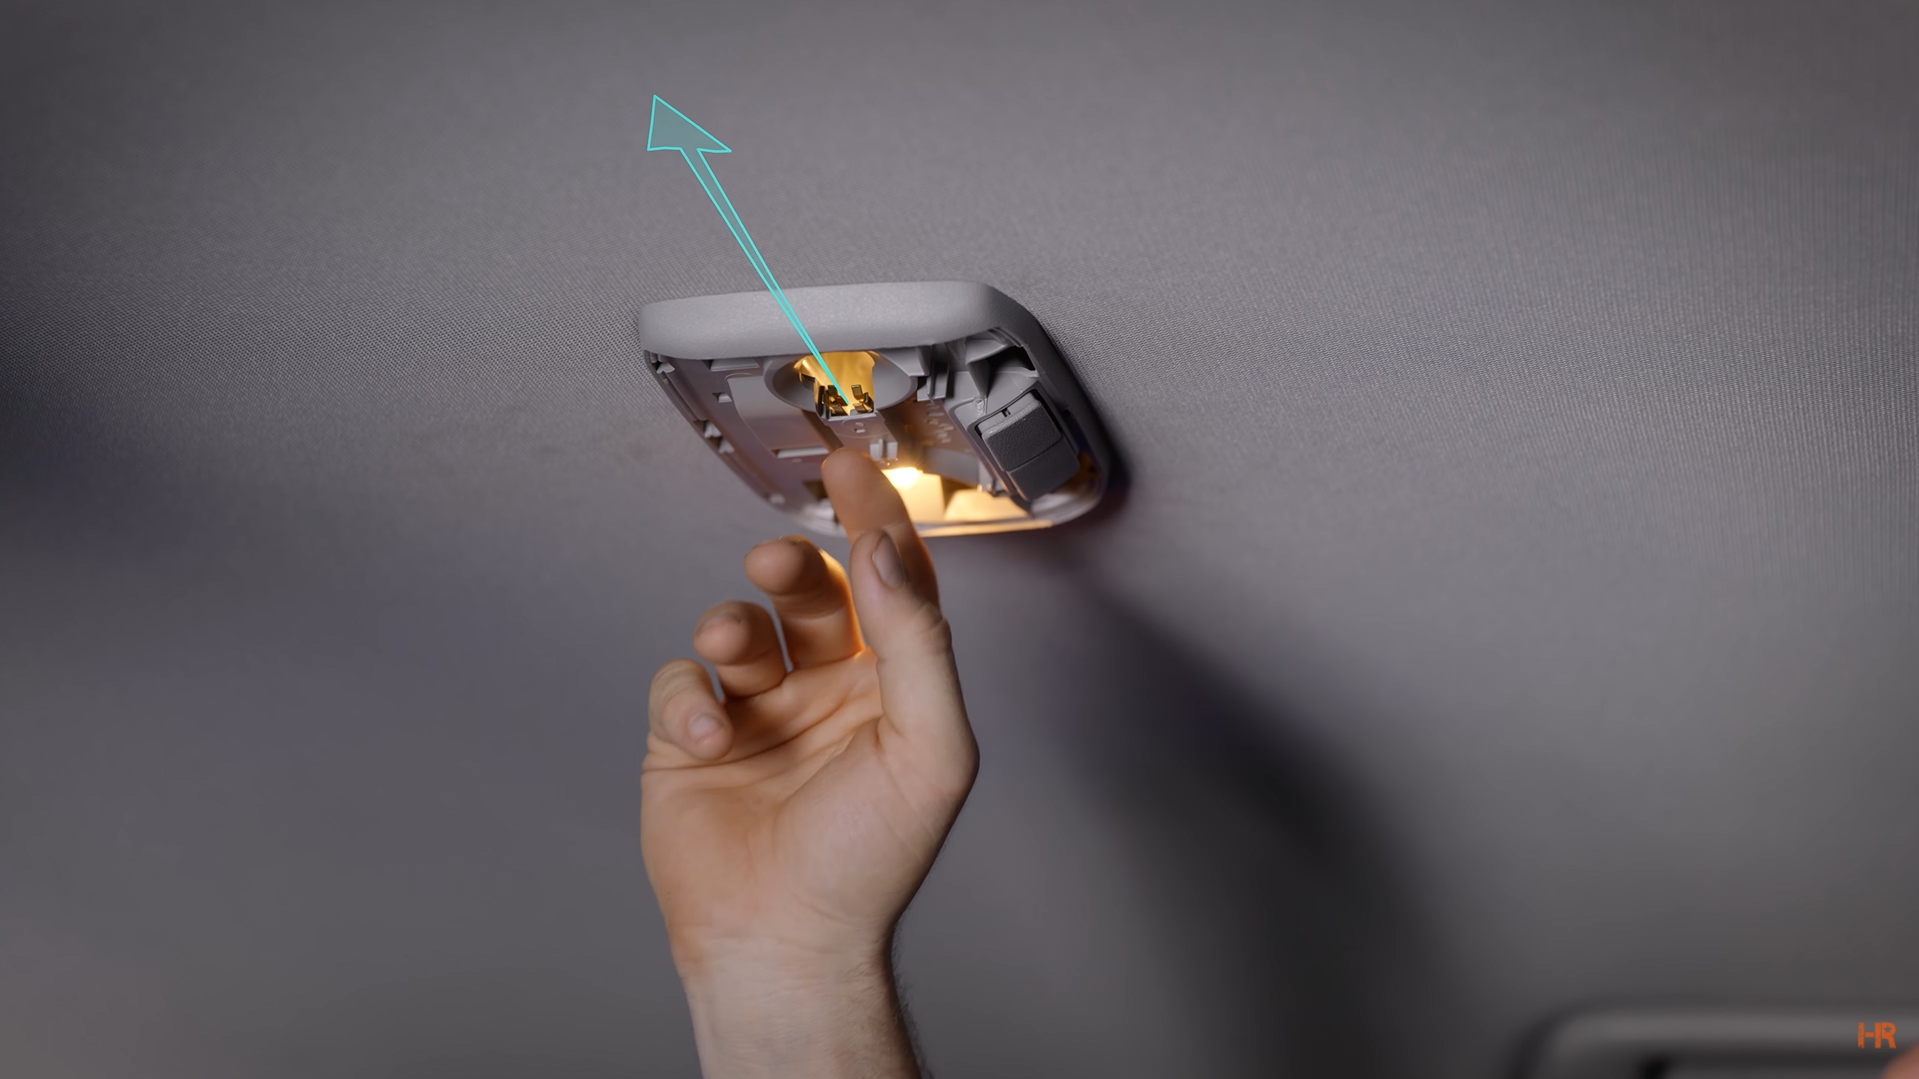
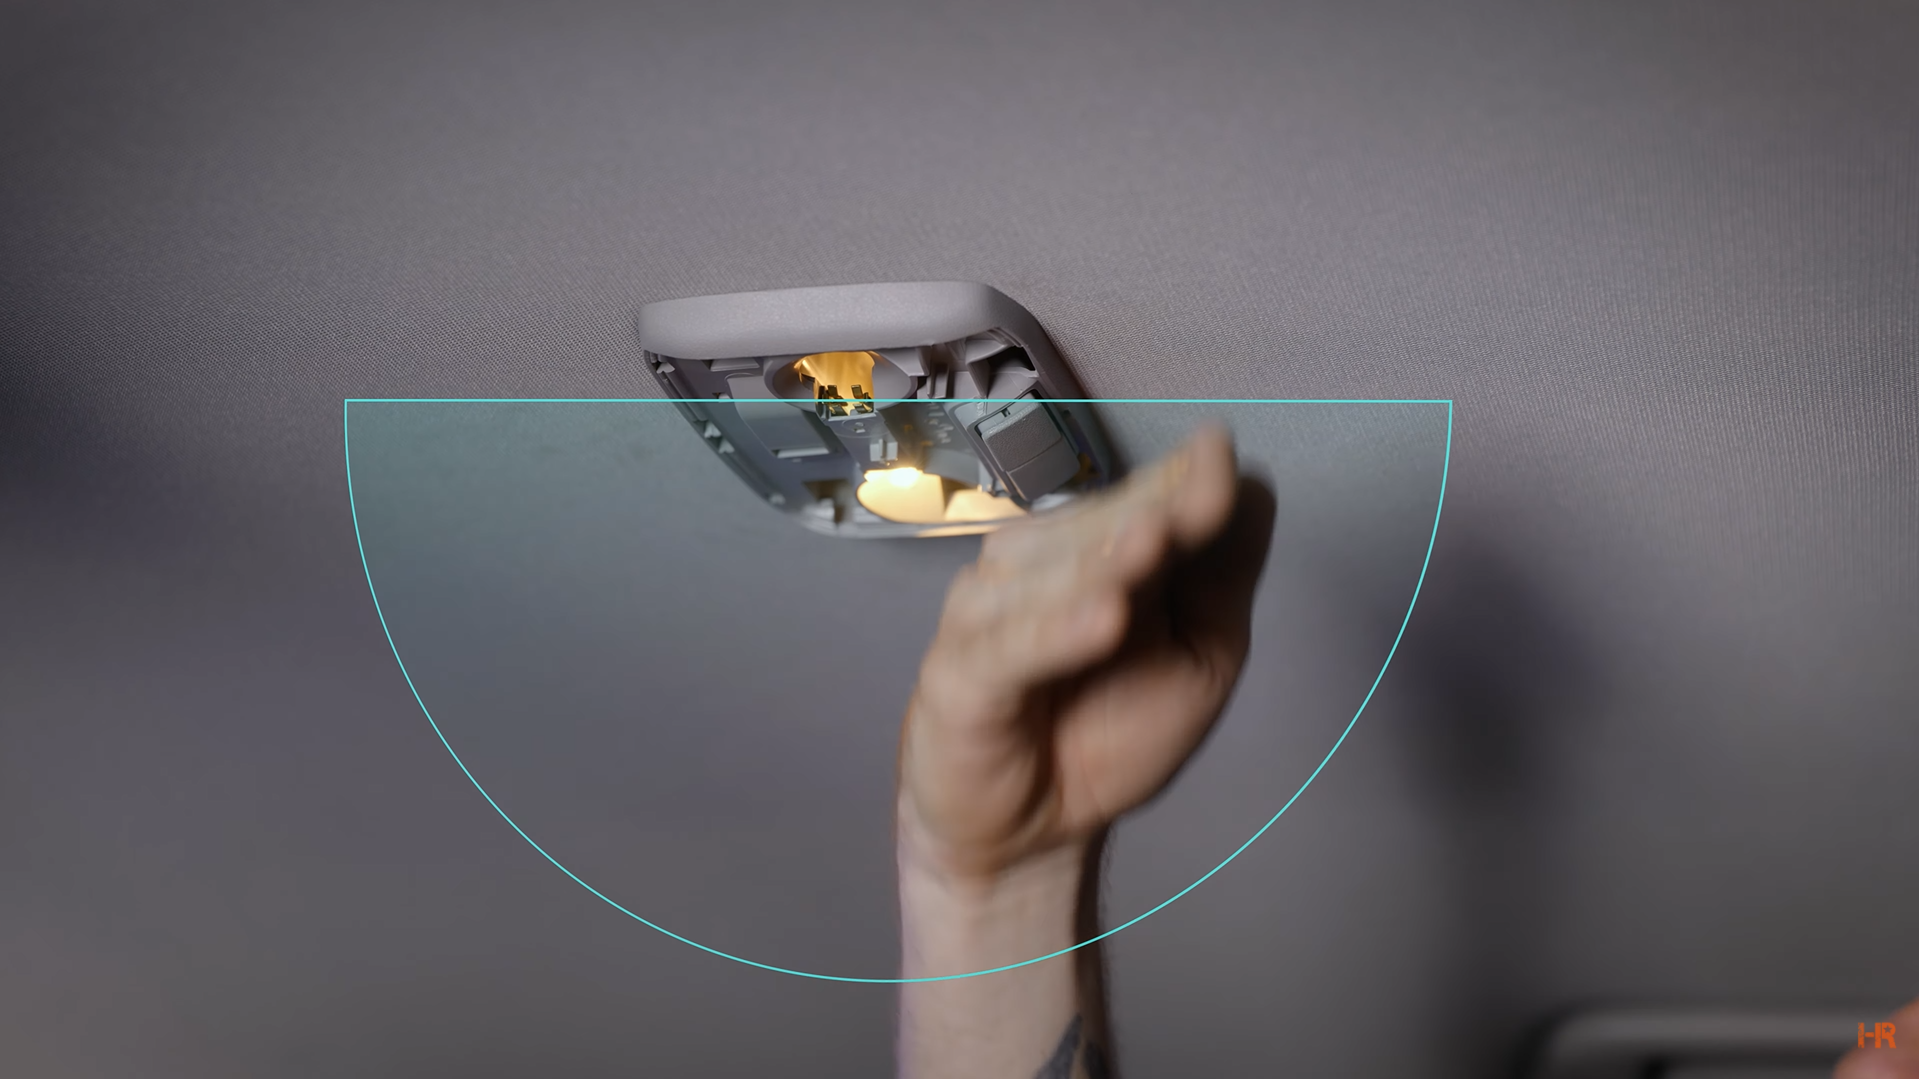
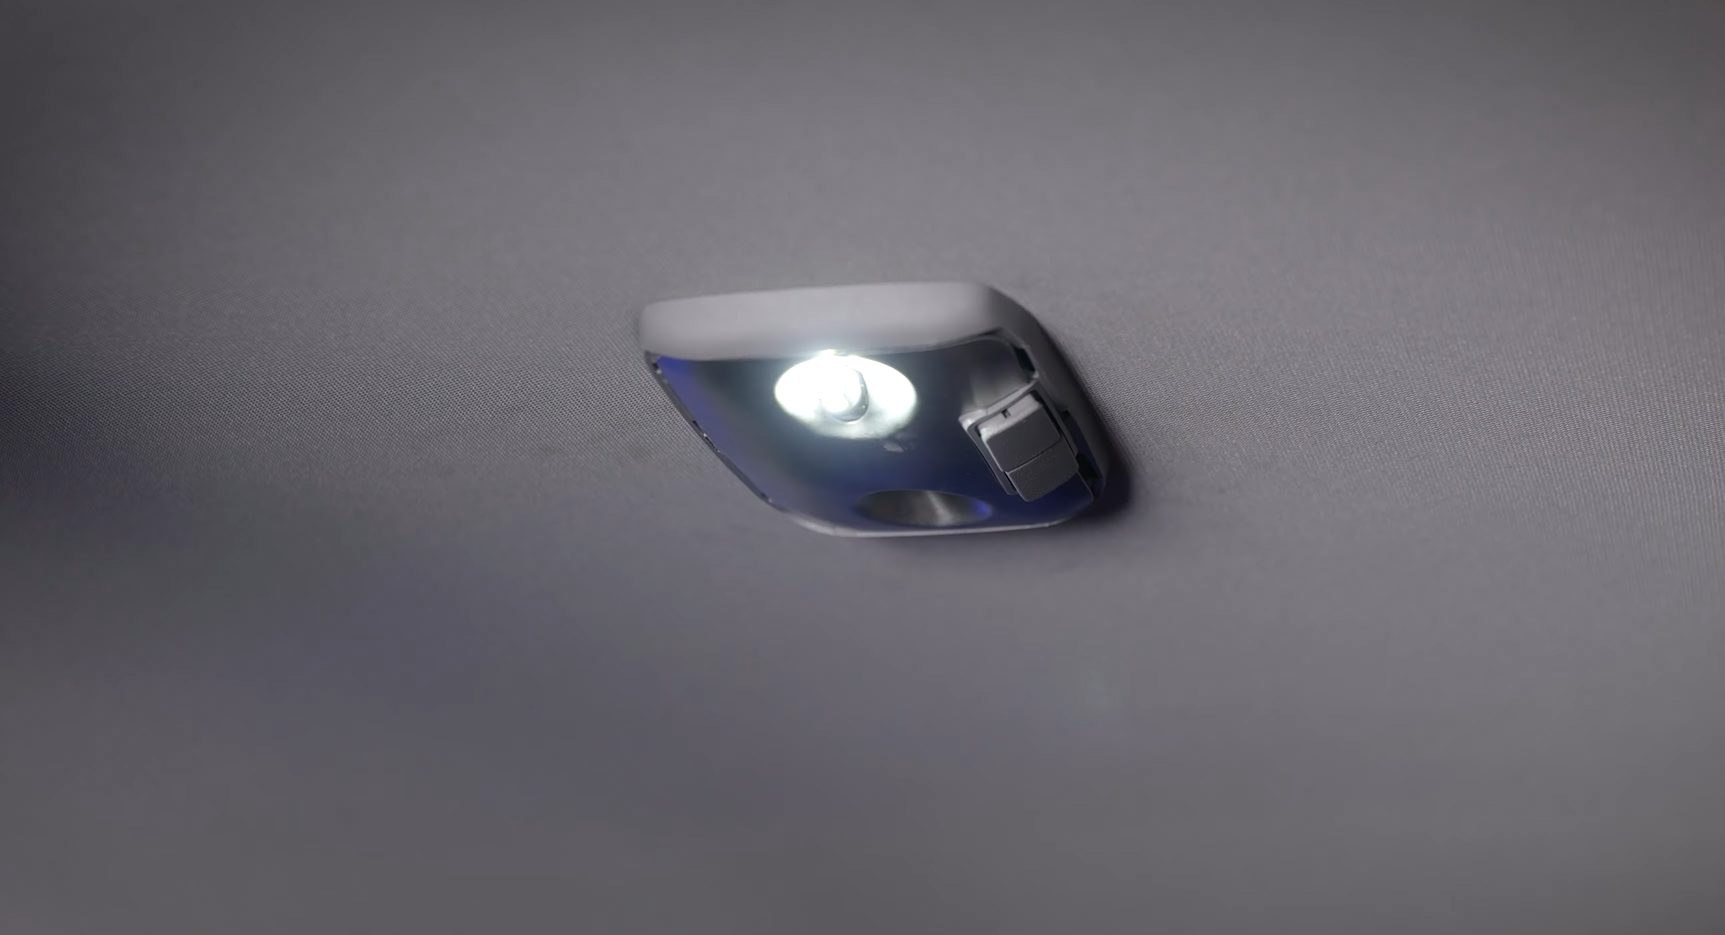
Hop into the back seat of your Tundra to replace the dome lights. Just like the others before, pop the plastic cover off and the tin plate to access the two T10 bulbs. Remove these with a needle nose plyer.
 |
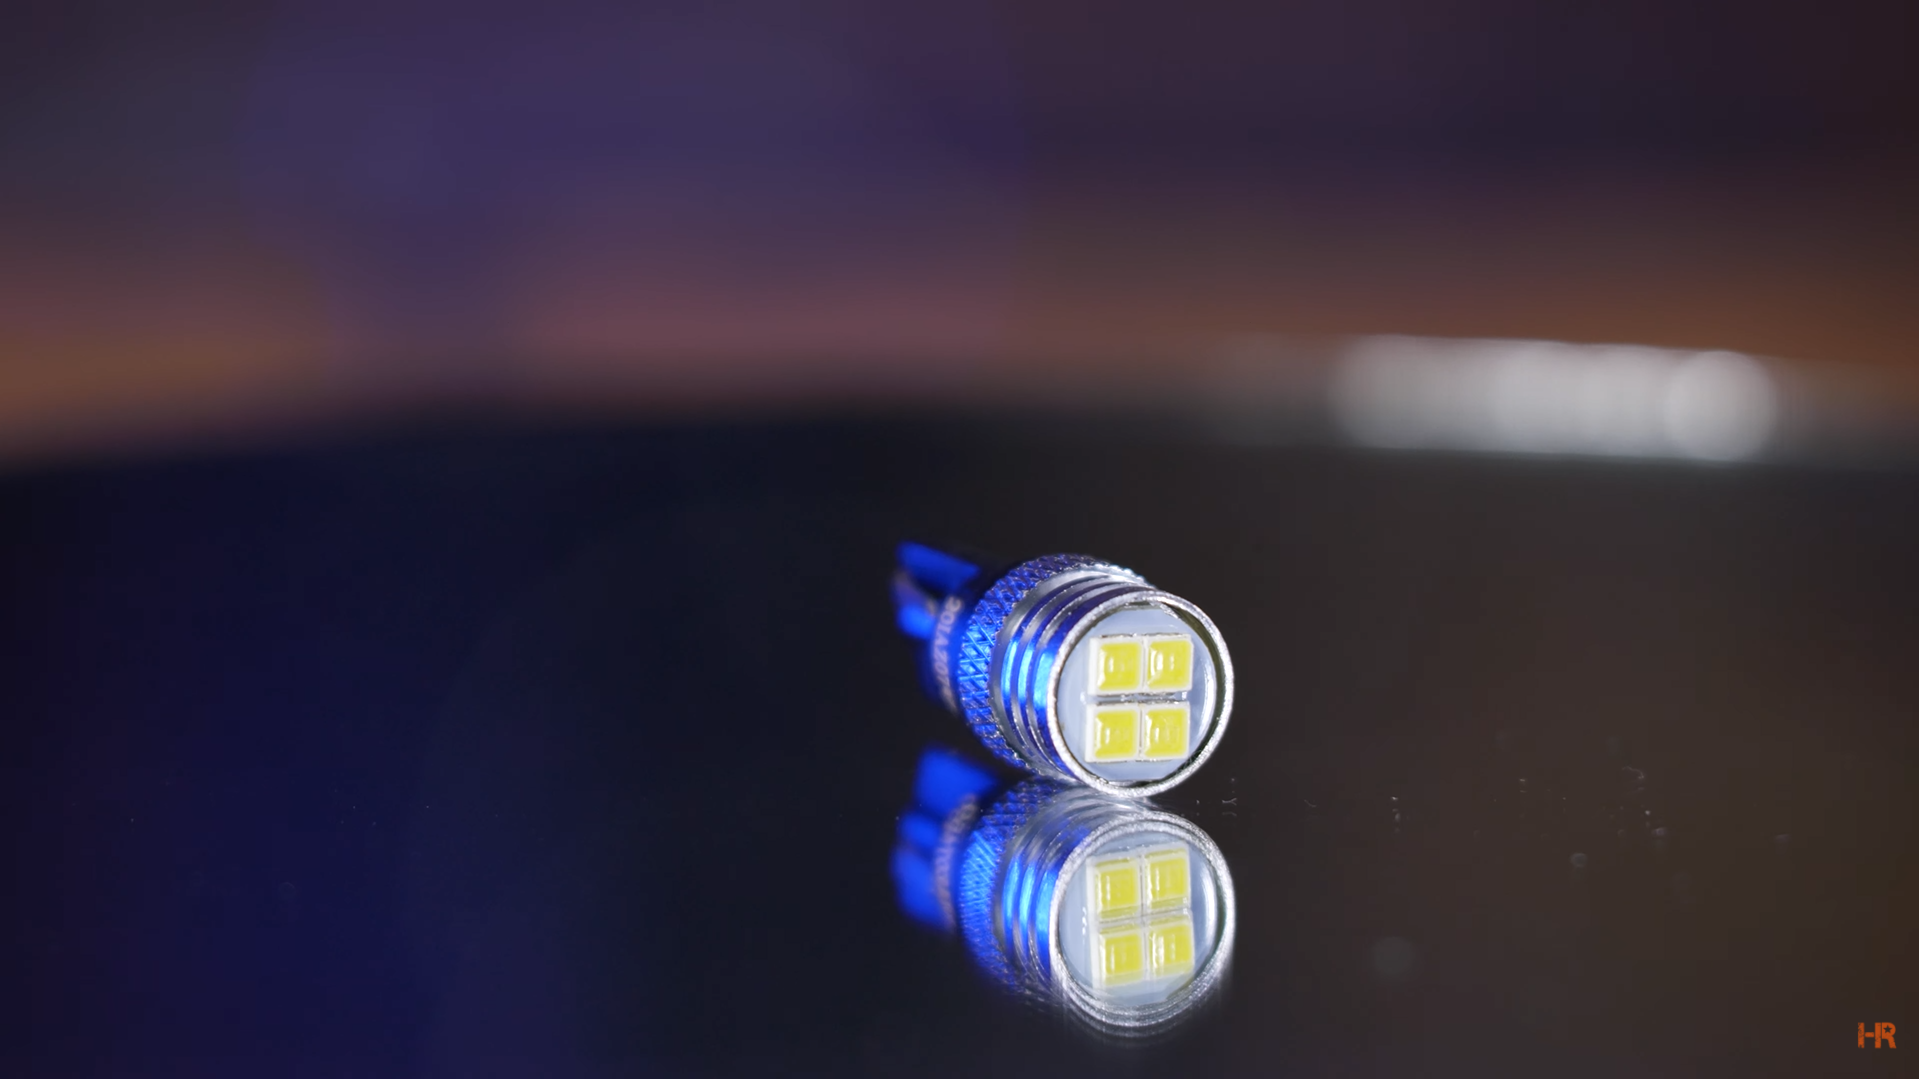 |
To replace them, we recommend either a 6 Chip or 10 Chip bulb because they are facing out. The Carbide 2 bulbs are directional and will be pointing in the wrong direction for this application. Before putting them in, put the tin plate back and then put the new LED bulbs in.
 |
 |
|
|
|
Exterior Lights
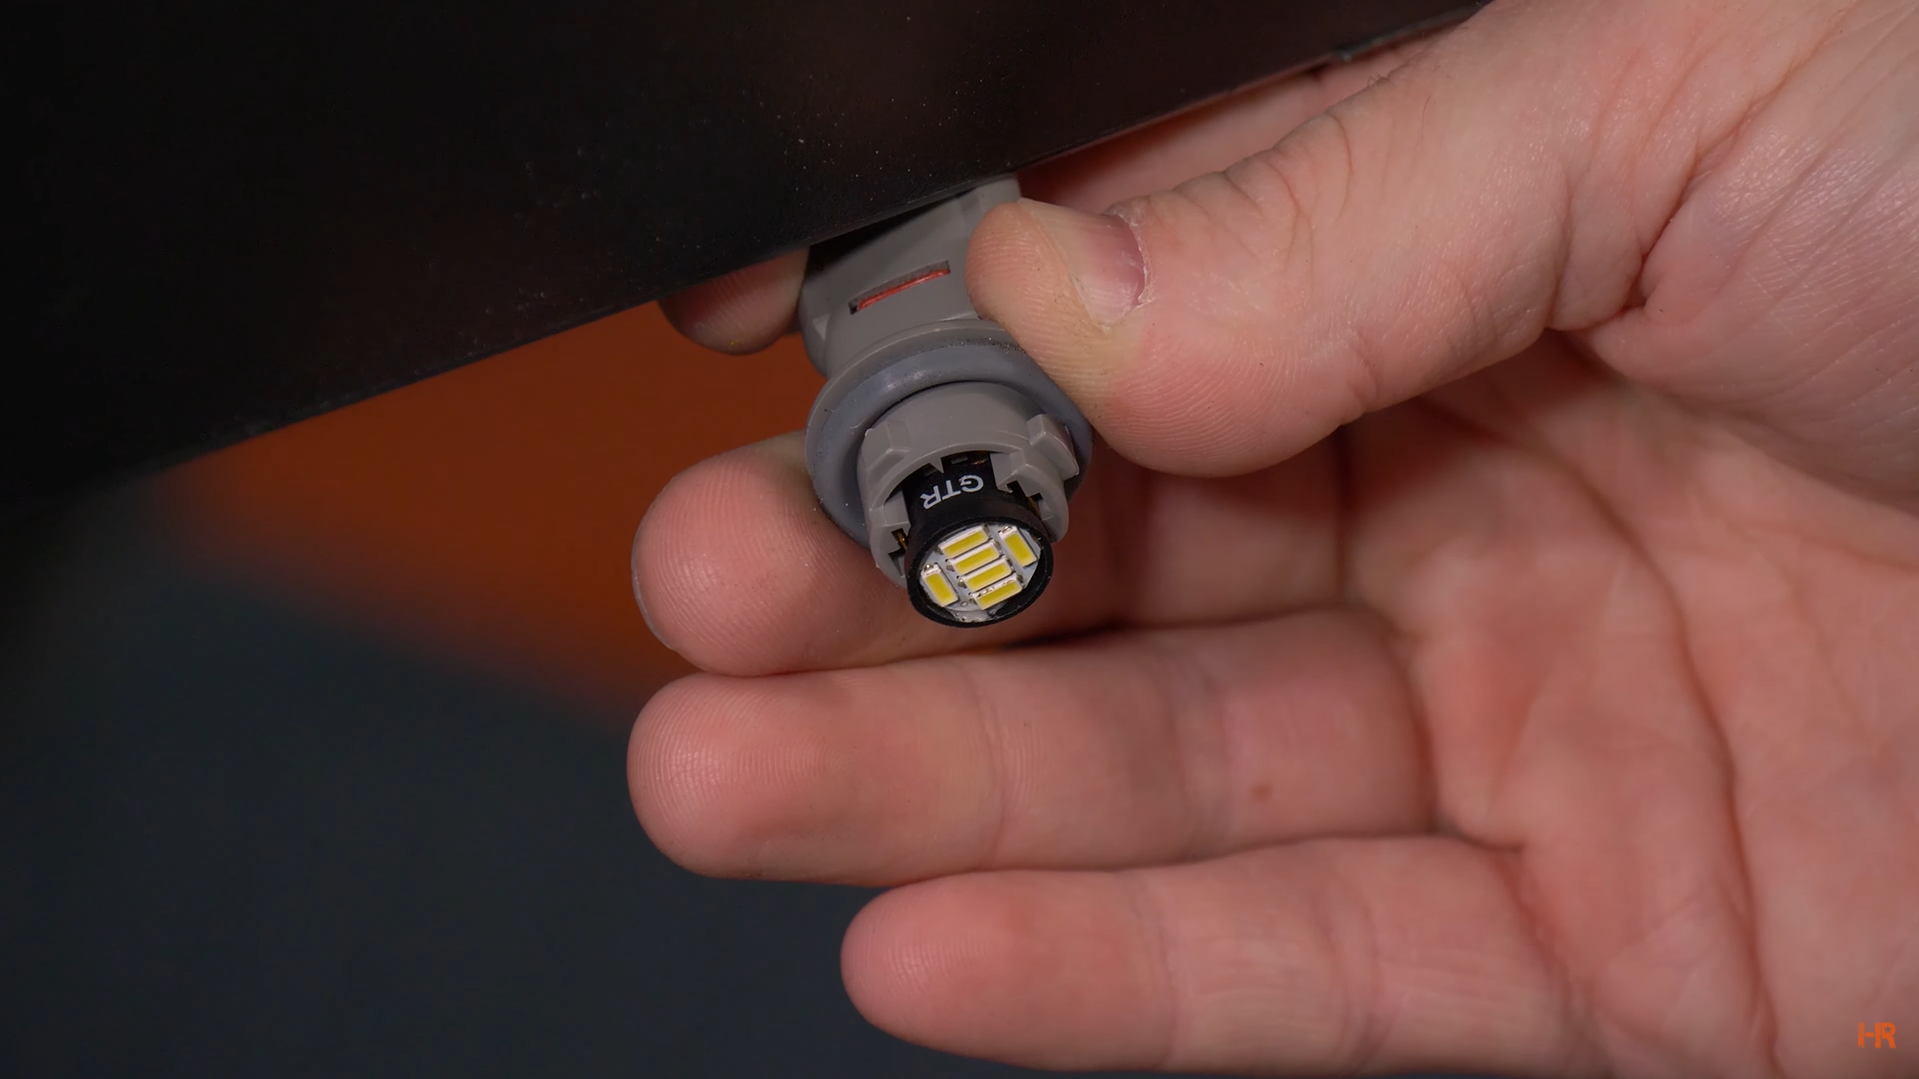
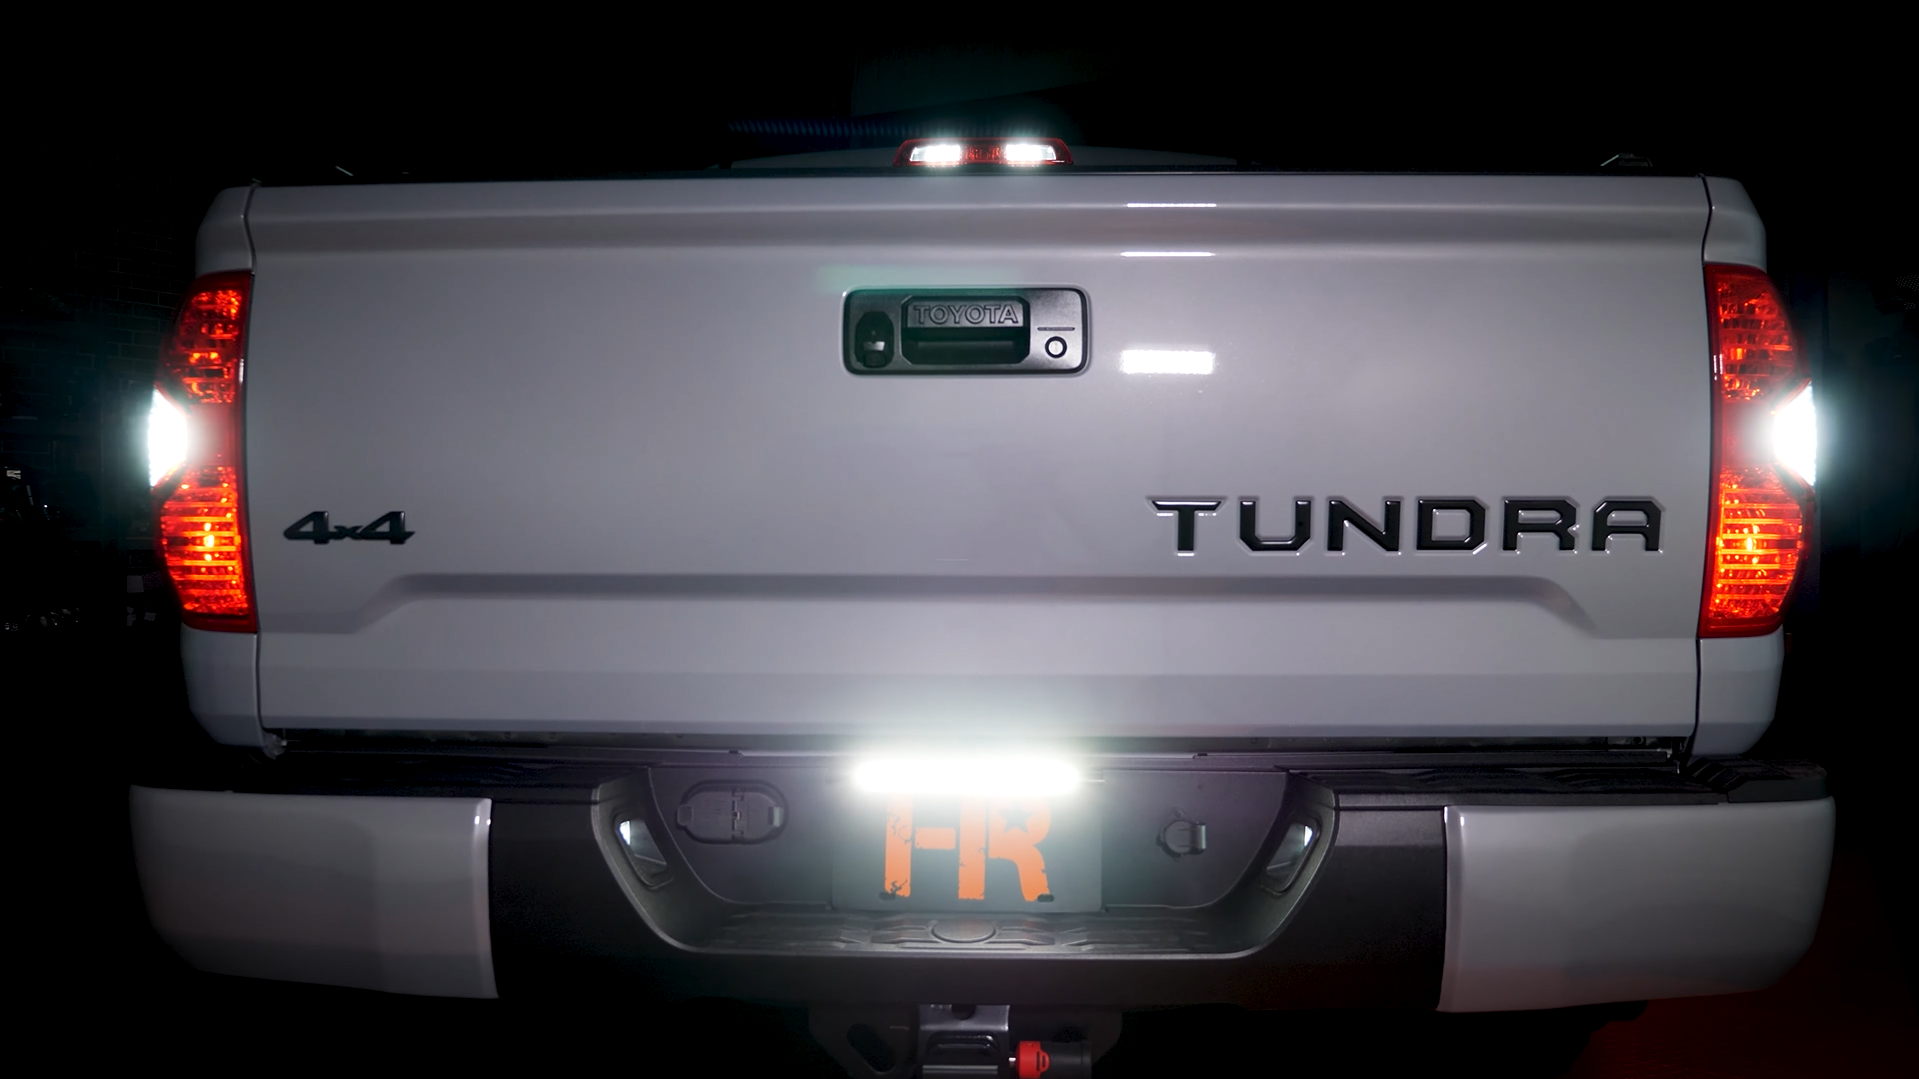
To begin on the exterior of the car, we will replace the T10 bulb inside the license plate lights. This upgrade is huge for your vehicle. It may seem insignificant, but it can do a lot for the overall appearance of your Tundra.

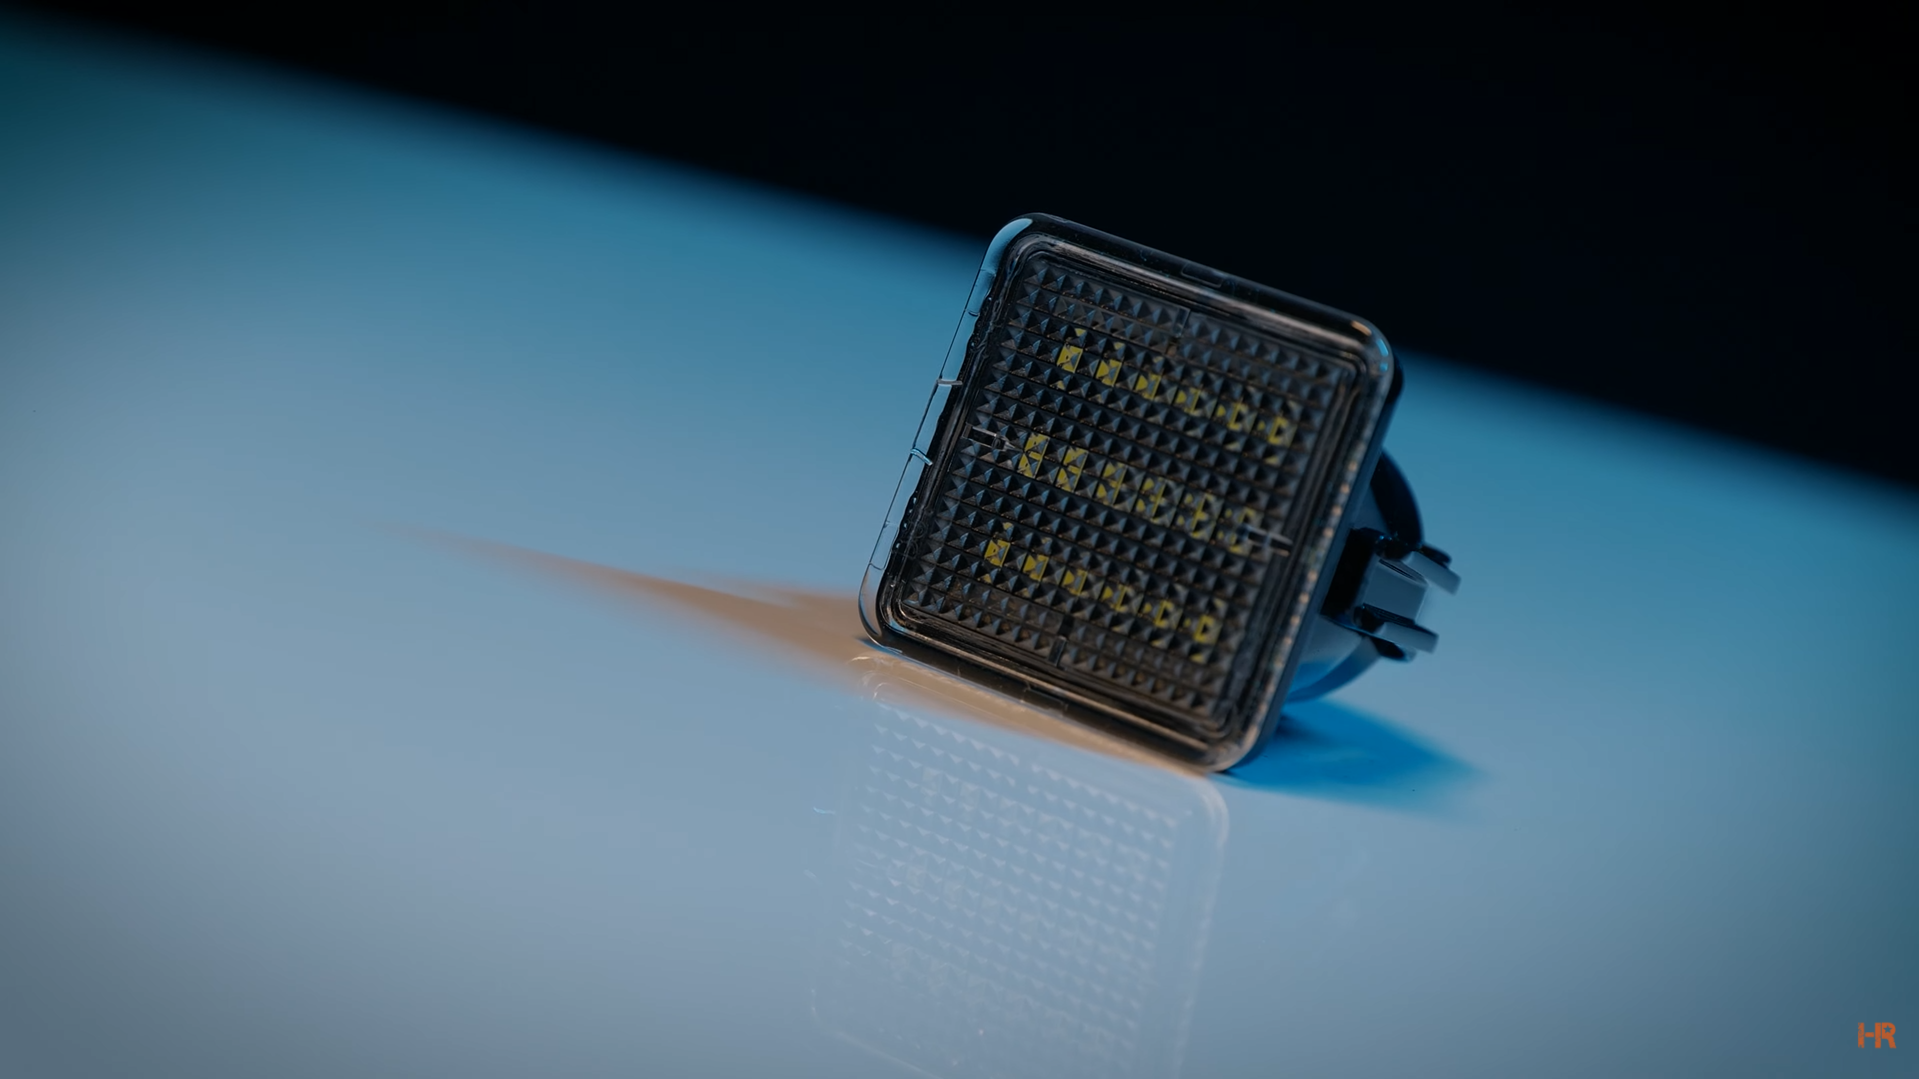
The Low-Profile Bulb from GTR Lighting is one of the few bulbs that will fit into these lights. It sits nice and snug while giving you great color. Morimoto also makes a housing specifically for the Tundra if you are looking to replace more than just the bulb.
 |
 |
There is also the LED Lightbar for your tag that activates when you put the car into reverse. If you are interested in how to install one of those on your Tundra or other truck, check out this video here.
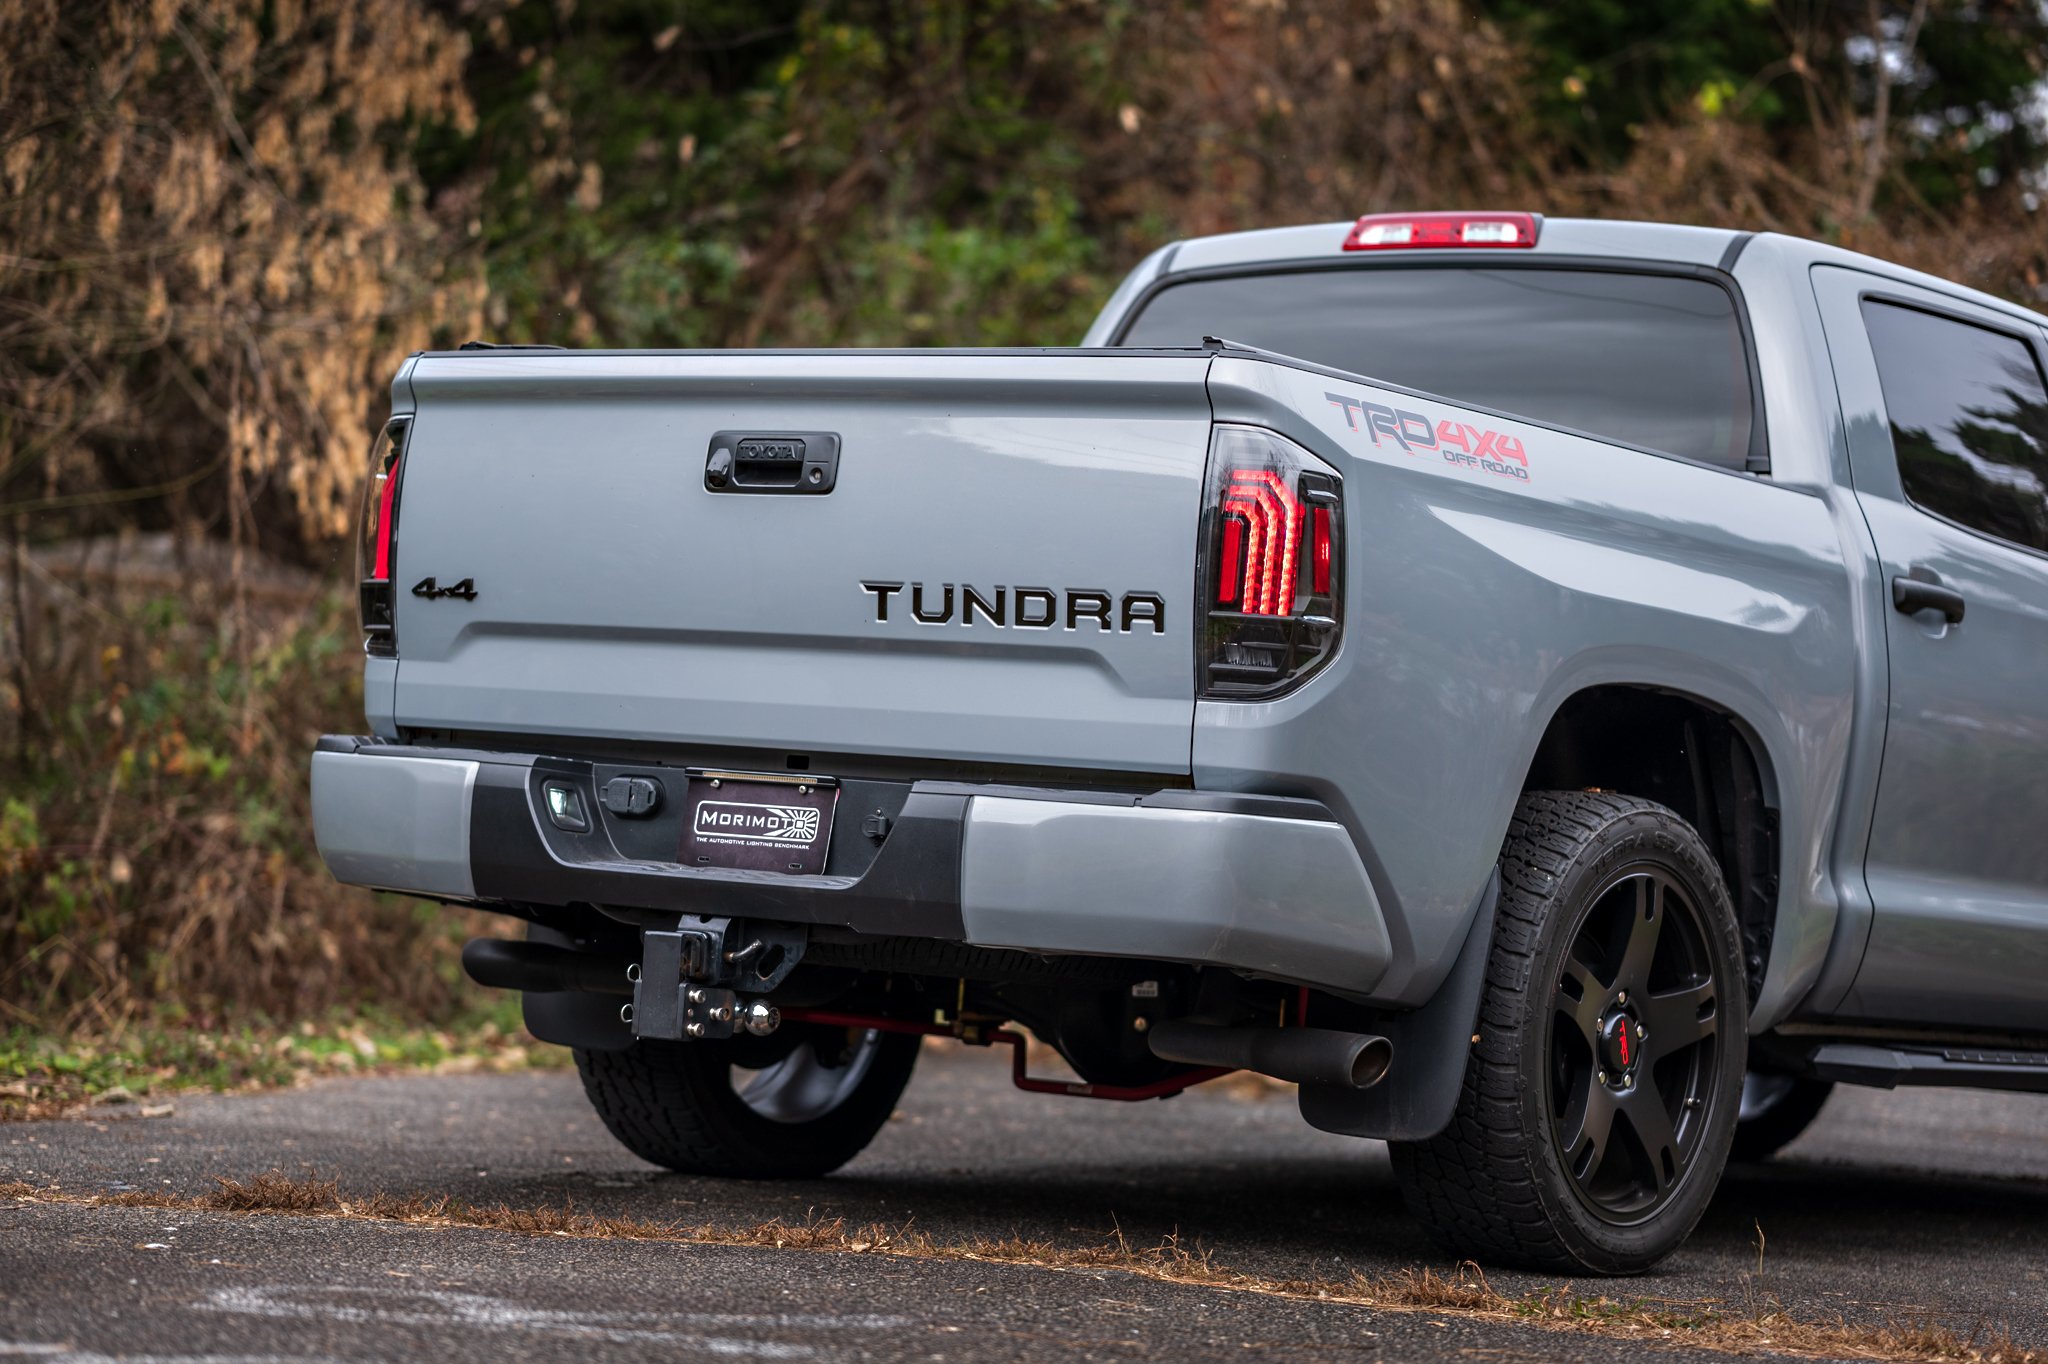
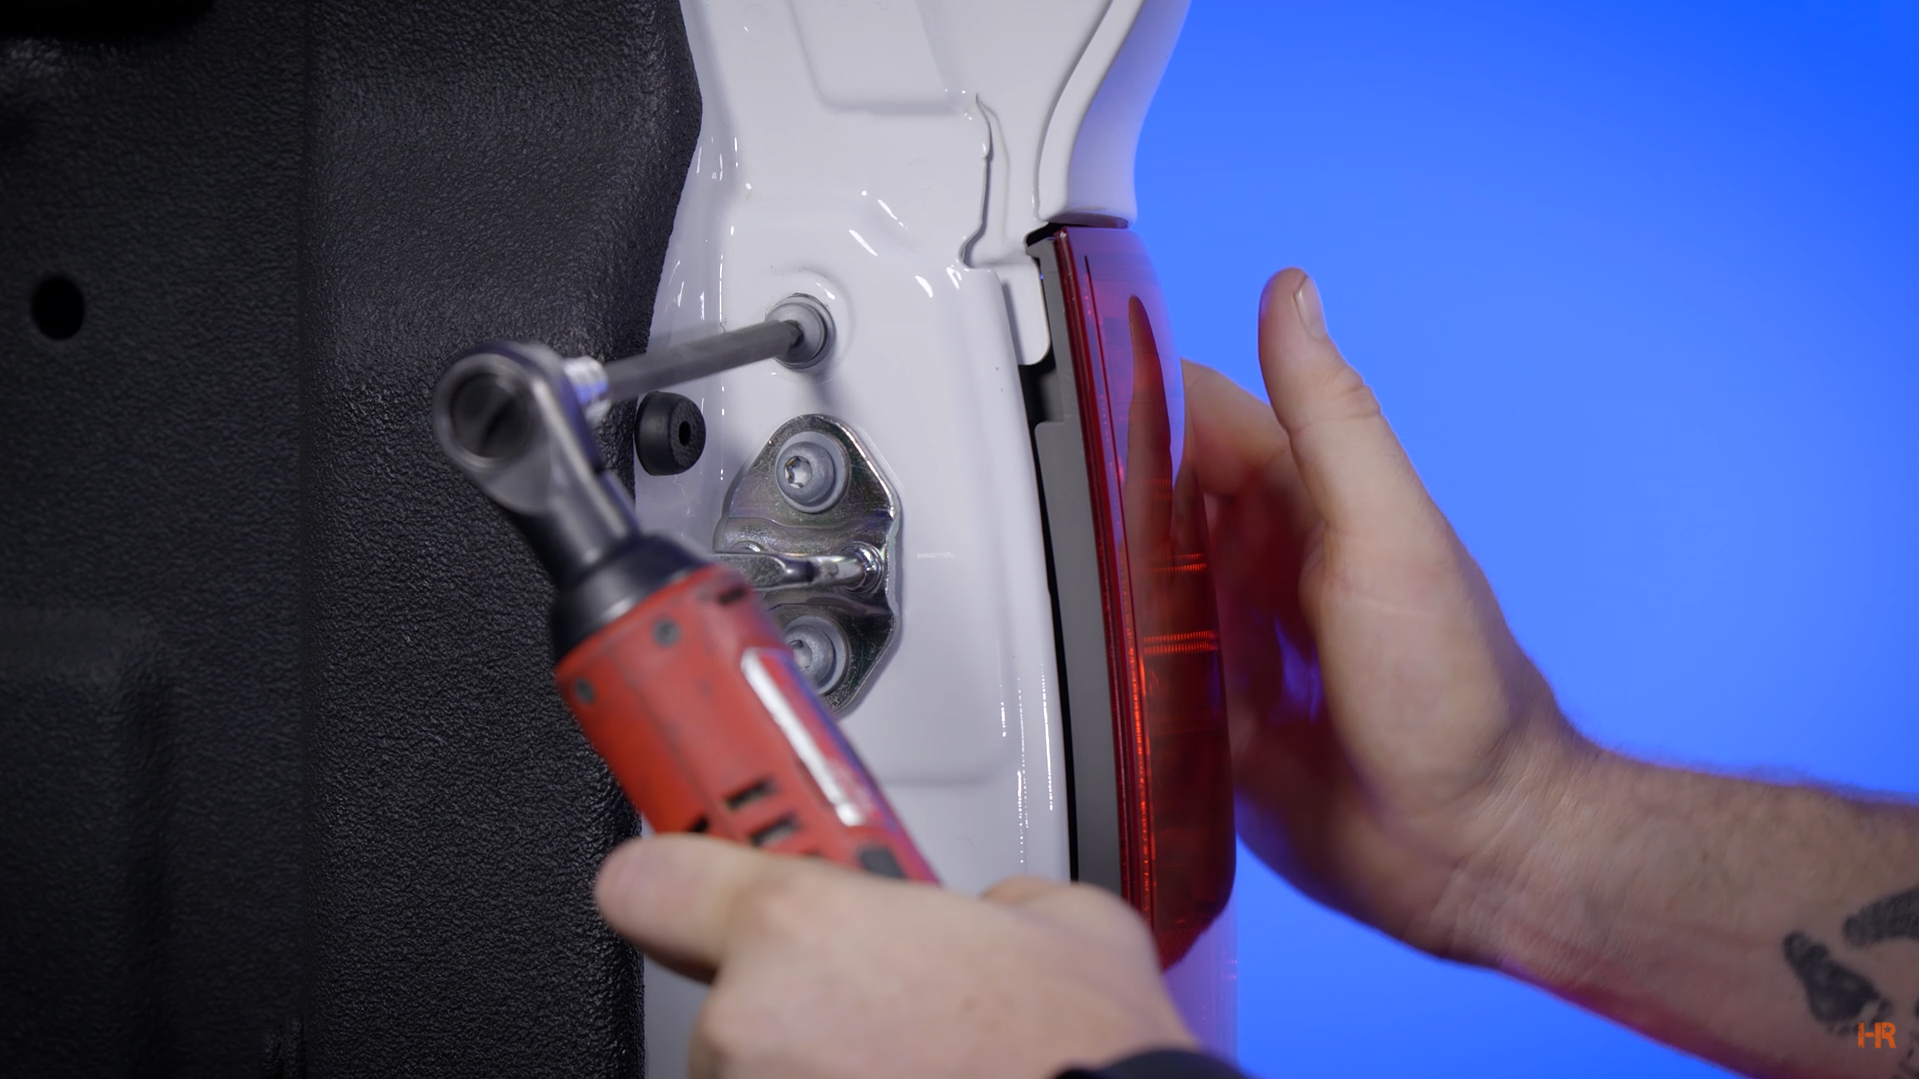
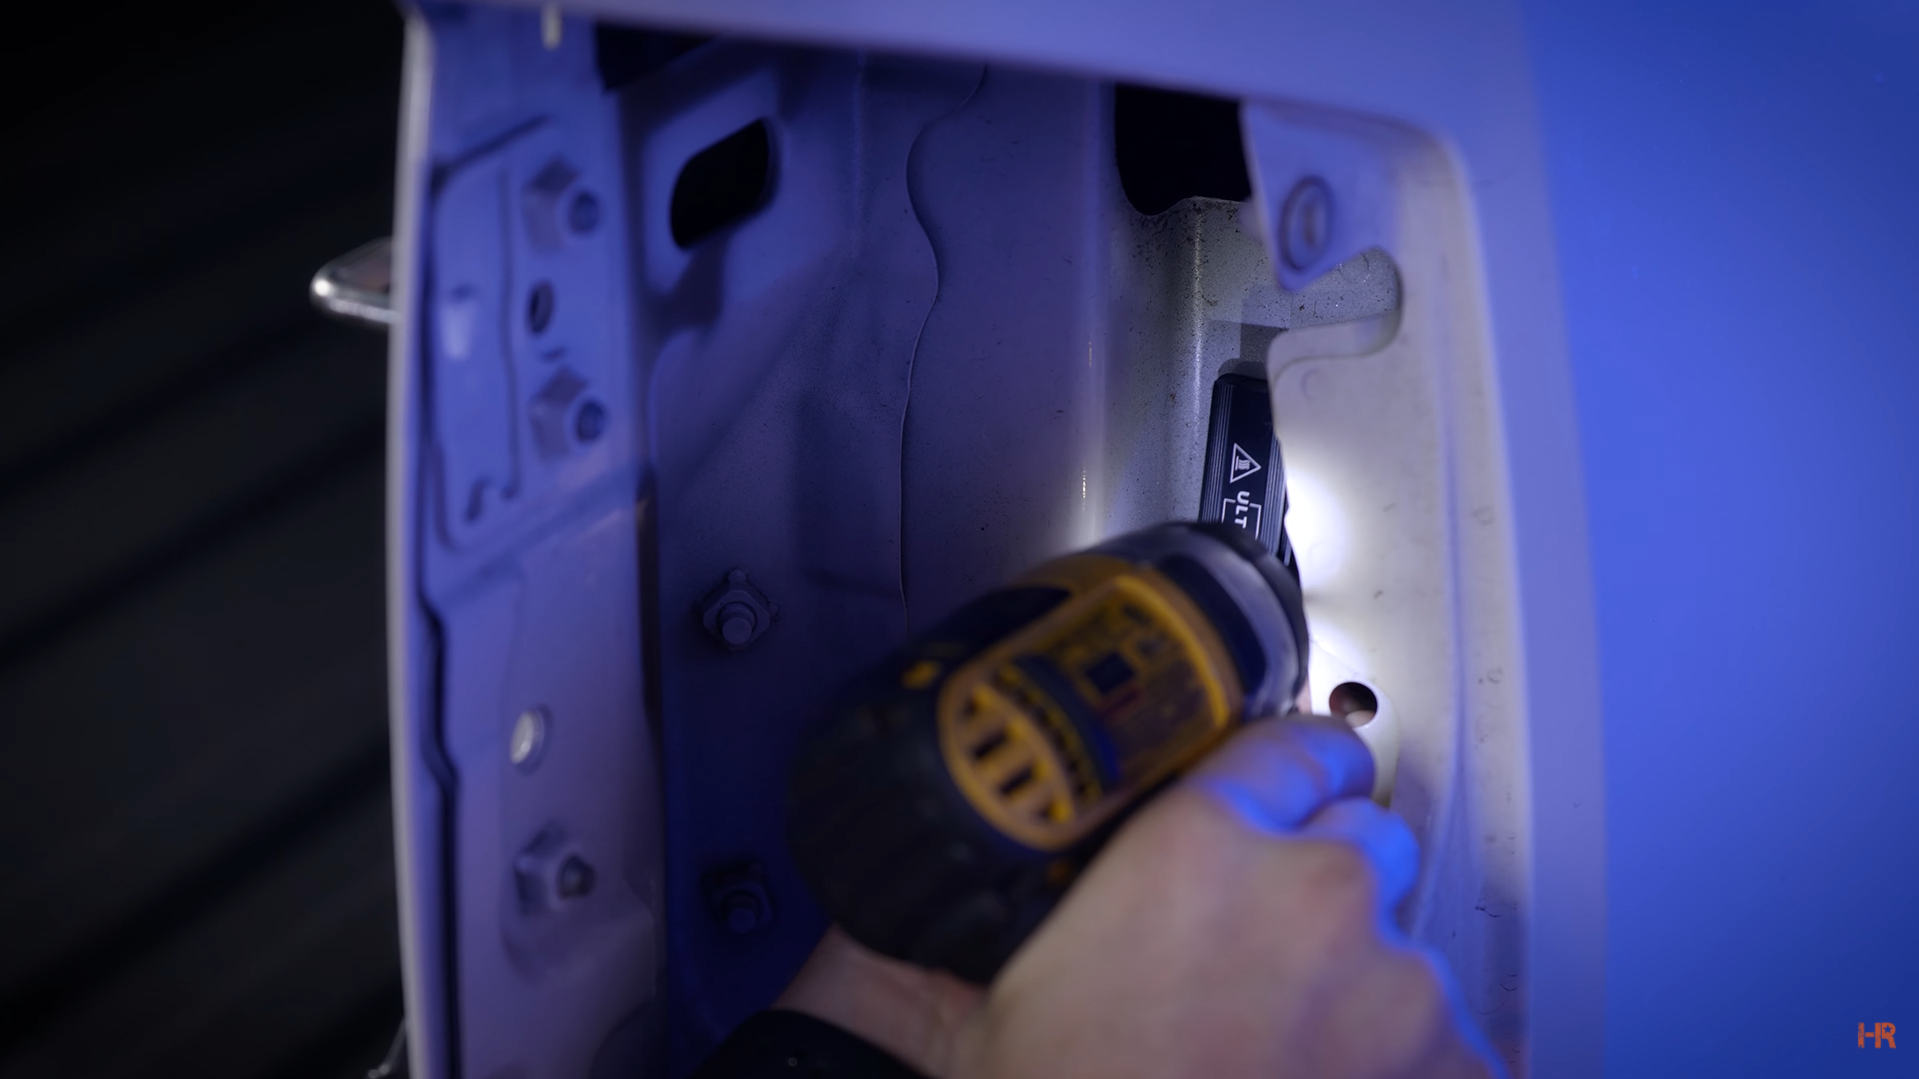
Next, we will replace the taillight bulbs. To gain access to them, unscrew the two bolts with a T30 Torx bit. You can then pry the taillight housing off the car. Take out the three bulbs by turning them counterclockwise.
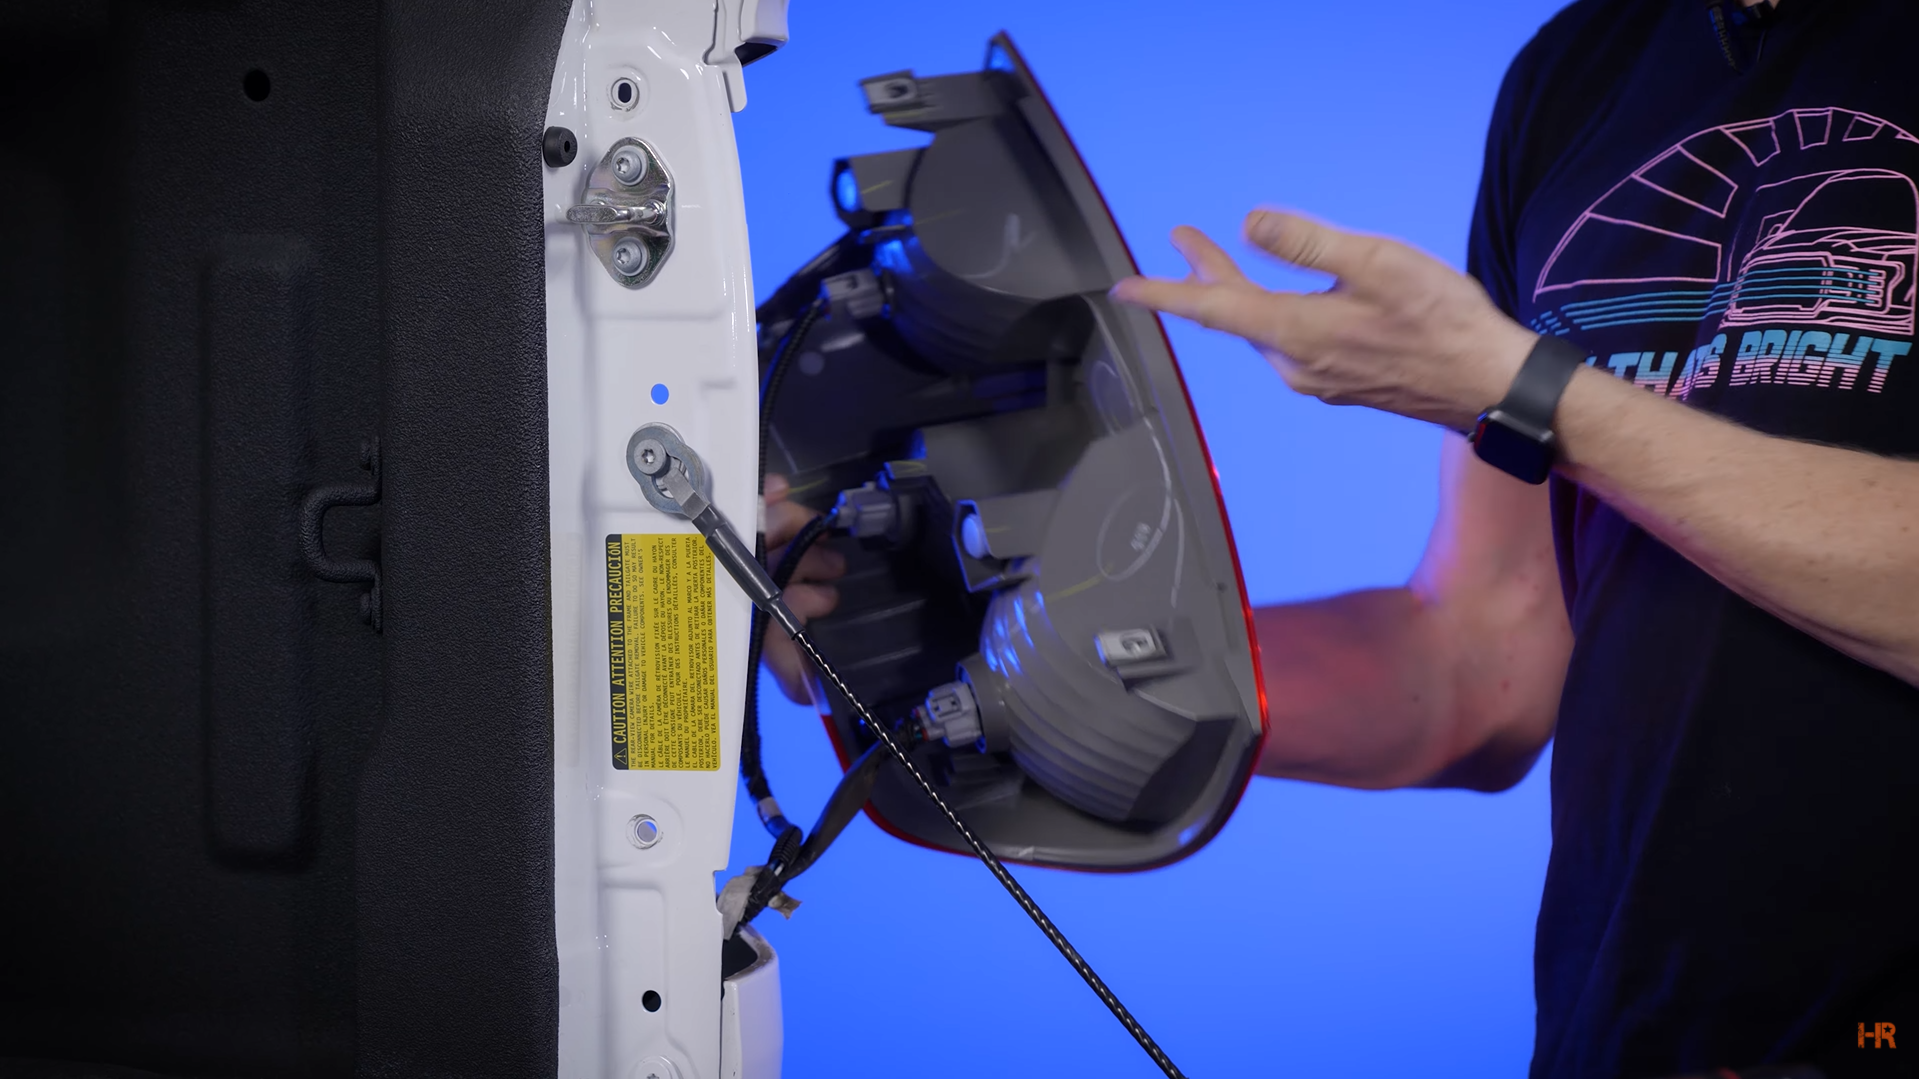
Something to note when replacing the taillight bulbs, is the LED bulb MUST be the same color as the lens on your taillight.
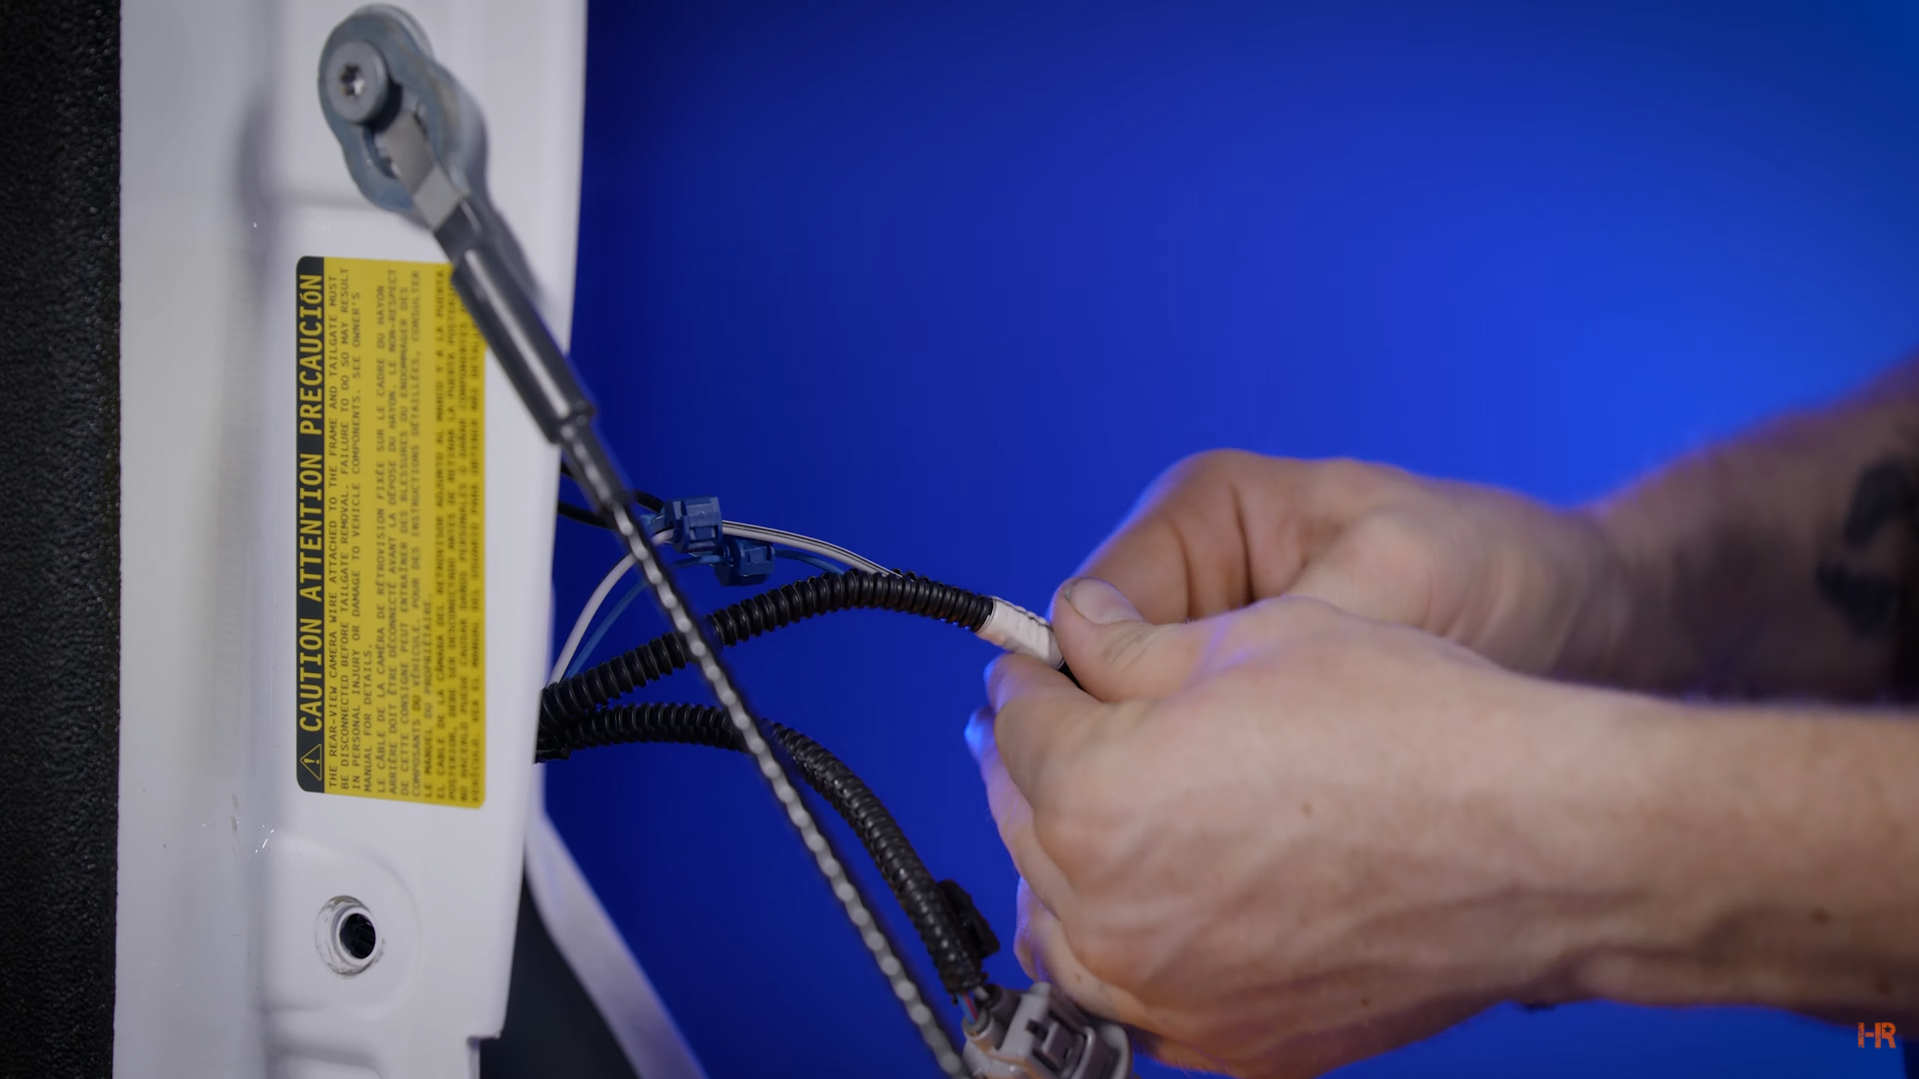
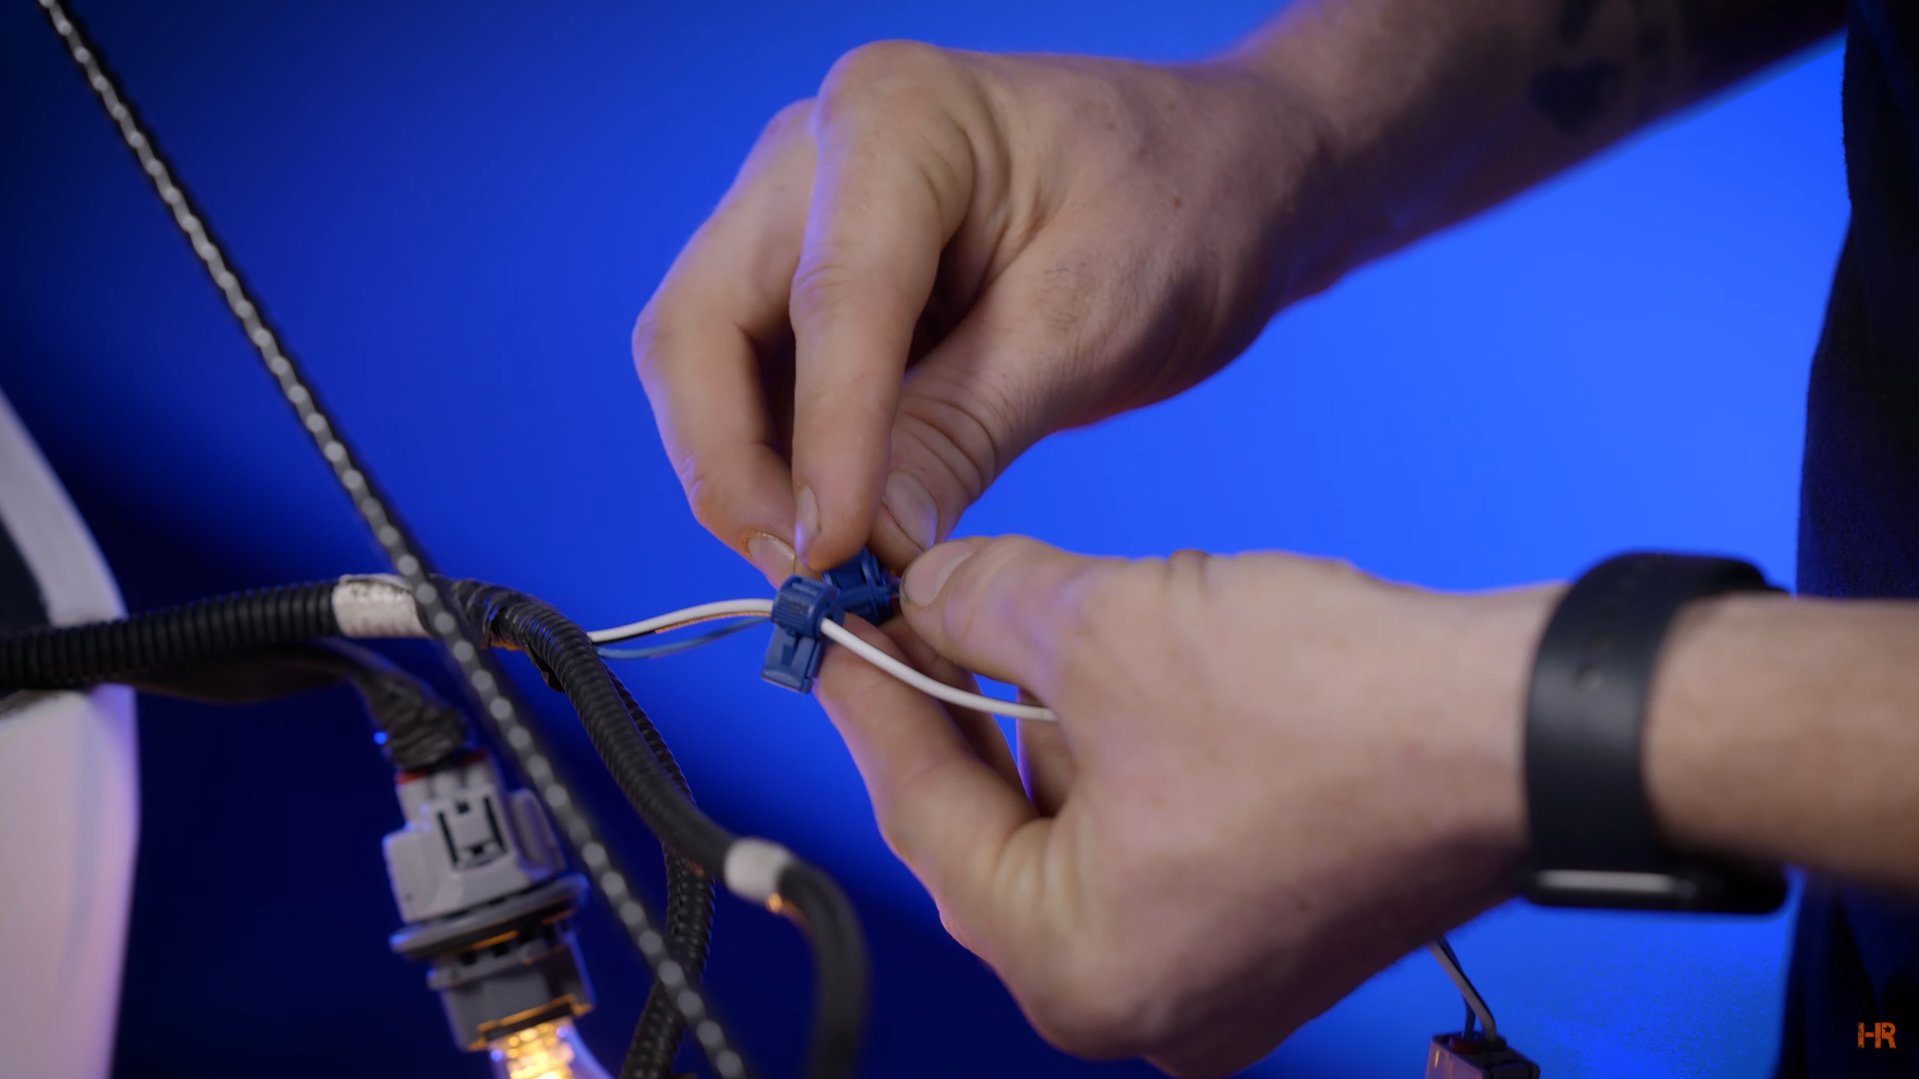
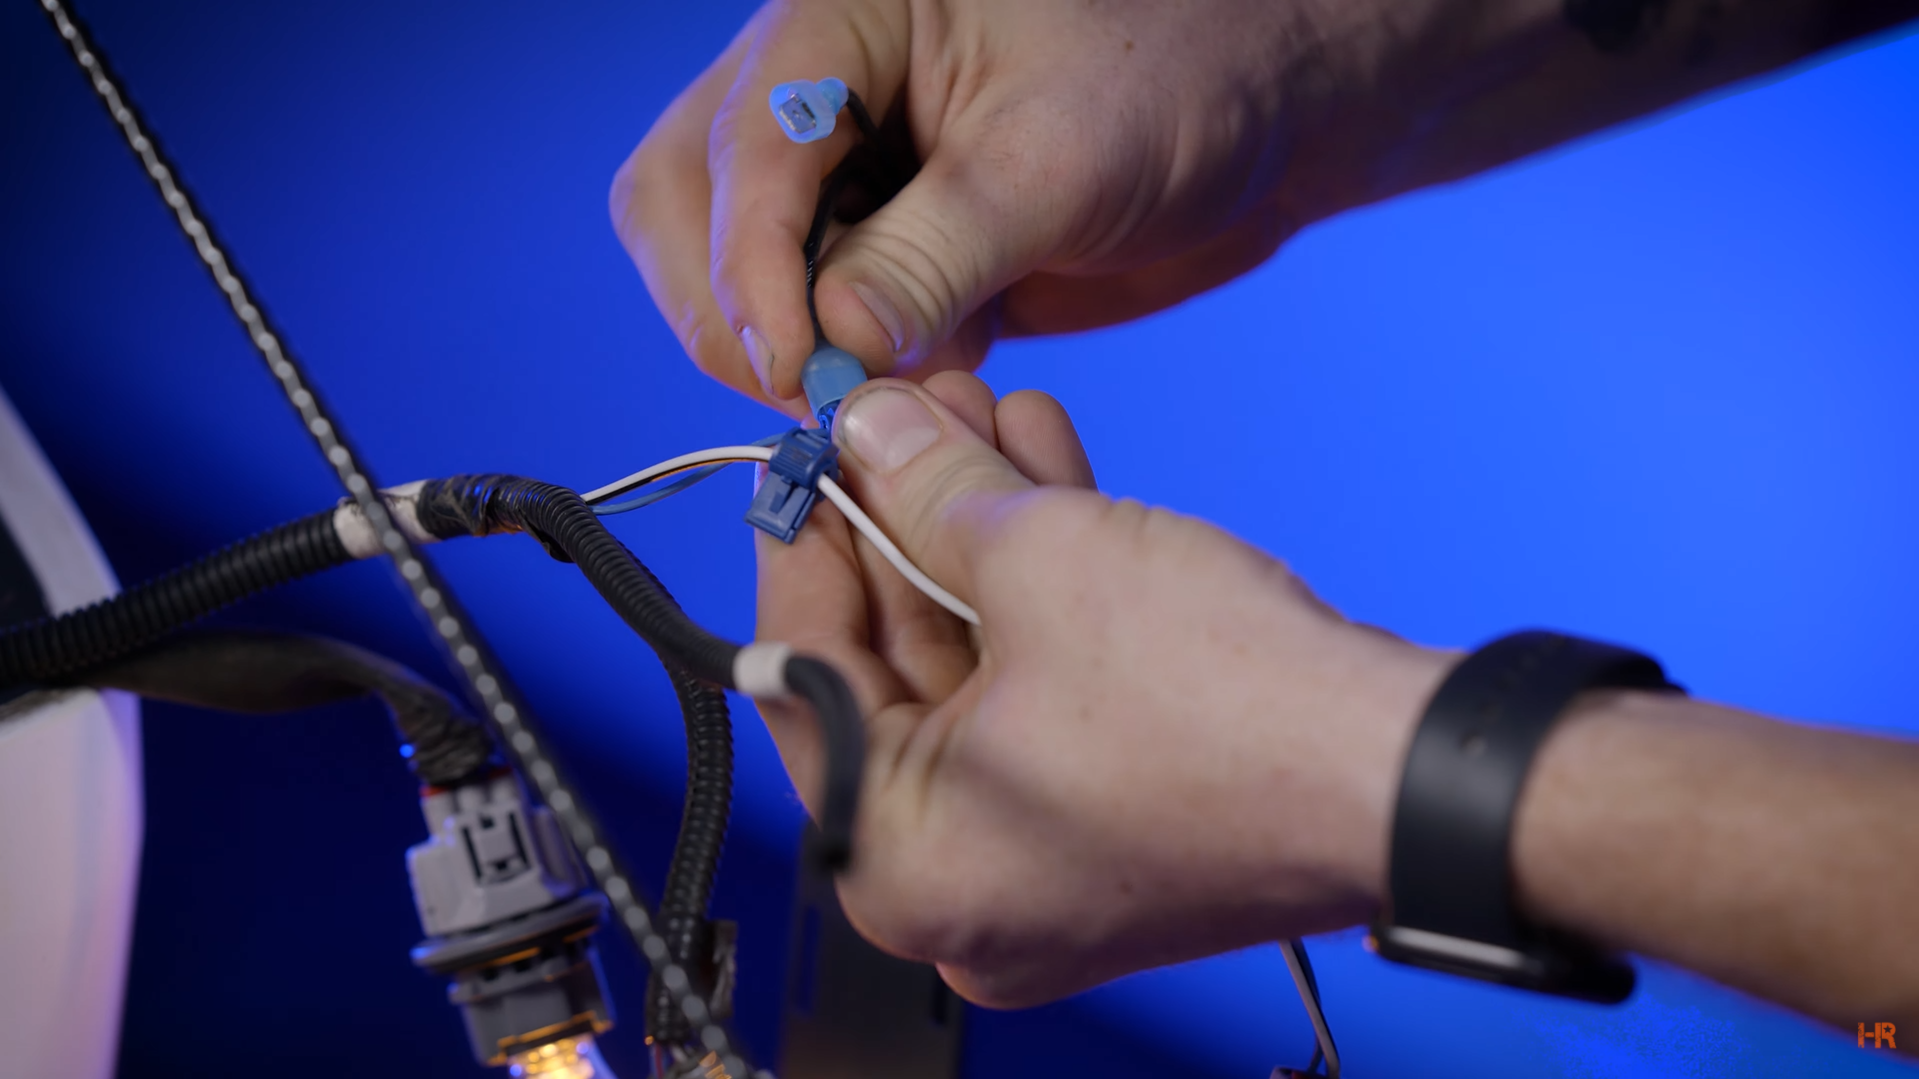
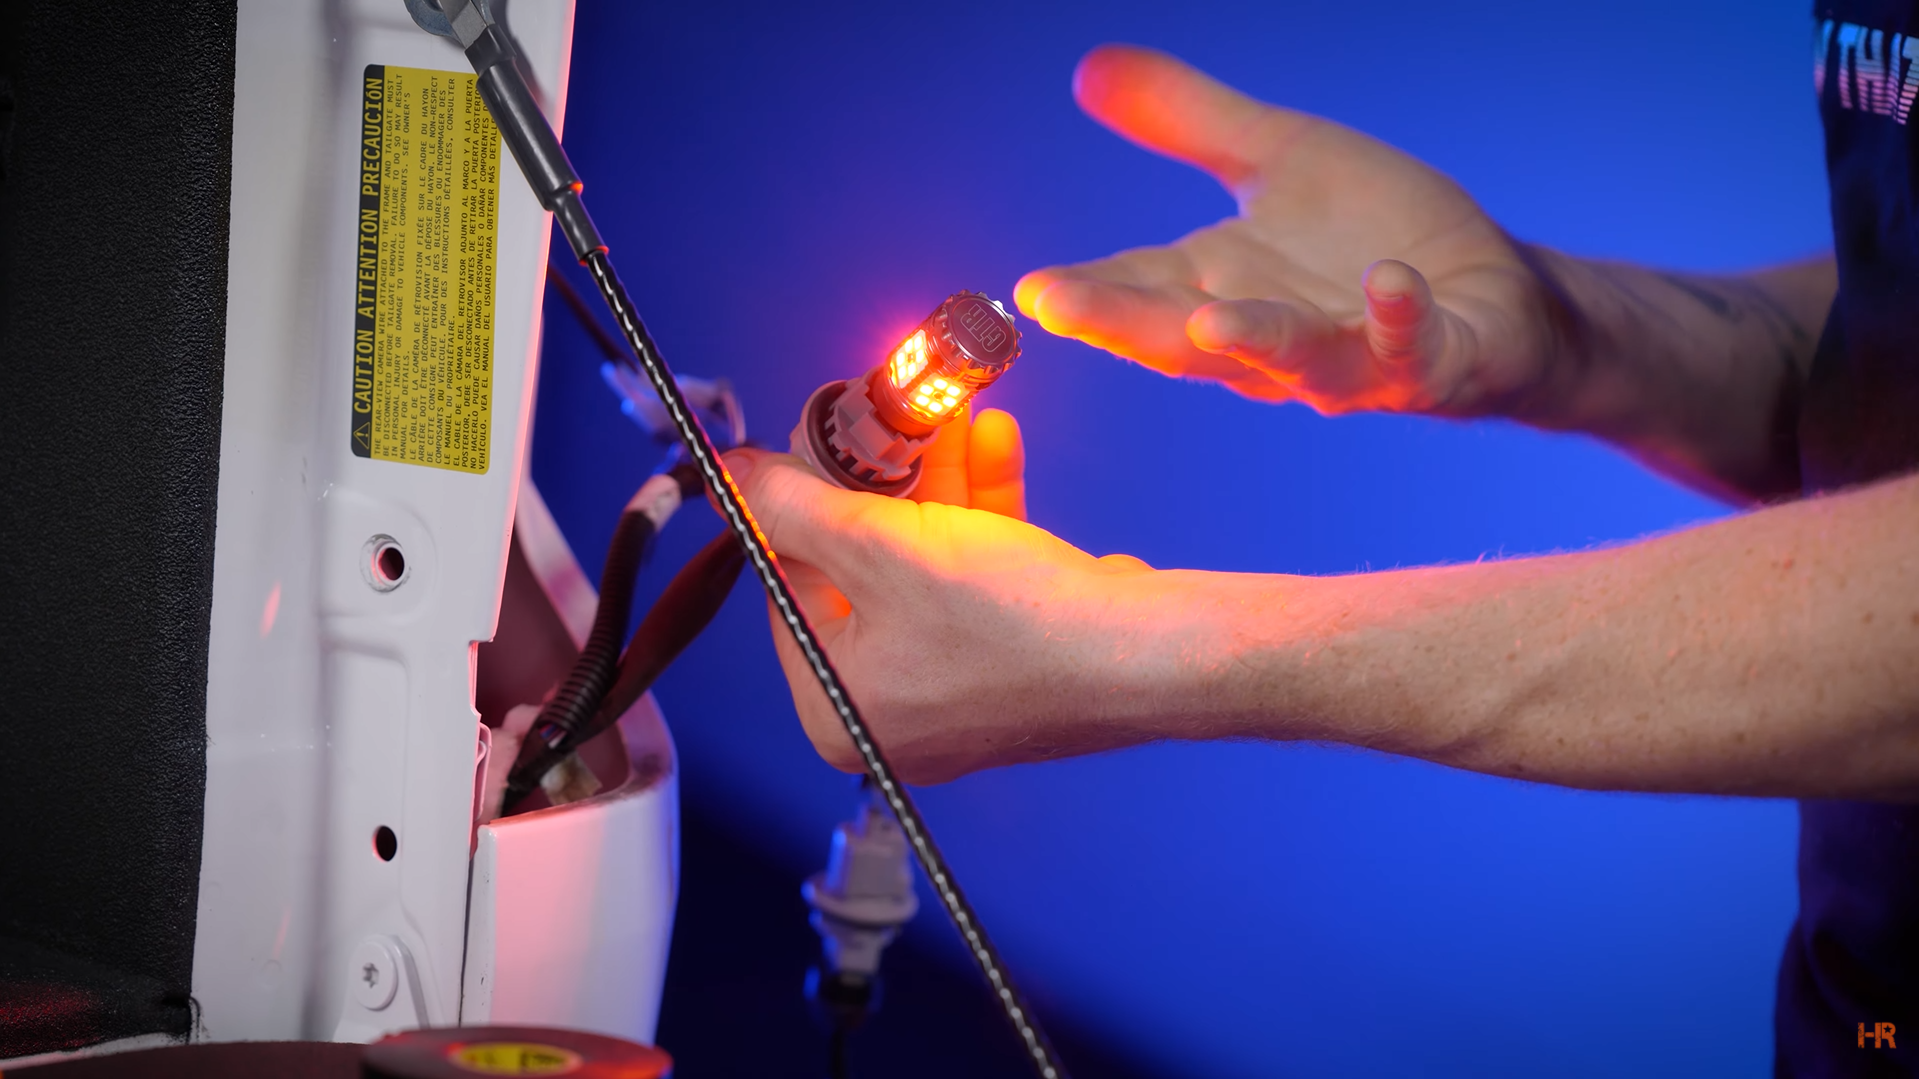
We will first replace the T15 turn signal bulb. We recommend the GTR Lighting T15 Carbide 2, which will require a resistor to use. To install the resistor, remove the electrical tape and the plastic shielding. Give enough room to mount the resistor. You will need enough slack to be able to plug the bulb into the housing.
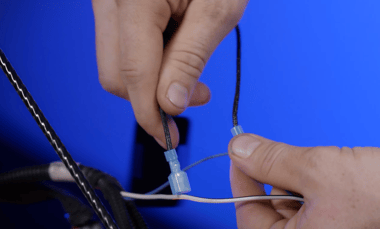
Connect the two wires to the white and blue wires with the blue plastic piece that is included in the resistor kit. You can pinch the clamp together with some plyers. After that, connect the ends of the resistor wires to each clamp.
 |
 |
Reapply the plastic covering and electrical tape. Mount the resistor to a metal surface inside of the vehicle to avoid the resistor's heat from causing problems.
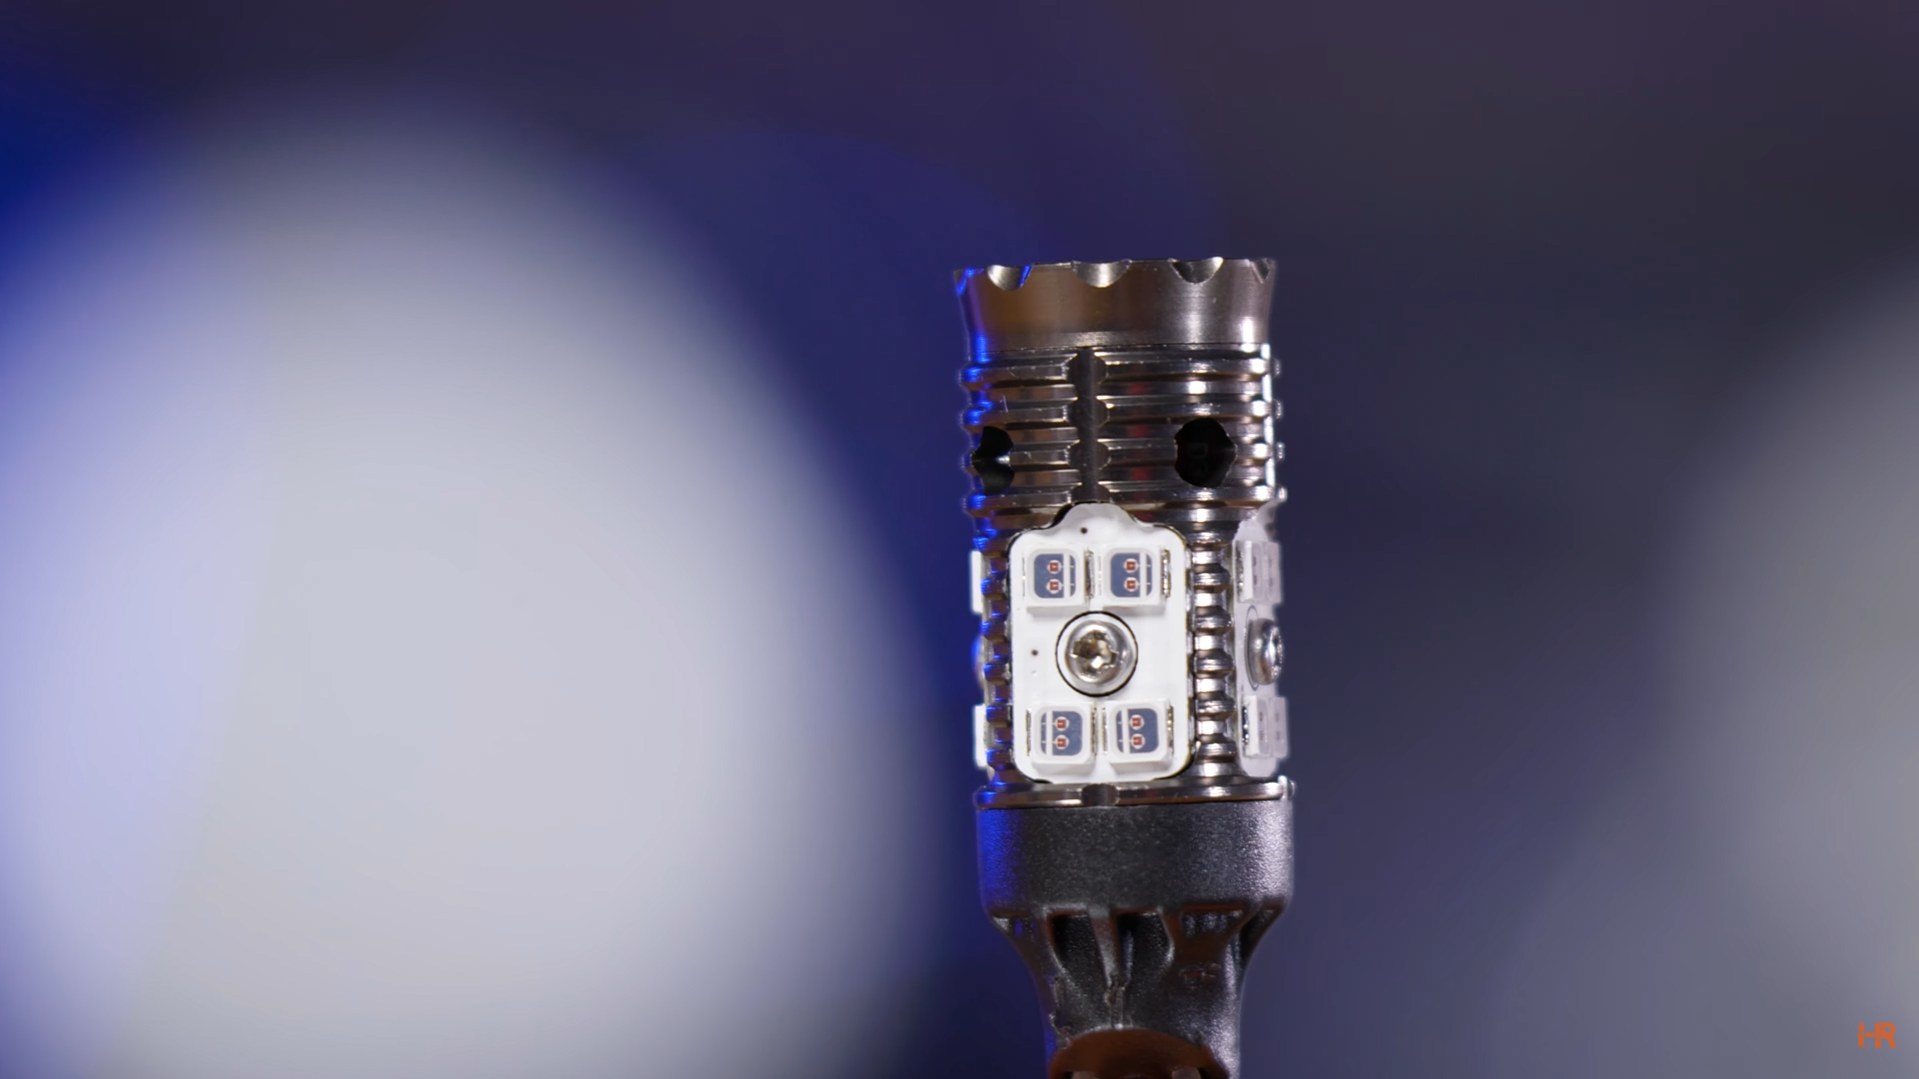
Previously, we had shown you the 1000 lumen reverse bulb about a year ago. We have a better one for you in the form of the 7440 GTR Lighting Ultra Reverse light. This one has 1200 lumens and can be plugged into the reverse light wire plug. If it does not come on, flip it 180° and it should work.
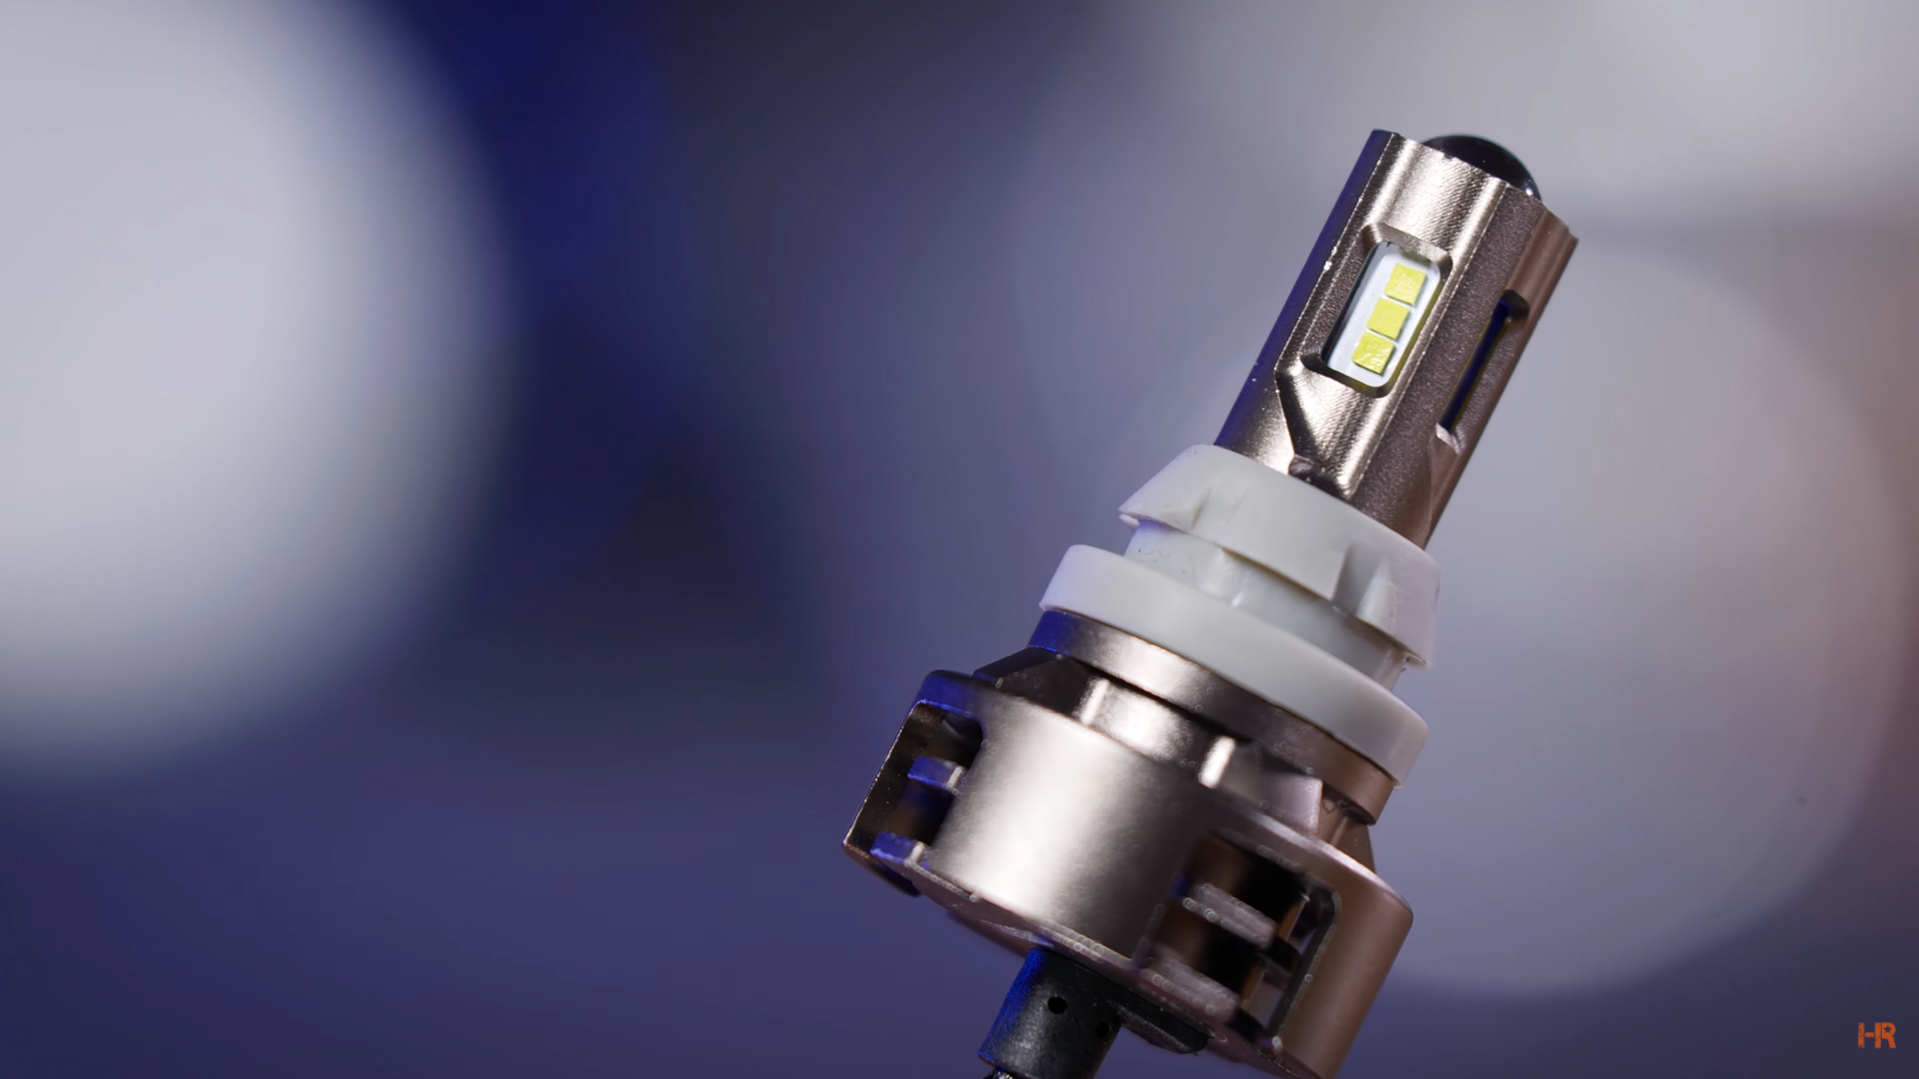
To install the reverse light, keep in mind that it is a pressure fit so you will need to push a little hard as you turn the bulb into position.
 |
 |
For the last piece of the taillight, we will replace the 3157 brake light bulb. We recommend the GTR Lighting Carbide 2. This light can just be put into the wiring socket and does not need a resistor.
Once you have all the bulbs put in, reinstall the taillight.
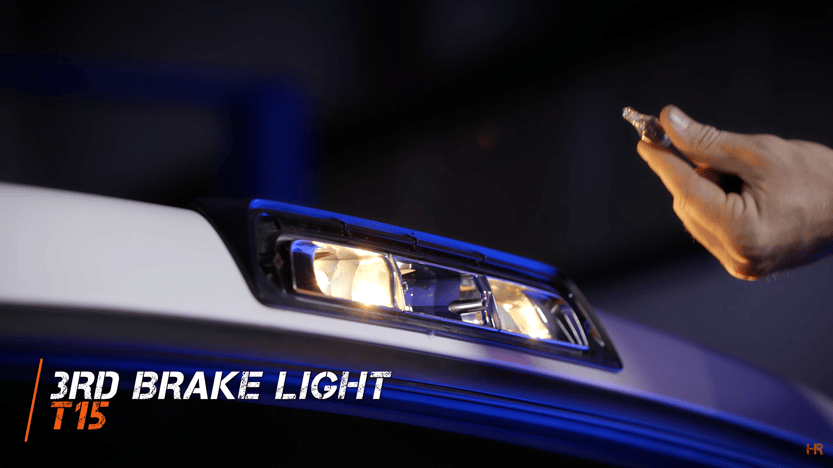
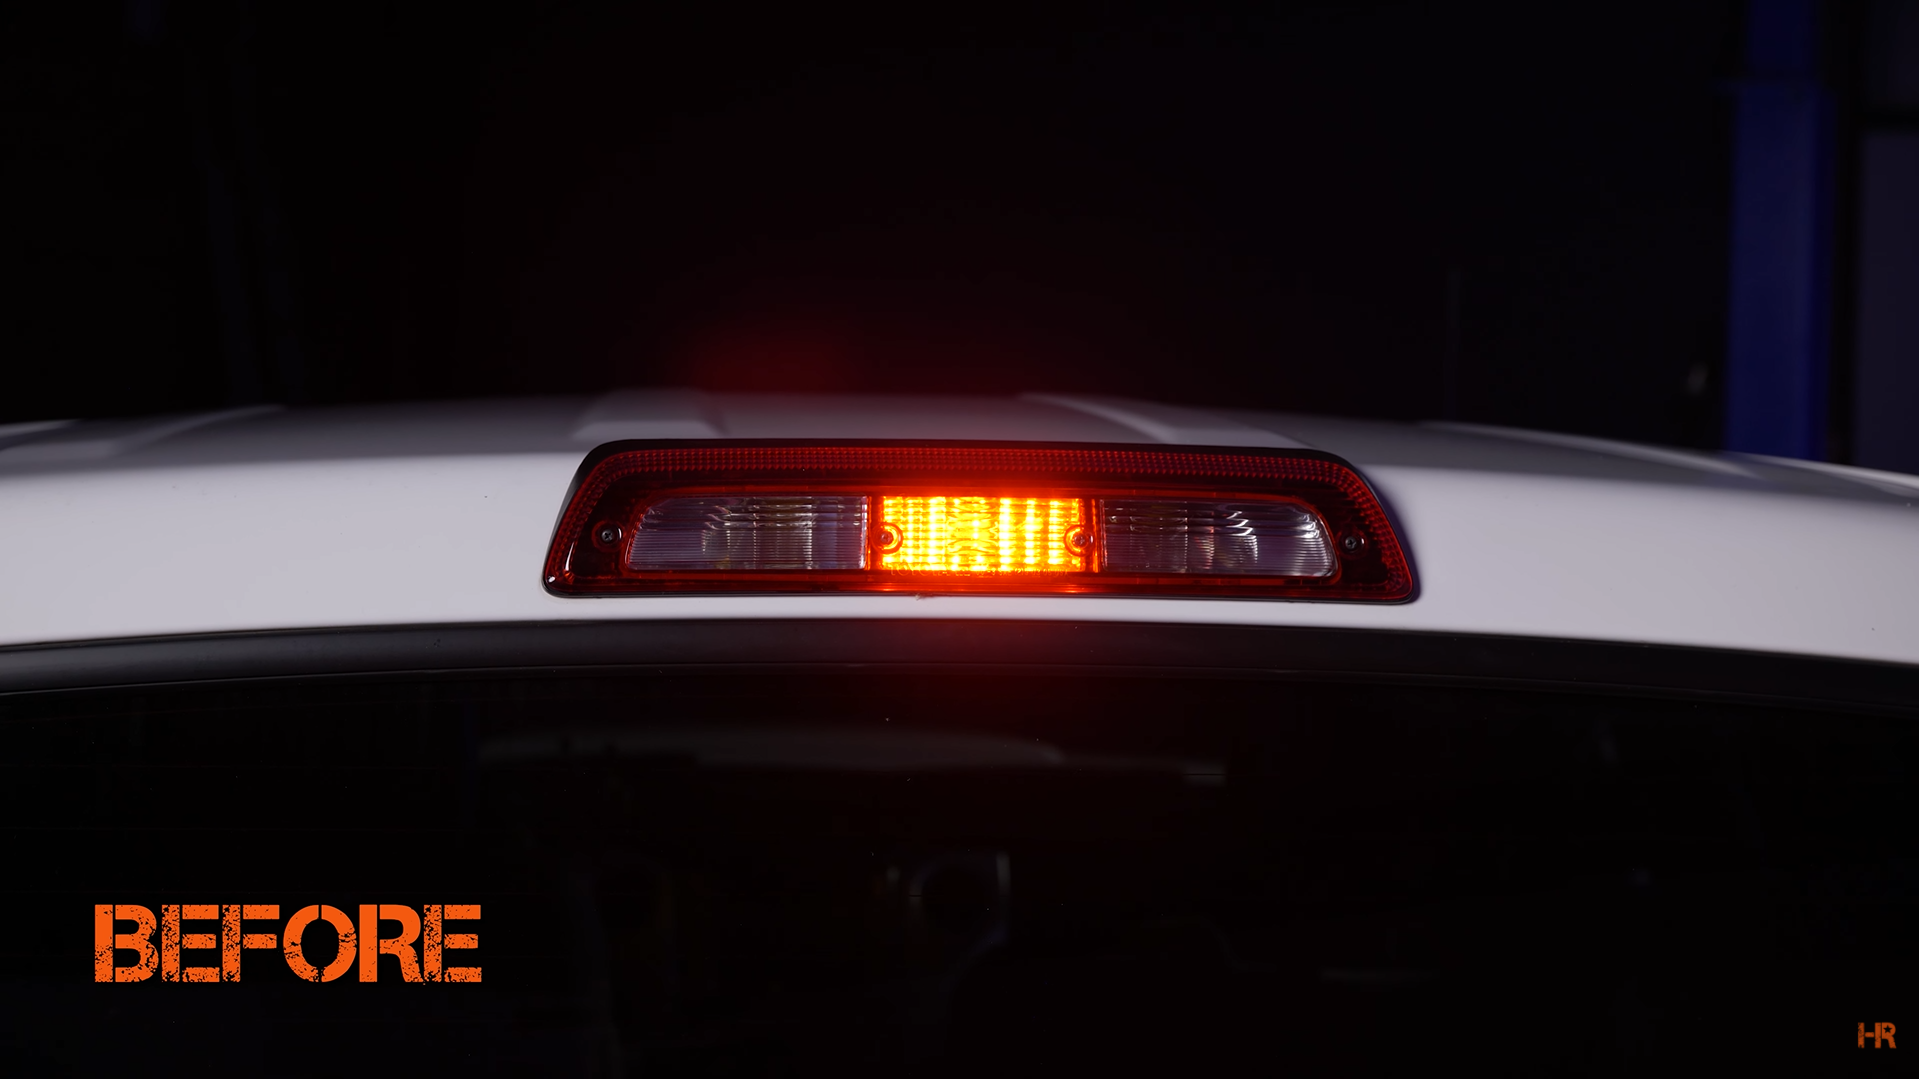
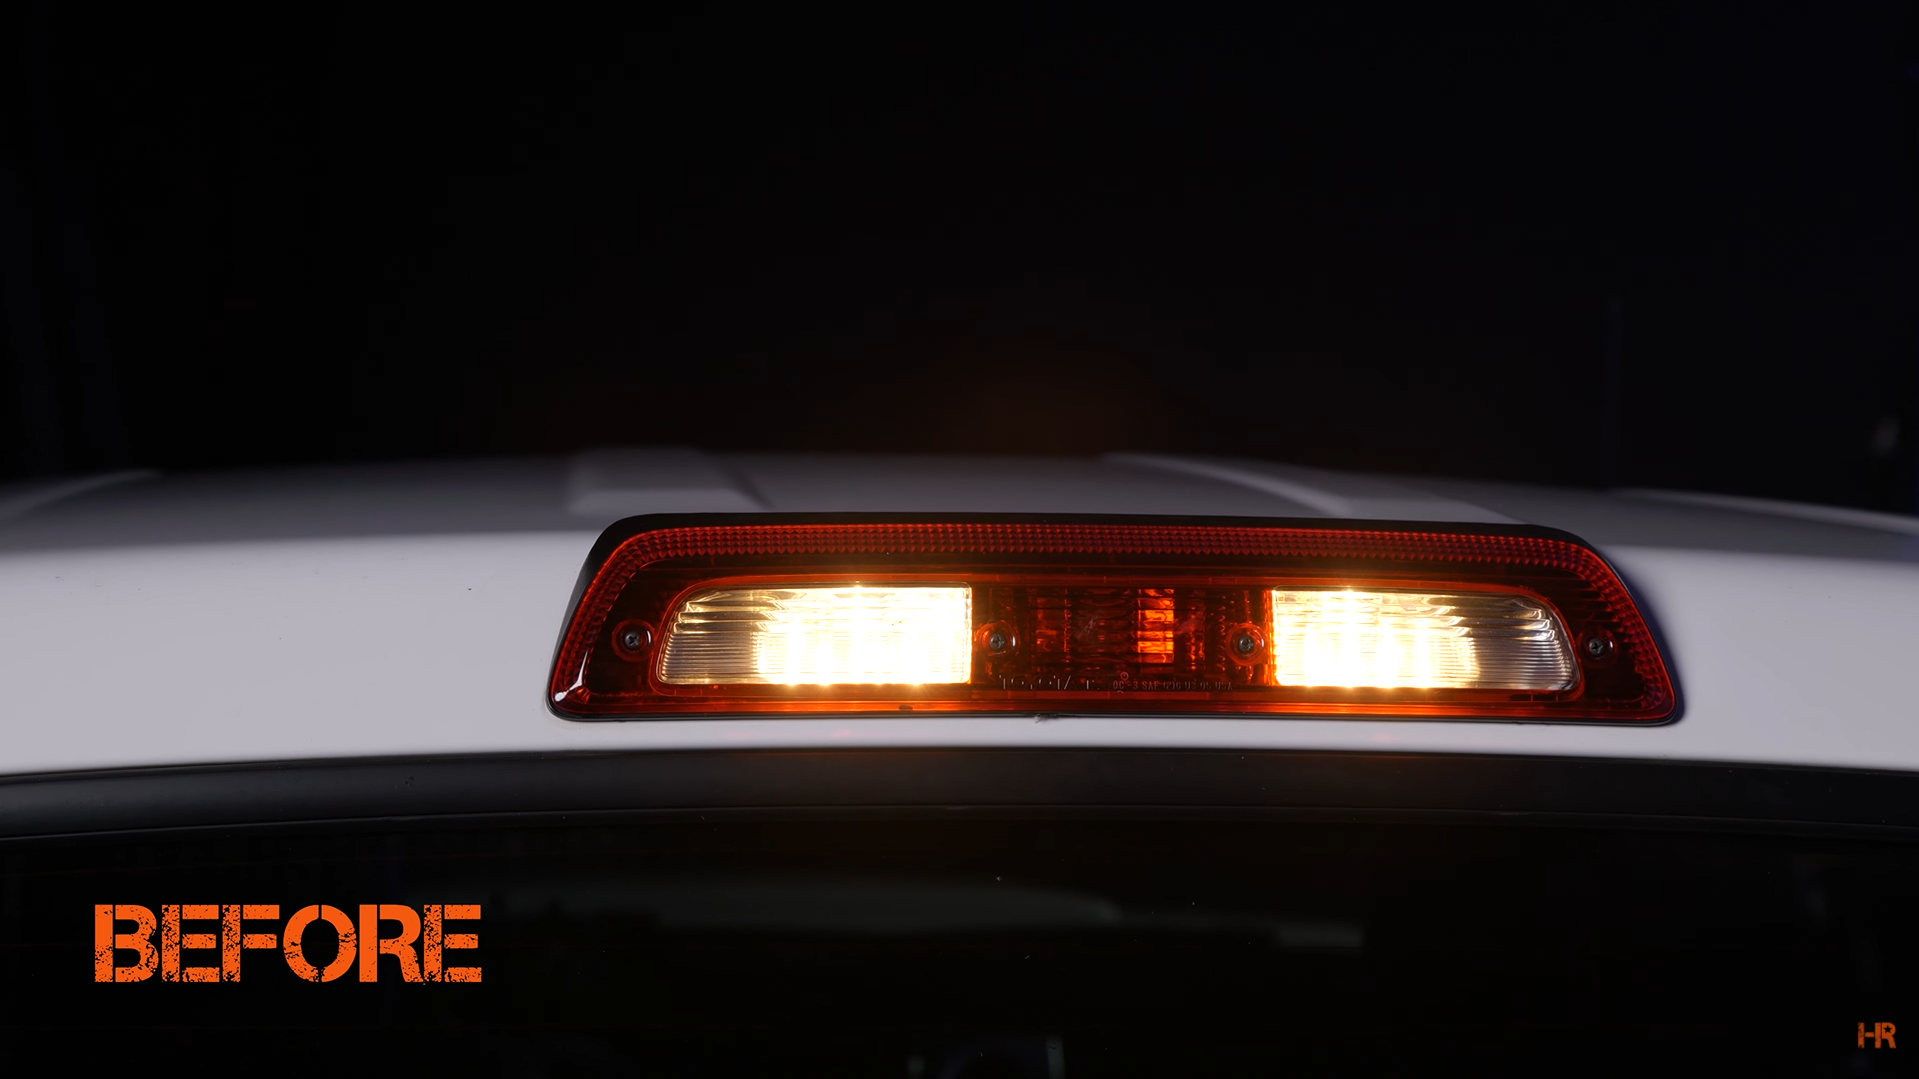
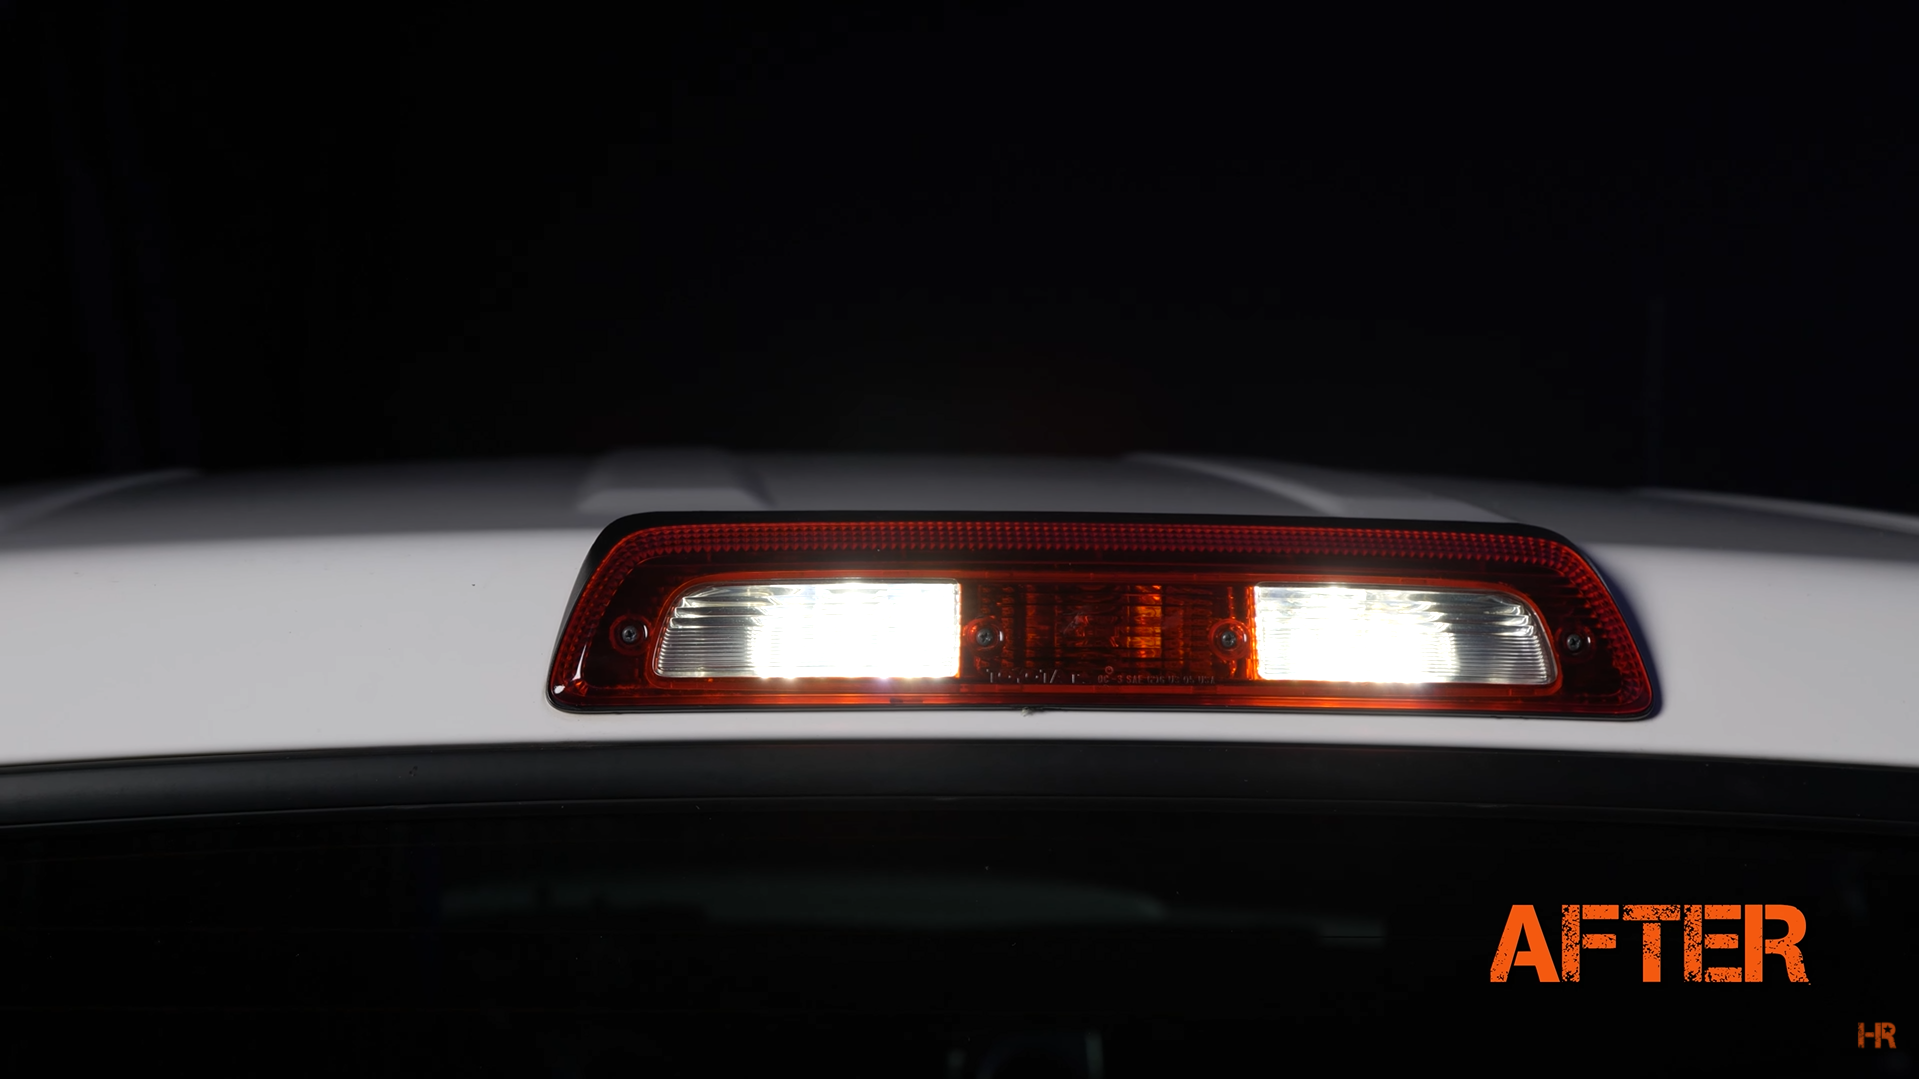
Cargo and Third Brake Light
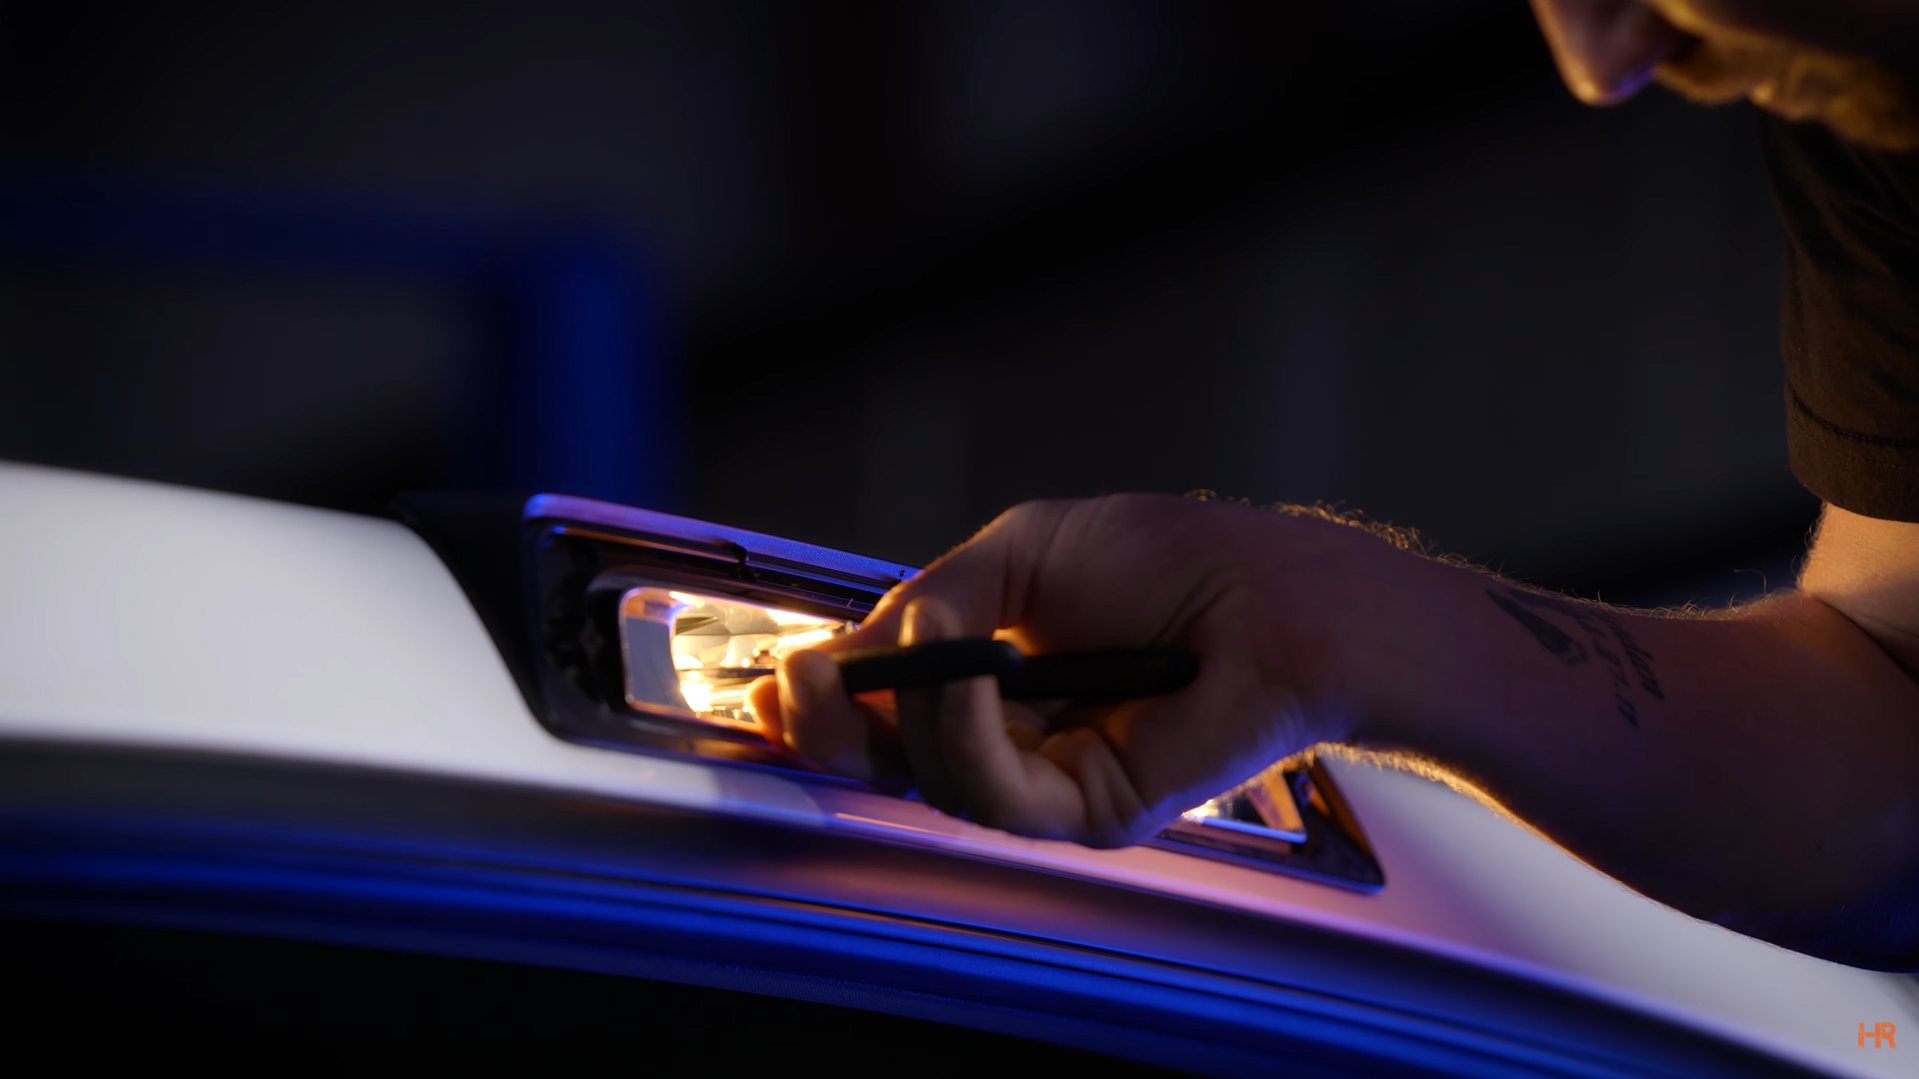
These are super easy to replace. Remove the four Phillips screws to free up the lens and reveal the T15 and T10 cargo lights.
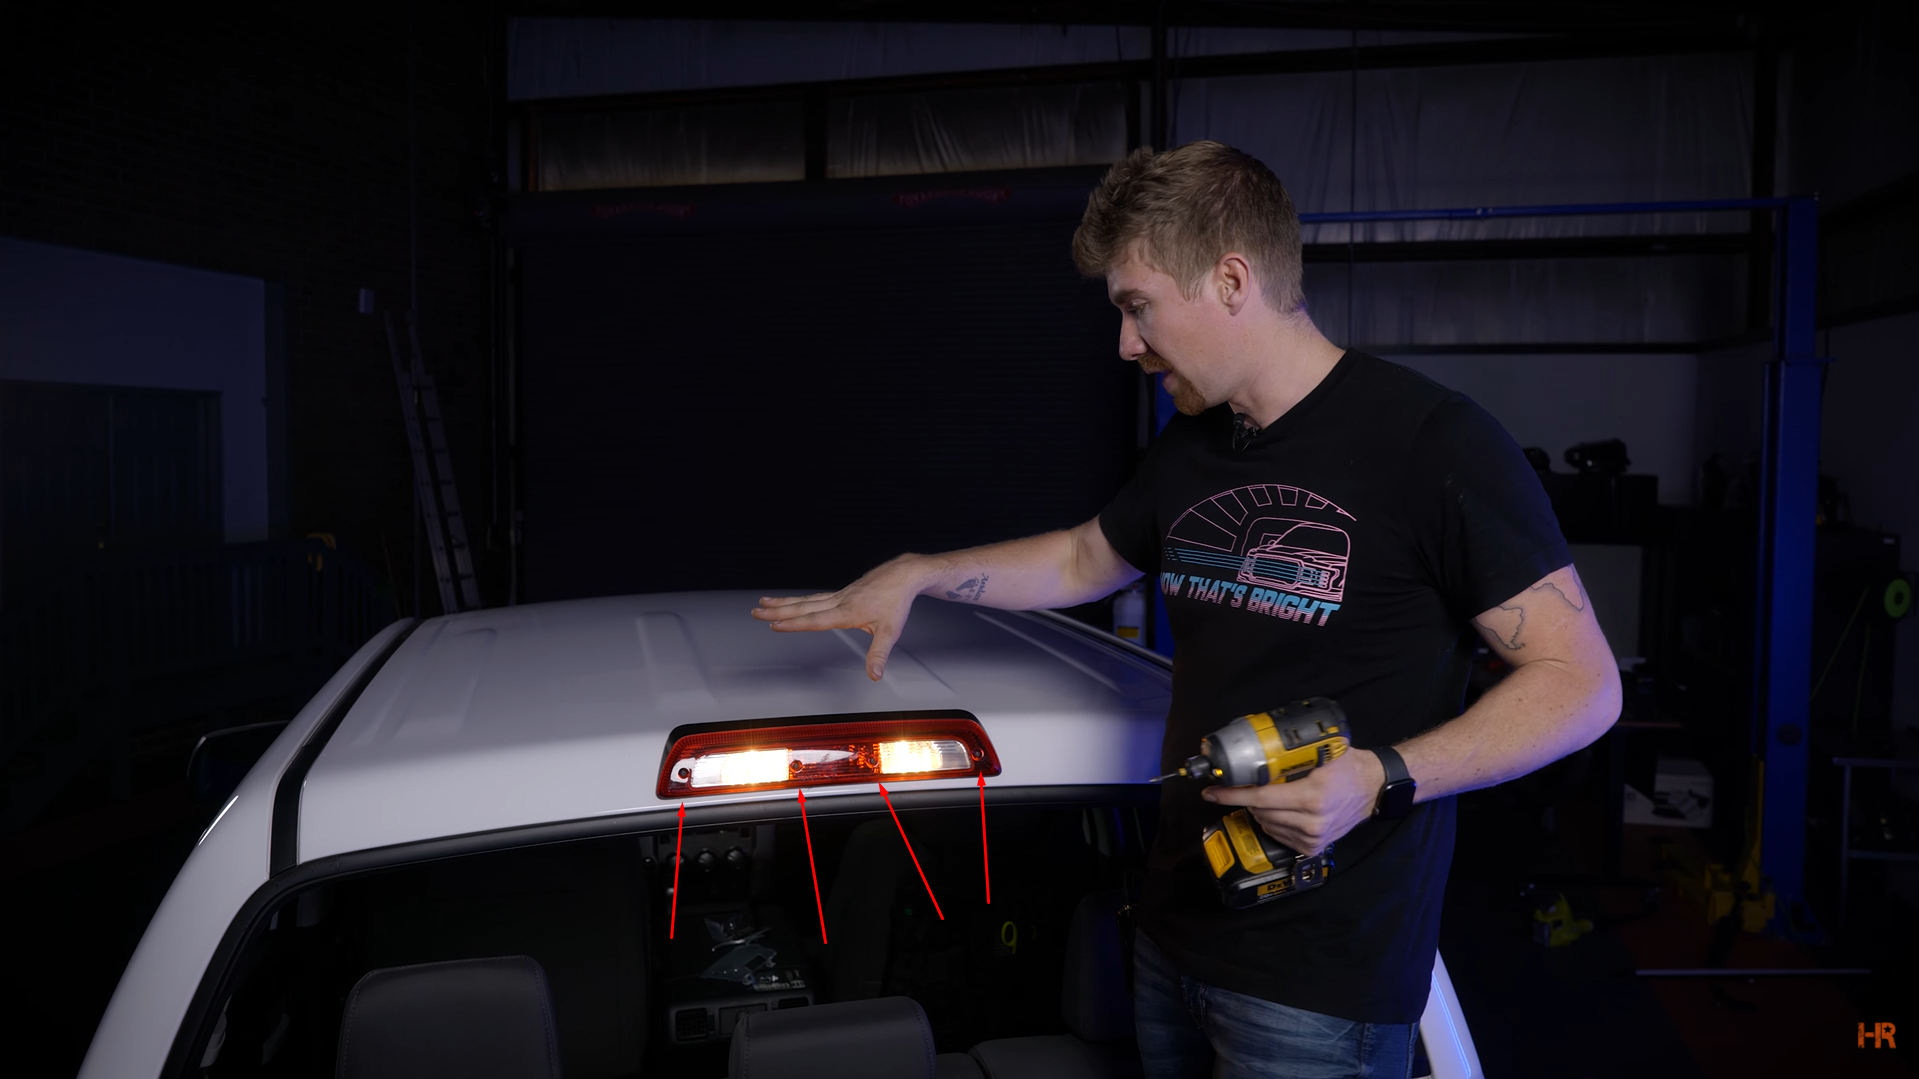
Here you can install the T10 bulb we installed in the map light but instead in red. You can also use the Carbide 2 light we used for the brake light if you need something brighter.
 |
 |
For the bed lights, we used the Carbide 2s again due to their brightness. Remove the bed light bulbs with needle nose plyers as they can be very hot. These lights are also polarity specific, so if they do not turn on, rotate the bulb 180°.
 |
 |
After testing those lights and reapplying the lens cover, you are all set to go! If you have not already, see our video covering the NSV LED light bars and Morimoto LED Projector headlights to give the front end of your Tundra a lighting upgrade.
If you are more of a visual learner, be sure to check out our video on the subject. While you are there, make sure to like and subscribe to our channel for the latest lighting upgrades for your vehicle.
Have any questions about one of the products we mentioned? Contact us today, and our customer service team would be happy to help.