The BEST LED Lighting Upgrades for the 2009-2014 Ford F-150
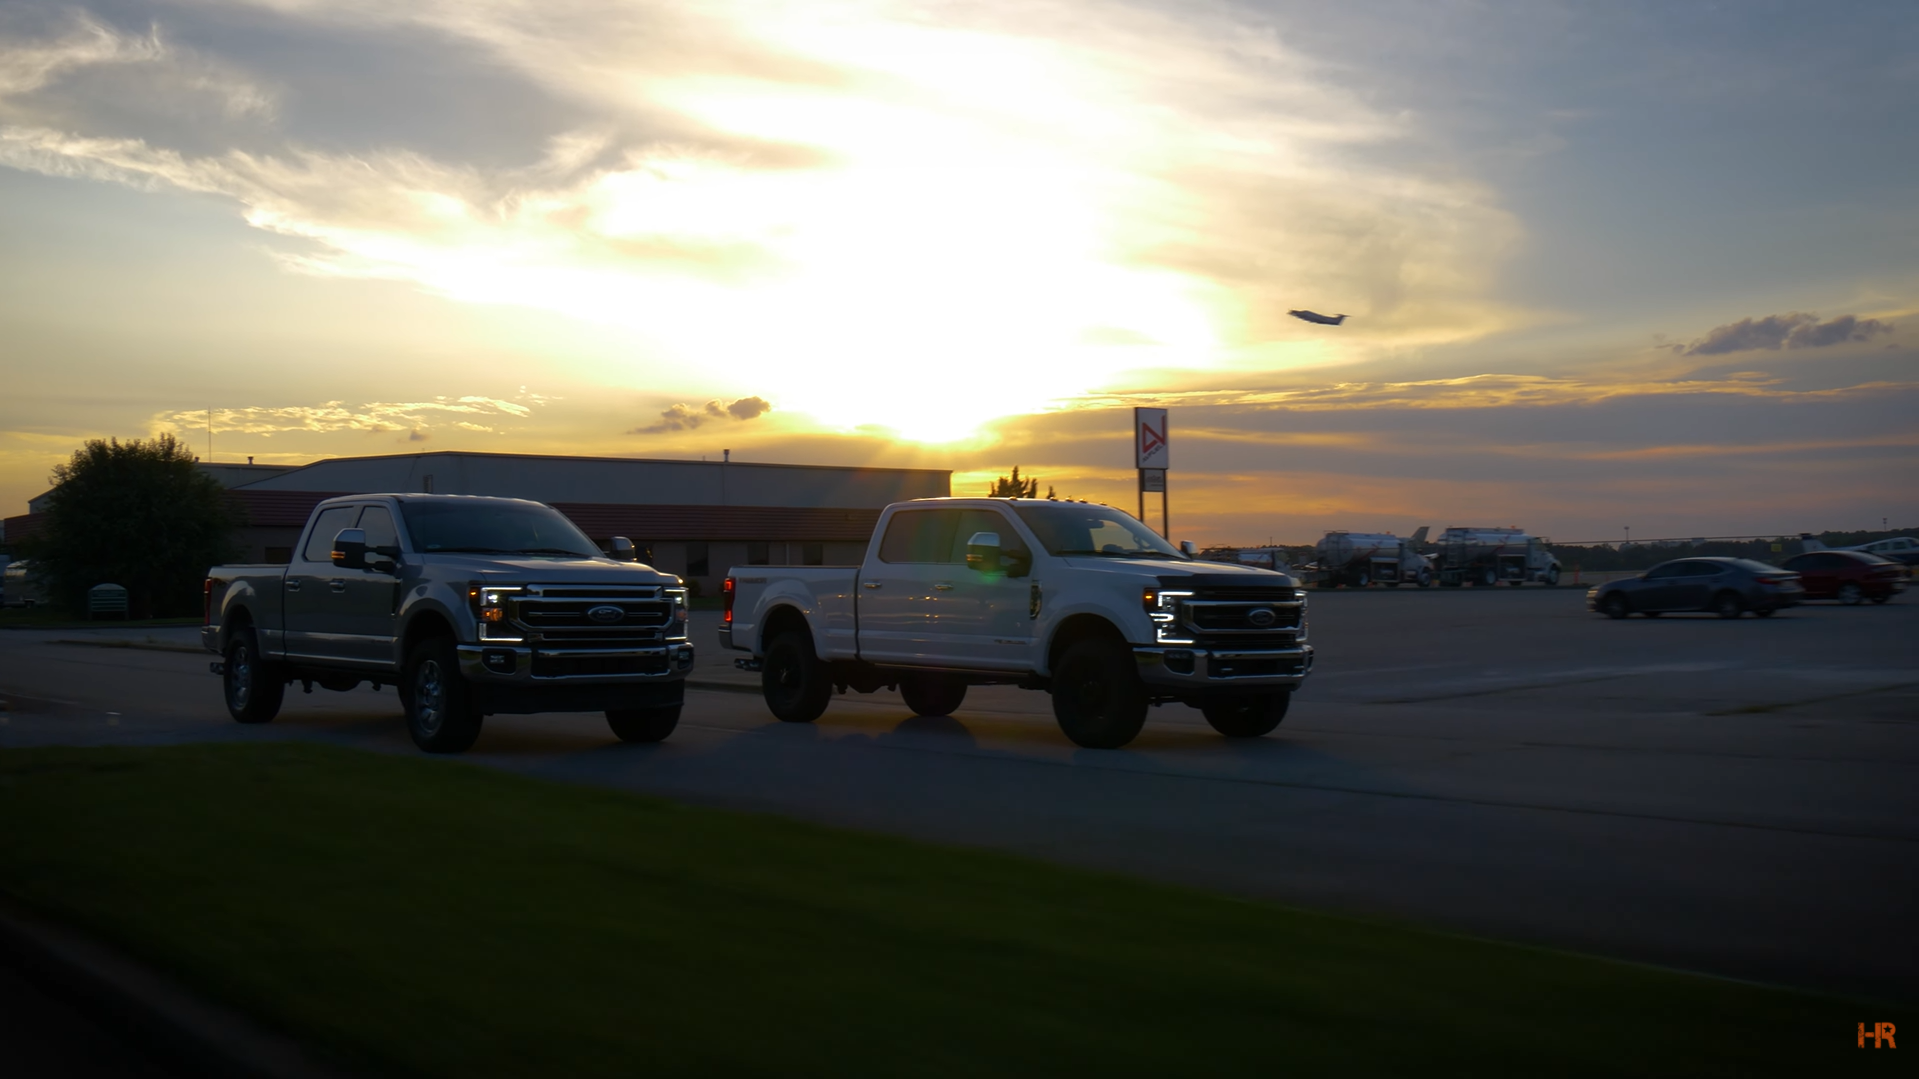
Since the late 1940s, Ford has benchmarked the American truck market with its F-Series pickups. With each new year came improvements as America’s favorite truck. Today, the F-Series trucks are still the most-sold trucks in the United States. You really cannot go wrong with this truck, and you should not have to go wrong in the lighting department.
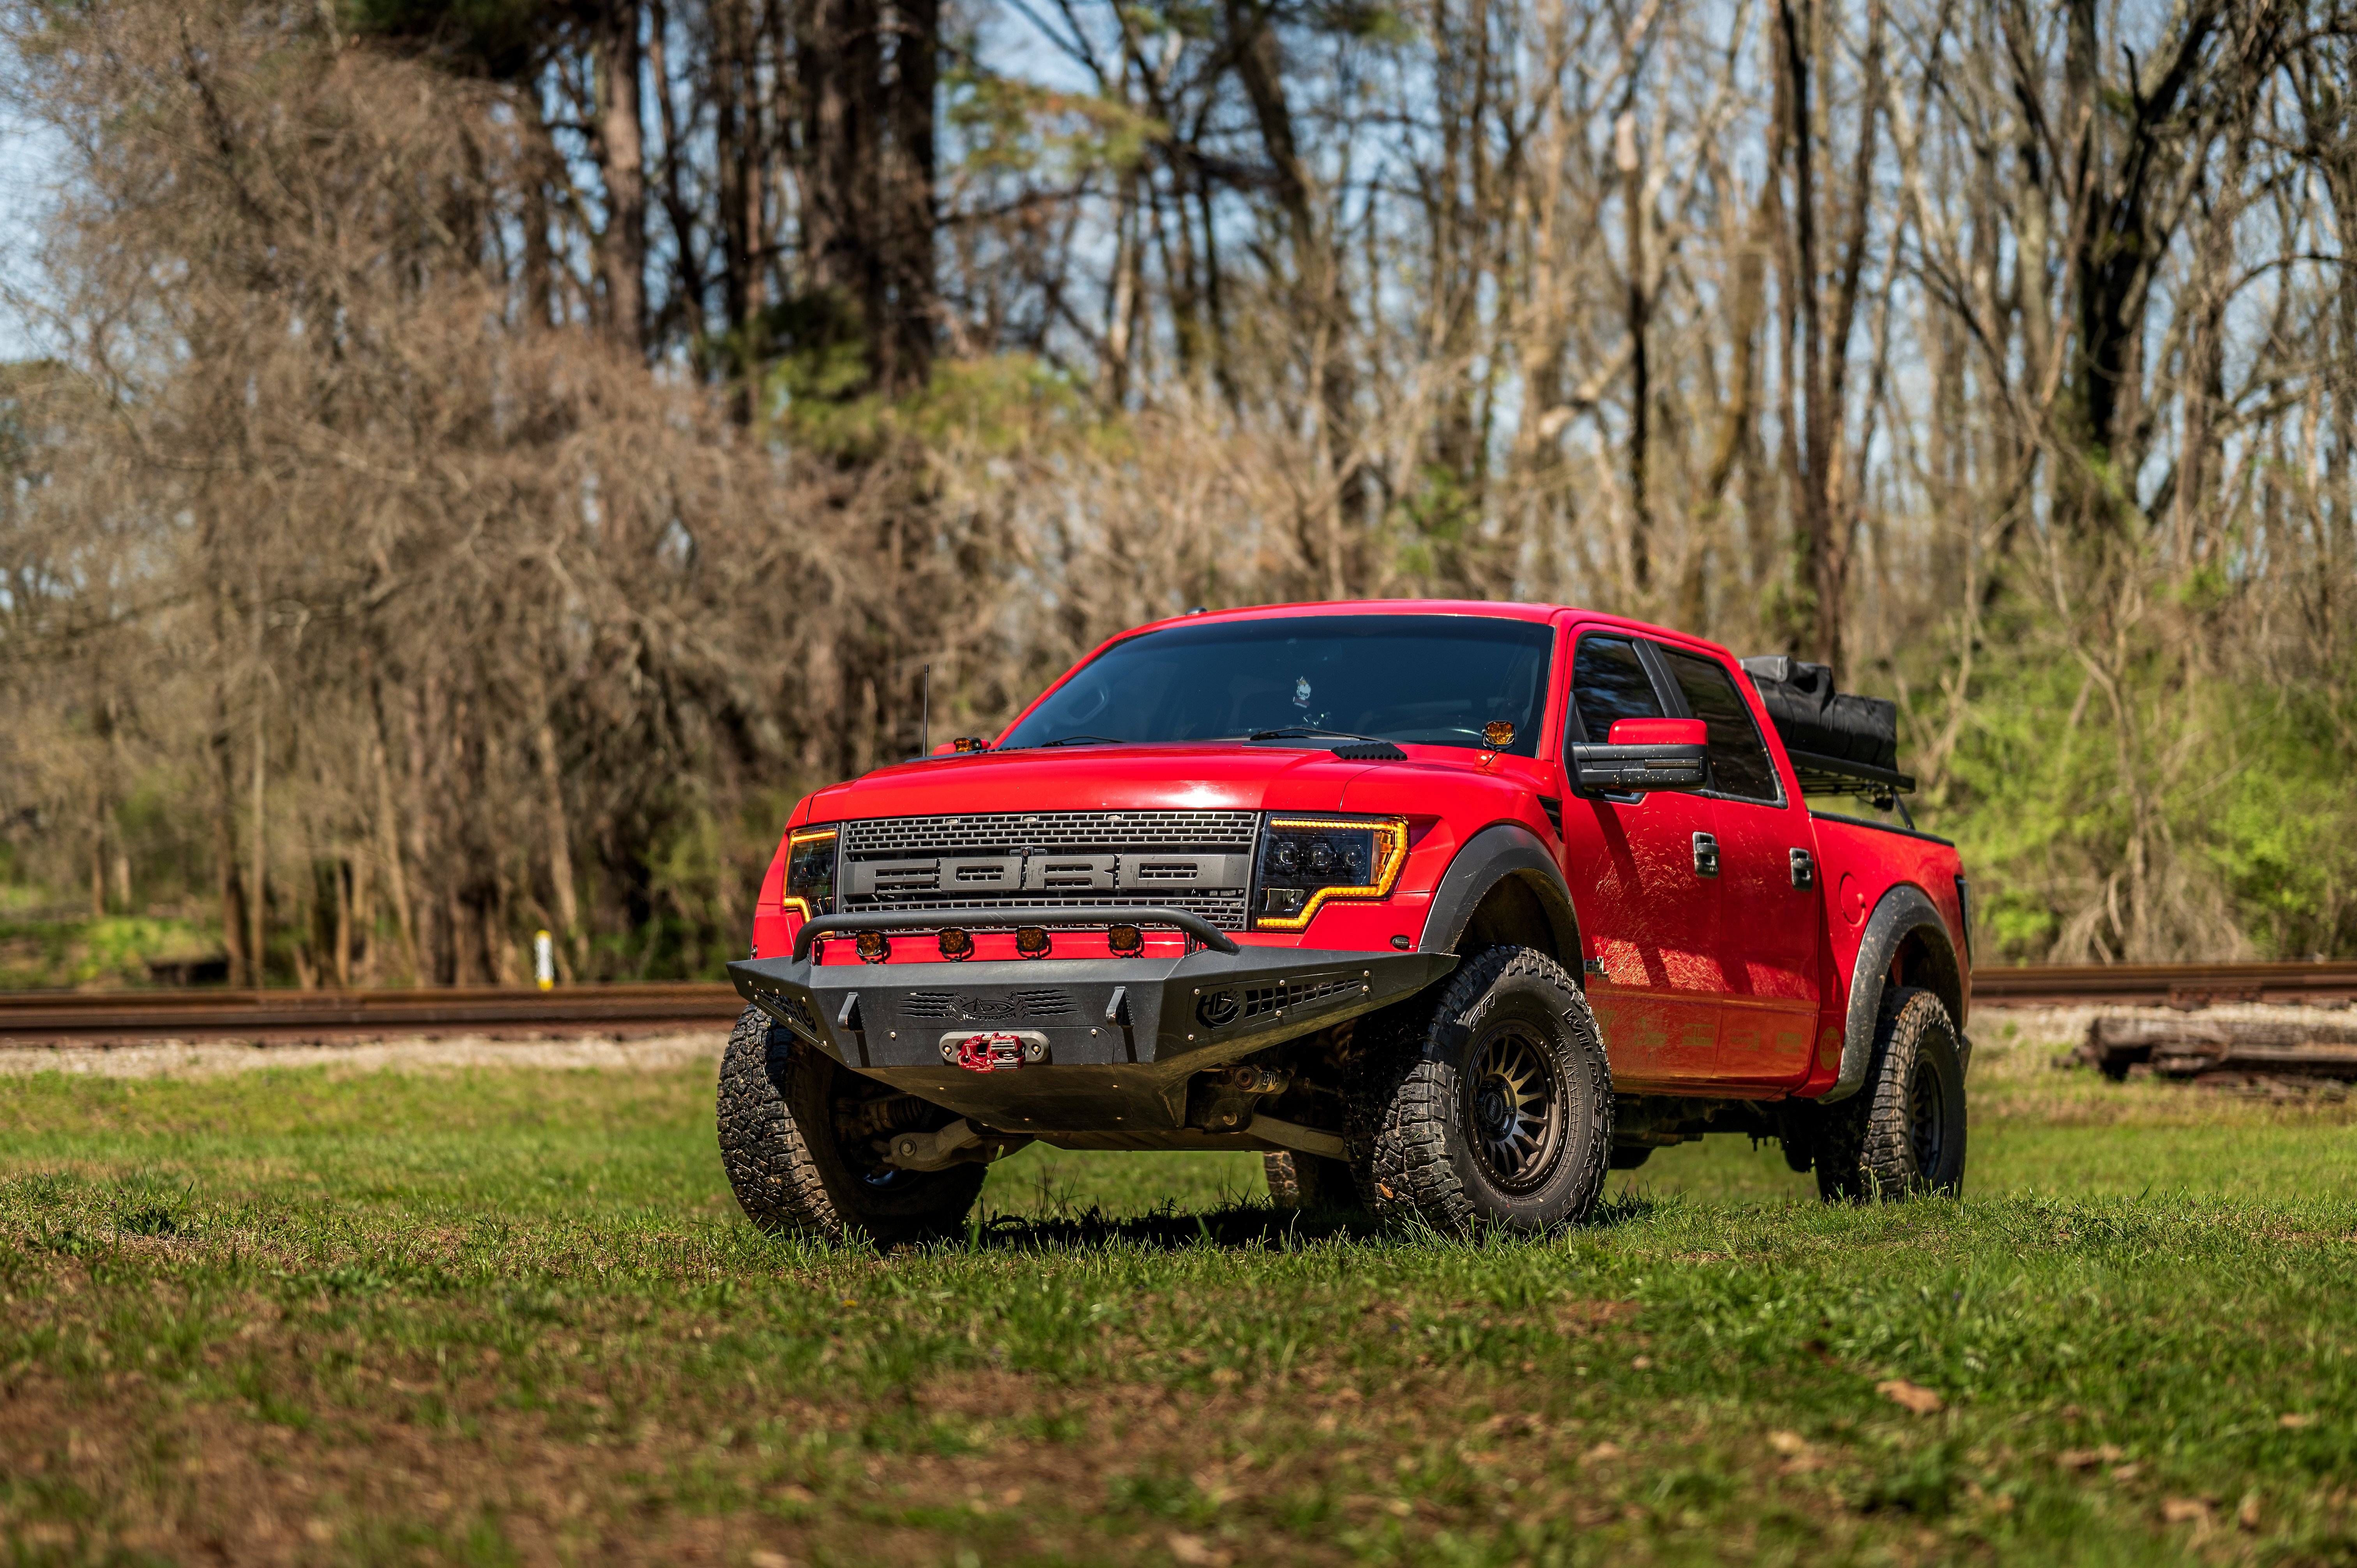
Even the best-selling cars and trucks have their faults. The F-150 is no different. We have tested hundreds of different lighting products for nearly every application on your truck. Today we will be looking at a few of the best LED upgrades you can do to your ’09-’14 Ford F-150.
ABOUT THE F-150 RAPTOR
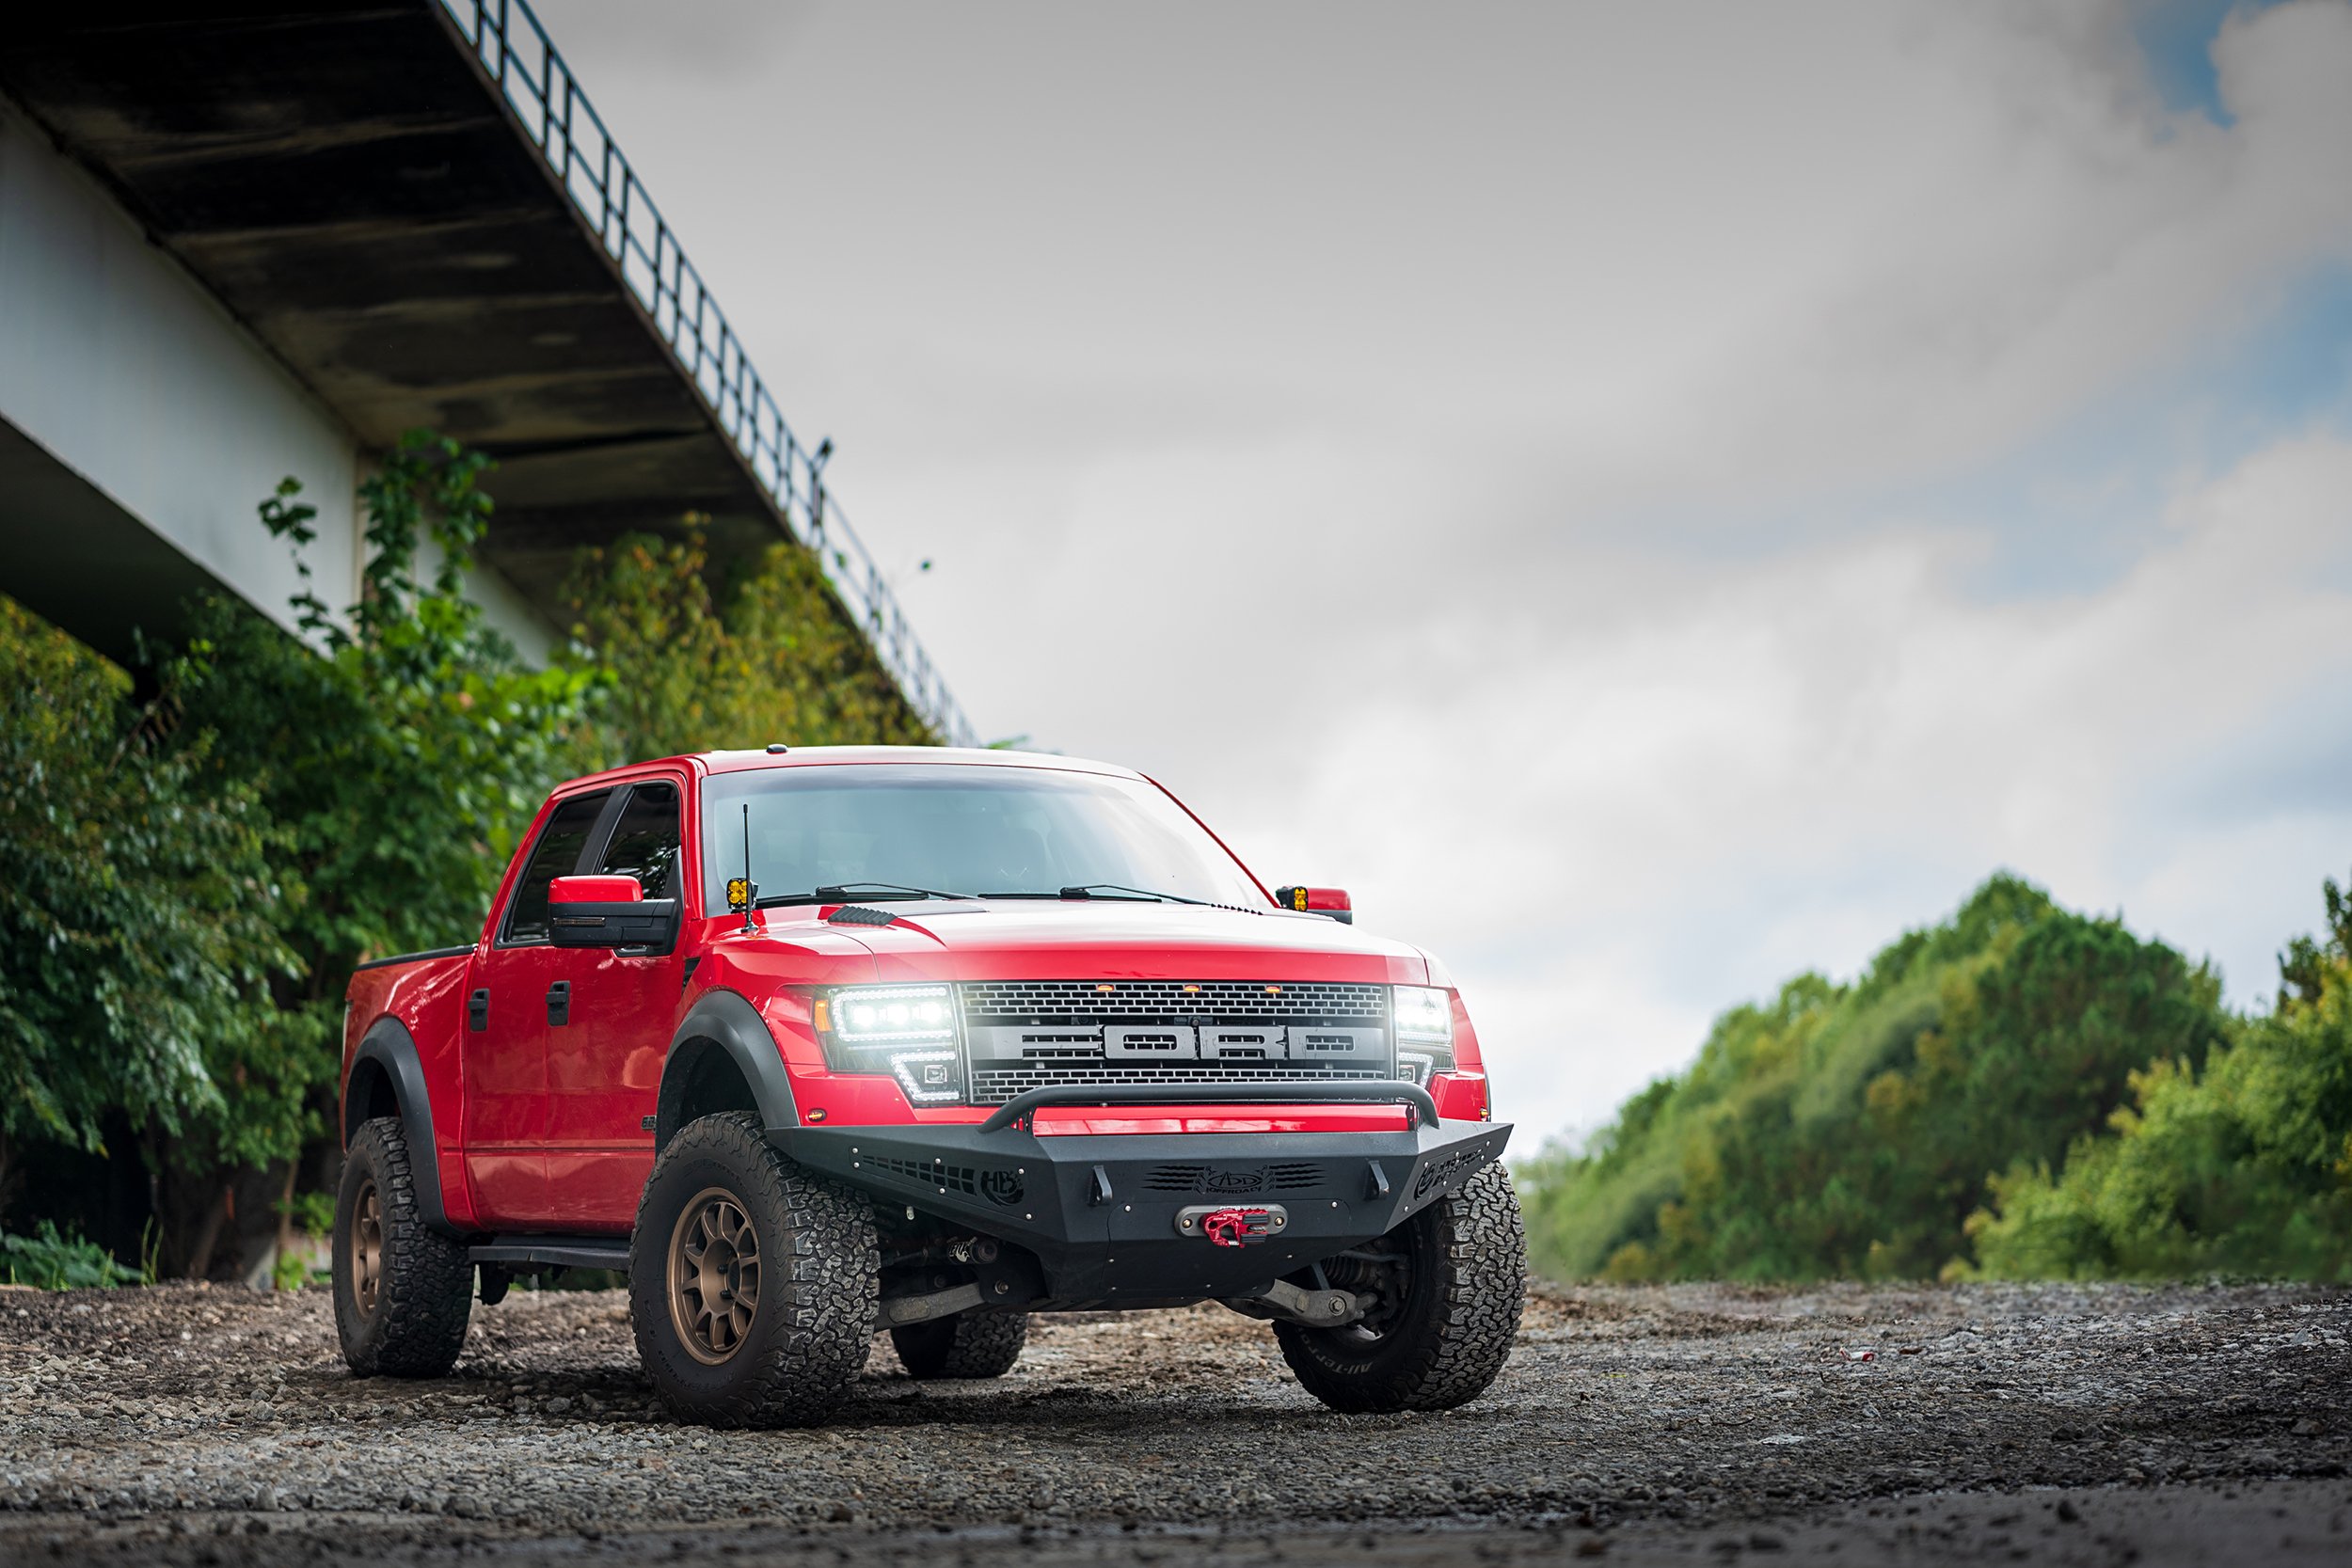
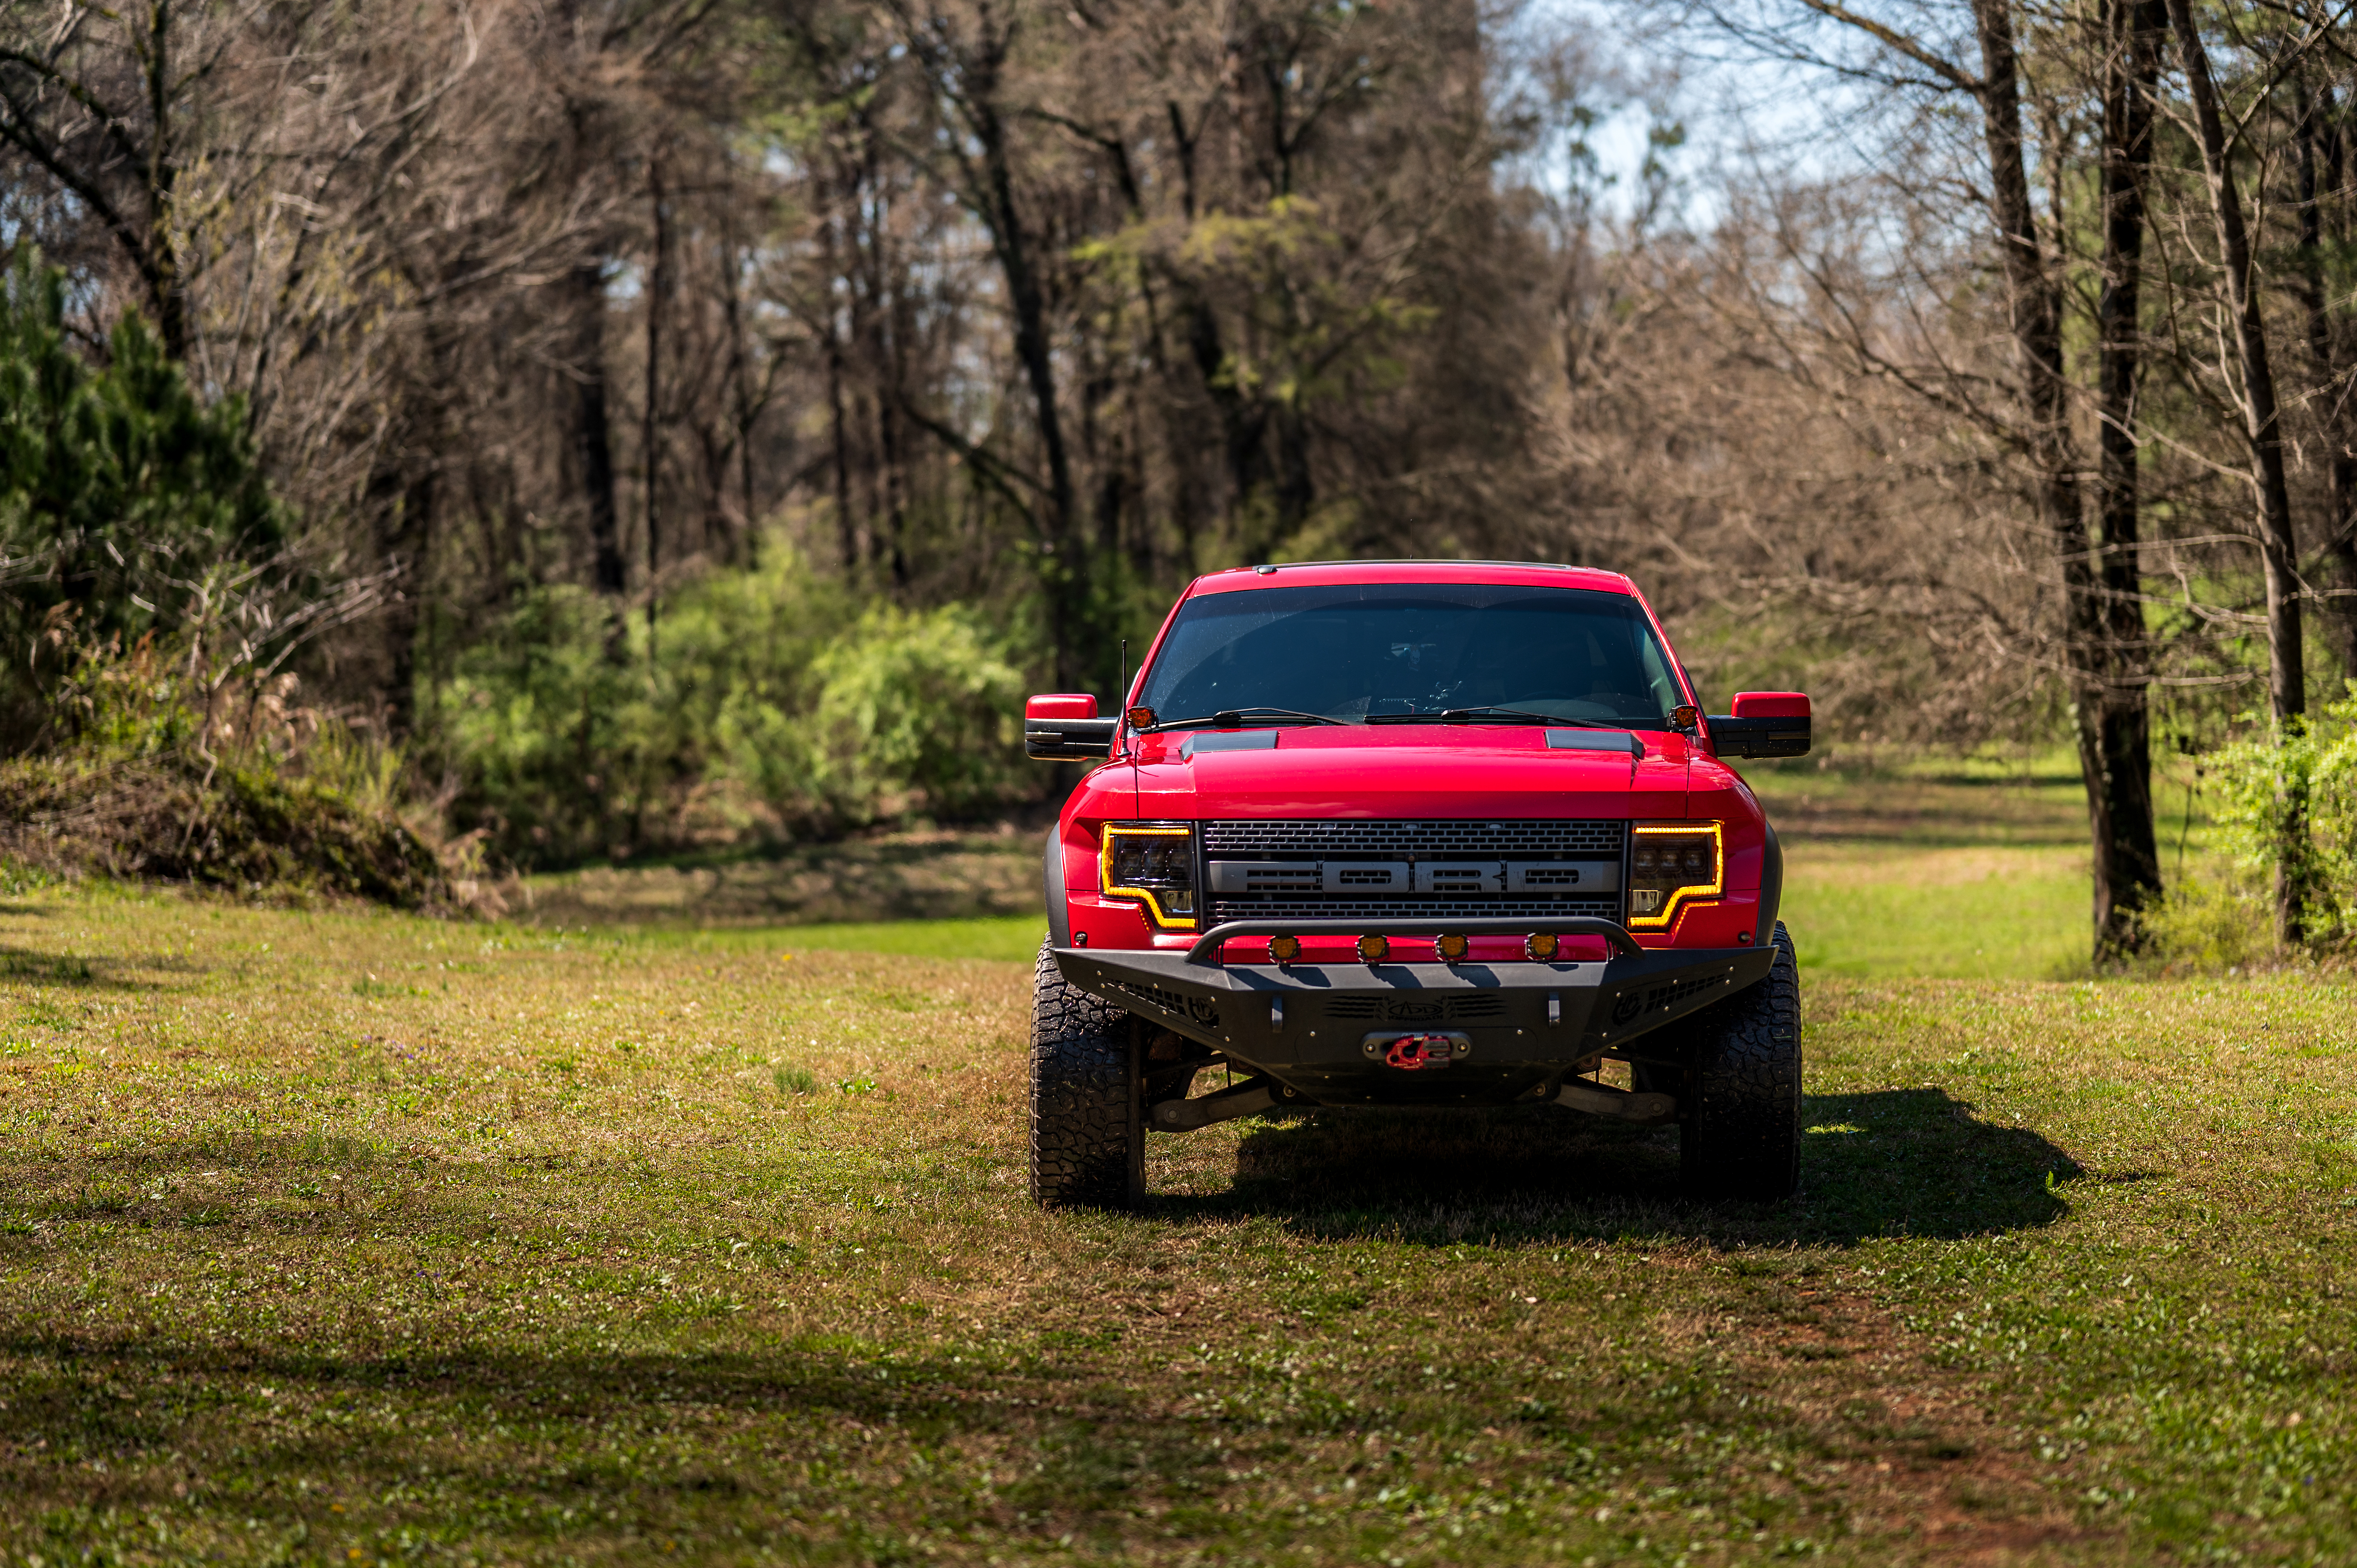
While what we are discussing today can apply to all F-150s made between 2009 and 2014, we are specifically working on a Raptor version. The high-performance F-150 that was introduced in 2010 was designed with the ethos of a street-legal off-road racing trophy truck. You have your standard four-wheel drive, mid-travel suspension system, and tires meant for all kinds of surfaces.
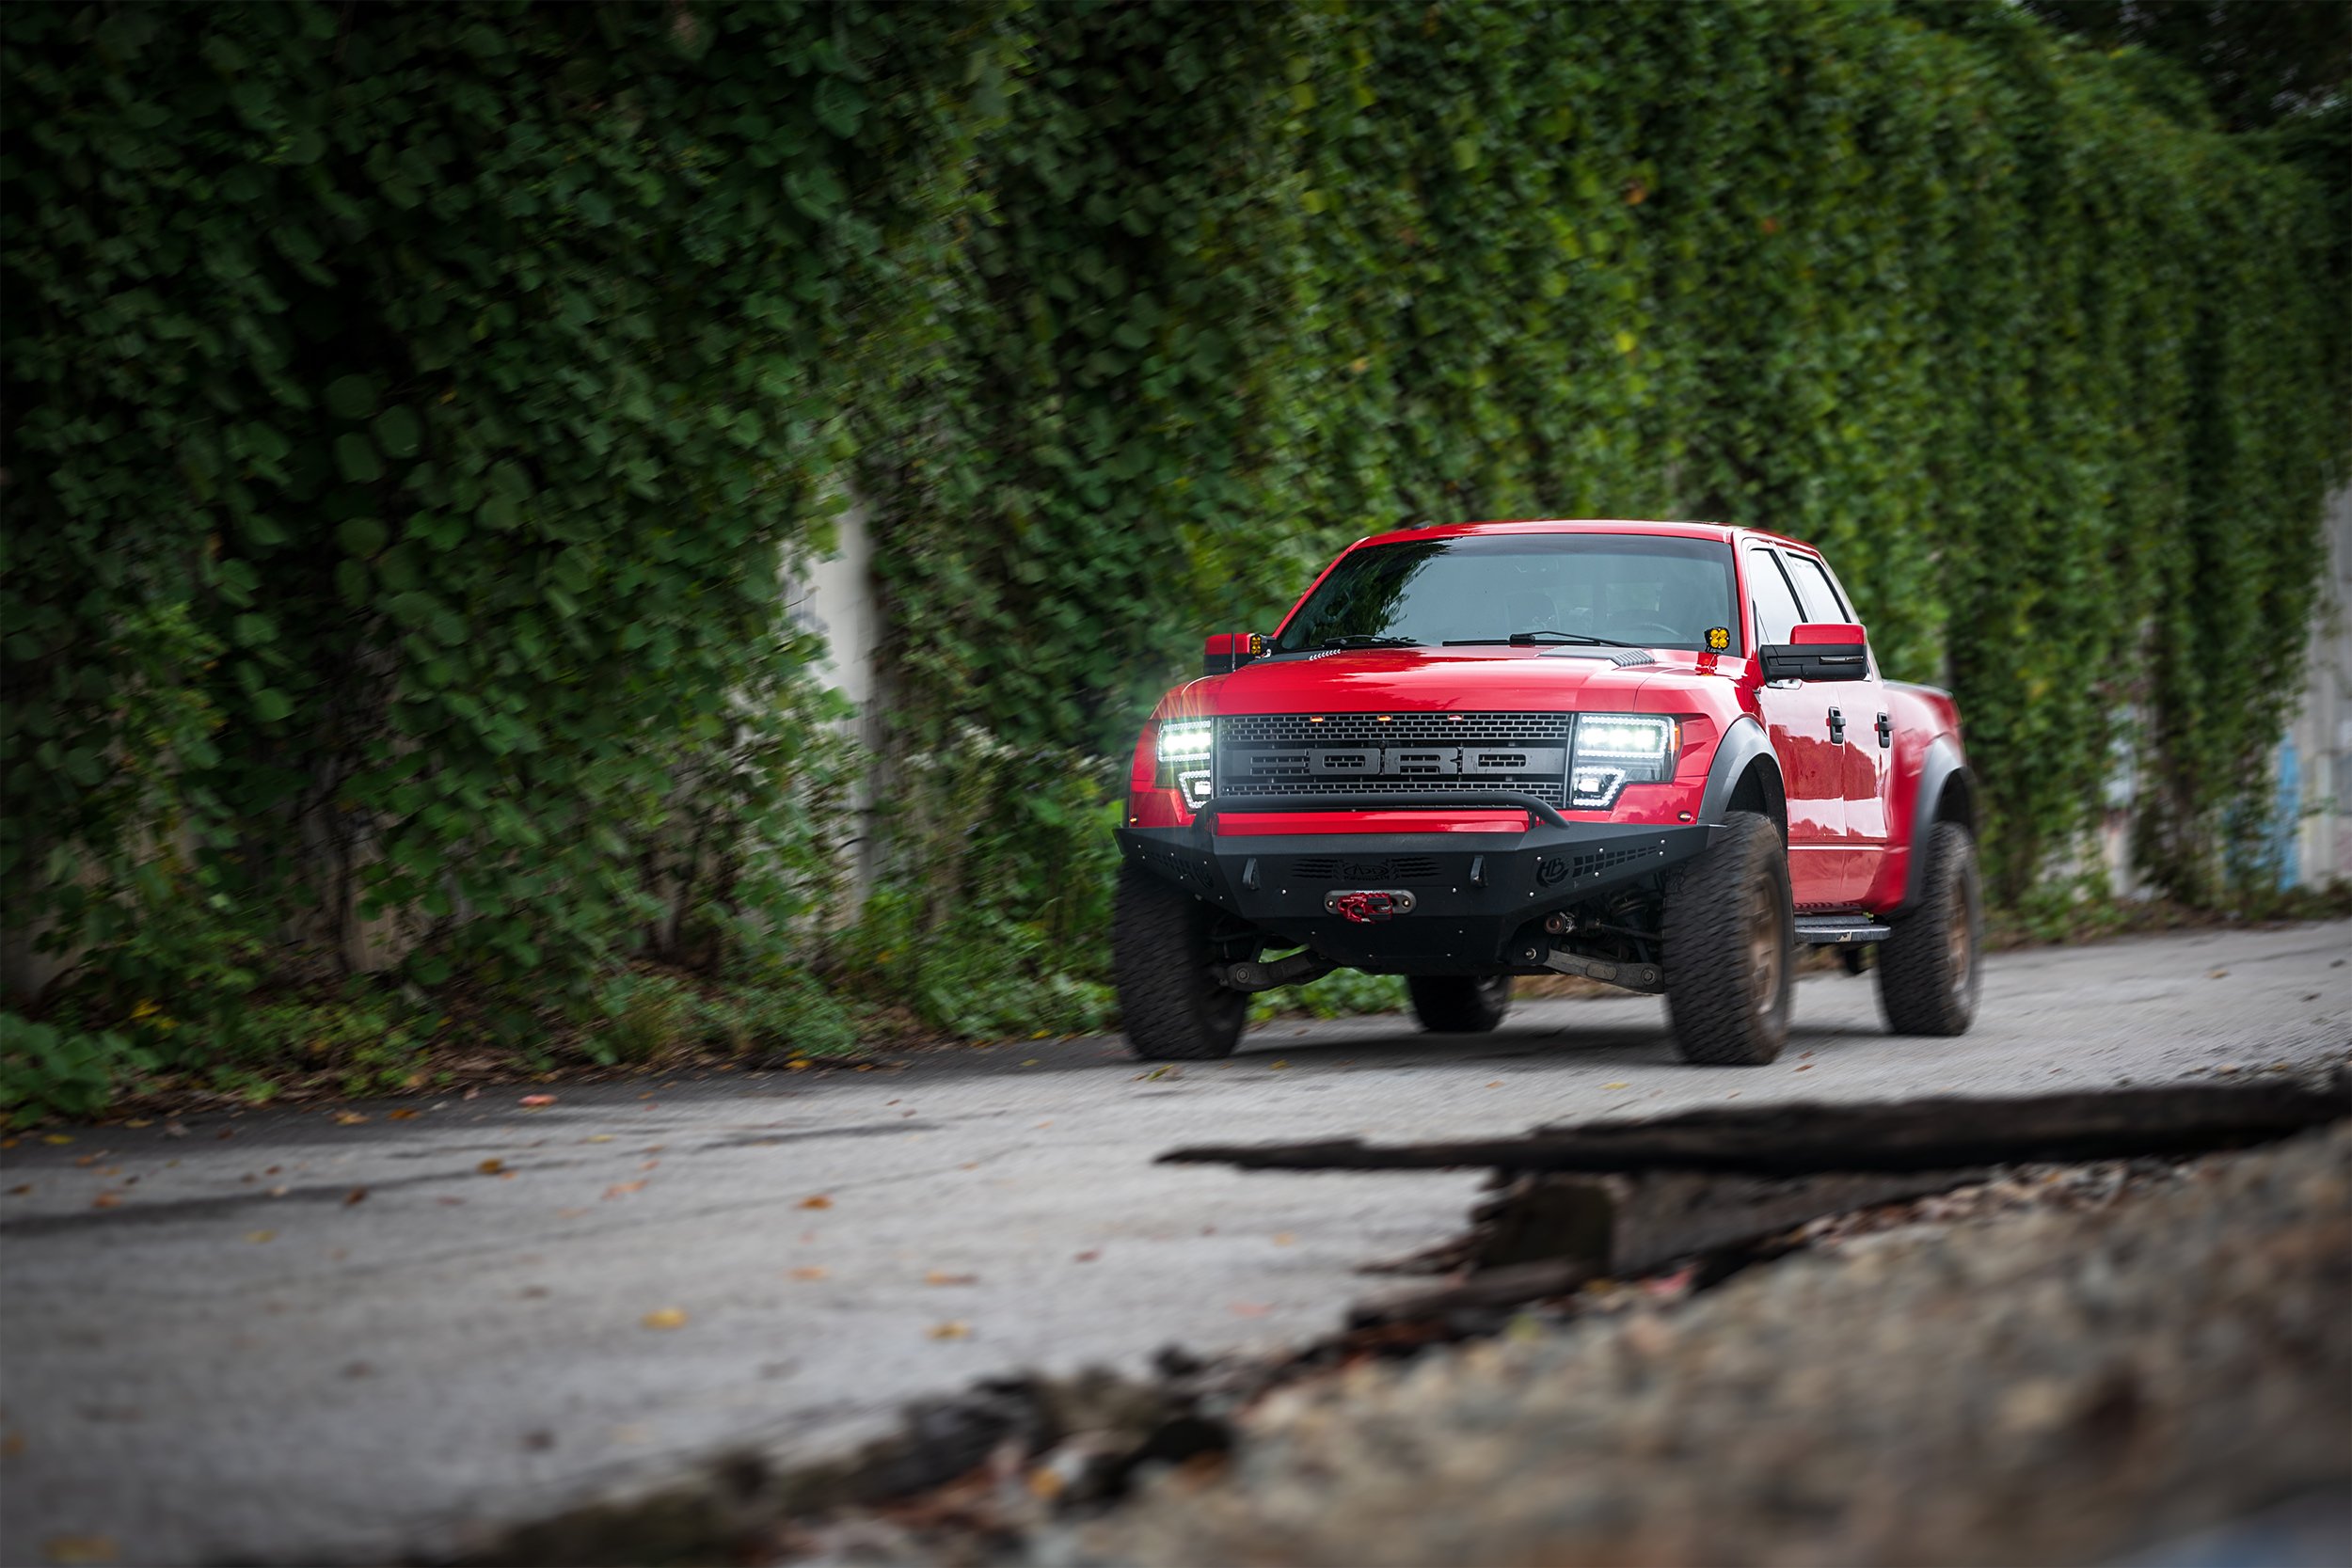
From factory, it came with a 5.4L V8 engine producing 320 horsepower. You could, however, opt for the 411 horsepower 6.2L V8 that could be found in the Super Duty at the time. After its first model year, the Raptor was only offered with the 6.2L Super Duty engine. Since 2010, the Raptor namesake has become synonymous with performance. Only recently did they announce the production of a Ford Bronco Raptor set for the 2022 model year.
LED UPGRADES
But what if the crazy horsepower and off-road performance is not enough? Maybe you are looking to improve the disappointing stock headlight performance, or upgrade your interior lighting? You have come to the right place!
Headlights
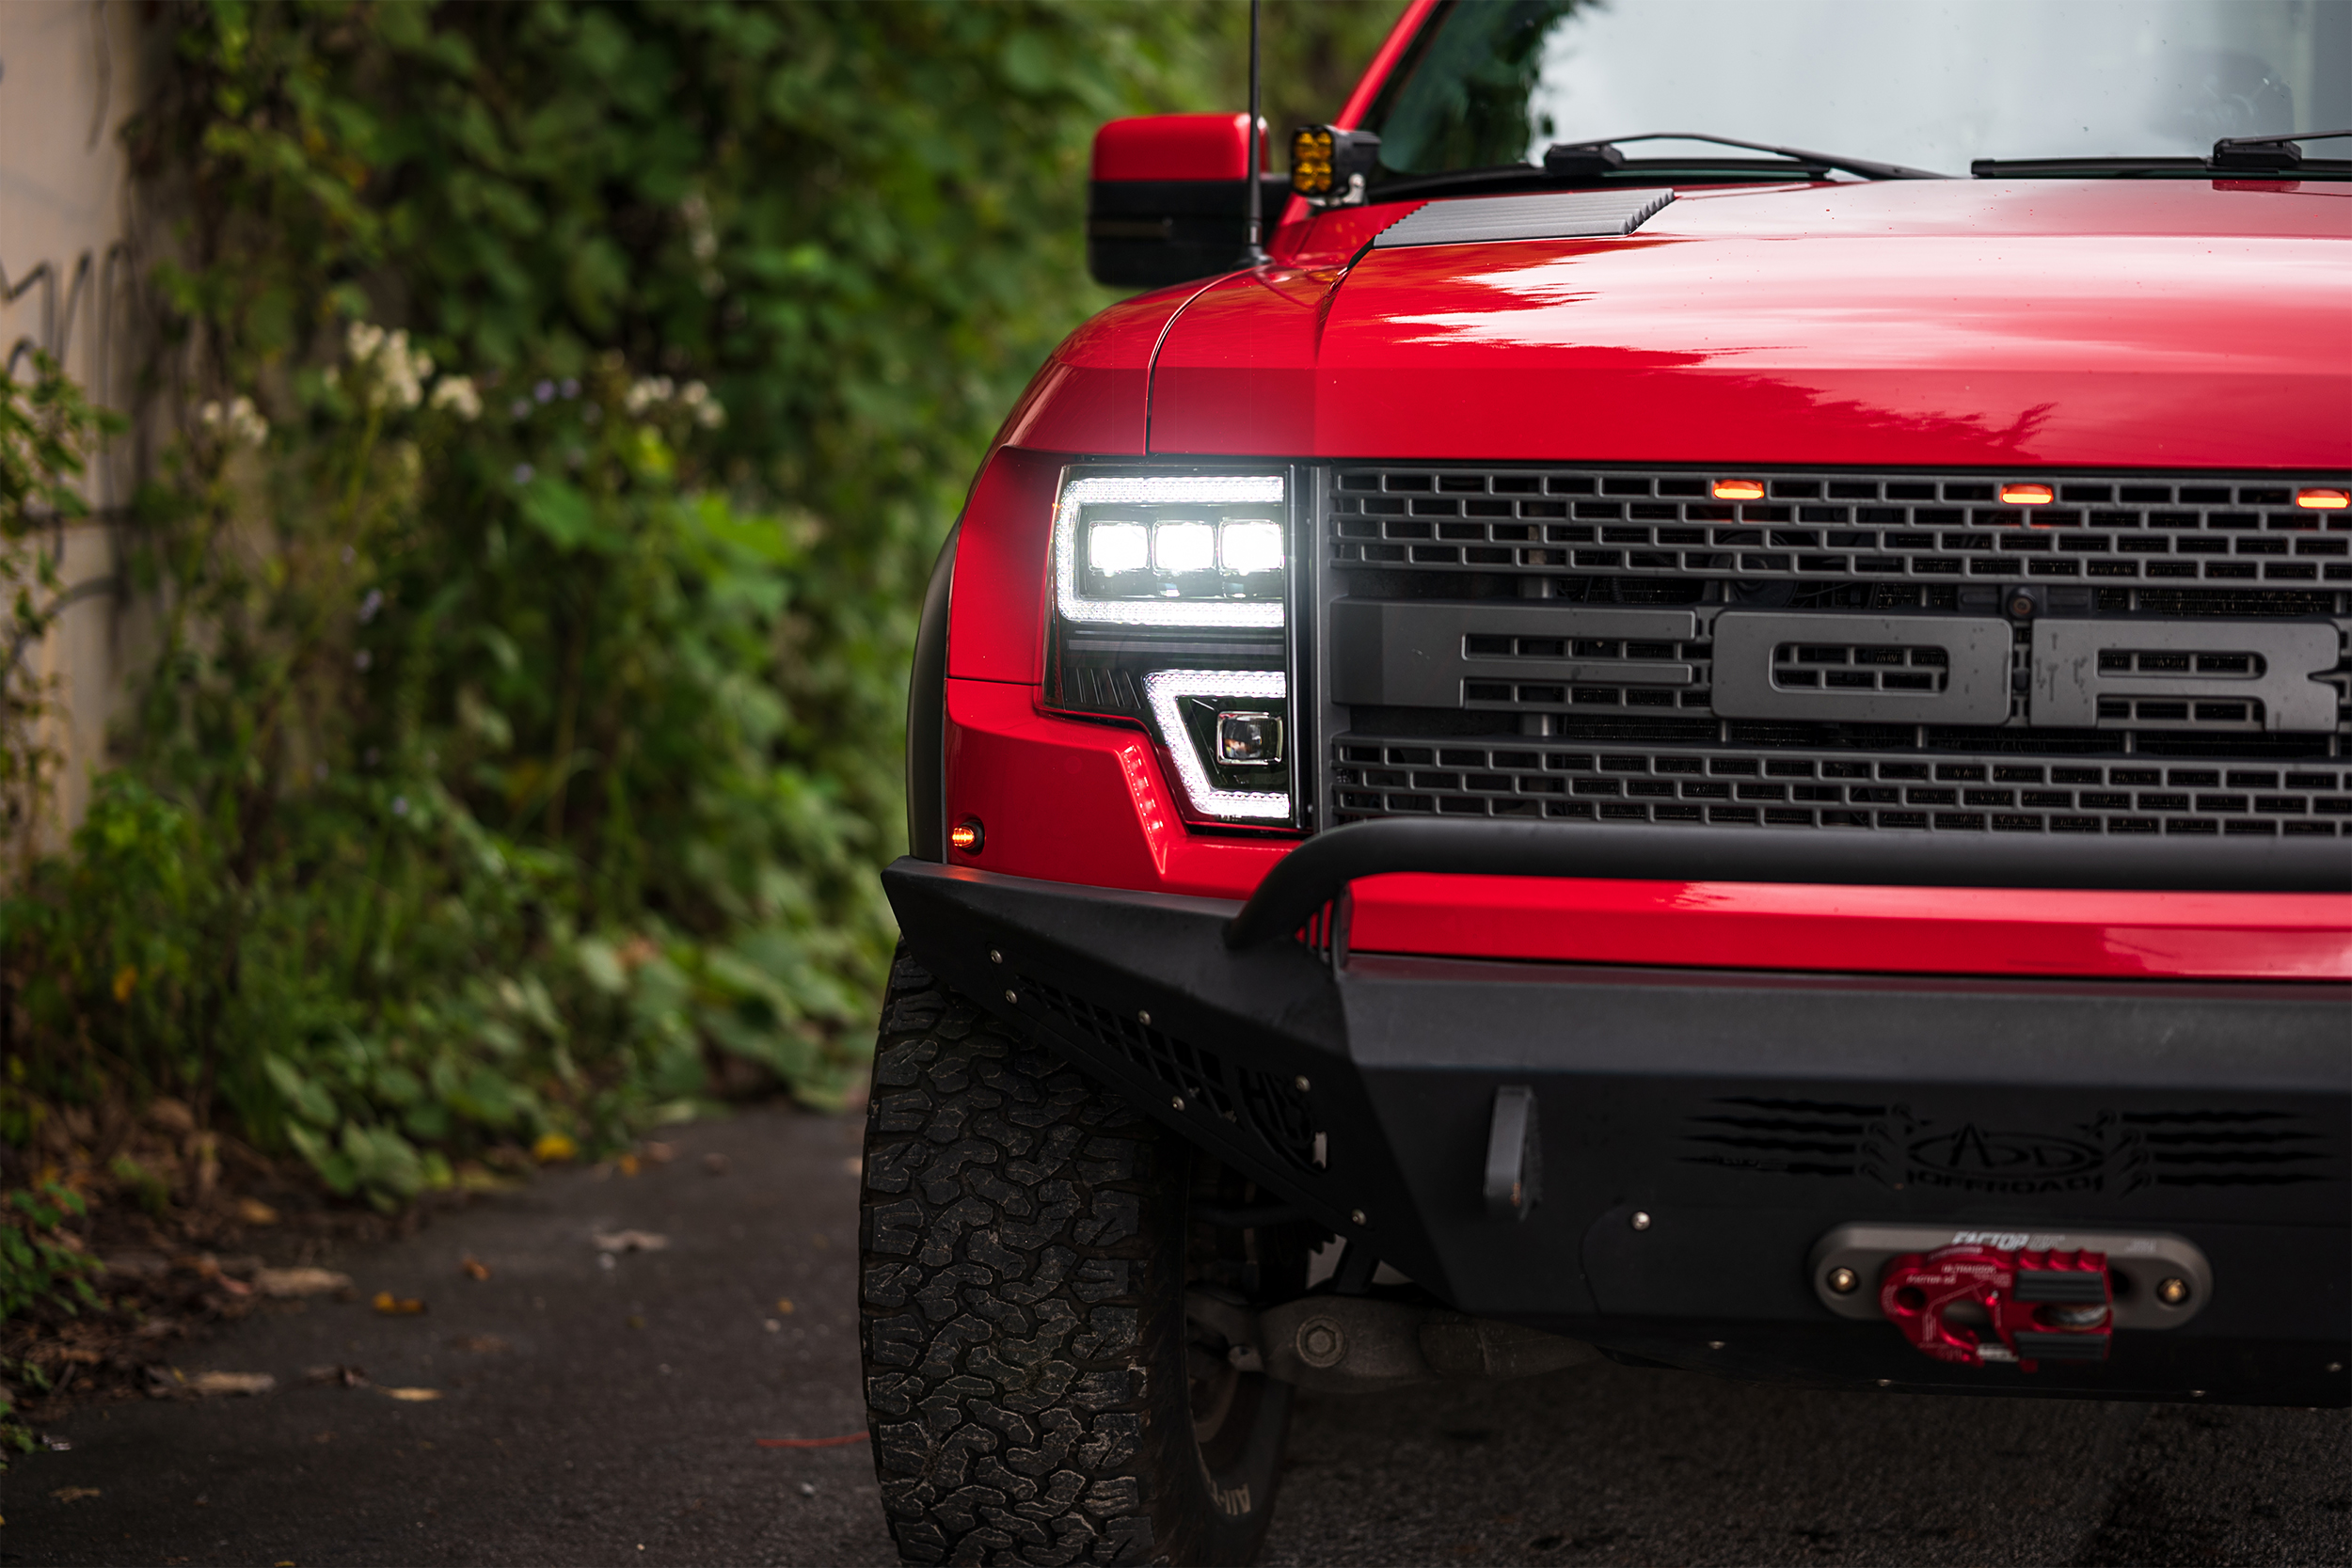
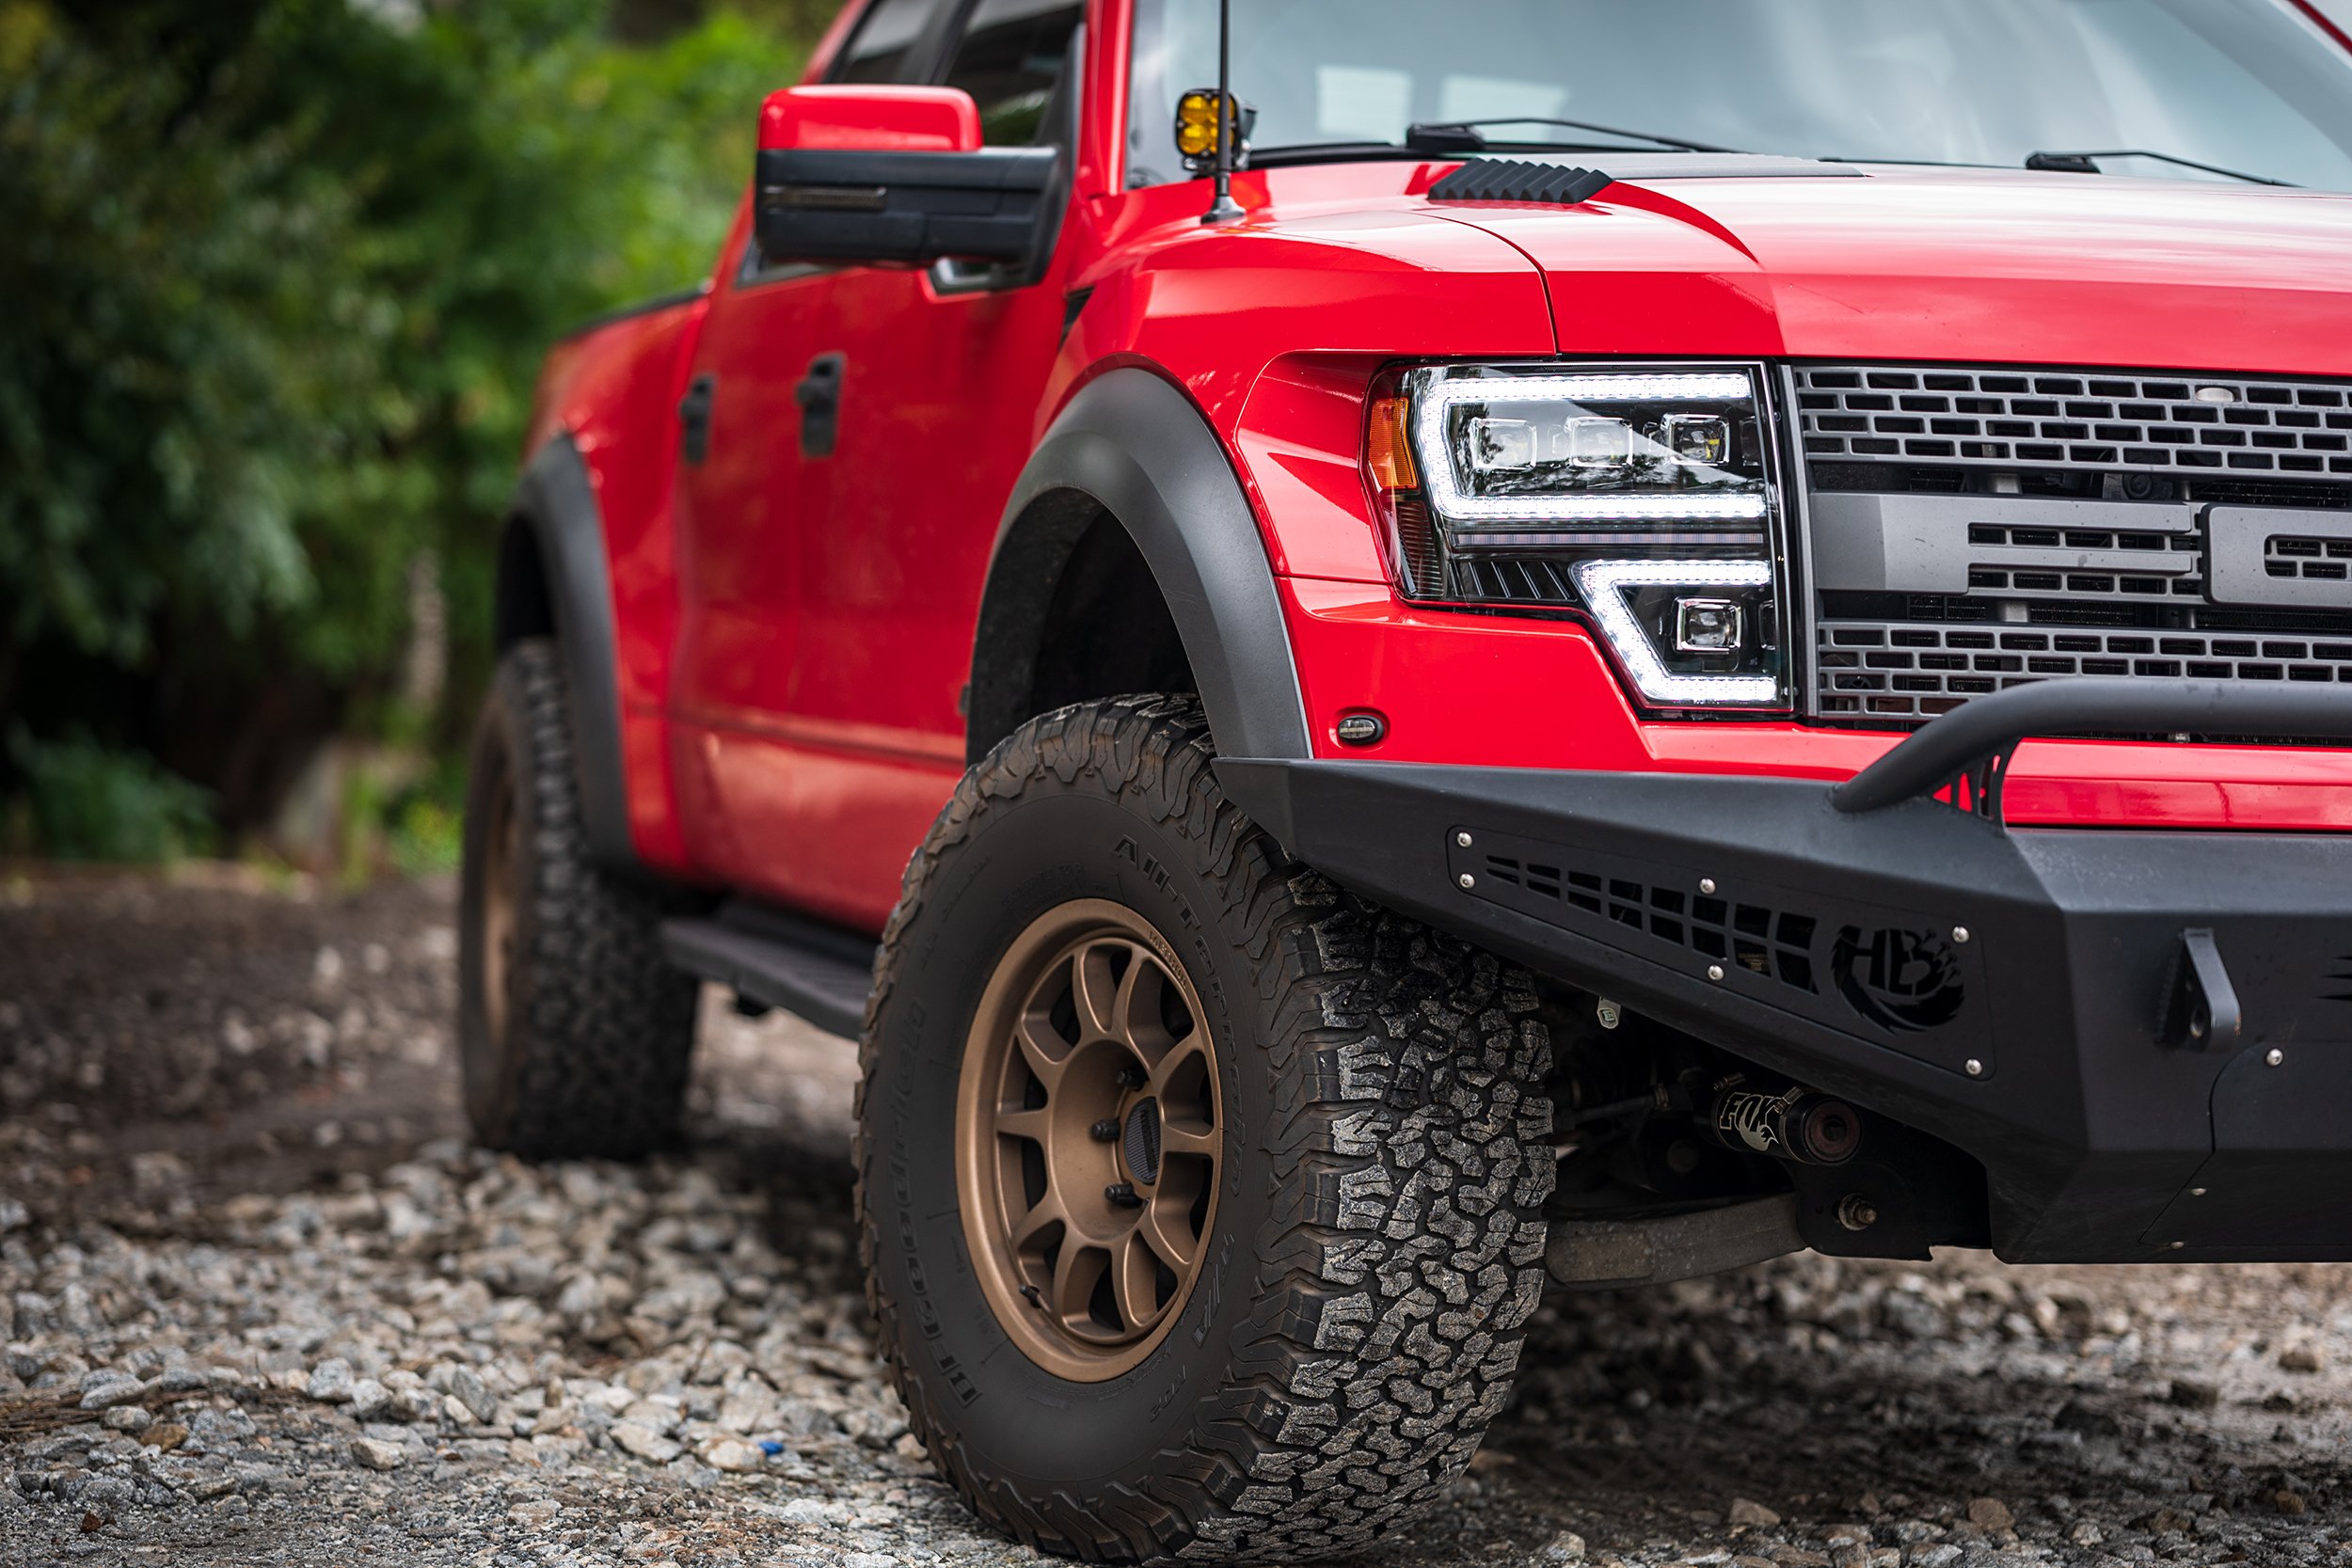
We have tested a number of different headlight housings in the past. We found four specific headlights that can fit a variety of consumer needs. If you want the best in terms of performance and affordability, the Morimoto XB Hybrid headlight is the way to go. Alternatively, you have the premium XB LED housing that we feel has the best fit and finish out of all the ones we tested on top of having great light output numbers.
Morimoto has it down when it comes to their LED headlight housings that routinely outperform the rest.
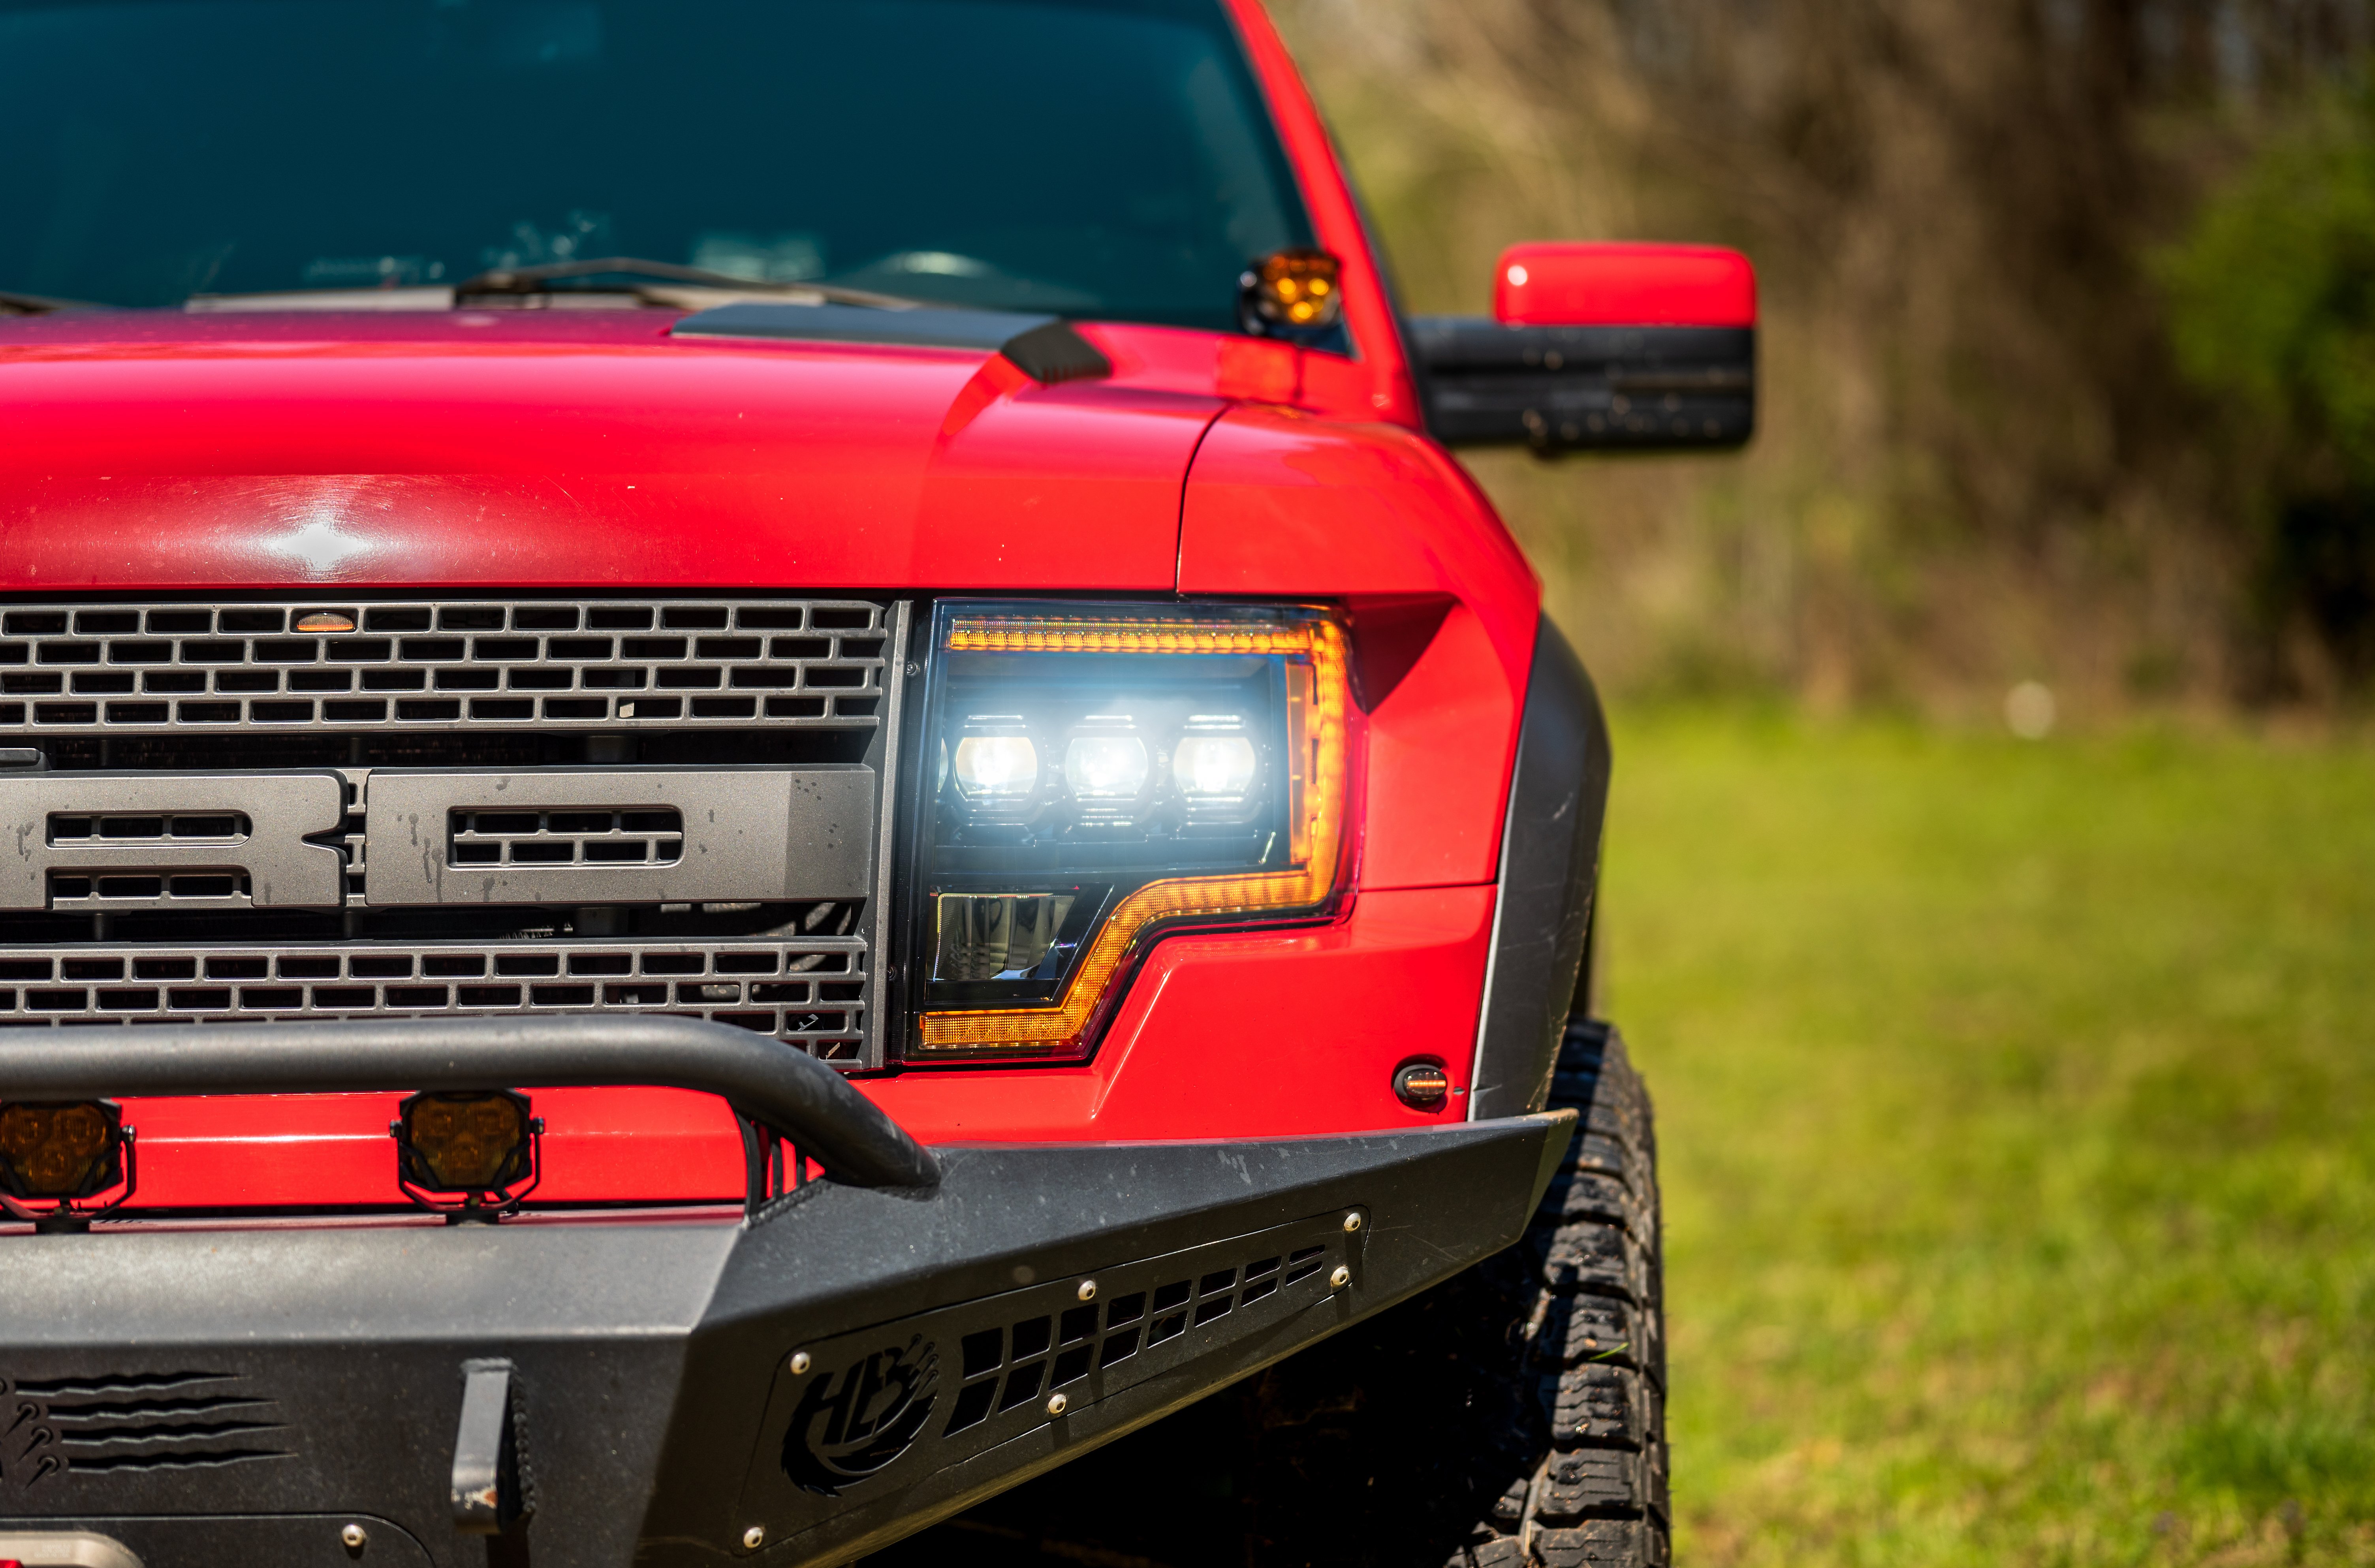
Recon was another brand we really enjoyed. This one uses all your original headlight components and encourages the owner to use HID bulbs in place of the stock halogens. Recon’s headlight ended up being 206 percent brighter than stock.
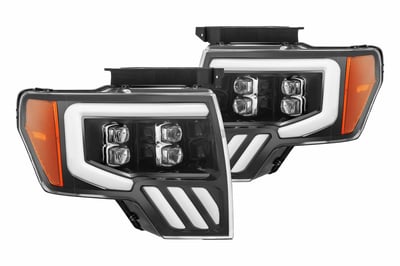 If you want that quad-LED projector look, Alpharex made a killer headlight housing that really sets itself as one of the best-performing LED headlights out there. The Nova edition managed to be 210 percent brighter than the stock headlights in our tests.
More recently, we tested the GTR Lighting Carbide Series LED headlight, and we also really enjoyed it. The fitment is great and installation is easy, the look is unique, and the light output is 157 percent brighter than stock. Not to mention the price point is really enticing.
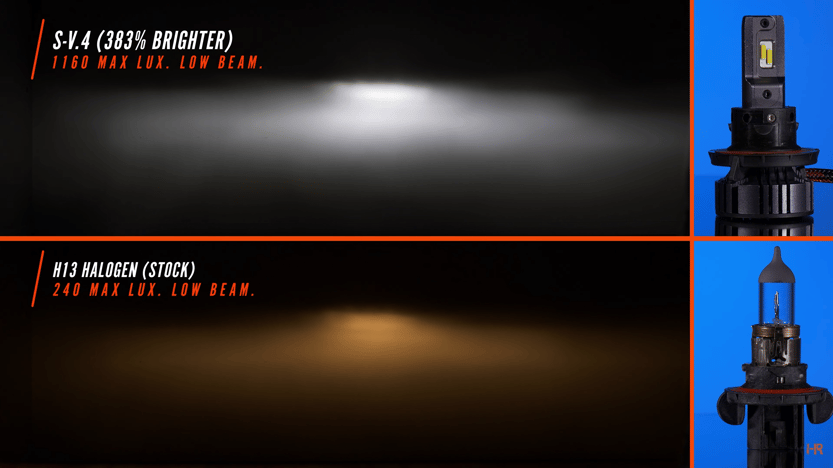
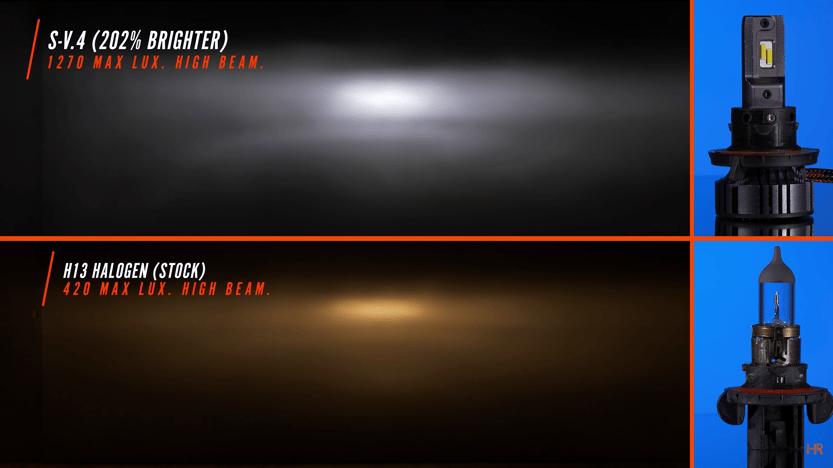
If the full housings are not your style, we tested a number of different LED bulbs from more brands than we can count. In short, the S-V.4 bulbs are one of the best you can get it. It has great color and beam pattern distribution, and it came in at 383 percent brighter than the stock F-150 bulbs on low beam. Then, on high beam, it came in at 202 percent brighter than stock. The GTR Lighting Ultra 2.0 has similar performance figures to the S-V.4, albeit with a stronger high beam.
| Low Beam | High Beam |
 |
 |
Either bulb is a great choice and as long as you get it in H13 size, you will not have any issue installing a pair on your truck.
Grill Lights
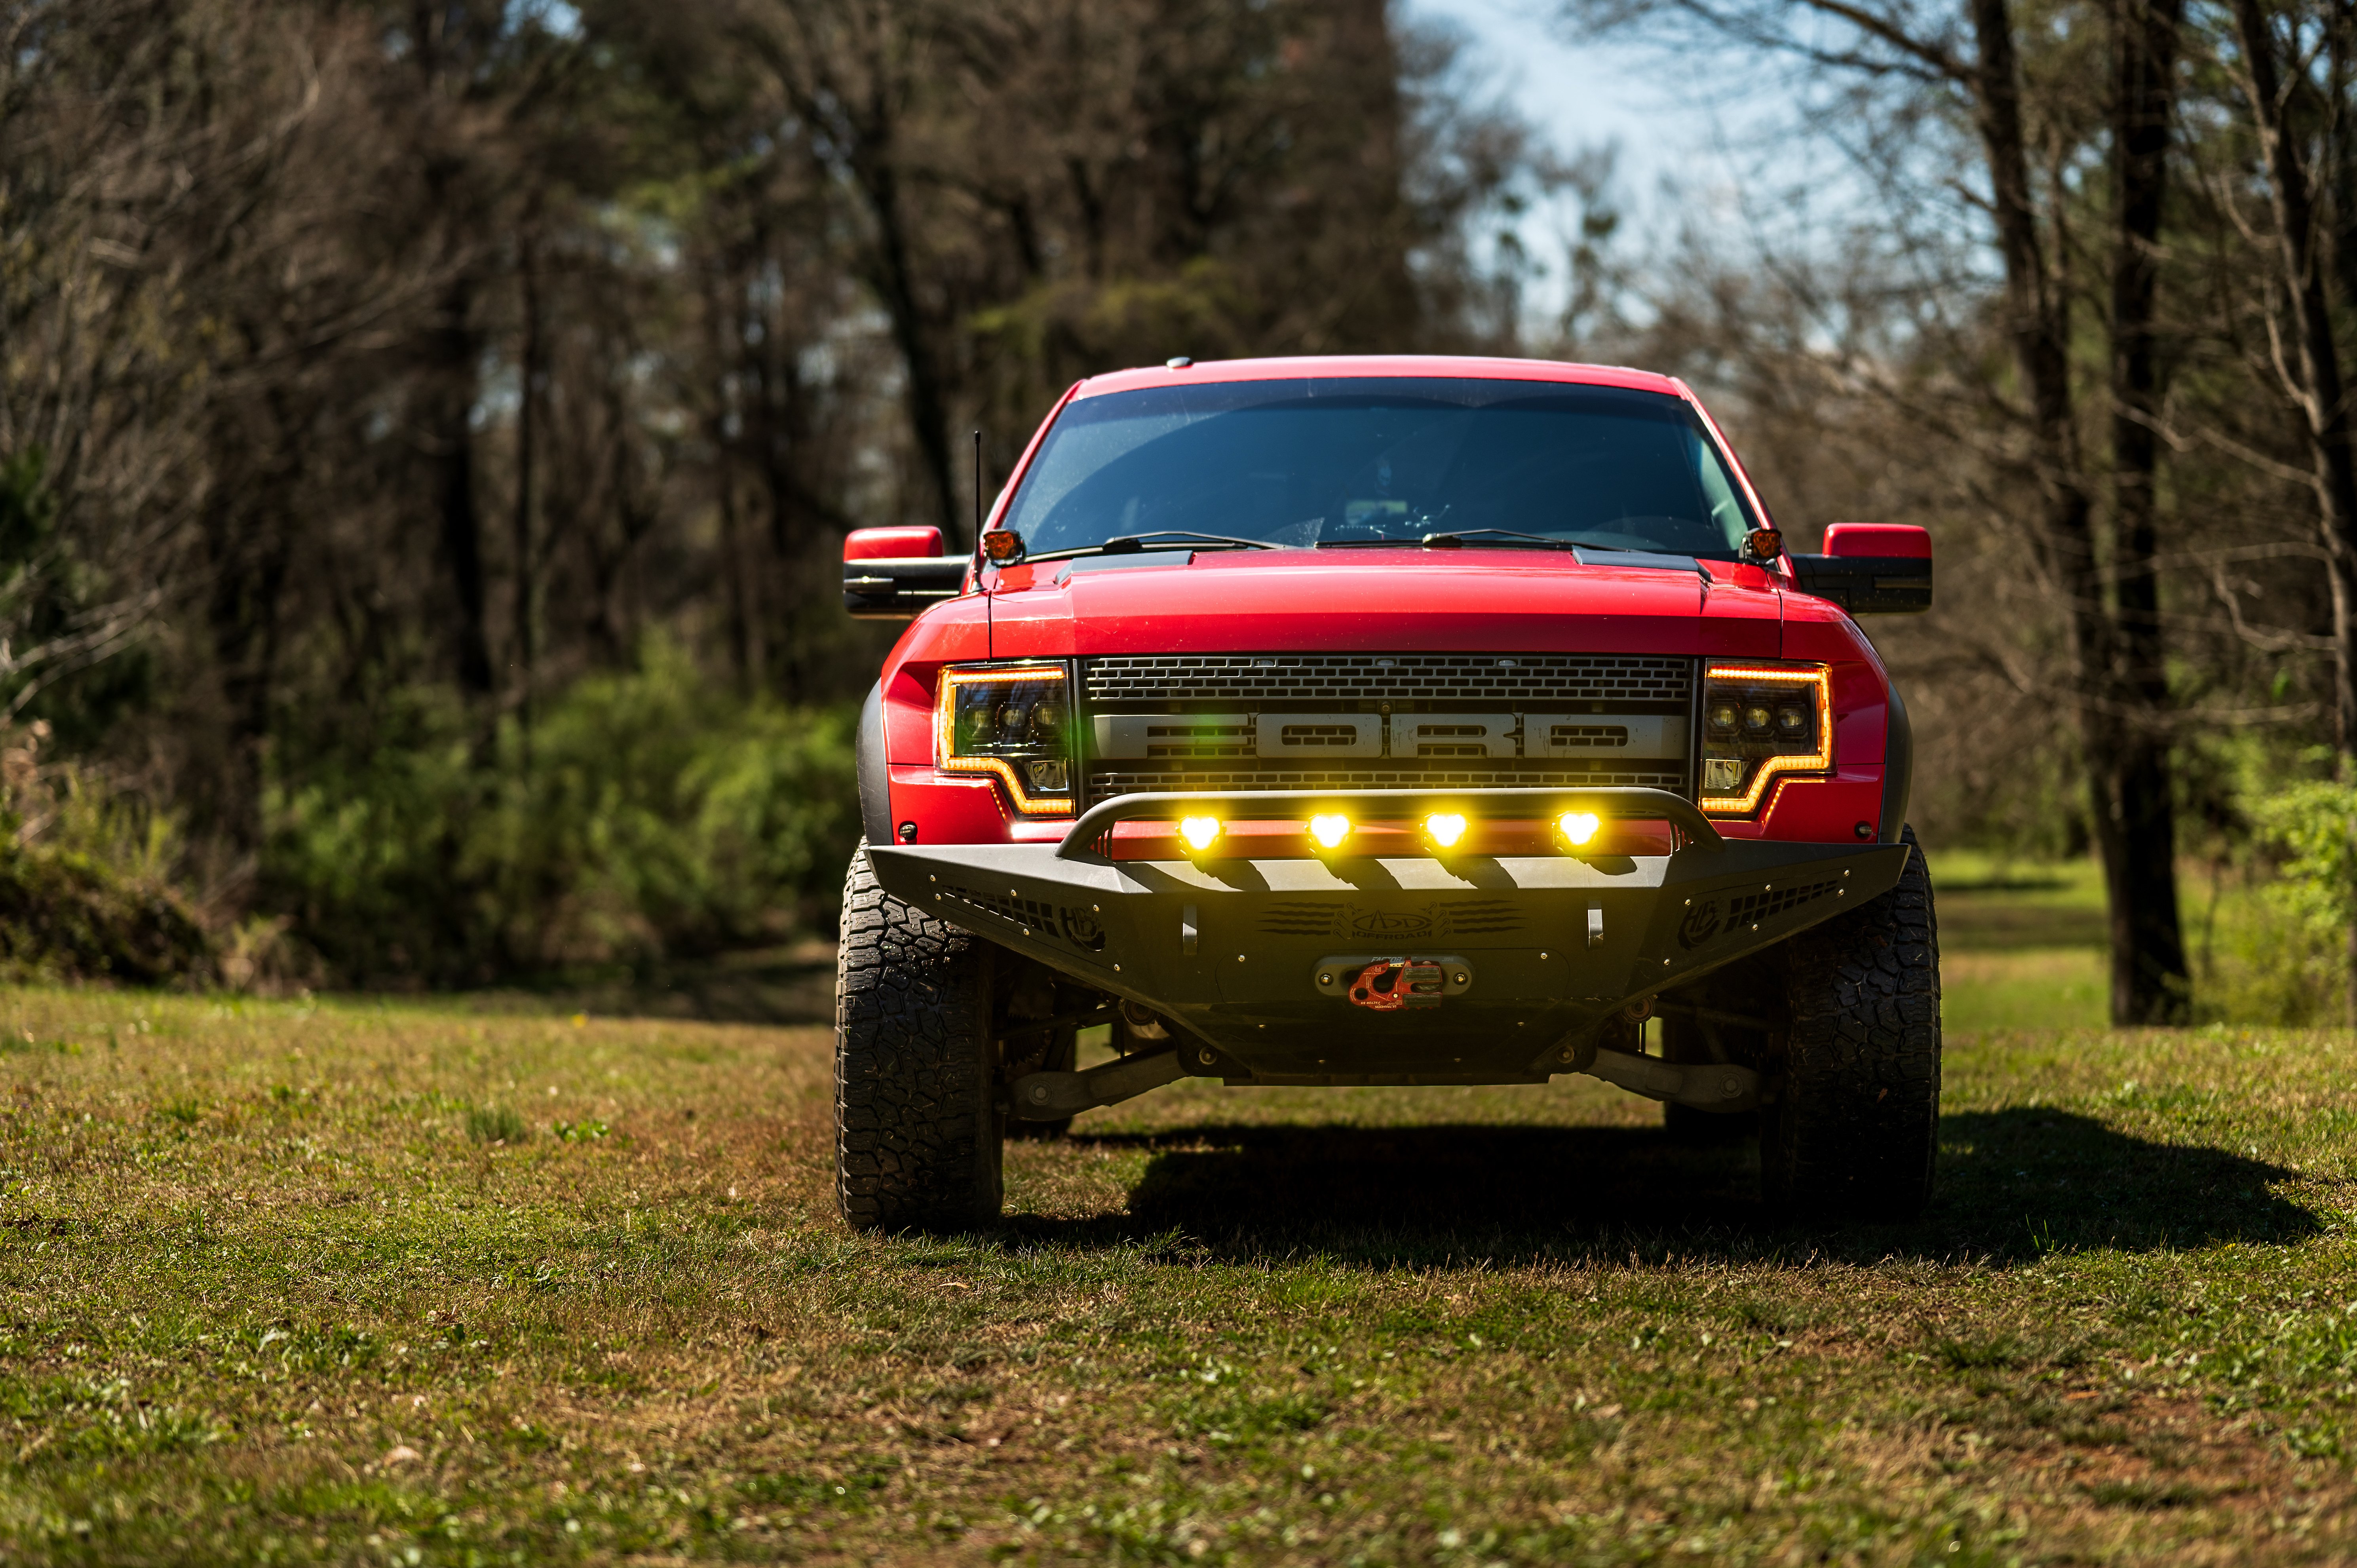
Exclusive to the Raptor version of the F-150 are these grill lights by Morimoto. On our test vehicle that has been regularly driven around, they need replacing. These are so much brighter than the stock ones and have a more defined color.
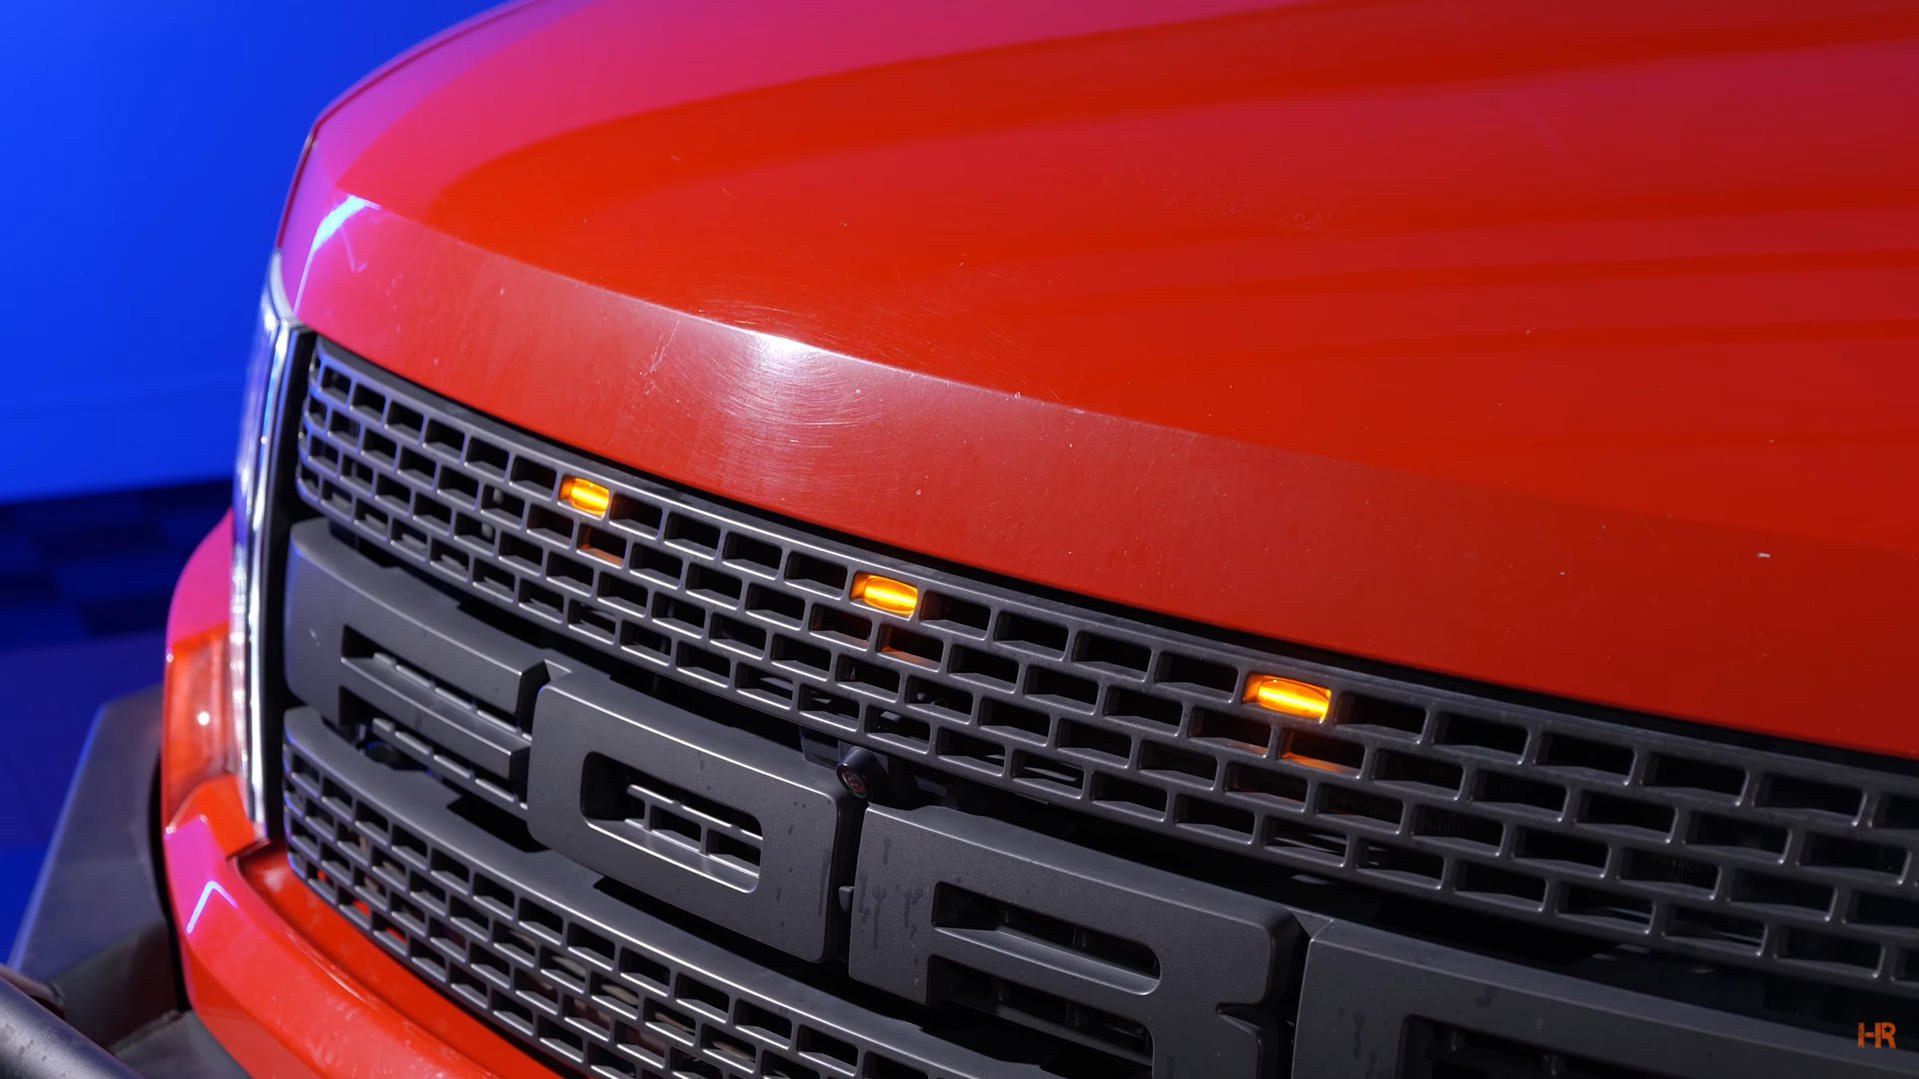
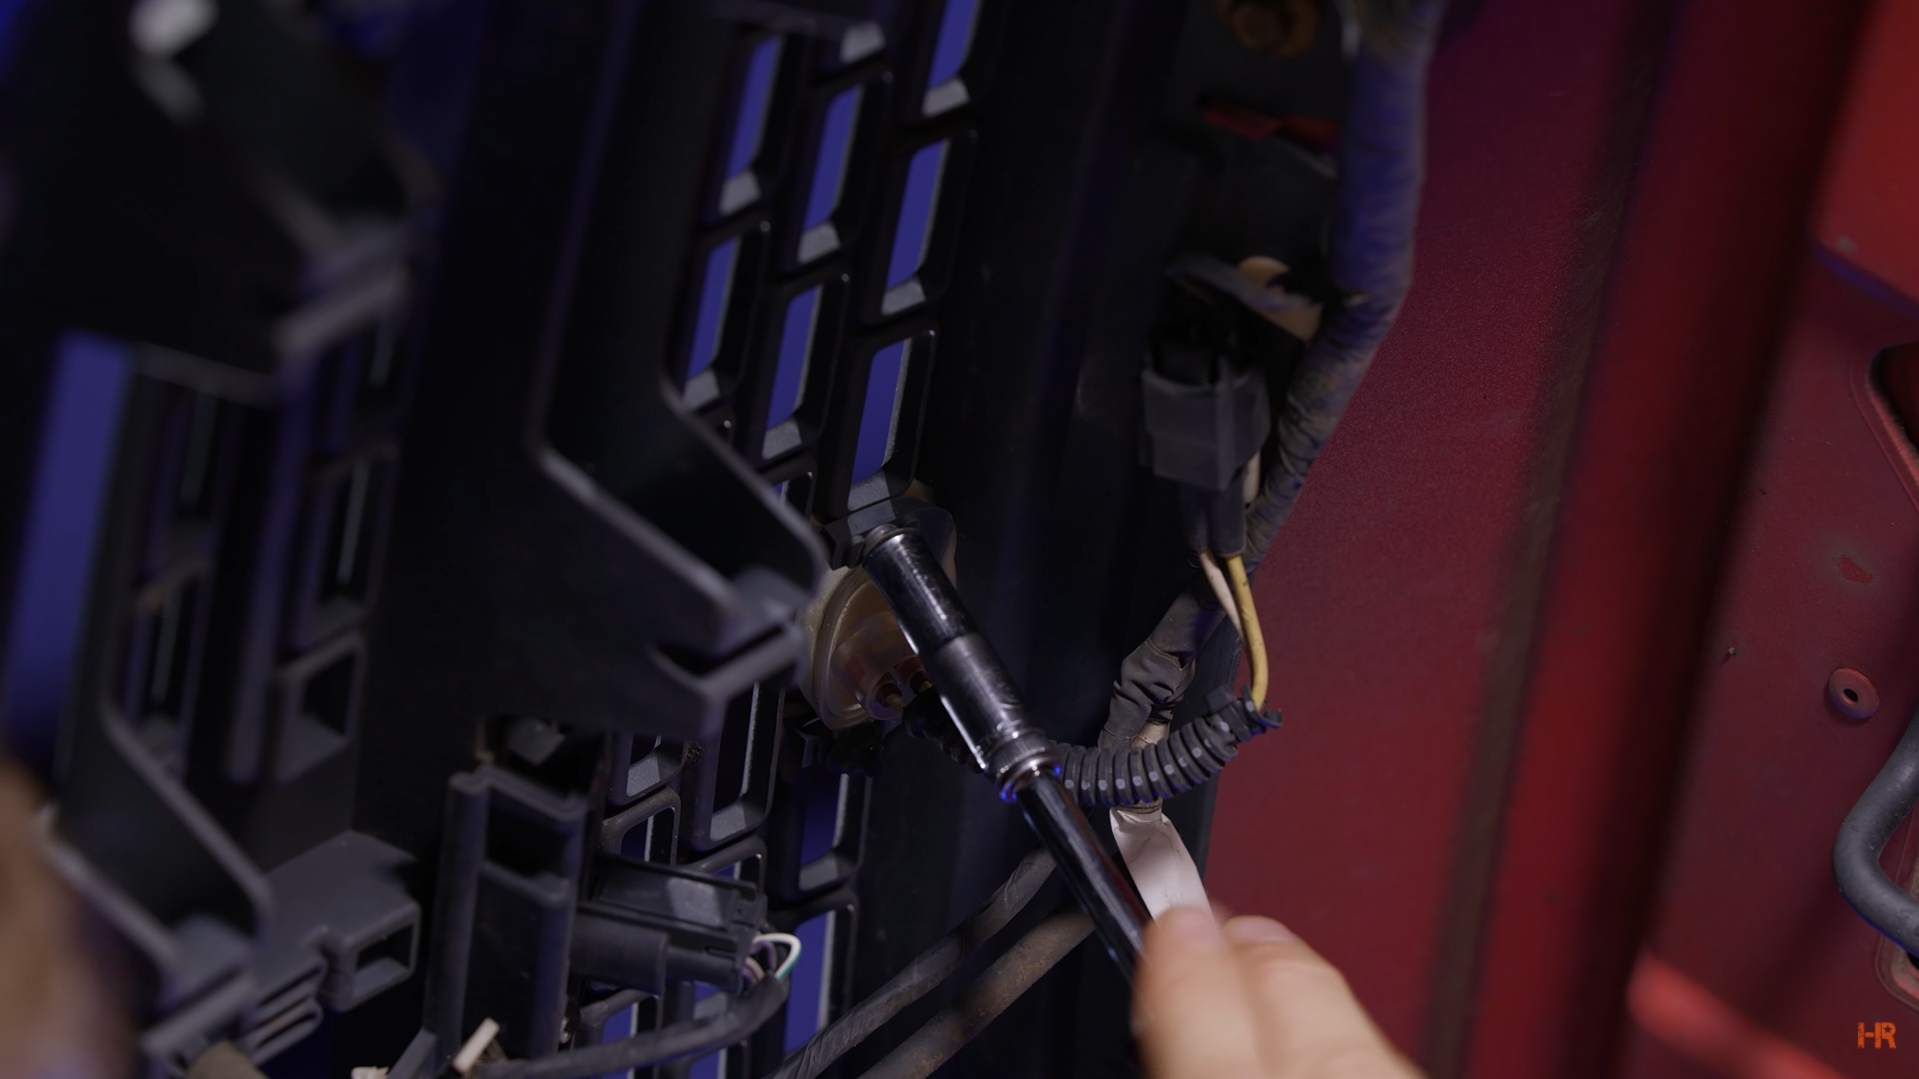
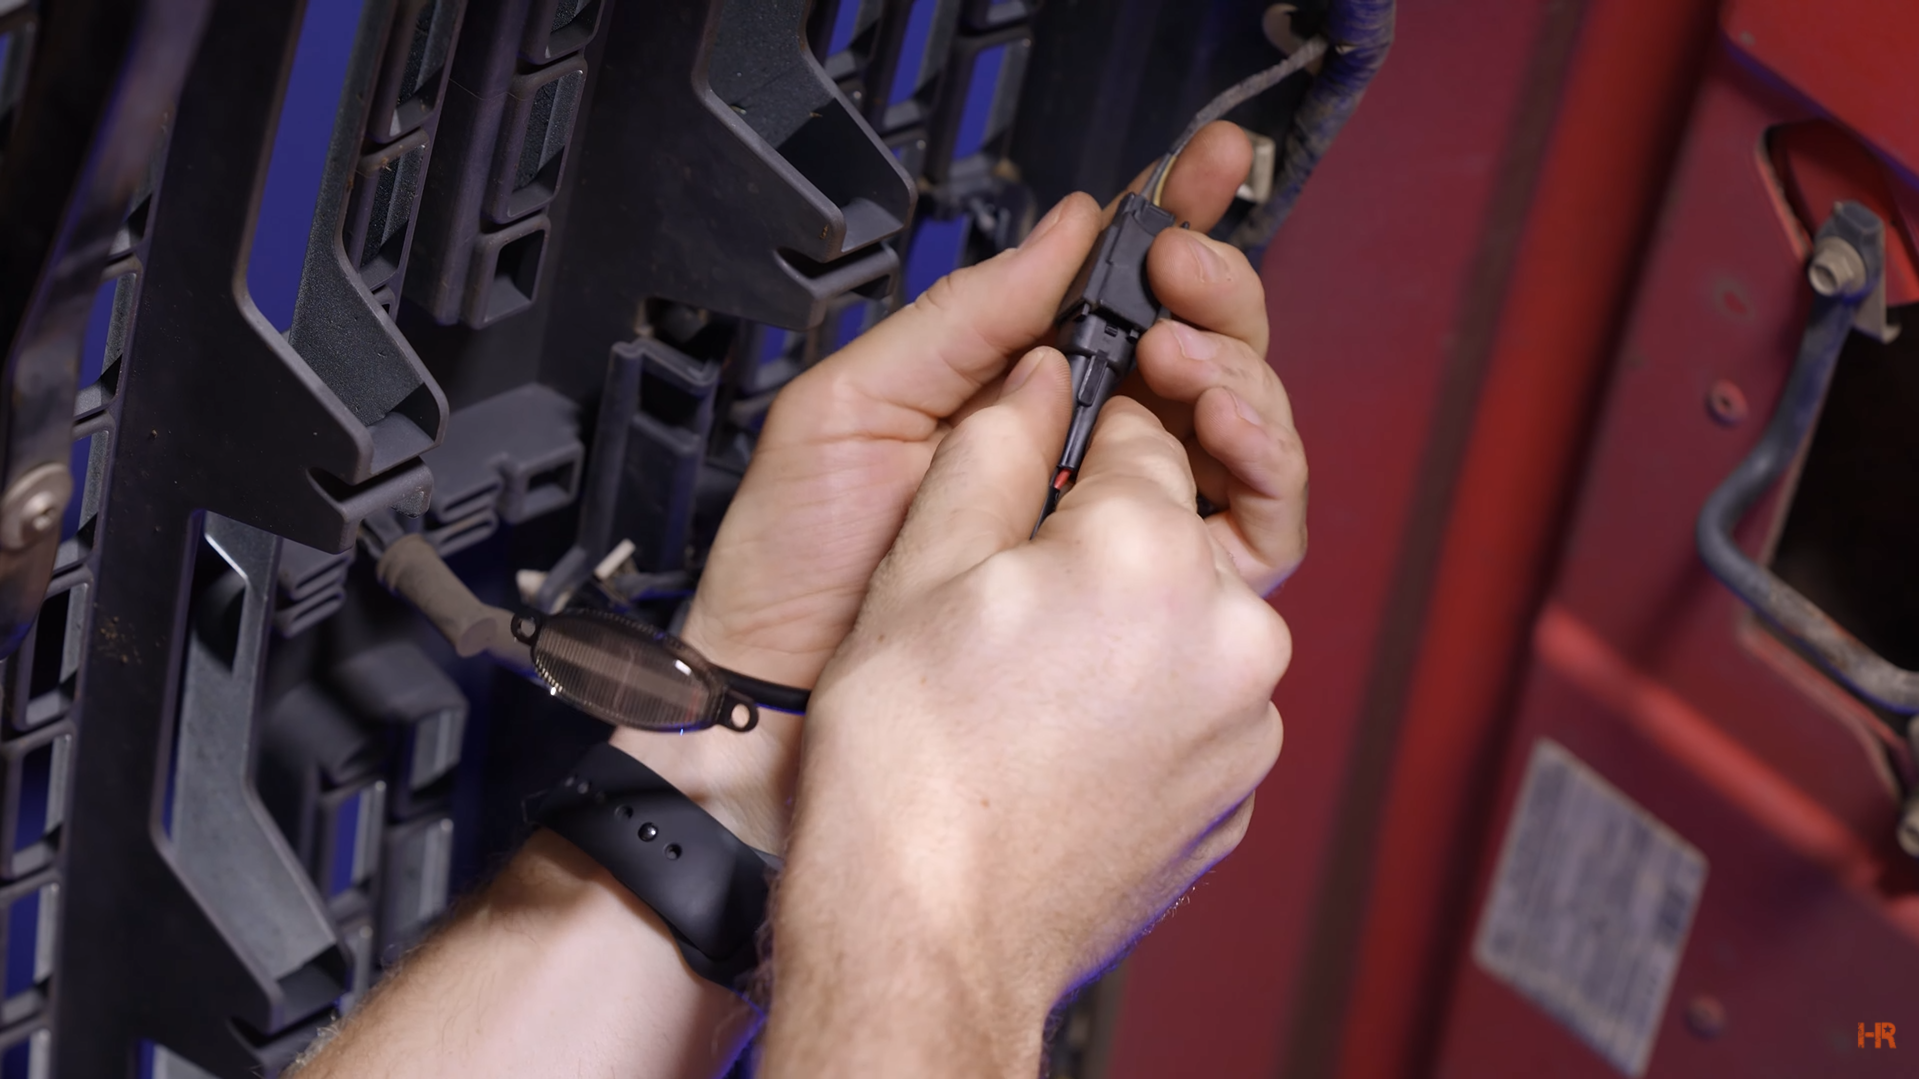
To replace, use a screwdriver to remove the bolts on the back of the lights. DO NOT use an impact or ratcheting wrench as these bolts are delicate. Unplug the lights from their clips and install the XB LED Grill lights.
Bumper Side Markers
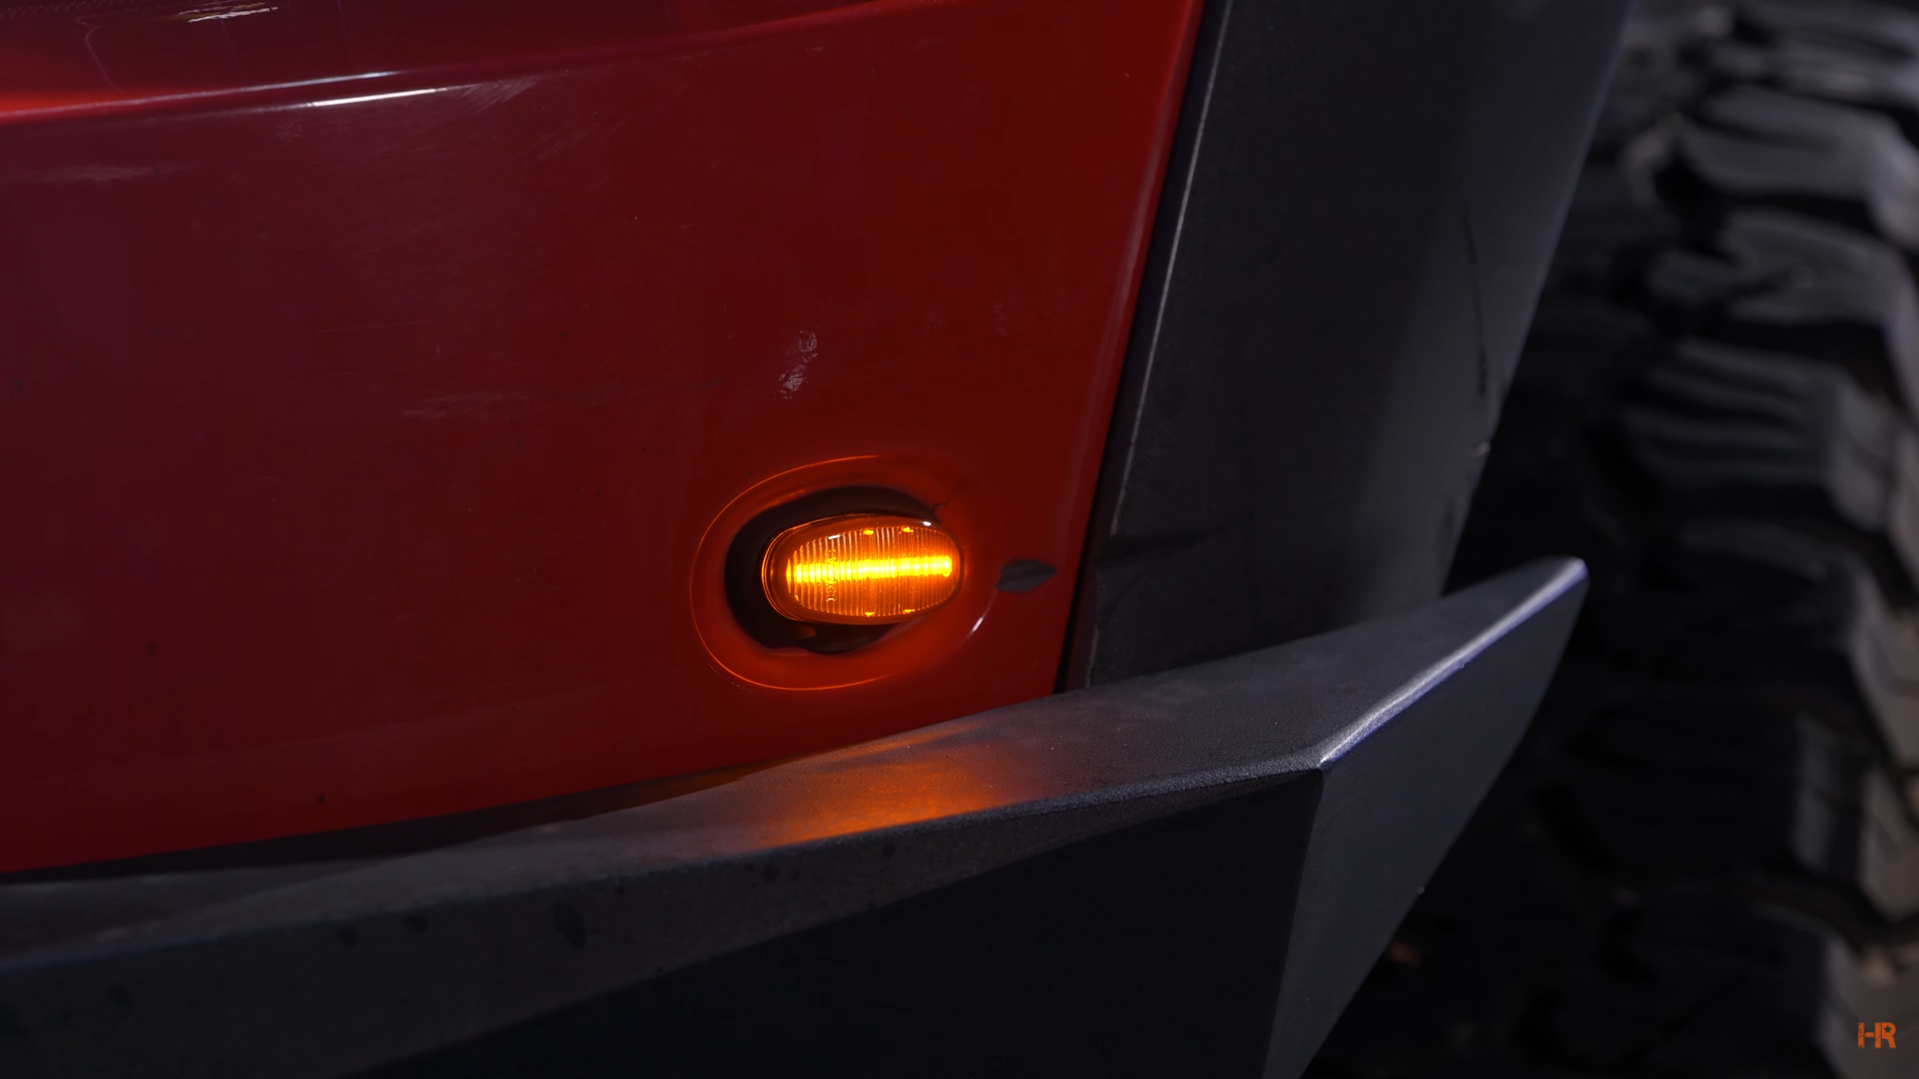
To keep it consistent, we are using the Morimoto XB LED Side Markers. Four of these come in a box and they feature a 2-year warranty making these a really nice package, especially for the price point.
| Front Bumper Side Markers (Amber) | Rear Bumper Side Markers (Red) |
 |
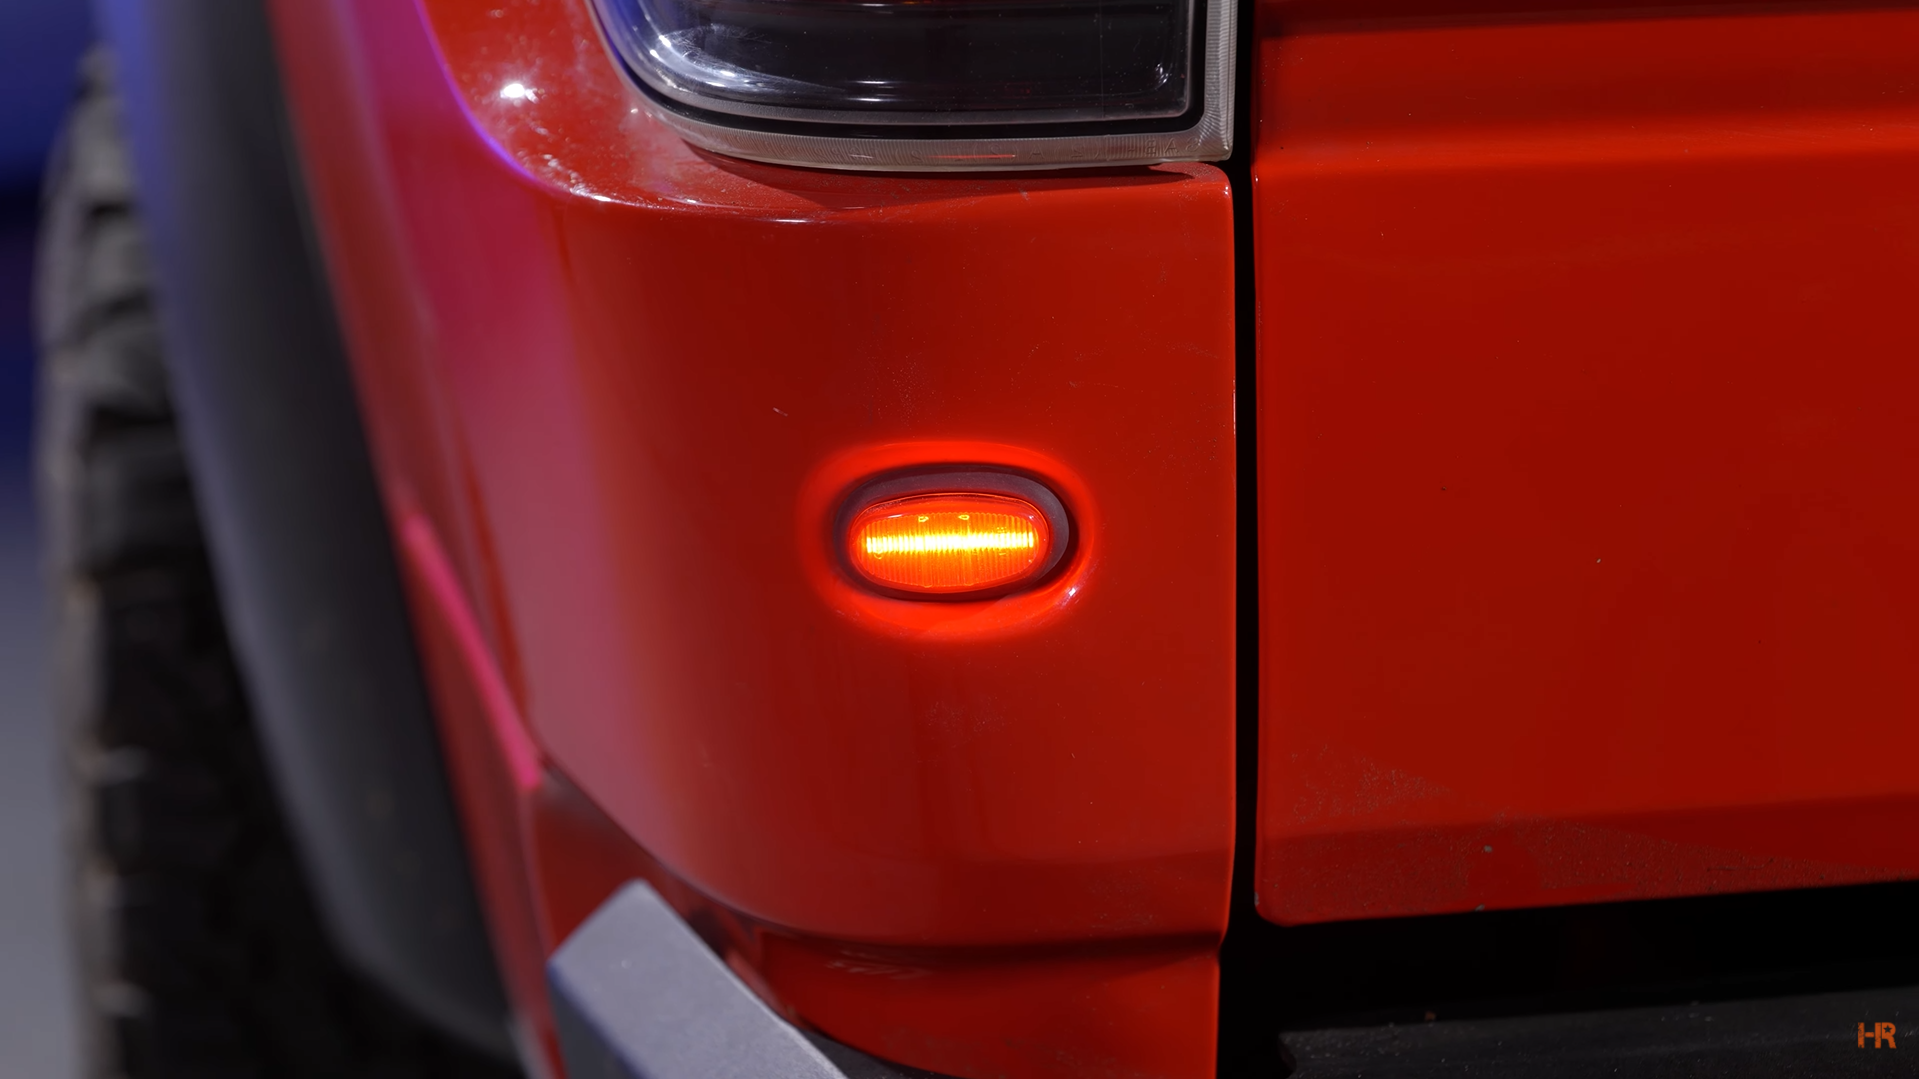 |
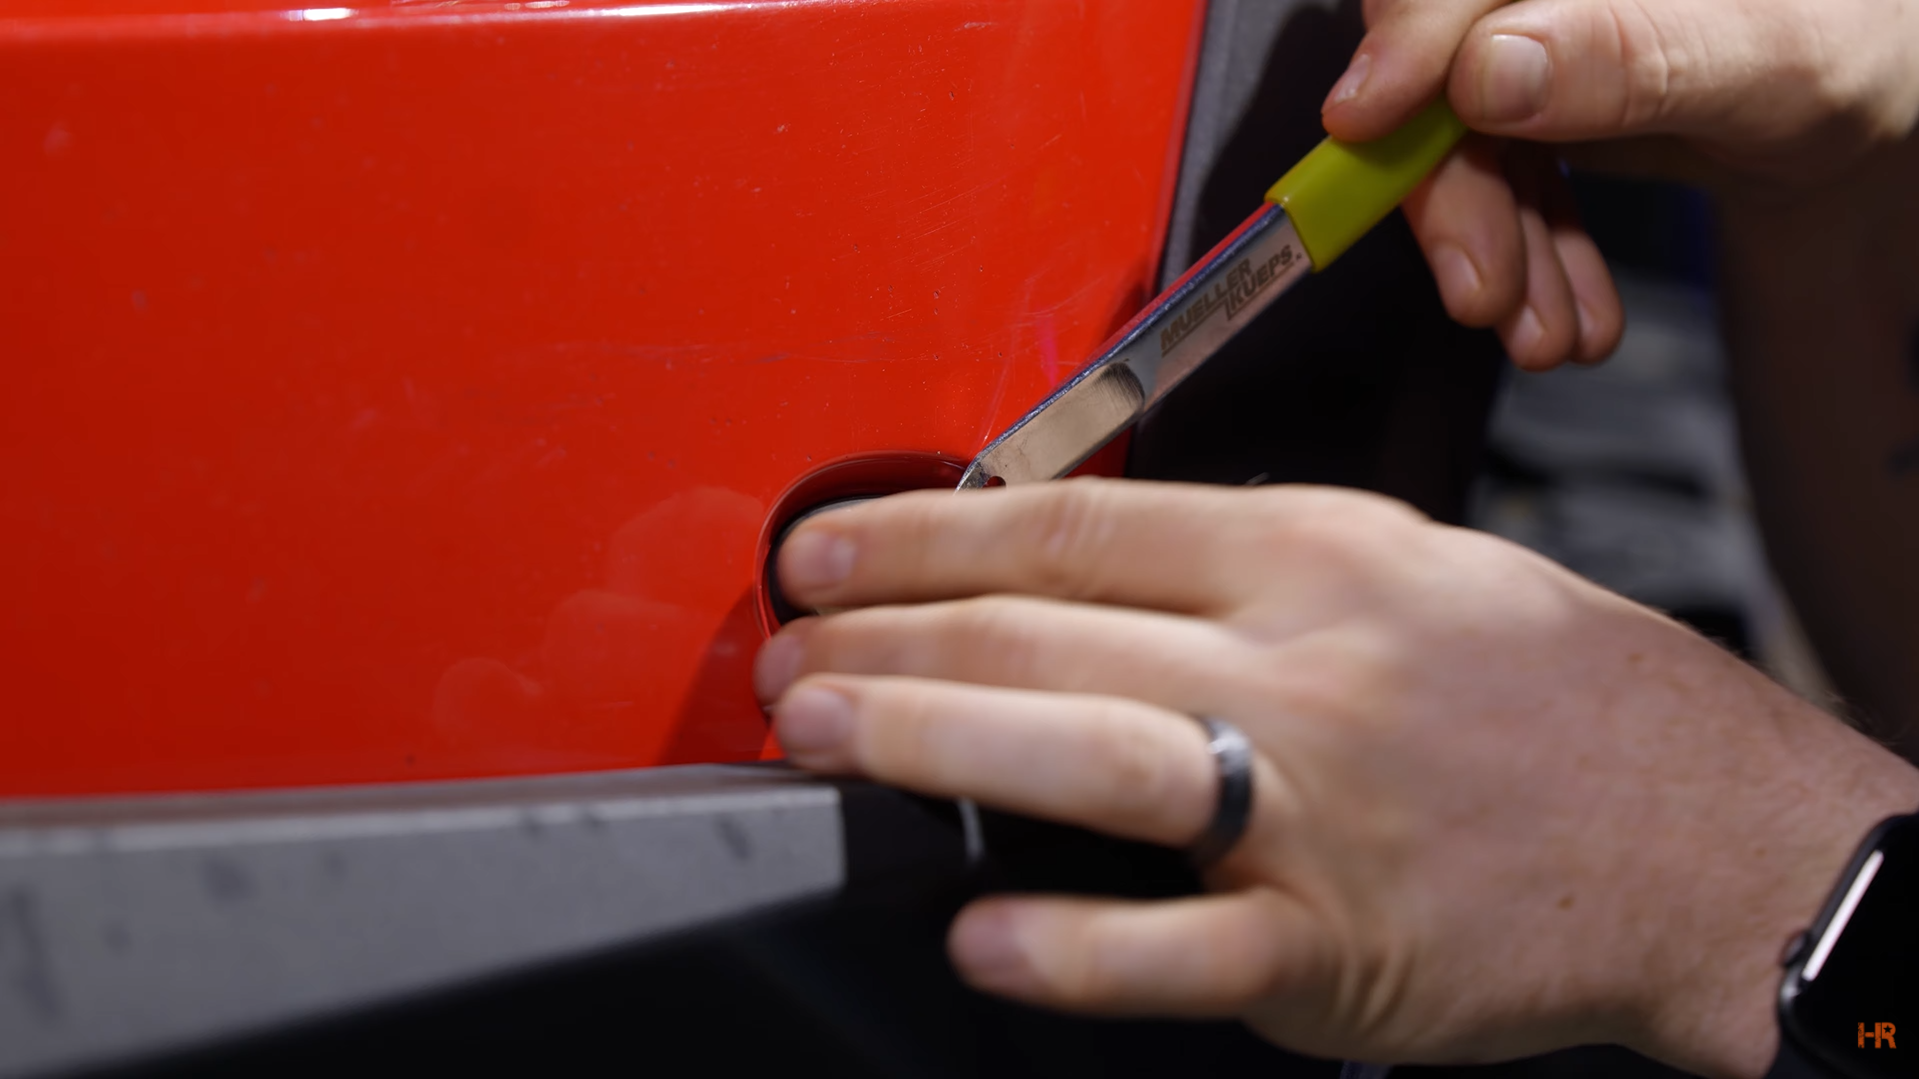
In the front, install the two amber ones using a pry tool. Unplug the OEM part and install the amber side marker. Then push the Morimoto side marker into the pressure fit hole.
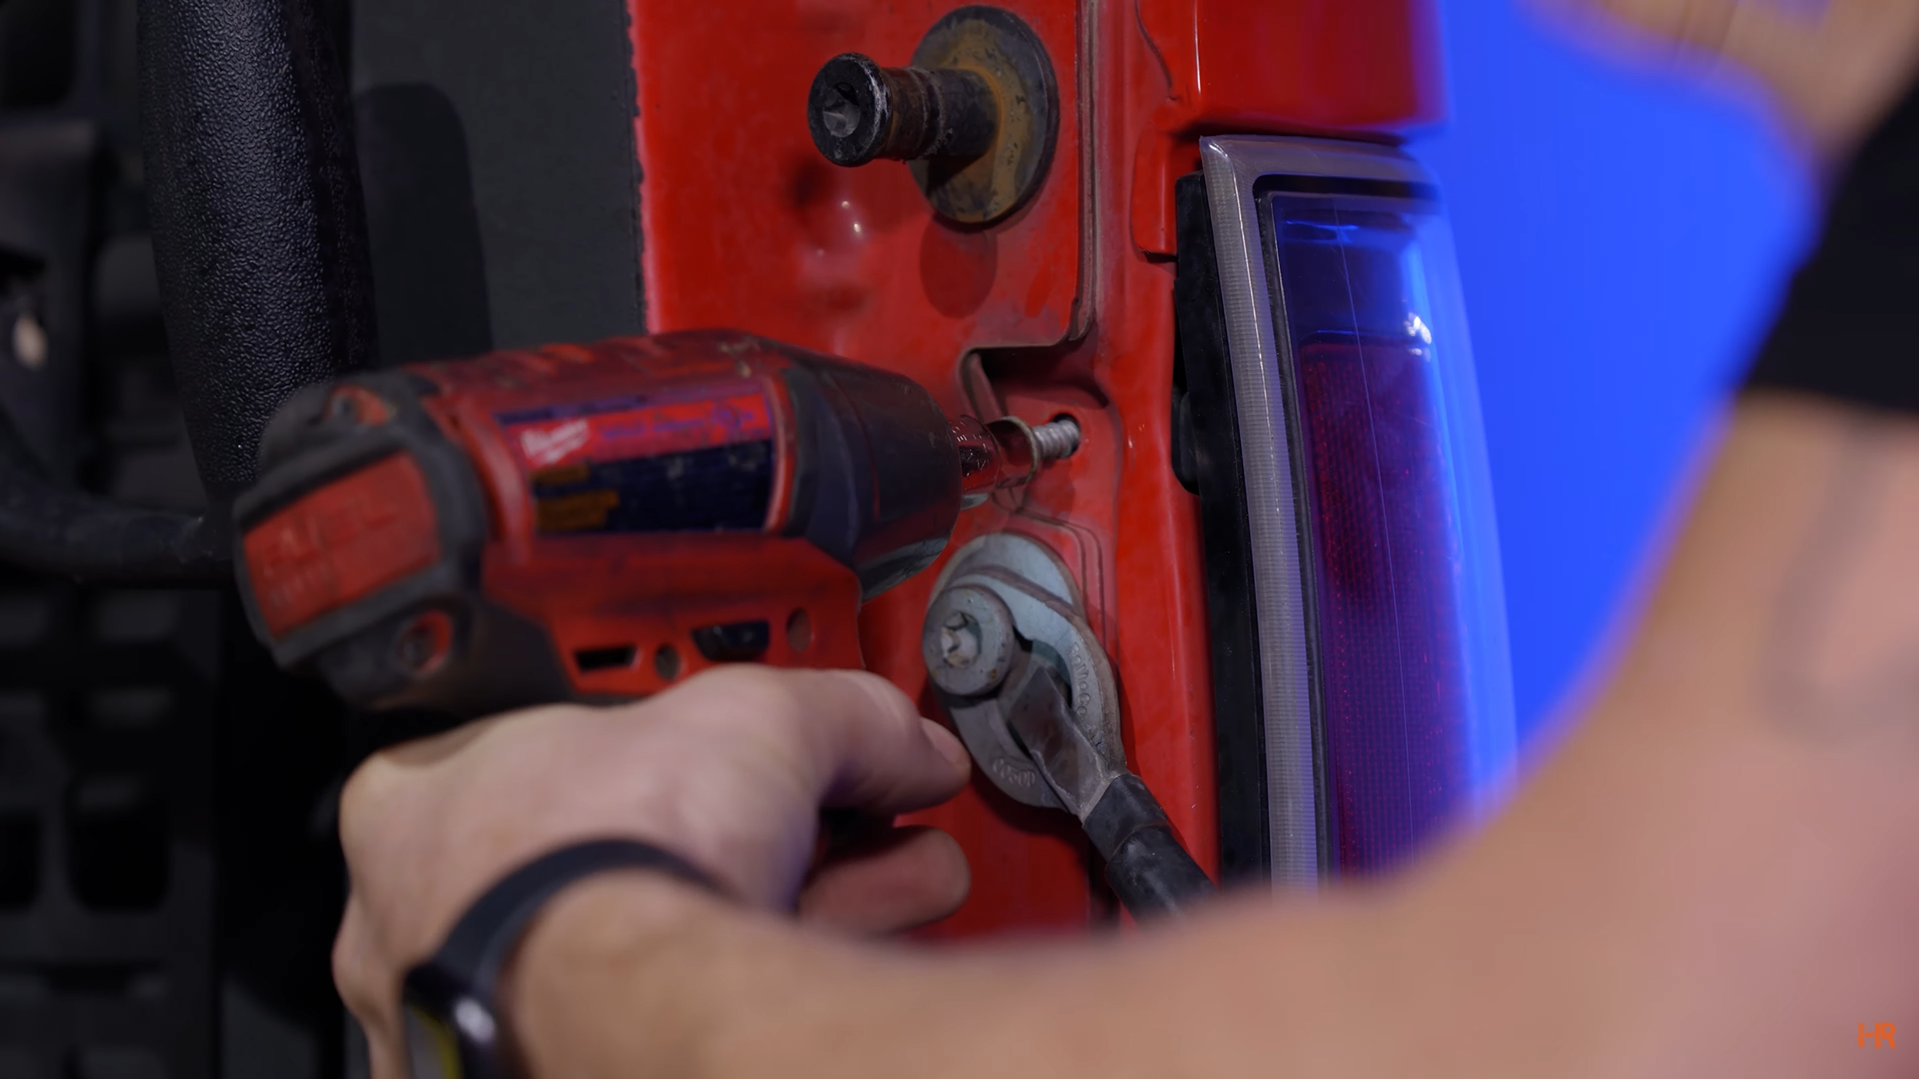
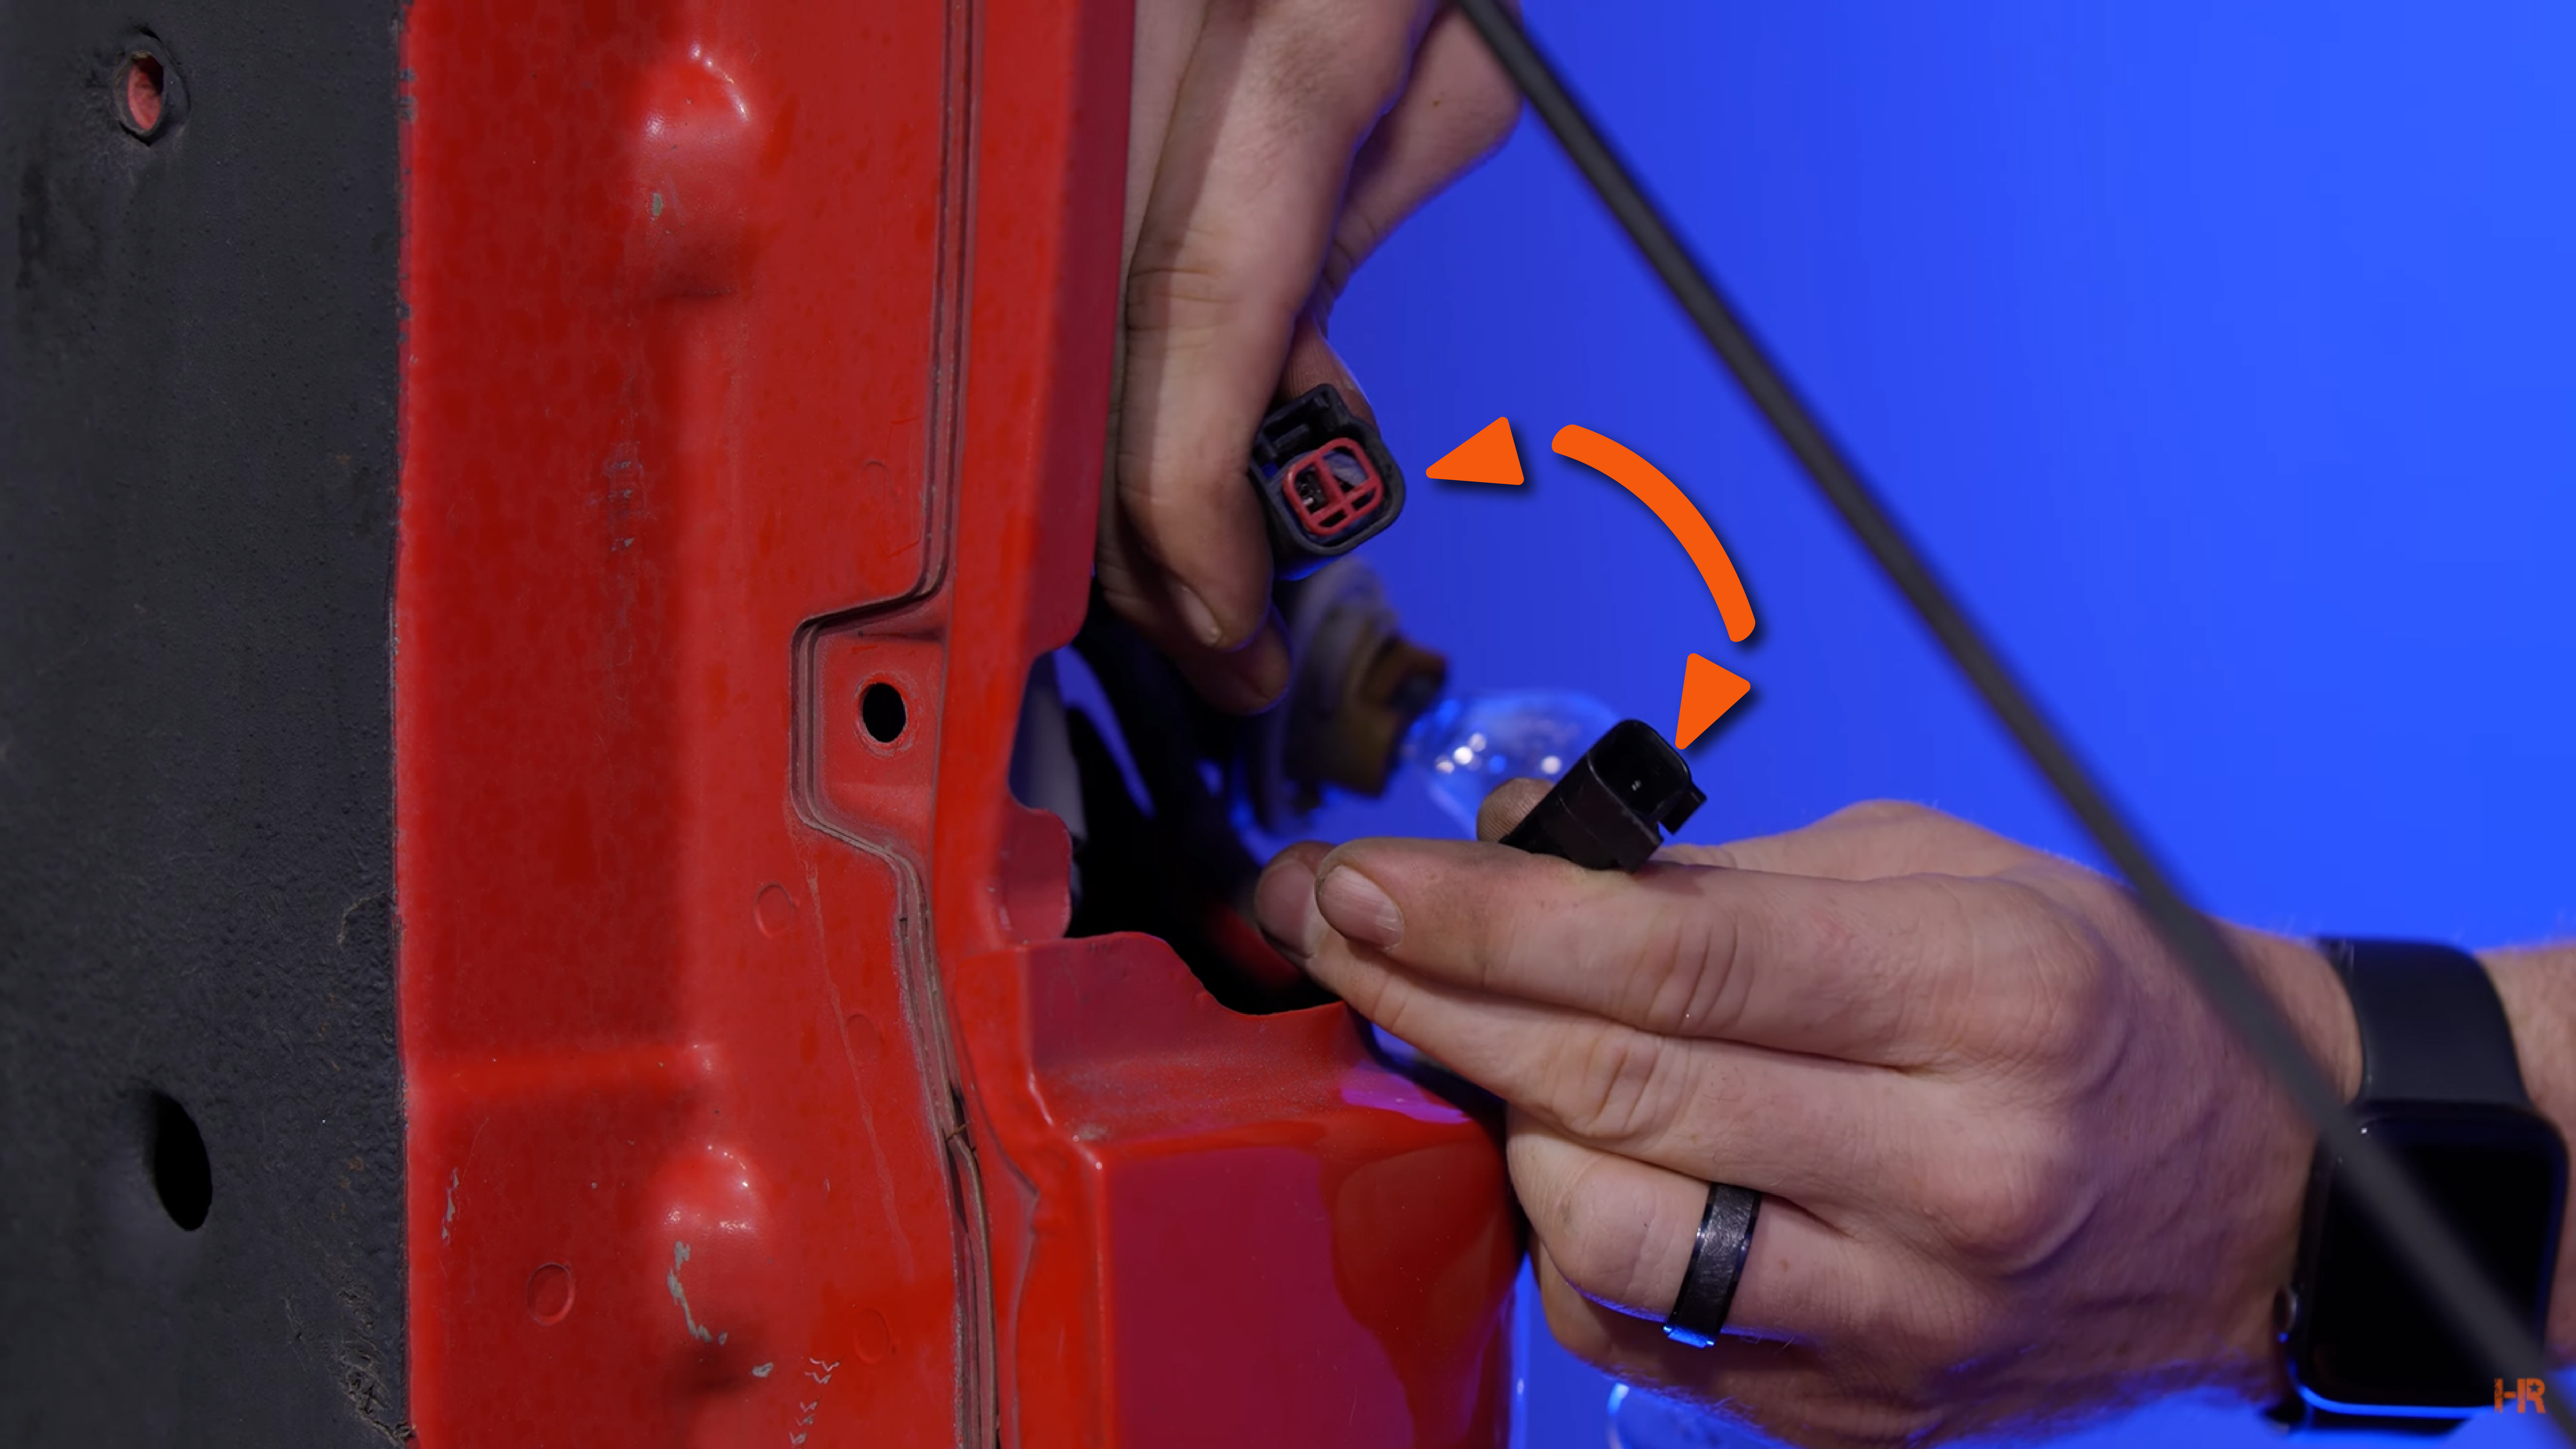
Moving to the rear bumper side markers, you will need to remove the taillight to get the side markers in. To do so, lower the tailgate and unscrew the two taillight bolts with an 8mm socket. Pull the taillight toward you and unplug each bulb.
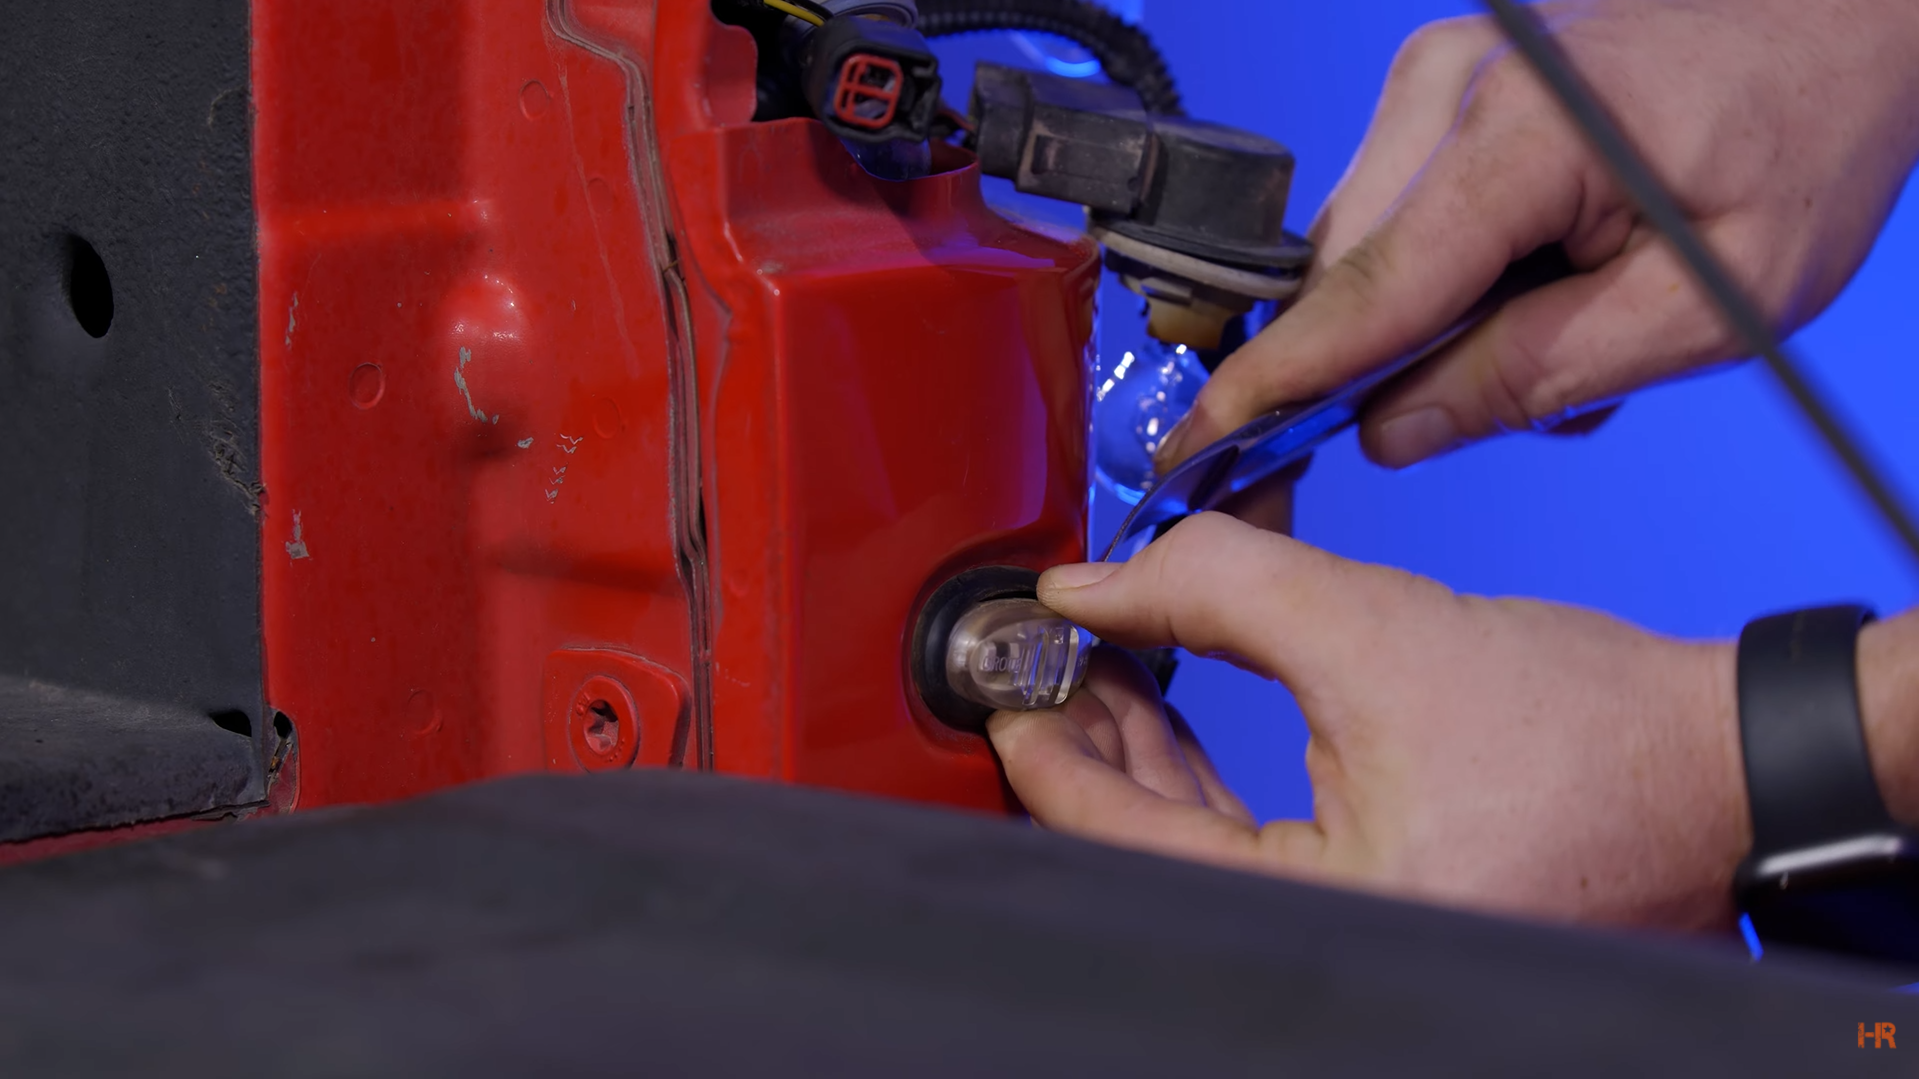
Use the pry tool to remove the side marker and the rubber grommet. From there, unplug the OEM piece and you can replace it with the red Morimoto XB side marker. We recommend installing the rubber grommet in before pushing the XB side marker into position.
Taillight Upgrades
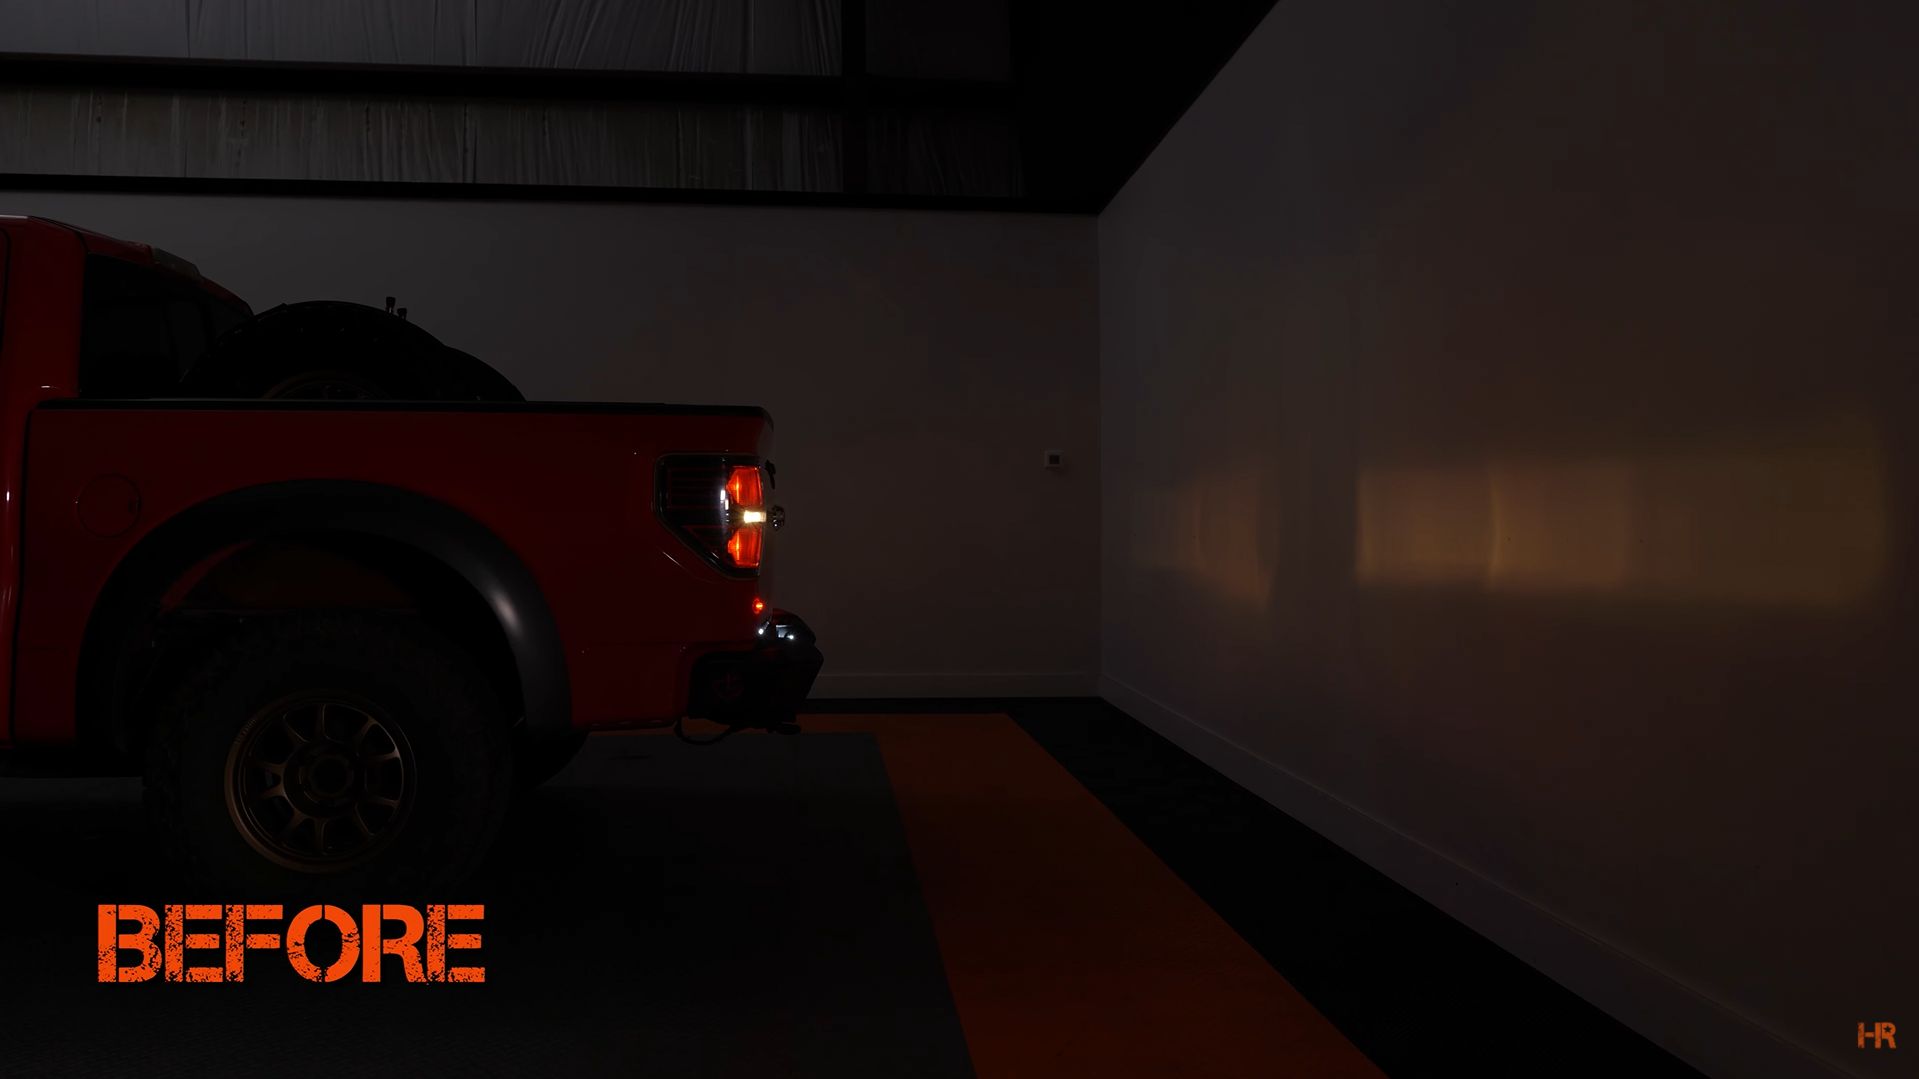
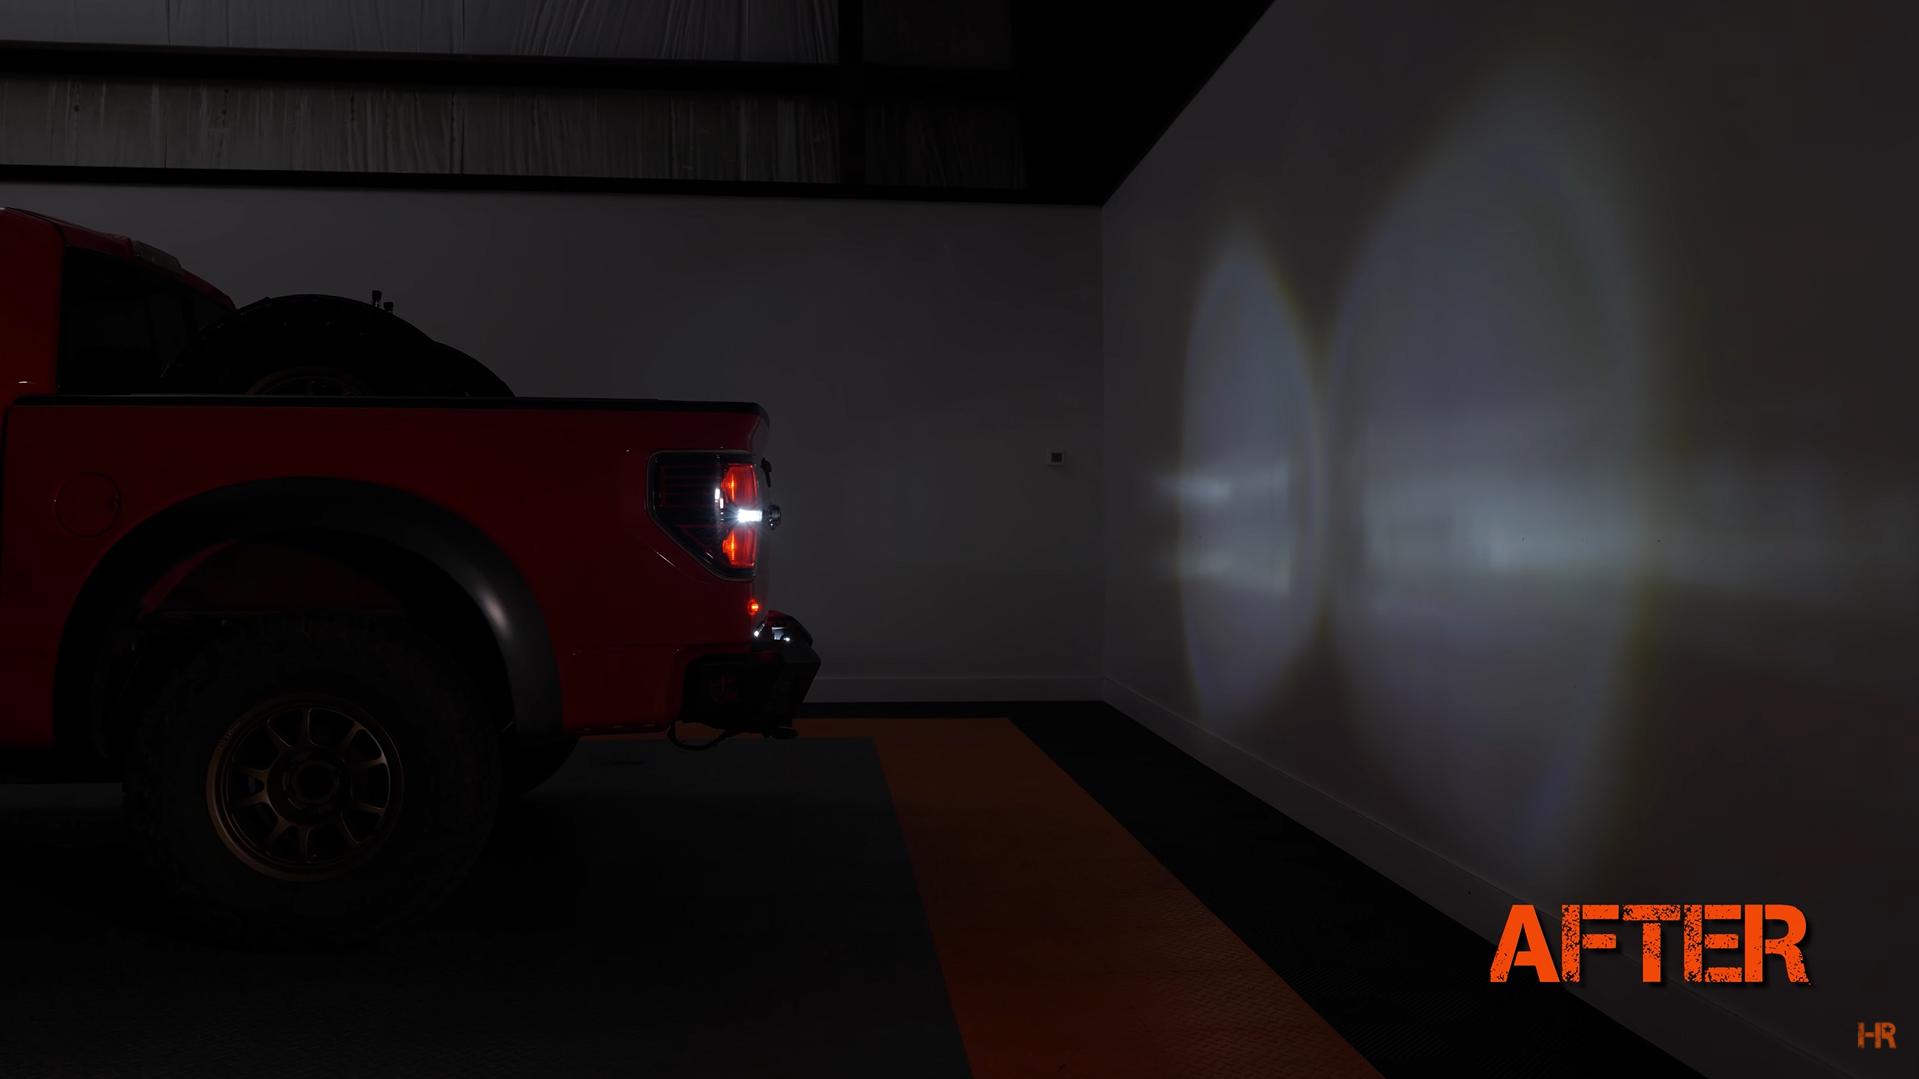
While you have your taillights removed, let us install a set of the GTR Lighting i-LED bulbs. Previously, we have installed the Carbide 2 series bulbs and that requires a resistor. With the i-LED bulb, there is no need for that as it uses a built-in resistor. This will plug right into your 3157 brake light socket. You can repeat the same for the lower brake light.
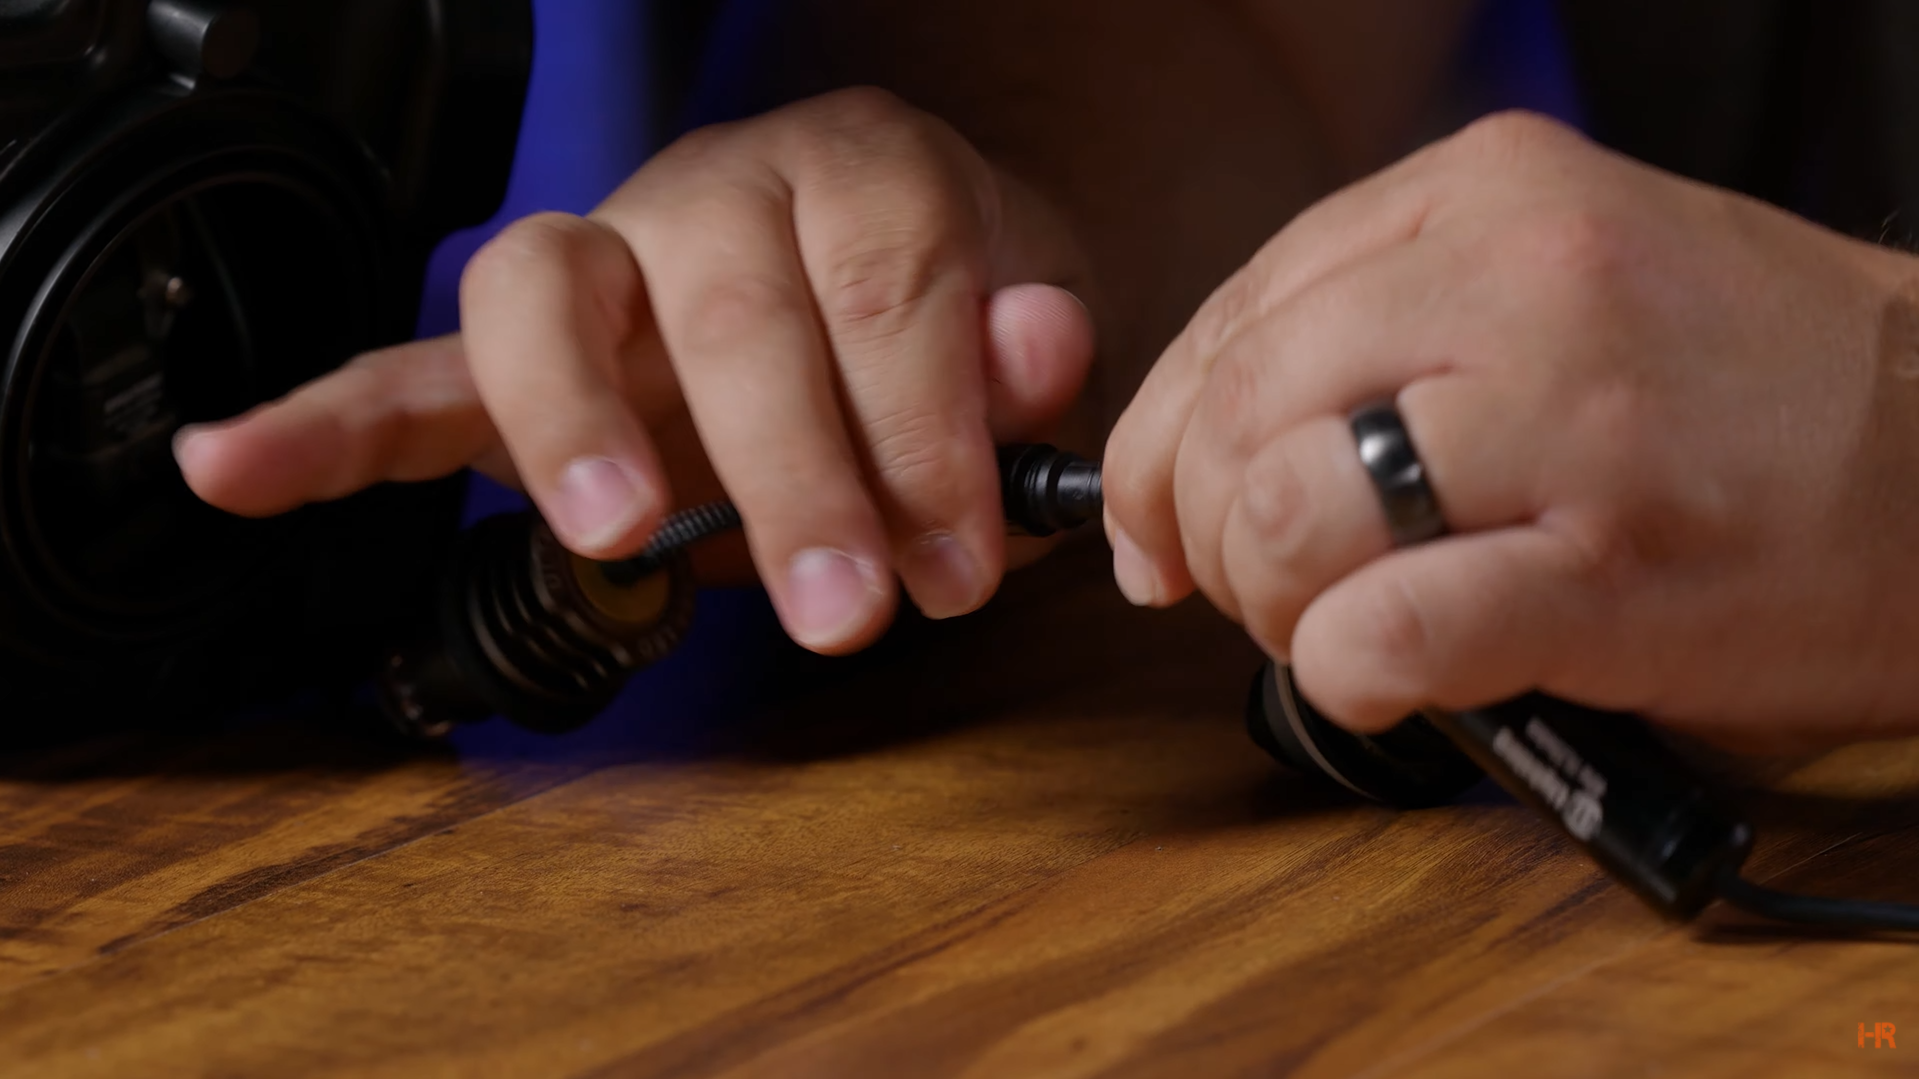
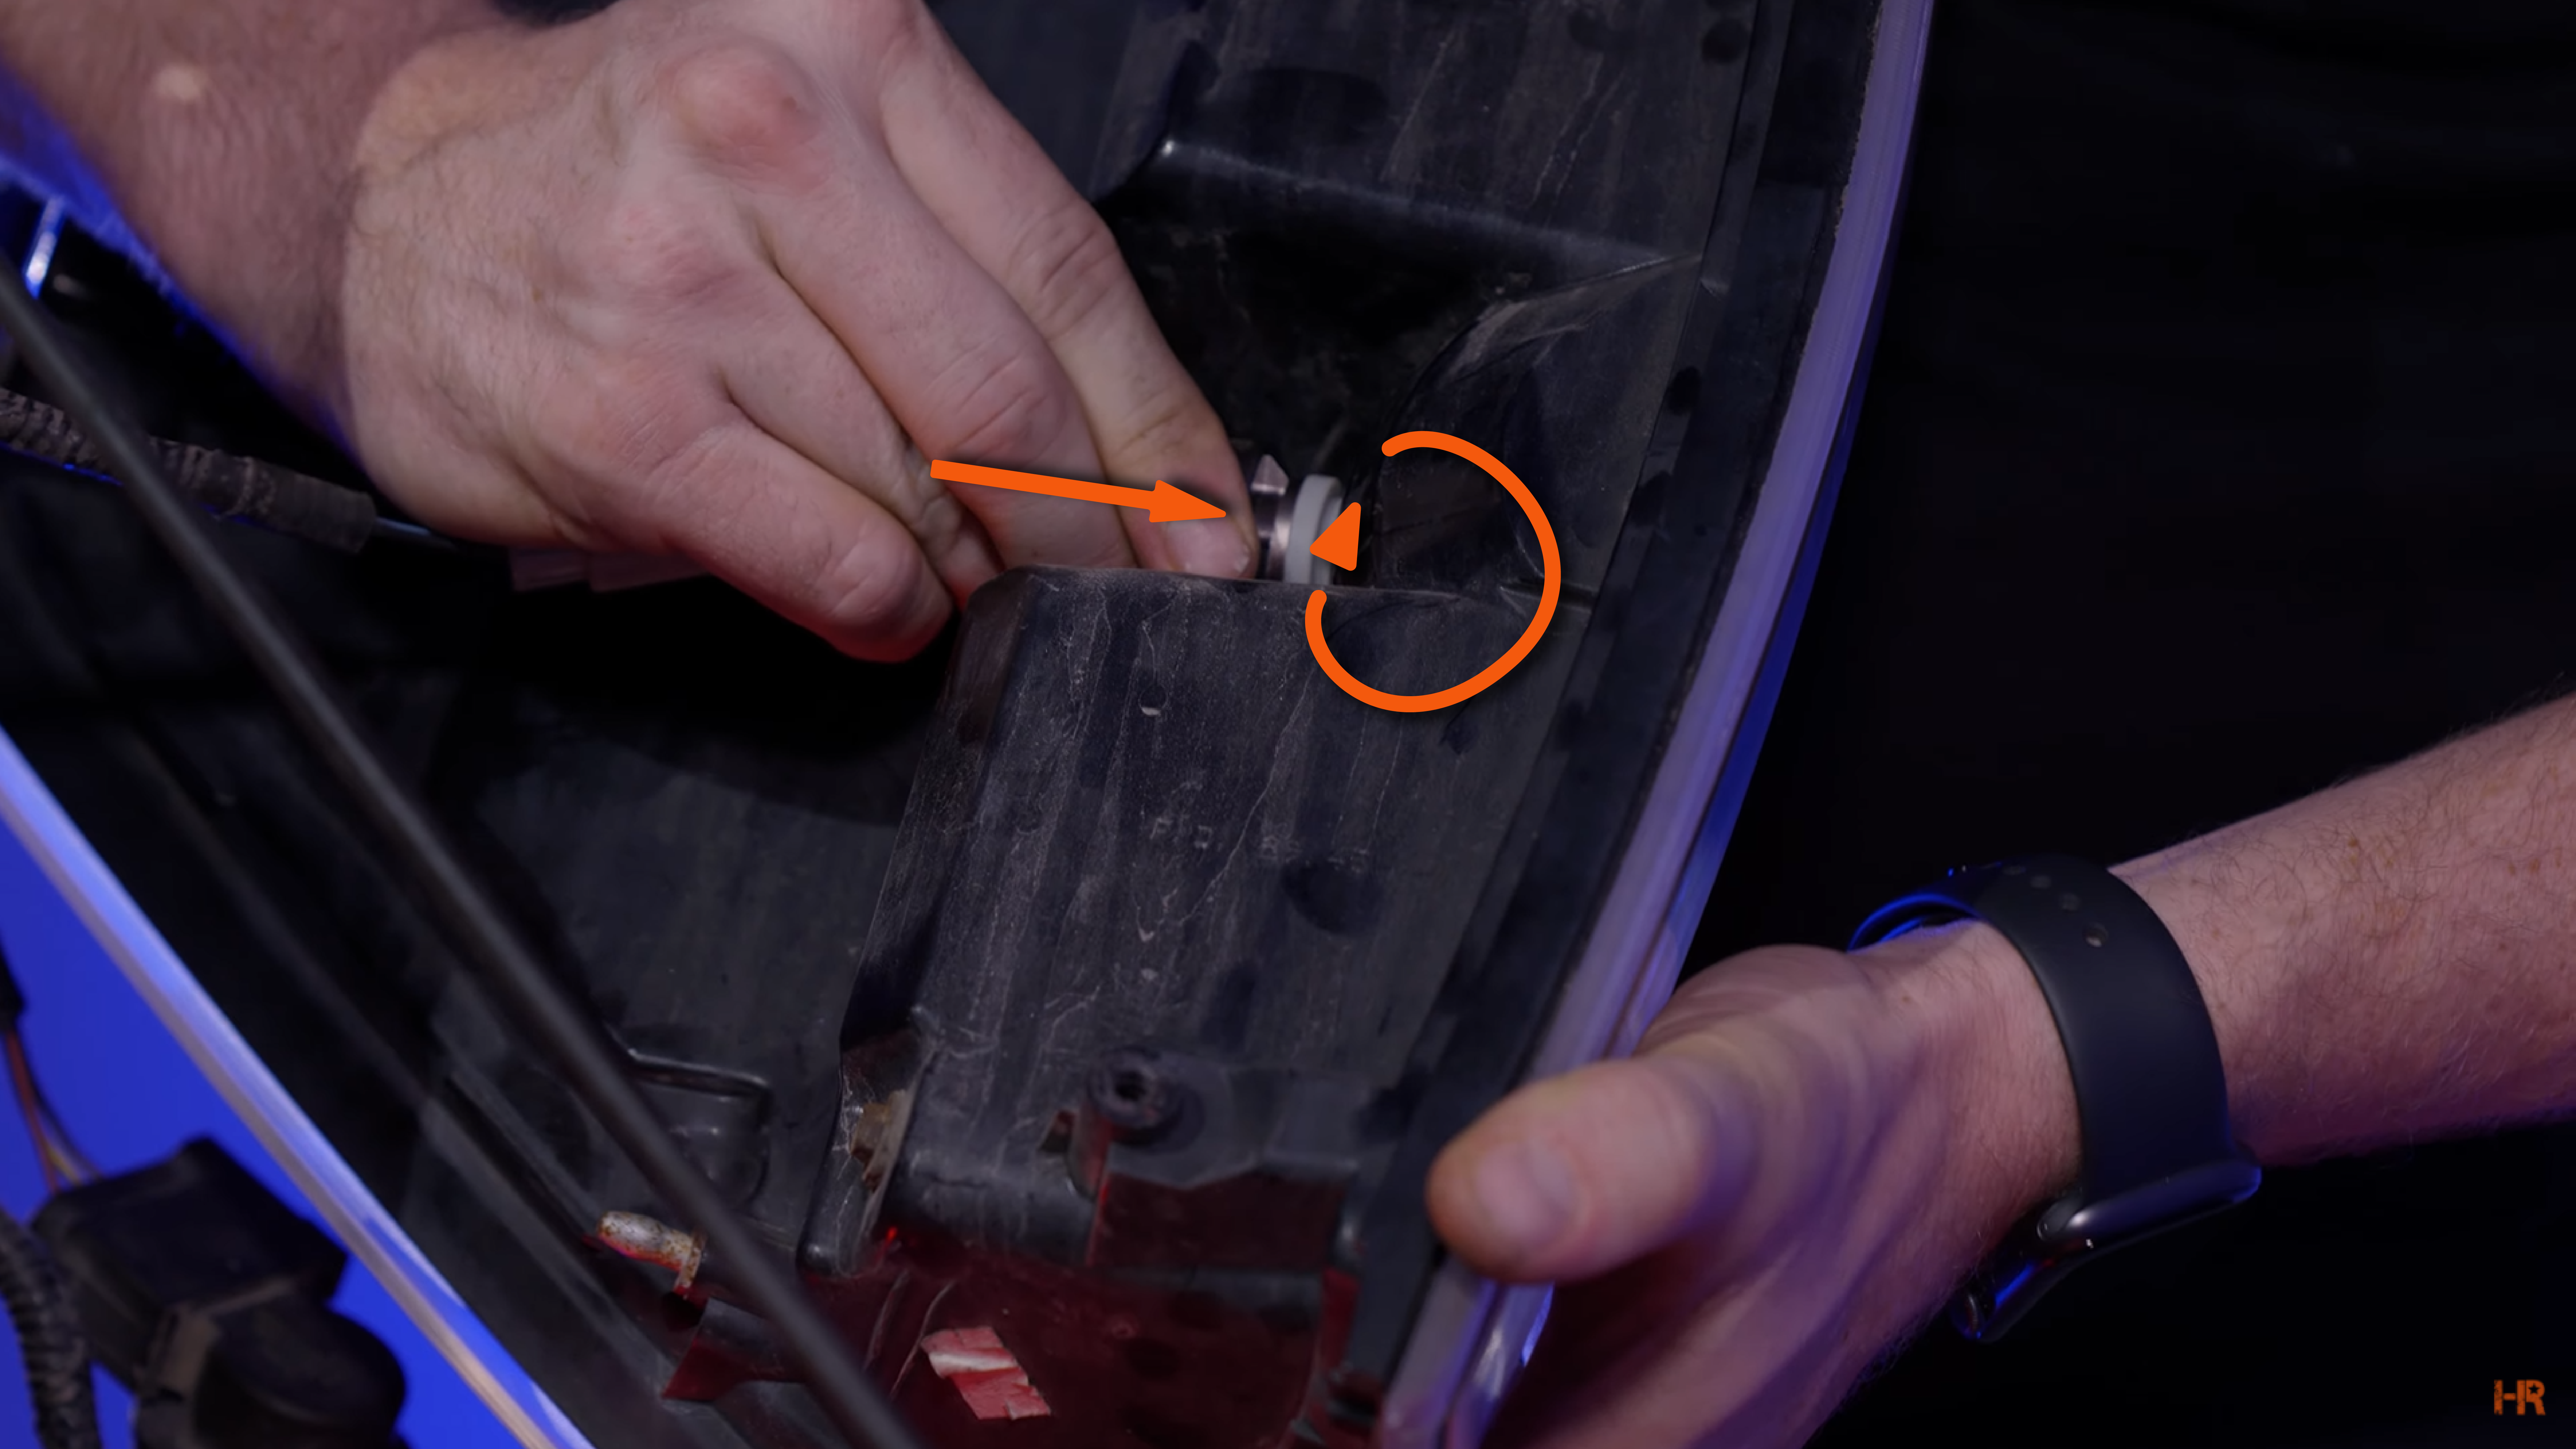
Something to note is that your taillights use a red lens and will therefore work best with the red i-LED bulb. This also applies to turn signal housings that can have an amber lens.
Another important fact about installing these is assembling their collar correctly. You can see a full how-to on how to do that here and here, but otherwise, you will want to screw in the small screws to match the OEM bulb mounting tabs.
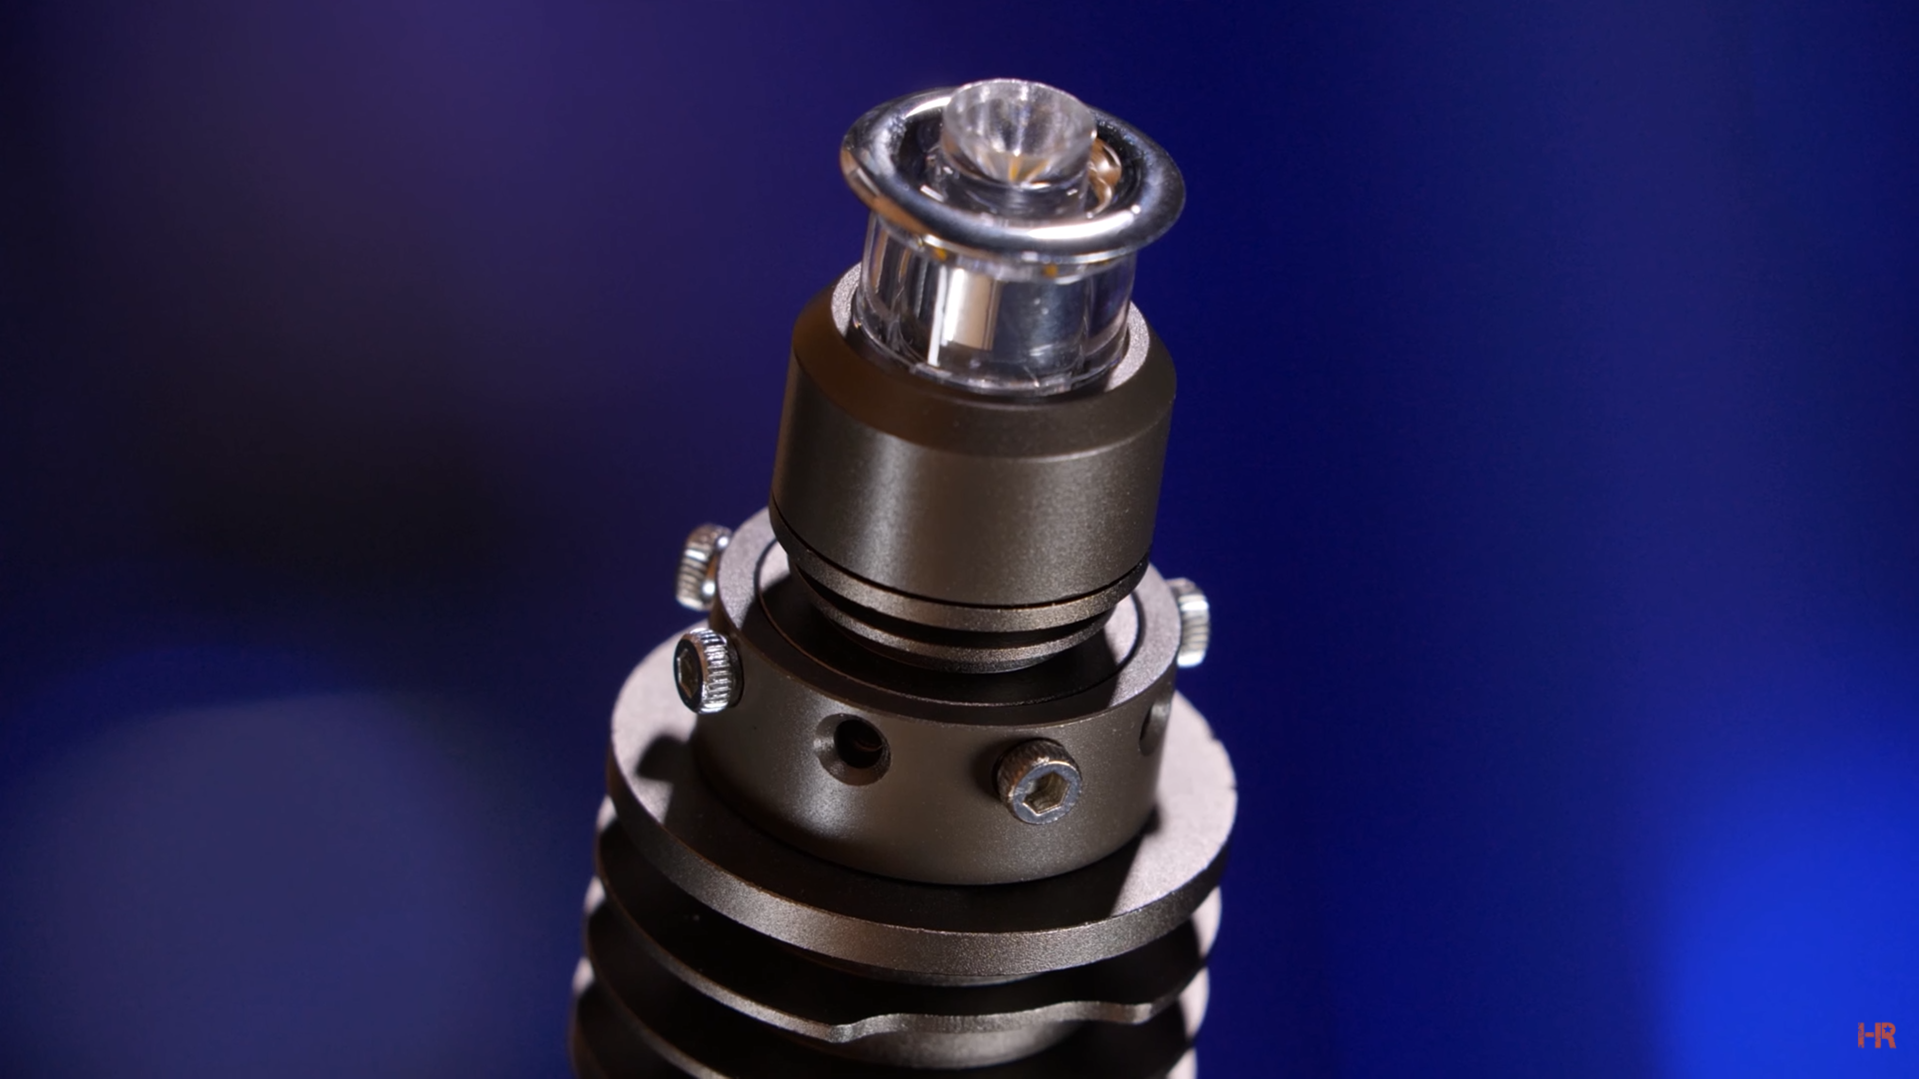
For your reverse light, we recommend the GTR Lighting Ultra Reverse Light in a T10 size. When putting this bulb back into the taillight housing, you will need to use a bit of force to twist it into position.
 |
 |
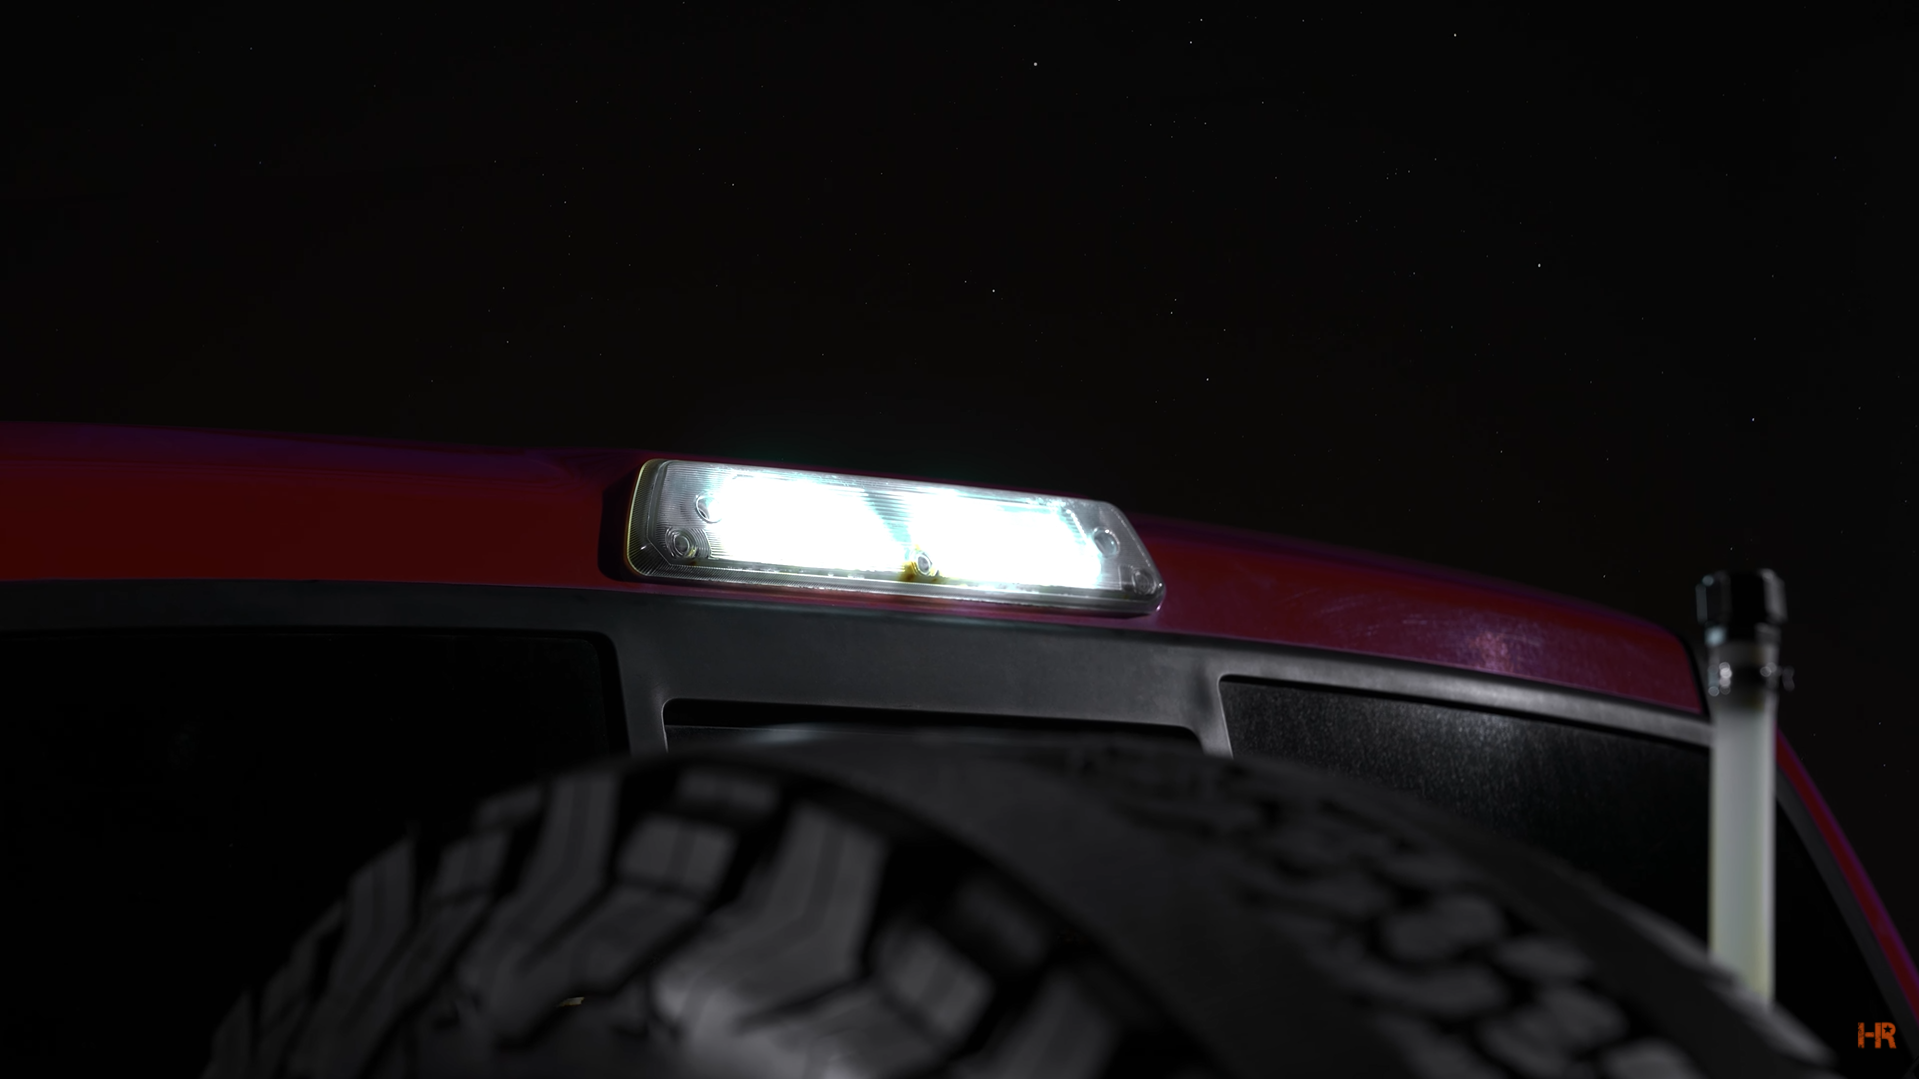
Cargo Light
This might be the easiest exterior light to replace. Using a Phillips screwdriver, take off the clear lens to reveal the two T15 bulbs (but you can also use T10 bulbs).
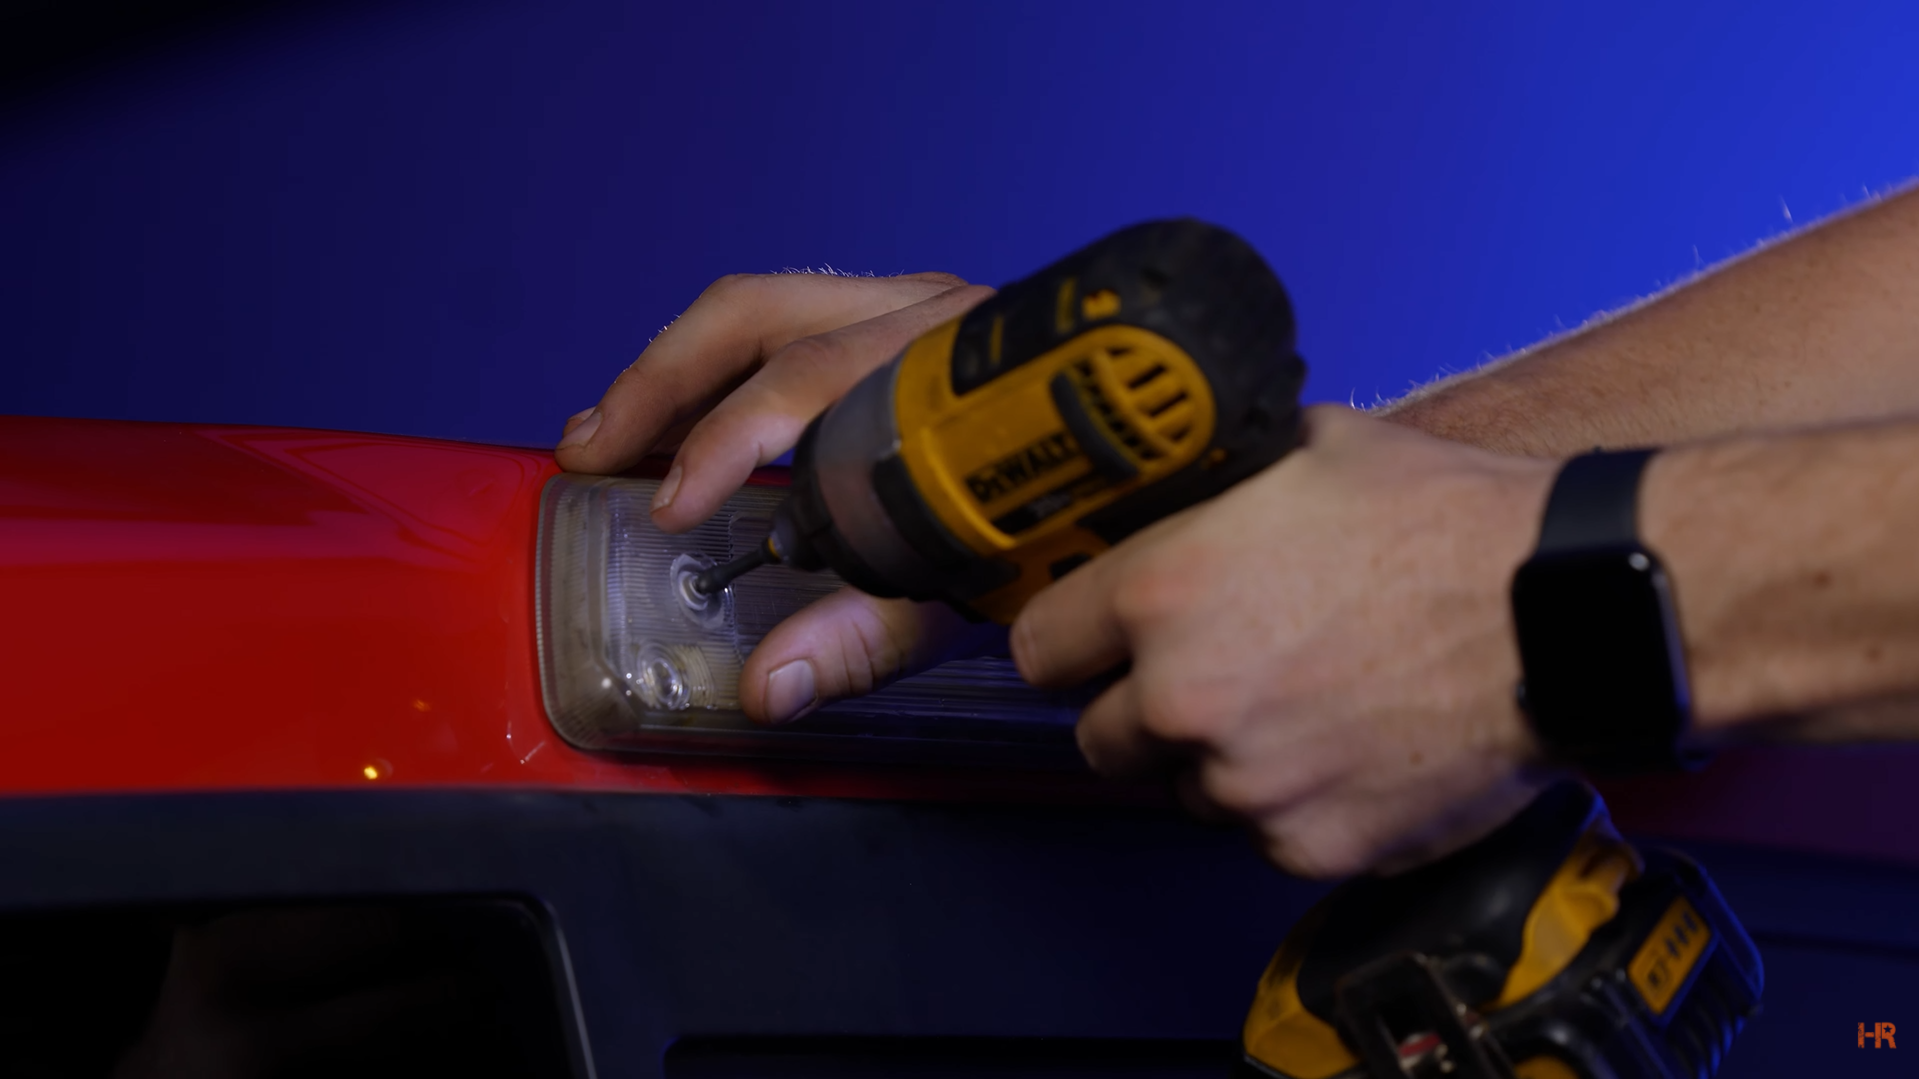
In this application, we used the GTR Lighting 10-Chip LED bulbs, but you can also use the Ultra Reverse light we mentioned when working on the taillight. The 10-Chip bulbs will be the more affordable option between the two.
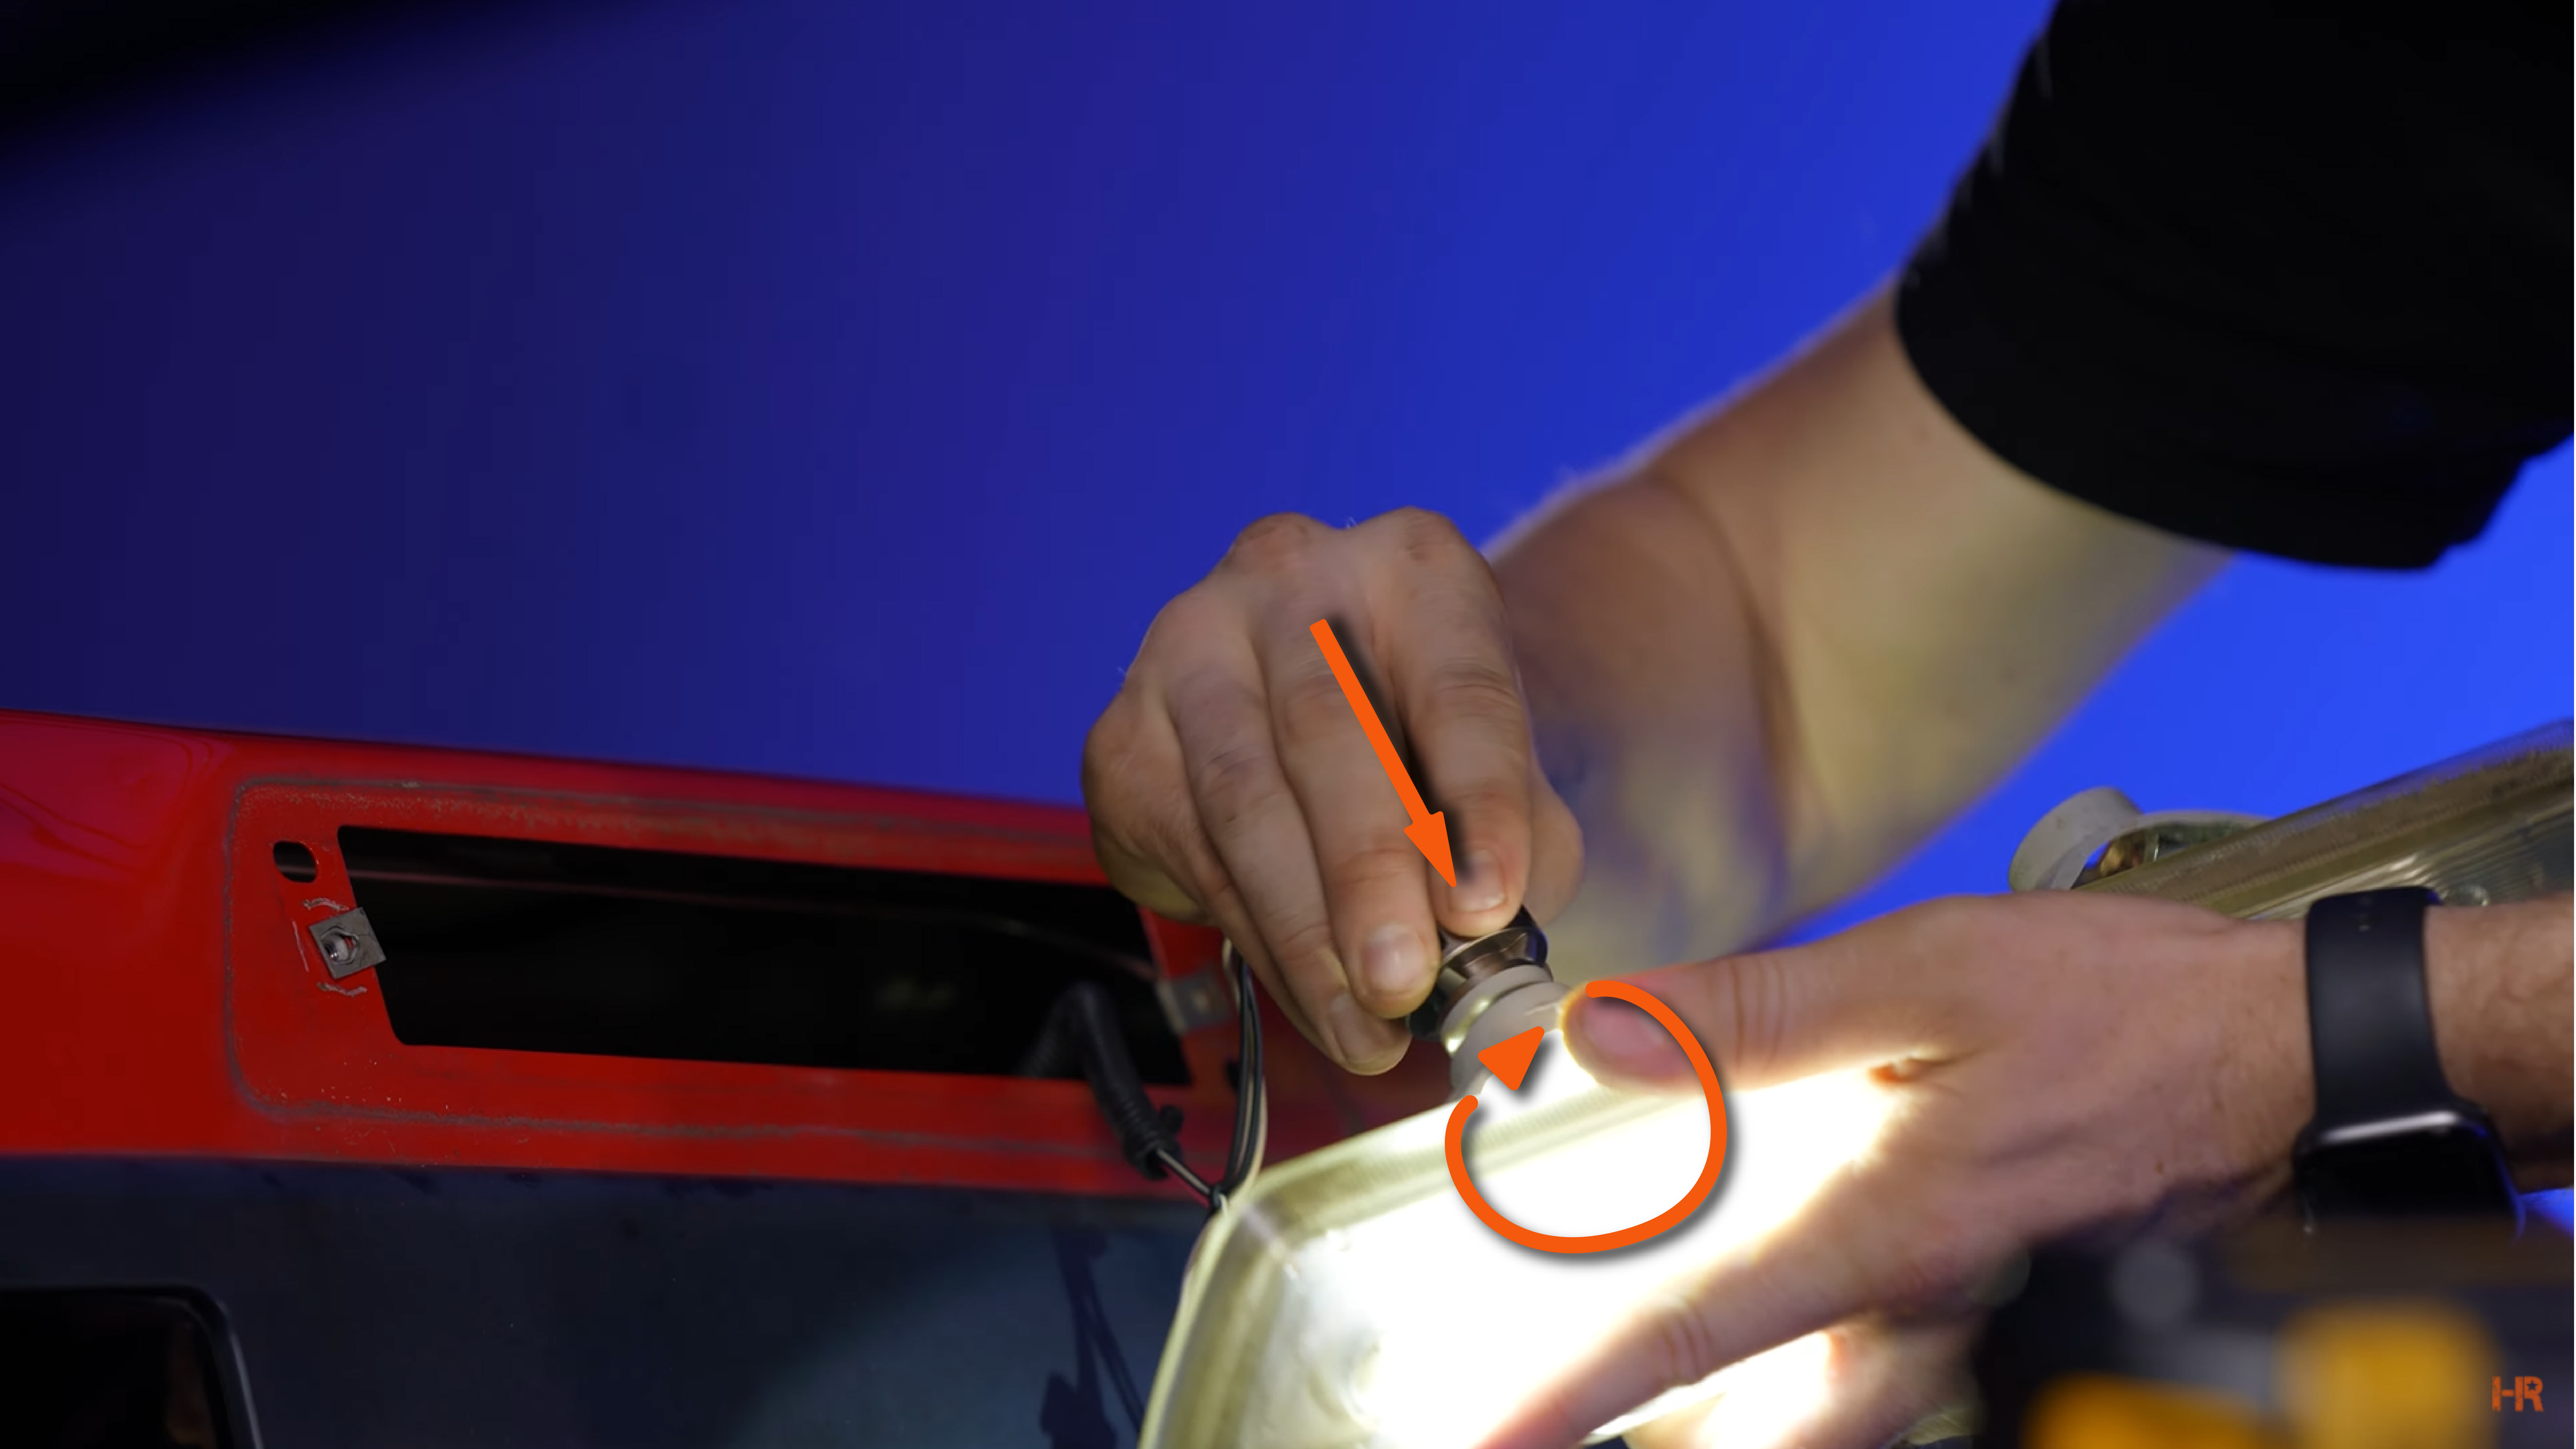
Keep in mind that these are polarity specific and may require you to rotate the orientation of the bulb for them to work.
Mirror Side Markers
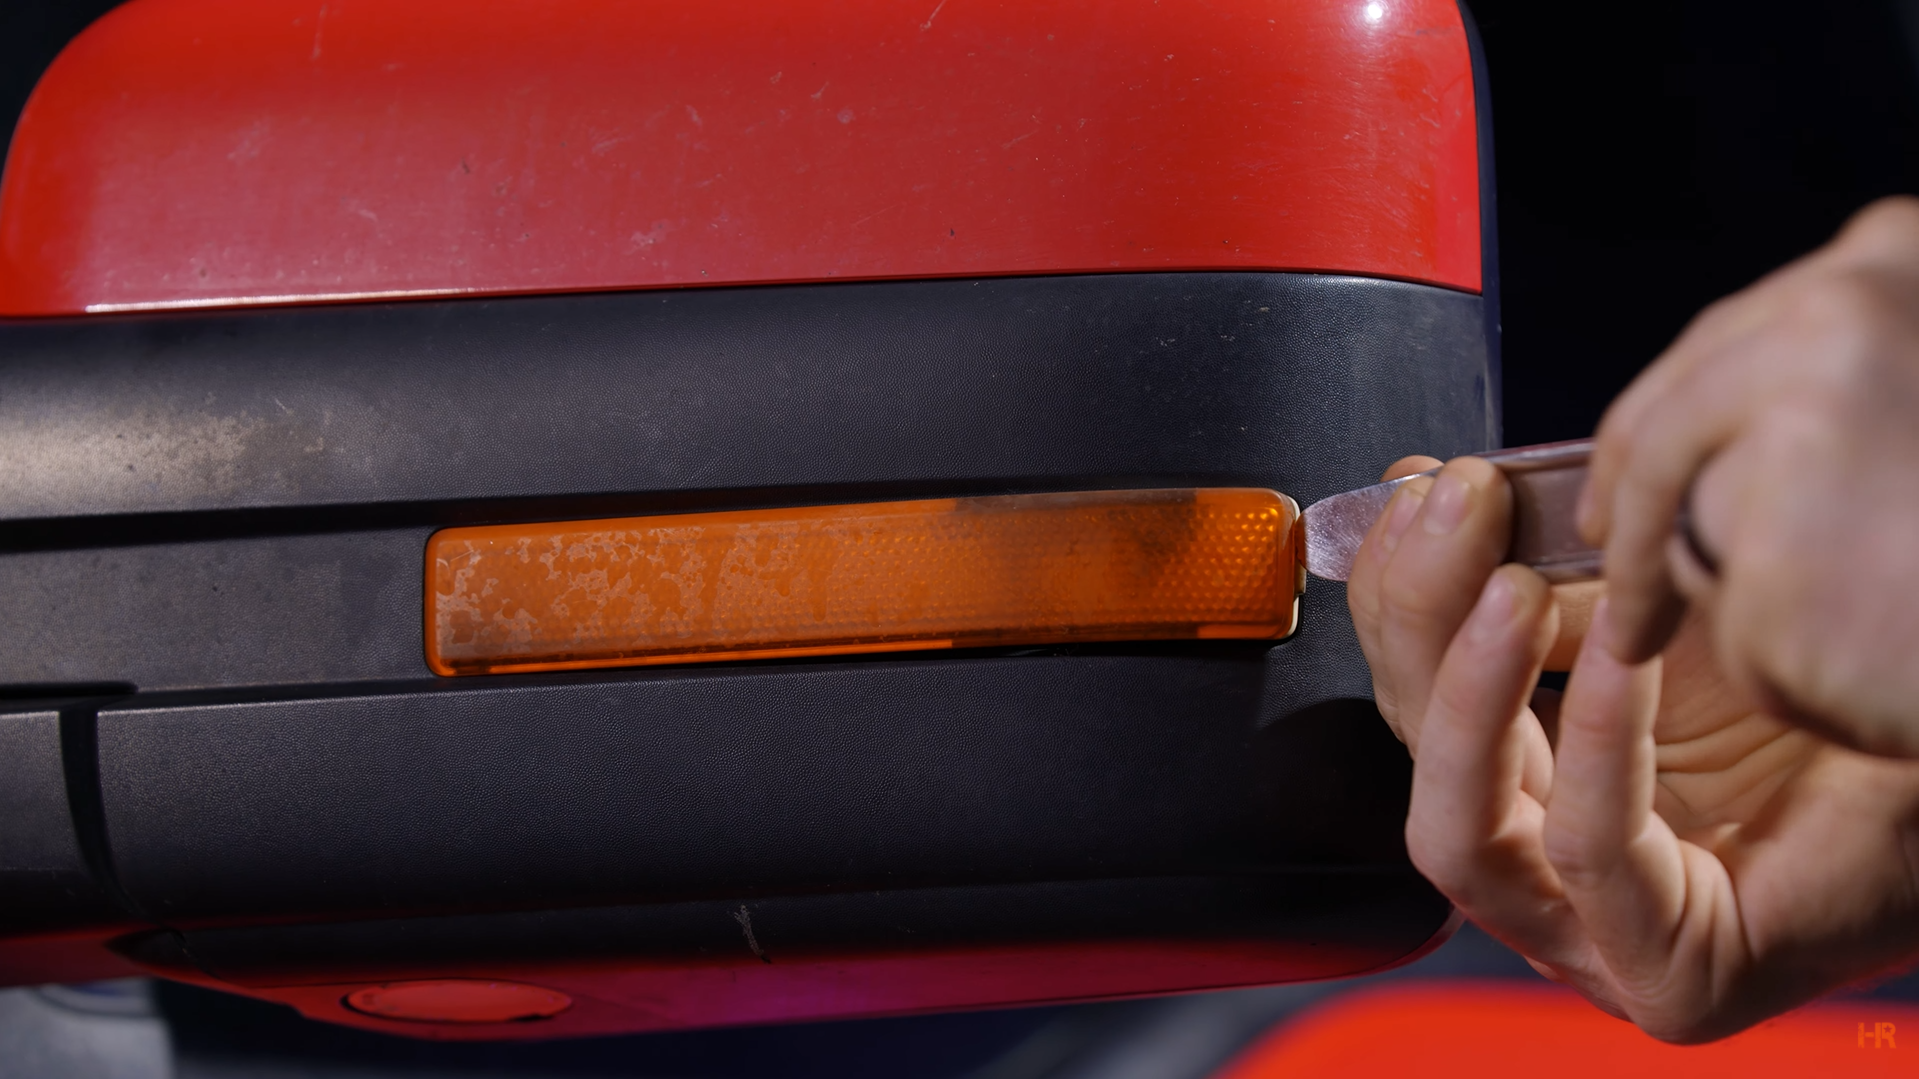
Moving to your mirrors, there are two easily replaceable lights: your puddle light and your side marker turn signal.
First, we will remove the old and nasty mirror light to replace it with the Morimoto XB LED Side Mirror Lights. Using a pry tool, start with the outermost side and pry forward. Then pull the housing toward you. On the driver’s side, it has two prongs holding it into place and on the passenger side, it has one. Other than that, the installation is the same.
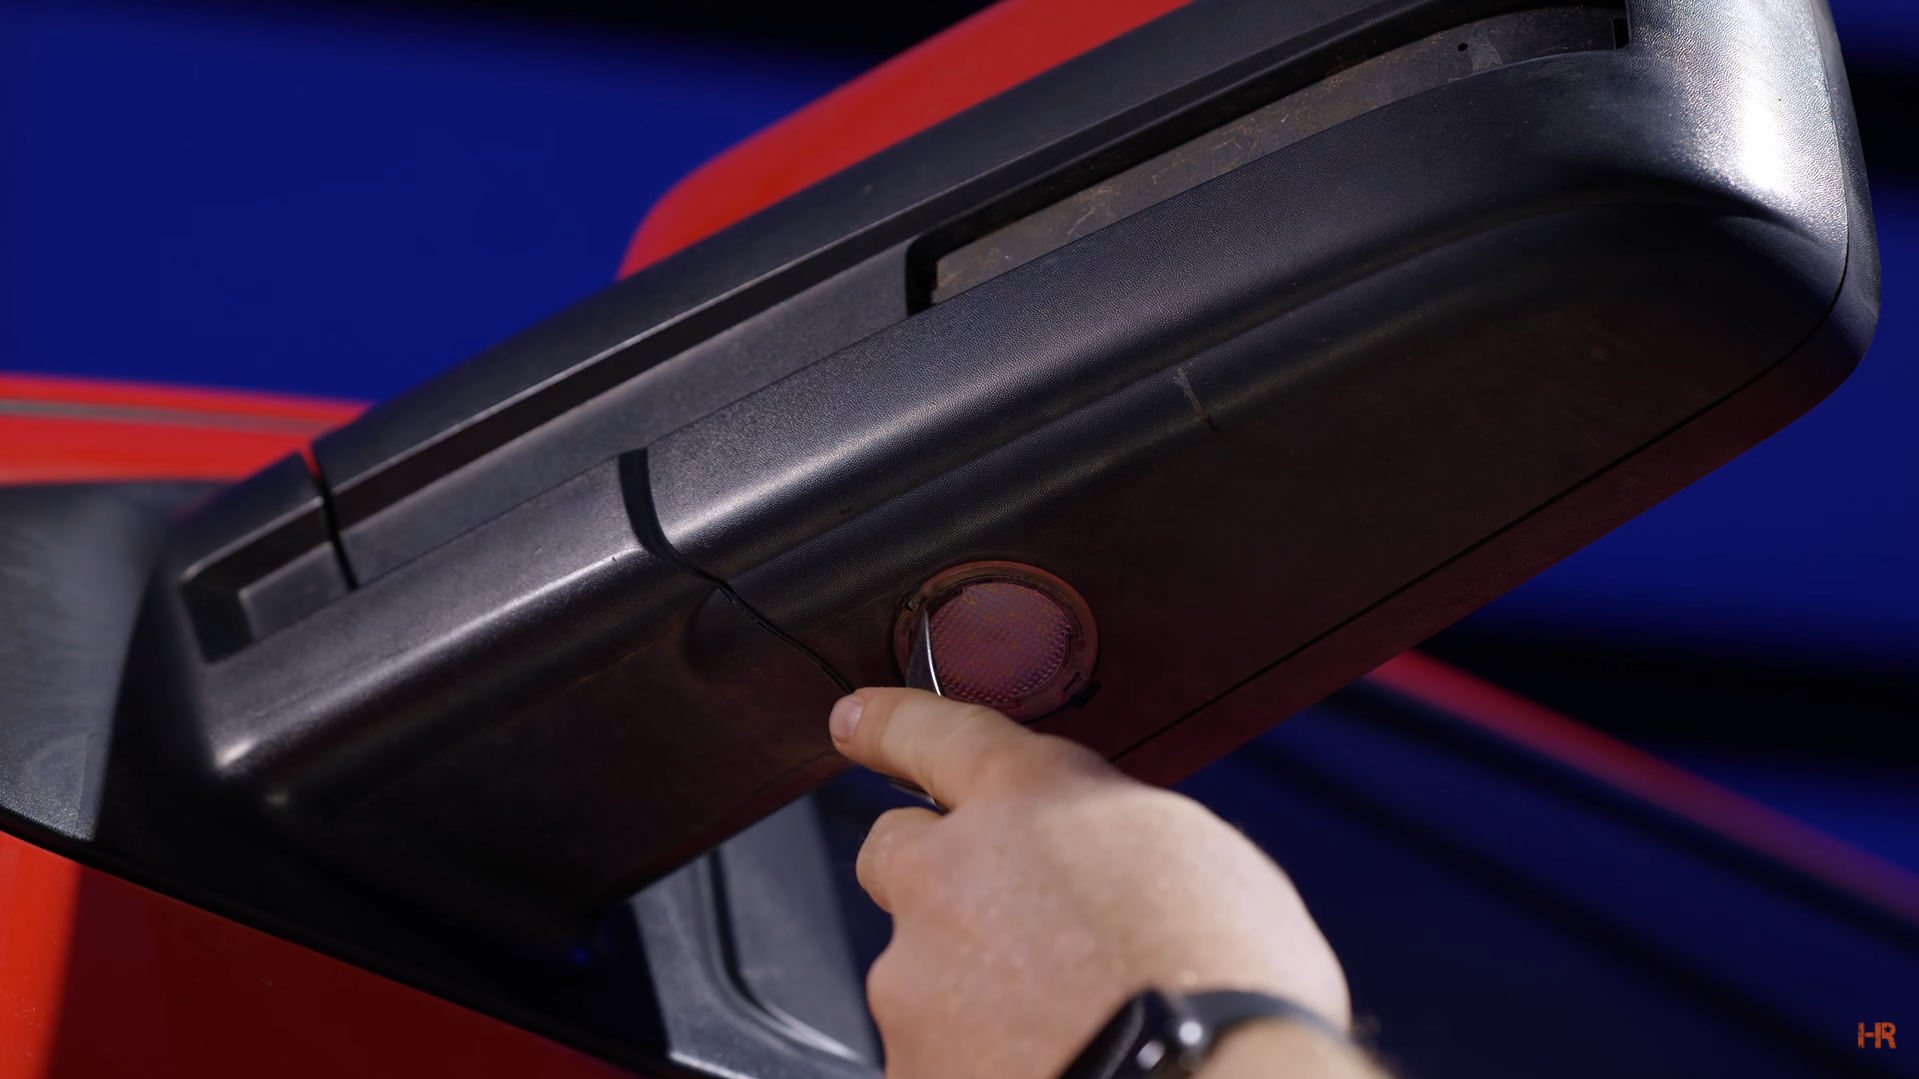
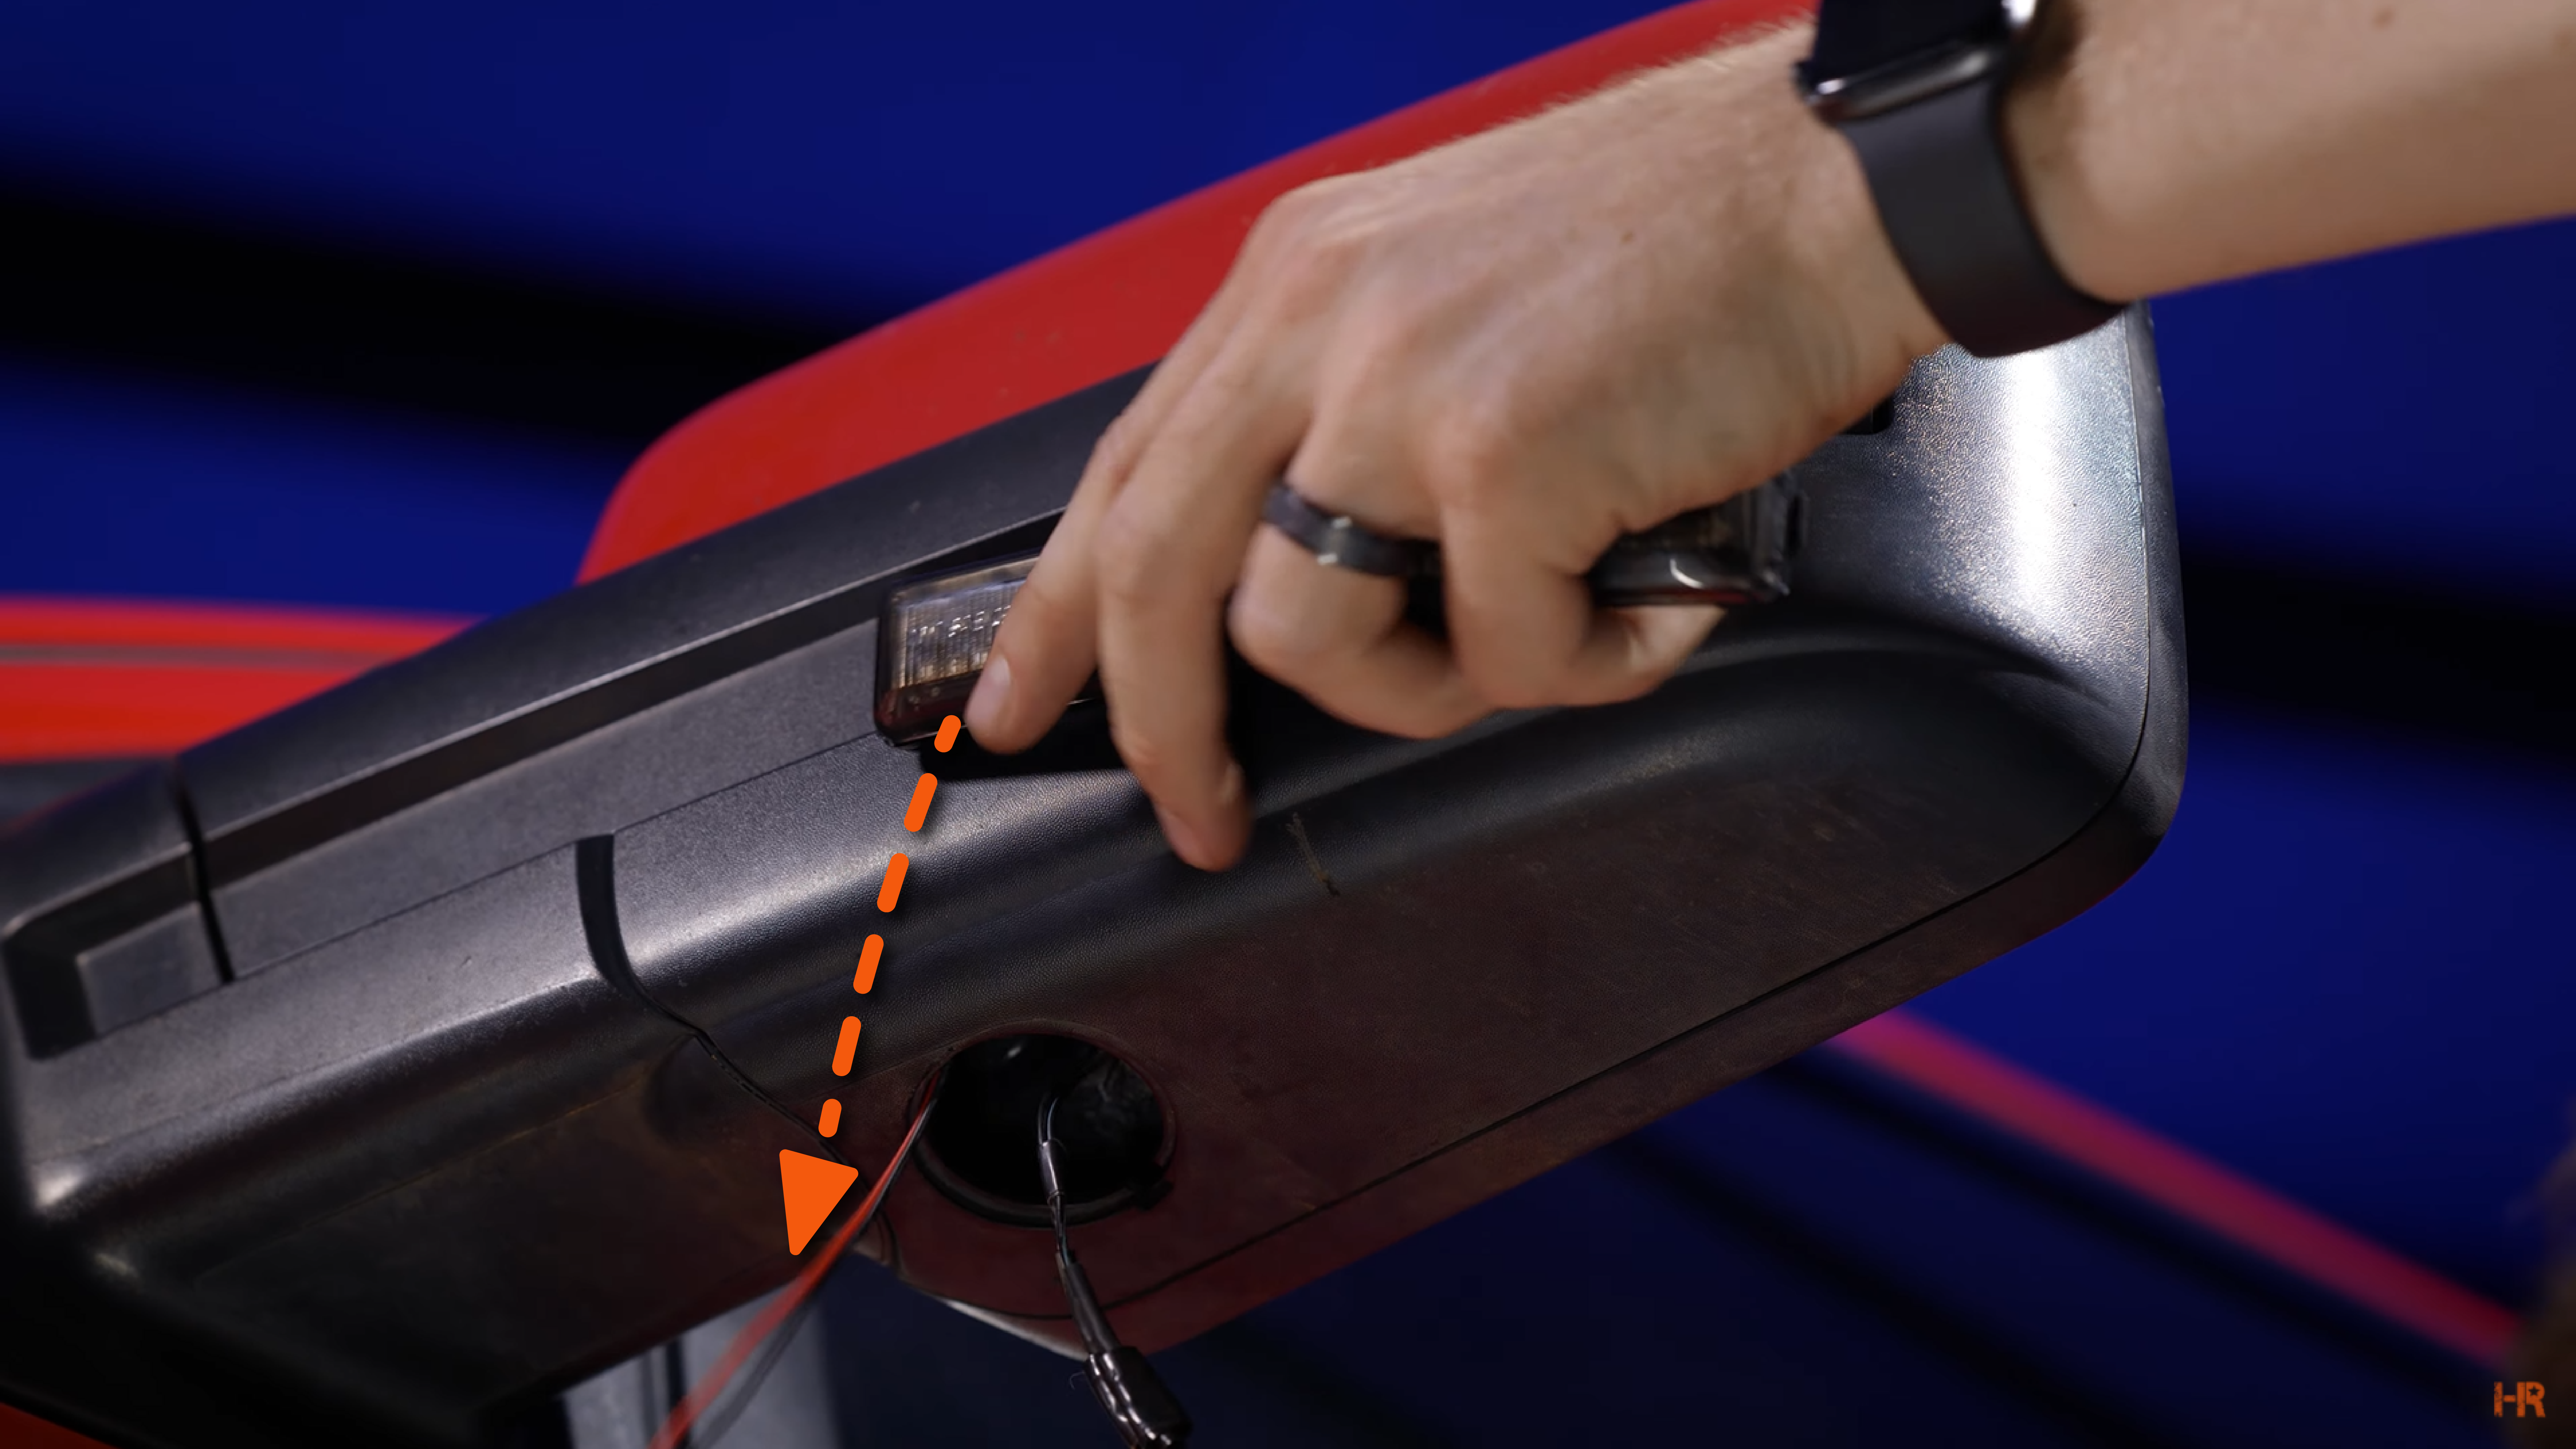
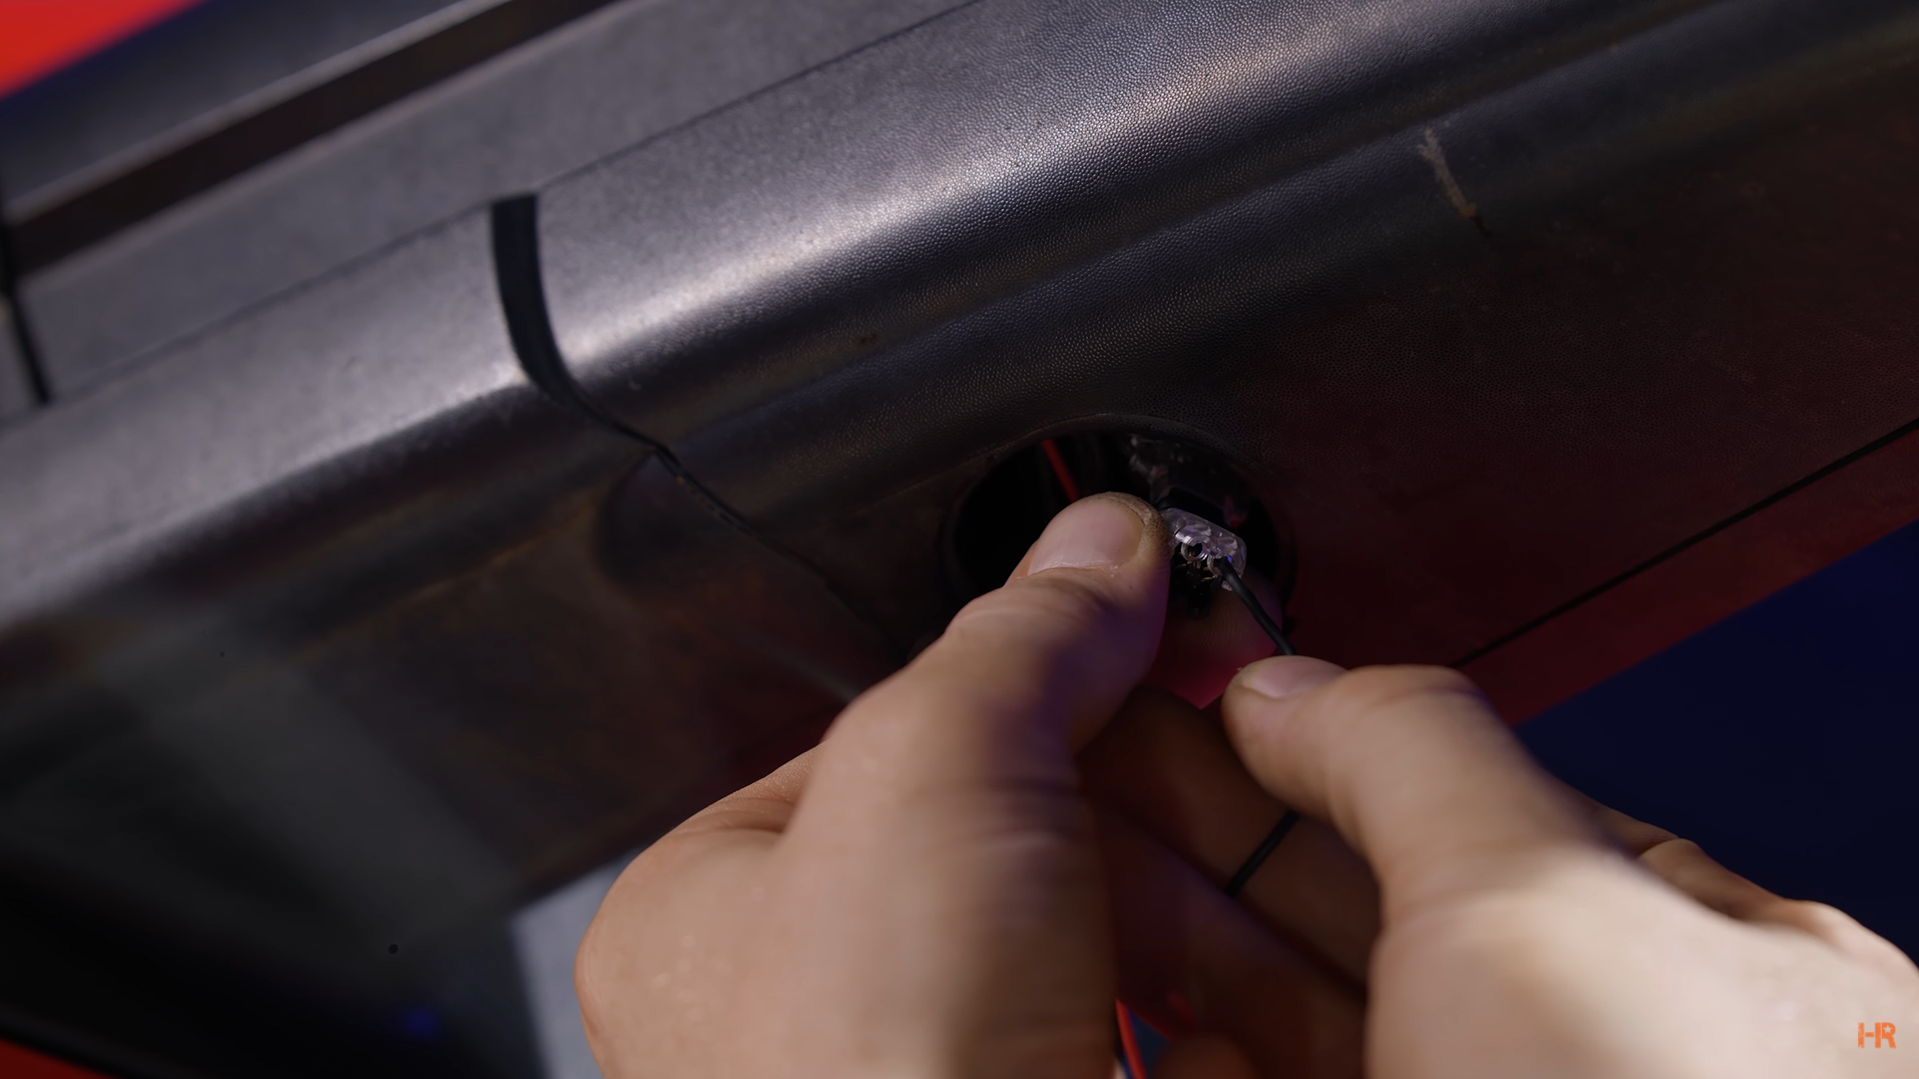
Next, remove the puddle lights with a pry tool to access the mirror wires. Reach up to grab the wires that power the rear-facing turn signal so that we can T-Tap the XB LED wires to them. Run the XB LED wires through the prong holes and retrieve them to strip them.
Make sure you have the correct colored wires going to their matching colors when T-Tapping them. There will be two small holes for you to insert the wires into.
 |
 |

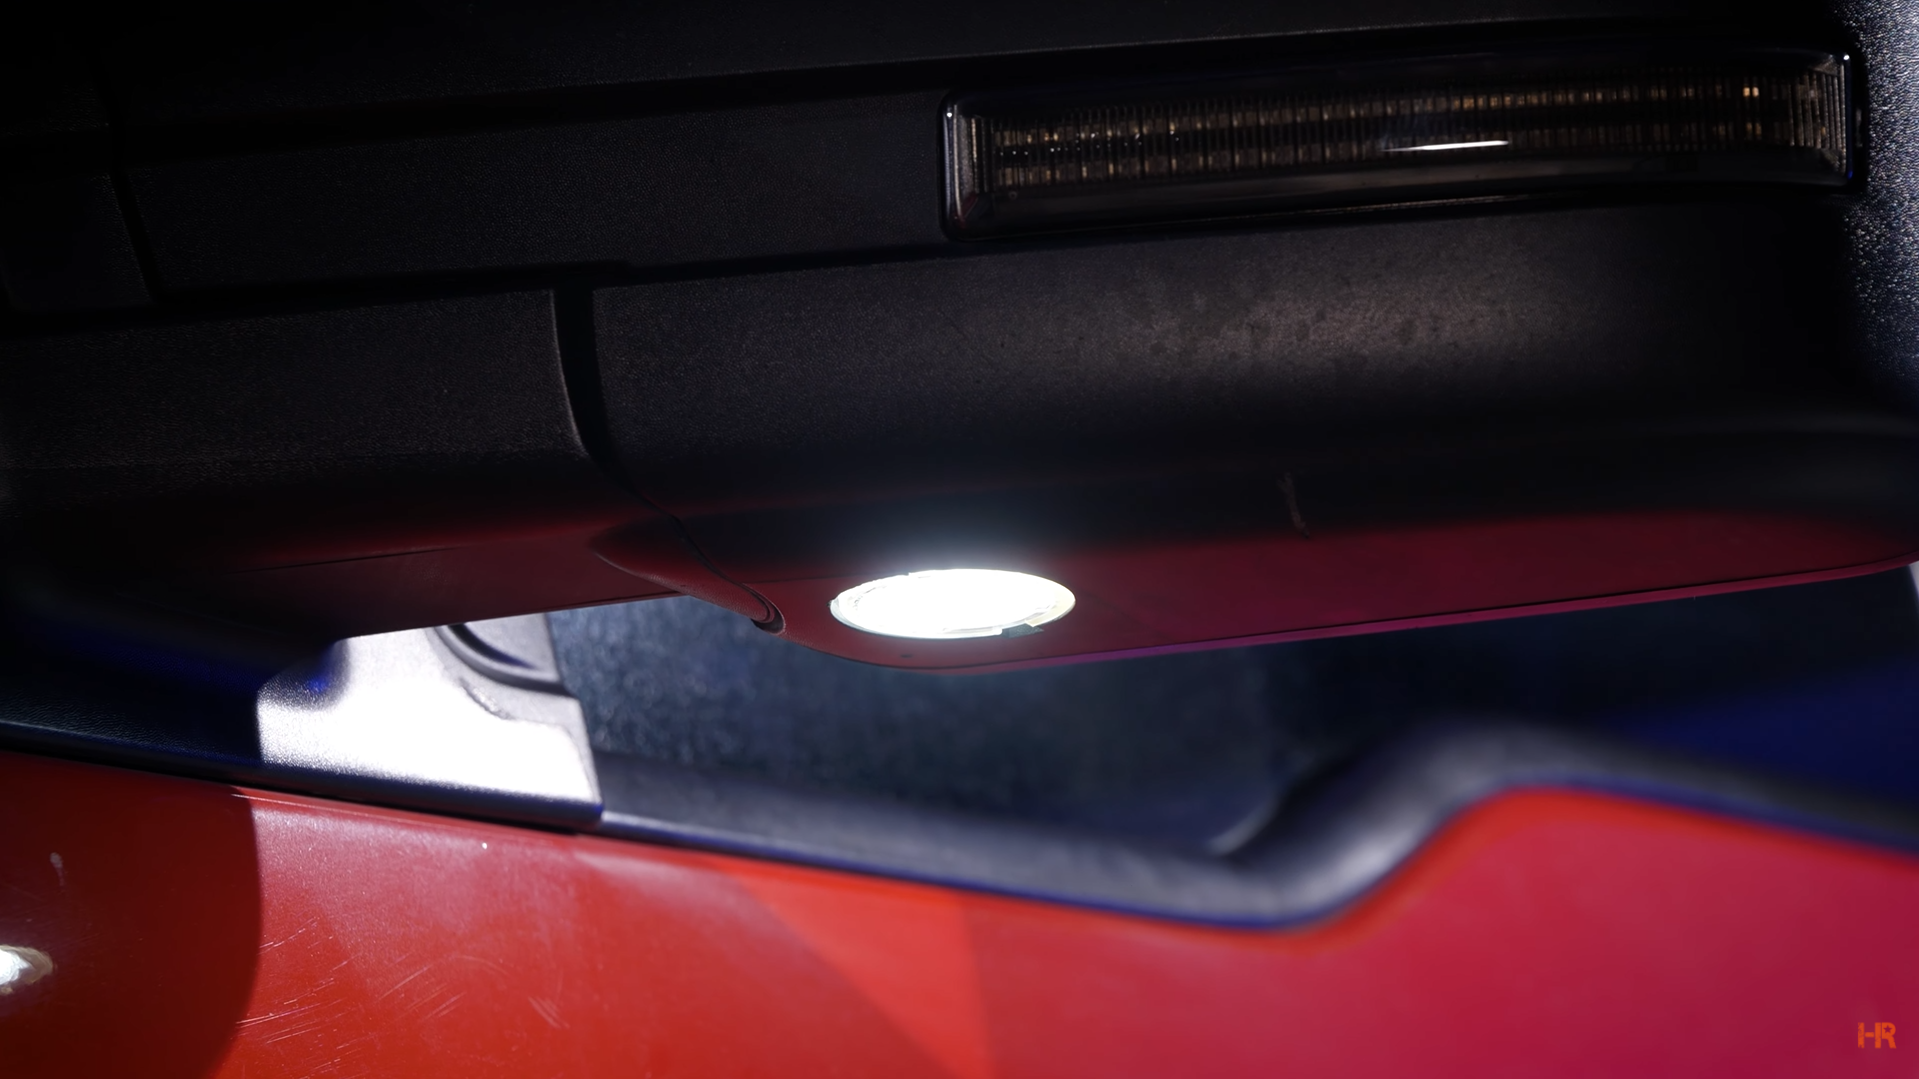
Now that you have the XB LED Side Mirror Lights installed, you can also unplug the OEM puddle light and install a set of LED ones from Morimoto, if you so choose. These are super handy if you are off-roading in the dark or frequently park around puddles.
Interior Bulb Options
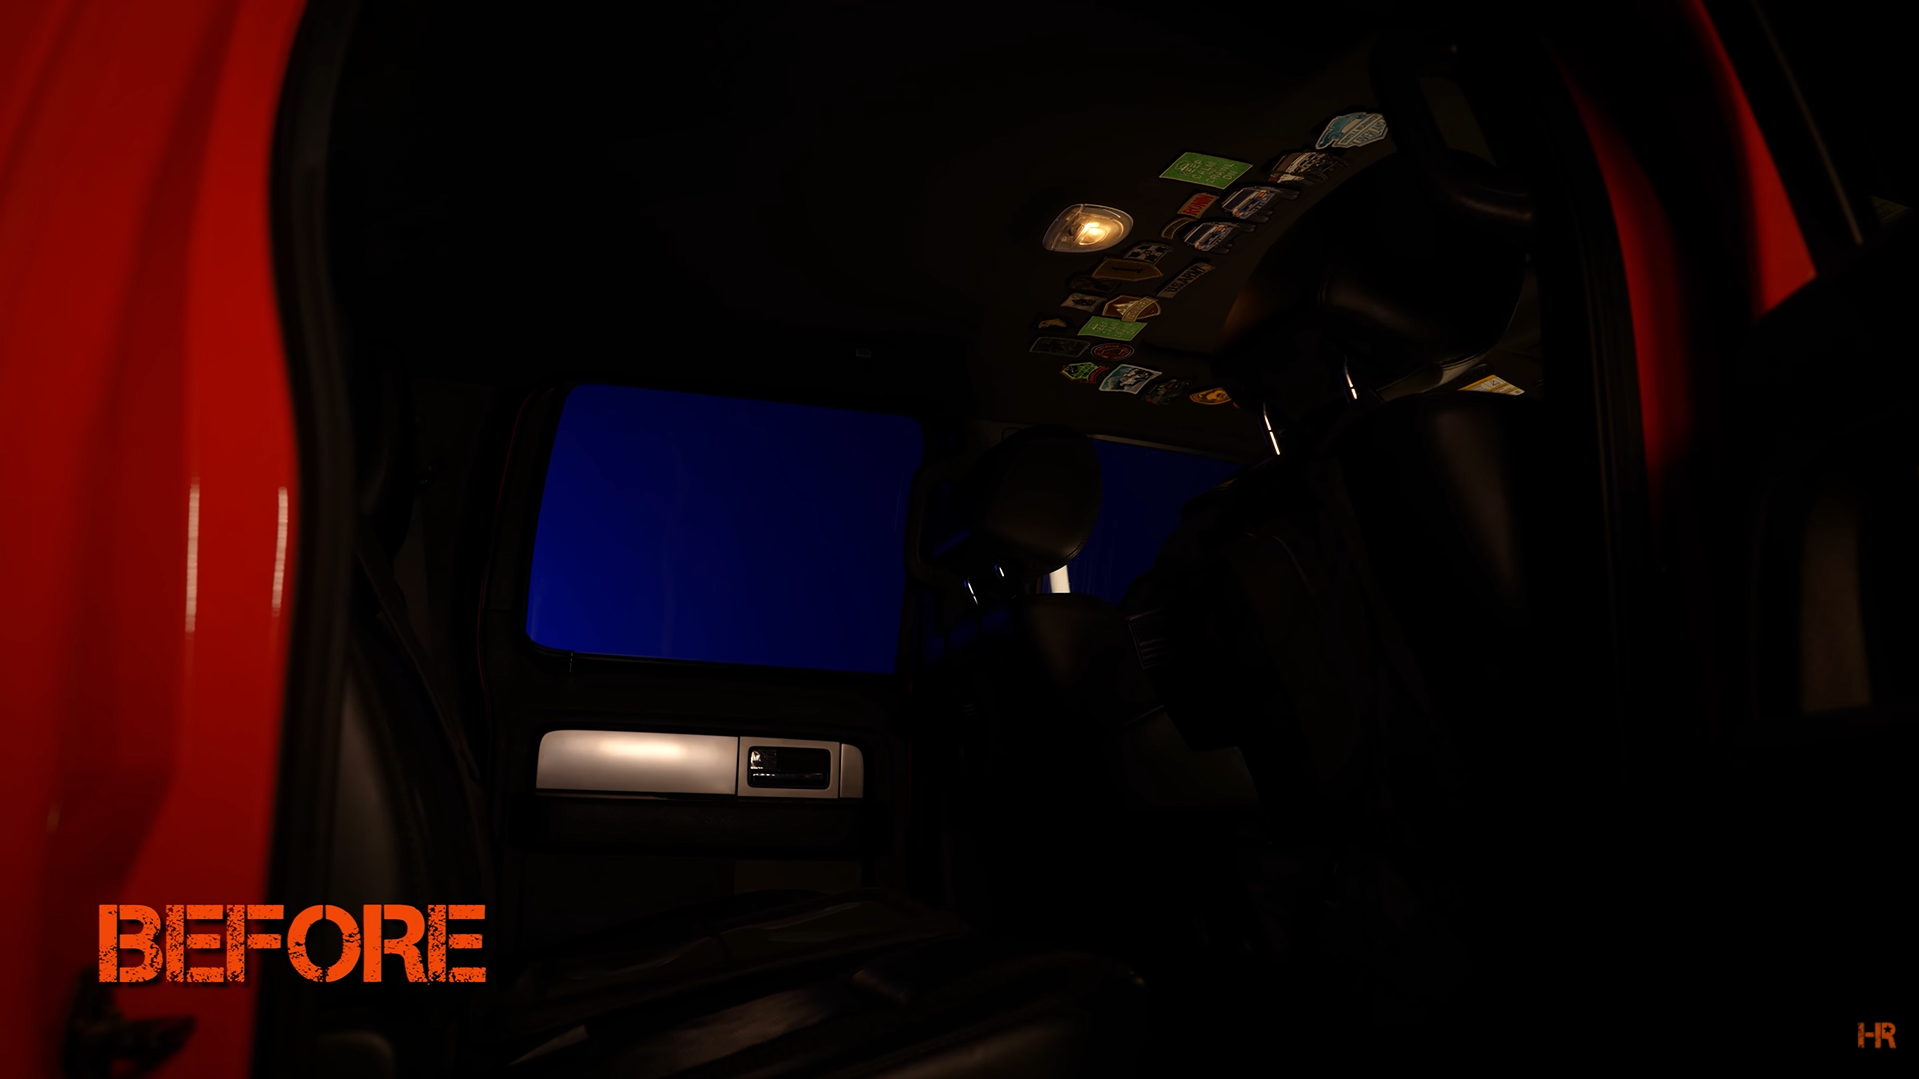
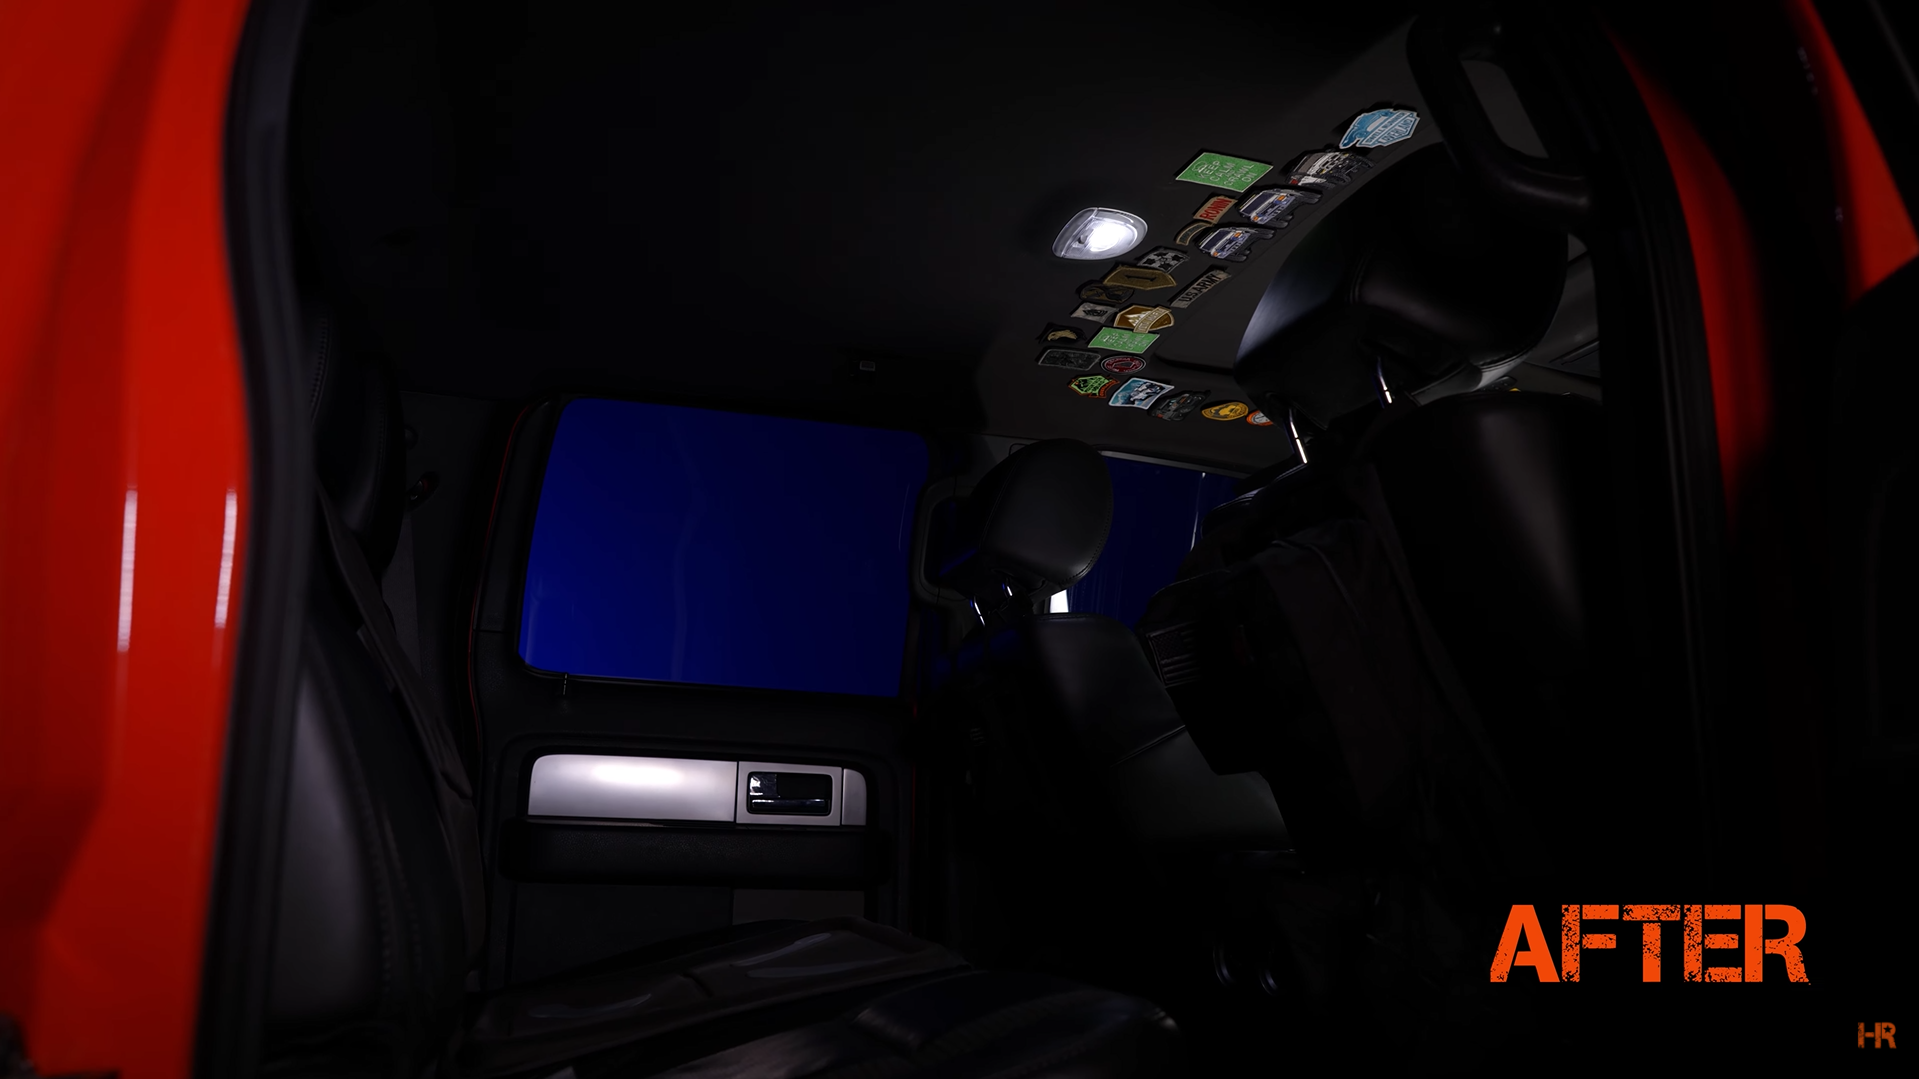
With interior lighting, OEM parts have always been very weak. They are bright enough to let you see only your immediate area, anything beyond their limited reach is just darkness. Did you drop some french fries? Time to break out your smartphone flashlight. However, if you go with even just a 6-Chip LED bulb, you will be able to see much clearer.
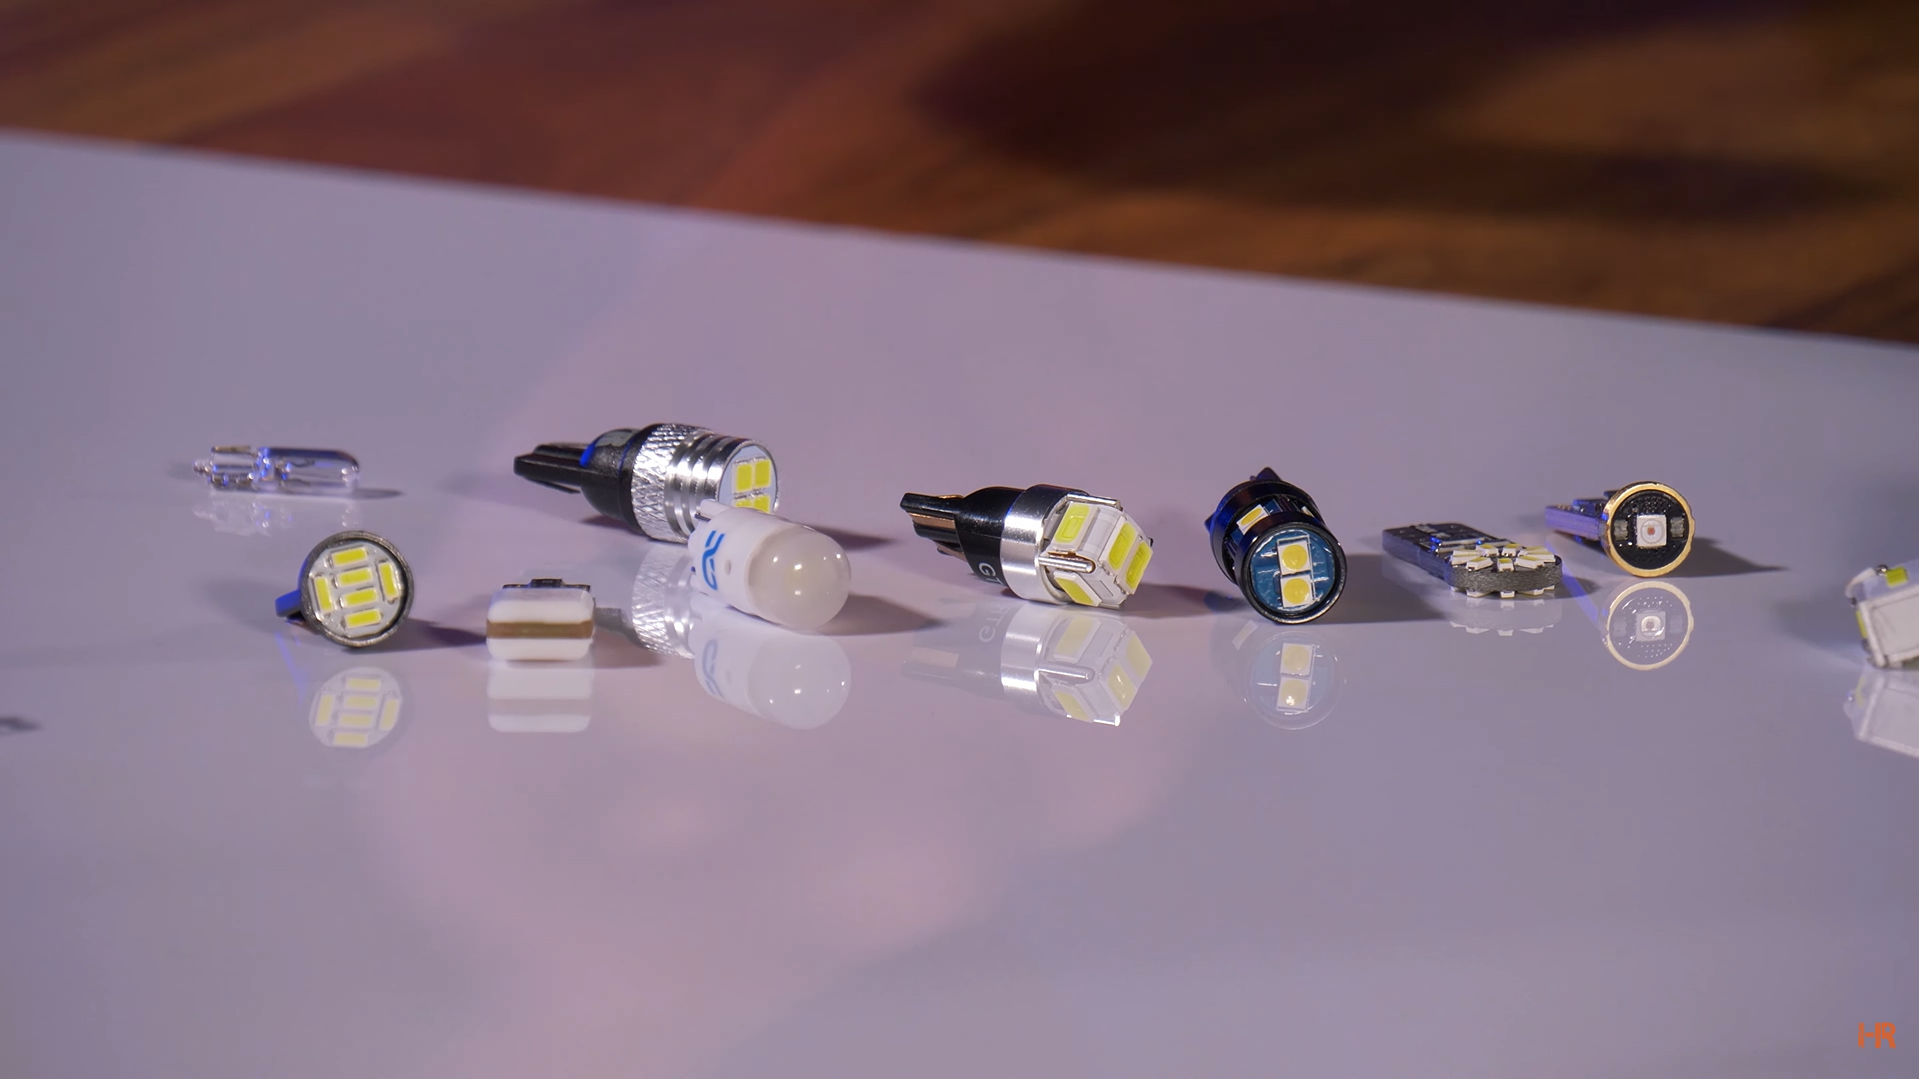
The good news is that these are relatively inexpensive upgrades and have a ton of customizable options. There are different colors, light outputs, and brands. We went with the T10 GTR Lighting 10-Chip LED bulb, as we used in the cargo light.
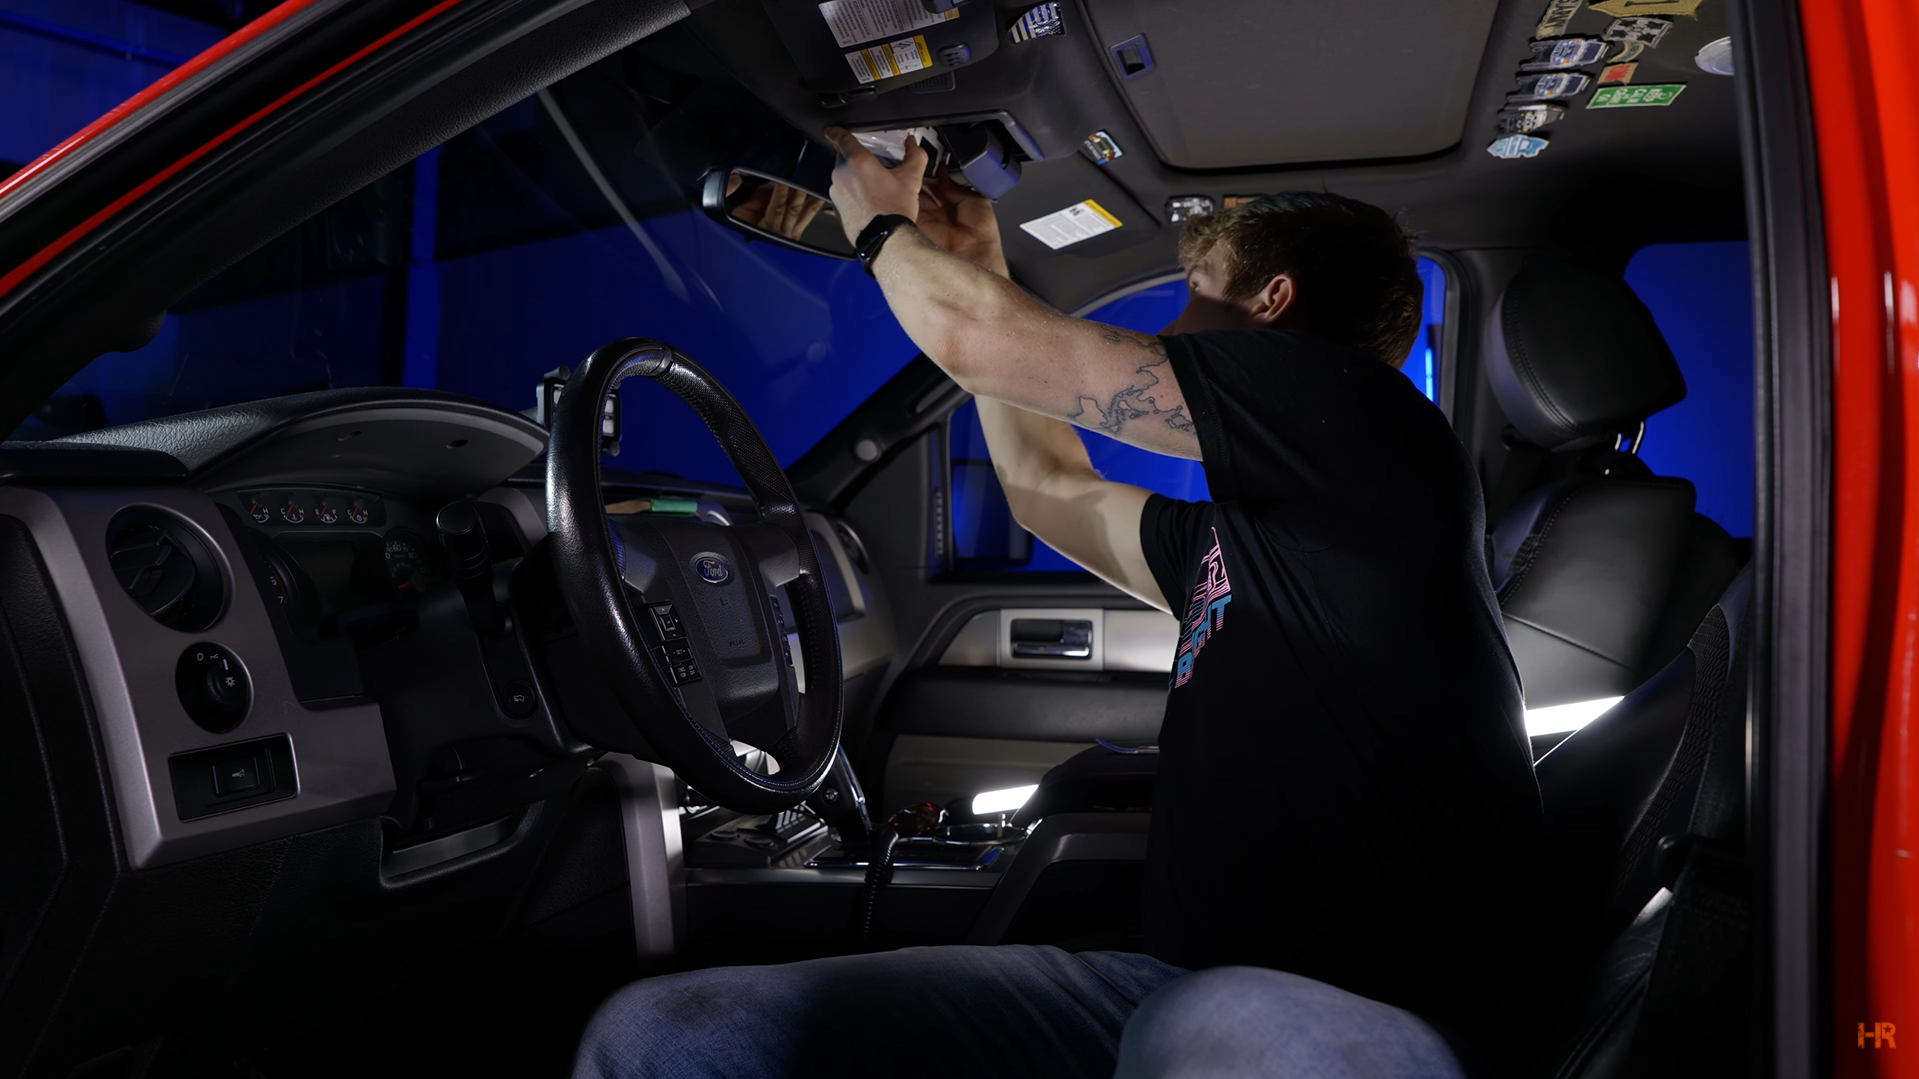
To install, open your sunglasses holder, and push on the two black tabs holding in the map light. Then, unplug the two lights with needle-nose pliers and replace them with the bulbs of your choice by removing the lens. Reapply the lens, plug in your bulbs, and push the map light housing into place to complete the installation.
 |
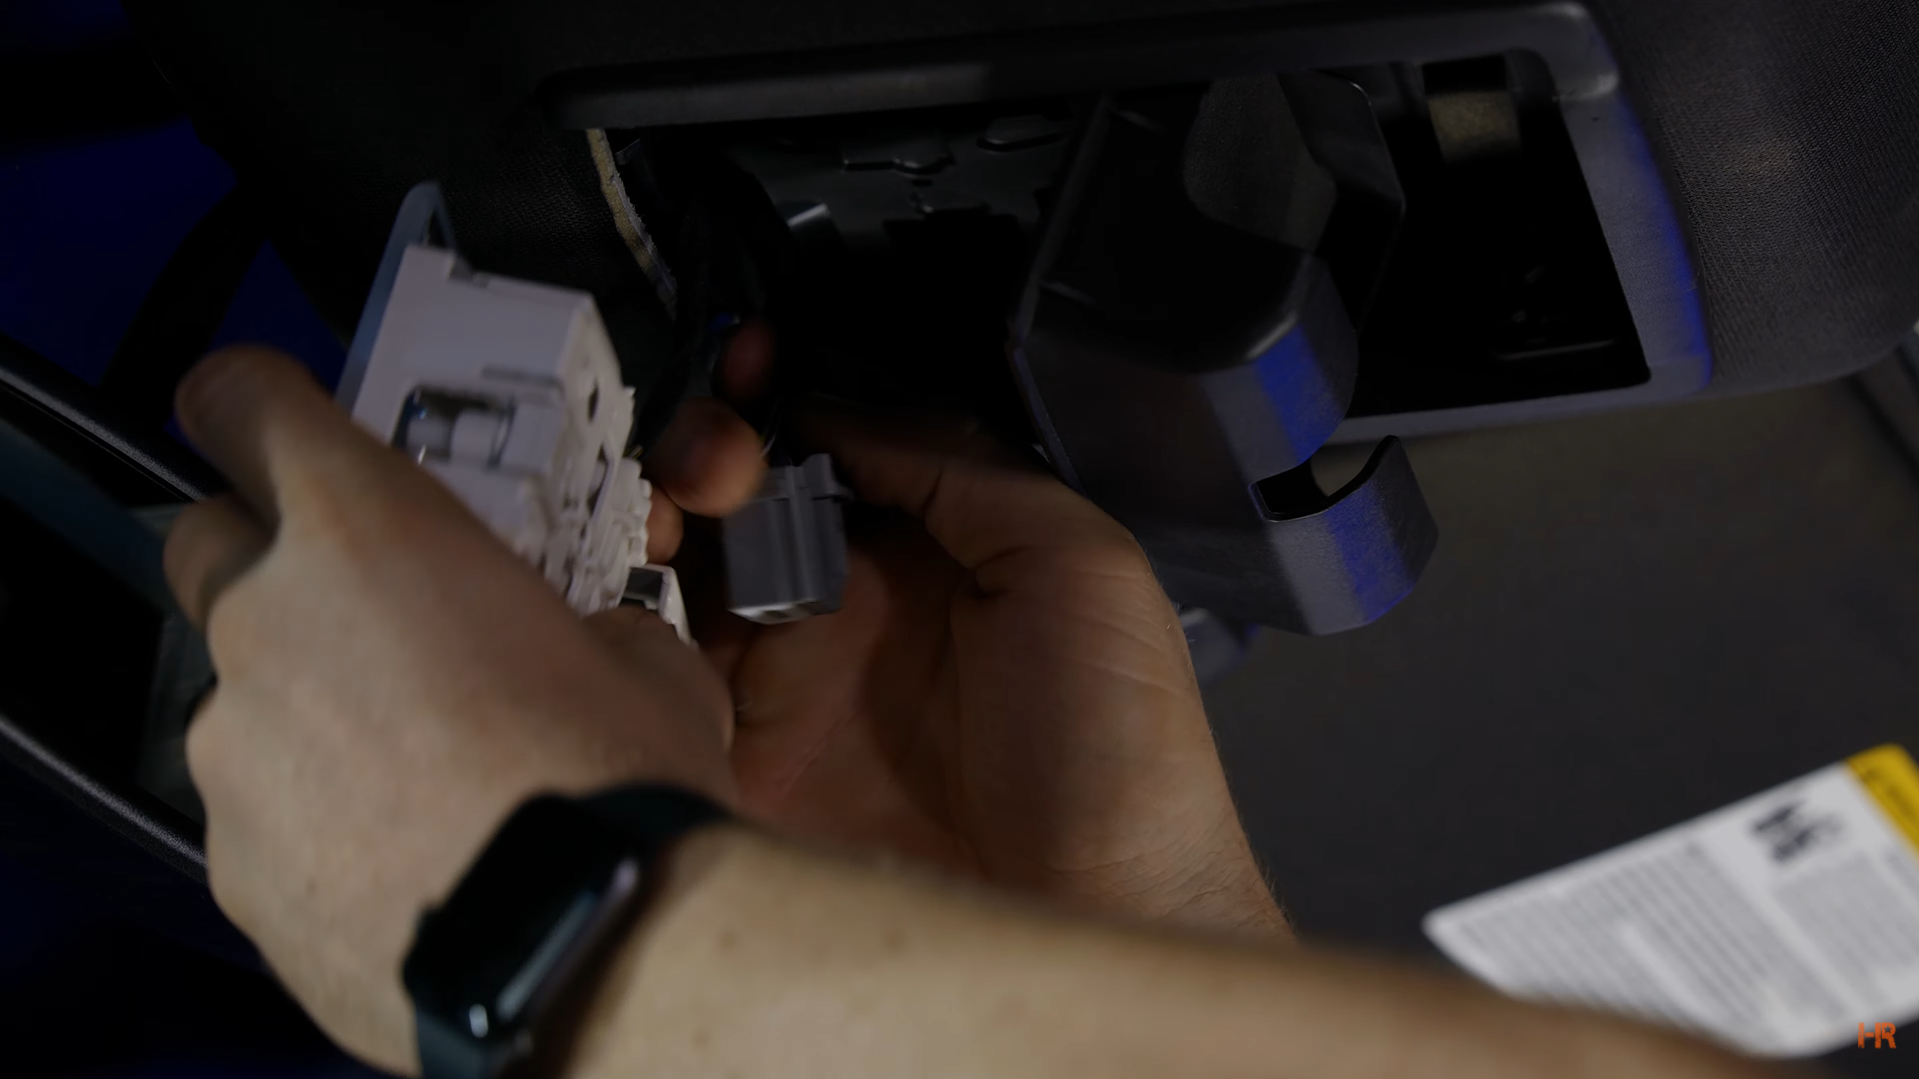 |
For your dome light, you will need to use a 42mm festoon bulb. GTR Lighting makes a really nice festoon bulb in their Armor Series. We really like that it has a heat sink to help prevent the bulb from getting too hot.
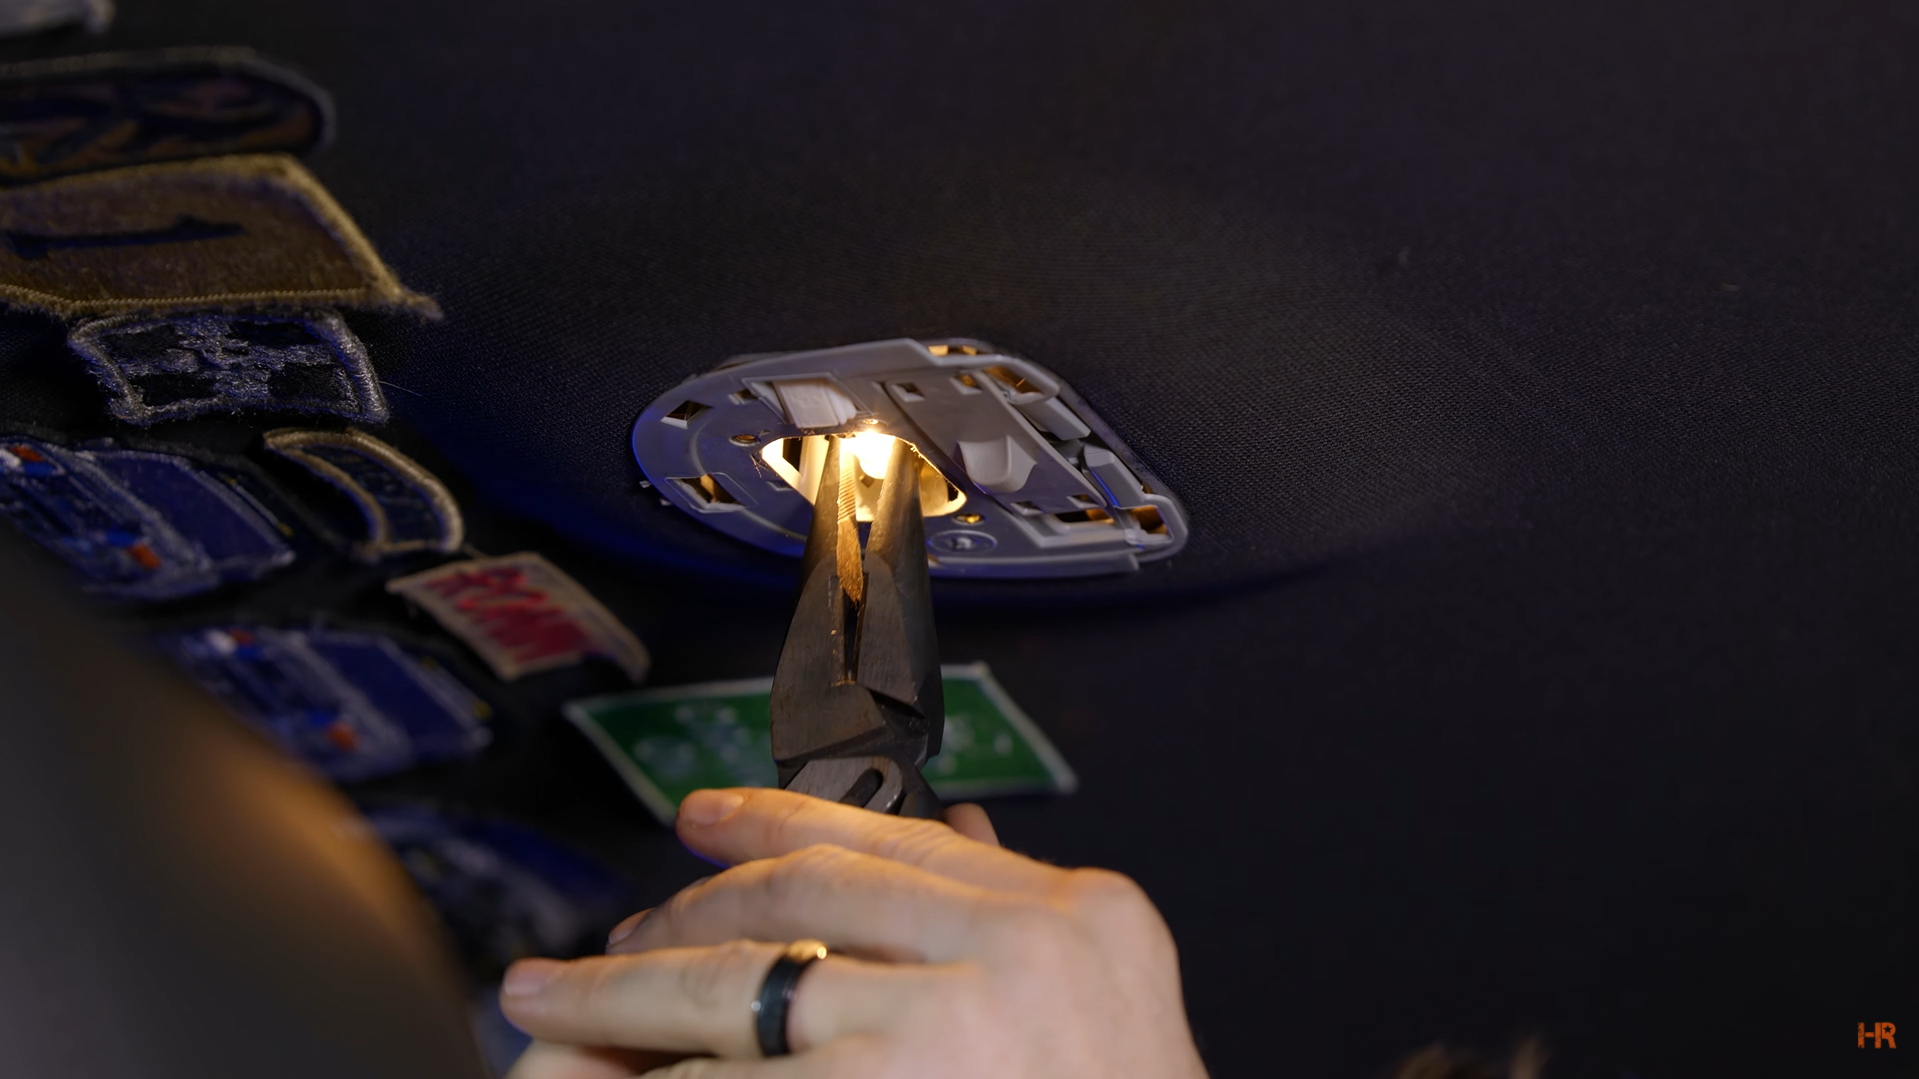
This can be easily replaced with a pry tool and a set of needle-nose pliers. You can then reinstall the dome light lens.
| OEM Bulb | Aftermarket LED Bulb |
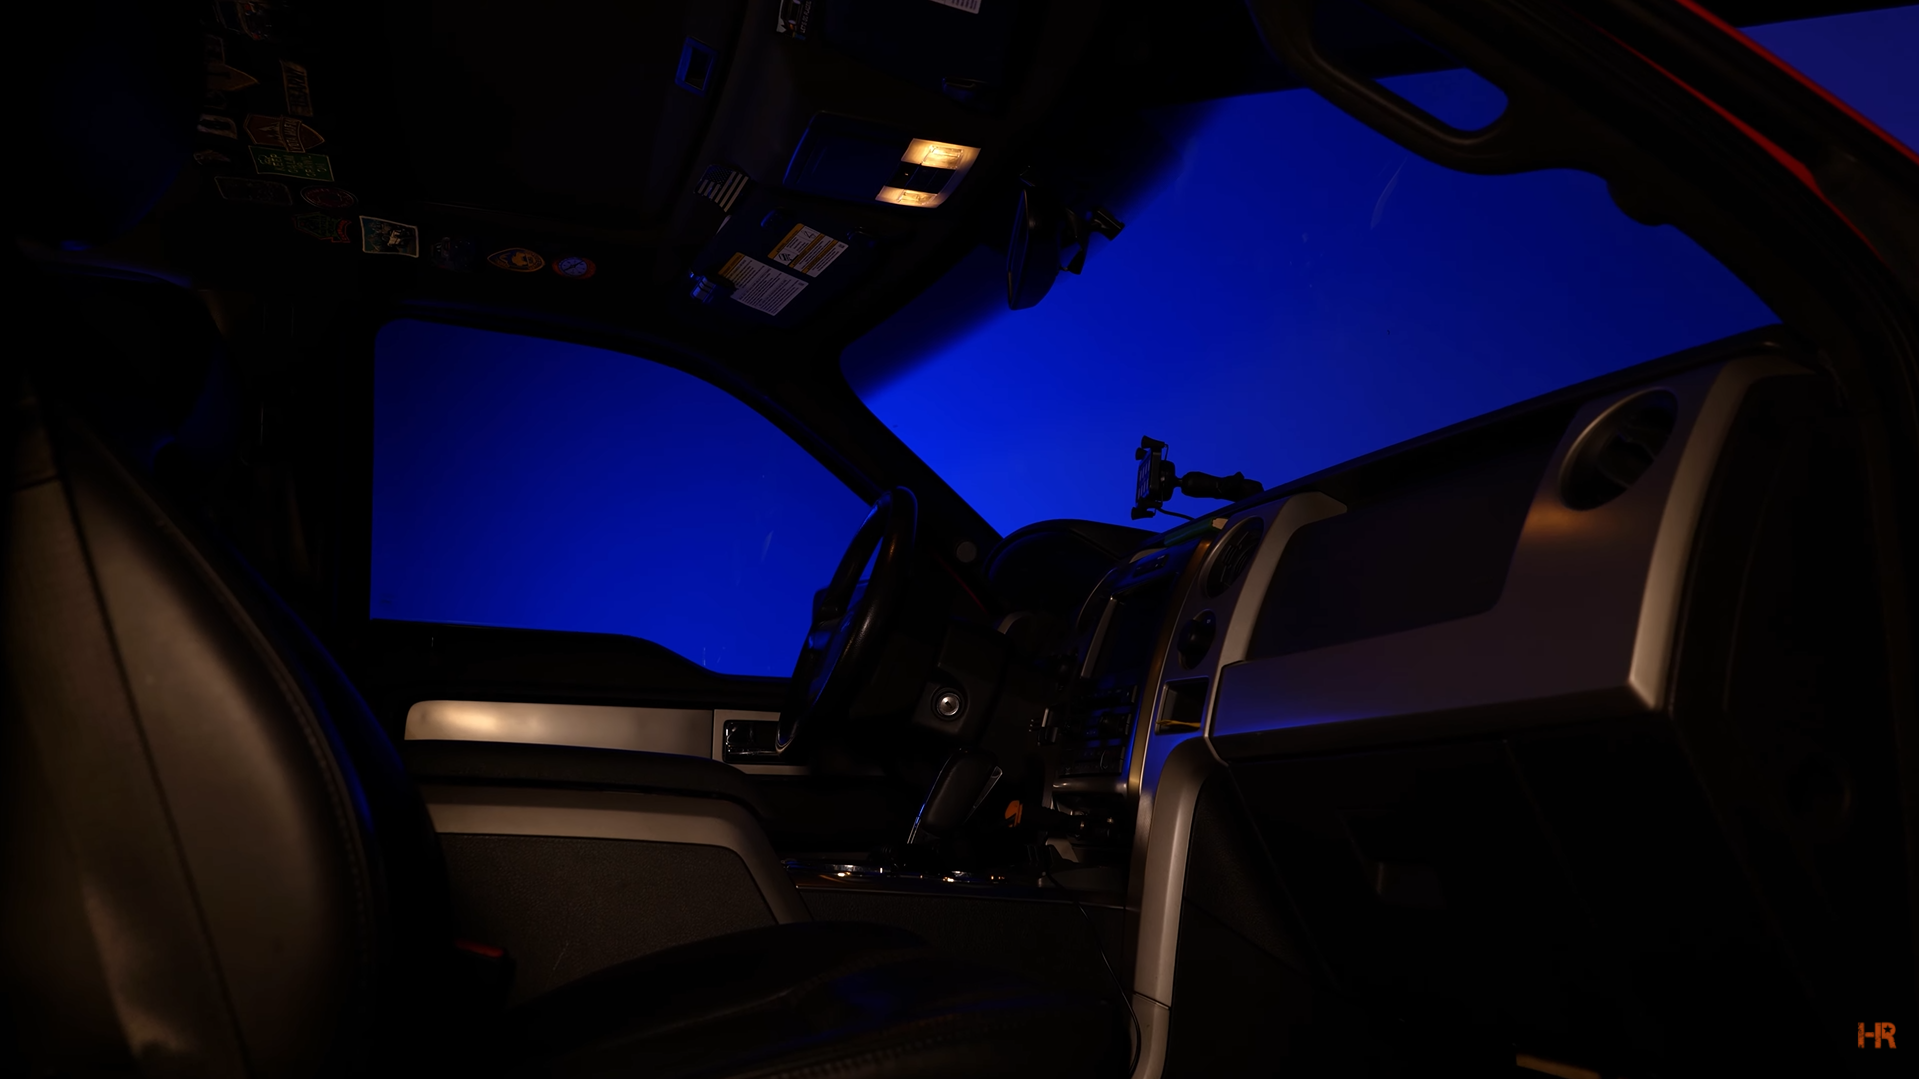 |
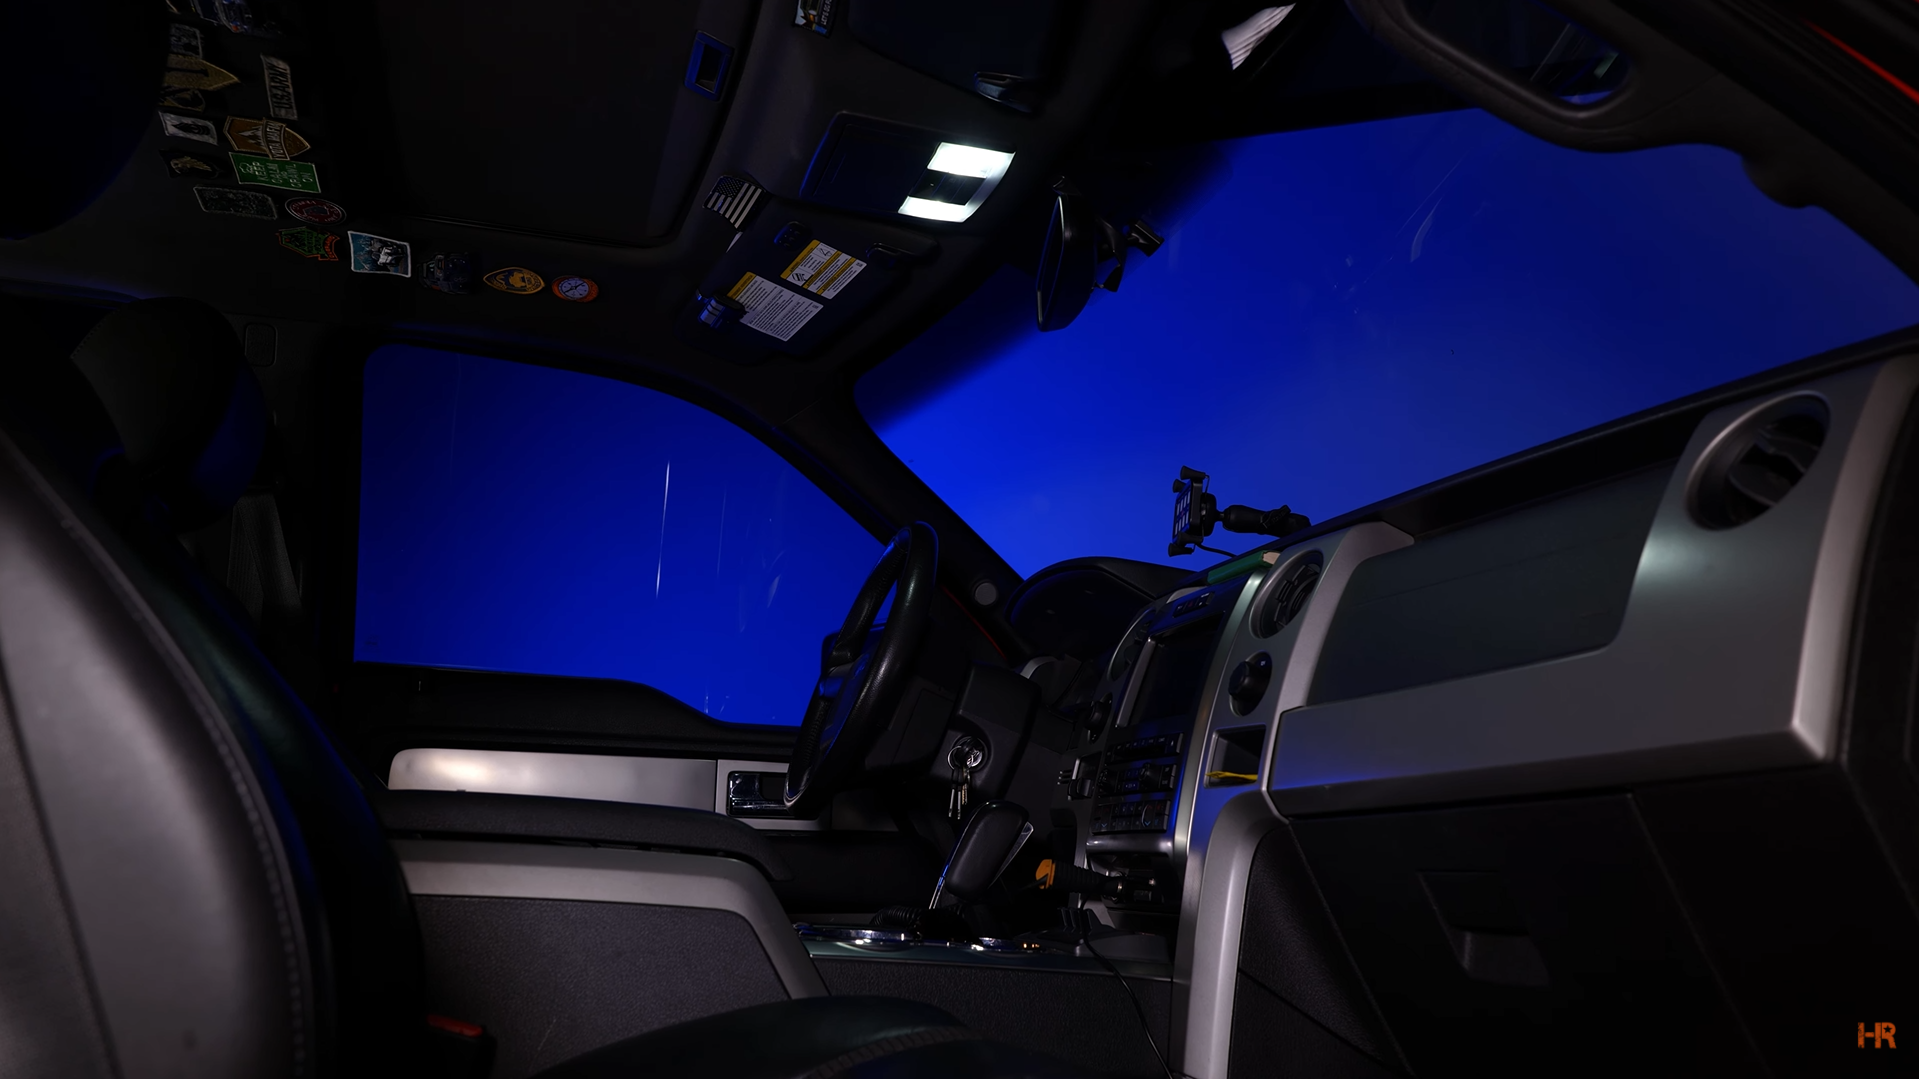 |
 |
 |
CONCLUSION
At Headlight Revolution, we want to make sure you are buying the best possible products you can. We want you to be safe on the road in your F-150 and quality lighting products are a part of that. No need to waste time searching for and using bad bulbs or poor-performing lights, we did the hard part for you!
No need to stop here either, there are rock lights, pod lights, fog lights, and many more application-specific LED lights you can equip to your 2009-2014 Ford F-150. Slide on over to your website over here and see all the products we have available for your truck.
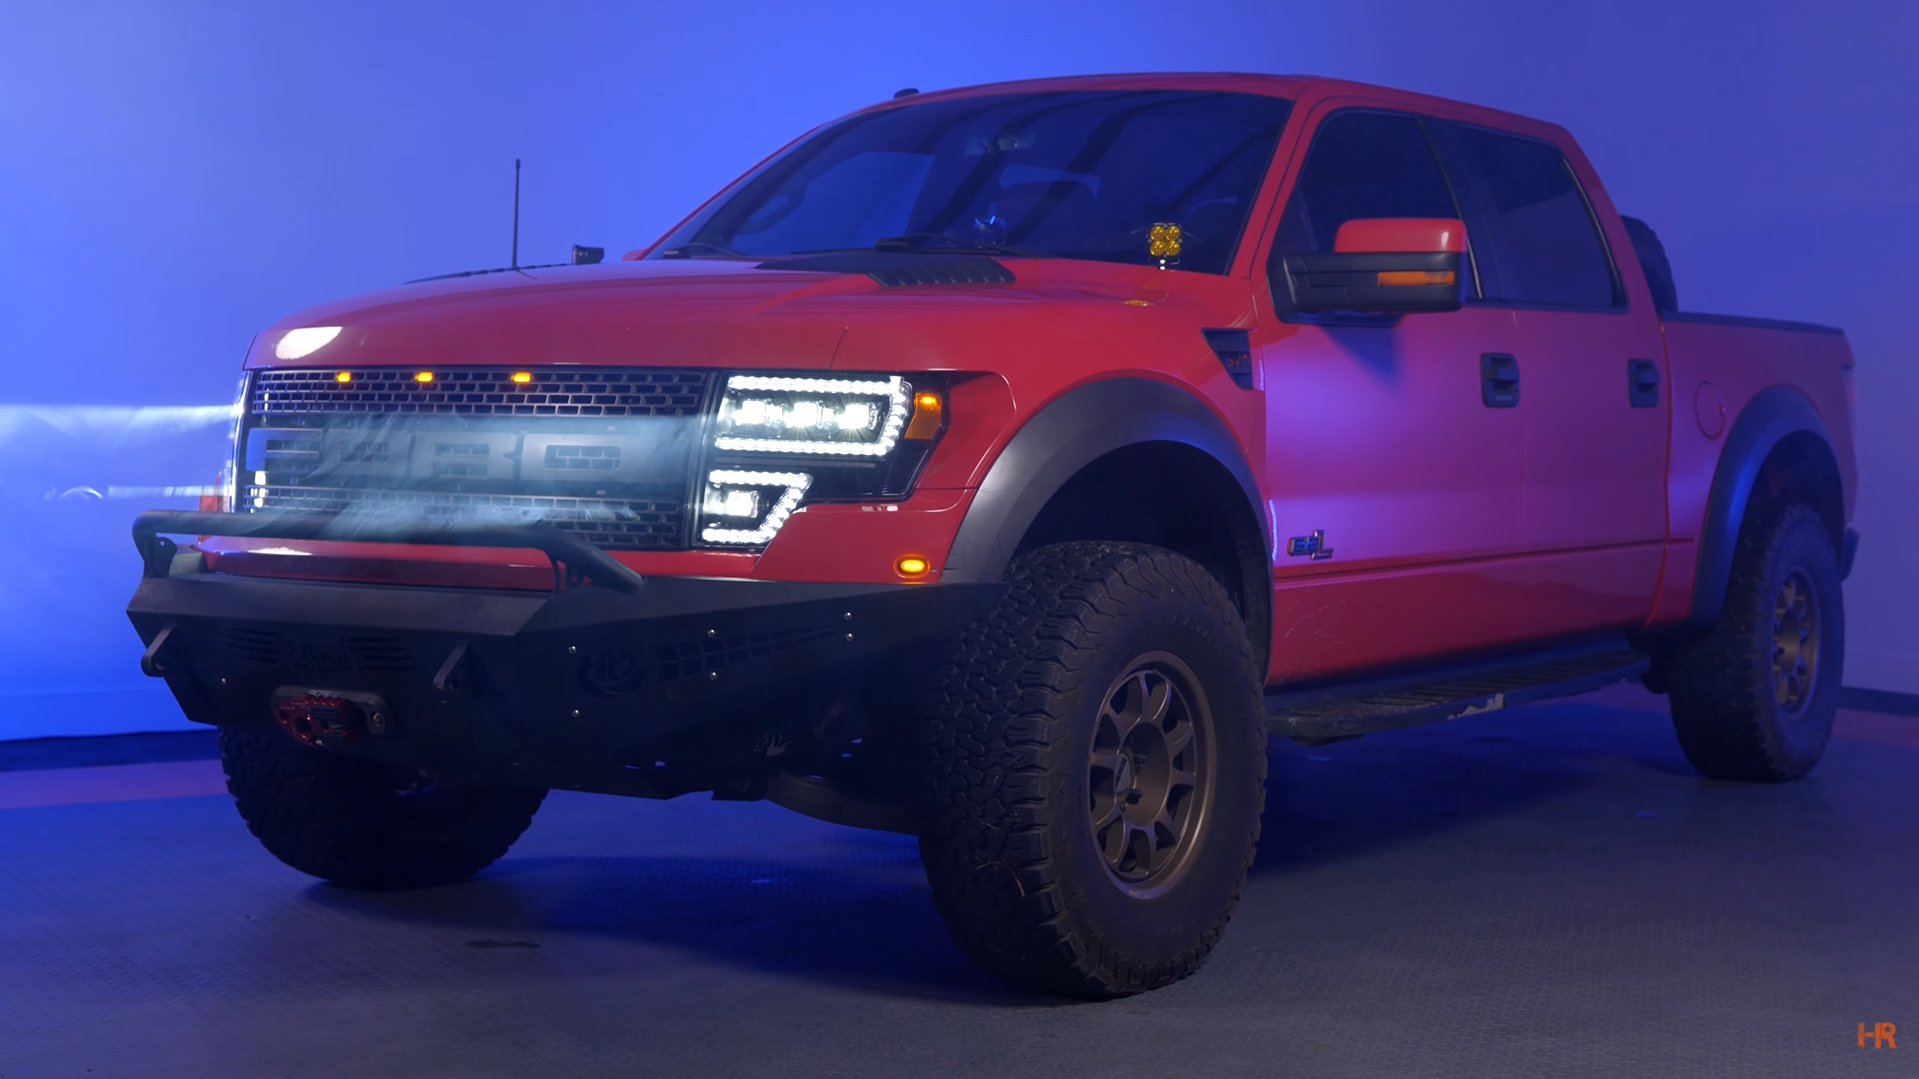
If you are more of a visual learner, be sure to check out our video covering all the mods we discussed and how to install them on your ’09-’14 Ford F-150. While you are there, make sure to like and subscribe to our channel for the latest lighting upgrades for your vehicle.
Have any questions about one of the products we mentioned? Contact us today, and our customer service team would be happy to help.
