How to Install LED Resistors – Everything You Need to Know
So, you are at the point where you are upgrading the turn signals in your vehicle to LED. Through your research, you are reading about resistors or maybe you heard it mentioned in one of our videos, and you are not totally sure about the wiring. Or maybe you have already installed them, and you are having difficulties with them then. Either way, we are here to help.
Today we will look at resistors and how to get them functioning the way they should be. We will look at the installation process, wiring, testing them, and more to ensure they are functioning properly. LED turn signals are a worthwhile upgrade to your vehicle, and it is important to ensure they are working properly. Let’s get into it!
WHAT IS A RESISTOR?
One of the downsides to swapping LED bulbs into your headlights that originally had halogen headlights, is that the onboard electronics are expecting a certain amount of resistance across the bulb itself. Due to the difference in energy and power, the LED will ‘hyper-flash.’
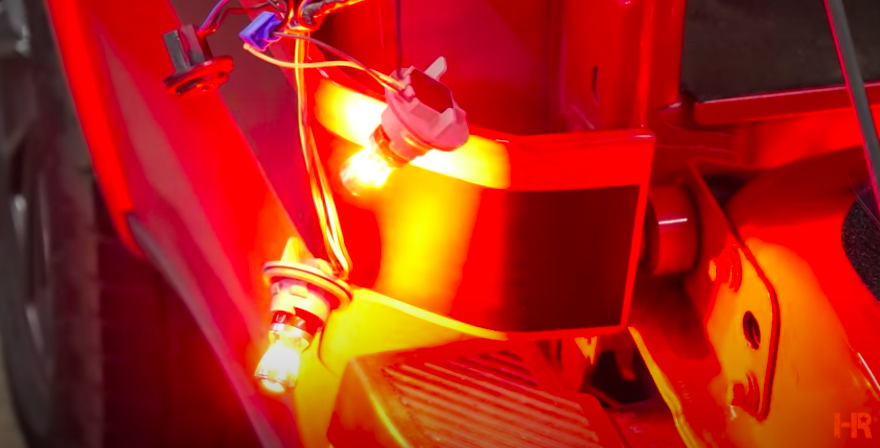
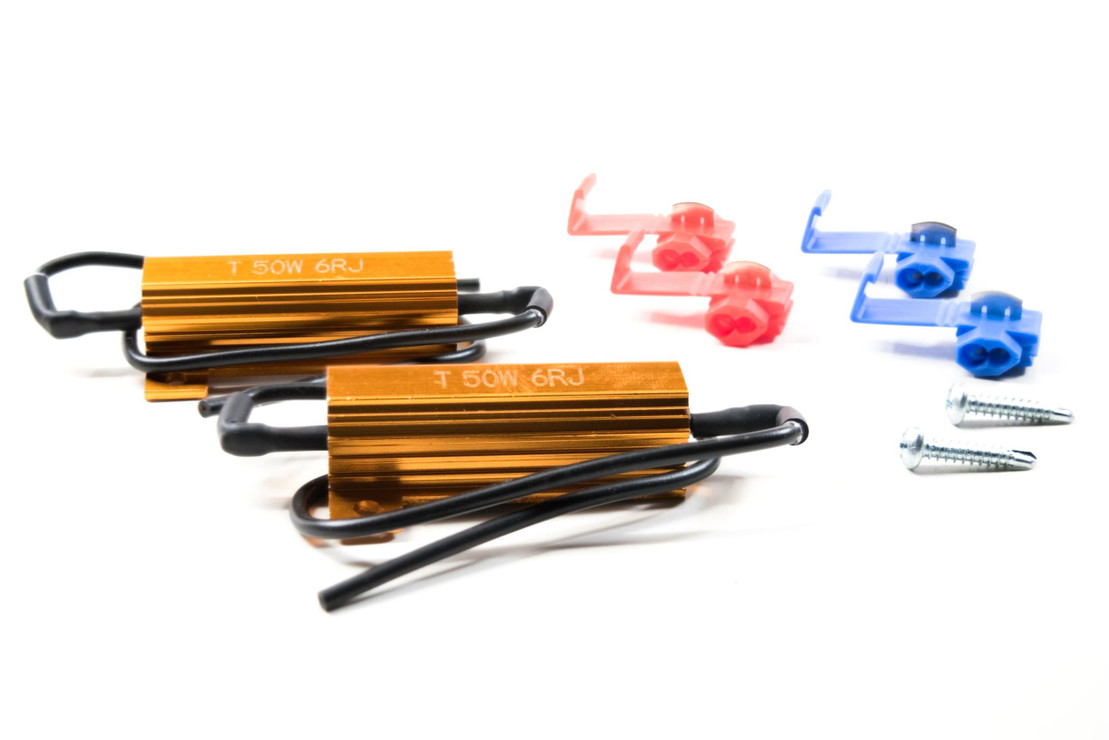
Thankfully, the LED resistor comes in to regulate that energy and prevent hyper-flashing. If you are buying a vehicle-specific kit, it comes with the exact resistor you need, as well as the required mounting components.
The resistor itself has two wires, one for your turn signal and one for the ground. It does not matter which wire goes where just if one goes to the signal and the other to the ground.
Resistor-Free LED Lights
Some LED turn signal bulbs come in resistor-free examples. But what does that mean?
A vehicle that uses a Controller Area Network (CAN Bus), features microcontrollers and electronic devices to communicate with other components in the vehicle without the need for a host computer. Essentially, the CAN Bus allows for your LED headlights to be regulated properly without overheating or triggering any error messages.
CAN Bus systems are found in a variety of vehicles regardless of their brand or origin country. Most modern vehicles are equipped with these systems. Using a Resistor-Free LED signal bulb allows the LED bulb to operate at its optimal brightness without setting off any of the warning lights.
Using one of these Resistor-Free LED bulbs from the Carbide Series, by GTR Lighting, will allow you to skip the use of a resistor in most applications. While it is rare, your vehicle may still need to use a resistor. If you have any questions about the use of this bulb, please reach out to our customer service team.
If you are not using a Carbide Series Bulb, a resistor will be needed. Most LED lights use less electrical power than halogen bulbs, so the vehicle’s CAN Bus system will not recognize that a light is on. Therefore, it will trigger the warning light or give you a hyper-flash. Electrical power does not equate to light output, it refers to energy being used to power the bulb.
HOW TO INSTALL LED RESISTORS
To show you all the ins and outs of LED resistors, we will be using a Ford F-150. However, it does not matter what car you are working on. It all works the same.
In order to get started on the resistors, you will need to remove your taillight from your vehicle. You will need to do this in order to access your bulbs. Once you have done so, unhook the bulbs from the taillight housing. You can set your taillight down on a safe surface nearby.
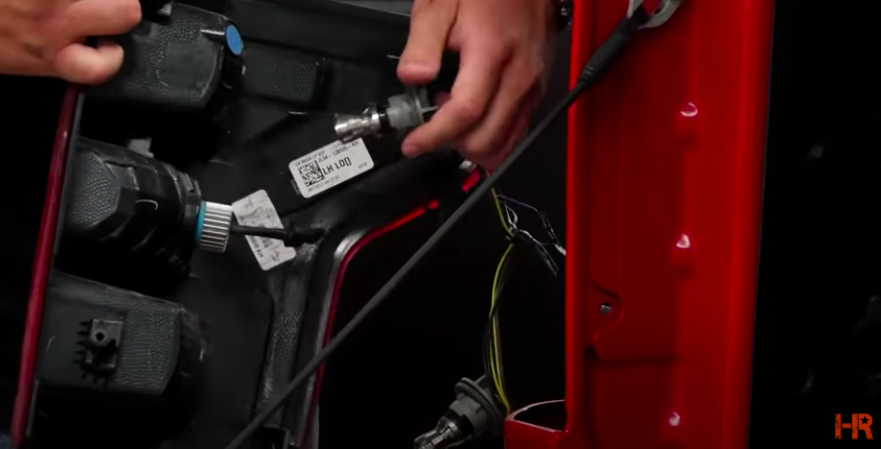
Test the Turn Signal
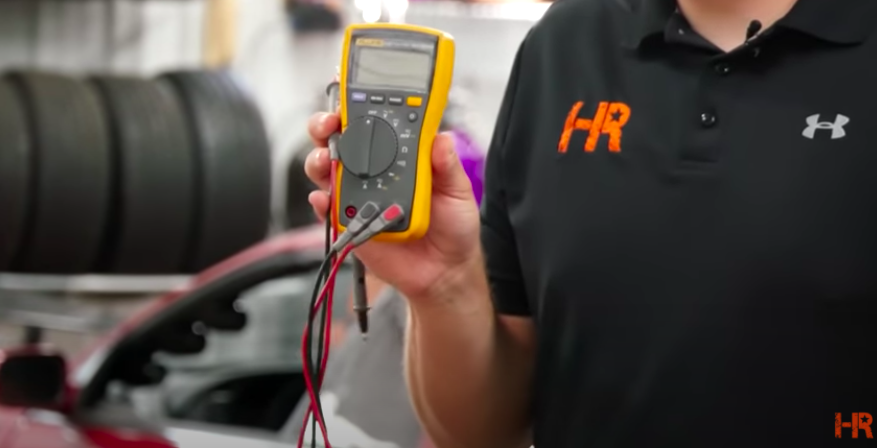
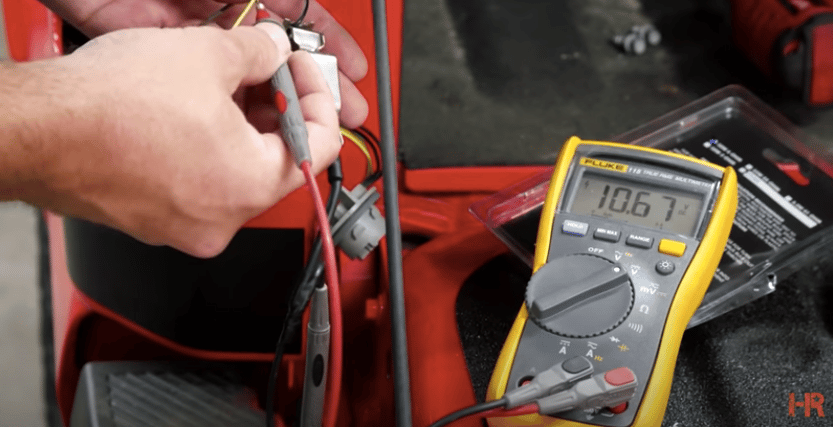
Before we start connecting the wires with the bulb, it is important to test the lights beforehand. To do so, you can pick up any multimeter from your local parts store or a test light.
 |
 |
Turn on your turn signal and strip a small section of the wires connecting to the bulb. If you are using the multimeter, set to ‘volts DC,’ place the ground pole to the first wire and the positive probe to the second wire.
If the multimeter is circulating around a single number, this would be your parking light. If the multimeter shows a blinking number, you have your blinker light.
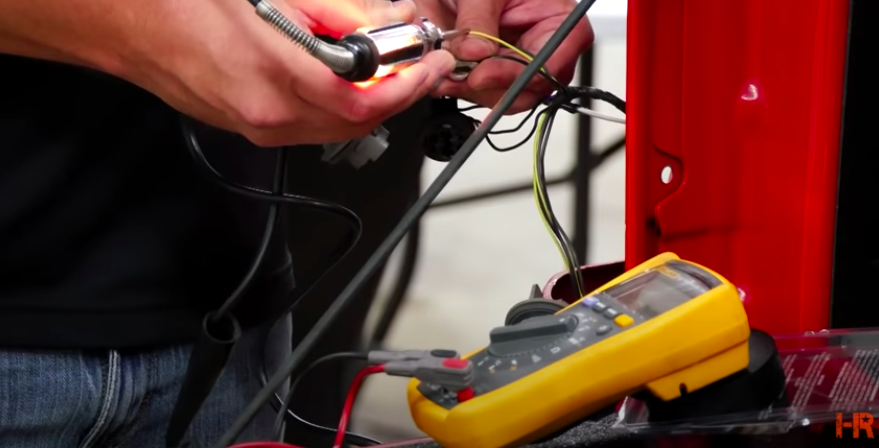
If you are using a test light, put the ground clip to the ground wire, and then put the probe to the second wire. If the test light is solid, you have your parking light. If the test light is flashing, you have your blinker.
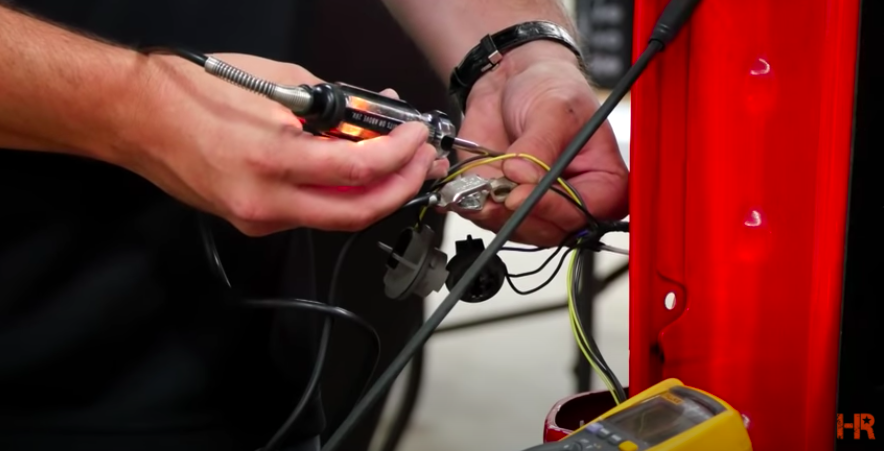
Connecting Resistors to the Wires
If you have a soldering wire at home, we strongly recommend soldering the wires as it provides the best connection. Others use heat shrink to connect the wires. We prefer soldering because with heat shrink you must cut the original wires to get the heat shrink on it.
Resistor kits, like ours from GTR Lighting, come with a T-tip and are super handy. Soldering is arguably the best connector for joining wires, but the T-tip does the job alright.
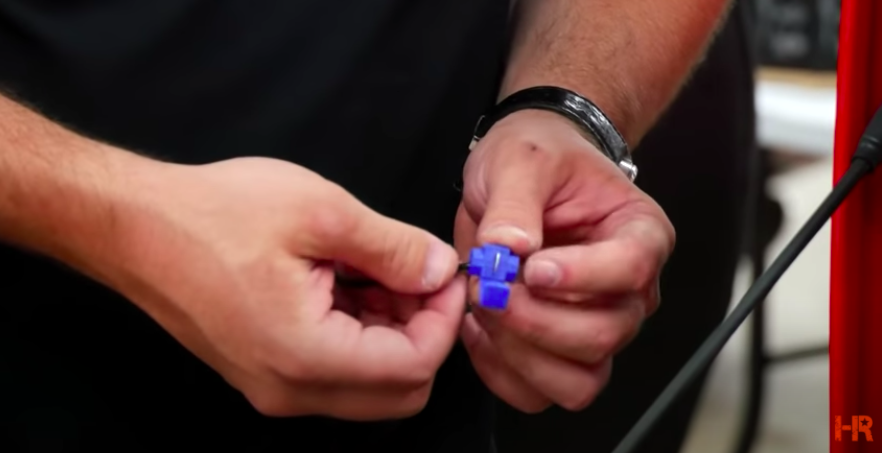
If using the T-tip, insert the resistor wire into the hole closets to the bracket that snaps over. Take the other turn signal wire into the little groove designed for the wire on the other side. Use pliers to pinch the T-tip bracket closed. You will hear a click when it is fully closed.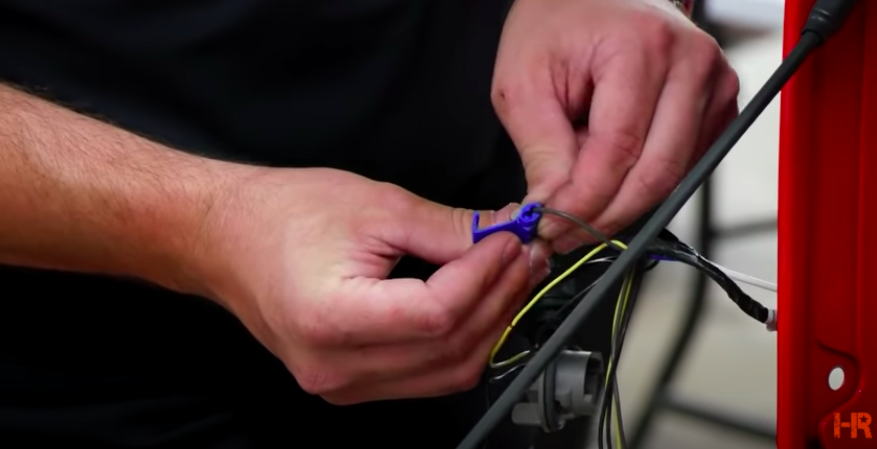
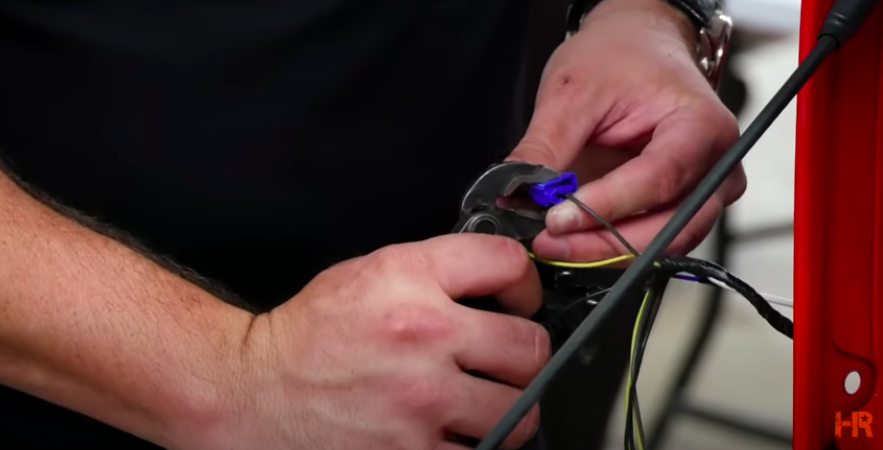
If you are wanting to solder it, strip the resistor wire back a little and attach it to the ground. Then take your solder and solder the two wires together. Top it off by wrapping some electrical tape.
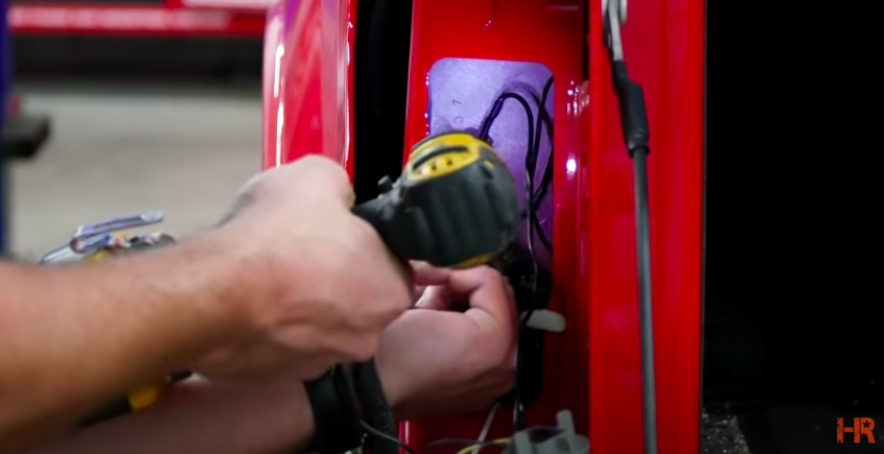
You will notice when testing the light that the resistors can get a little hot. It won’t burn down your truck, but you do need to be careful of where you place them. Ensure that it is not touching any wiring when inside the housing. You can take a small screw and drill it into a body panel inside the car.
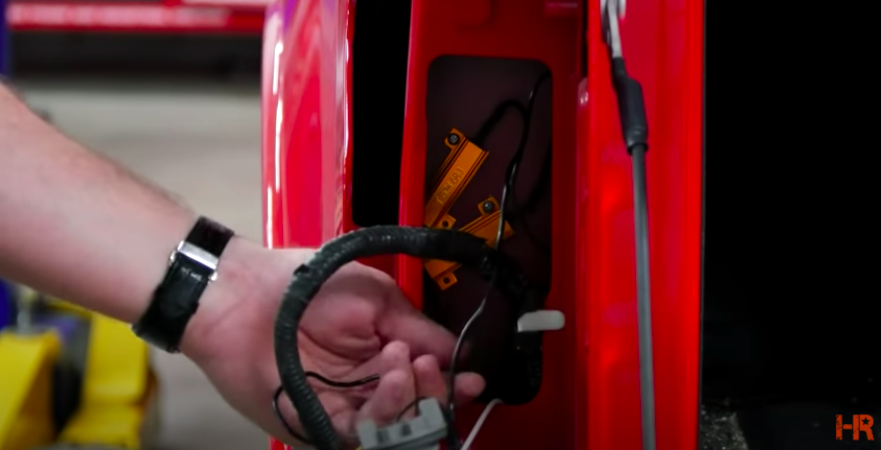
REINSTALLATION
Of all the resistors I have owned, and we have tested here at Headlight Revolution, not one has gone bad. So, if you still have hyper blinking issues, be sure to double-check your wiring before reinstalling the taillight housing.
A common mistake people make is connecting the turn signal wire and the parking light wire, or the parking light wire and the ground. The turn signal and ground wires are the ones that should be connected.
Once you have ensured everything works and is tested, go ahead and reinstall your headlights.
If you are more of a visual learner, be sure to check out the video installation below. While you are there, make sure to like and subscribe to our channel for the latest lighting upgrades for your vehicle.
Have any questions about one of the products we mentioned? Contact us today, and our customer service team would be happy to help.