How to Install LED Interior Lighting in your Vehicle
Existing interior lighting for most new models is often dingy and not very bright. Other times the color is unattractive and stale. The interior of your car should be a pleasant place to be and one that you can see when getting into your car at night. We have a solution for you in the form of LED interior lighting.
Today we will look at the different options you have for installing LED lights into the interior of your car. We will talk about why you should do the upgrade, the best styles, different bulb types, and which bulbs you do not want to use. Lastly, we will show you how to install them on your vehicle.
WHY MAKE THE SWITCH?
Interior lights, while not detrimental to how your vehicle functions, are an important aspect of your car. It dictates the feel, look, and mood of the environment inside your car. Having quality interior lighting is not only important for helping you see the interior of your car, but also for making it a more pleasant place to sit and drive in.
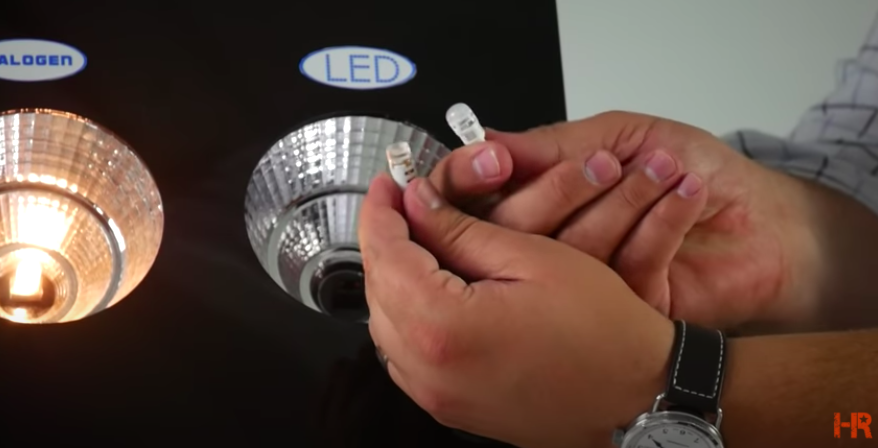
The existing bulbs are dingy and do not put out a lot of light. Making the switch to LED bulbs allows the owner to choose from a wealth of colors and brightness levels.
In older cars, the stock halogen bulbs can become hot and cause wear and tear on the light housings. This is the cause of cracks in the housing. LED bulbs will not have that effect on your interior lighting components.
CHOOSING A BULB
T10 Bulb
Before getting into the choices, we want to point out that some bulbs are just too big and too bright to be used as interior lighting. For example, these Ultra Series bulbs from GTR Lighting would technically fit into T10 bulb sockets. However, they might be too bright for most people’s comfort.

Phillips and OSRAM make these frosted lens 360° LED bulbs, but they are not very bright. The quality and color temperature are great, but these aspects of the bulbs are hindered by their lack of brightness.
There are viable options in the Carbide Series by GTR Lighting as well. Since these lights are so bright, we recommend they be used for cargo lighting in your trunk or trunk lid. Use in the front or rear passenger compartment may be too bright for most people’s comfort.
A good middle ground between all these would be the T10 Crystal Lens from GTR Lighting. It is a good mix of a cool white, LED color, brightness, and spread.
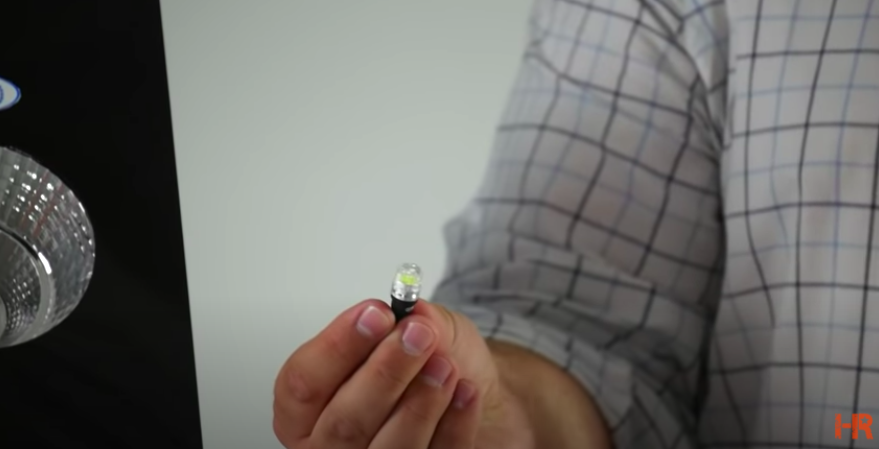
The most common bulb type you will see for sale is a T10, also known as a T15, 194, or 168. Beyond that, you will only have to worry about the direction, brightness, and color of the bulb. If it is labeled as T10, T15, 194, or 168, you can be assured it will fit your interior lighting application.
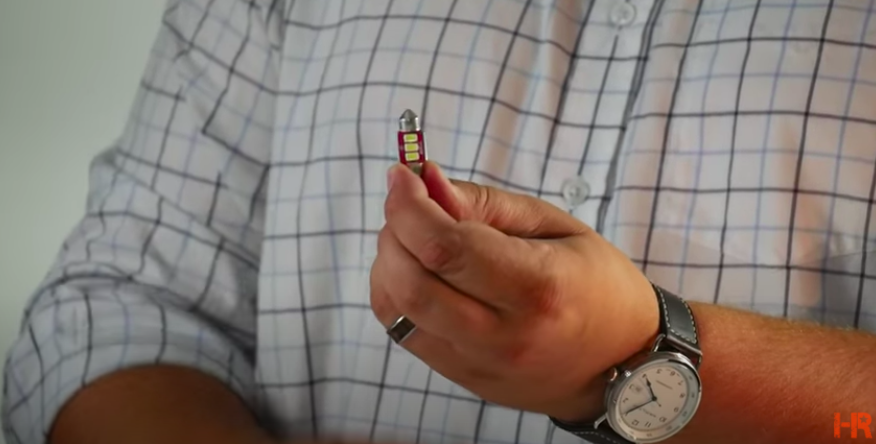
Festoon Bulb
This is a glass tube with a wire wound inside to create light. On the exterior, it is held together by two metal clamps. These bulbs fit inside these clamps where it sends a current through the metal to turn the light on.

A downside of these bulbs is that they are easy to break. However, they do put out a good amount of light for an interior lighting application.
One option we have is the Ultra Series Festoon from GTR Lighting. Small, bright, and are not as prone to overheating, these CAN Bus LED Festoon lights are insanely bright. And like the T10 bulbs, they come in more colors than just the standard white.
Now, you cannot just use a festoon or T10 bulb whenever you want. Choosing between the two comes down to what your vehicle takes. The good thing, you have quality lighting options for either bulb type.
Some festoon bulbs come in a “chip-on-board” style and are not as reliable as modern SMD LEDs. It is good that these have heat sinks on the back as they will be plenty bright and require heat dissipation.
Festoons will sometimes feature a little look that will be clipped into the housing hook. If you are using a traditional LED festoon, there is nowhere for the hook to attach. In this case, you will need a rigid loop festoon that has loops on the ends to allow for the light to work.
Festoon fitment can be a little confusing sometimes. A 36mm, 31mm, and 42mm are the three standard sizes. When it comes to using them, you have some wiggle room. A 31mm LED may fit a 30 to 33mm fitment. A 42mm may fit a 41 to 44mm application.
Other Bulb Types
Other options lead us into some more obscure bulbs. Bulbs like the H6 or the BA9S, also known as the mini bayonet bulb. It has a single point on the bottom and two tabs on the side. The bulb is held into the socket by a spring mechanism.
There are LED bulb options on the market that are meant to replace this type of bulb that have the same bayonet spring base.
Another bulb example are T5 bulbs. T5 bulbs resemble a T10 but are much smaller in their base.
However, just like the other bulb types we discussed, you need to know the application for each bulb and what direction, size, and brightness will apply to those applications.
Direction and Fitment
When choosing a bulb, you need to make sure the bulb emits light downward while having a horizontal orientation. LED lights are directional, so this is an important aspect when making the switch. One option is a multi-sided SMD bulb, GTR Lighting produces their 5 LED T10 in this fashion.
Not all T10 bulbs are produced the same way. While they may still hook up with your interior lights, they will not always fit inside the housing.
INSTALLATION
Tools
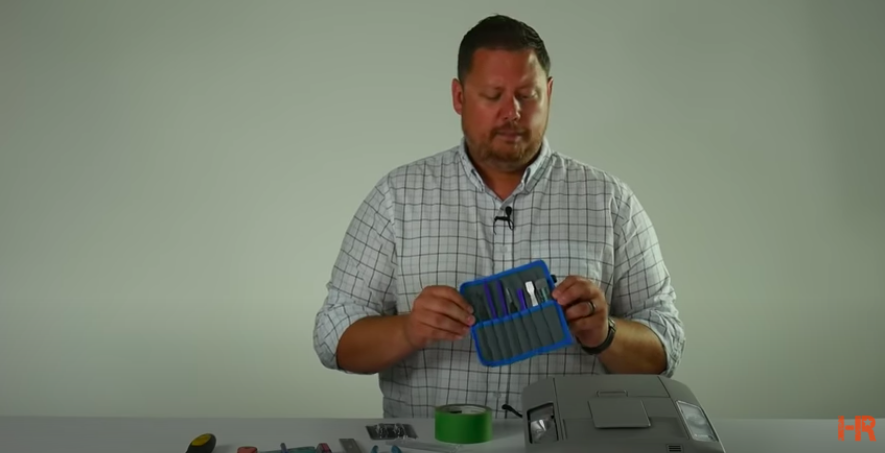
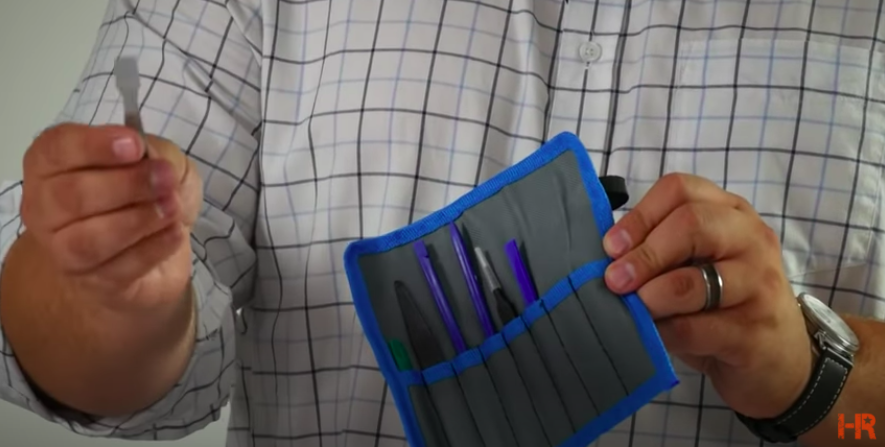
In order to replace the interior lighting bulbs, you will need to get into the housing. Many people have some form of a heavy-duty pry bar or paint scraper, both of which are not safe options. They are either too aggressive or too flimsy for what you need. Pick toolsets can come in handy but are prone to leaving divots in the plastic.
 |
 |
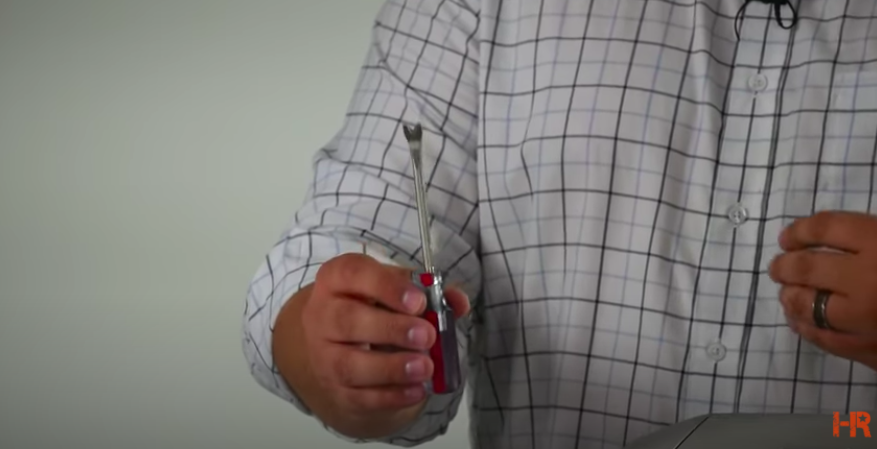
The best option is to get a pry tool that is specifically made for the job. Our personal favorite is the “Ultimate Pry Tool” from 12-Volt Tools. It is the perfect blend of thin metal, stiff construction, and width to avoid divots.
You can also use a trim tool kit that will allow you to work on a variety of vehicles. Each tool is made with different shapes, sizes, materials, and curves to fit almost any application.
How to Install Your Bulb
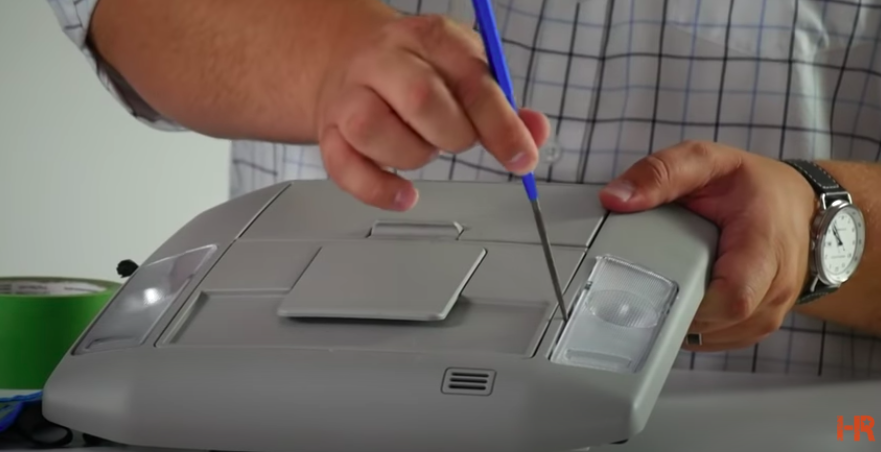
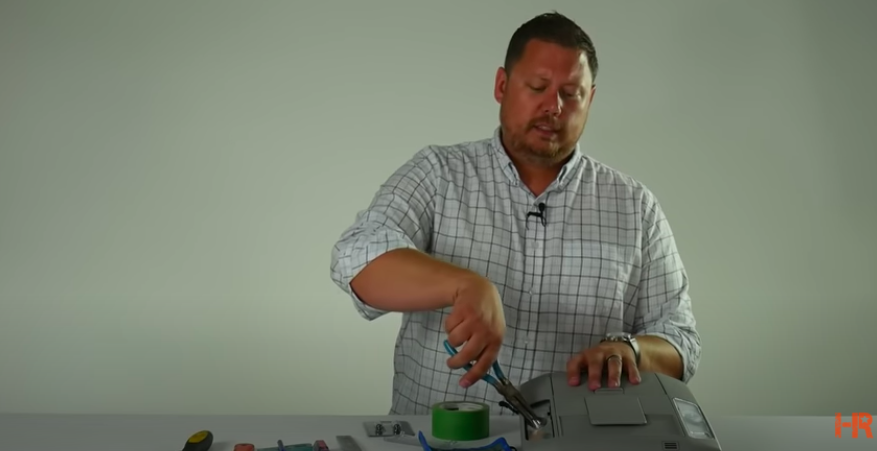
First, slide the pry tool under the lens cap, and remove the lens. Please do this gently in order to avoid breaking the lens or the bulb.
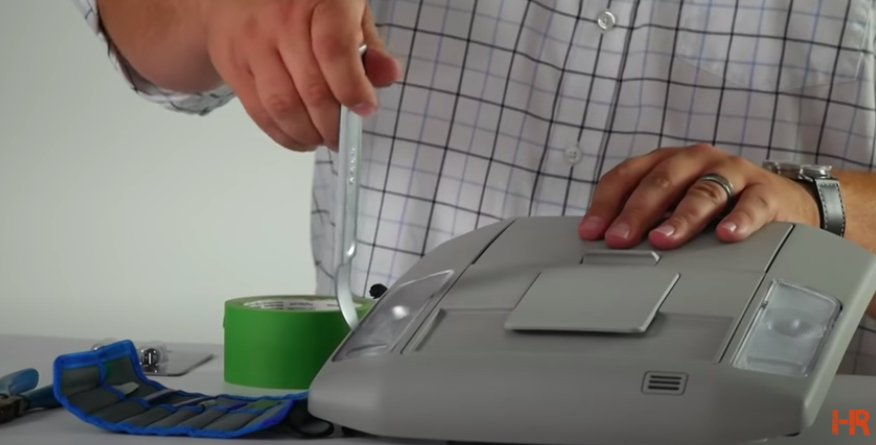
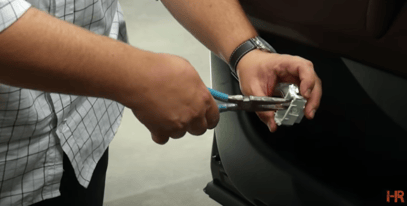
Once the lens is removed, take a pair of plyers to remove the bulb. Often the bulb cannot be grabbed with your hands due to its size or the heat that is put out. Using needle-nose plyers, especially ones that can grip glass, will make removing the bulb much easier.
If you are working around glass, like on a vanity light, using a plastic pry tool, like the one from our kit, will help prevent scratches on the glass.
As we mentioned before, if you pry the lenses away gently and test a few different pry options before committing to removing the lens, you can ensure minimal damage is done to the housing or the surrounding parts of the car.
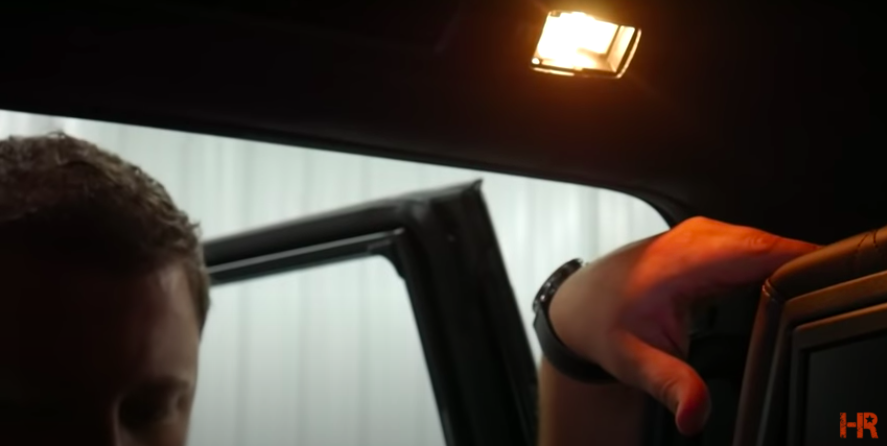
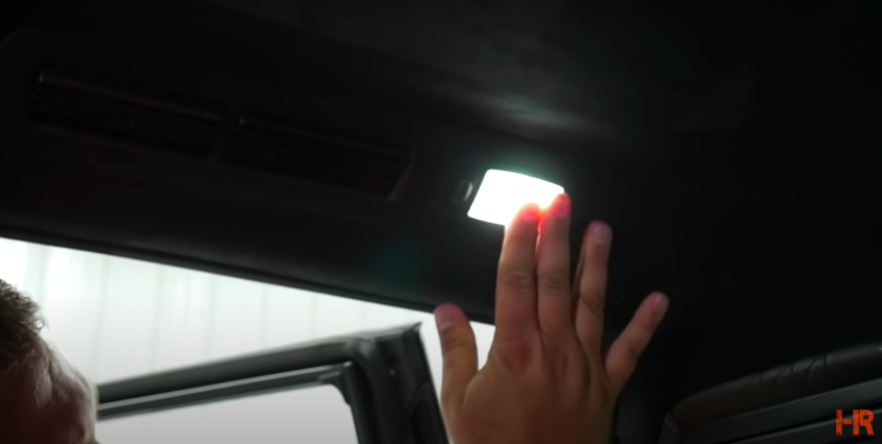
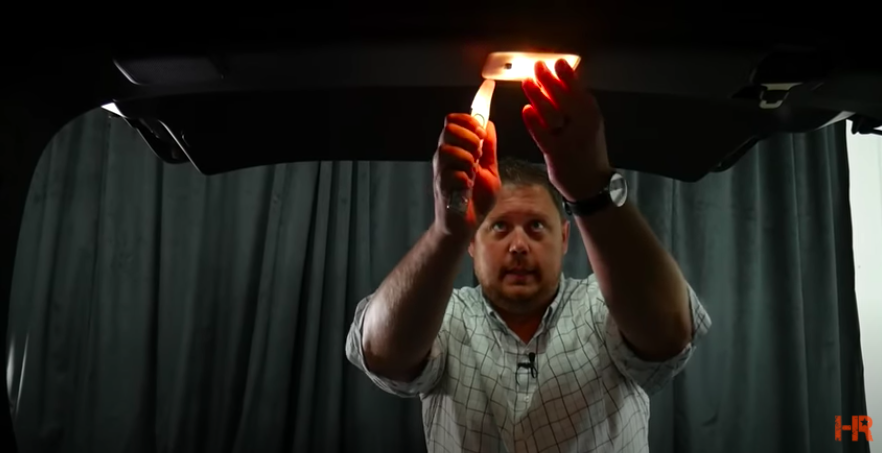
For super flush lights, like ones that surround the outer edge of the ceiling of your car, you can replace the bulb in one of two ways. The first is to remove the headliner and get access to the bulb or try the pry tool. Test out different pry tools to find the best fit for the scenario.

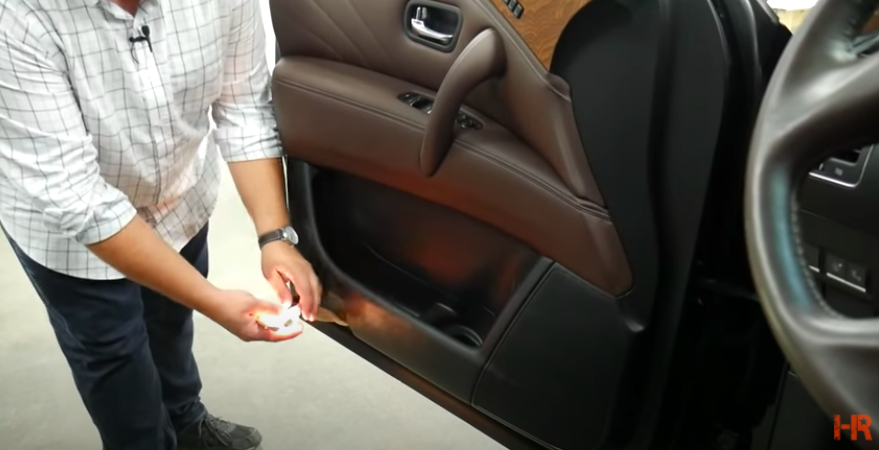
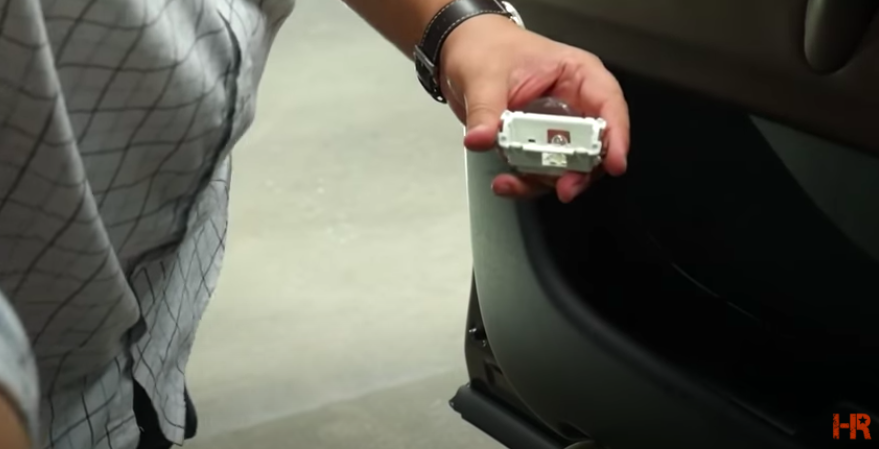
Door lights are commonly just entirely whole assemblies that can be removed. This makes it a lot easier to replace the bulb. The tabs for the lens should be clearly visible and you can take the proper pry tool to pop the lens off.
 |
 |
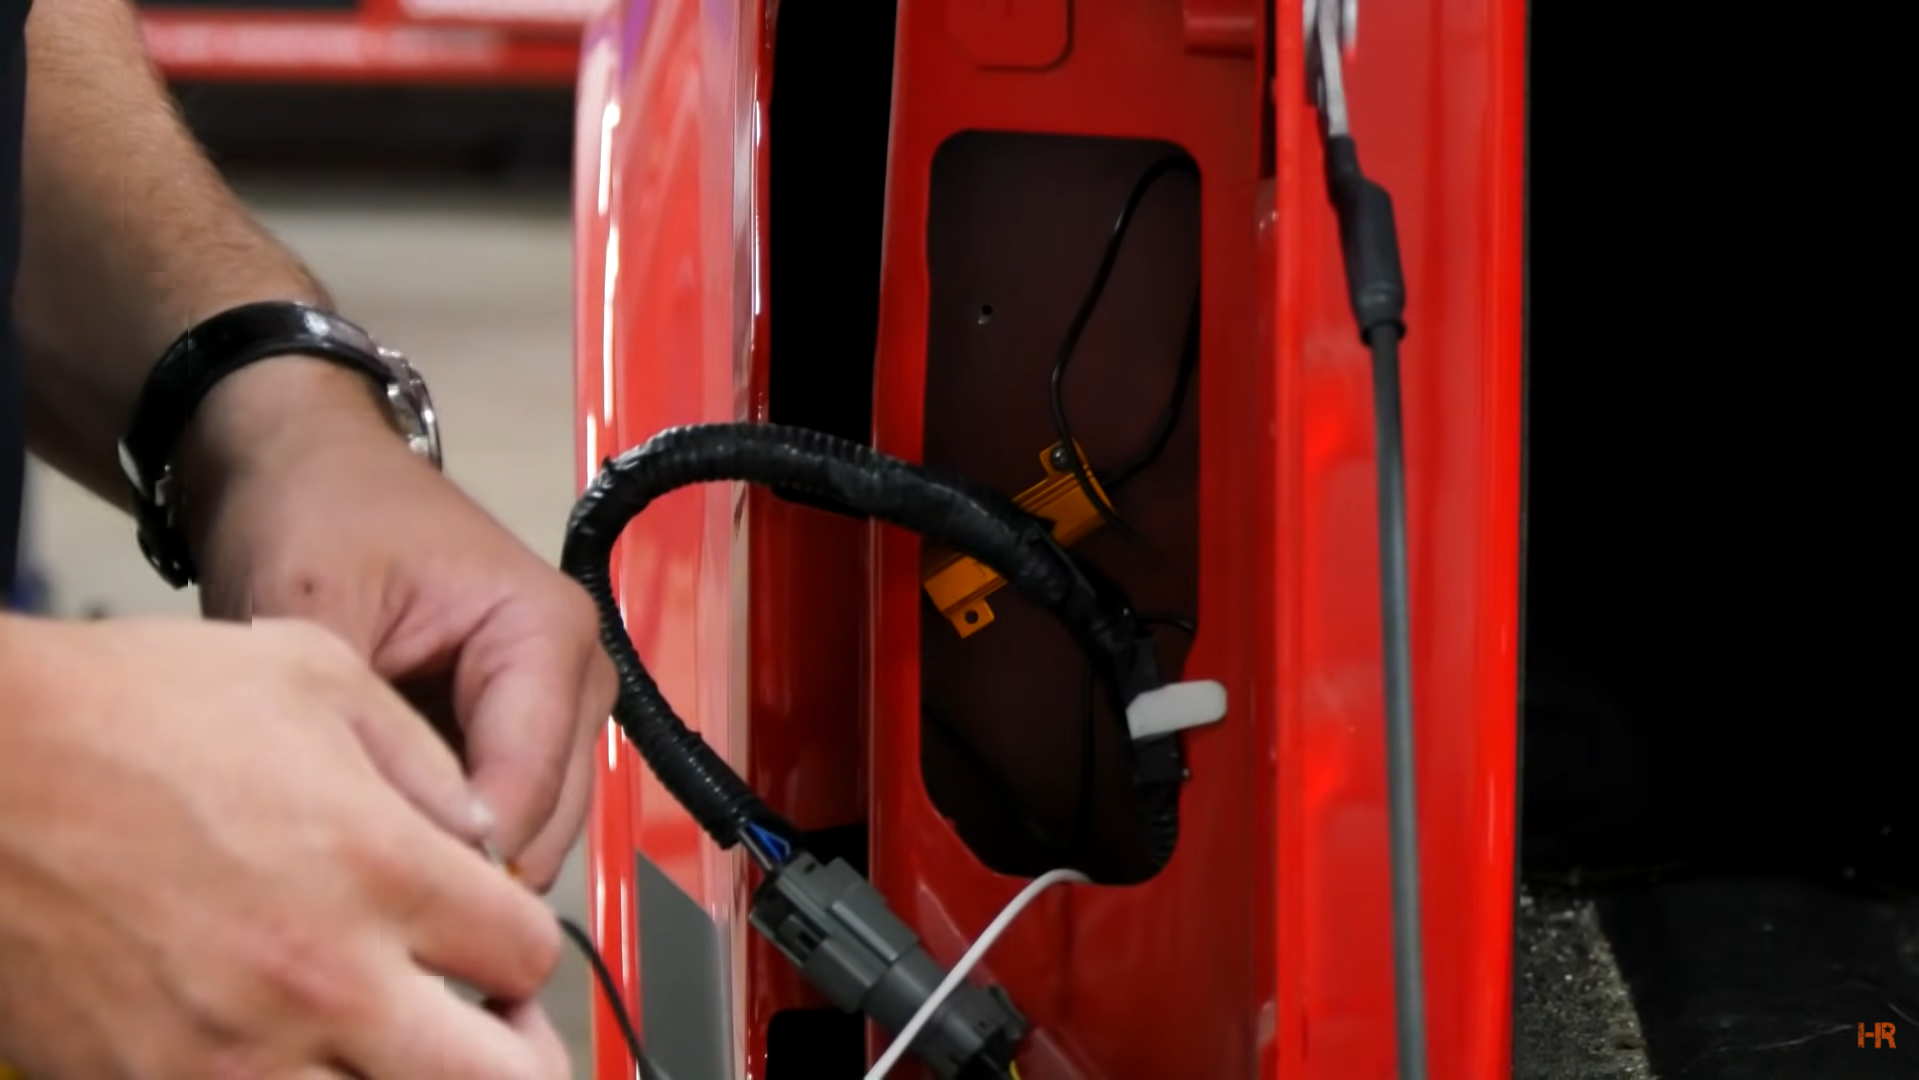
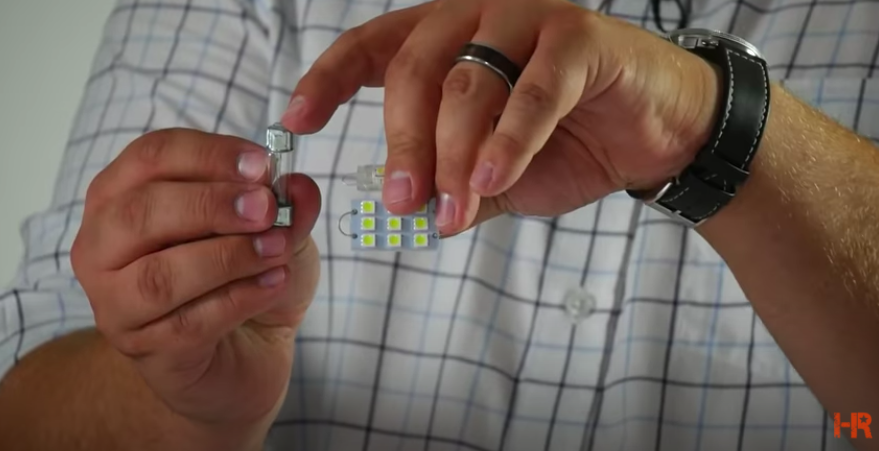
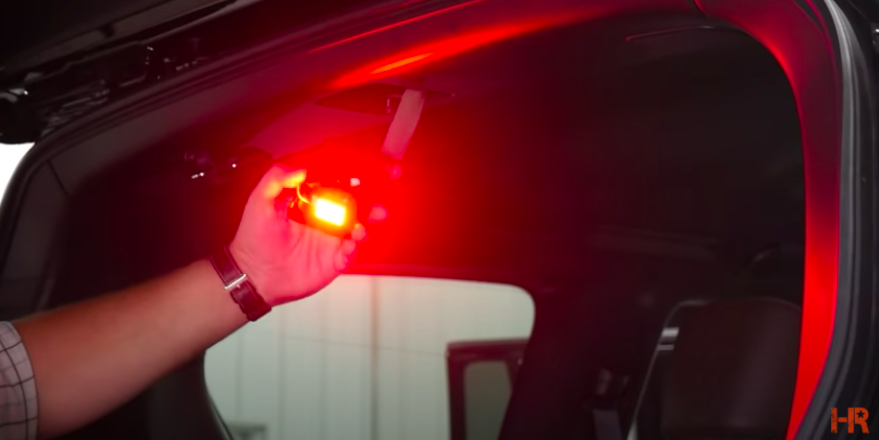
The trunk lid light, it acts like the door lights where the whole assembly can come out. In our vehicle, it utilizes one of those festoon bulbs we discussed earlier. If yours does, make sure that you do not allow the heat sink to touch the metal assembly. This can cause the circuit to short and burn the fuse if these components touch one another.
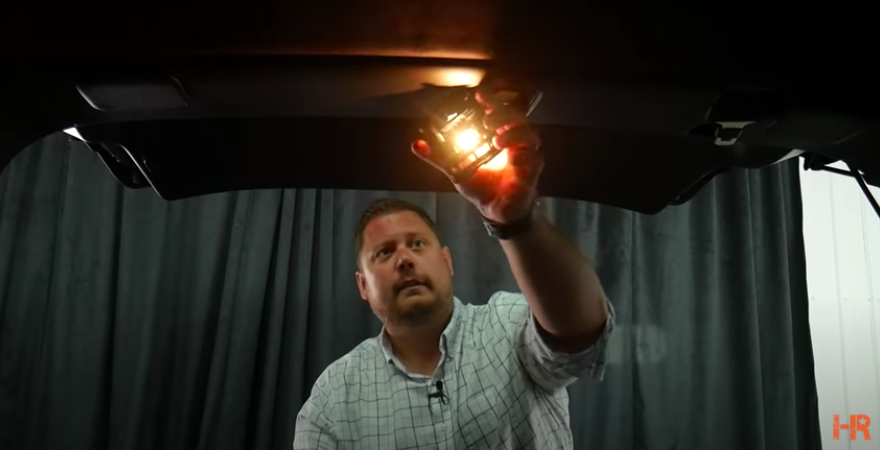

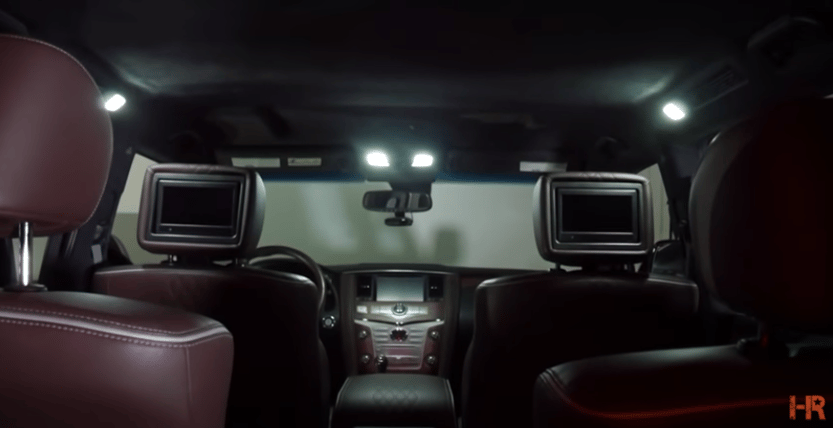
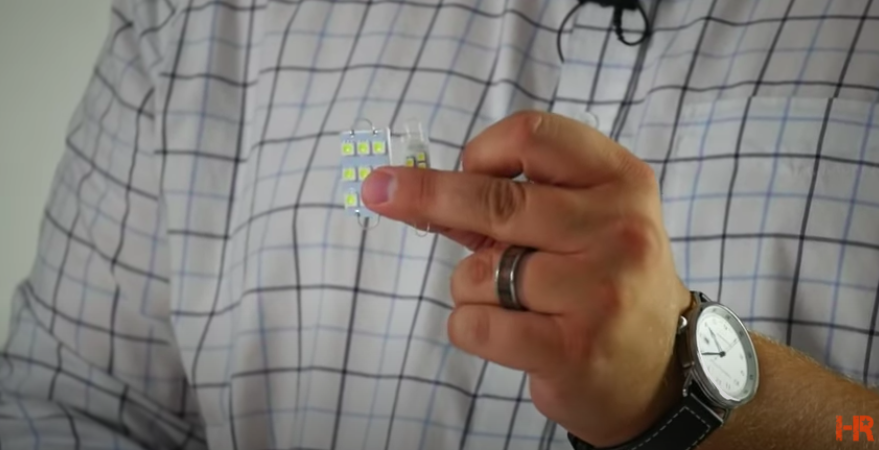
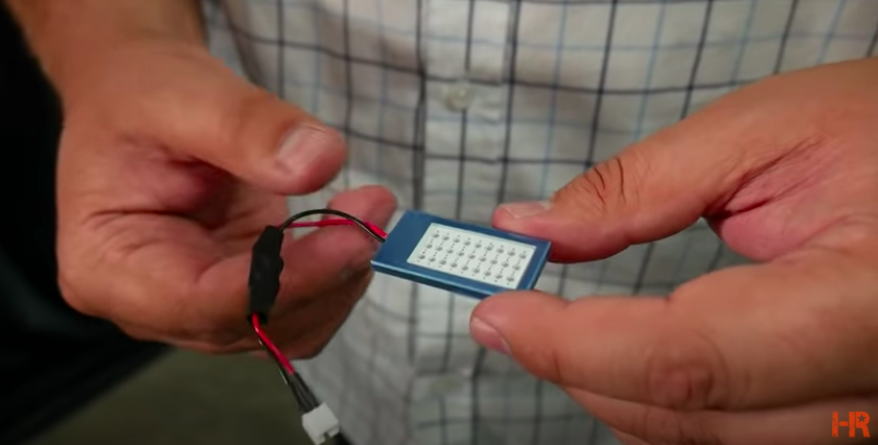
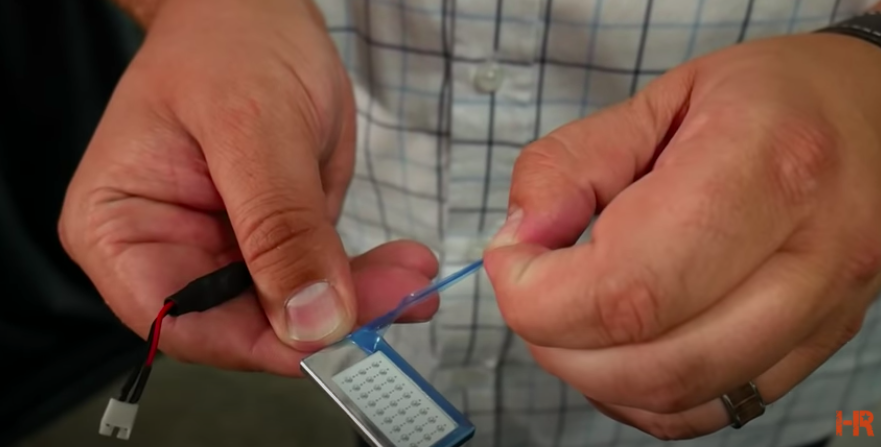
Since a lot of space is left over, it presents the perfect opportunity to use a dome light LED board. It is a flat panel full of LEDs that hooks up to the festoon. On the rear of this piece, you will find some double-sided 3M tape. Once it is all plugged in, press the revealed tape against a flat surface inside the assembly. After that, you can place the assembly back into place.
 |
 |
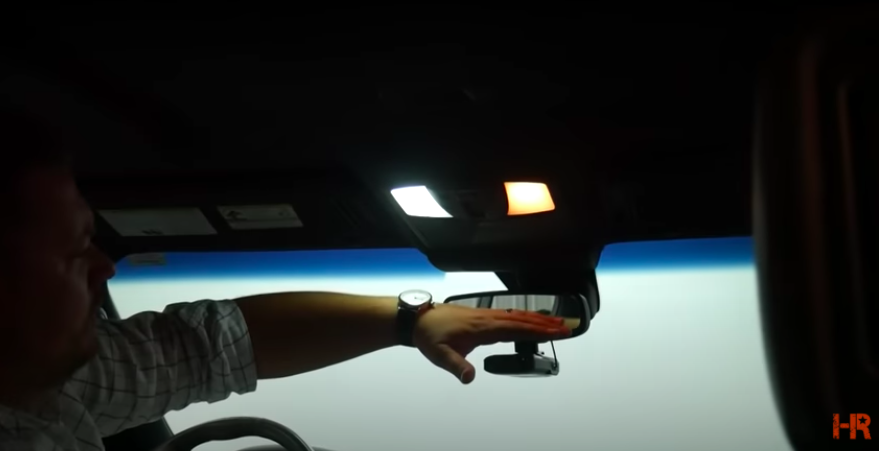
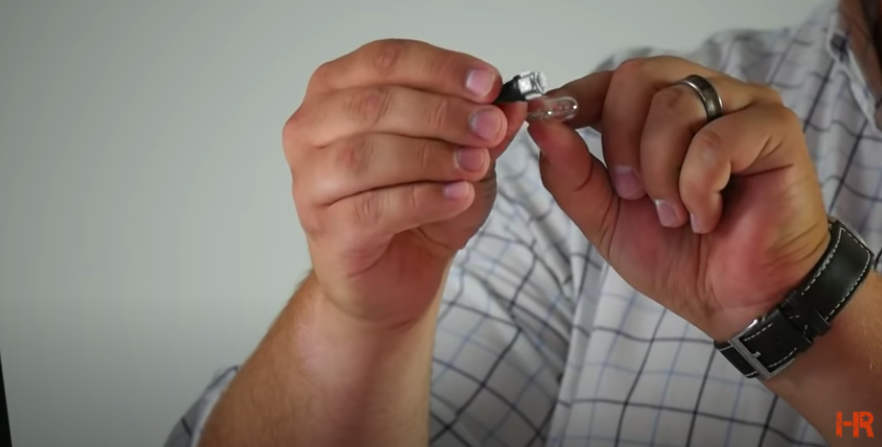
One last thing to note is that once you have gotten to the point of plugging in your T10 bulb, you may find your T10 LED lightbulb does not come on. LED bulbs are usually polarity specific, meaning you need to have the positive terminal to the positive terminal and negative to negative for them to work right.
This was a lot of information to take in. If you are more of a visual learner or would like to see these lights in action, check out our video below covering all the bulbs we discussed and the installation process step-by-step. While you are there, do not forget to like and subscribe to our channel for the latest lighting upgrades for your vehicle.
Have any questions about any products we mentioned? Contact us today, and our customer support team will be happy to help.