Review: BRAND NEW Carbide Series Ranger 2019+ Housing by GTR Lighting
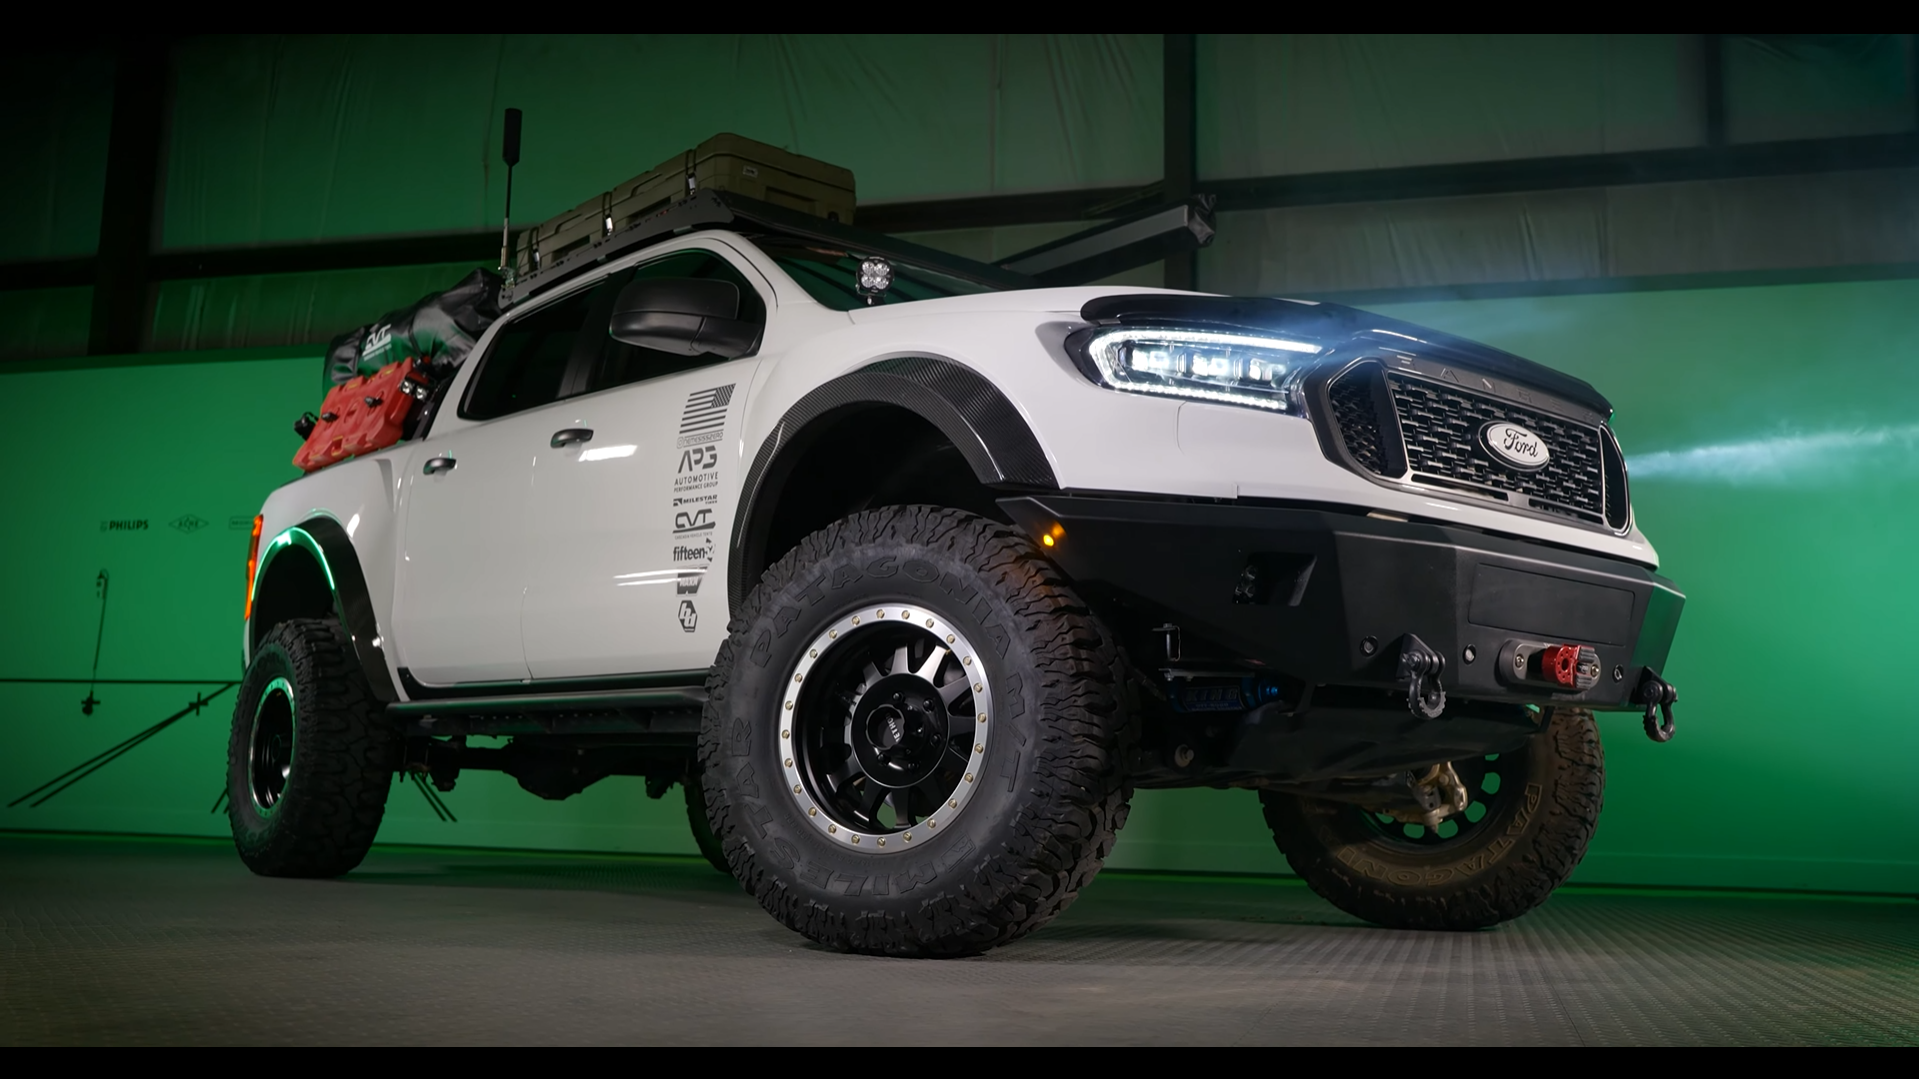
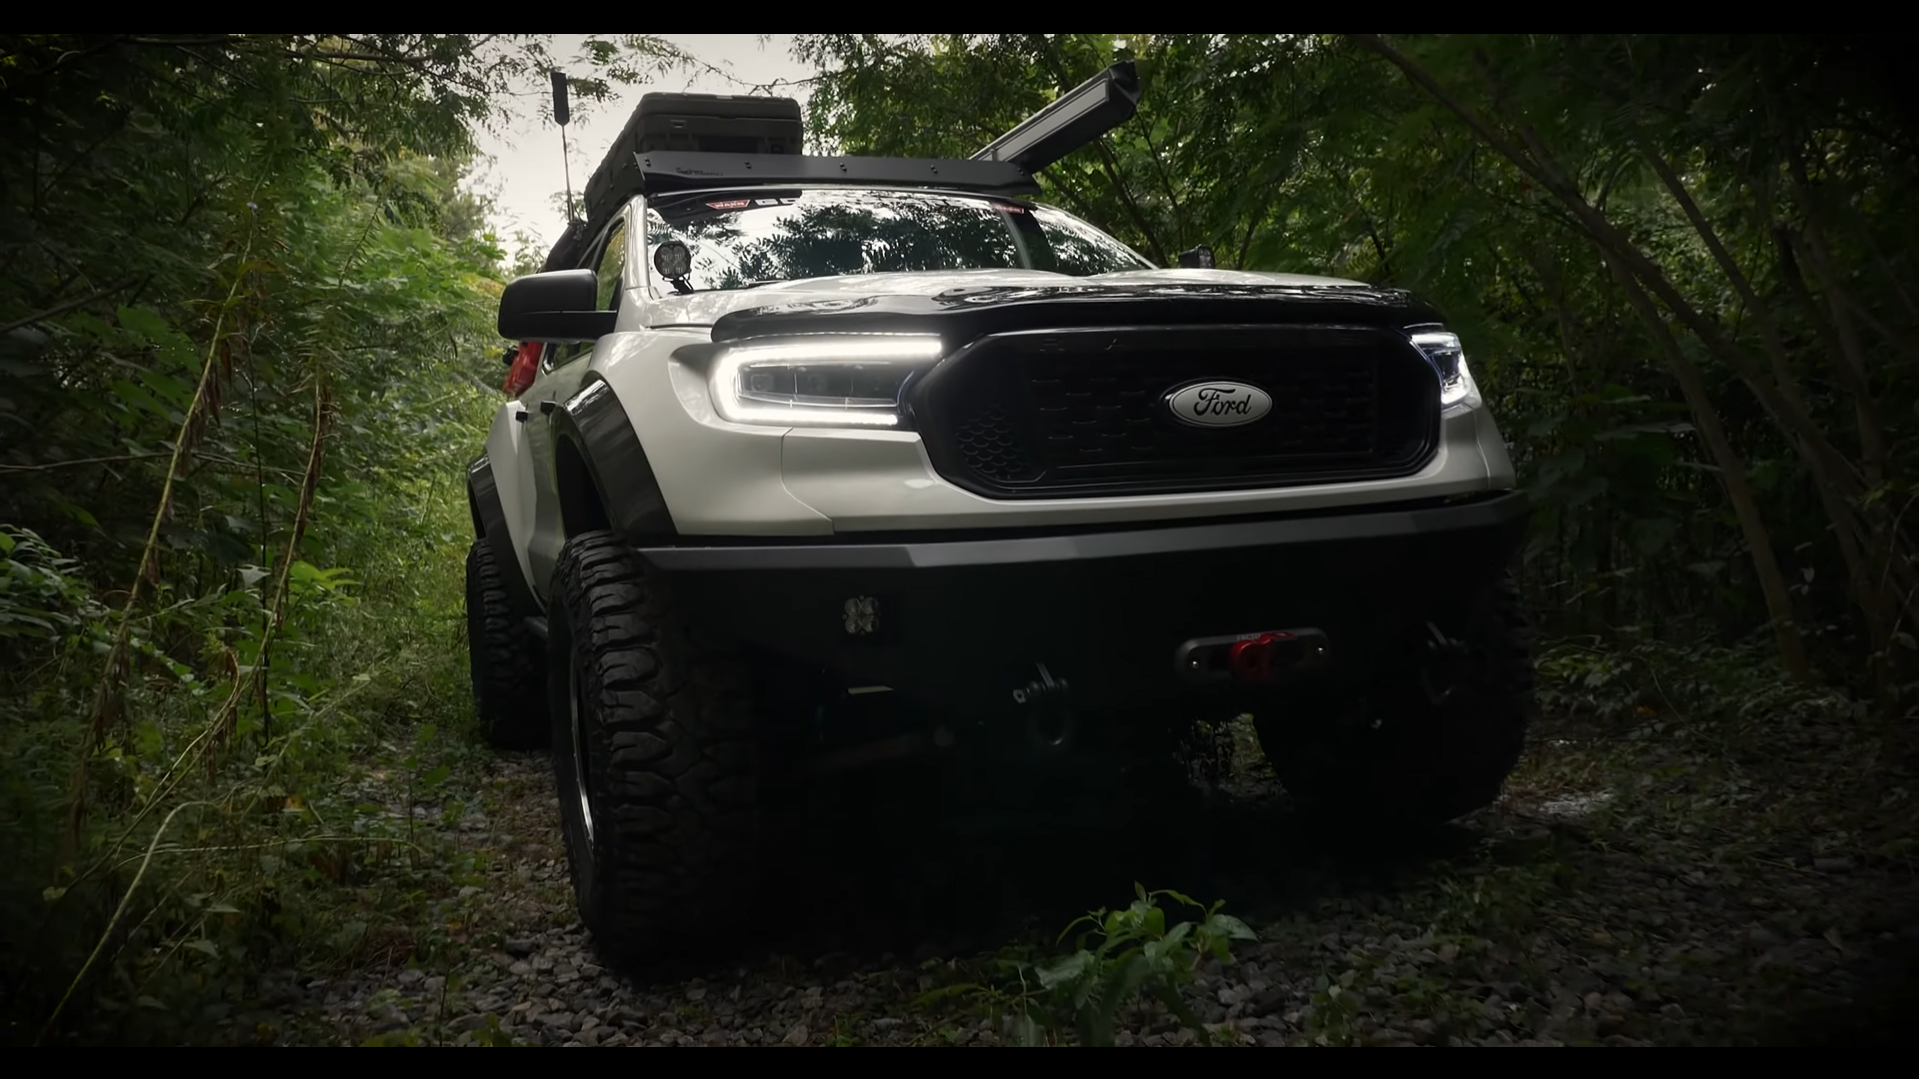
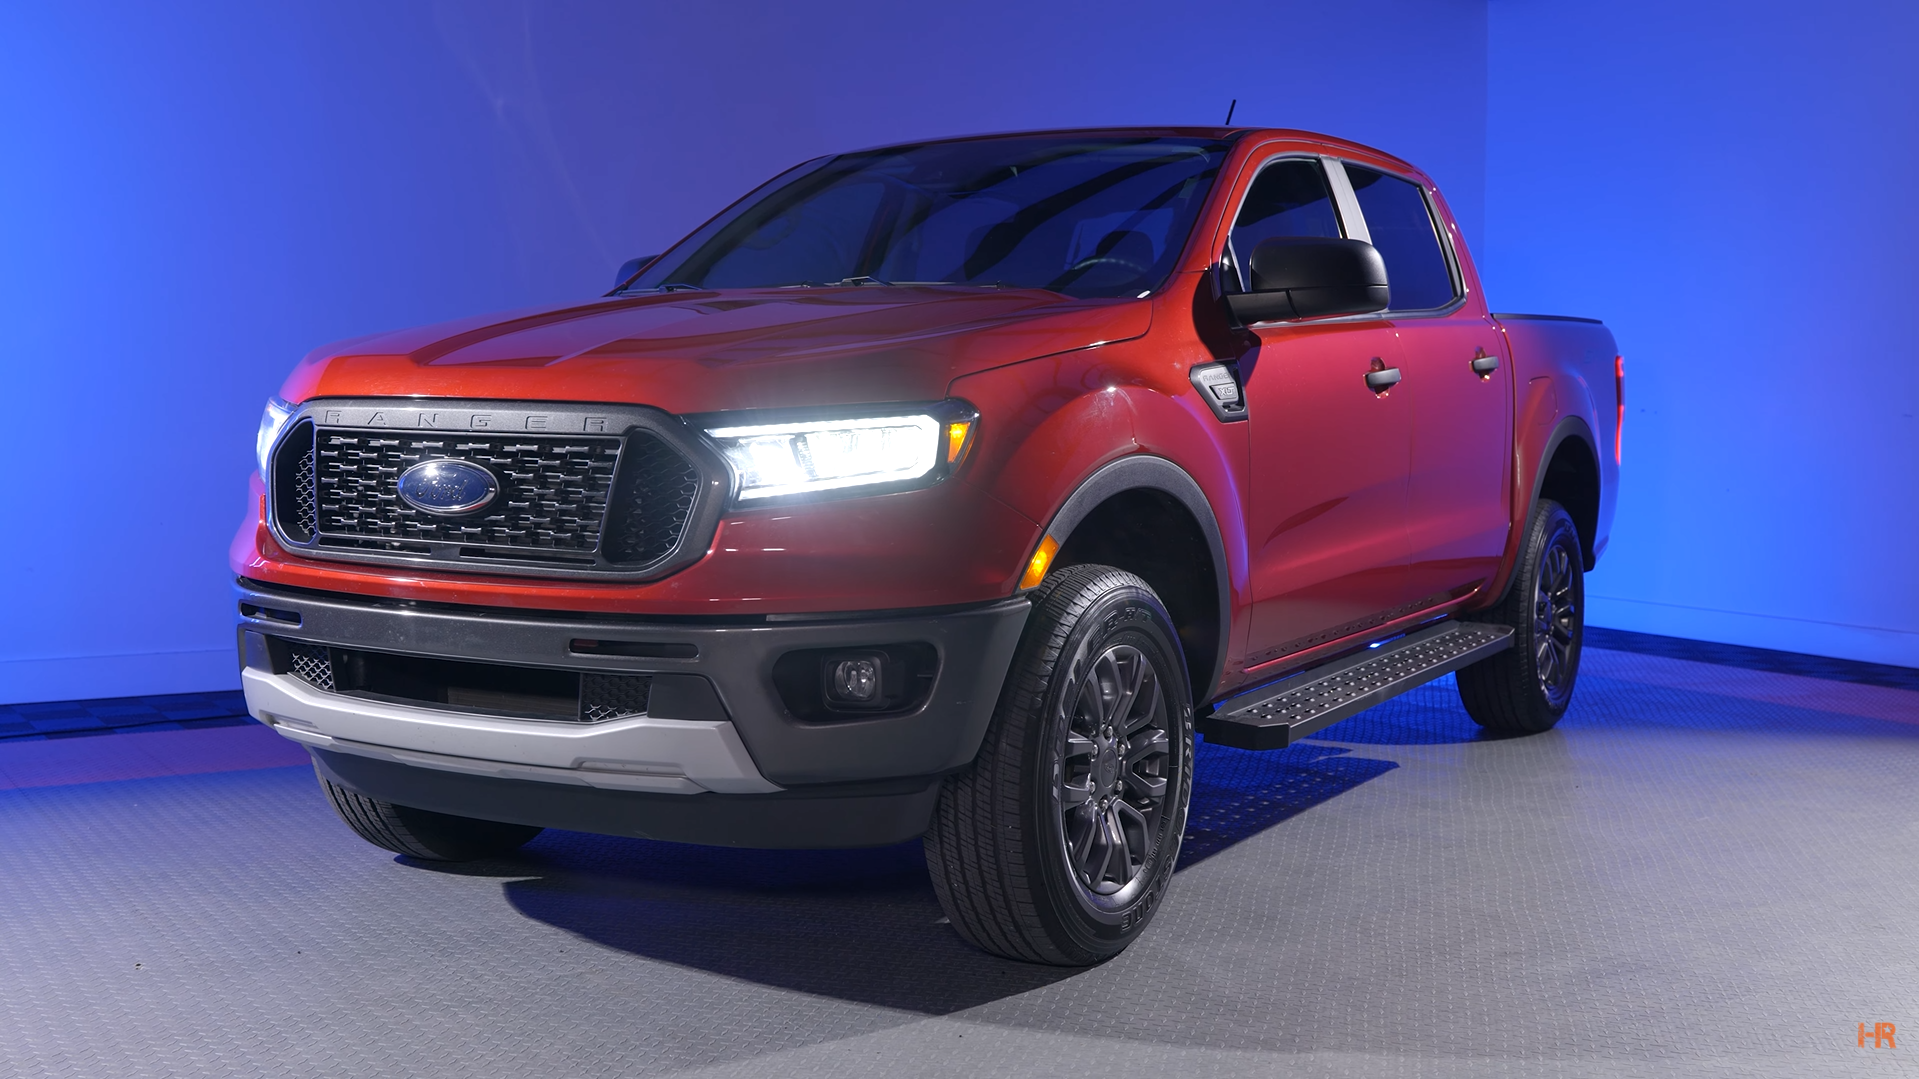
How could you not love the versatility of the Ford Ranger? You can tow, go off-road, drive your friends around, and now with the GTR Lighting Carbide Series, you can do it in style.
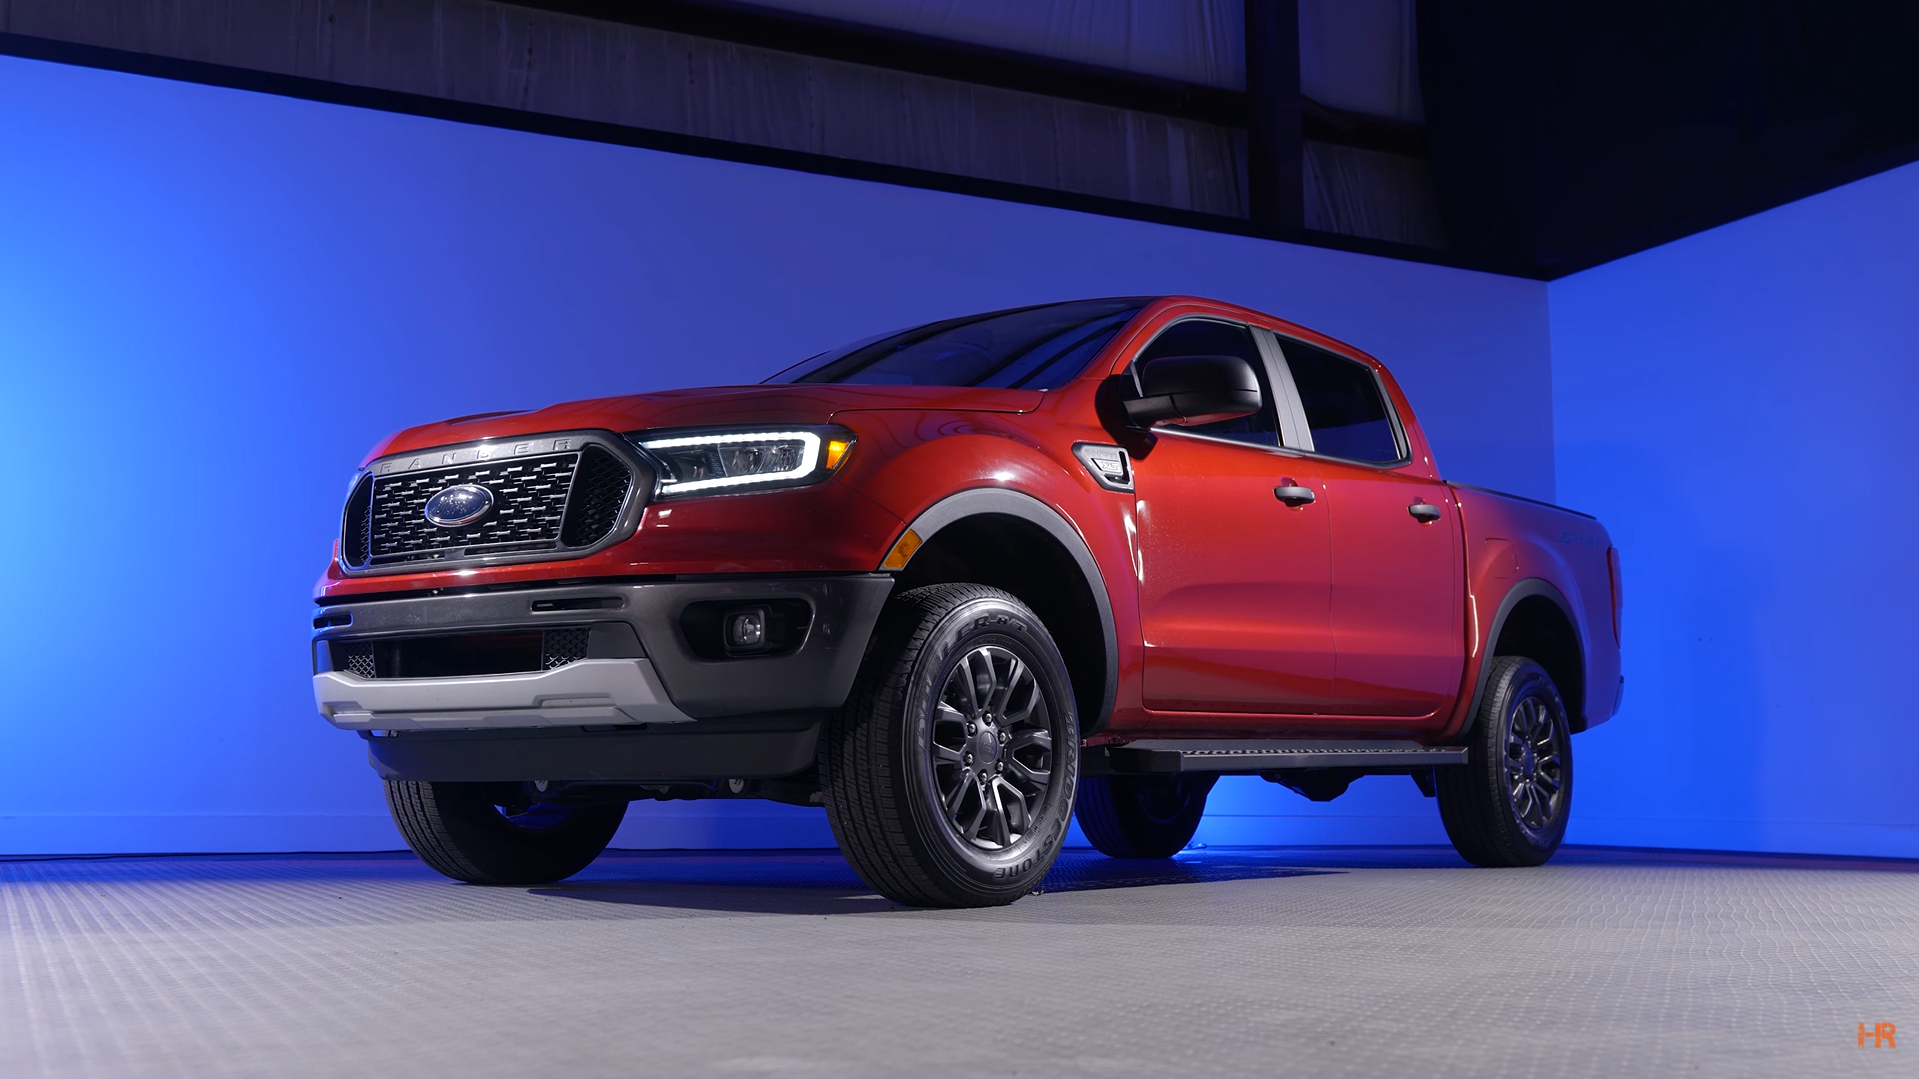
The current generation Ford Ranger came out in 2015 overseas. In 2019 the US received it and regardless of which headlights it came with, these Carbide Series LED lights are a serious upgrade. Every single light in this housing is an LED, meaning you get top-quality lighting performance, safety, and styling on your truck.
STOCK vs GTR LIGHTING
In order to put the new Carbide Series lights to the test, we parked the car 25ft away from a wall and flipped on the headlights. From there, we measured the maximum Lux to get an idea of its brightest point. Remember that Lux readings are irrelevant outside this test and are only used to give you an idea of how bright these lights are.
The stock headlights come in at a dismal 420 maximum Lux. For the record, many other stock headlights perform much better than this, so there is clearly room for improvement.
The GTR Lighting Carbide Series LED light comes in at 580 maximum Lux, 38% brighter than the stock low beams. Besides a high Lux rating, there is more even coverage across the width of the beam pattern and a more defined hotspot.

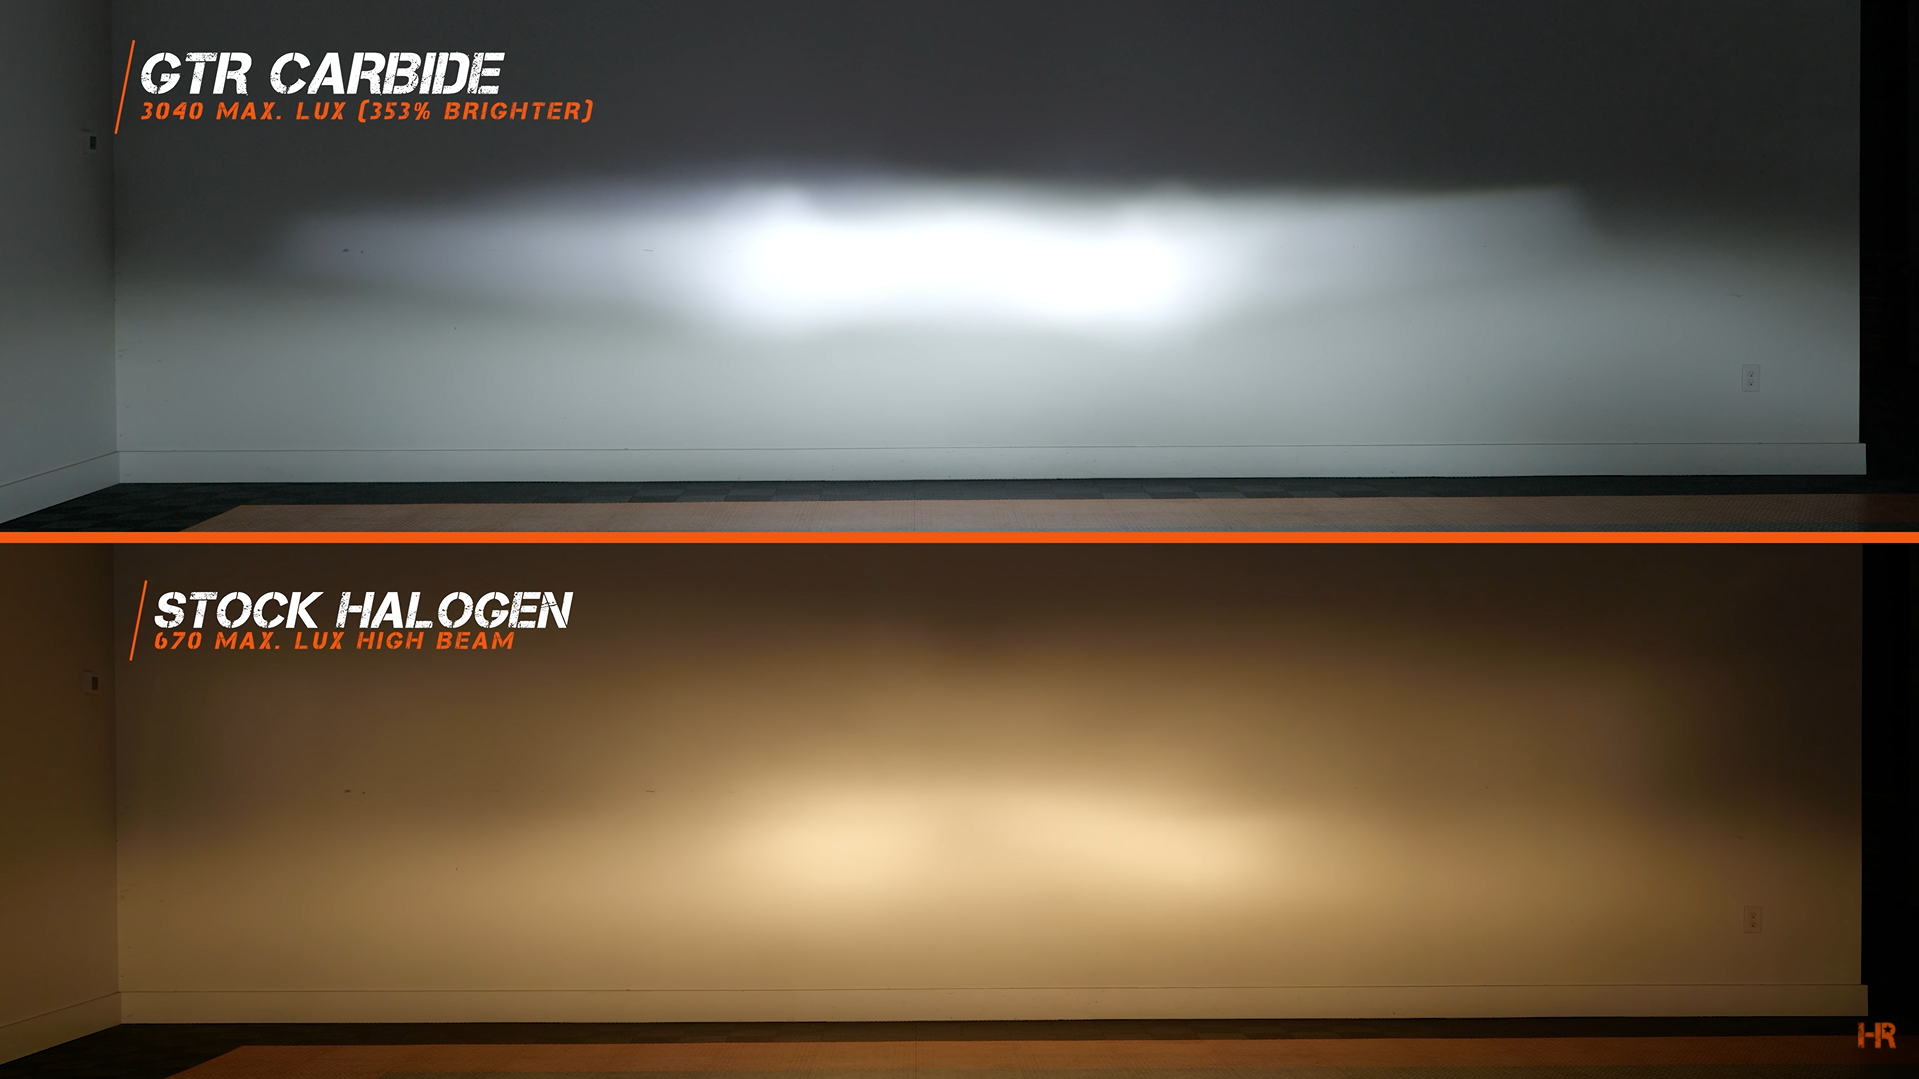
On high beam, the stock light is at 670 maximum Lux and the GTR Carbide LED headlights are rated at an insane 3040 maximum Lux. This thing will act as a lightbar shining down the road, giving you the absolute ultimate light coverage.
A CLOSER LOOK
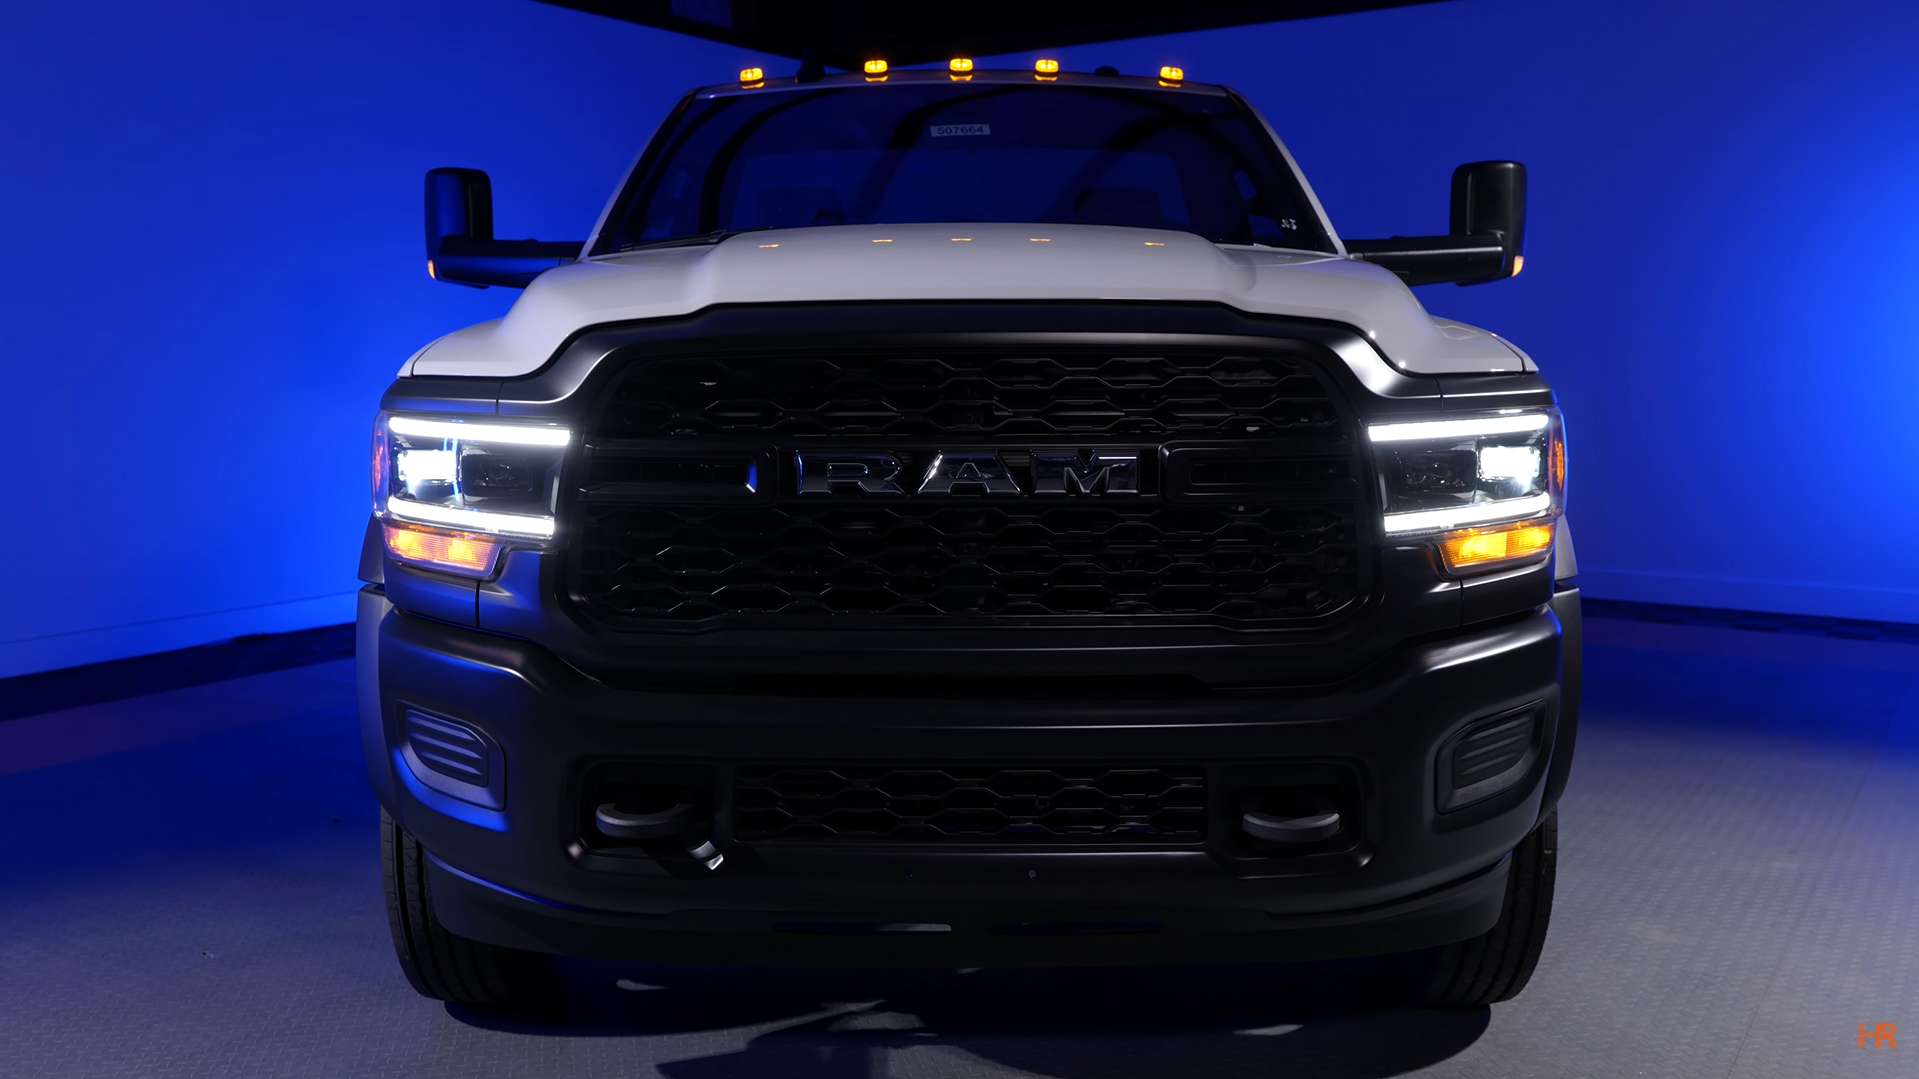
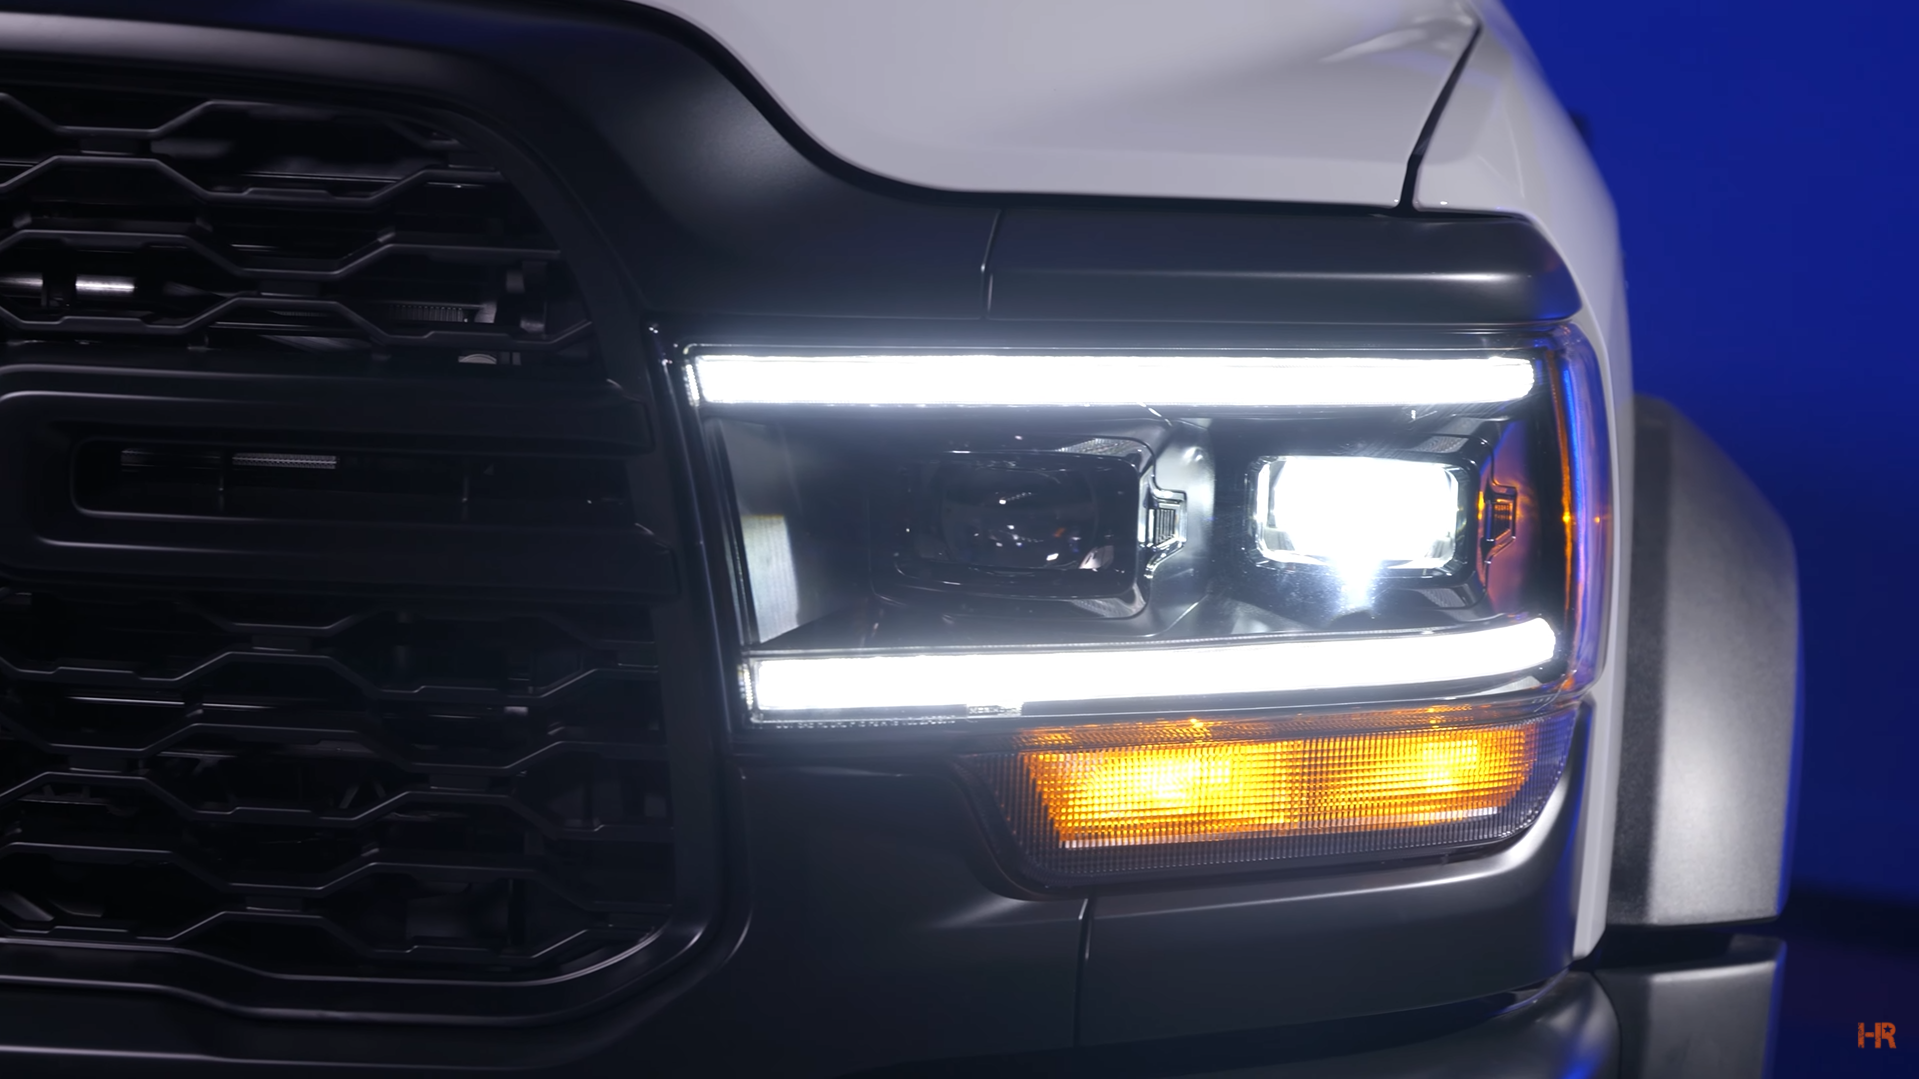
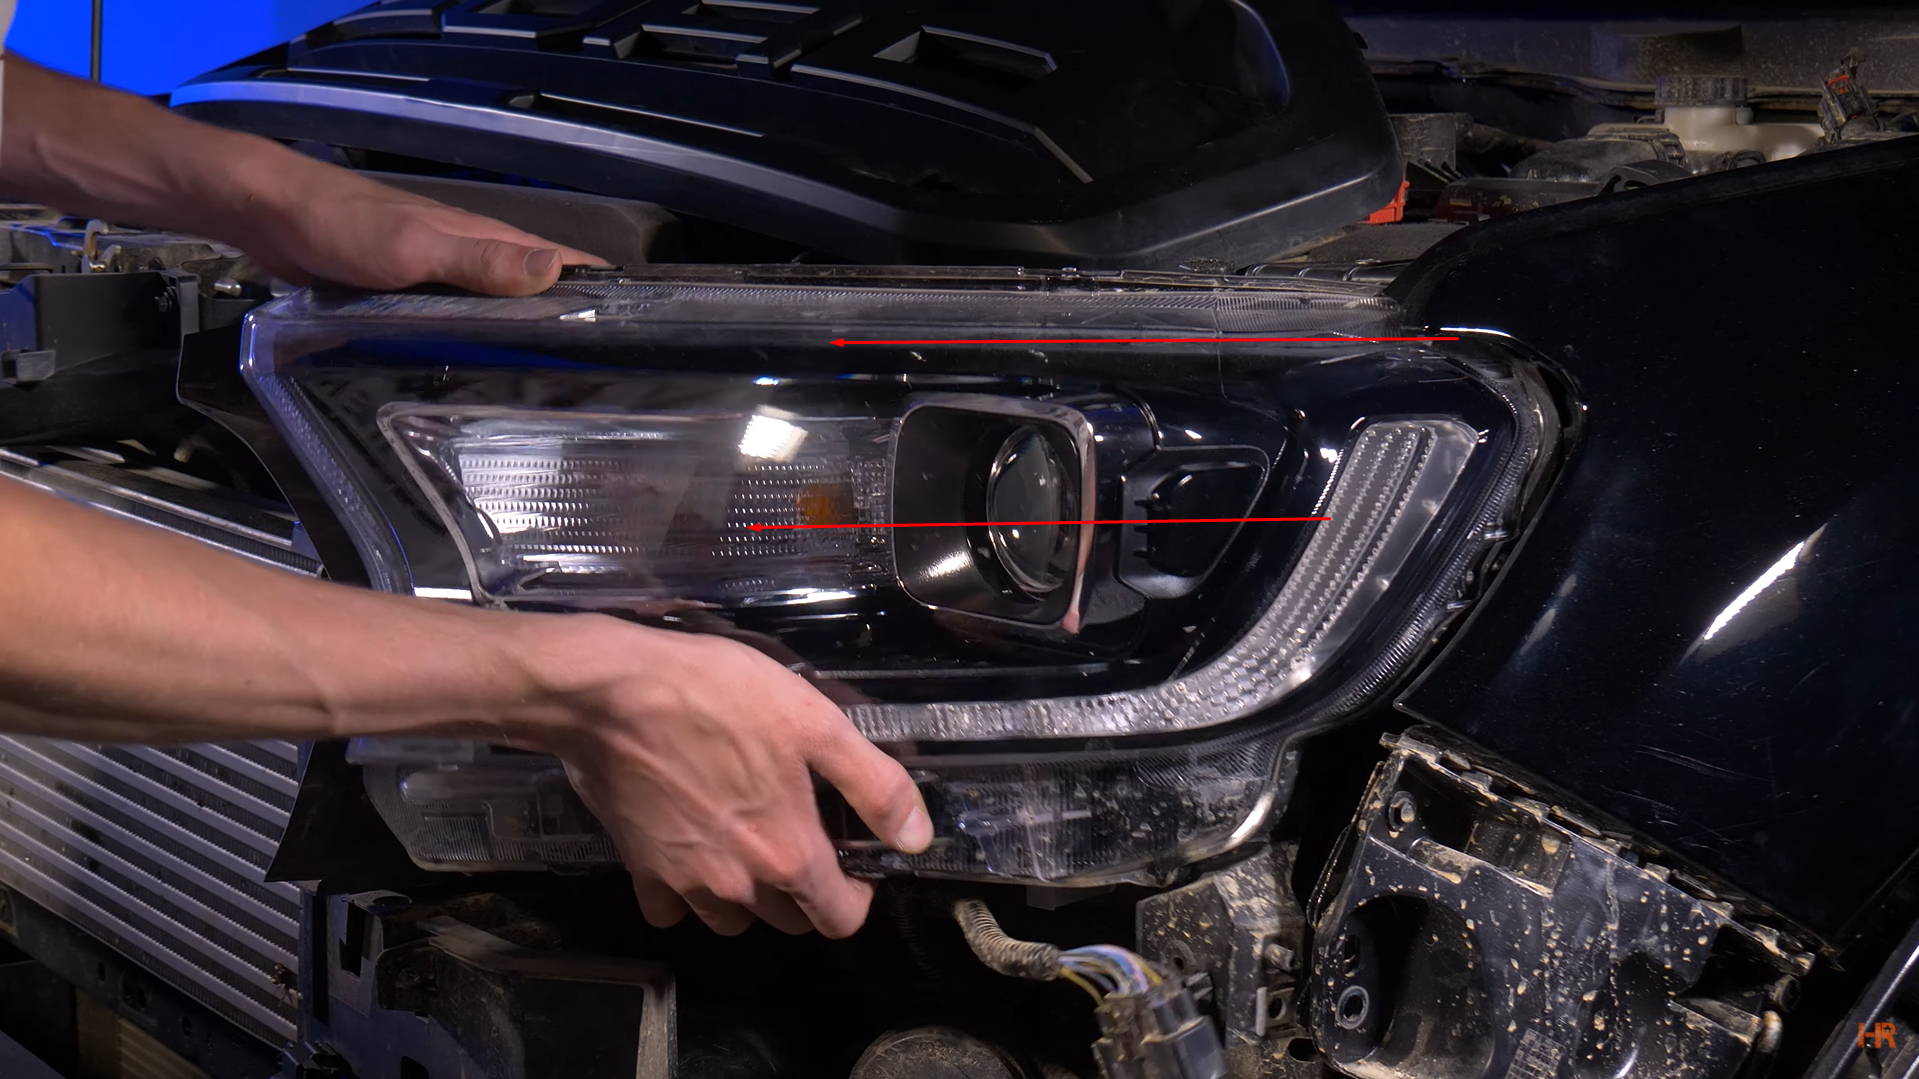
Aesthetically speaking, they have an OEM style appearance but with improved performance. You have these three LEDs that shine down into the reflector bowls to create the low beam pattern. On high beam, there is a single LED reflector on the inboard side of the light that generates the insane high beam.
A ‘C-shaped’ LED strip is dual function. When the headlights are off, you get a super-bright daytime running light (DLR). When the headlights are on, the LED strip will dim down to a 50% brightness.

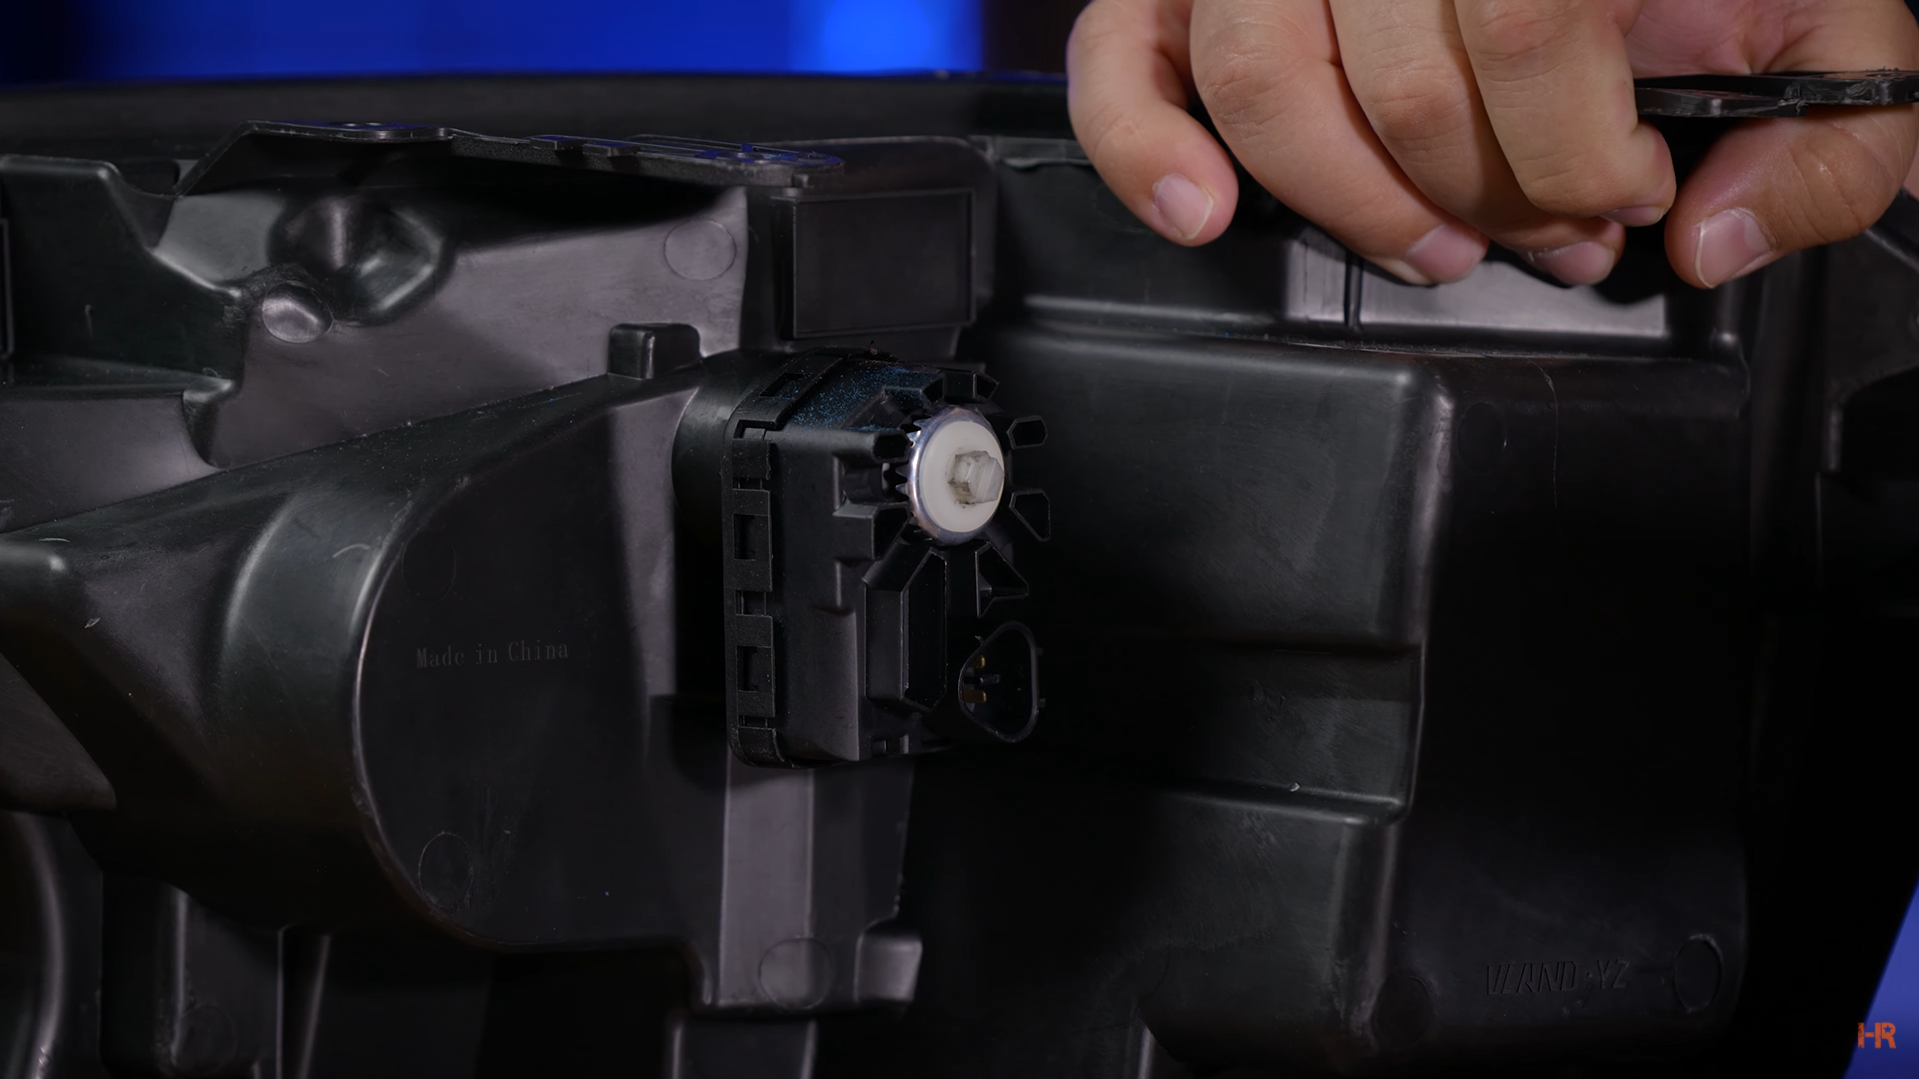
There are also easily accessible adjusters on the rear of the housing to allow you to fix the direction of your headlights. You can also plug in your factory electronic adjuster, just below the manual adjuster, if your Ford Ranger is equipped with it.
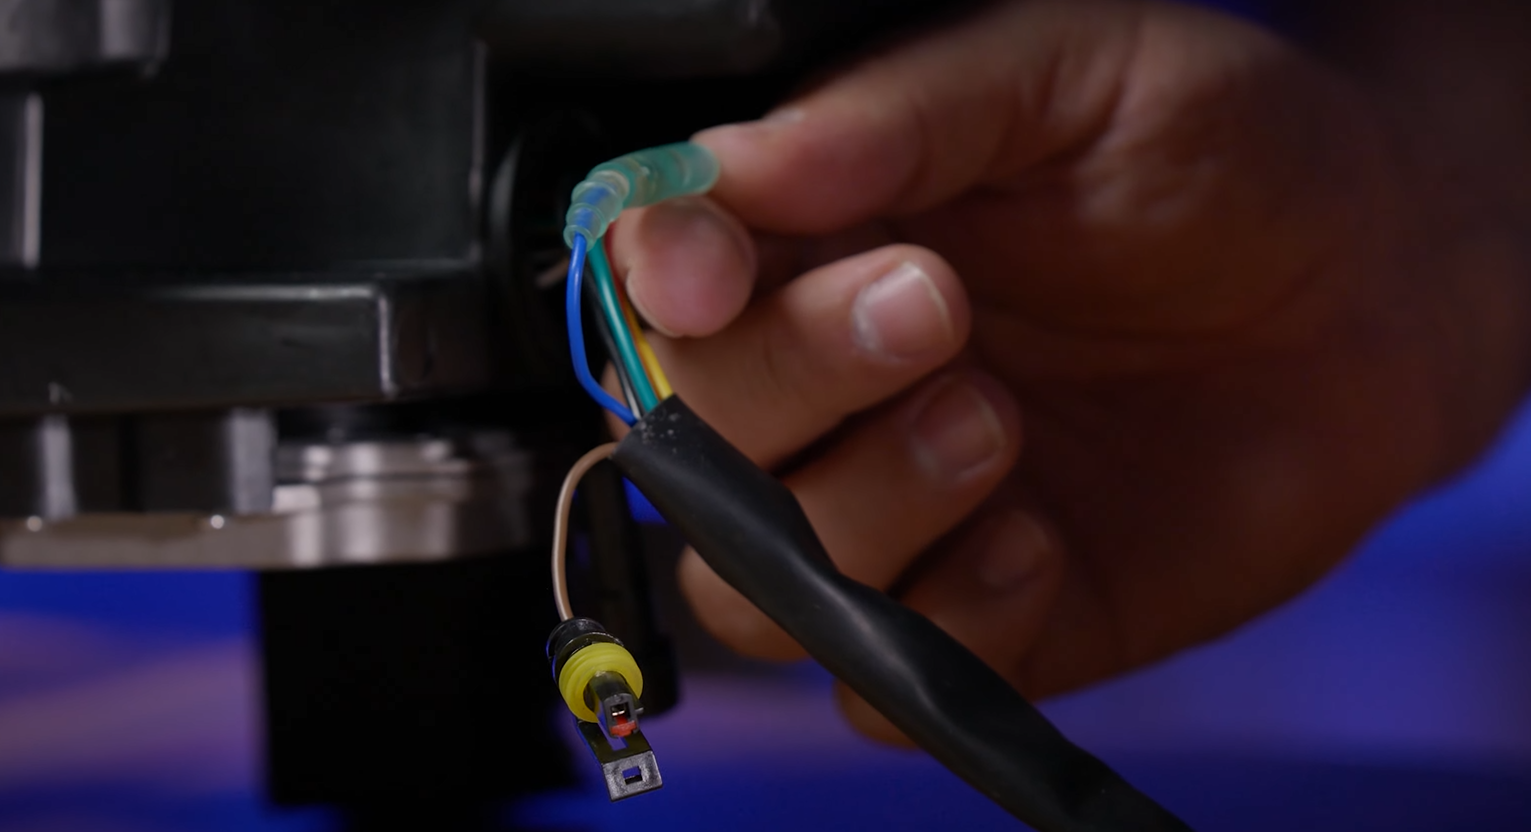
The turn signal is super versatile. Not only is it super bright and rich in color, but there are also two options for the blinker. You can either have the super modern sequential turn signal or the more traditional flashing turn signal. These can easily be chosen during the installation process.


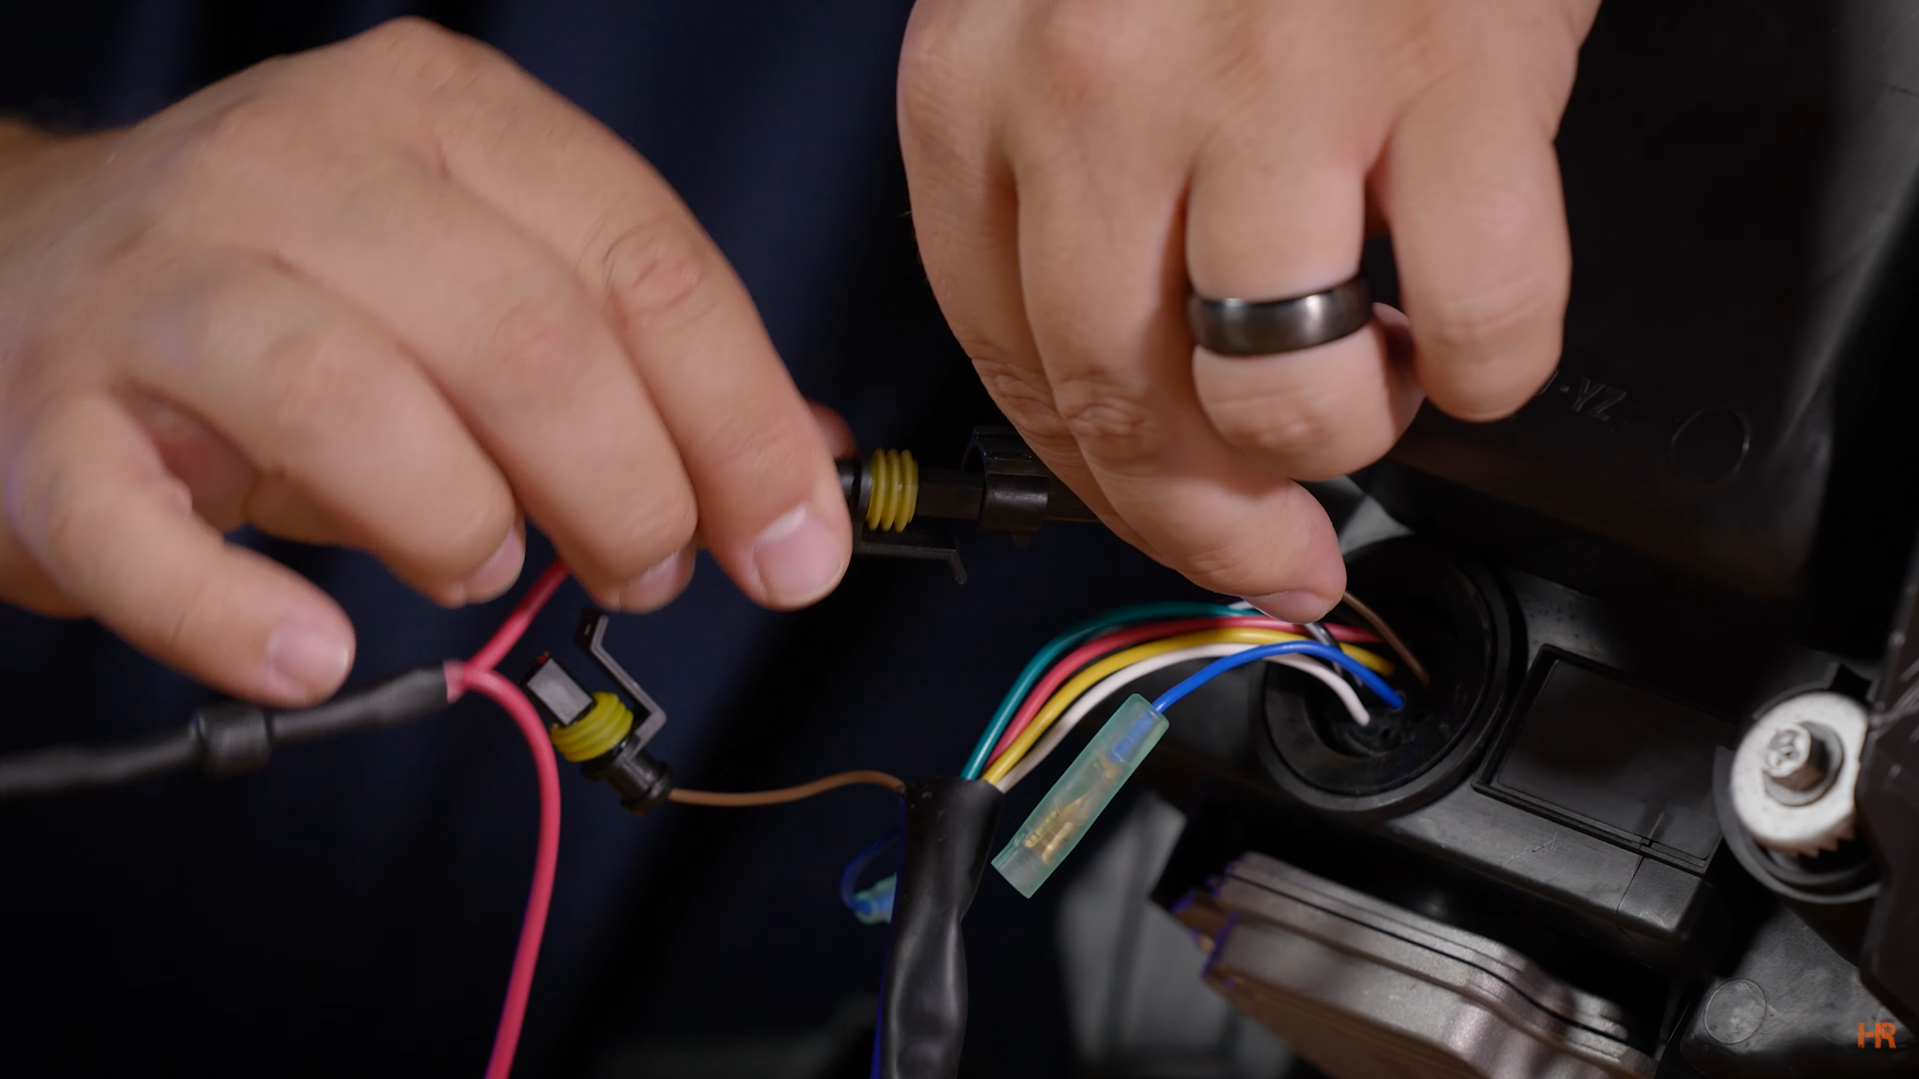
To select the desired turn signal set up, unplug the blue-colored wire to get the traditional blinking function. Otherwise, leave it connected to use the sequential turn signal.
INSTALLATION
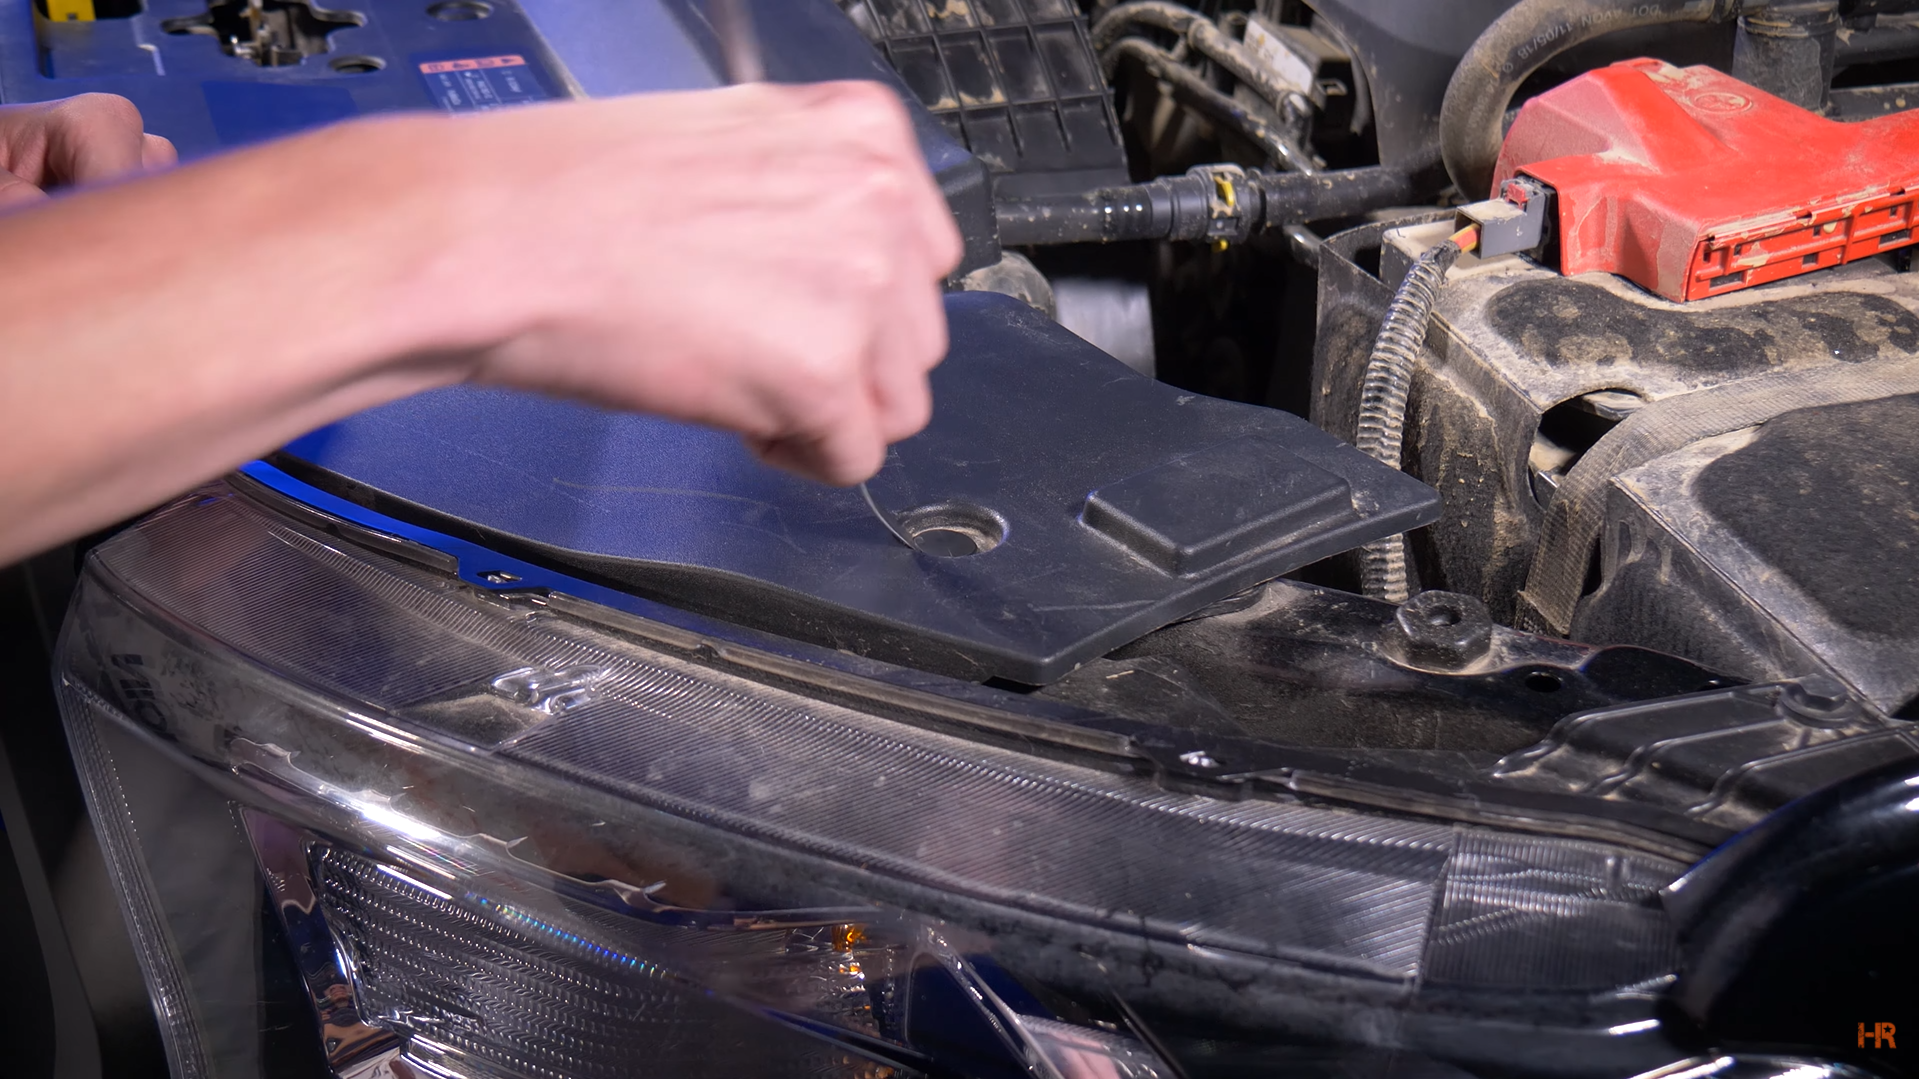
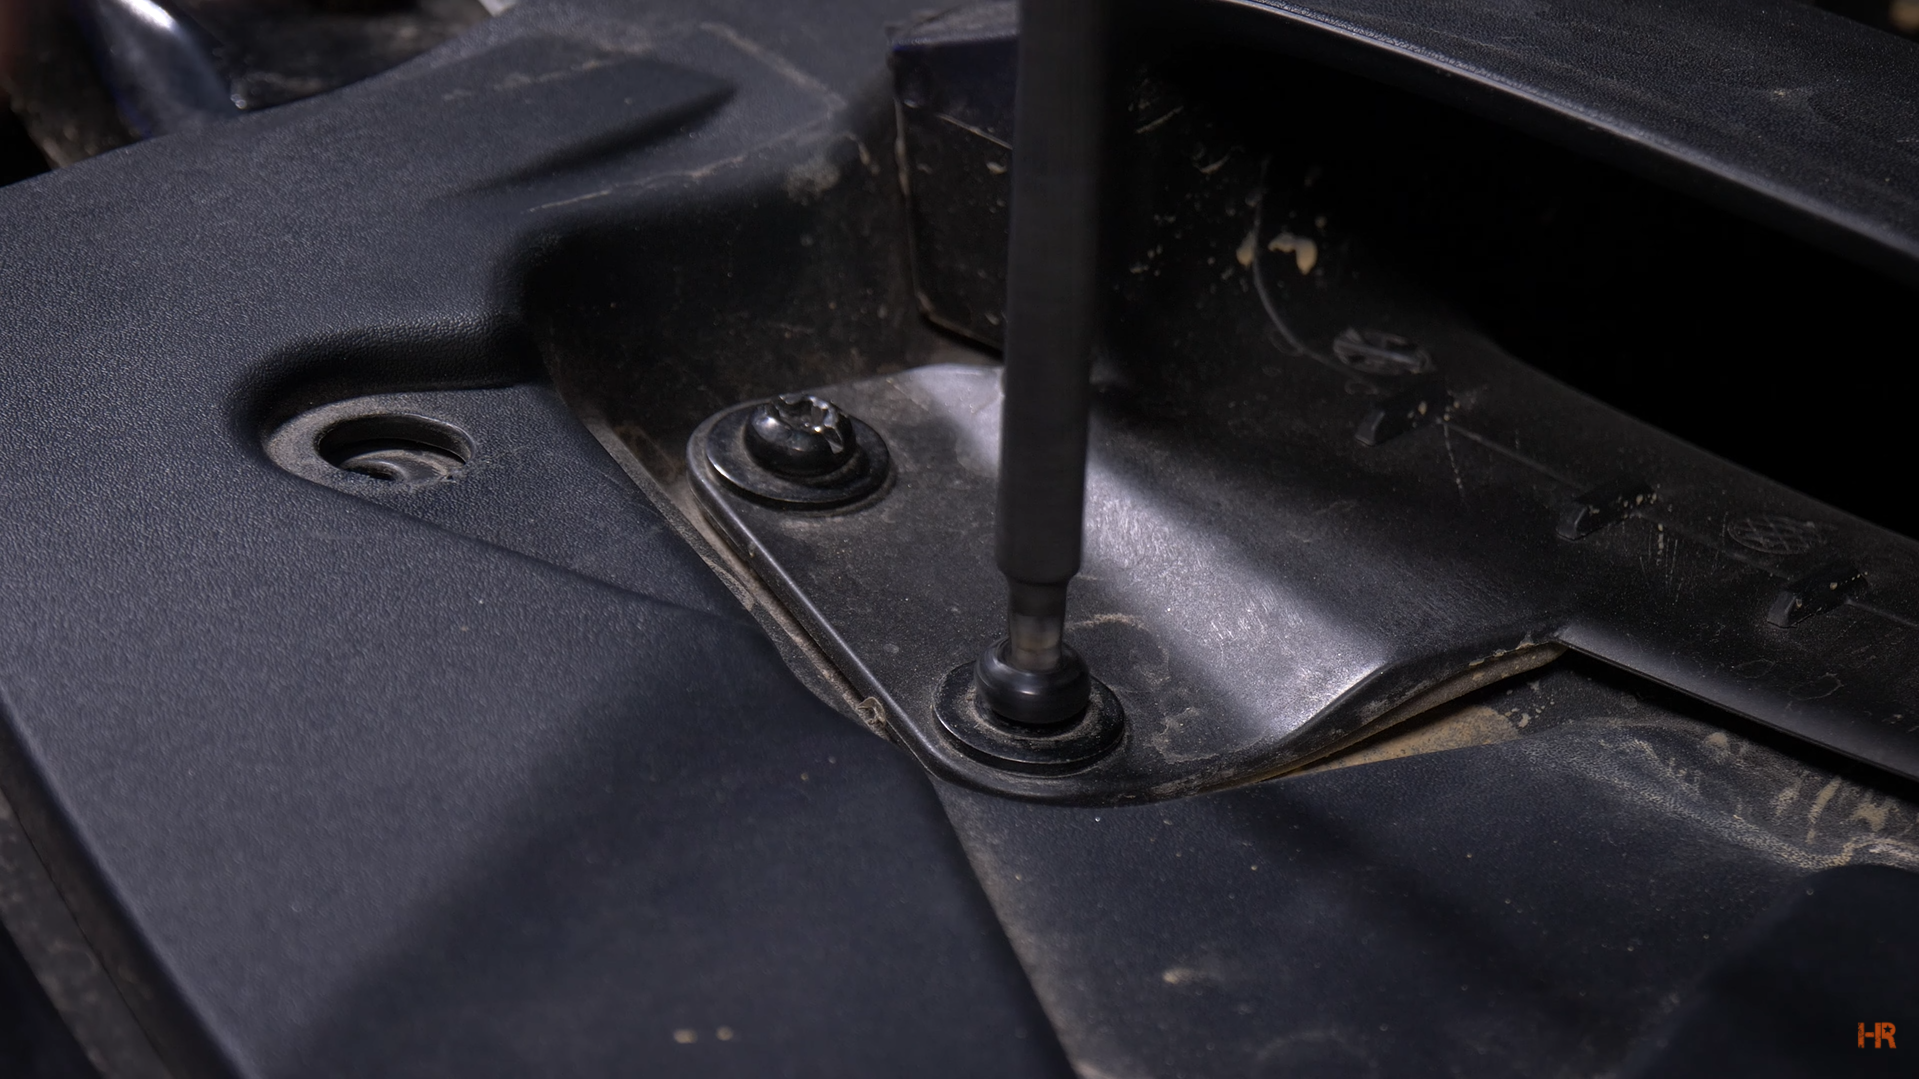
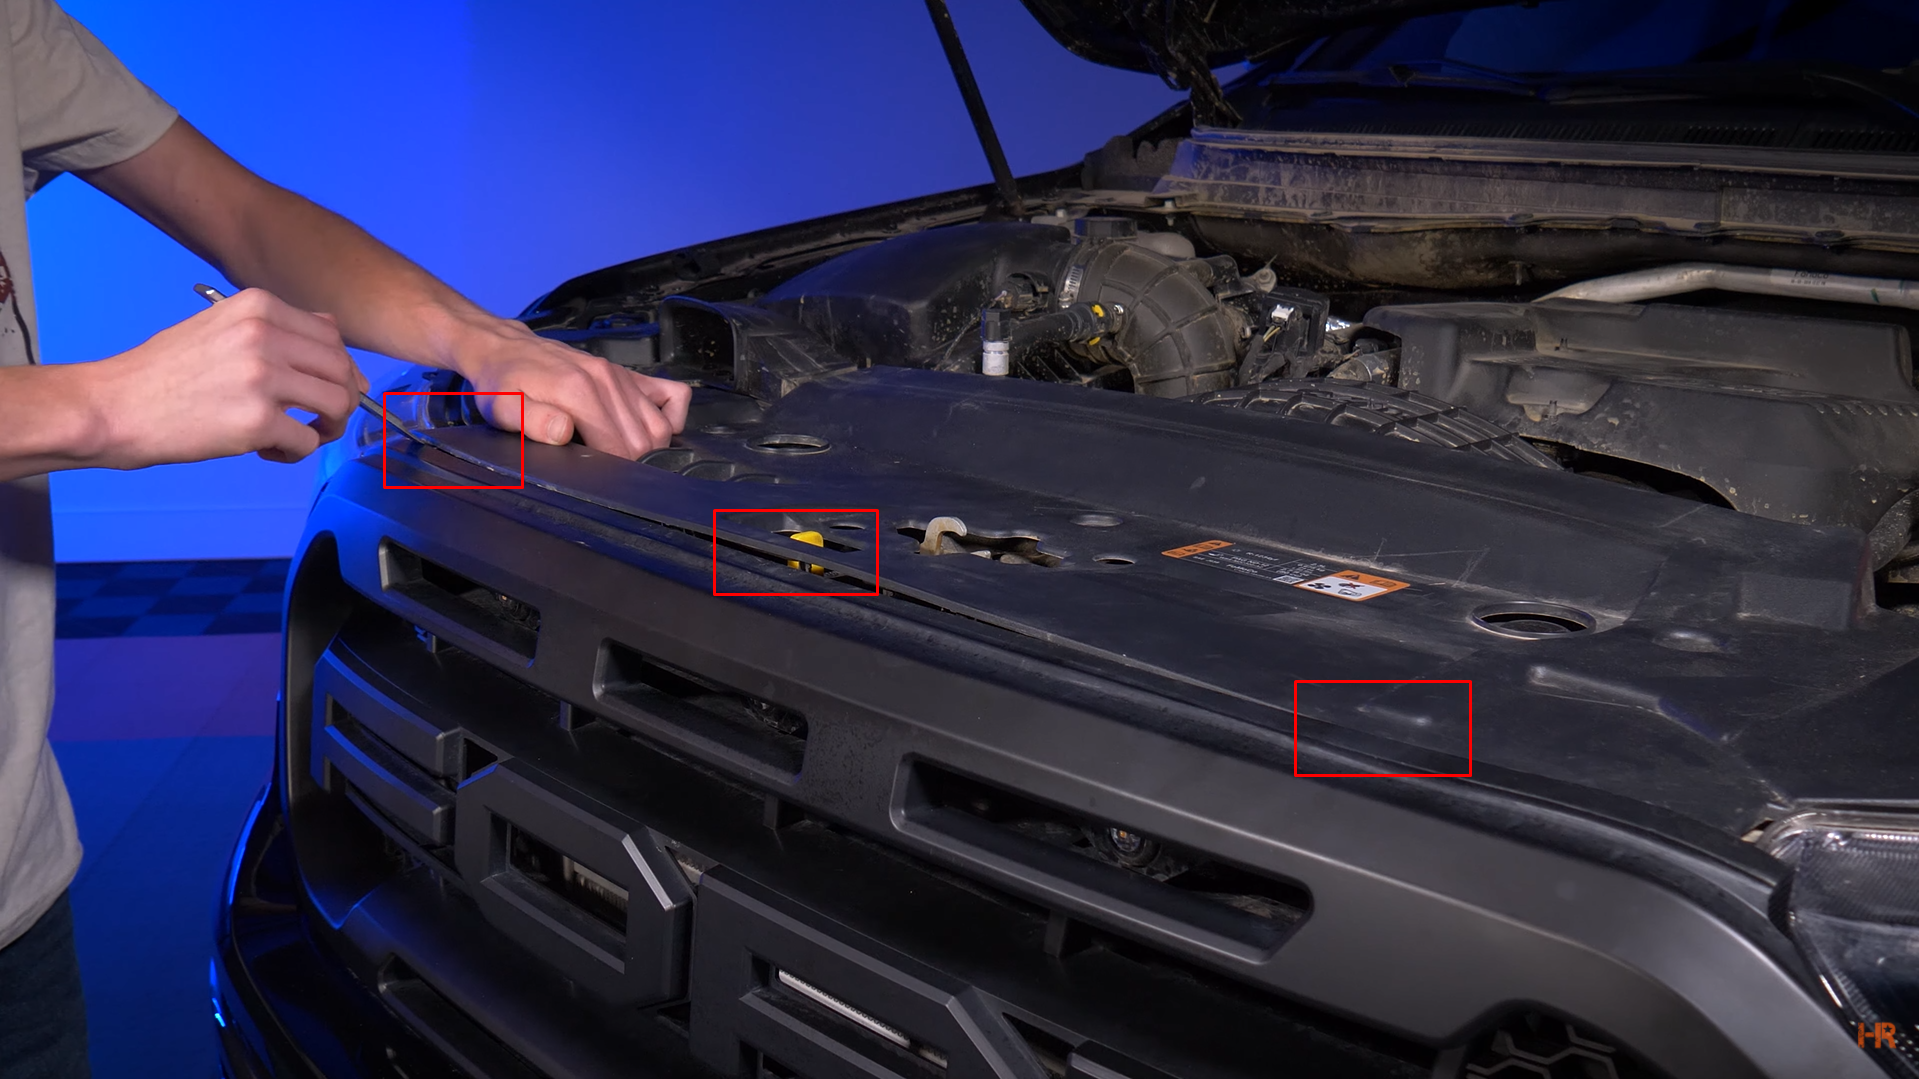
Step 1. Pop the hood and remove the five plastic clips dotted across the front end of the engine bay. Then remove two sets of T30 Torx bits on either side of the plastic cover.
 |
 |
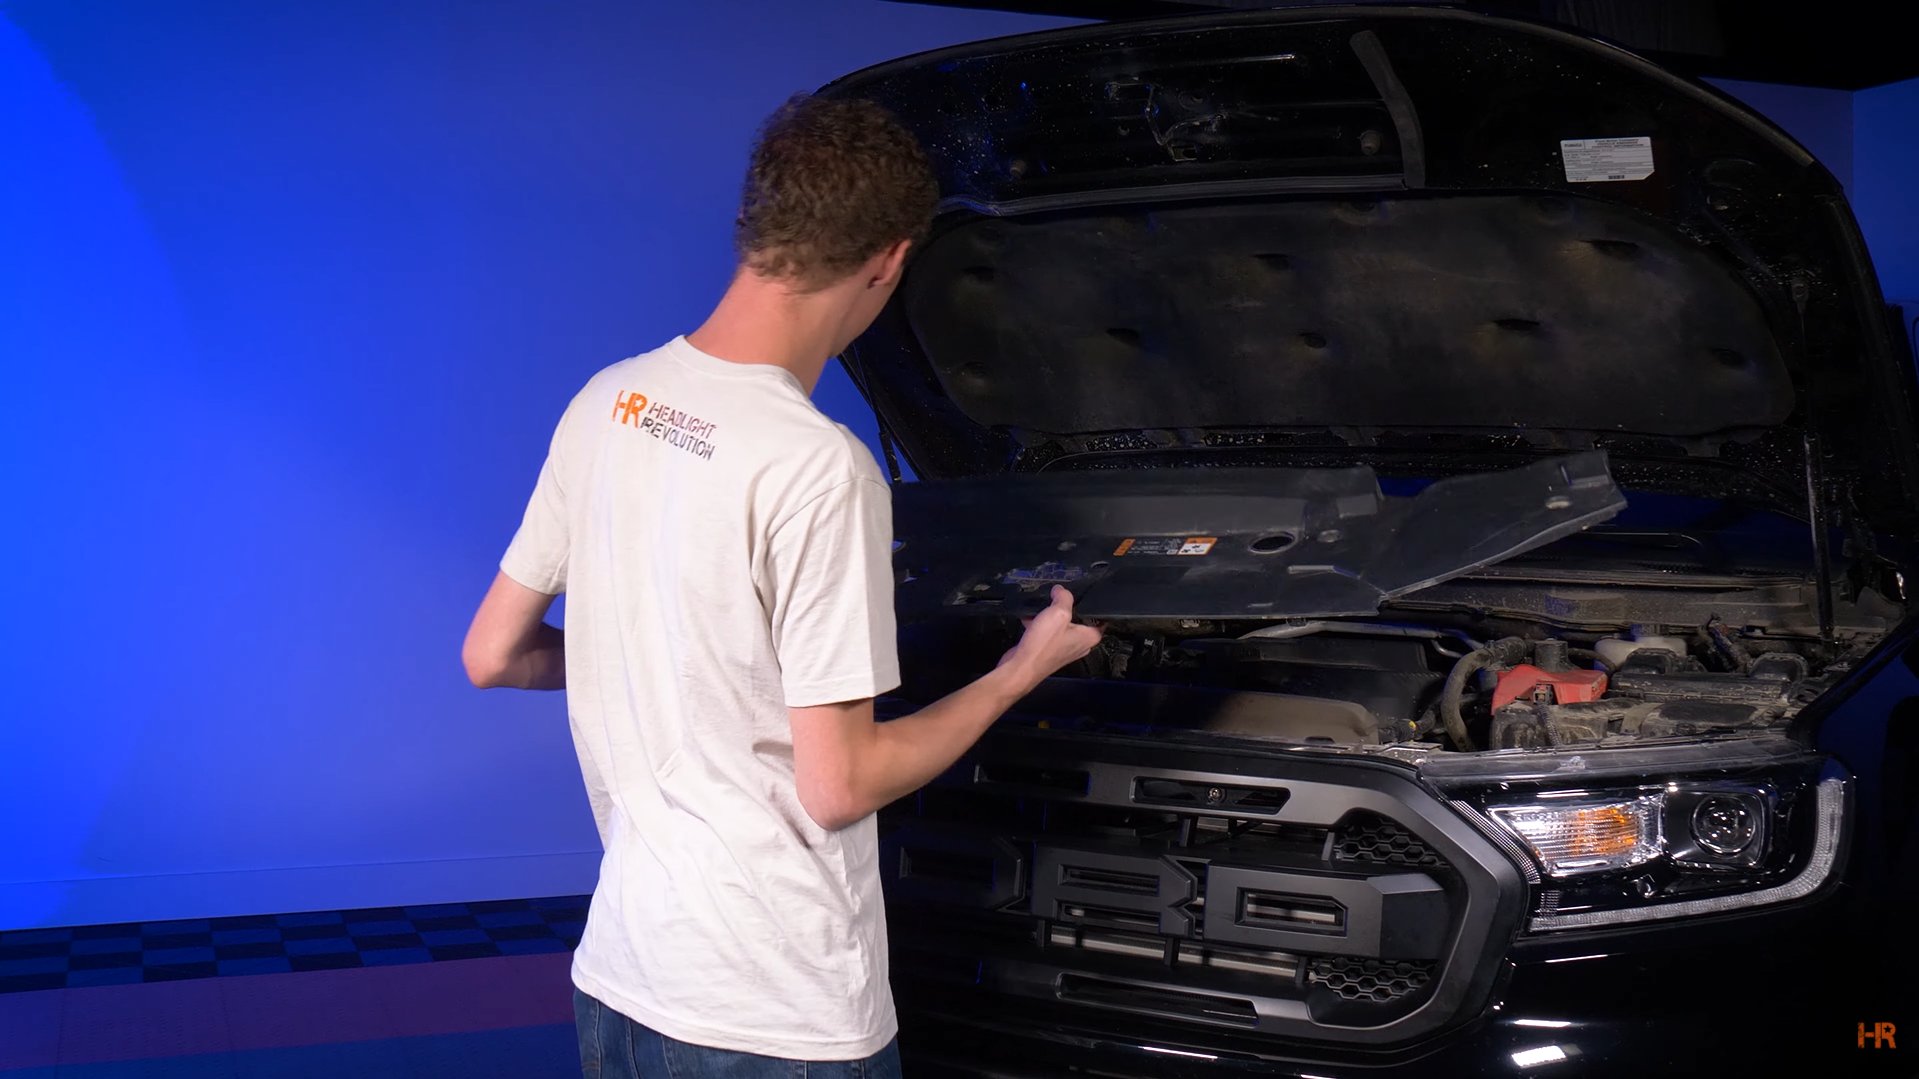
Step 2. To remove the front fascia piece, you need to unclip it in three different positions using a pry tool. Lift up on the intake and it should slide off.
Step 3. Remove two 10mm bolts located on the inboard side of the headlights. This will free up the top portion of the grill from the main body.
Step 4. Next, you will need to remove four T20 Torx bits on either side of the dividers at the front of the engine bay.
 |
 |
 |
 |
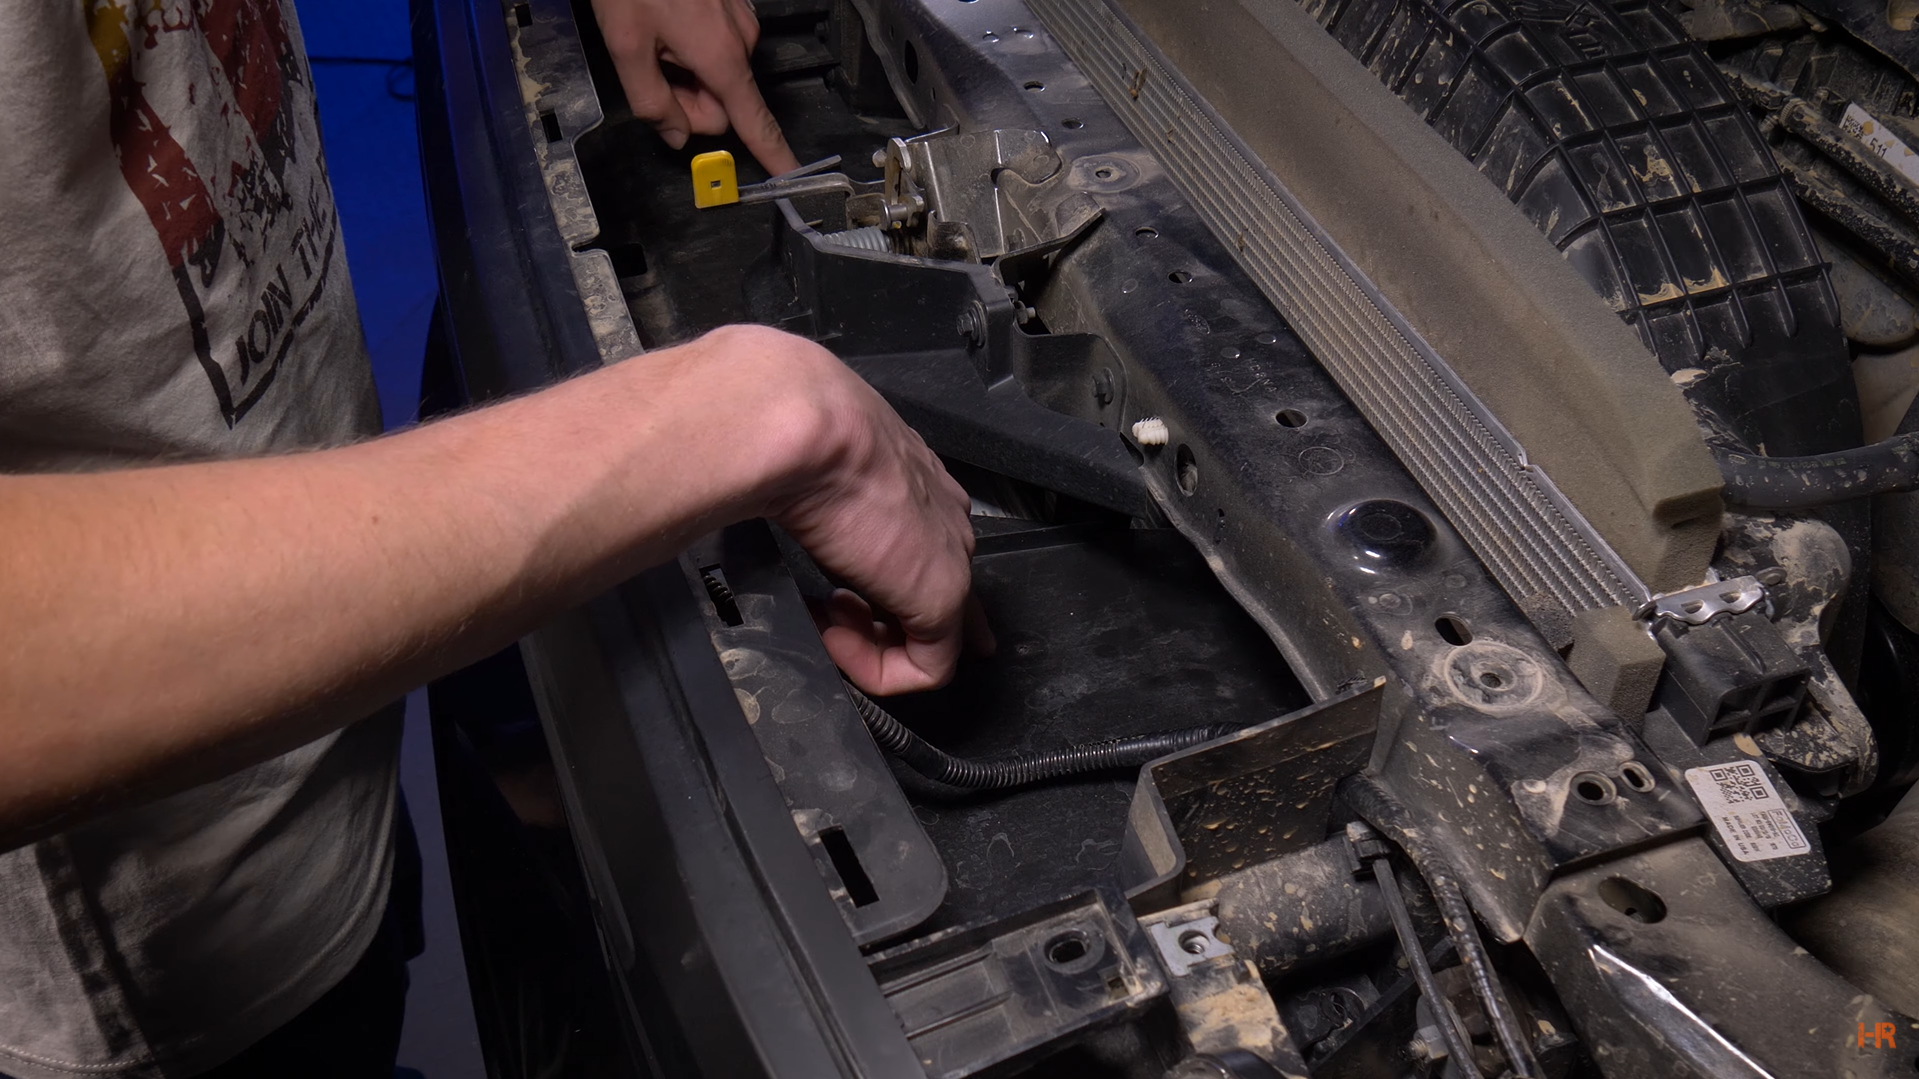
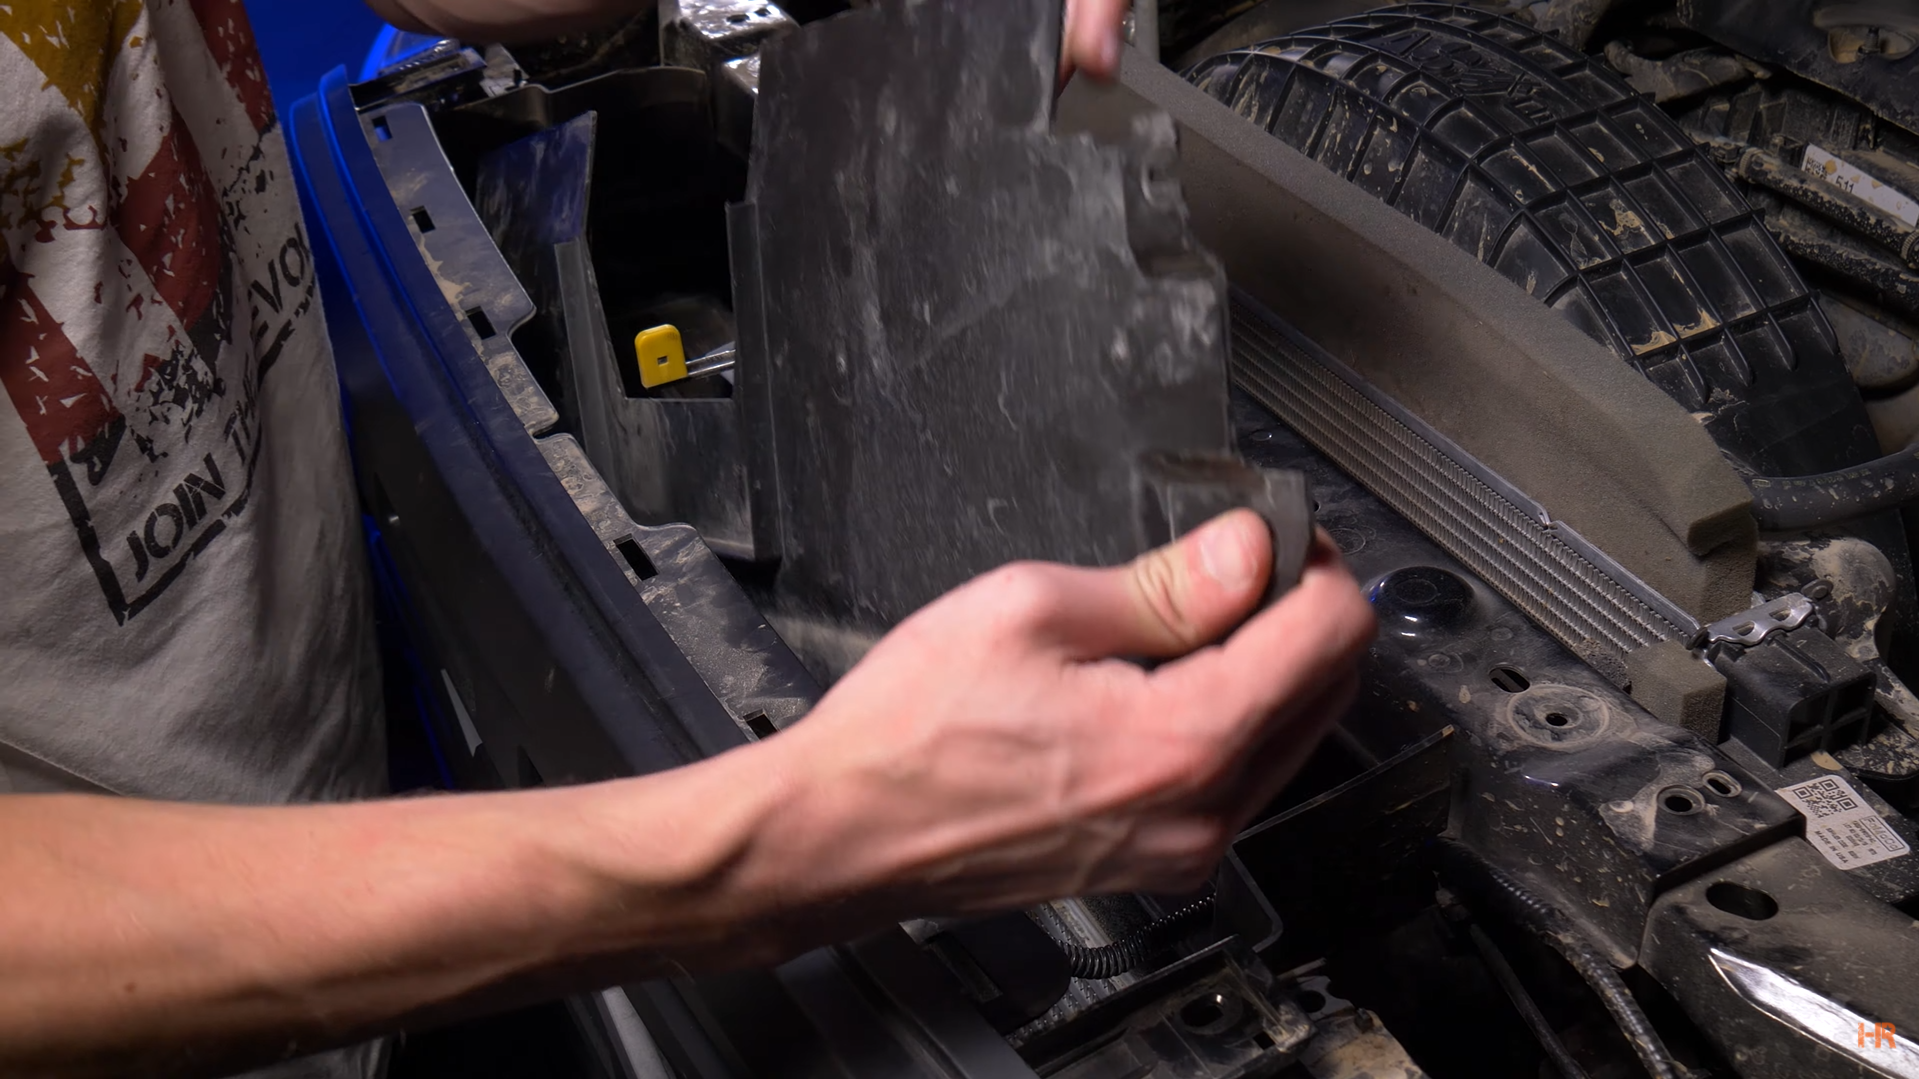
Step 5. Lift the tabs on either side of the grill to tilt the grill forward. Once pulled back slightly, remove the plastic plate to unveil five clips and the radiator.
 |
 |
 |
 |
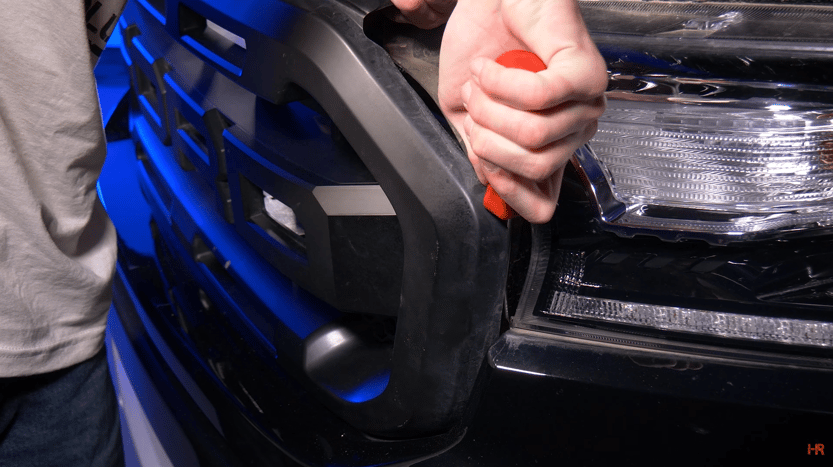
Before unclipping the grill fully, visit the right and left sides of the grill. There should be a clip close to the base of the grill. Get either a long screwdriver or a pry tool to unclip the grill from the body.
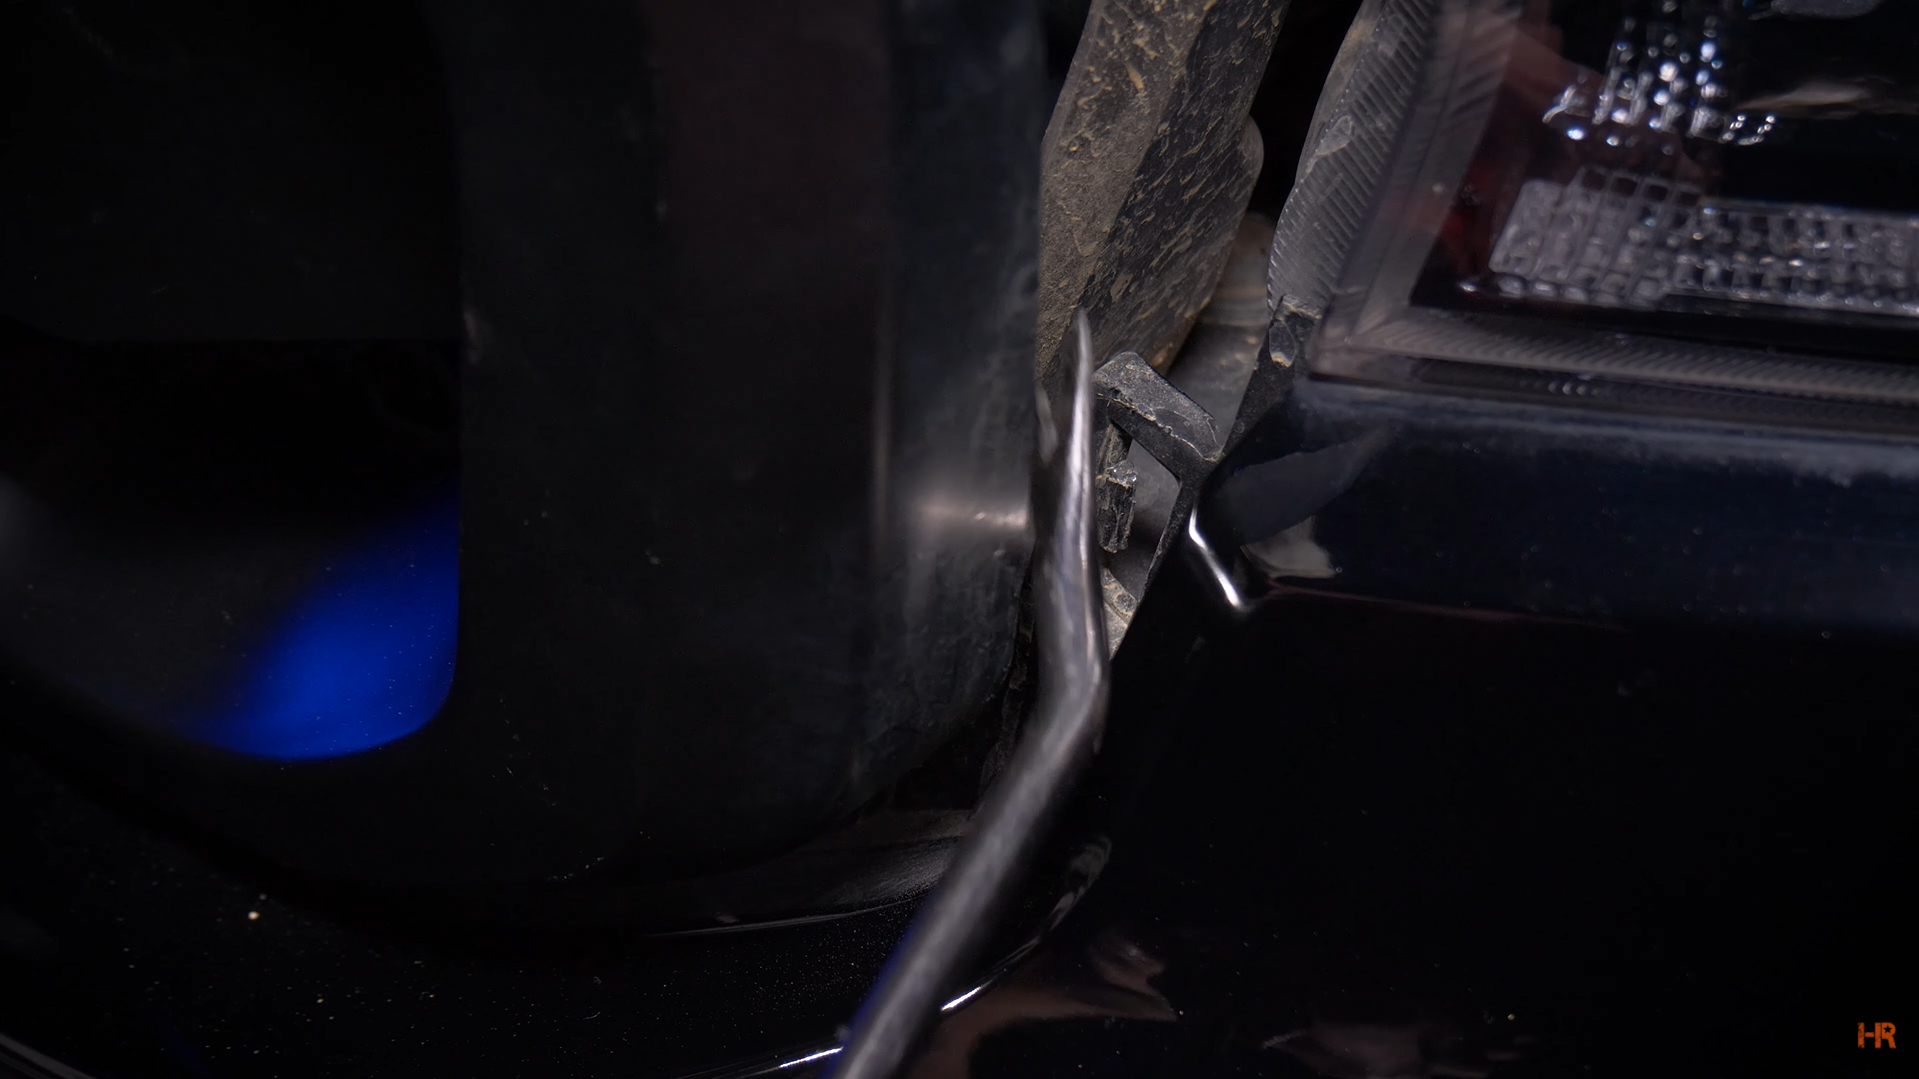
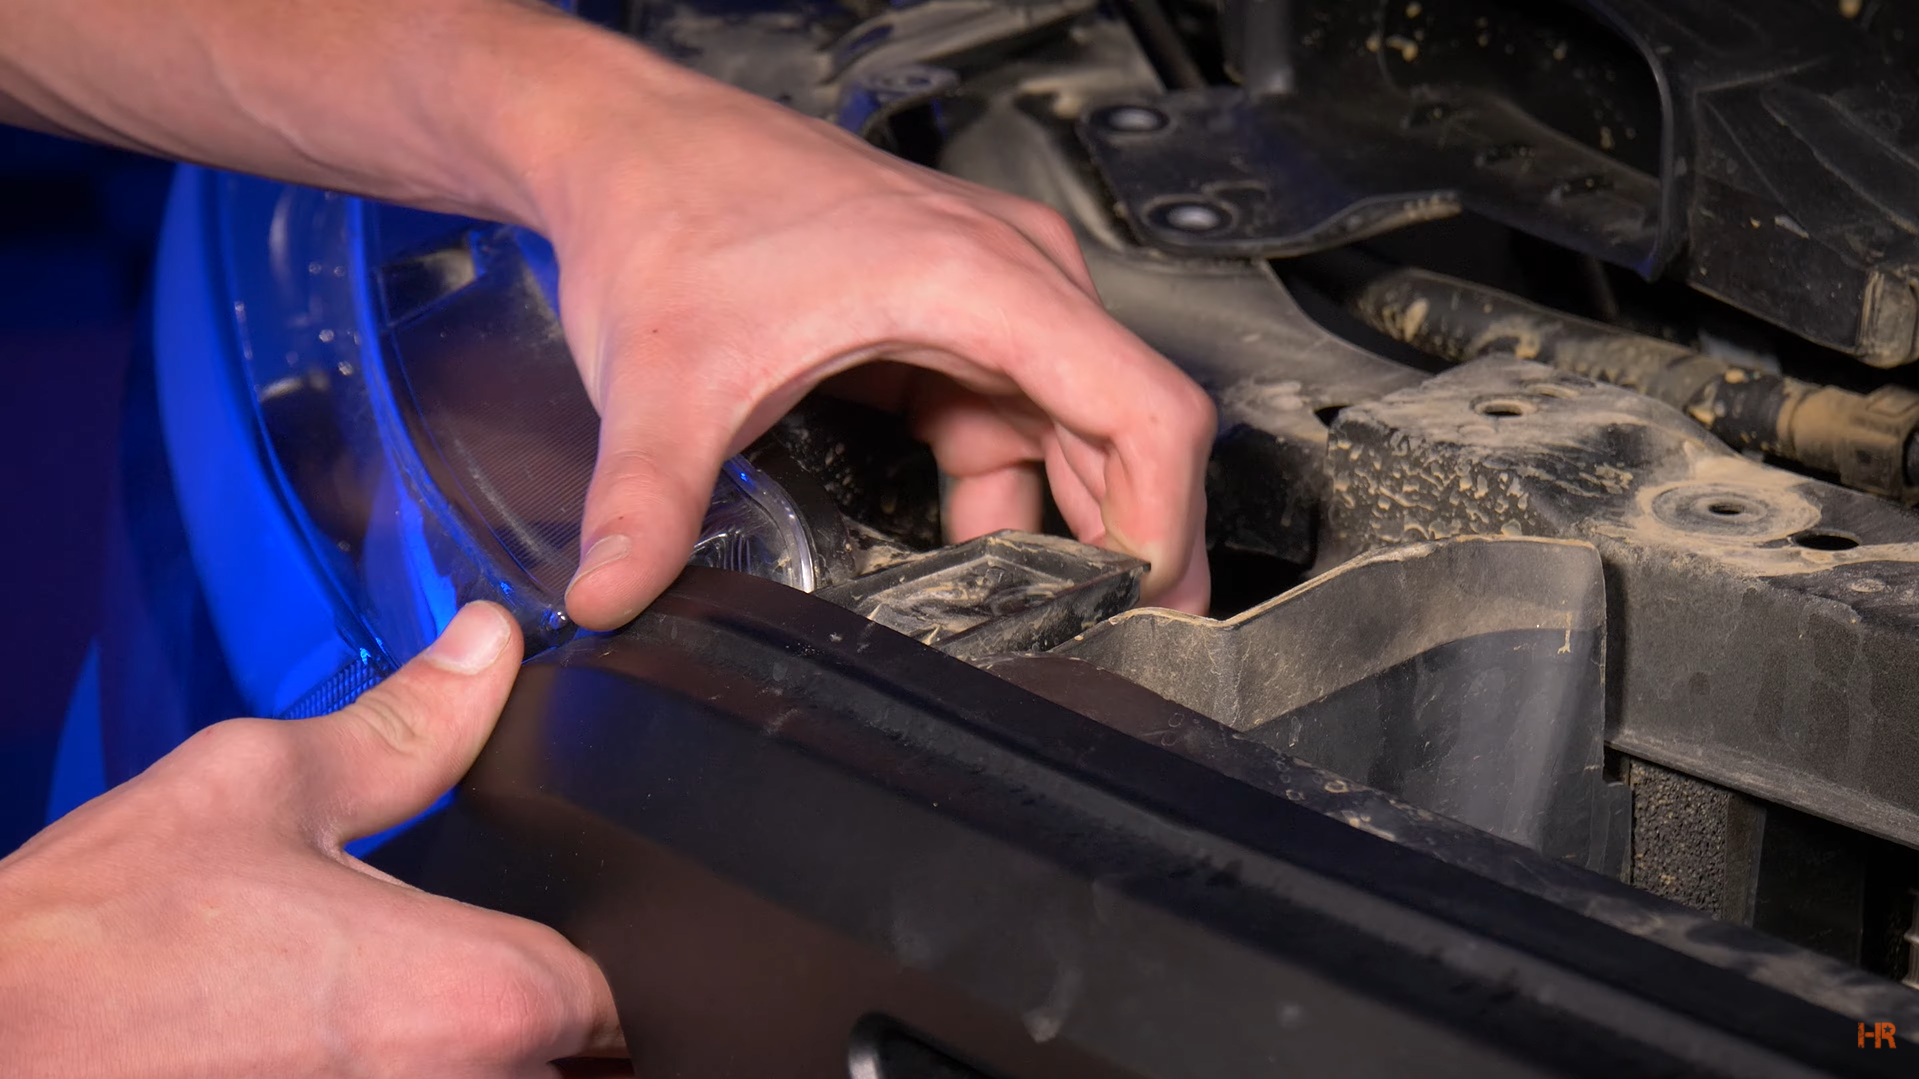
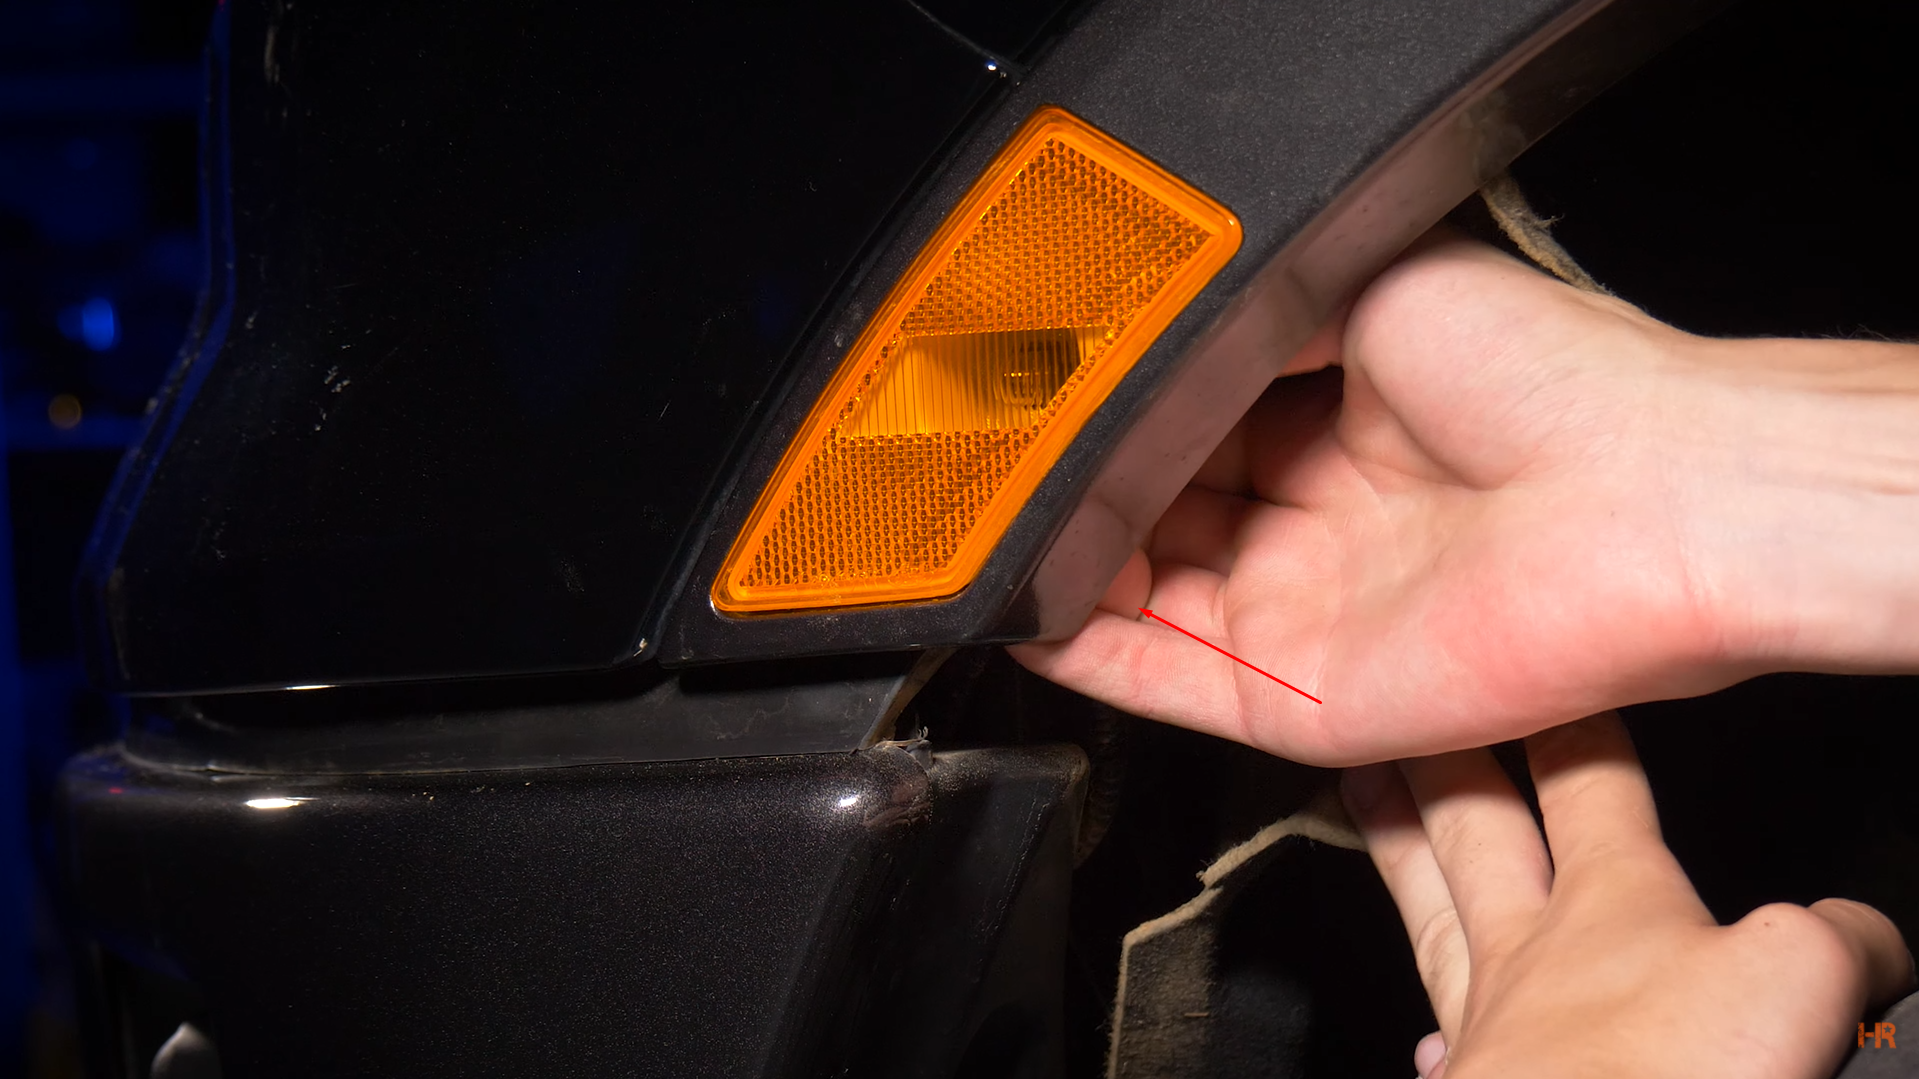
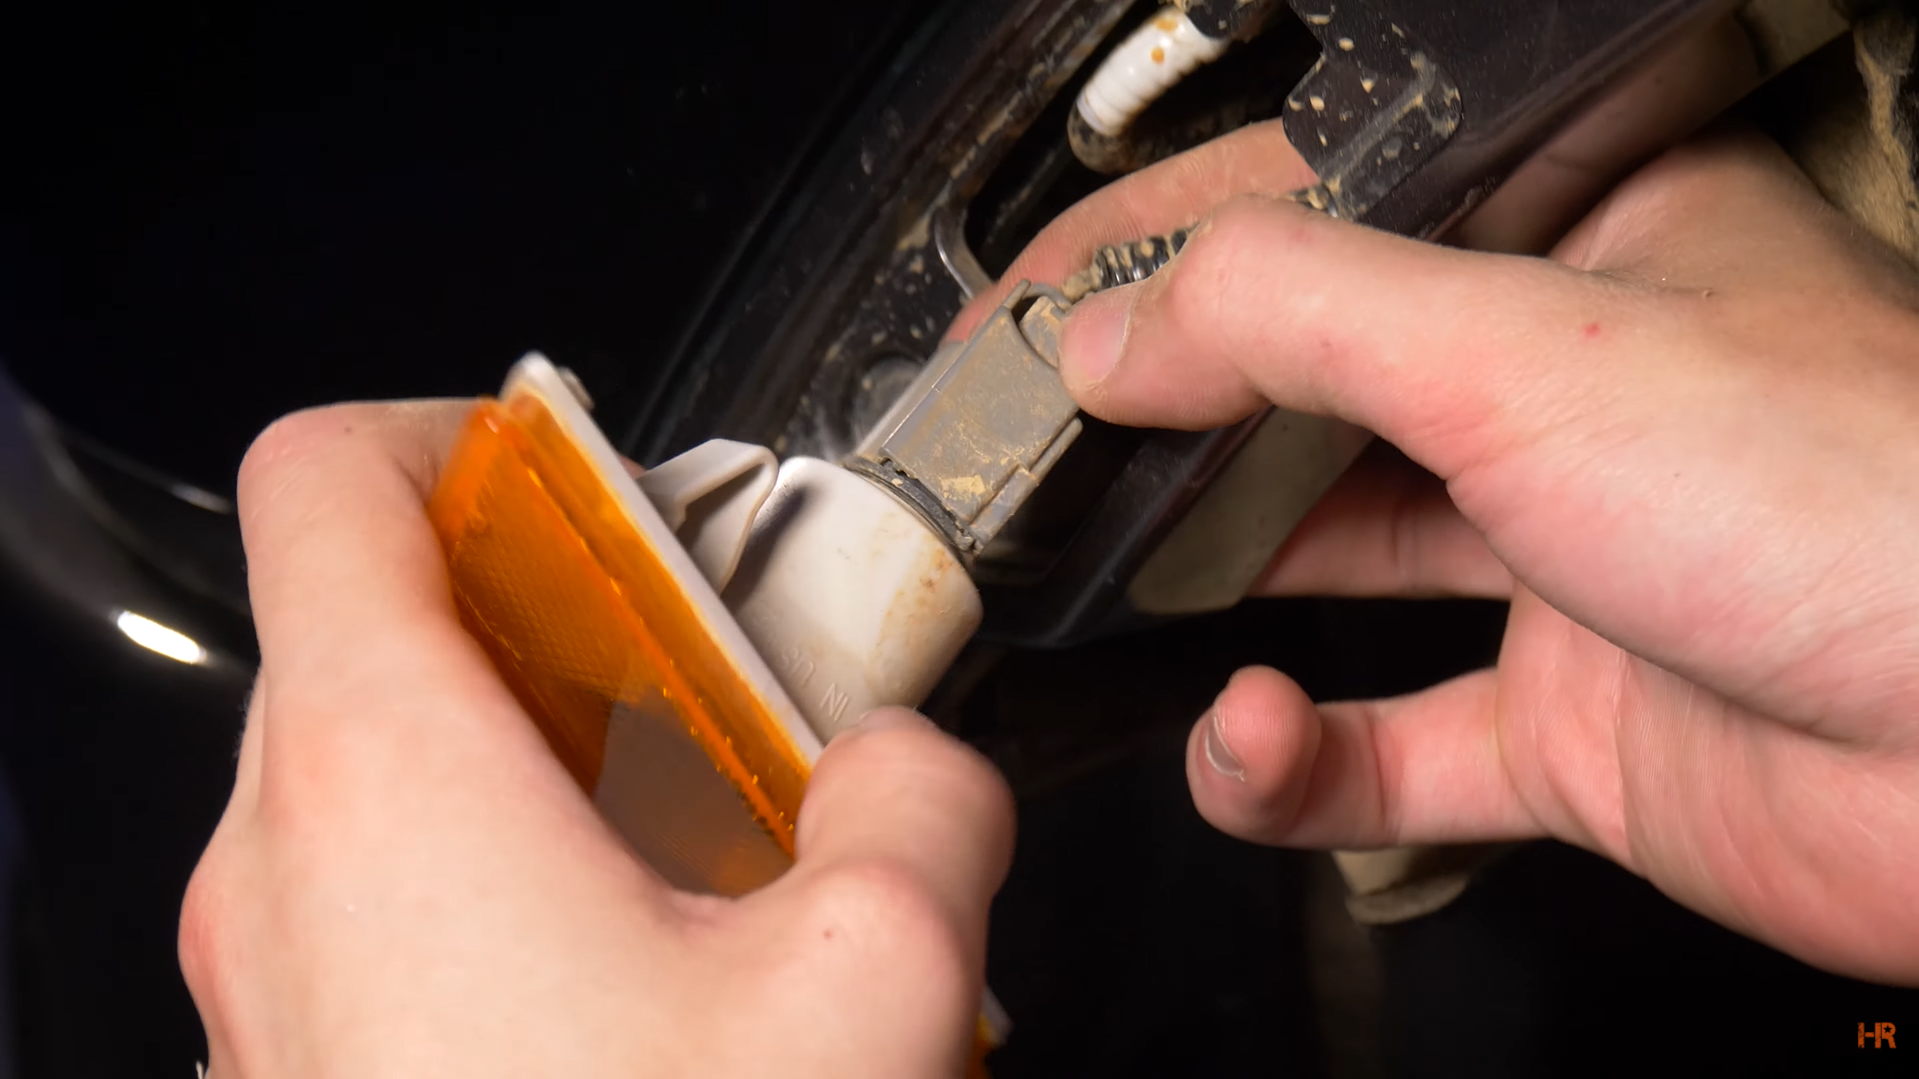
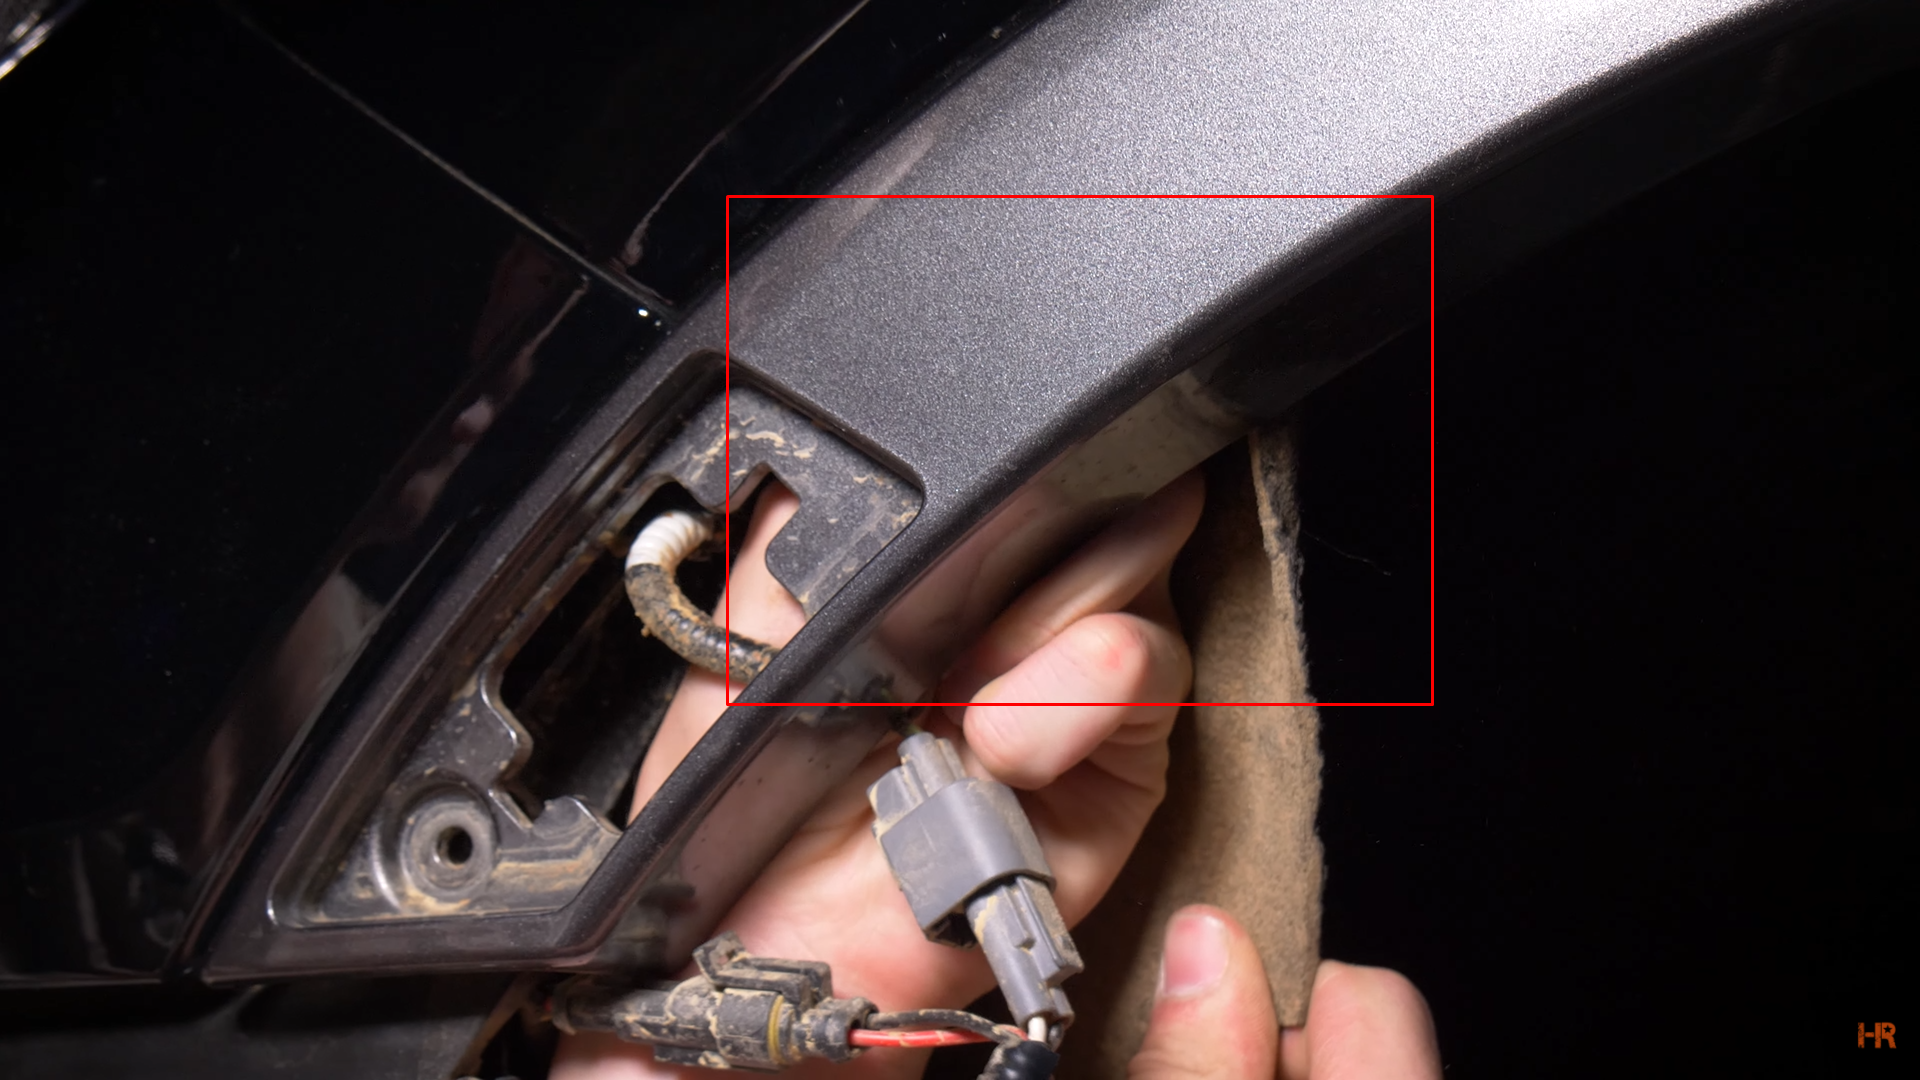
Step 6. Move to the fender well, before progressing you must pull the fender reflector out. To do so, reach behind your fender and unclip the reflector from the interior of the fender by pushing up and out.
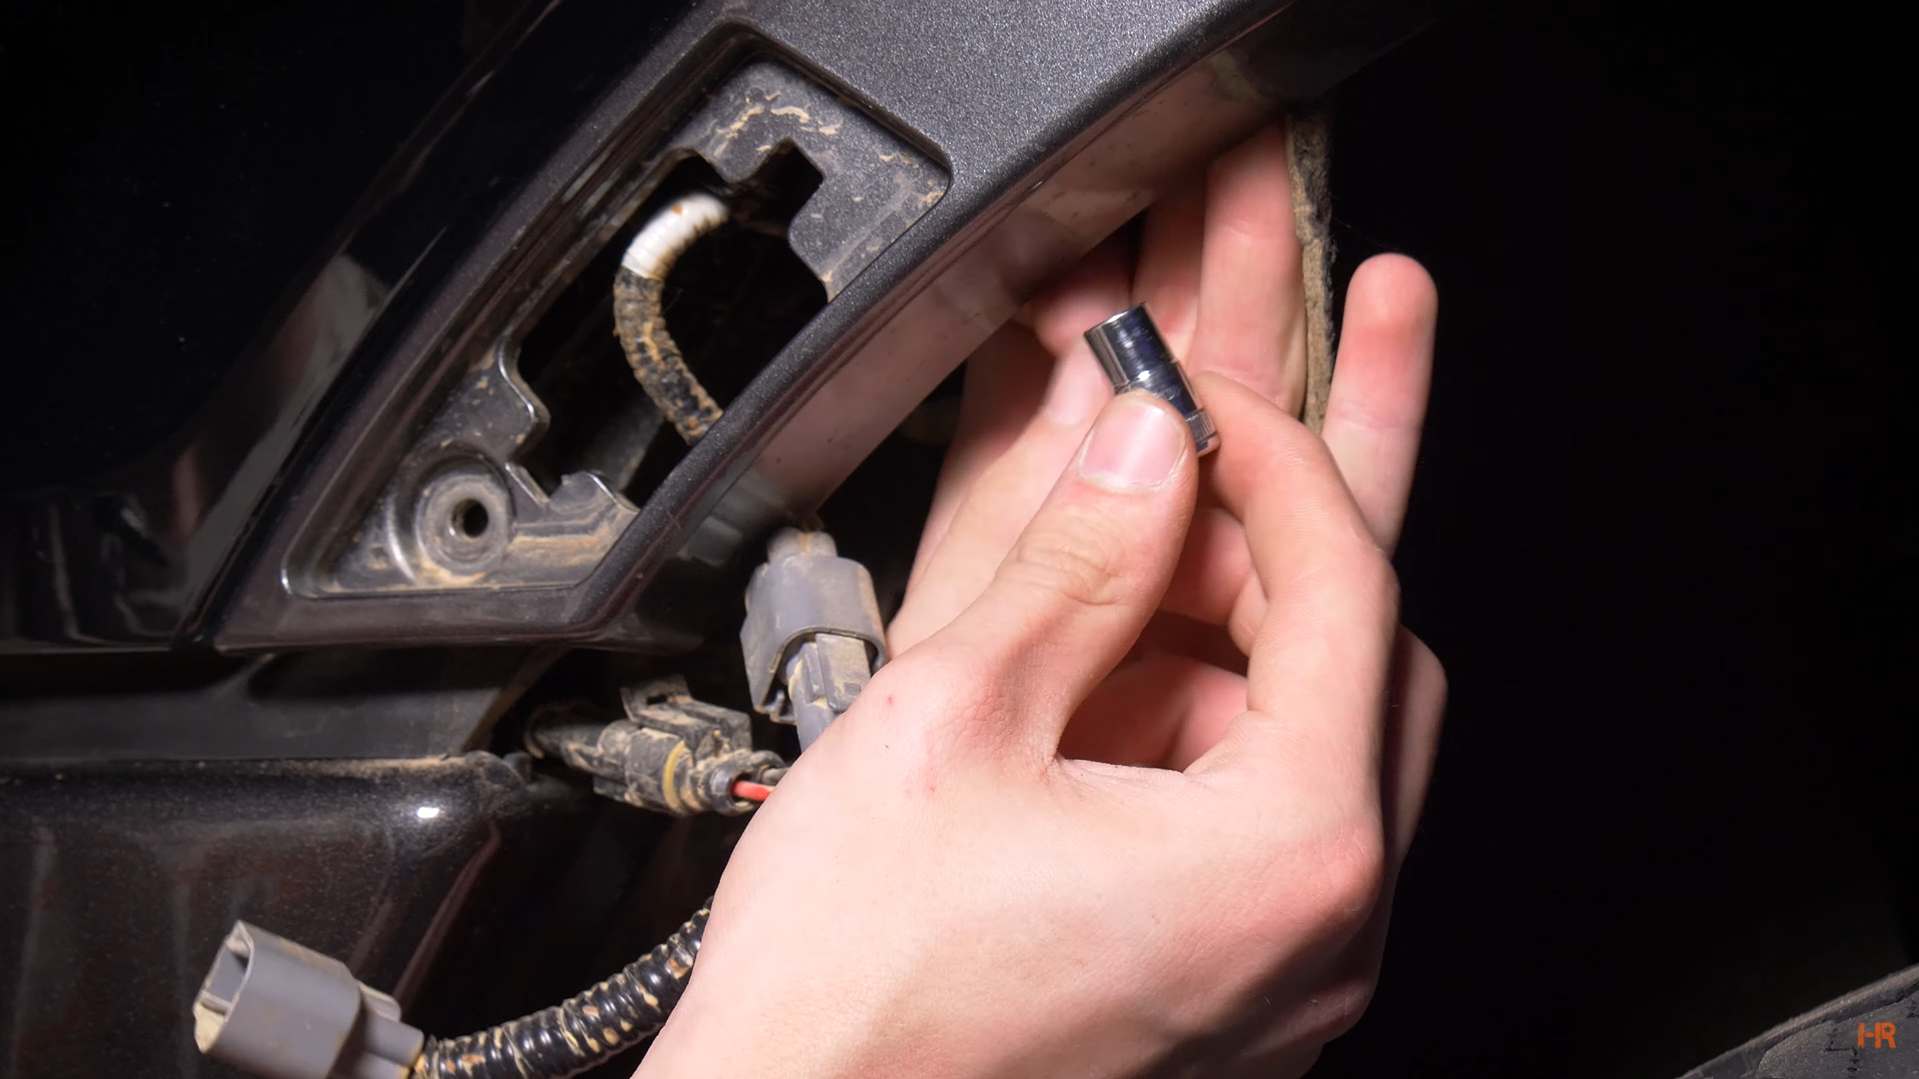
To free the connector, push down the clip at the base of the connector.
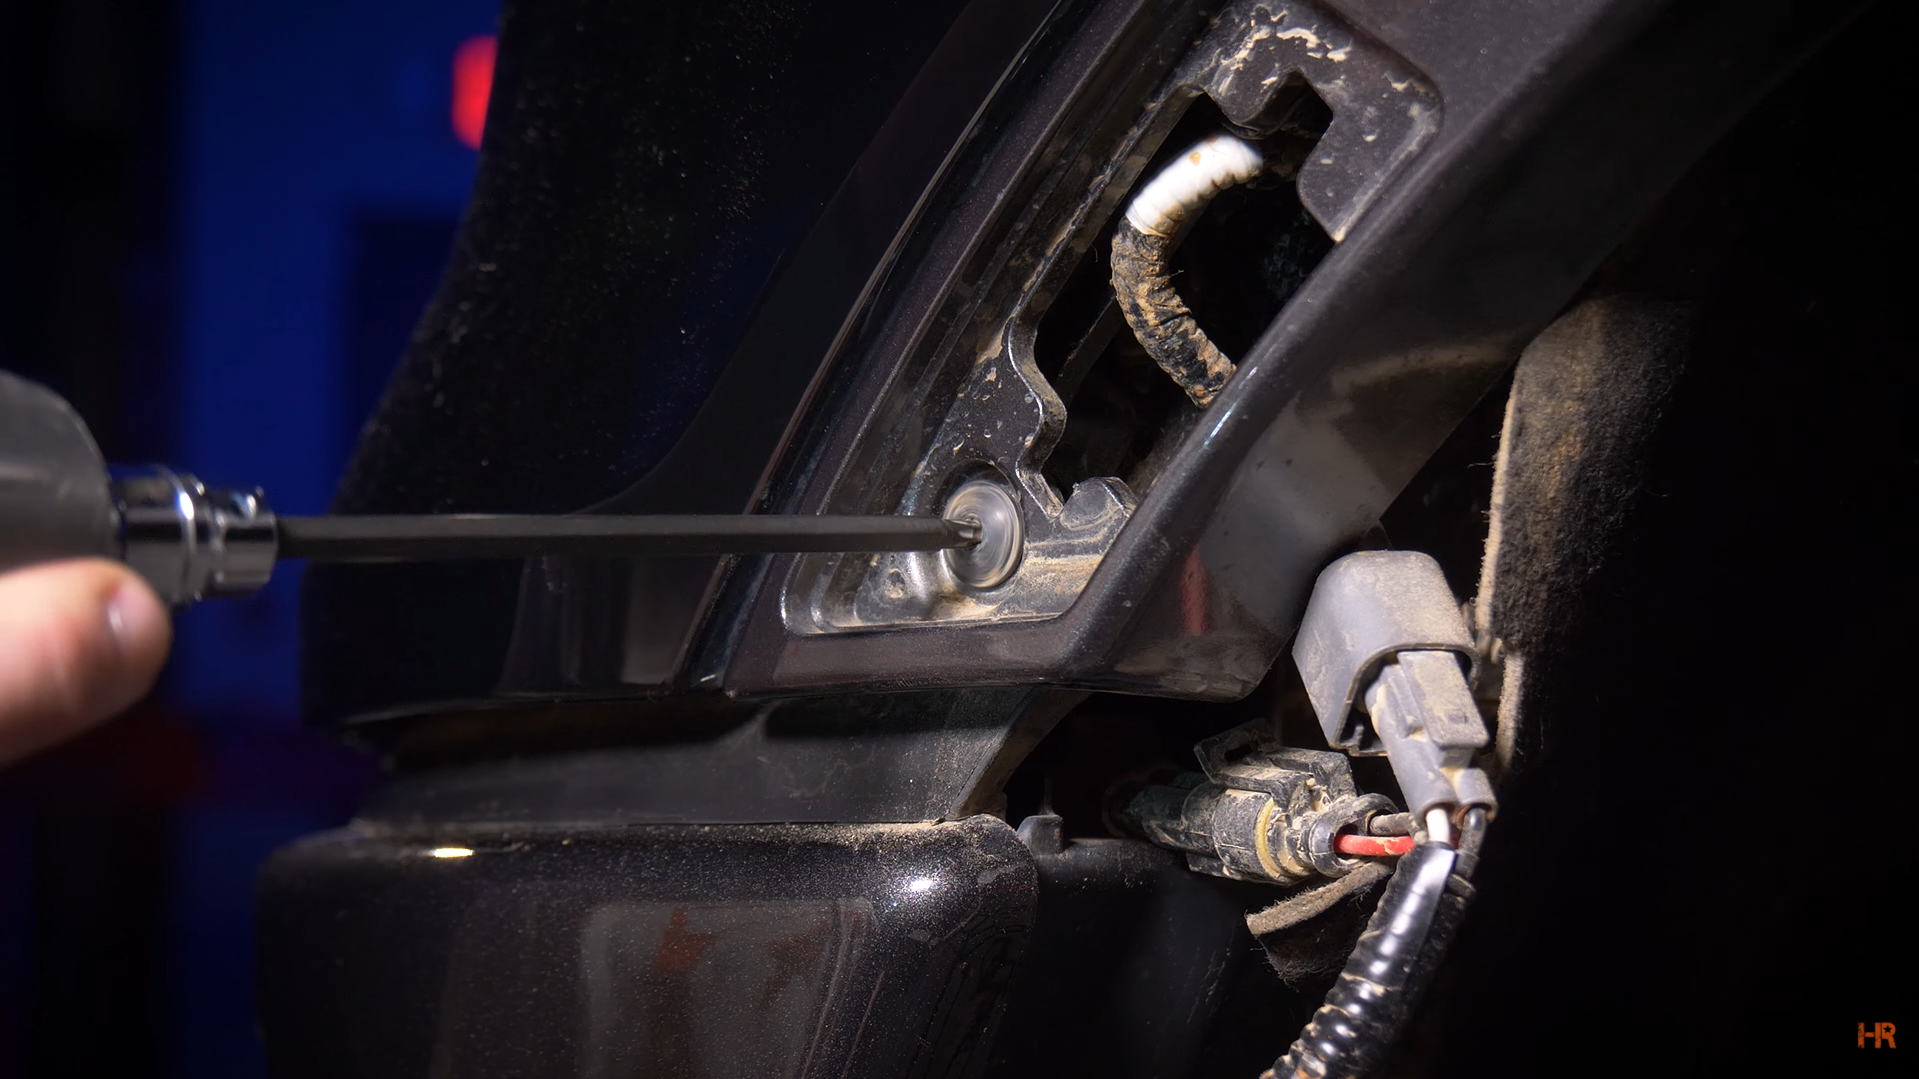
You can then unscrew the single T20 Torx bolt.
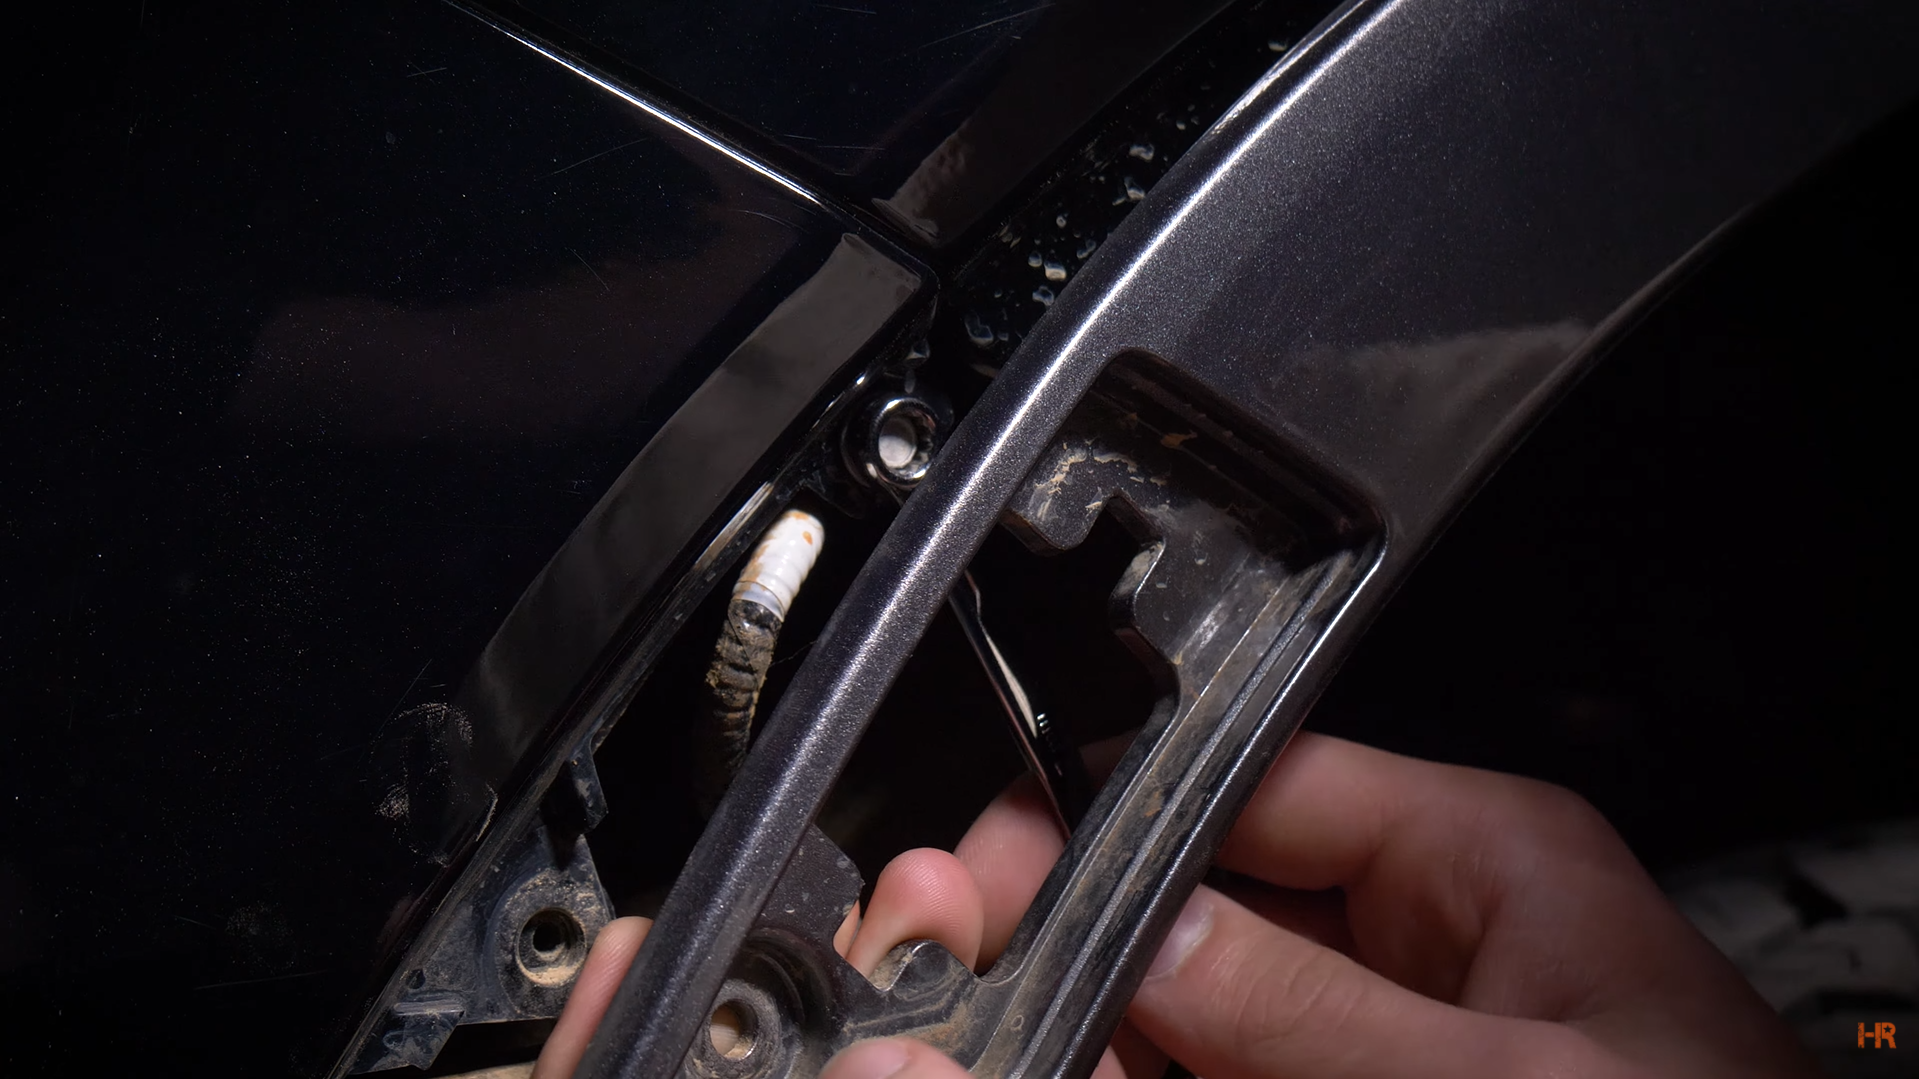
Step 7. Next is to peel back the fender liner to gain access to a clip. You will feel two points, a square point and one a little higher than that. The one just higher is the clip you want to remove.
To get it unclipped, take an 8mm and reach up under the fender. Slip the 8mm socket over the tab to release it from the fender.
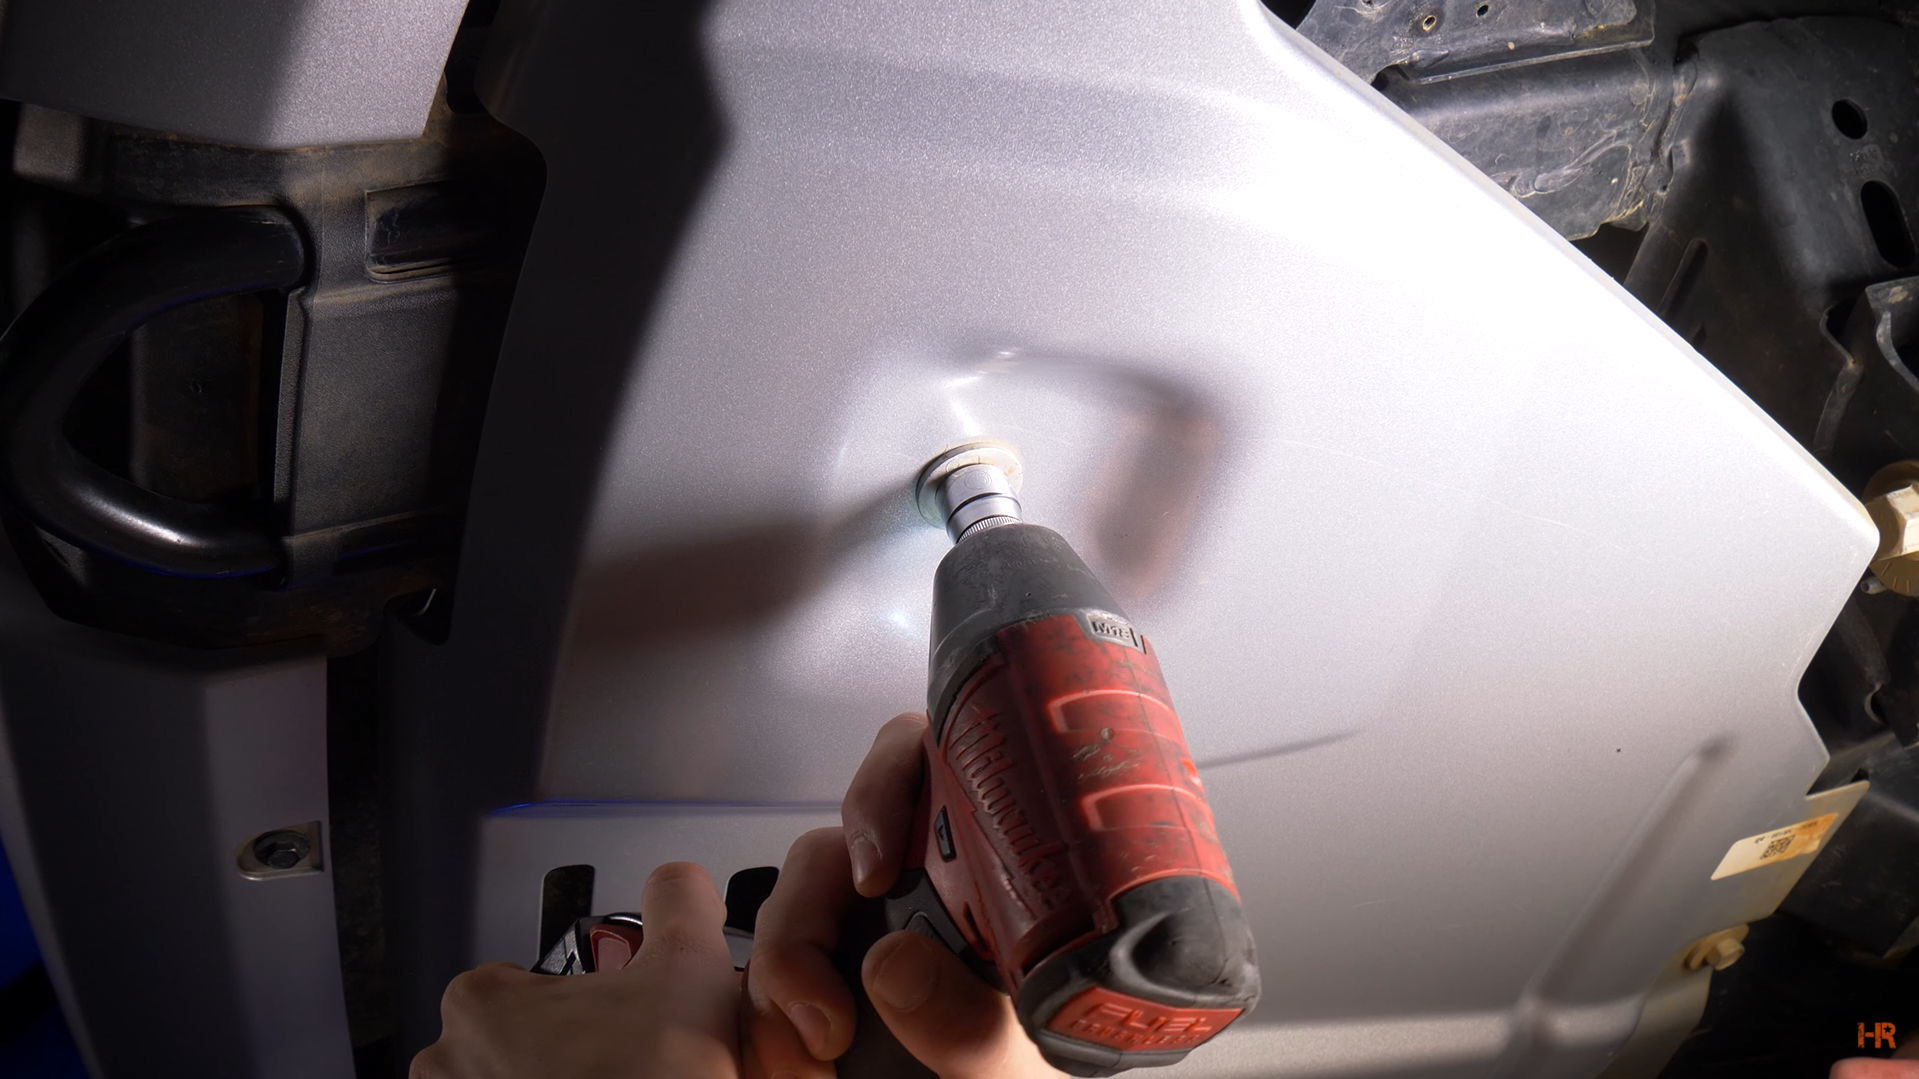
Step 8. Pull back the flare and unscrew the 7mm bolt with a wrench.
With that done, you can now unclip the bumper. Repeat for both sides.
(Optional) Step 9. If your Ranger has a skid plate, like ours, you will need to get under the car to remove it.
On ours, we had four 15mm bolts to remove. This can be done alone but is best completed with help.
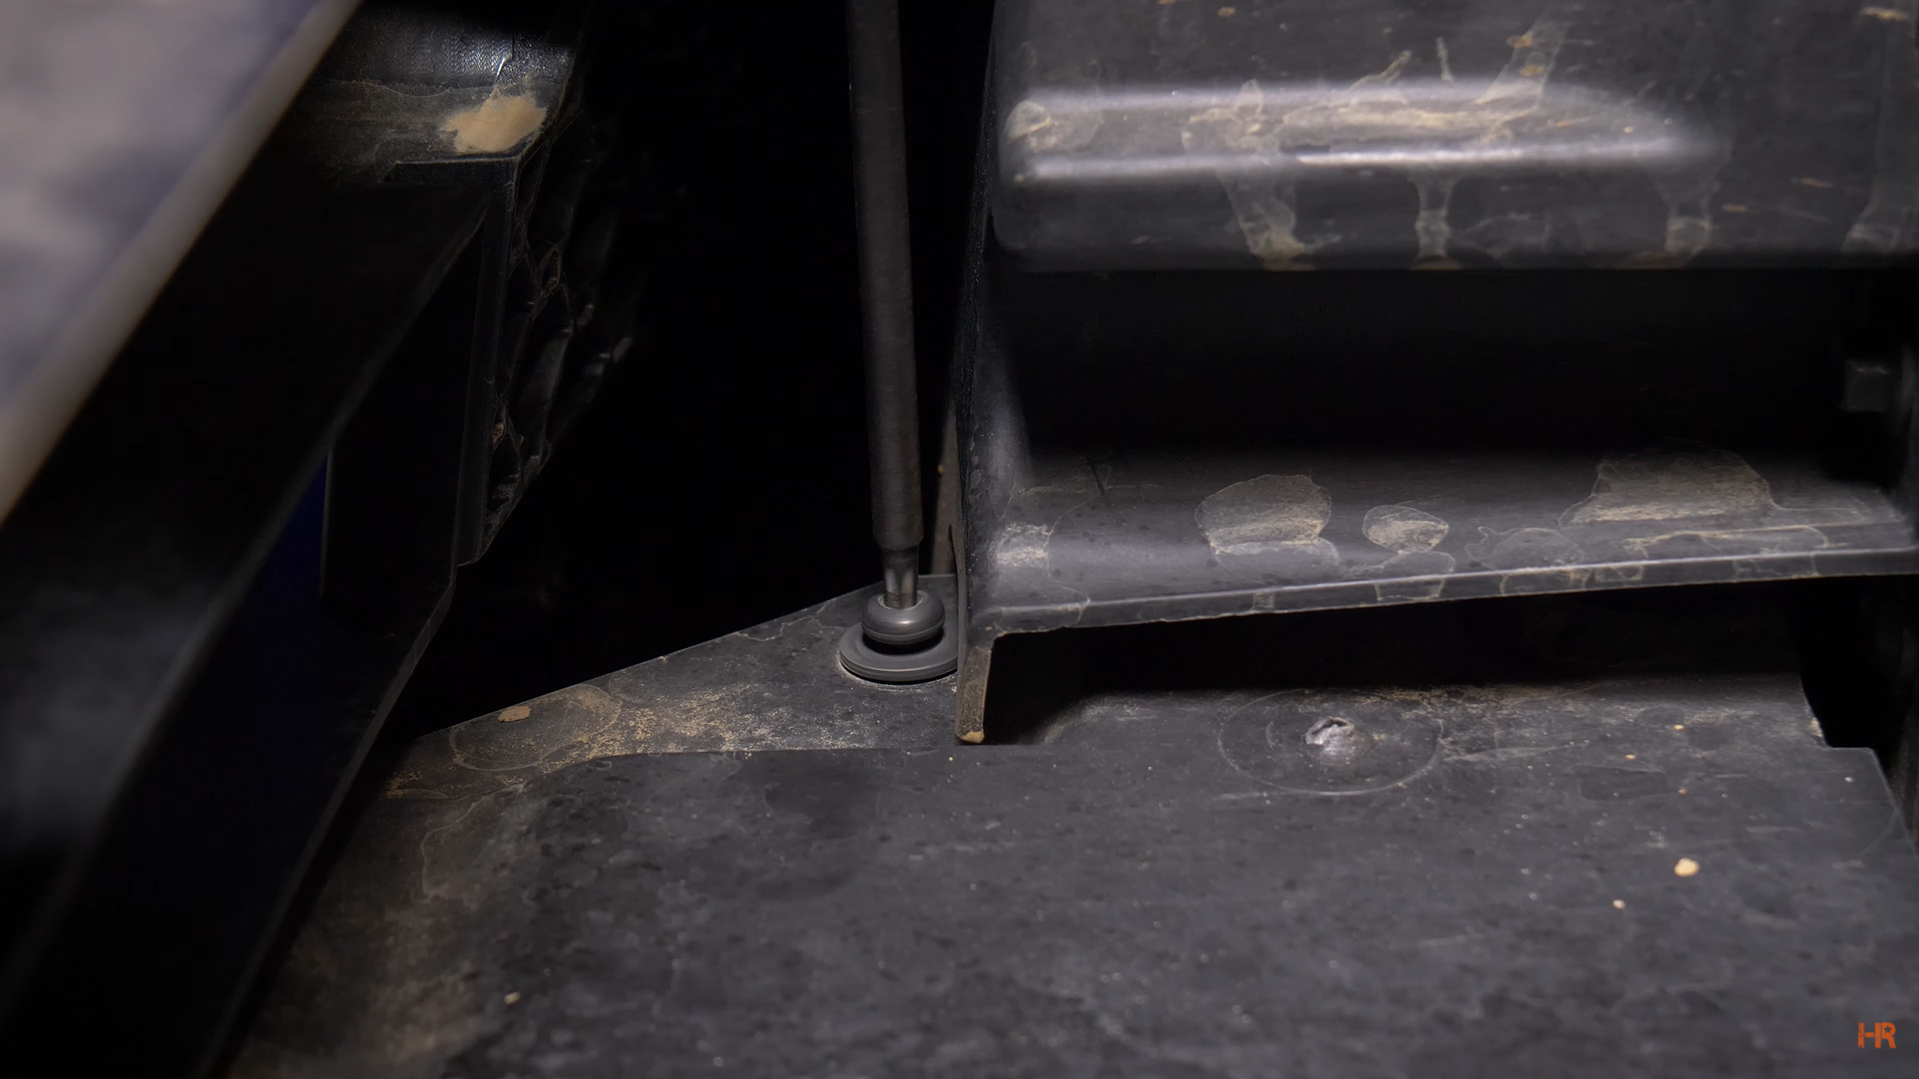
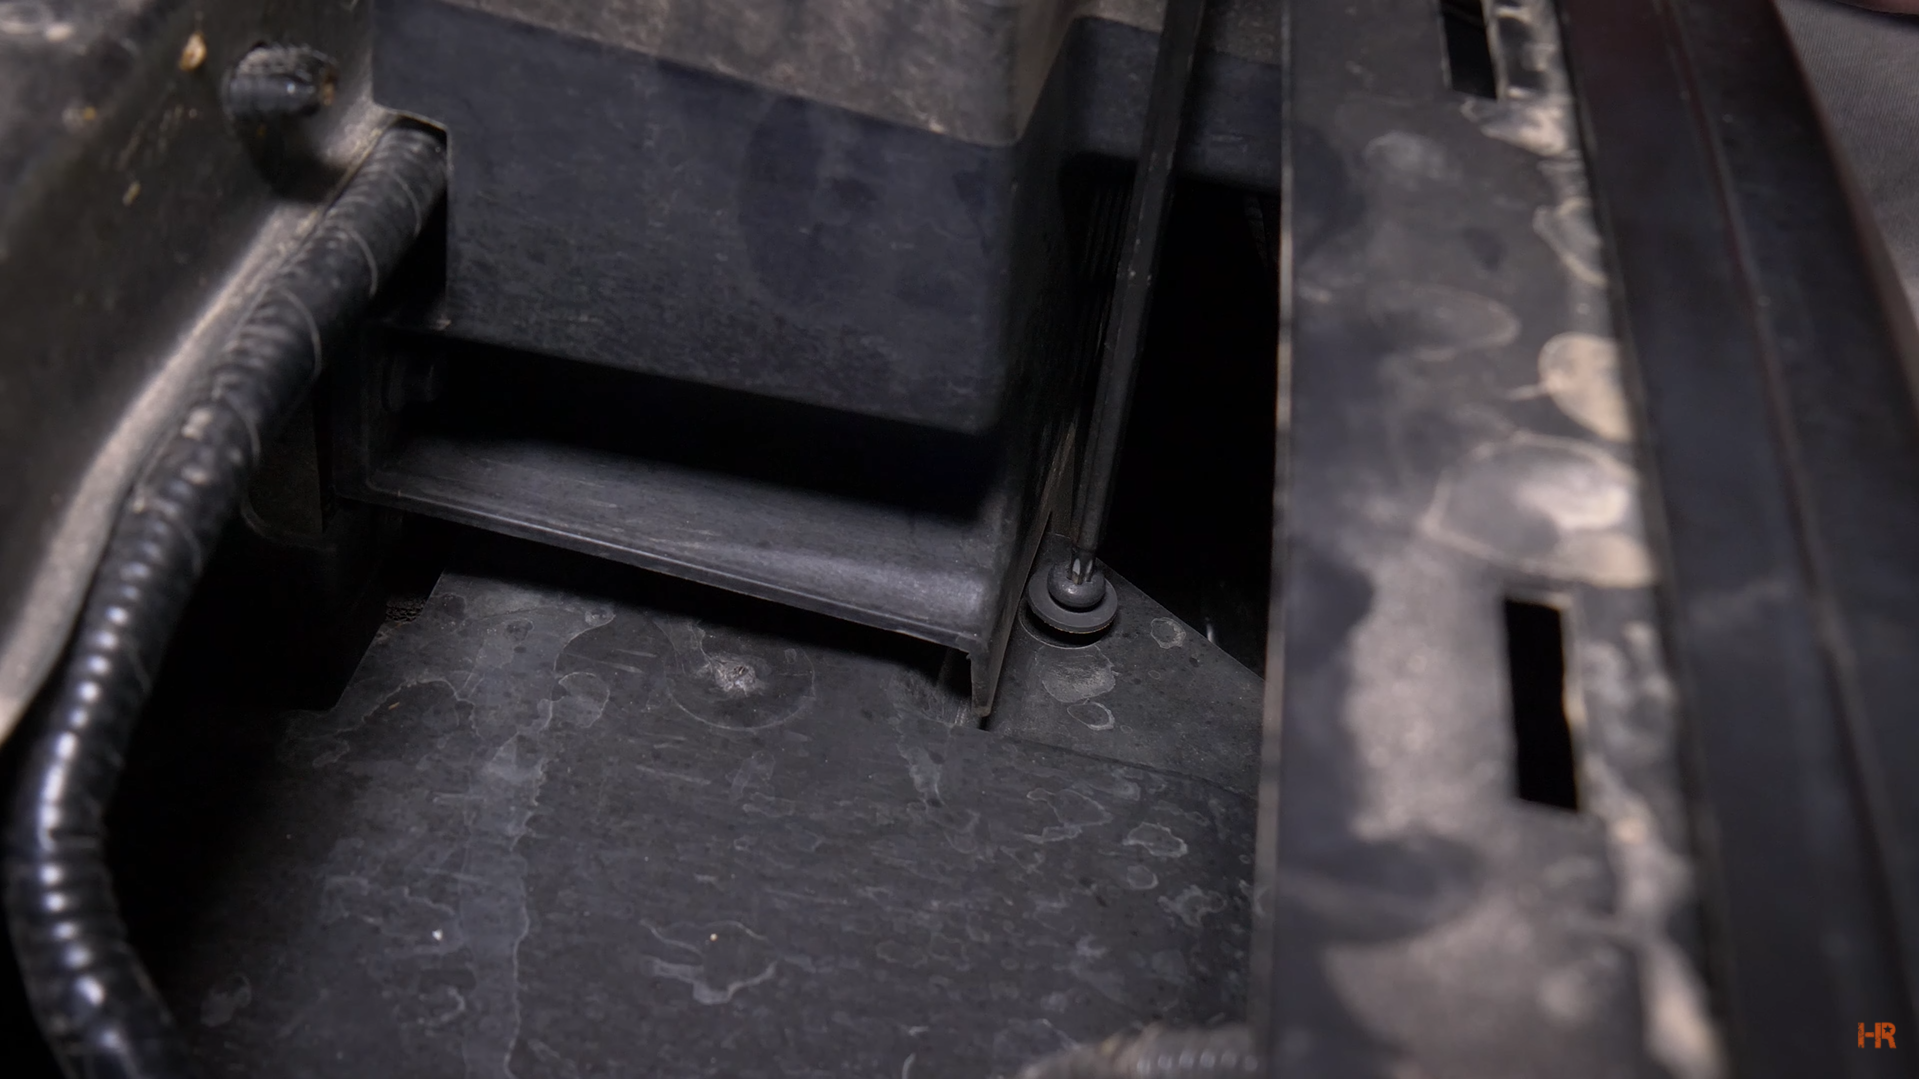
Step 10. Take a T30 Torx bit to the bolts located beneath the headlight housing on either side of the car.

There are three more dotted across the front of the car, above the bumper (left, center, and right).
The center T30 Torx bit is behind the piece of plastic in the center of the bumper. To reach it, it is best to use a ratchet.
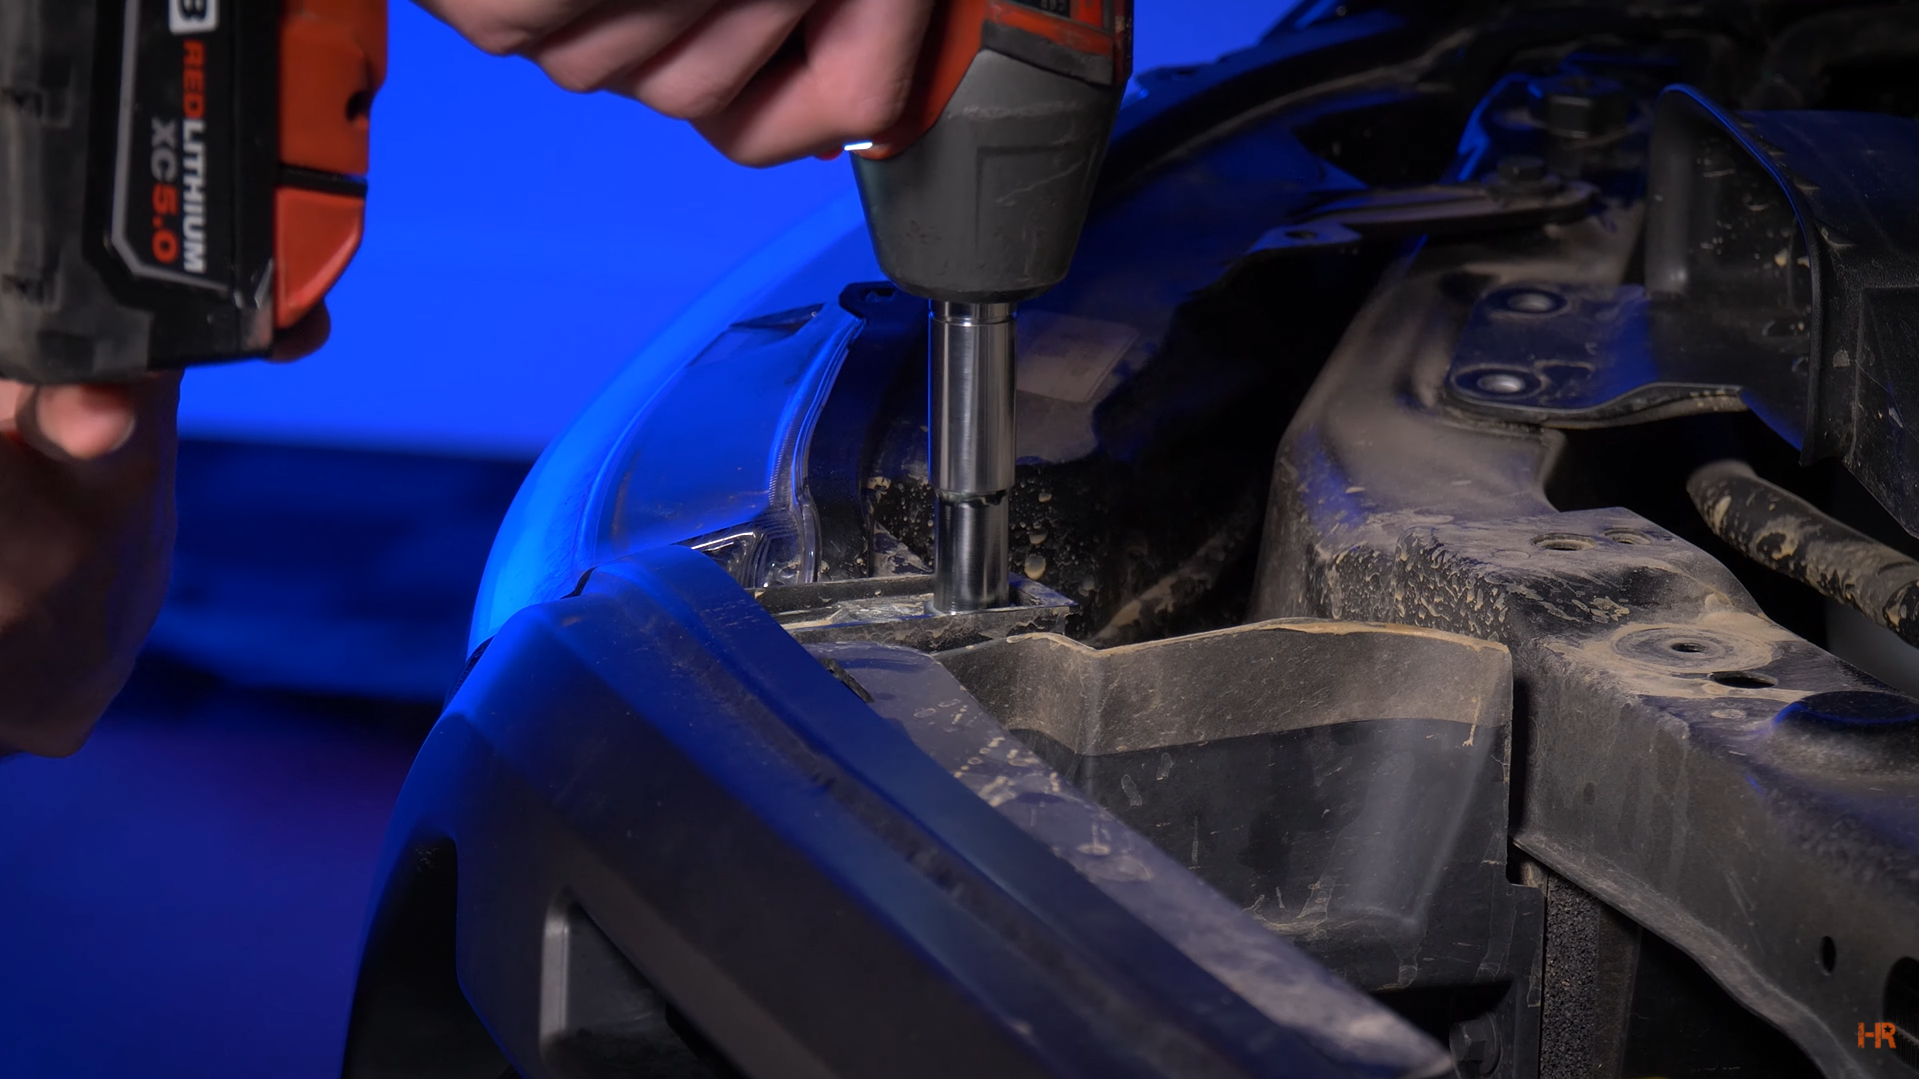
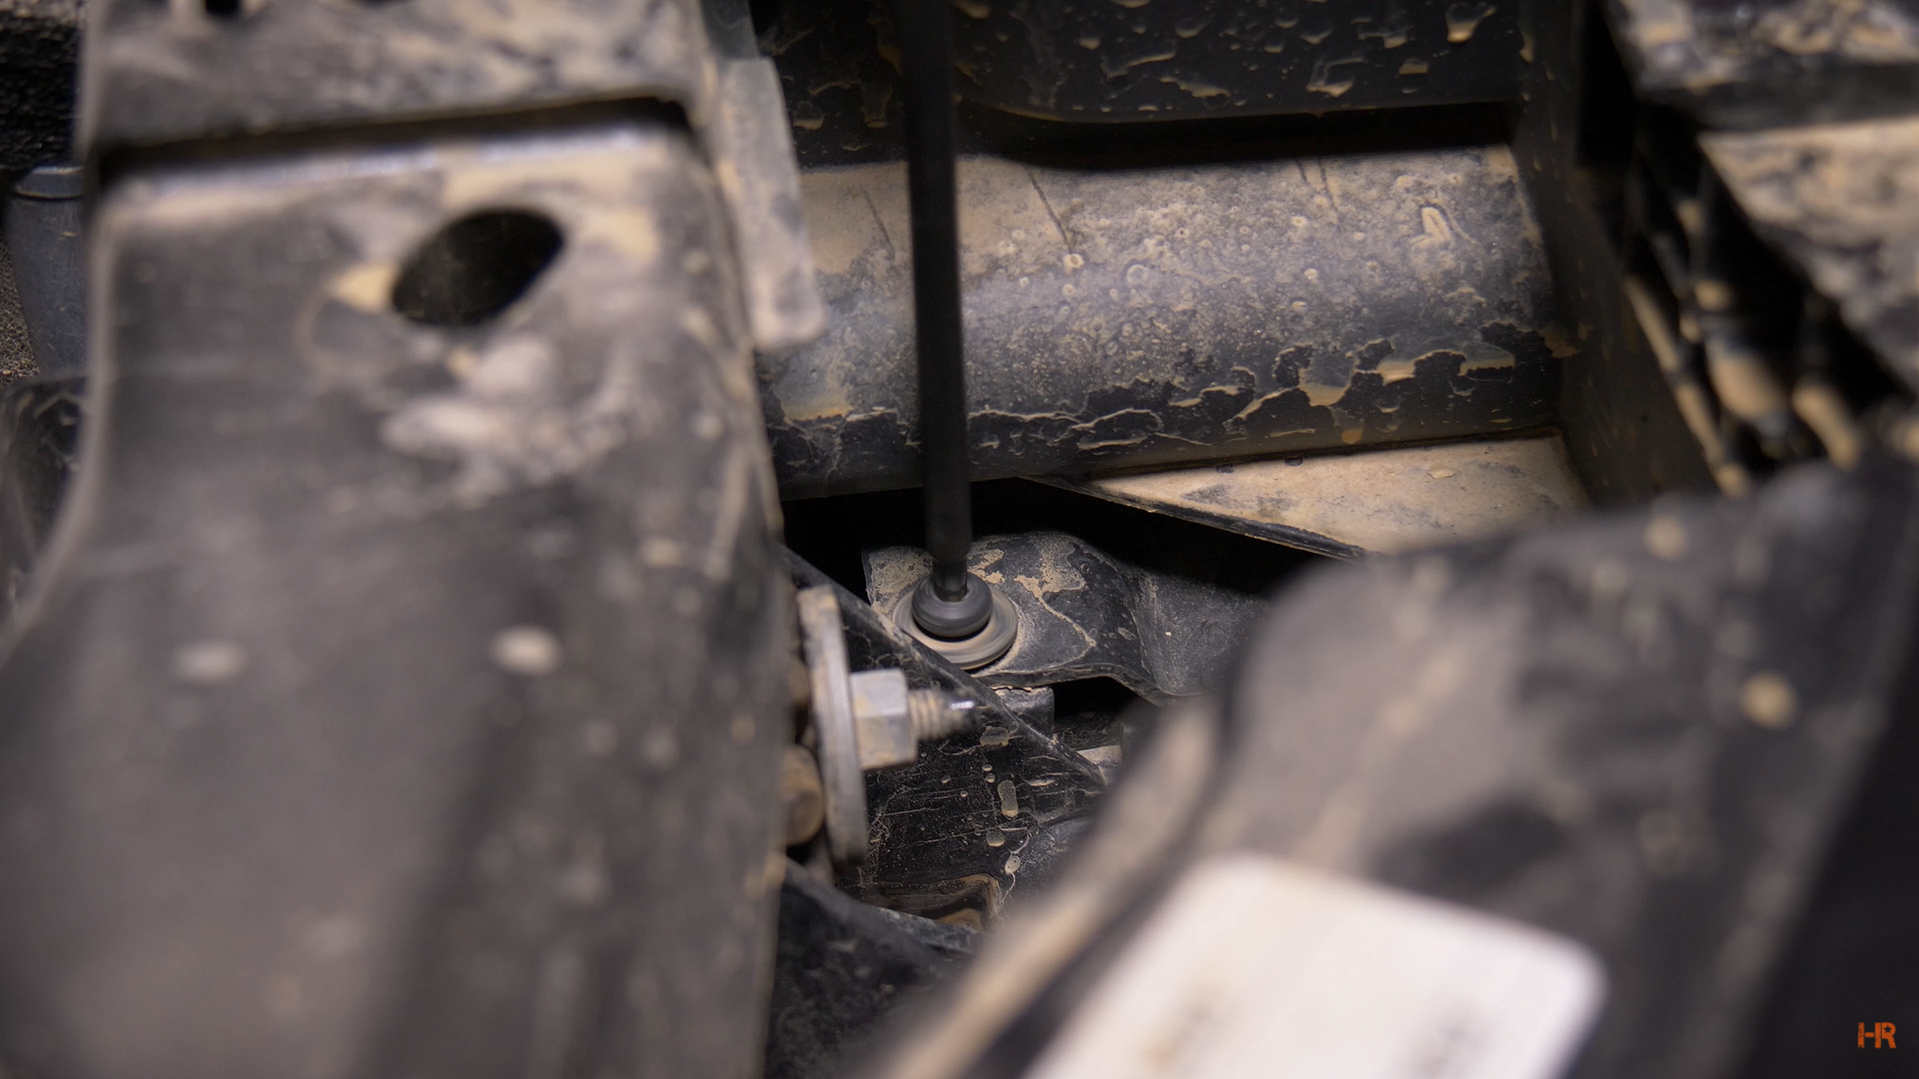
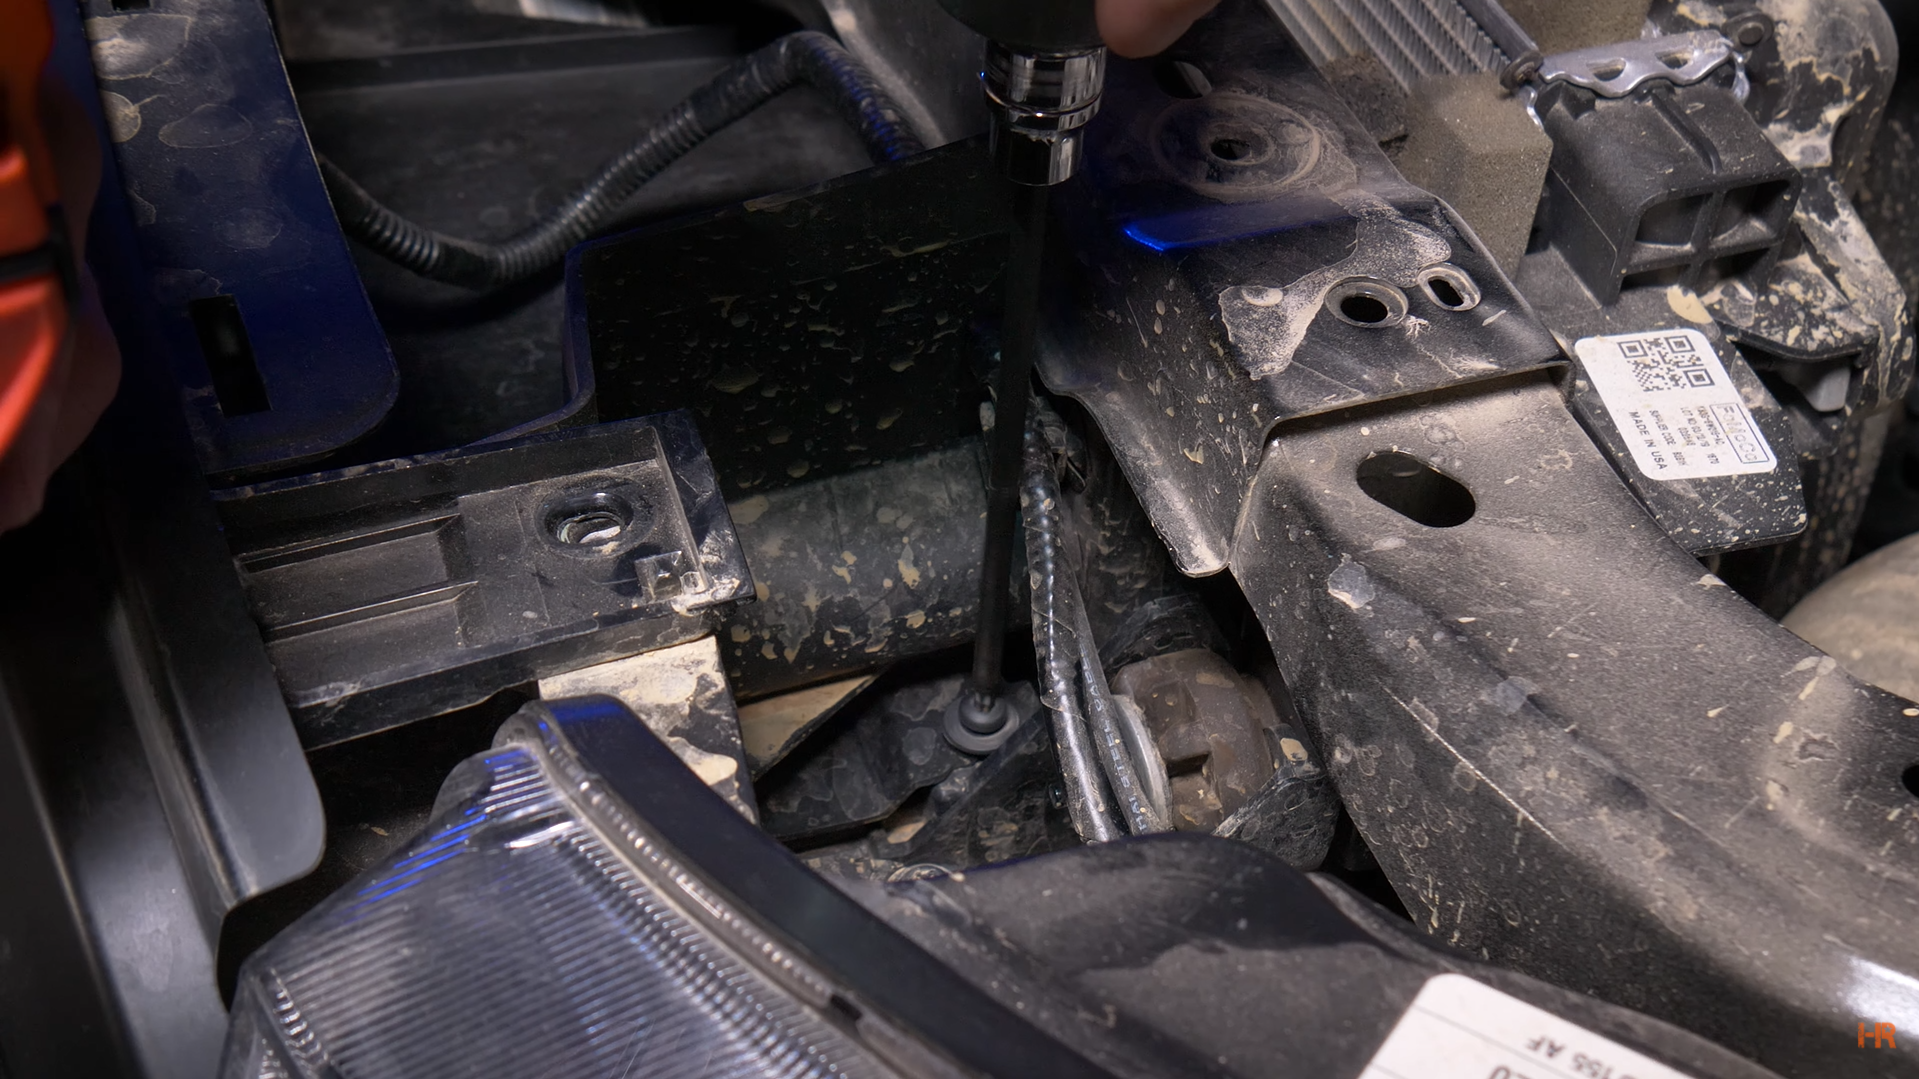
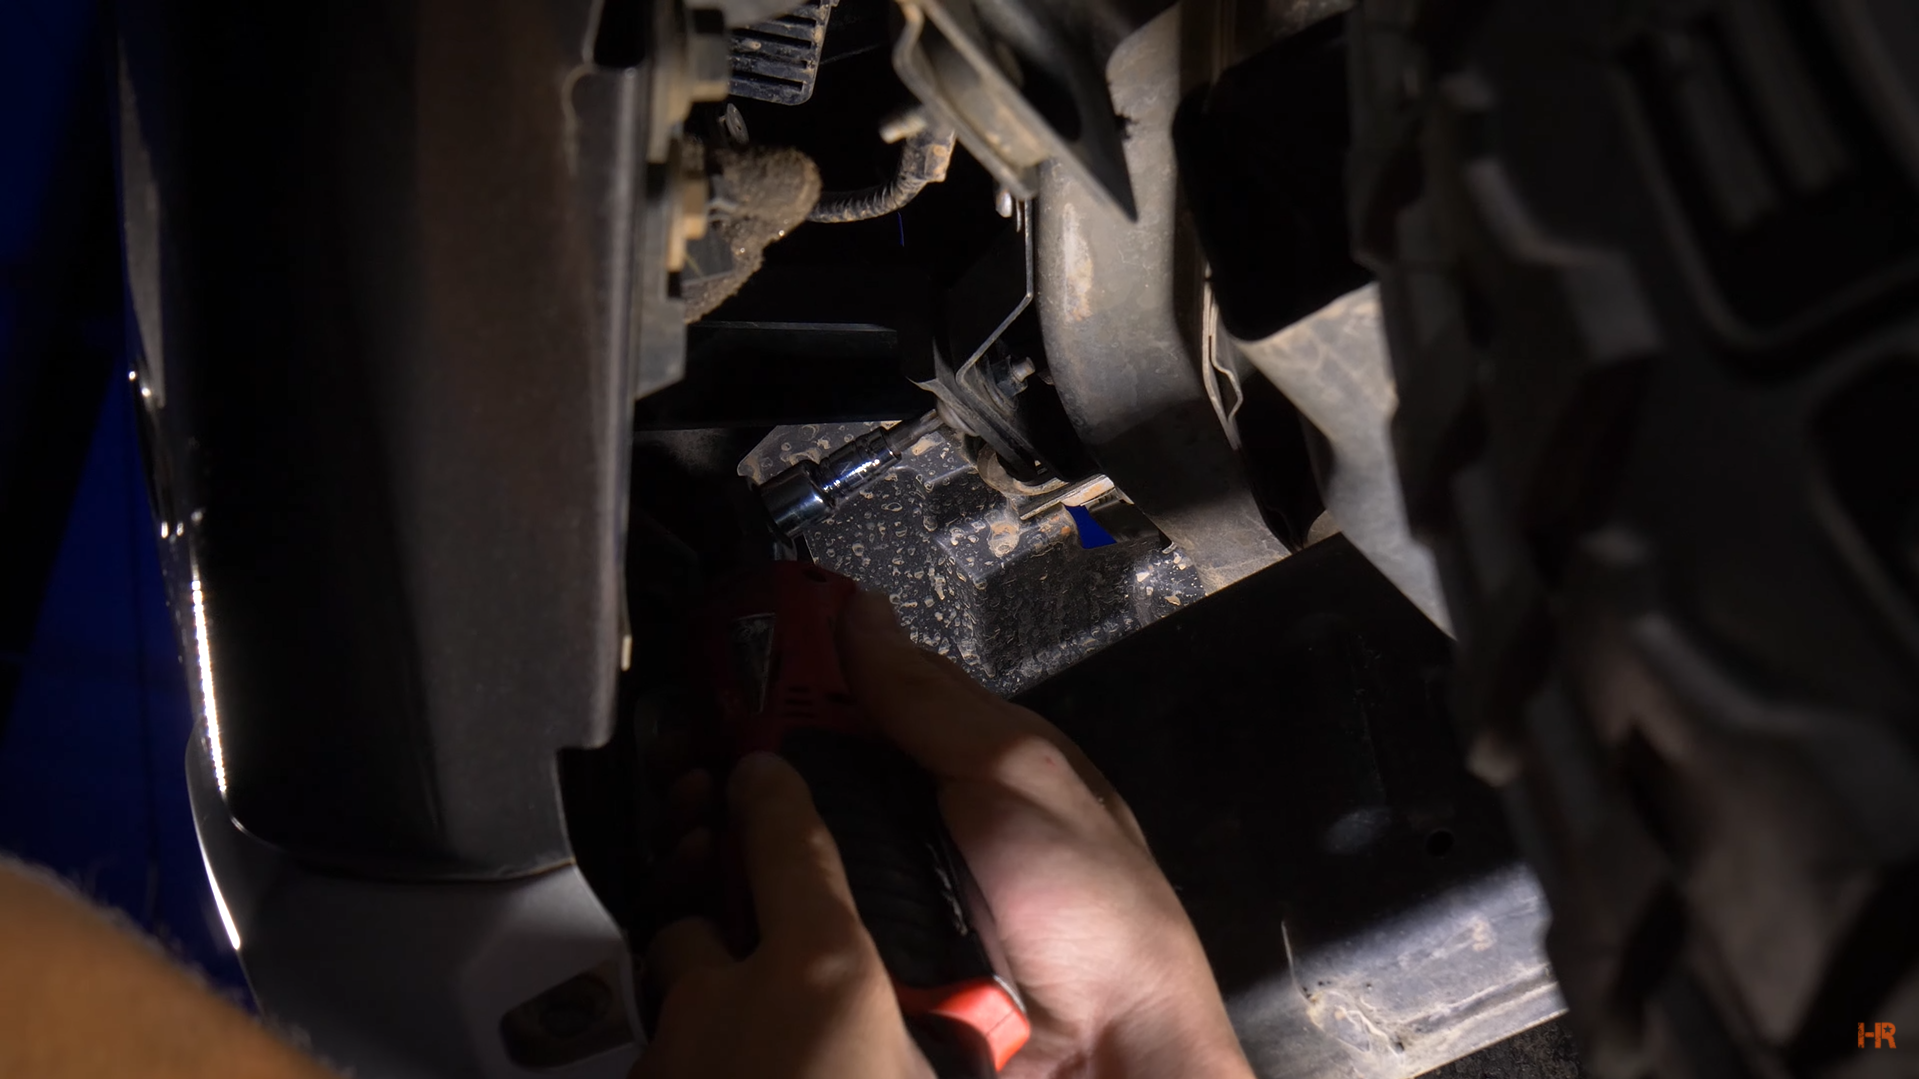
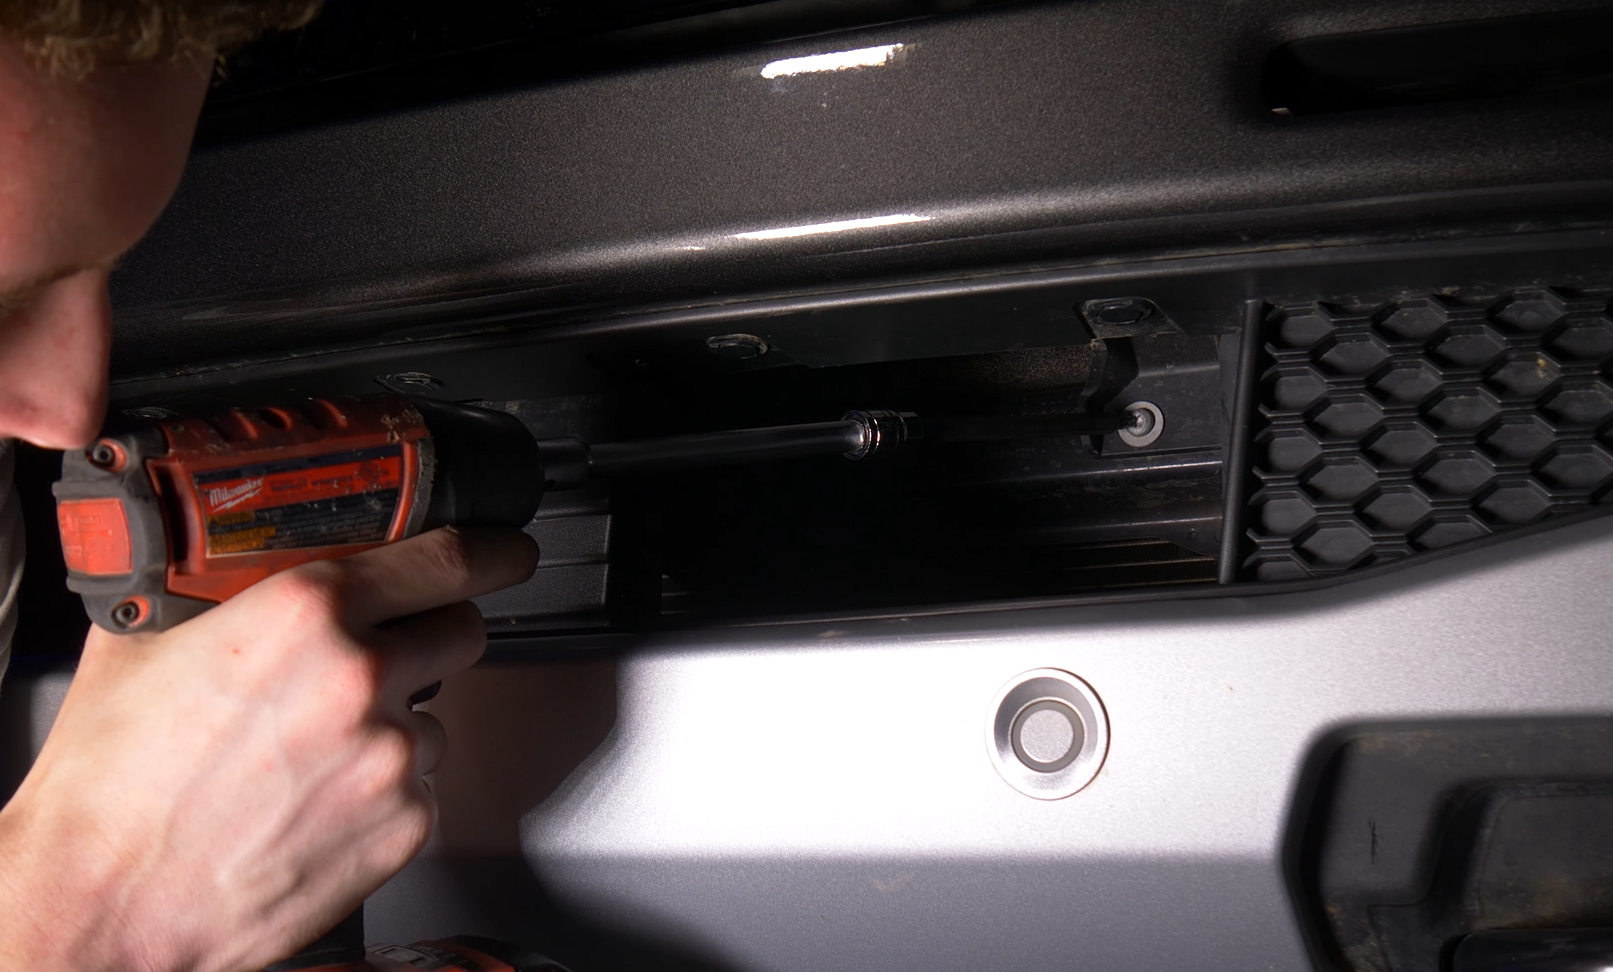
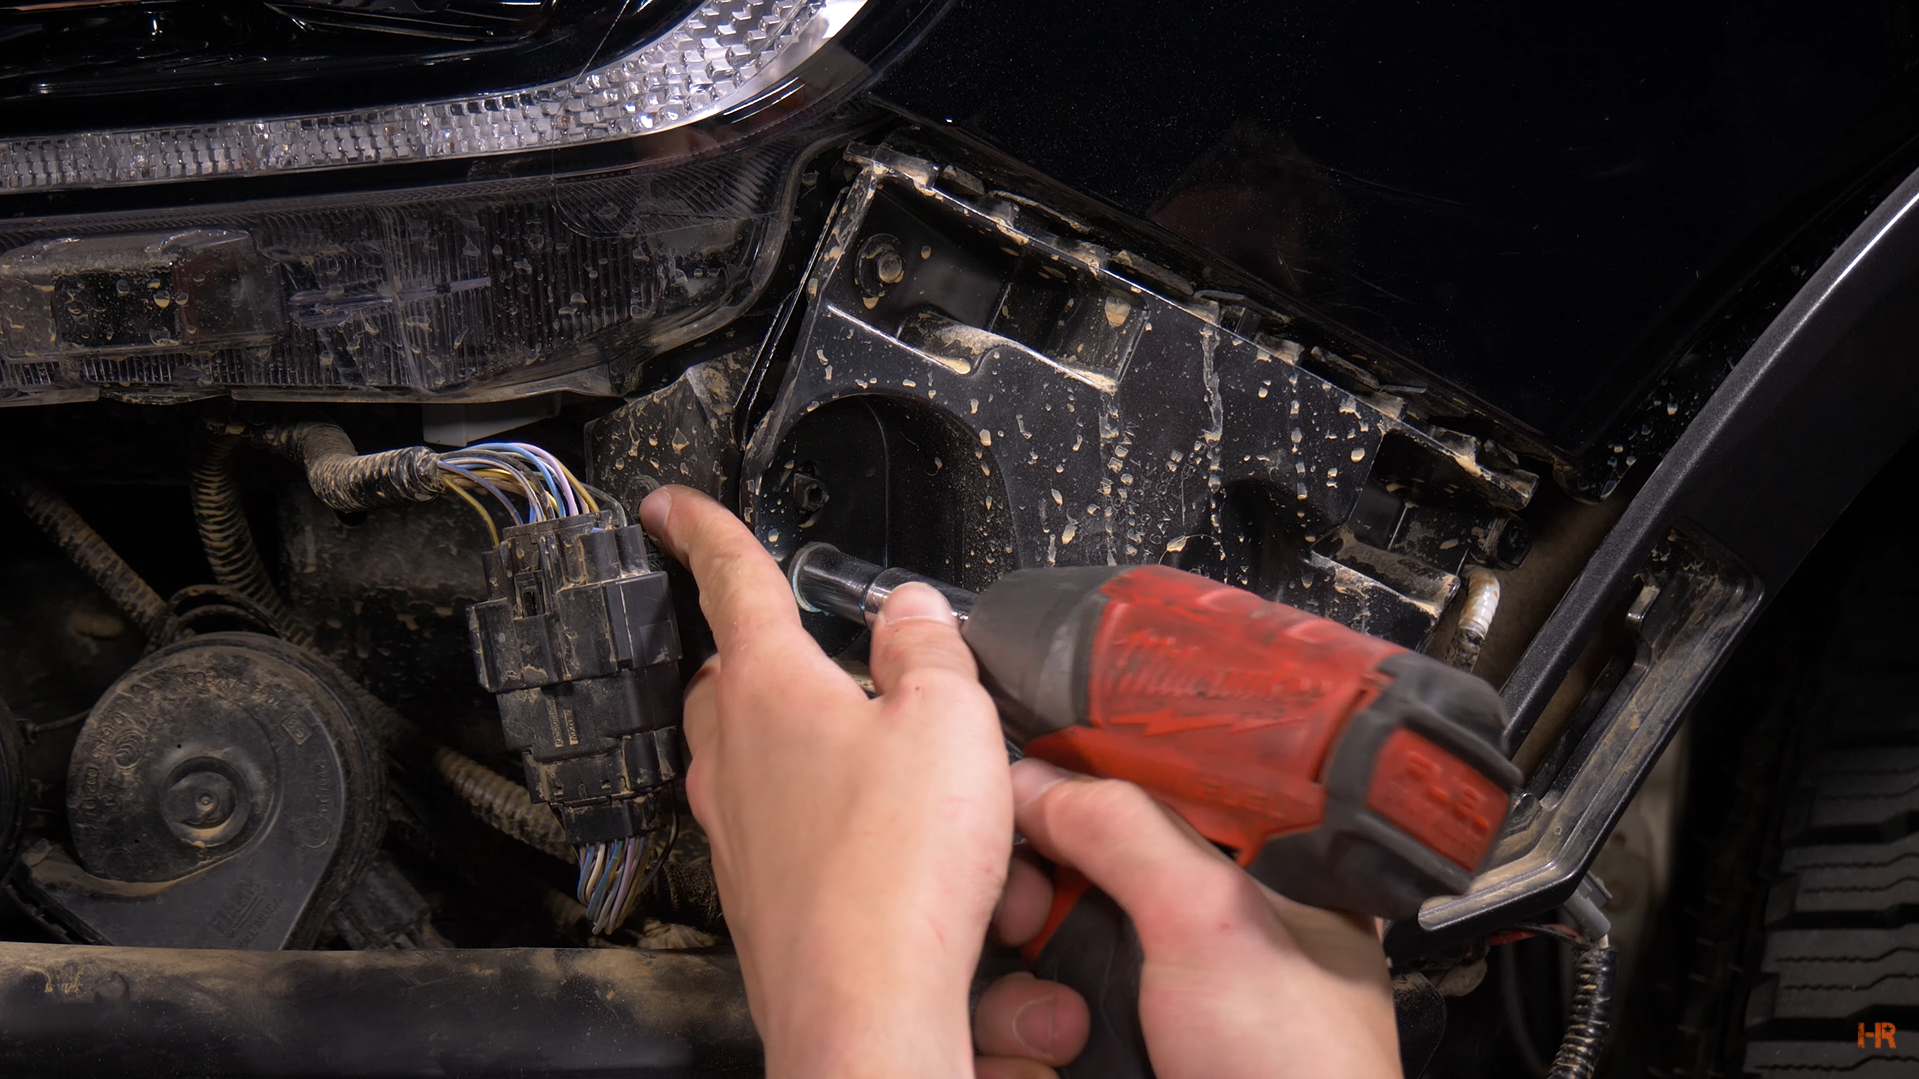
Step 11. Next is to unscrew a long bolt located behind the headlight housing. To reach, take a power wrench to unscrew the 13mm bolt.
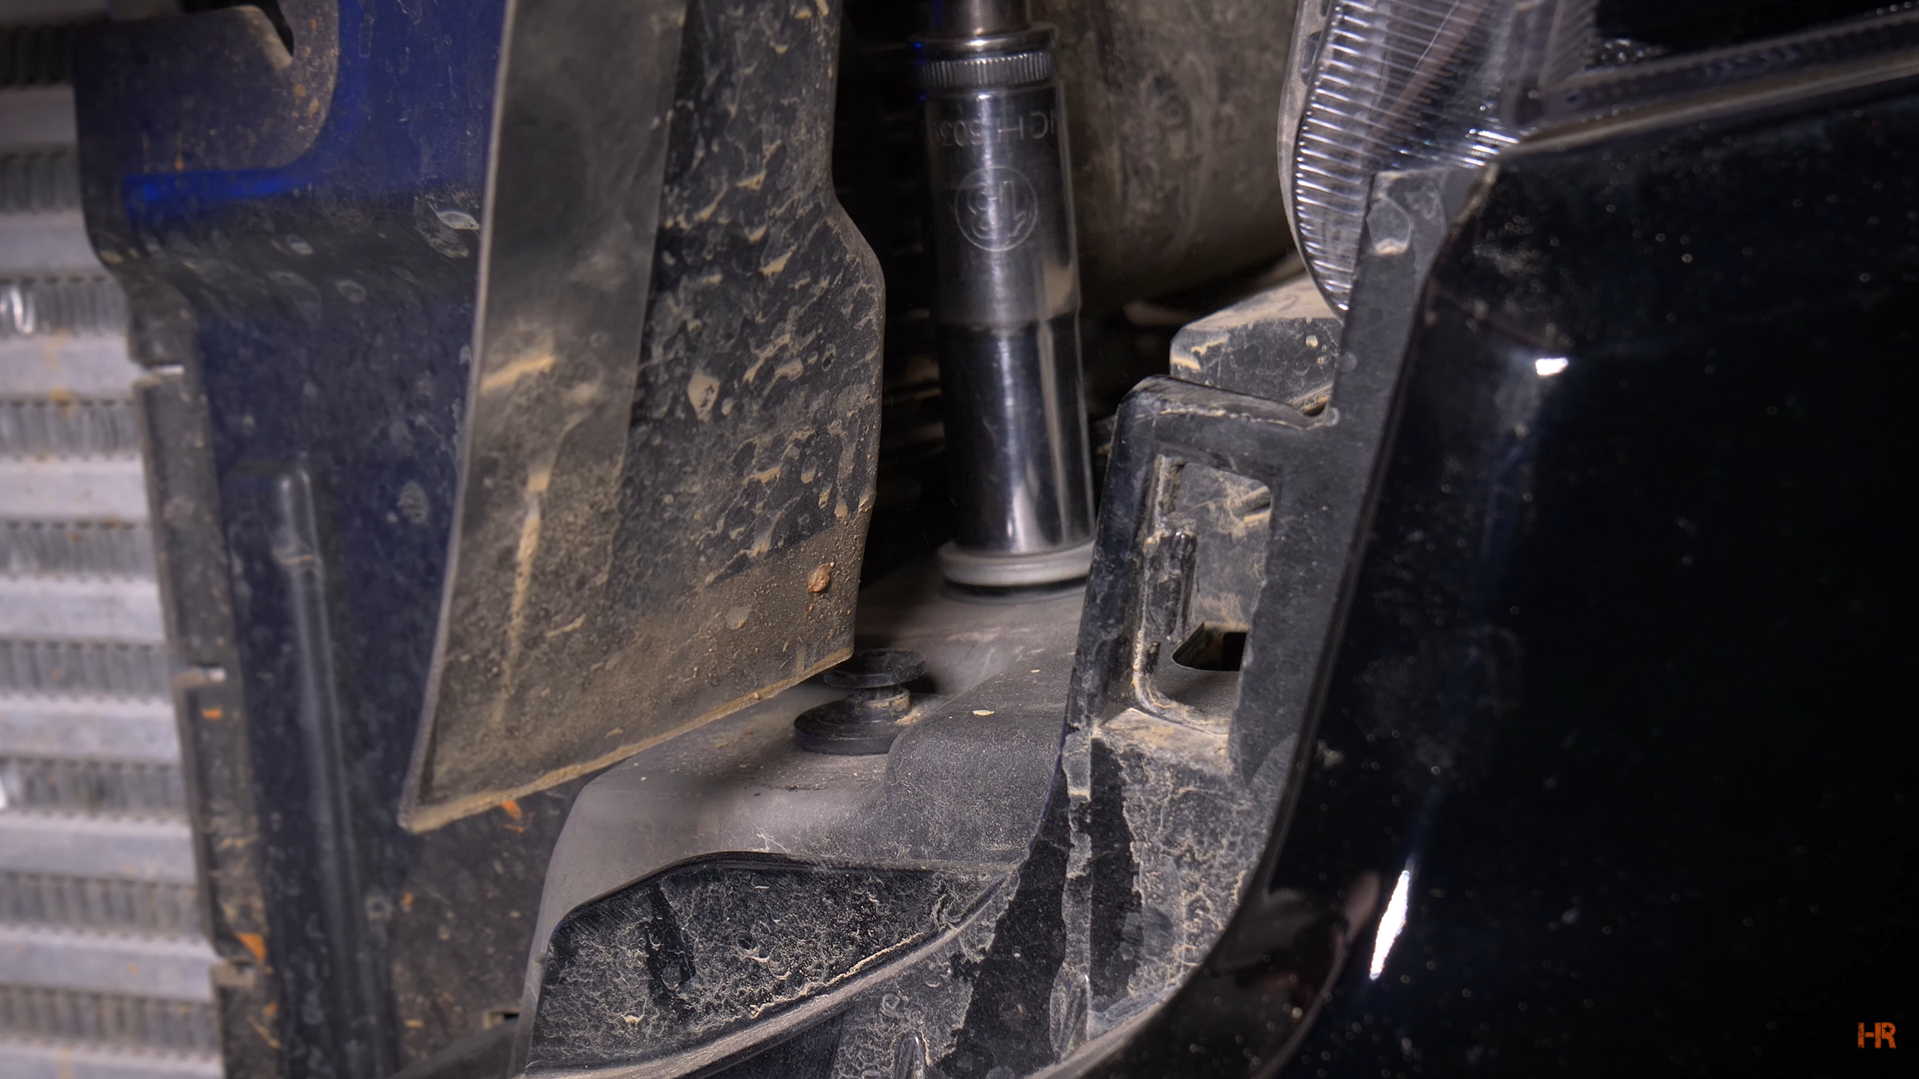
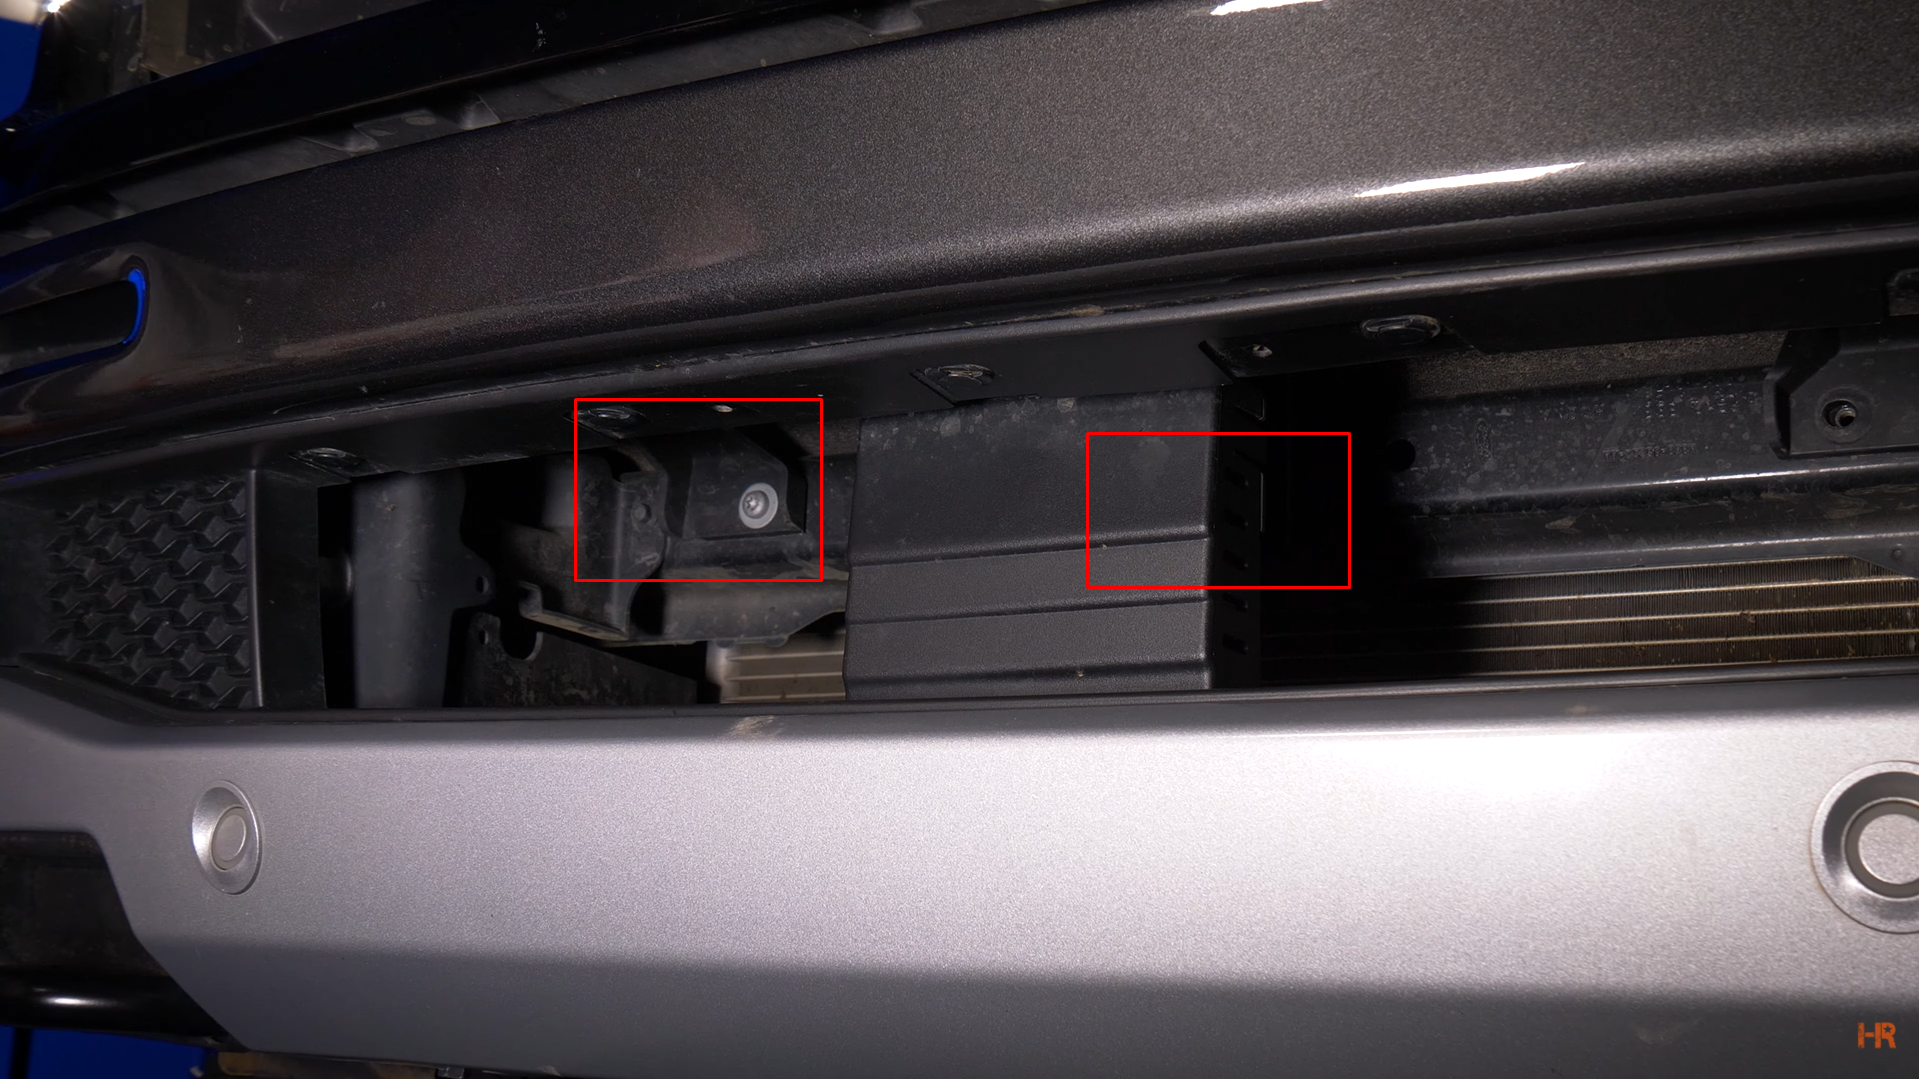
You can then remove the plastic clips. Repeat on either side of the car. 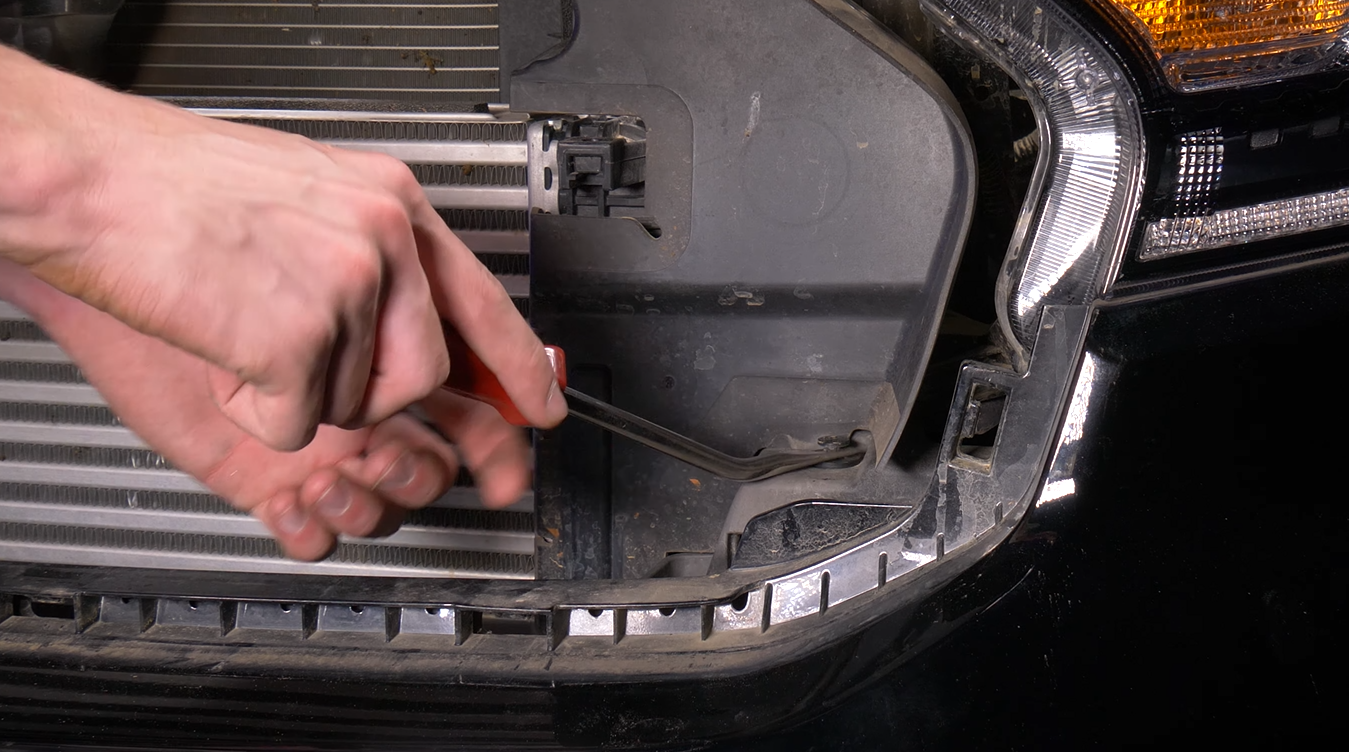
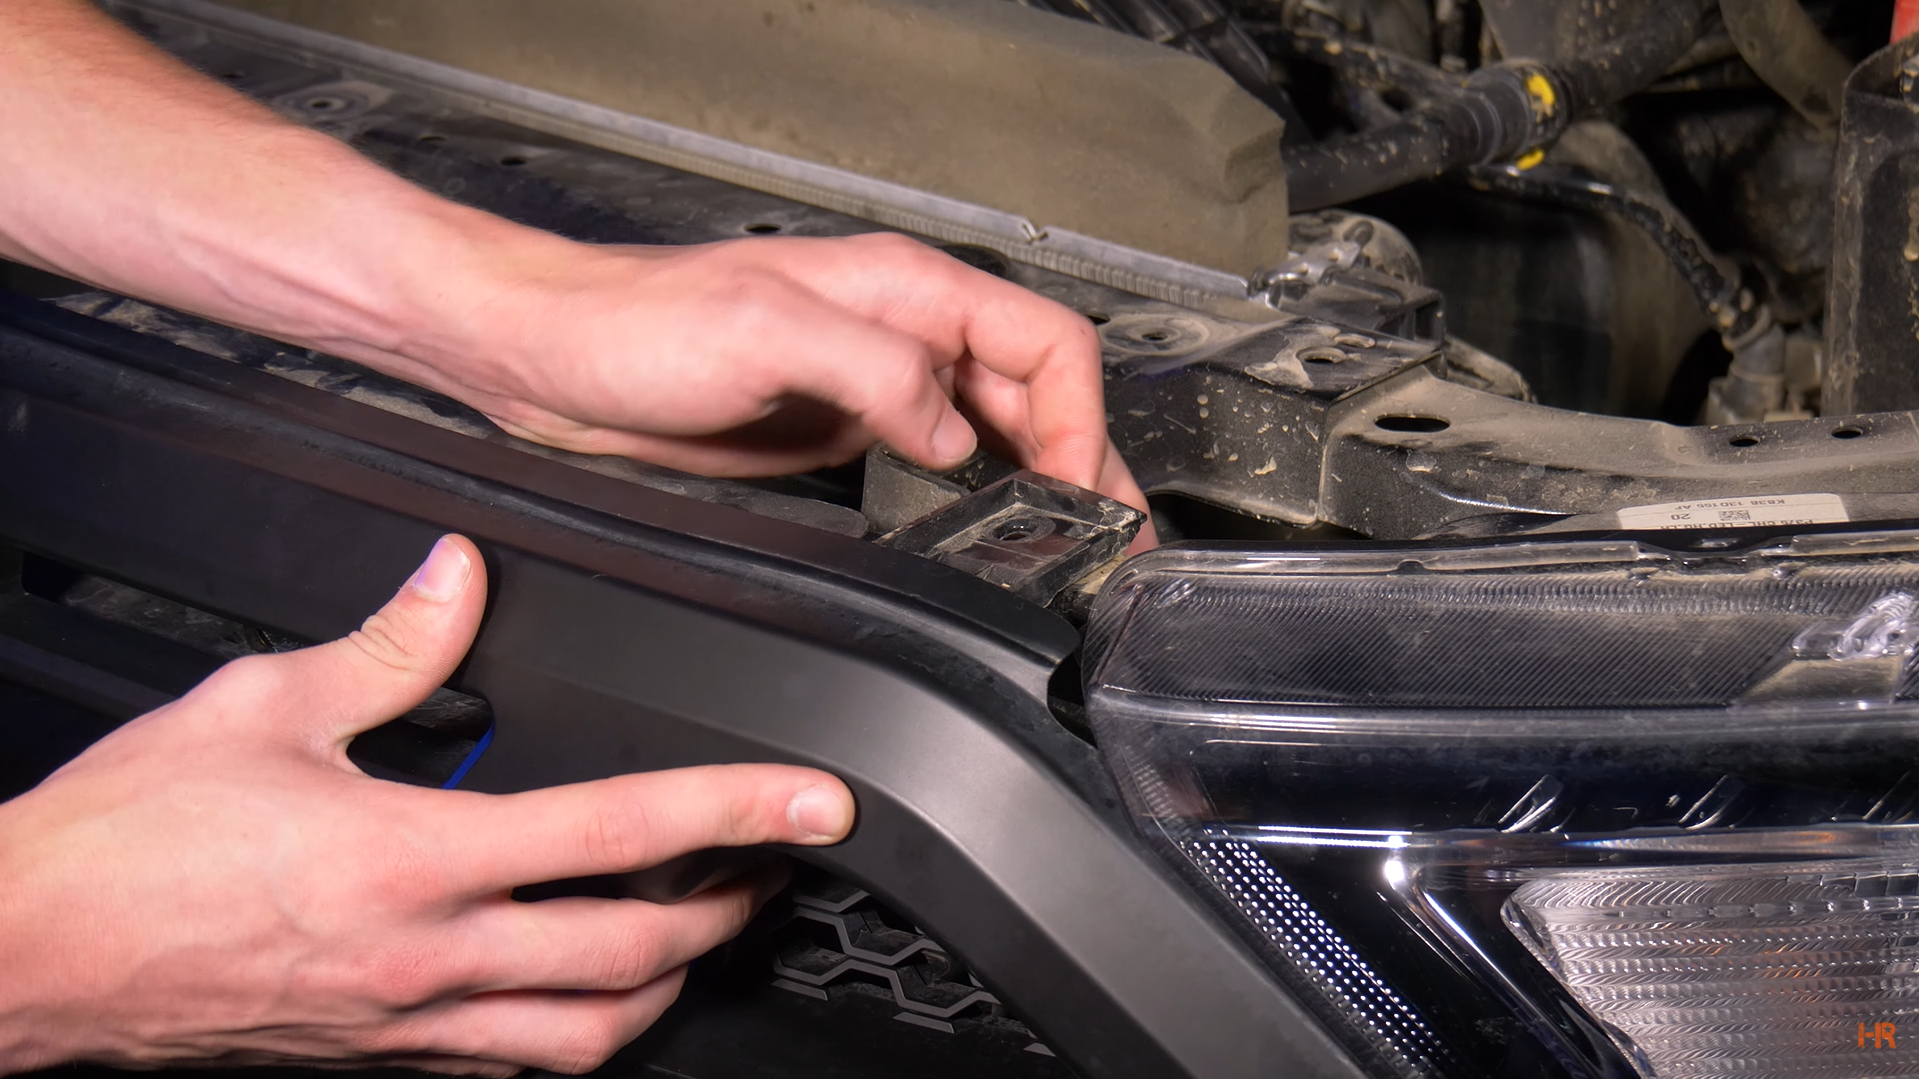
Step 12. The bumper can now be removed by slowly and carefully removing it from the clips. 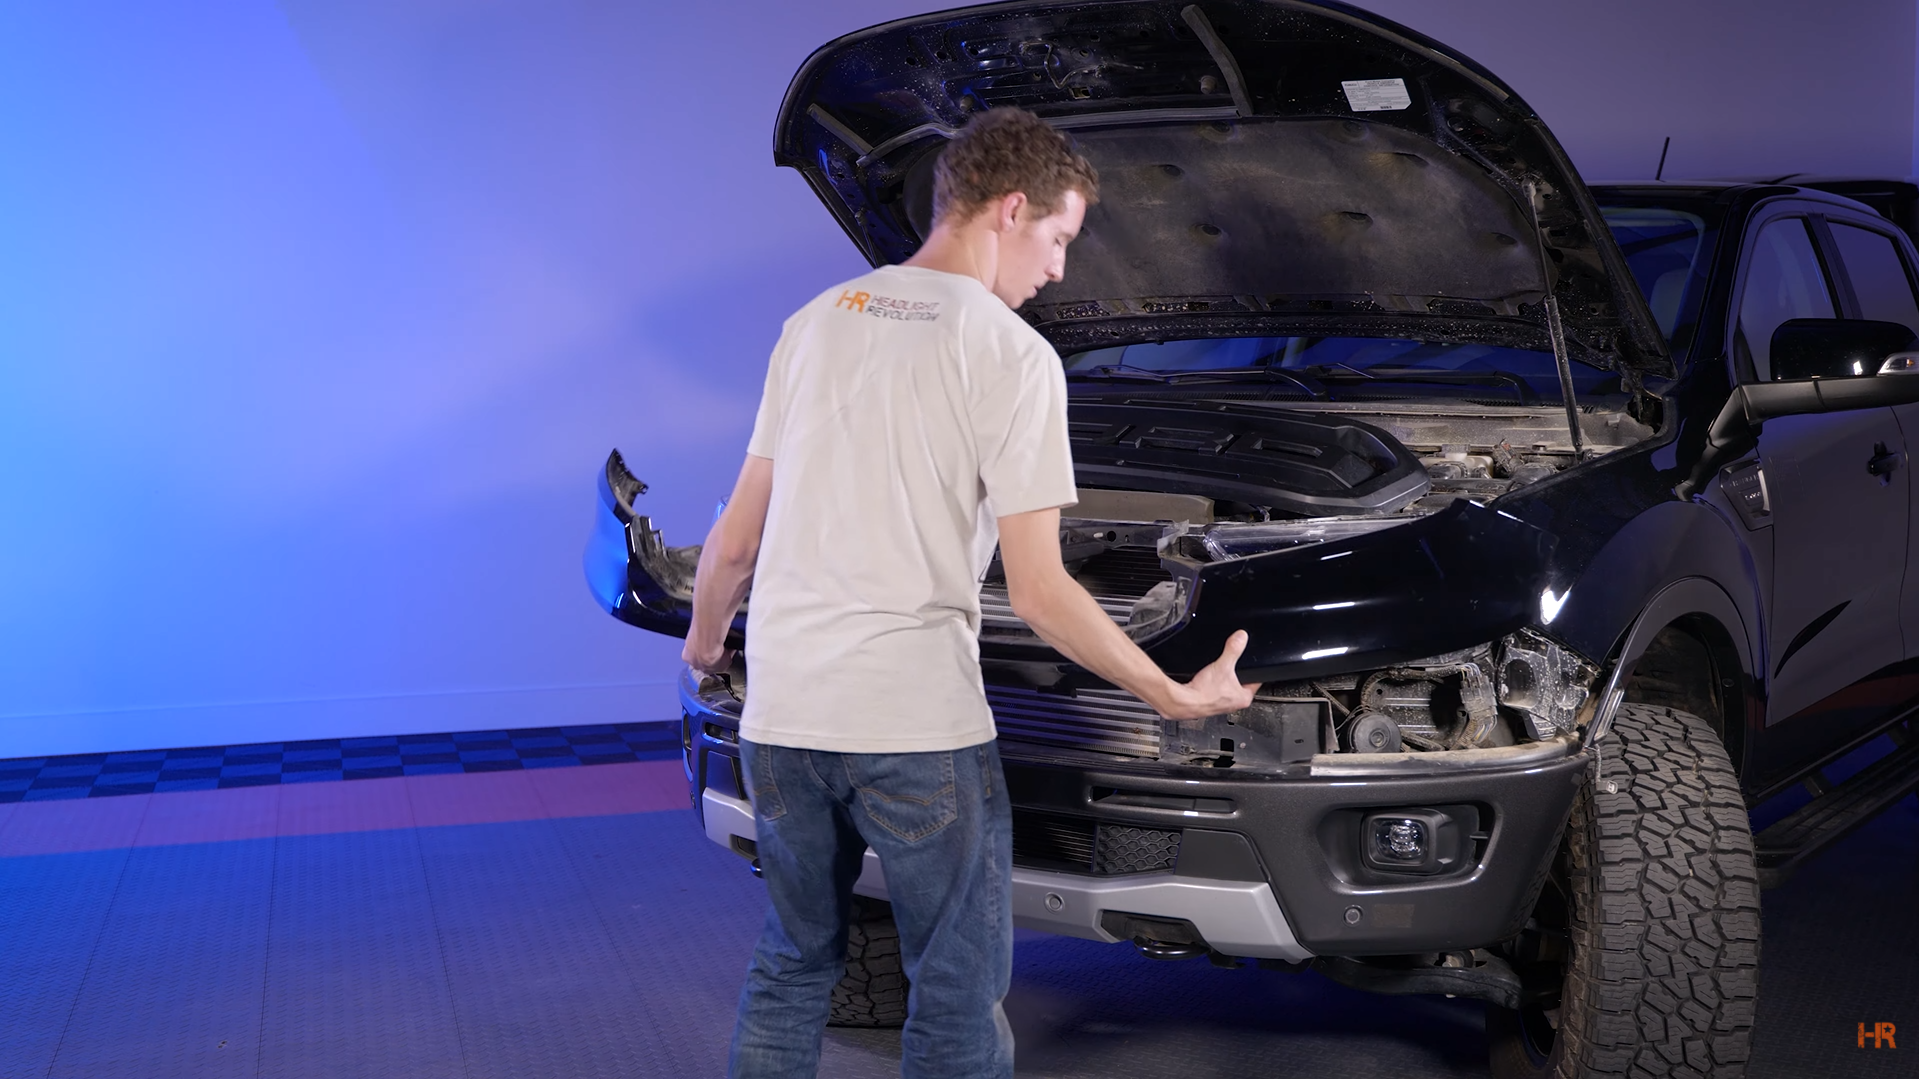
After it is removed, unclip the wires from the body and unscrew the 10mm bolt beneath the headlight.
Remove the two 10mm bolts on top of the headlight housing and the single Philips head clip. 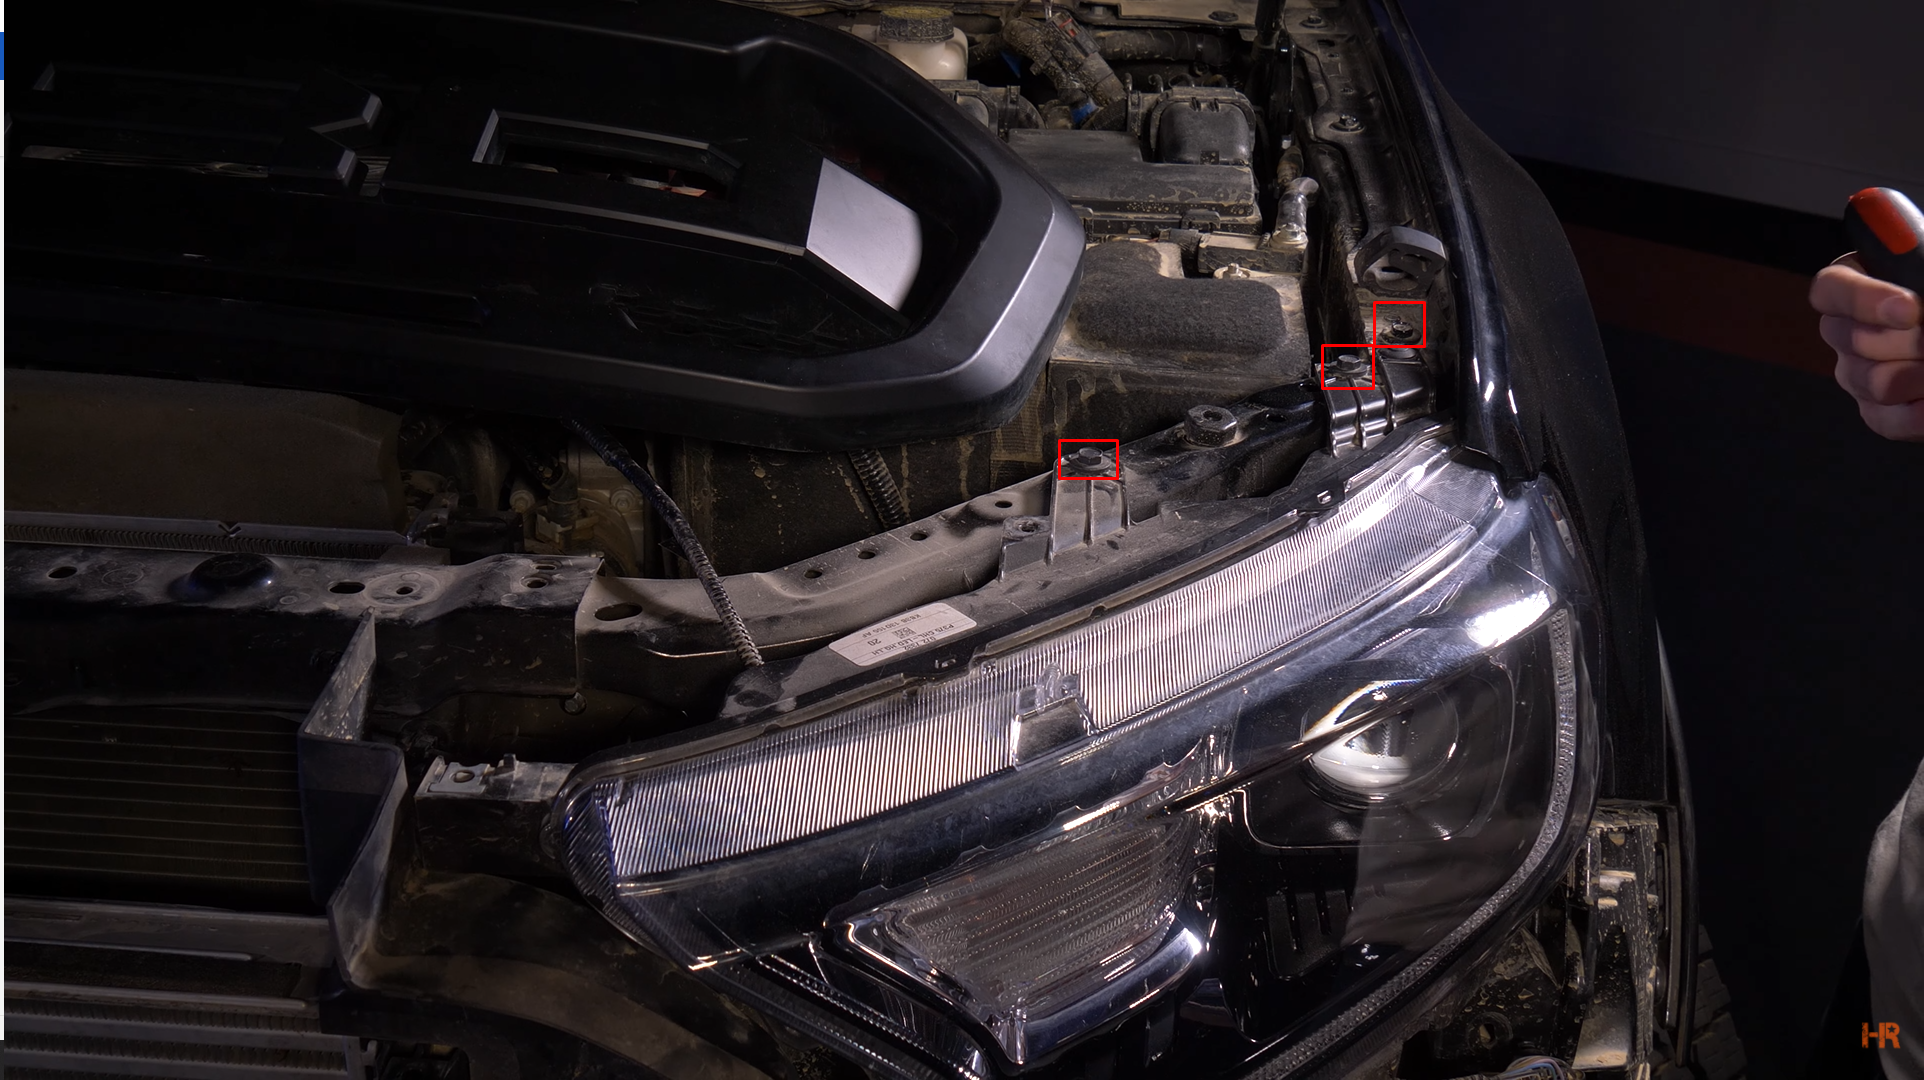
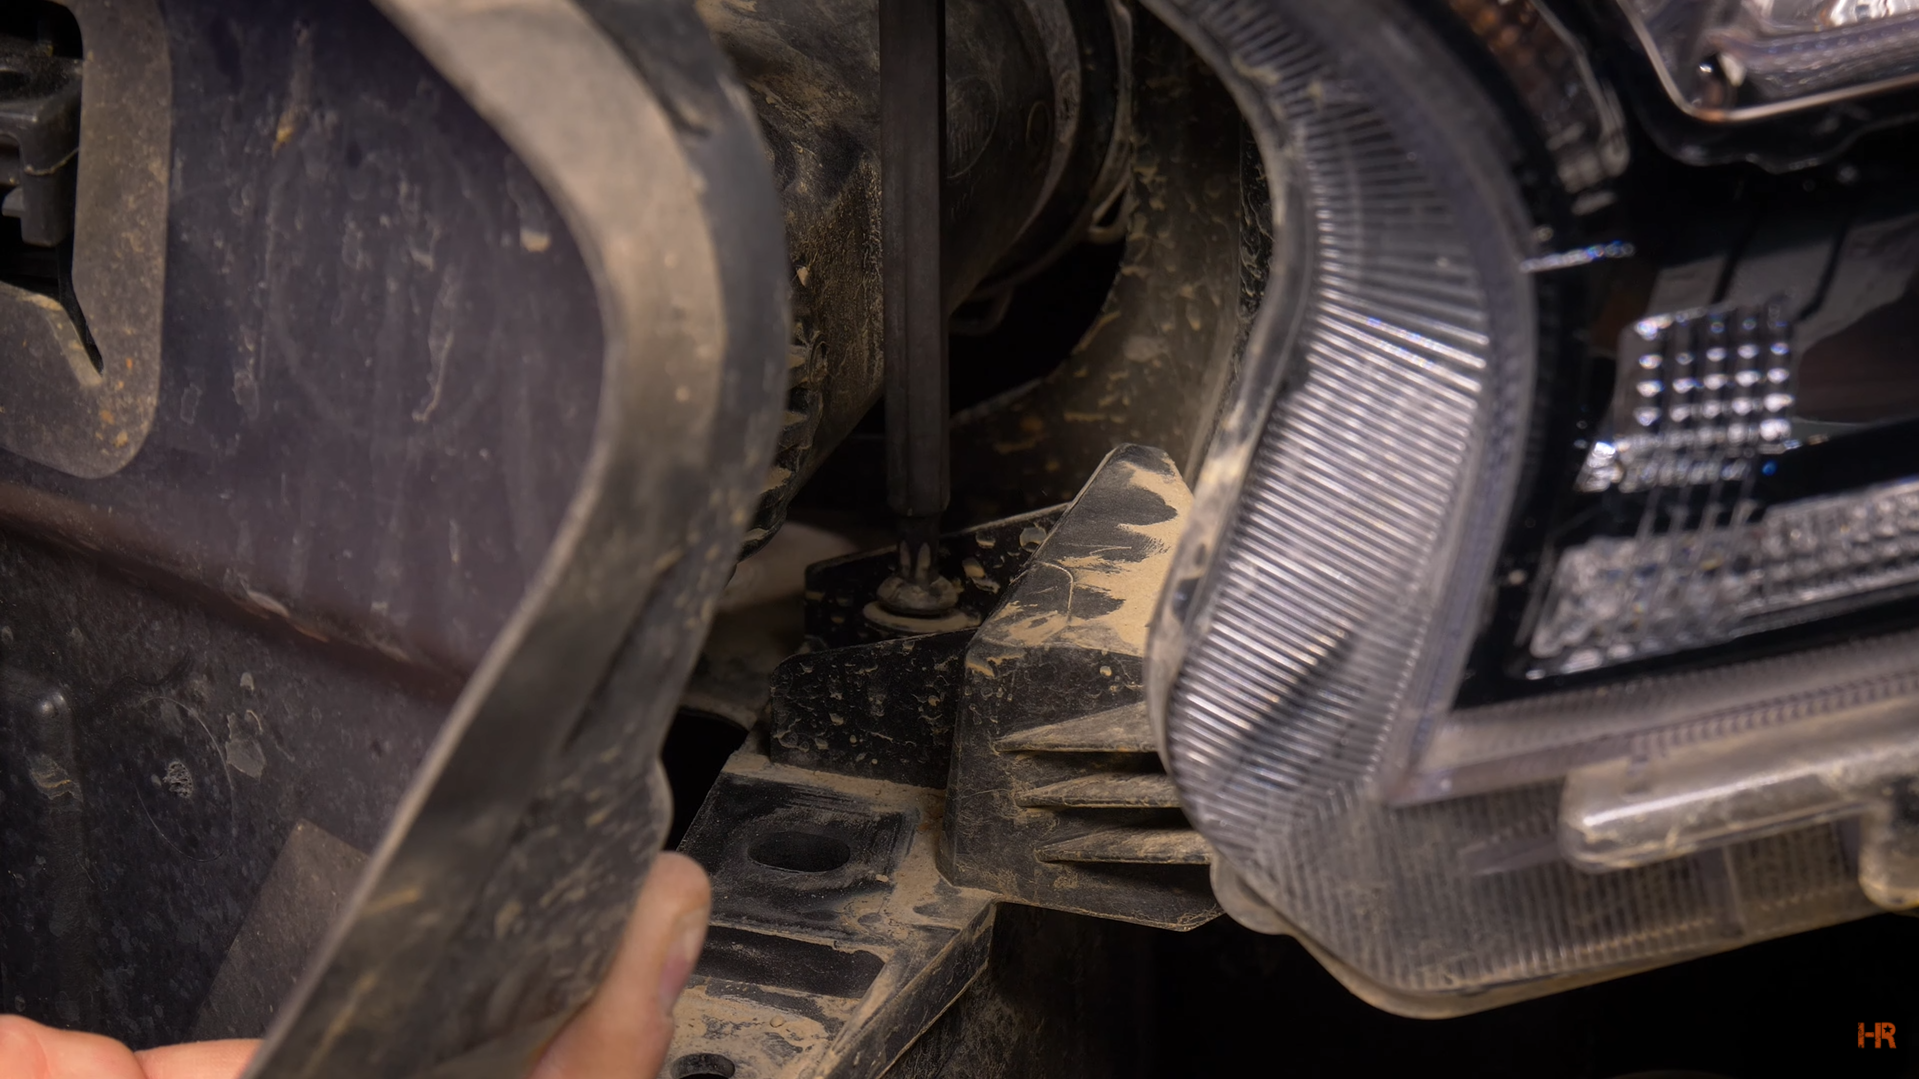
The last screw is a T30 Torx bit located just behind the headlight. It is a little bit difficult to reach so an extension may be needed.
Repeat for both headlights.
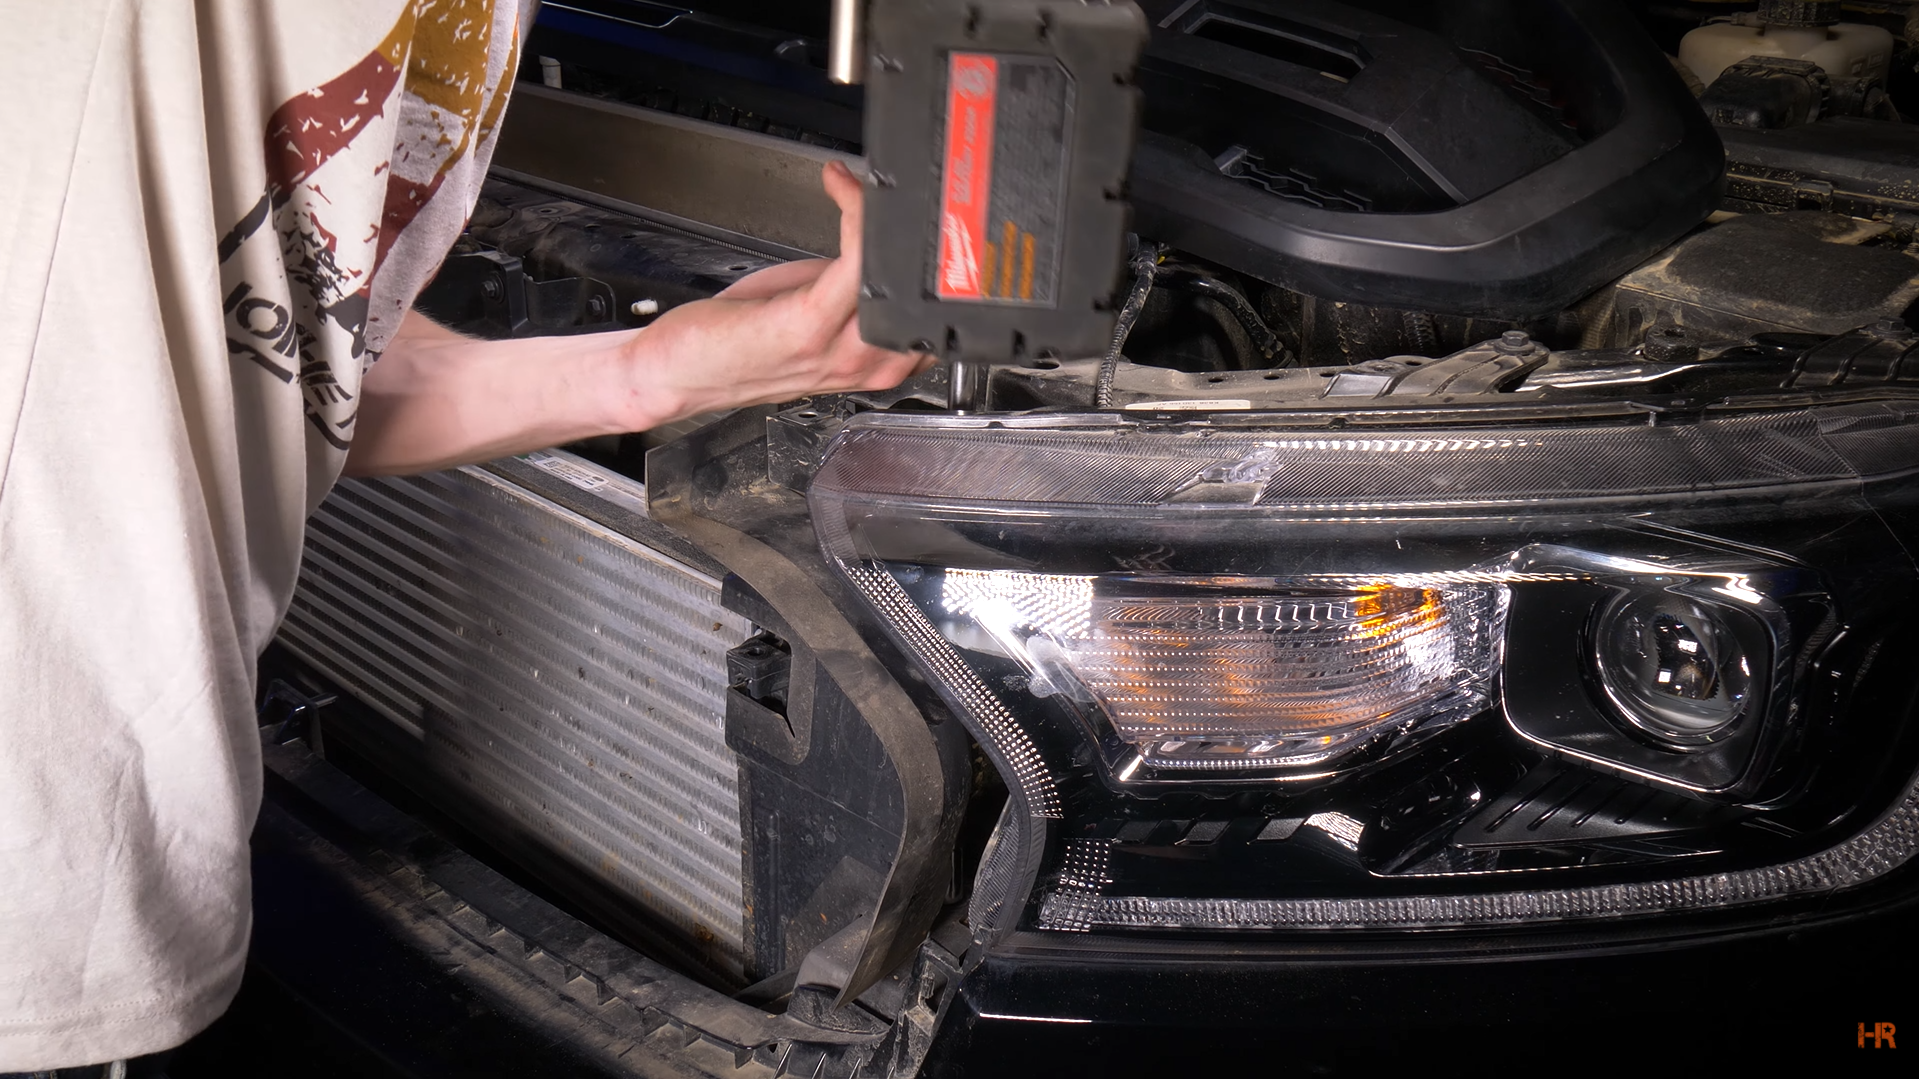
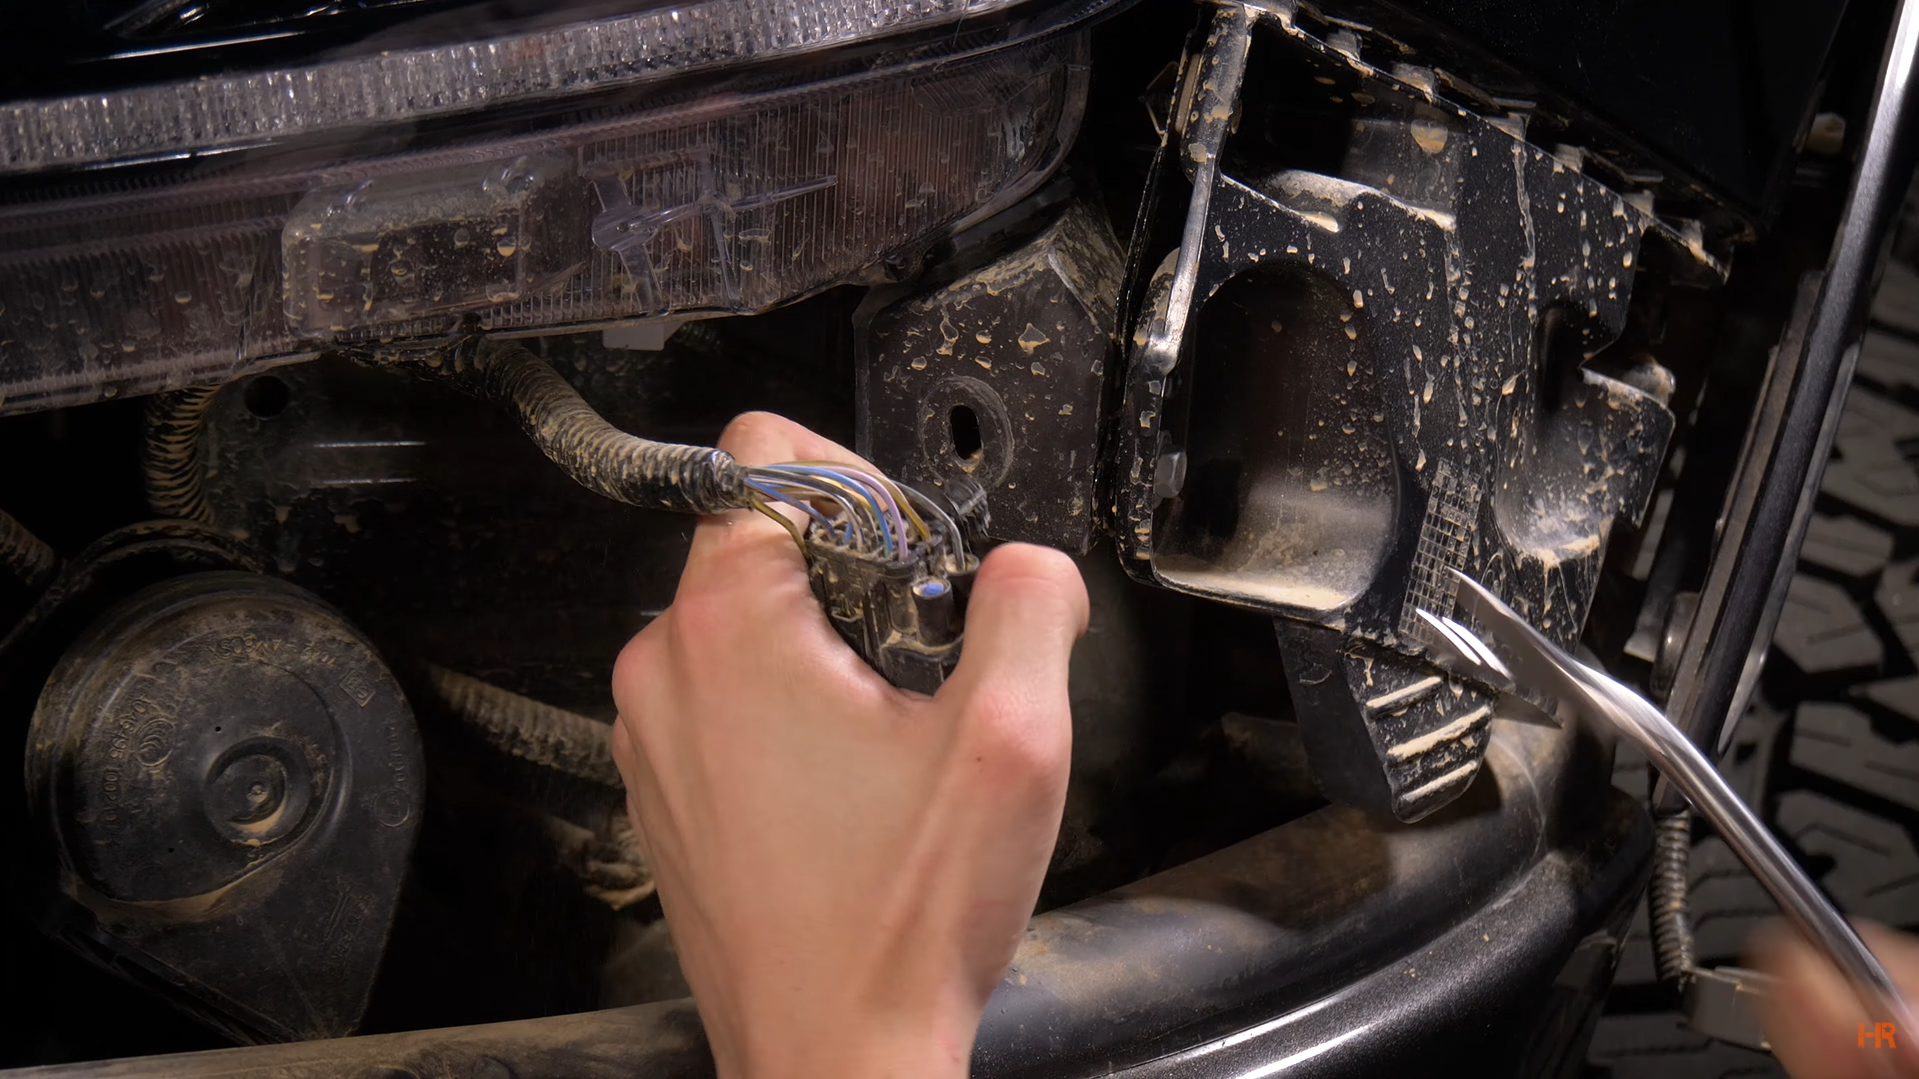
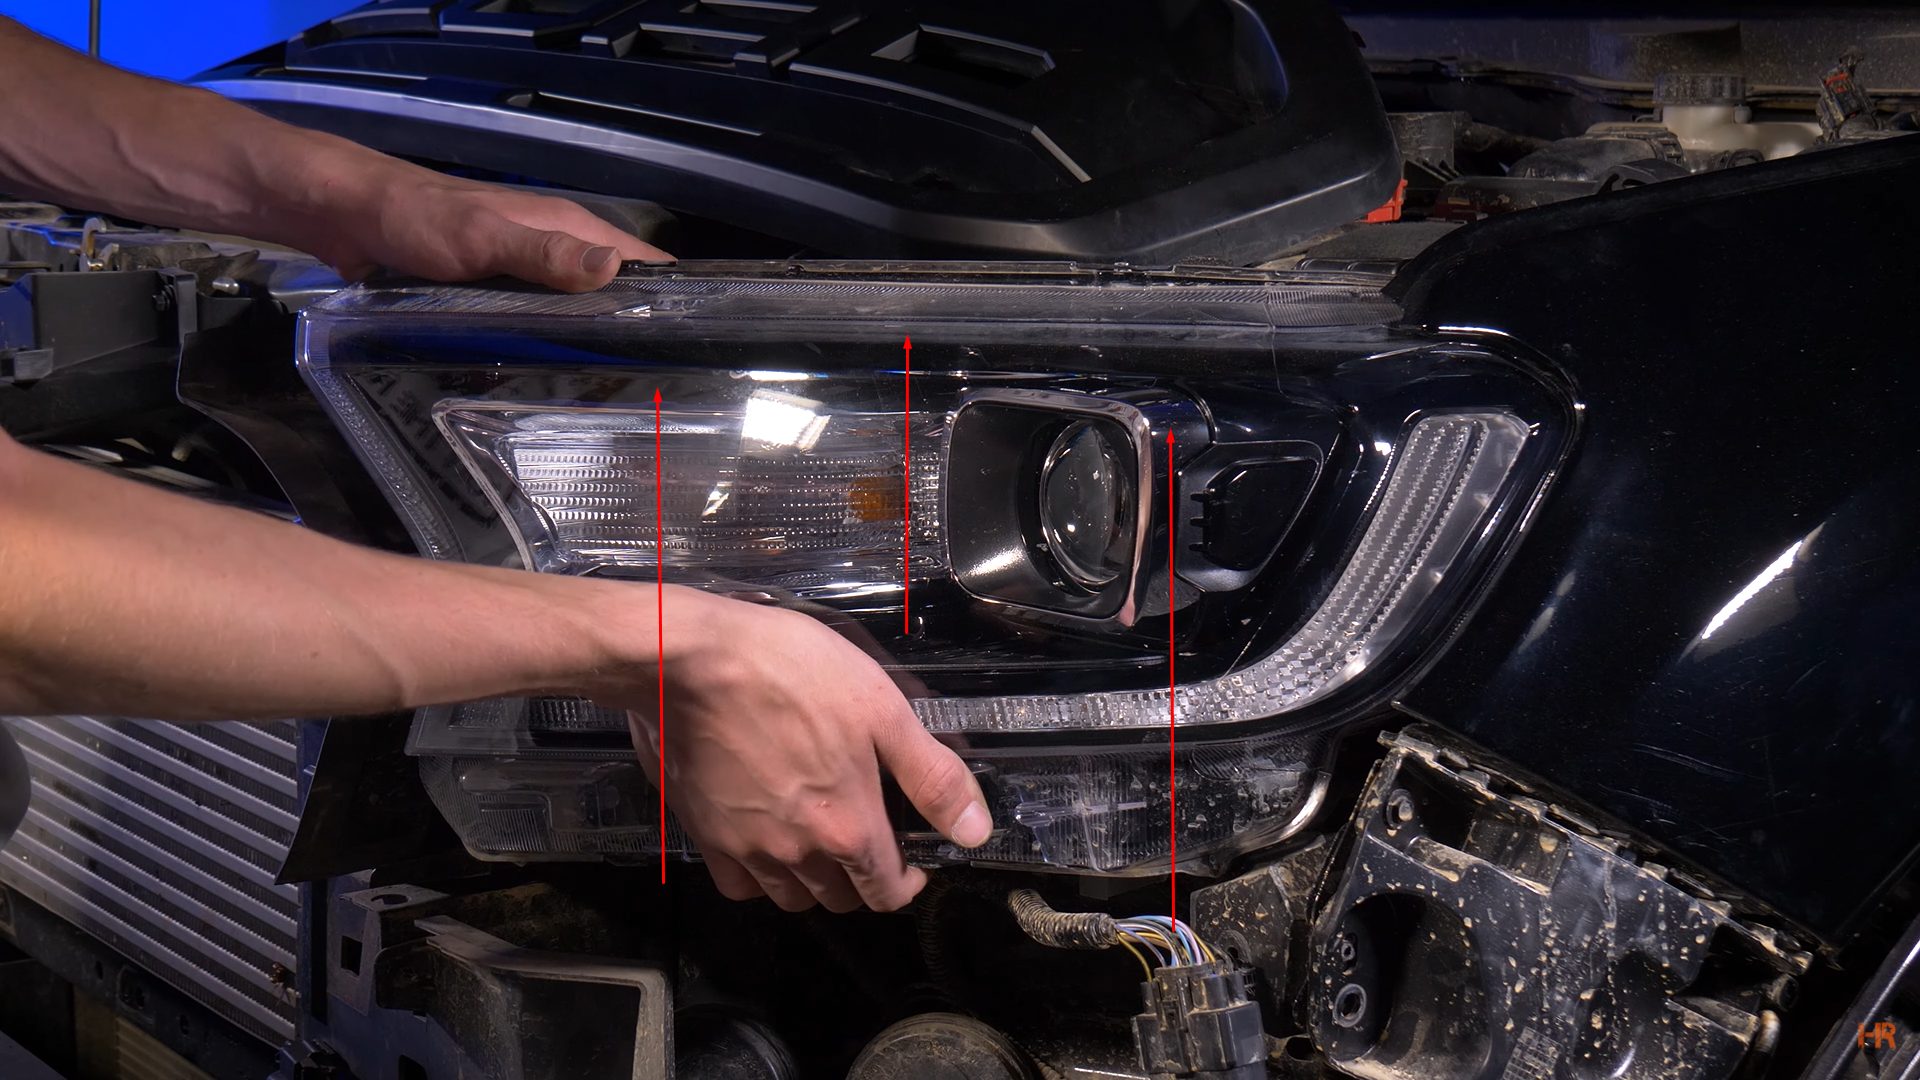
Step 13. To remove the headlight housing, lift straight up from the middle and pull gently to the left. From there, unplug all connectors.
Refer to the steps in the next set of instructions on how to properly plug in your headlights in accordance with your preferred turn signal style and Ranger specifications.
SETTING UP DRL AND BLINKERS
The first step in installing the GTR Lighting headlights is running the DRL harness. One side goes to the fuse box, and the other sides connect to the brown connector on the headlight itself.
Remember, if you have the stock headlights that DO NOT have the DRL feature, then you connect it like below.
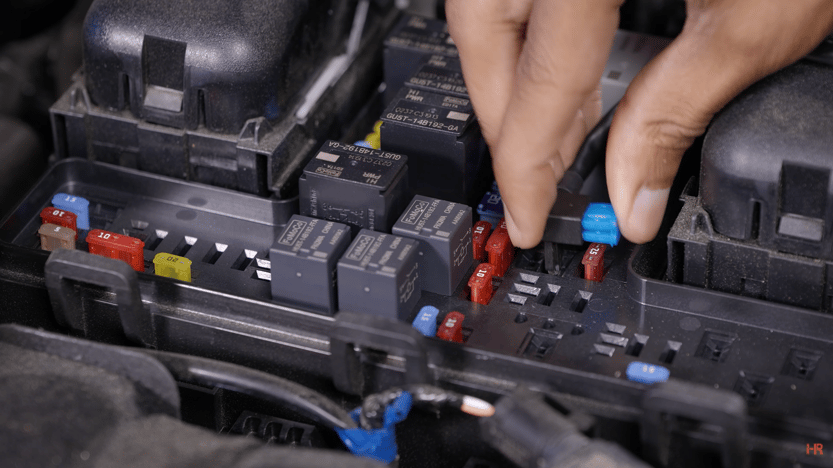
To do so, remove the fuse box cover and remove the fuse shown below. After that, plug the DRL harness tap into that same fuse. 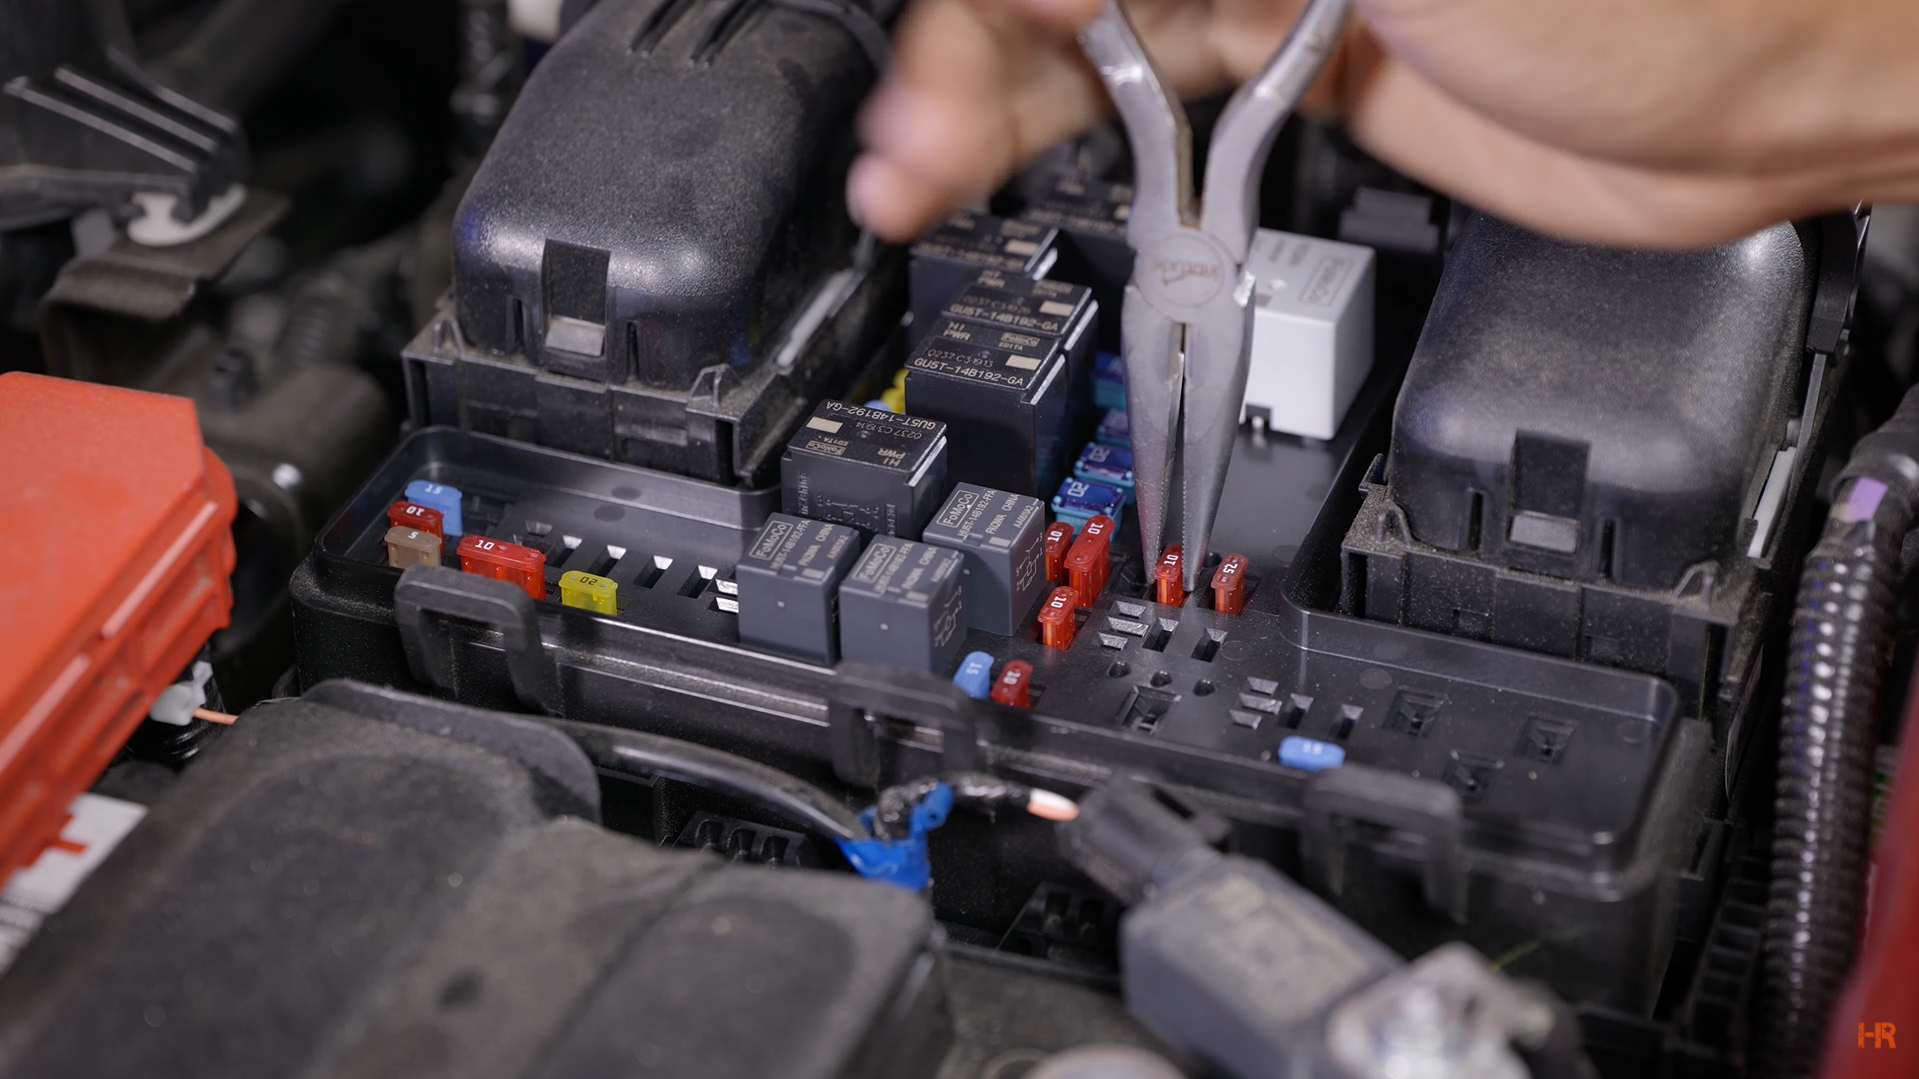
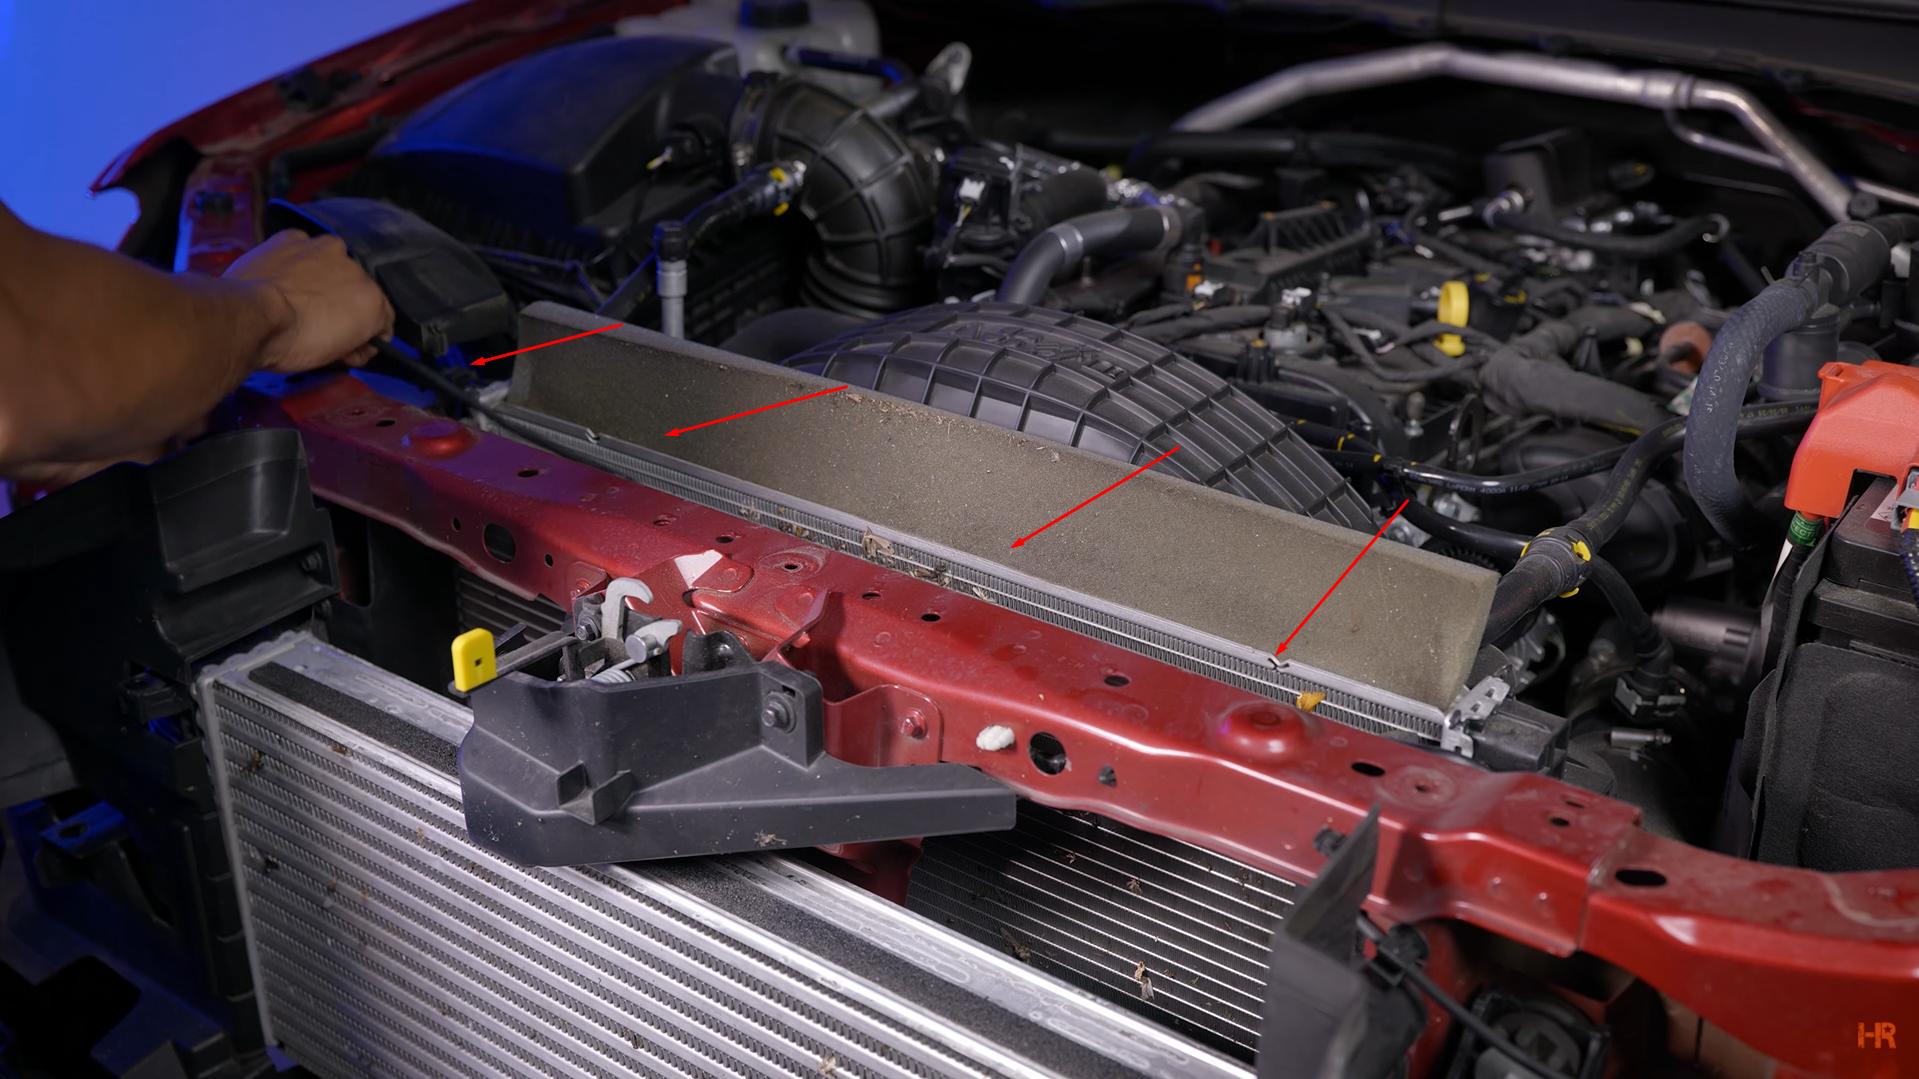
Run the DRL harness across the radiator support with the smaller wire going to the closest light and the longer one going to the furthest light.
If you have the stock LED lights from Ford, you do not use the DRL harness at all. The DRLs will operate through the factory wiring and connections.
Before reassembling, be sure to check all your headlight’s functions to ensure they work.
These full LED reflector headlights are a major upgrade to your Ranger when considering safety, style, lighting, and performance. But, if you are not ready to make the jump to LED lights, check out our website HeadlightRevolution.com and put in the Year/Make/Model of your car, and see what options are available to you.
If you are more of a visual learner, be sure to check out our video on these new headlights. While you are there, make sure to like and subscribe to our channel for the latest lighting upgrades for your vehicle.
Have any questions about one of the products we mentioned? Contact us today, and our customer service team would be happy to help.