How to install H13 LED Headlight Bulbs
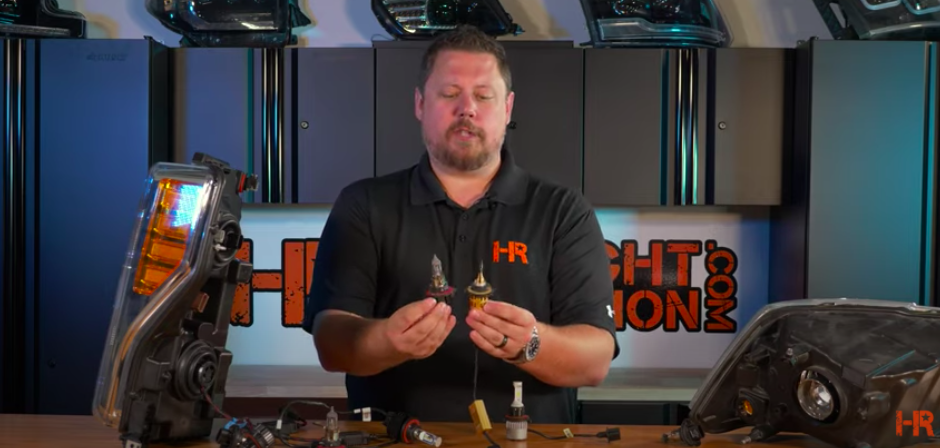
If your vehicle uses H13 headlight bulbs and you're about to swap them out for LED bulbs here are a few tips and tricks you need to know. Most bulbs are totally plug-and-play, but some are not. Also - it's important to get the bulb alignment right - here we will show you everything you need to know in order to install ANY H13 style bulb.
DISCLAIMER: In the United States, lamps, reflective devices, and associated equipment are regulated by the US Department of Transportation (DOT). Even though these types of LED lights can be used in place of an original halogen light bulb, it is not legal to use on vehicles registered for on-street use. This type of modification can only be done when used in a fog lamp application, dedicated off-road application, or in jurisdiction outside the USA where this is allowed. For more information on how to determine if this type of product is safe to use, and legal to use on public roadways in the USA, Click Here for a more detailed breakdown of compliance.
Primarily popular on the Dodge and Ford trucks, installing an H13 halogen headlight bulb can be tricky.
Remember to only swap out your halogen bulbs in applications that are street legal. If you use your H13-equipped car or truck on public roadways, upgrading to LED or HID bulbs is not DOT compliant - meaning not allowed for street use! If you have an off-road-only vehicle that is not registered, and does not have license plates, you can do whatever you want with it. Also - if you are doing this modification in a country outside the USA the laws may be different so modifications may be allowed for street use. Before you begin please consult our Street Usage guide, and make sure any modifications you do to your vehicle comply with state and federal laws.
Check your Street Usage application HERE.
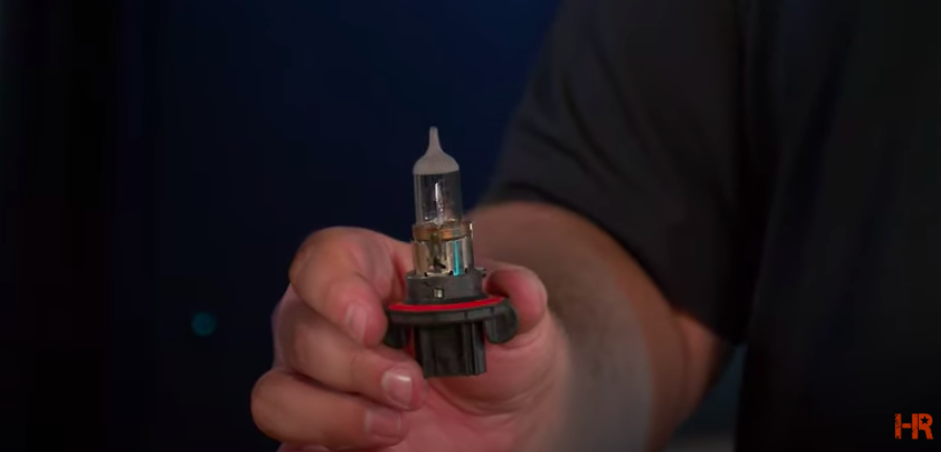
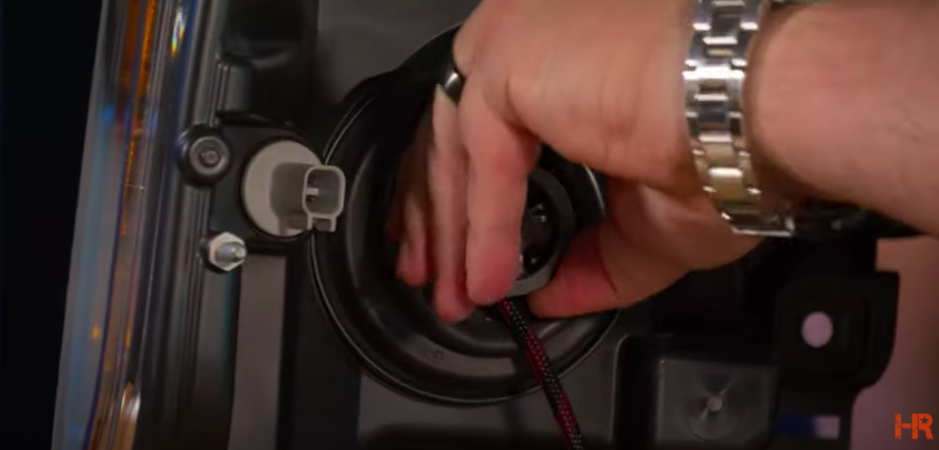
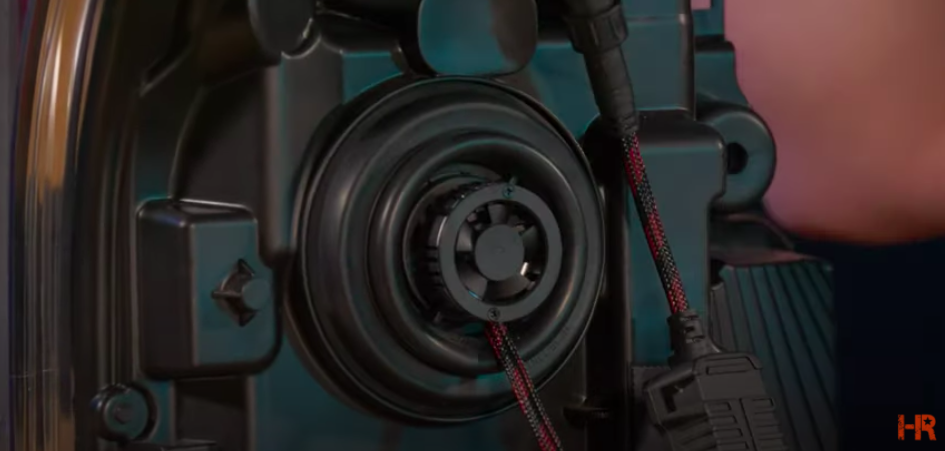
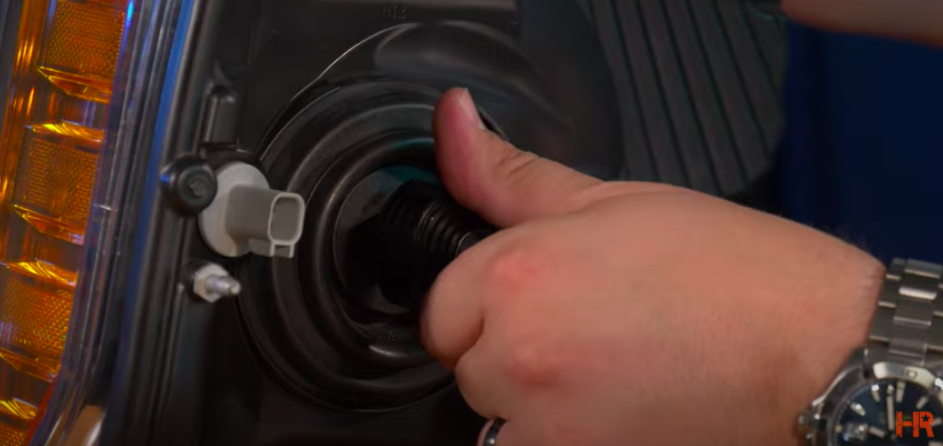
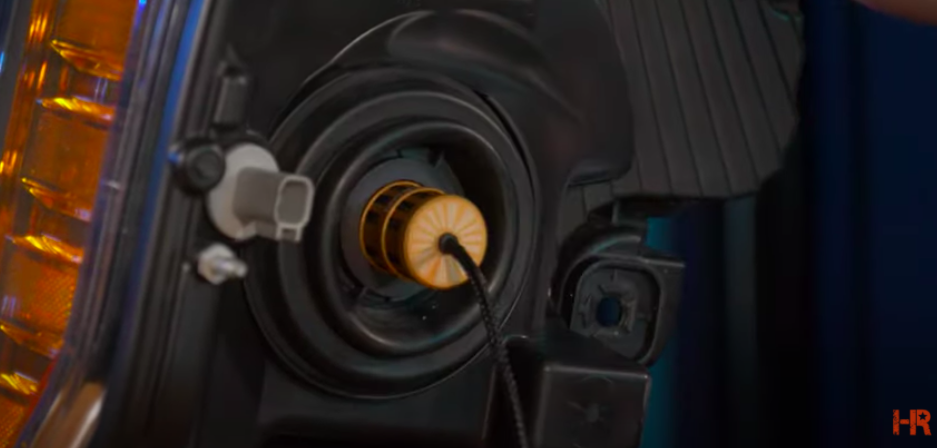
Something like this Dodge Ram truck uses a big reflector headlight and on the backside is your H13 bulb. To pull the bulb out, you simply twist it and pull backward.
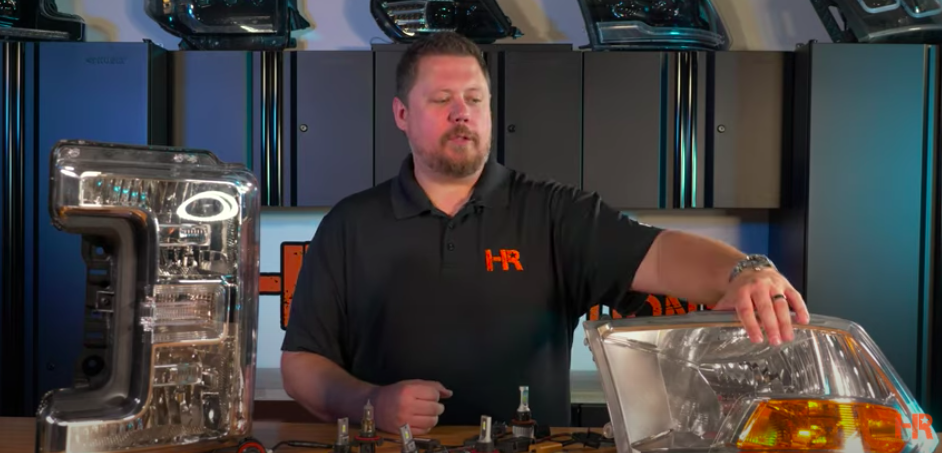
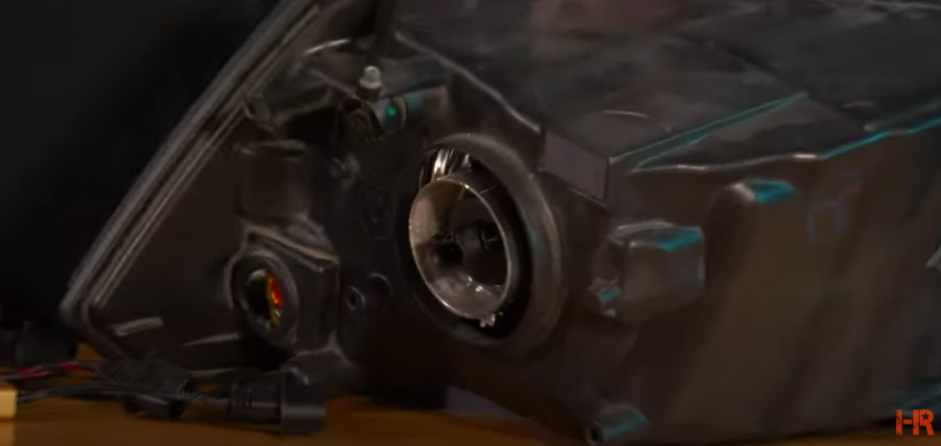
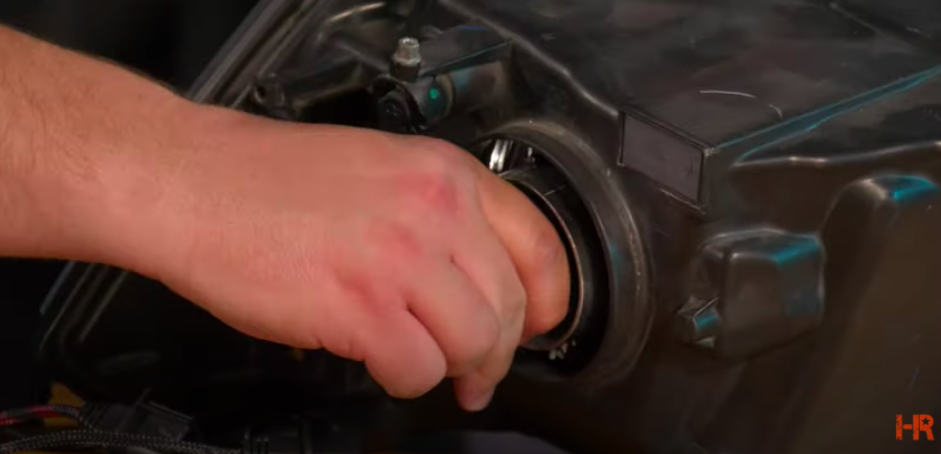
Something like this Ford Super Duty F250/F350 headlight (below), however, has two H13 headlight bulbs. To remove the bulb is the same: twist the bulb, and when it's loose, you pull it out. Simple right?

H13 Bulb Install
Installing your new LED headlight bulb is just as simple. With something like the S-V.4 H13 (not to be confused with the Supernova bulbs...), you line up the tabs, insert them, and twist it in place.
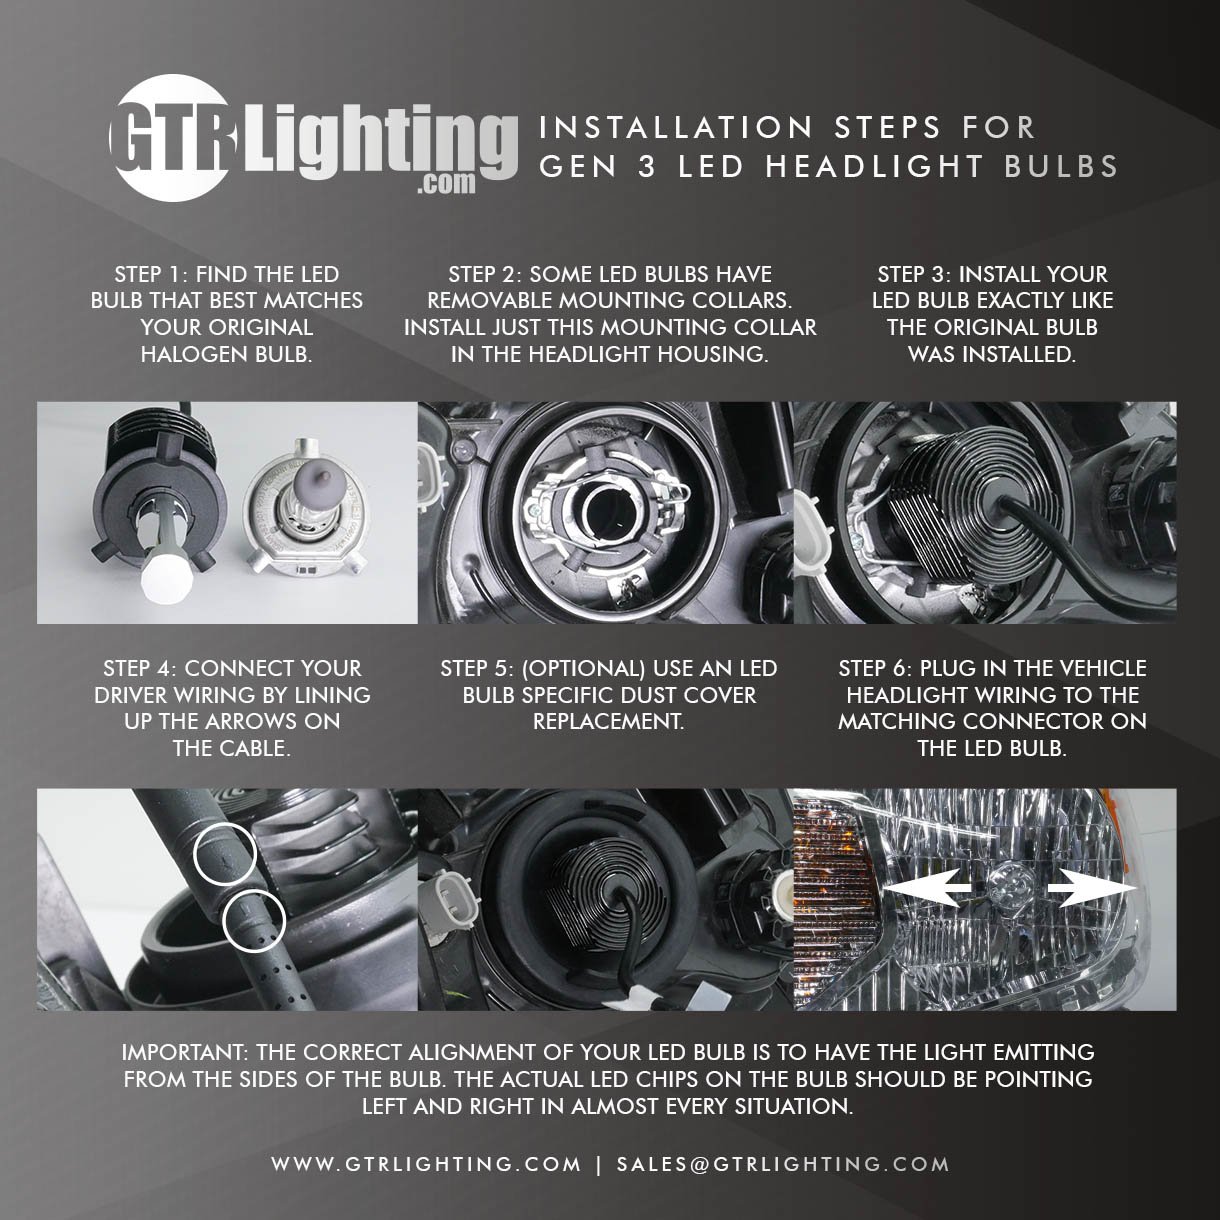
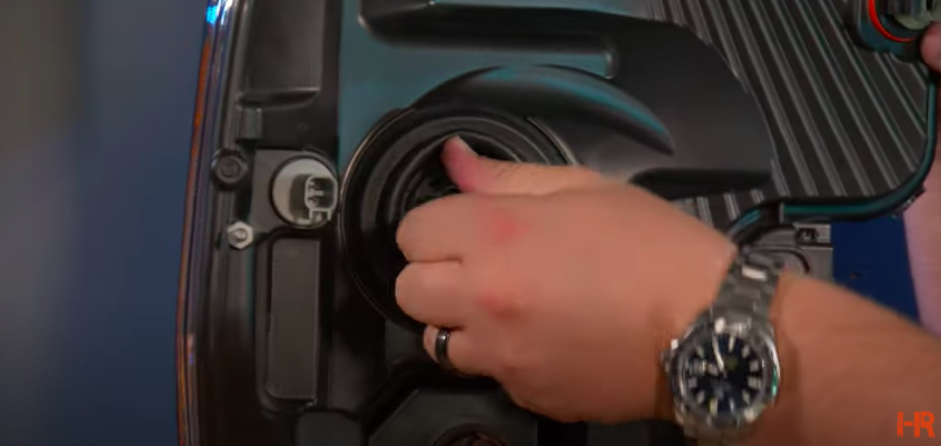
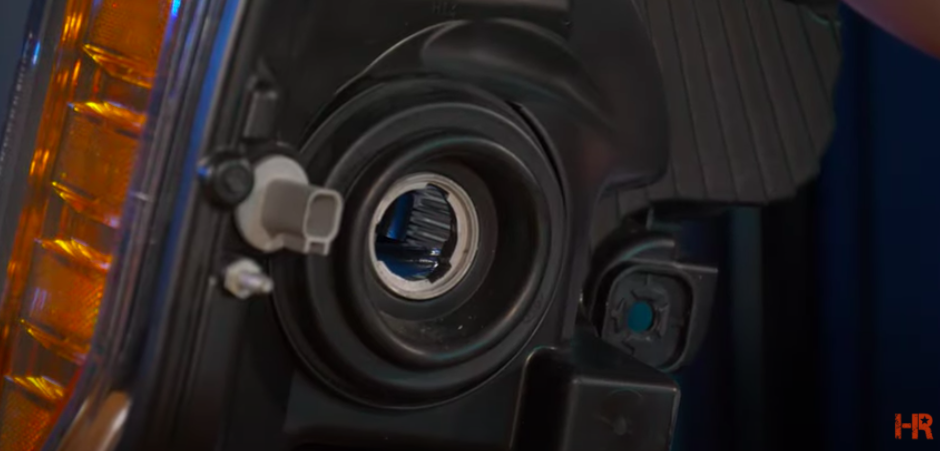
Some bulbs are a little bit more complicated than others when it comes to mounting. For example, if your bulb has a plastic mounting collar like this one (pictured), you must first take it off and then install just the collar into the headlight.
The bulb design has some small plastic tabs inside that keep everything together. By installing the collar first, you can push and twist for this type of alignment. However, if you rely on those little plastic tabs on the inside of the collar to push the entire force of the bulb in when you're installing it, you'll probably shear them off, and it's not going to stay put anymore.
GTR Lighting Ultra Bulb
If you have the GTR lighting Ultra bulb: line up the tabs, install just the collar and twist the collar in place. Then, put in the LED bulb.
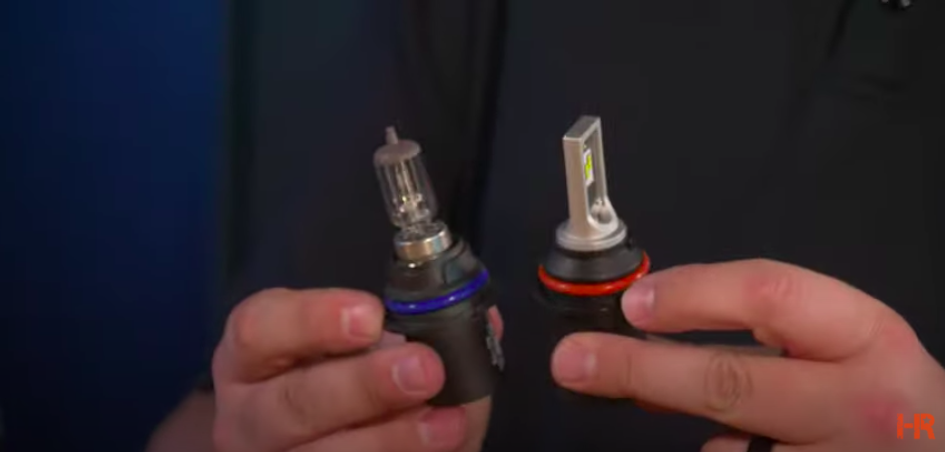
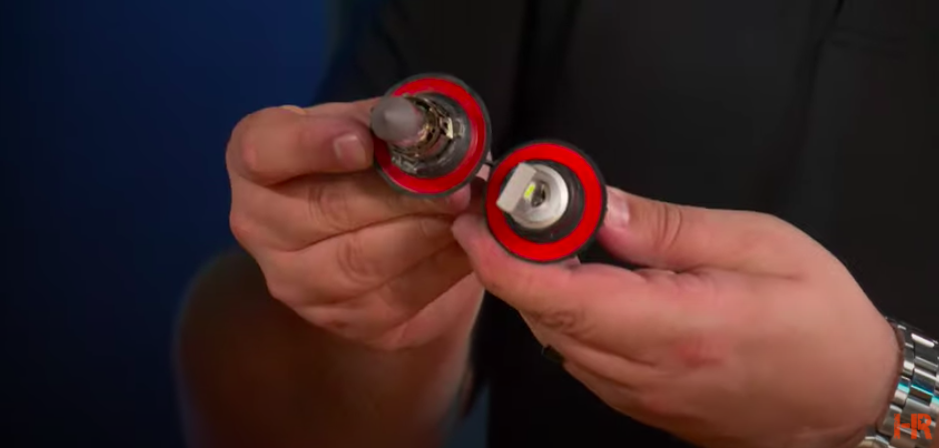
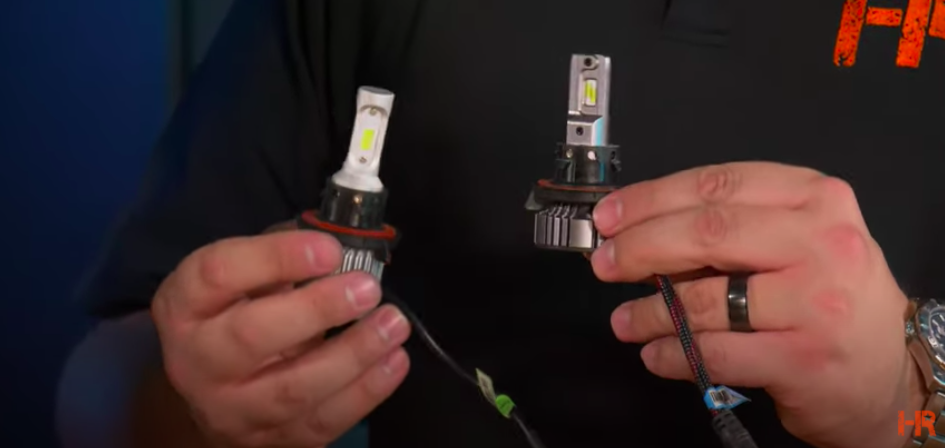
Any of these LED H13 headlight bulbs are going to have the same features as your original halogen. It's just in how they make the light that is going to make it brighter.

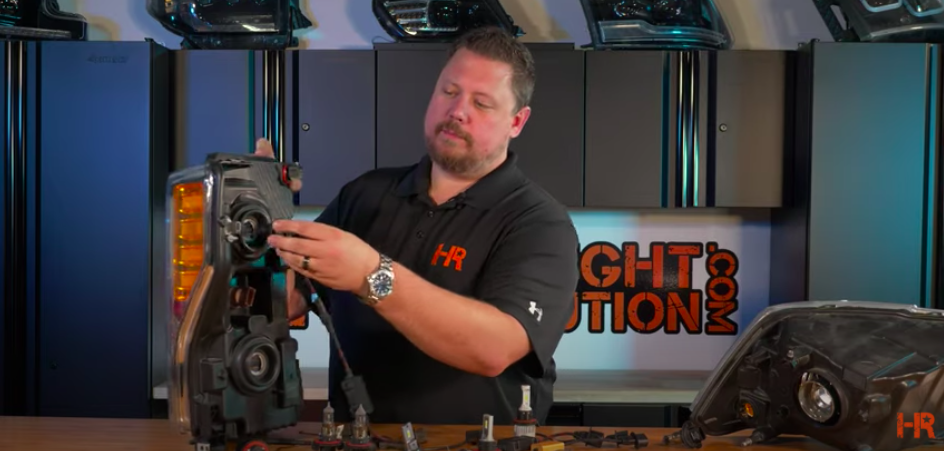
On the LED headlight bulb, there are three mounting tabs. These tabs are the mounting collar, and on the halogen bulb, you have those same three mounting tabs (shown below). So, as long as you line it up so that they're in the same orientation, you can put either of them in and twist to lock it into place.
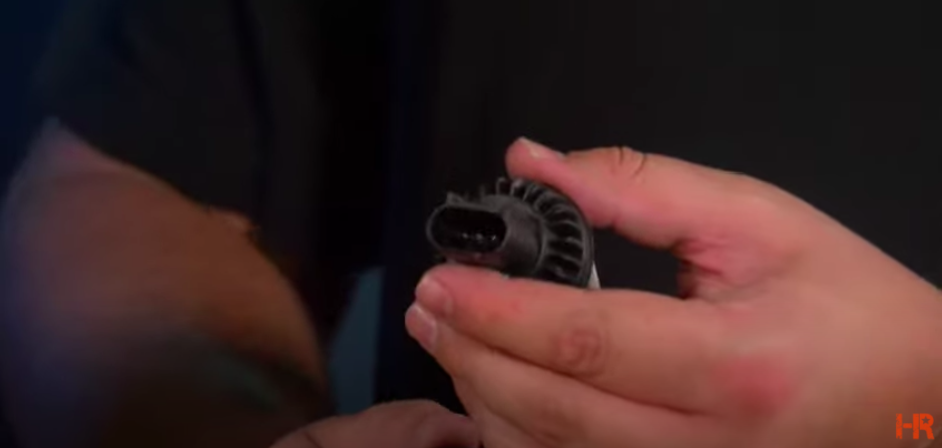
On the other side, you're going to have the same connector for the wiring. So unhook the wiring that goes to your H13 halogen bulb and plug it into the wiring for your new LED H13 bulb.
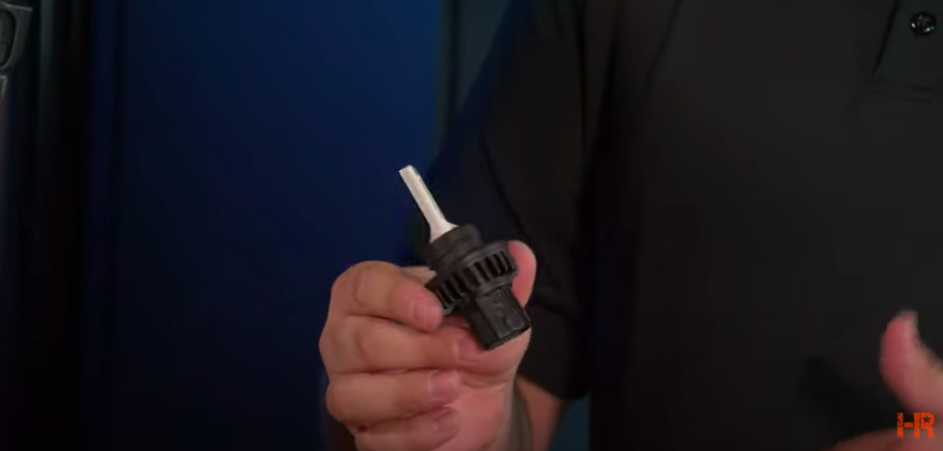
Something like the GTR lighting CSP Mini (shown below) that I have here is straightforward to install. There are no extra pieces, and it's shaped just like the original bulb. You simply line up the tabs, get it in place, and twist.
Morimoto 2Stroke
Another product is the Morimoto 2Stroke. As you can see, it's shaped similarly to the original halogen H13 with the same wiring connection off of the driver.
With this bulb, you line up those three tabs, you push it in and twist, and then it's ready to align the bulb.
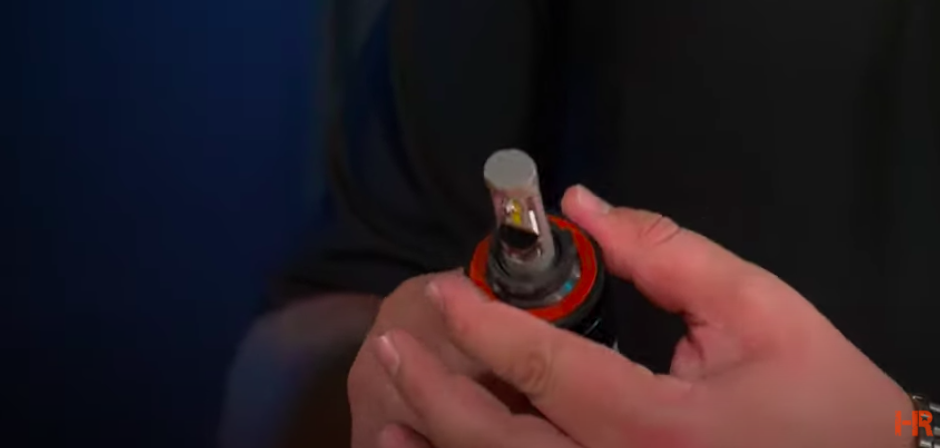
Do you see how the LEDs are pointing kind of diagonally down and up? We want them to be perfectly horizontal, left to right.
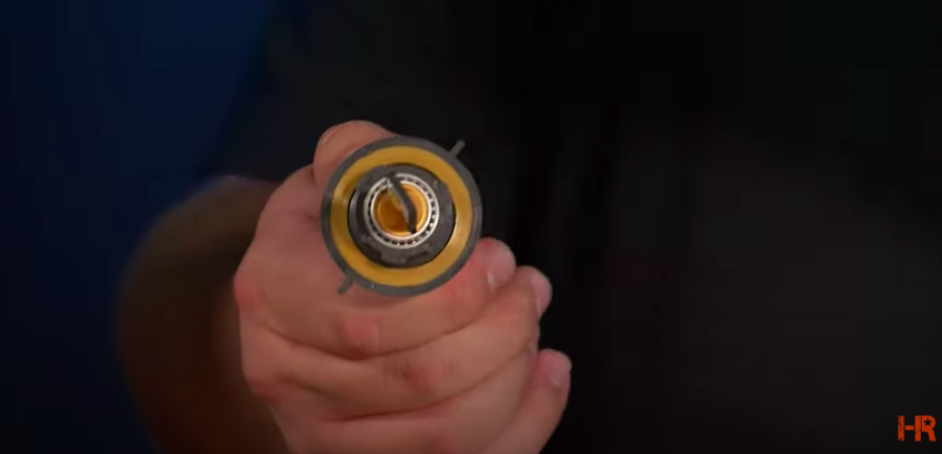
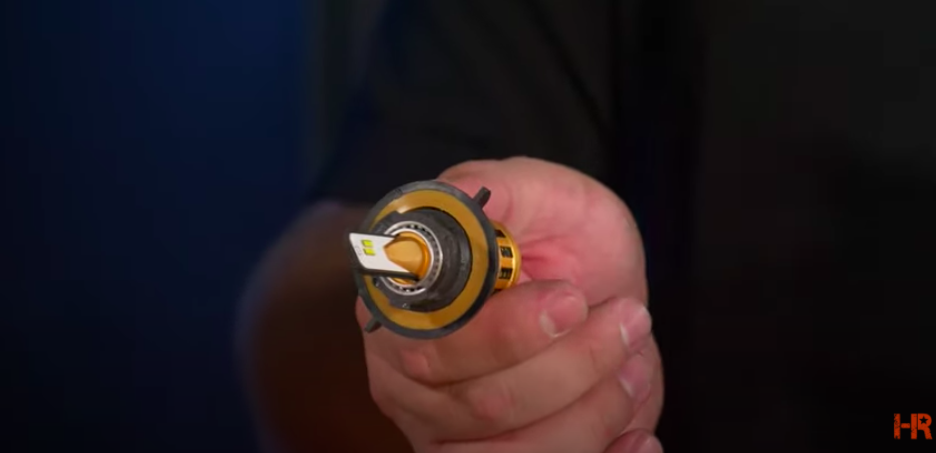
So when it's mounted, you push the bulb in to release the tabs, and then you can turn it until the LED chips are perfectly aligned, left to right.
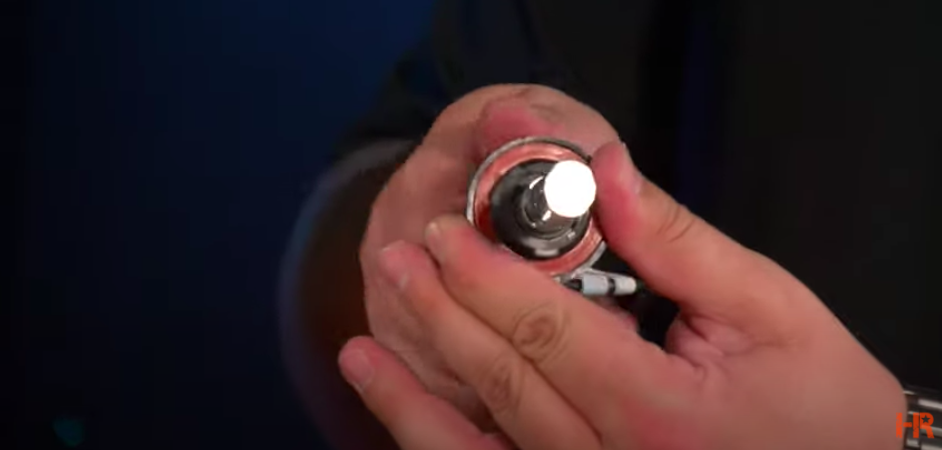
It looks something like this.
Take your old halogen bulb out, line up the mounting collar tabs and insert the new LED. Twist it in place so that it locks, and then apply pressure to the backside of the driver to release it. Then, you'll twist it and pull it back.
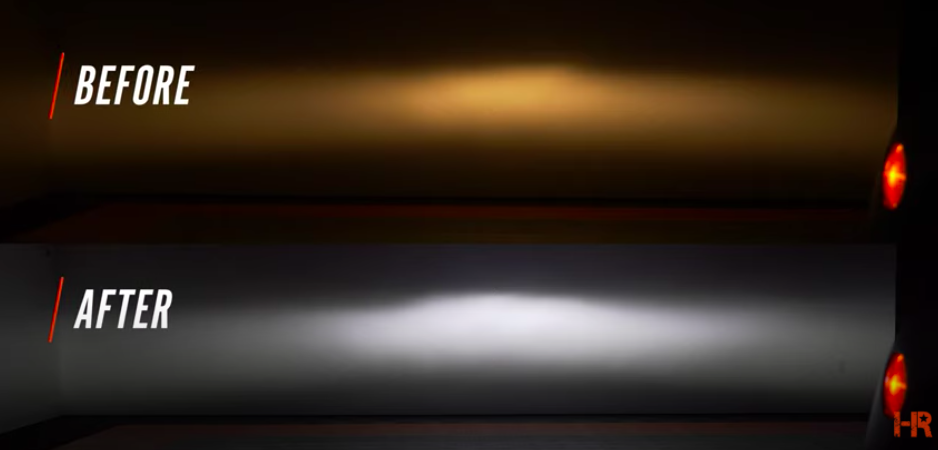
Make sure that your LED chips face perfectly horizontal, left to right, for the best beam pattern. Then, you can either look in the front of your headlight to see for yourself or examine the beam pattern on your garage door wall.
It should look pretty much the same shape as your original beam.
Clocking Your Chips
Because it's so important to make sure the LEDs face left and right, different bulb manufacturers came up with different ways to index or clock your LED chips.
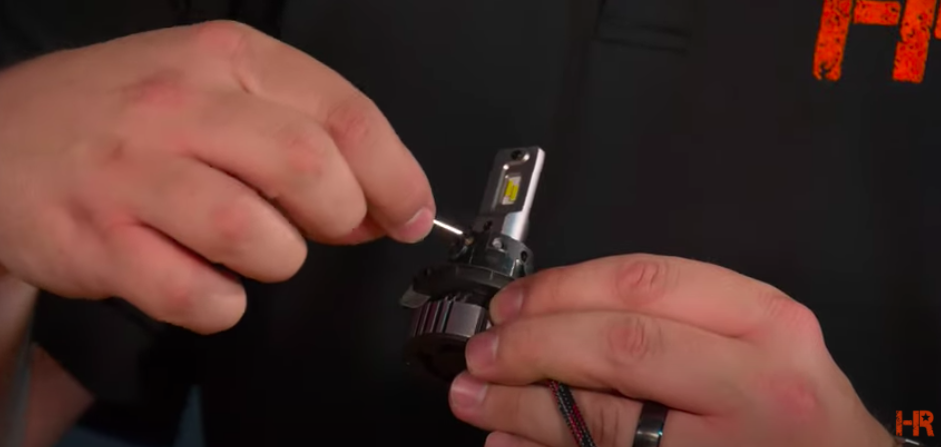
Something like the S-V.4 uses an Allen set screw. The S-V.4 comes with a kit that includes an Allen wrench.
Use the Allen to loosen up that screw, take it out, and spin the bulb freely to make sure it has perfect left to right alignment. When you have it perfectly aligned, put the set screw back in and install the bulb. This process might take a little bit of trial and error to get it just right, but trust us, it's worth it.
The moral of the story is pretty much all LED headlight bulbs in the H13 style are designed and installed the same way. Just make sure that you've got your LED chips facing left to right and that you understand the orientation is just as important as the bulb's brightness. (For our full line of LED forward lighting upgrades, check us out here!)
If you run into any other troubles during your install and need help, please give us a call. We'd be happy to help because, at Headlight Revolution, we do lighting better.